Don’t let high-priced Halloween decorations scare you because you can make them yourself using Goodwill finds and repurposed pieces. You’ll shiver with delight—and a little bit of fright—when you transform items into creepy and cool decorations for just a few pennies.

Here are two ideas that won’t break the bank but might bust Frankenstein’s brain when he sees how smart and creative you are during his special time of year.
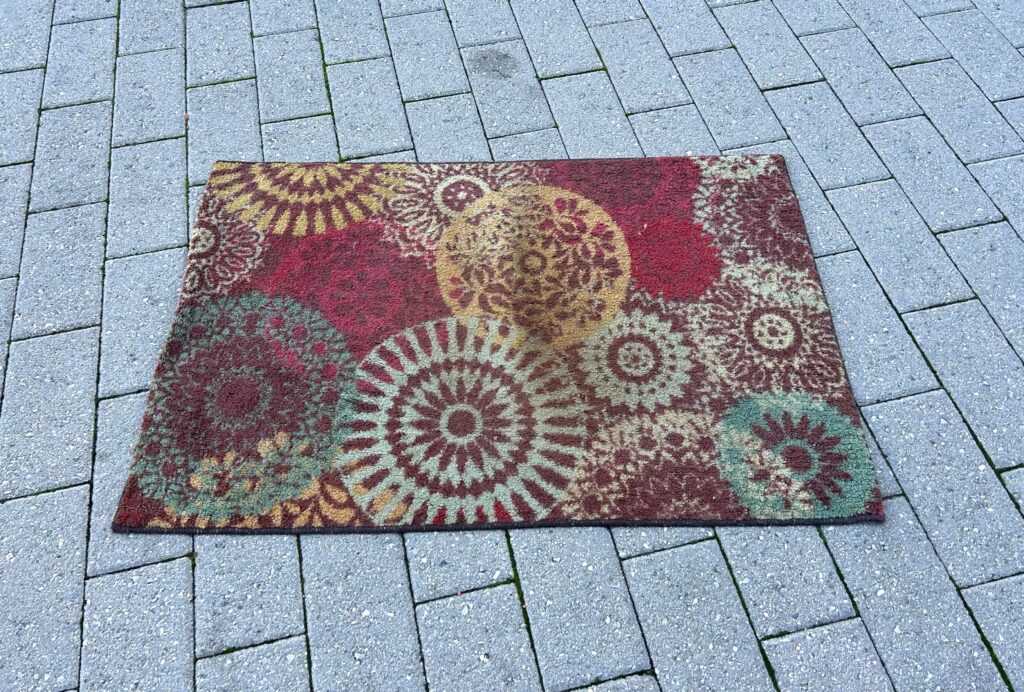
DIY Project 1: Rug Reworked into Web Welcome Mat
Welcome all ghouls and goblins, as well as family, friends, and others, with this arachnophobia-inducing project. Upcycle a small thrift store rug into a creepy web of a welcome mat.
Here’s how:
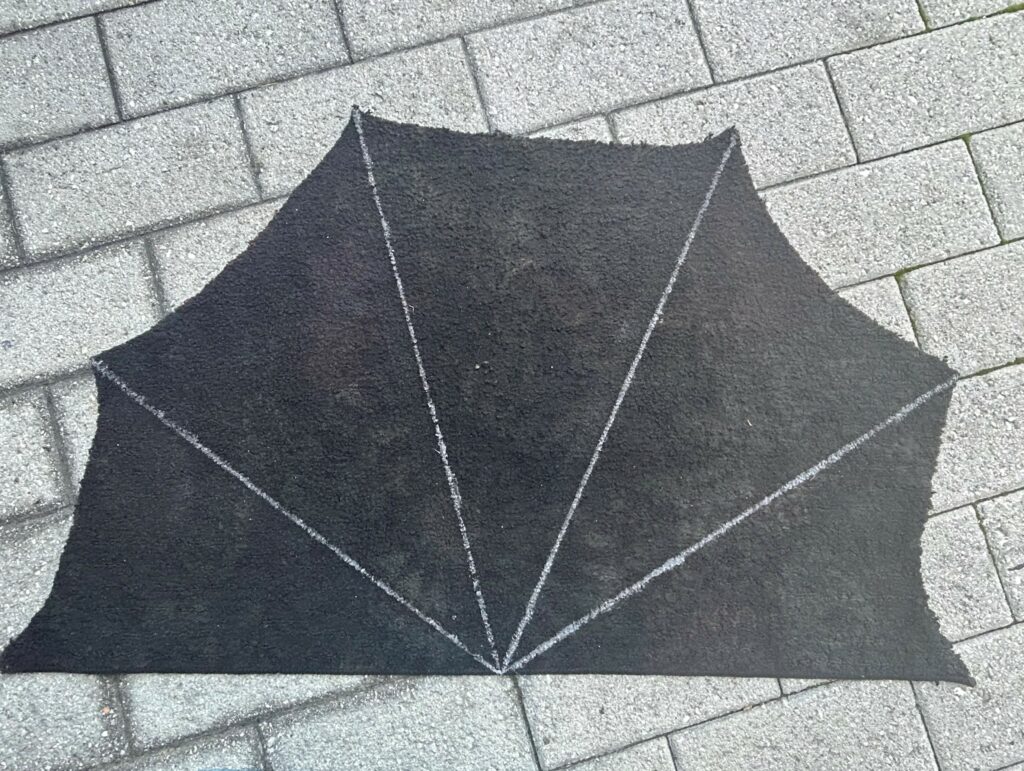
1. Draw a circle, cut away pieces
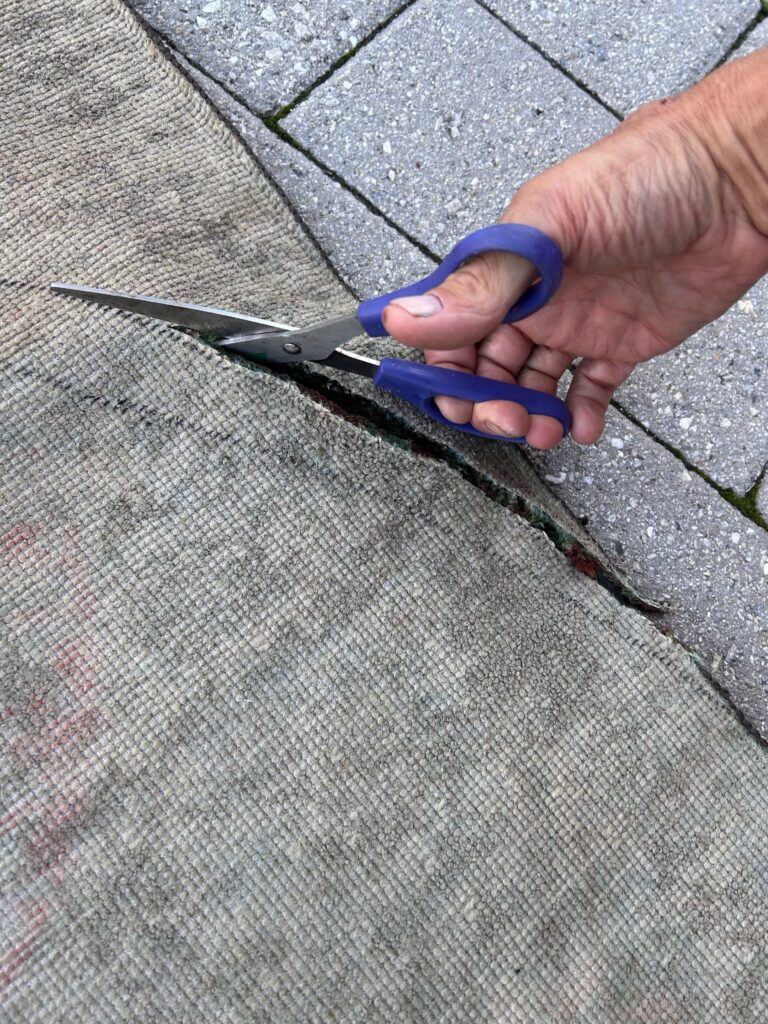
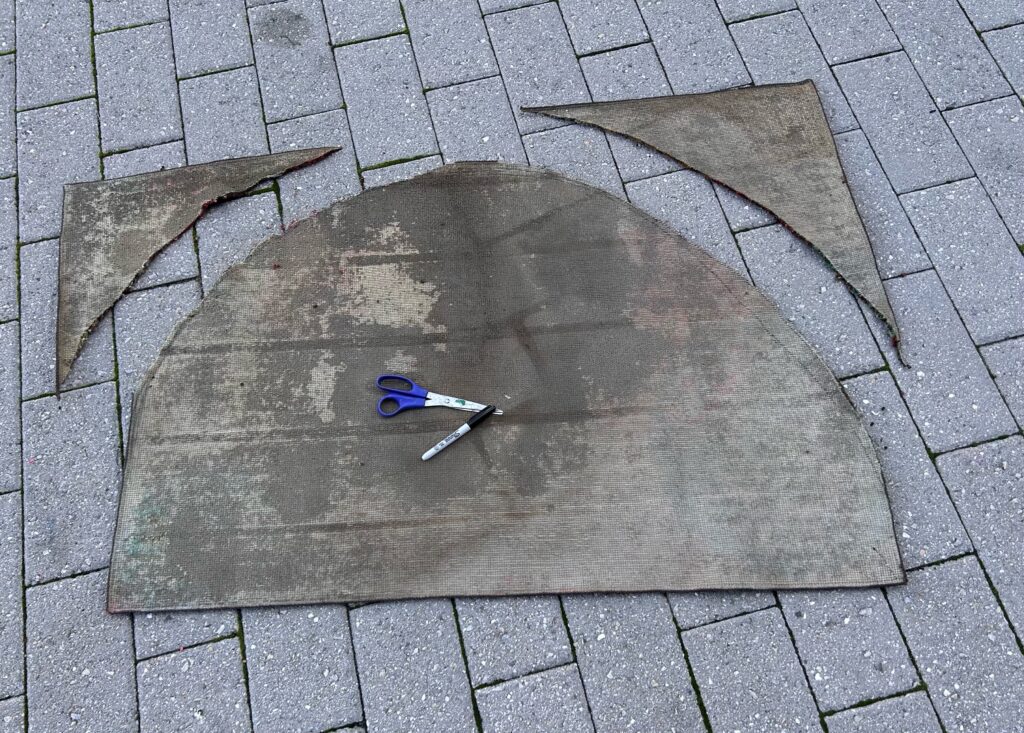
- Start by flipping your rug over and use a marker to draw a half circle on its back.
- Carefully and patiently, use a pair of sharp scissors to cut along the line to remove the parts, and so you end up with a half circle.
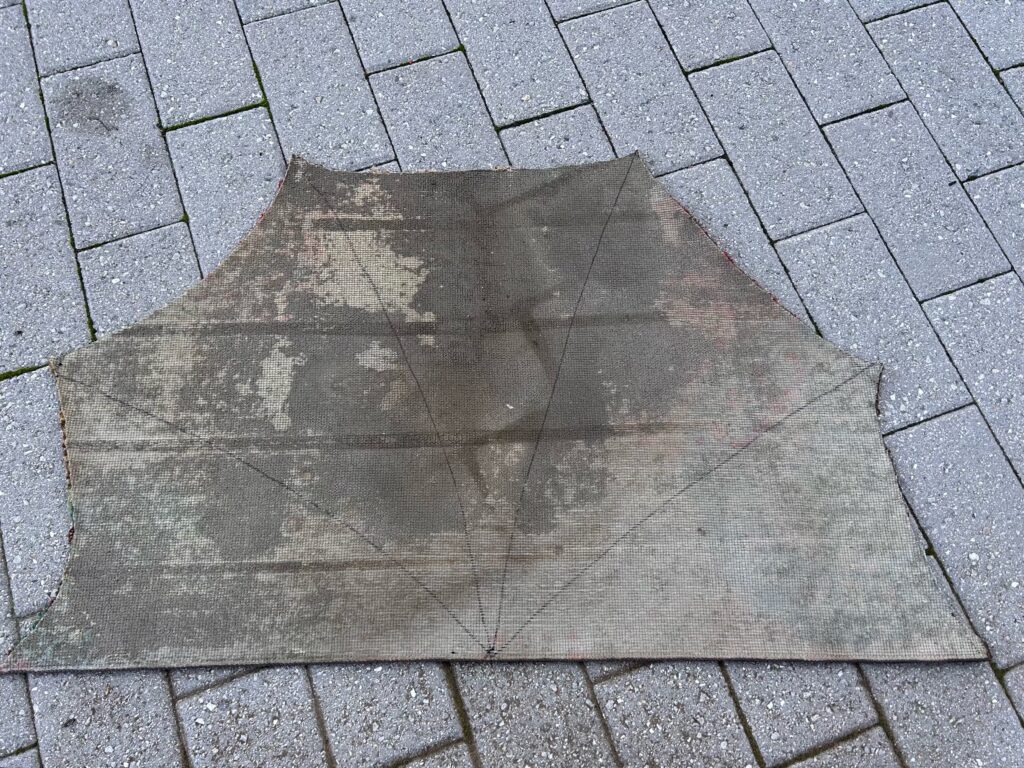
2. Write in your web, part 1
- Use a yardstick or another straight edge to draw in four lines from a center point along the bottom edge to the outer, curved end.
- Draw a scalloped line along the curved edge between each line radiating out from the center.
- Enlist your scissors again to remove the scalloped sections from the curved edge. You now have the shape of your spider’s web!
3. Spray on the spookiness
- Place your now cut and scalloped mat right-side up on a drop cloth outside or in a very well-ventilated space. (Thankfully, the day was picture-perfect when I worked outside on this project!)
- Spray on two to three light layers to cover the rug’s current color.
- Allow ample time to dry.
4. Write in your web, part 2
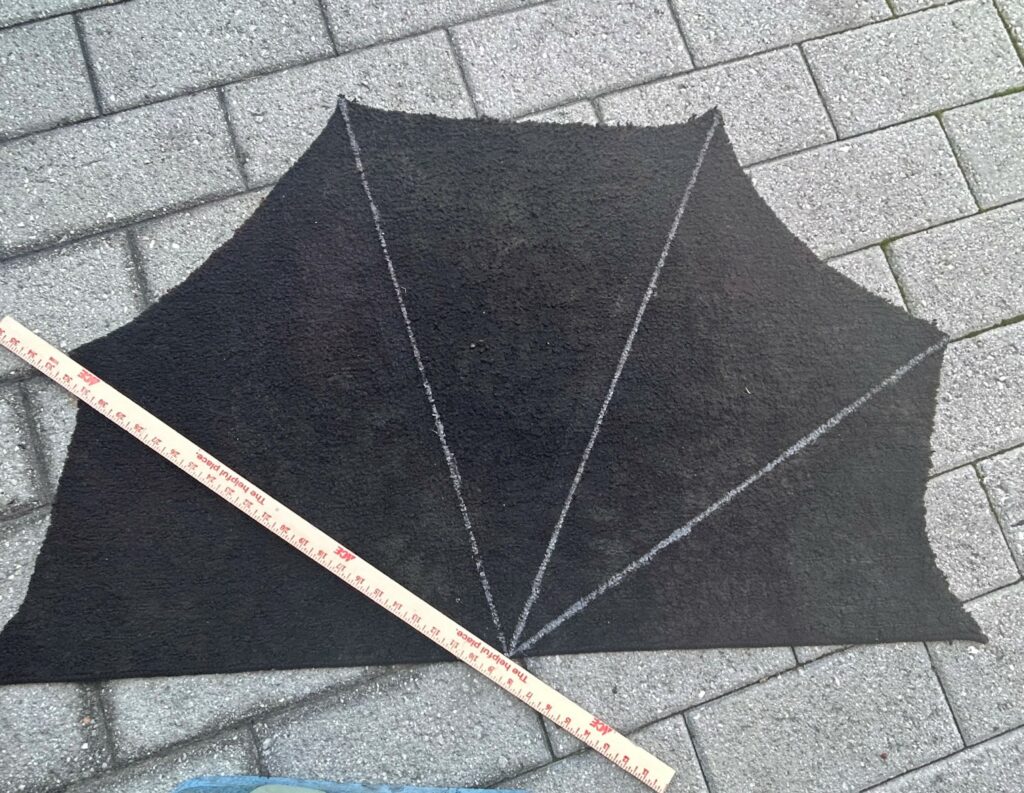
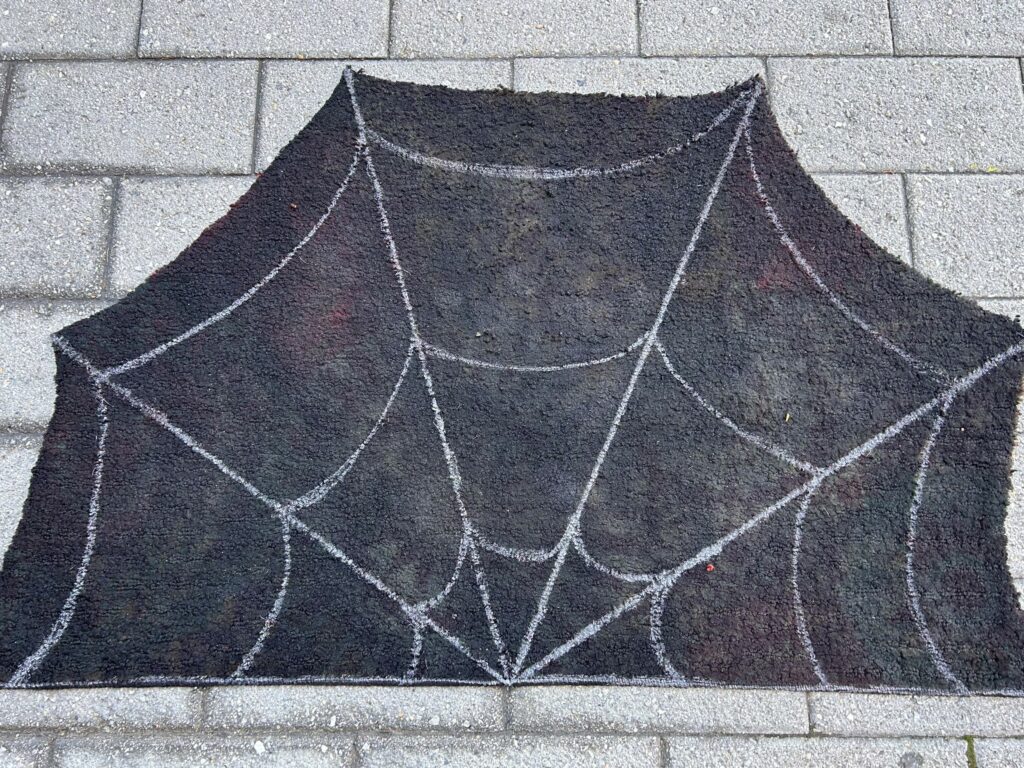
- As you did before on the back side, use your ruler/straight edge and position it from the bottom center to one of the points created by the scallops. This time, use a white or silver paint pen to draw the line on top of the painted black mat’s surface.
- Move to the next spot and repeat this step; continue until each point has a line back to the center.
- Several inches below the scalloped edge, draw another curved line from the straight lines you just drew; repeat this step near the center, and lastly, add a curvy line nearer to the bottom.
- These curved lines should follow the scalloped outer edge to give you the spider web look desired.
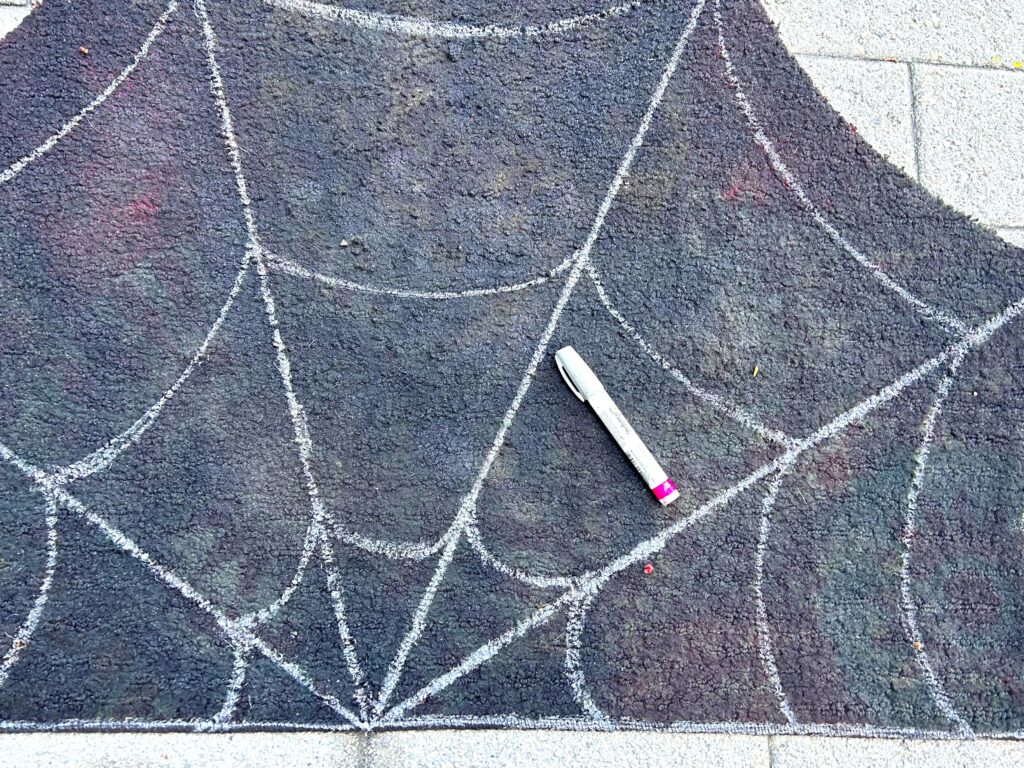
Expert Tip:
Don’t worry about your paint pen lines being perfect the first go around. Use them to draw in the lines, and once done, return and carefully go over each line several times. The texture of the rug will absorb some of the paint and may provide a bumpy surface, so take your time and go over as needed.
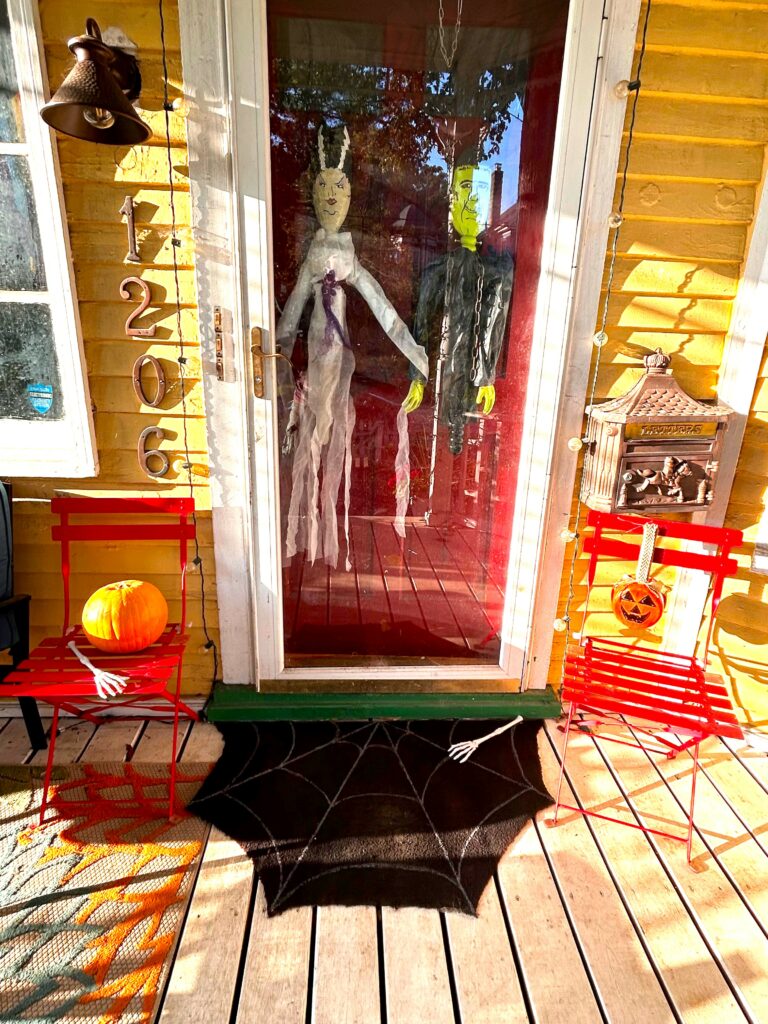
5. Position outside your pad & create a creepy vignette
Place your spider web welcome mat outside your front door, then add some fright and fun with other decorations.
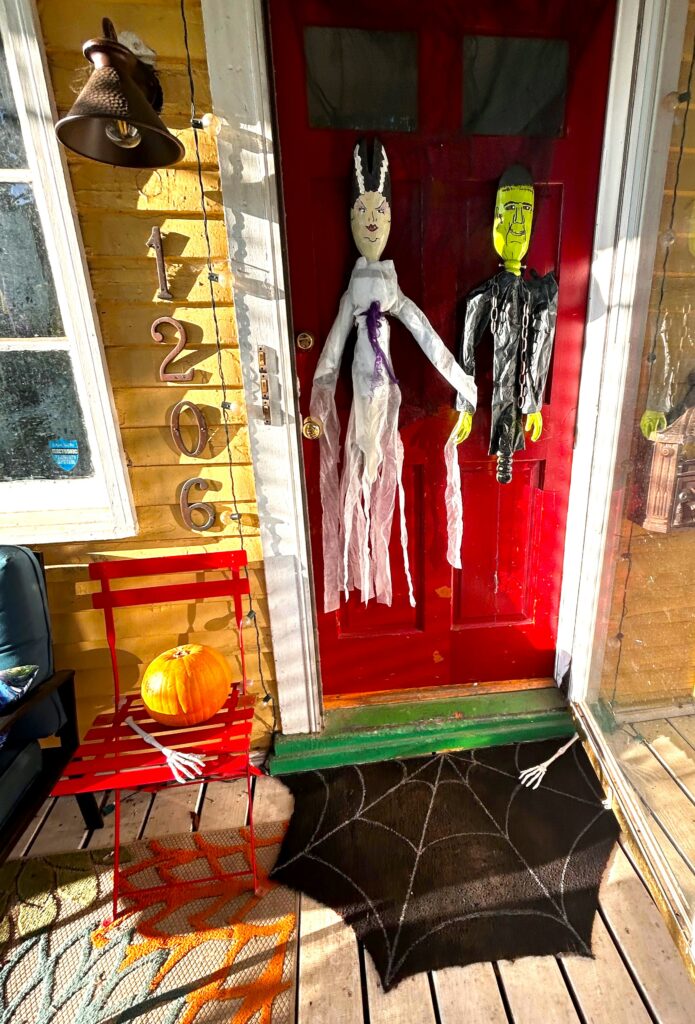
Place a pumpkin next to the door and add a plastic spider or two on top.
Hang a ghoul on your door like Frankenstein and his bride featured here (see the blog for how-to’s for this project).
Secure fake webbing on your door, too, to connect to the spider theme.
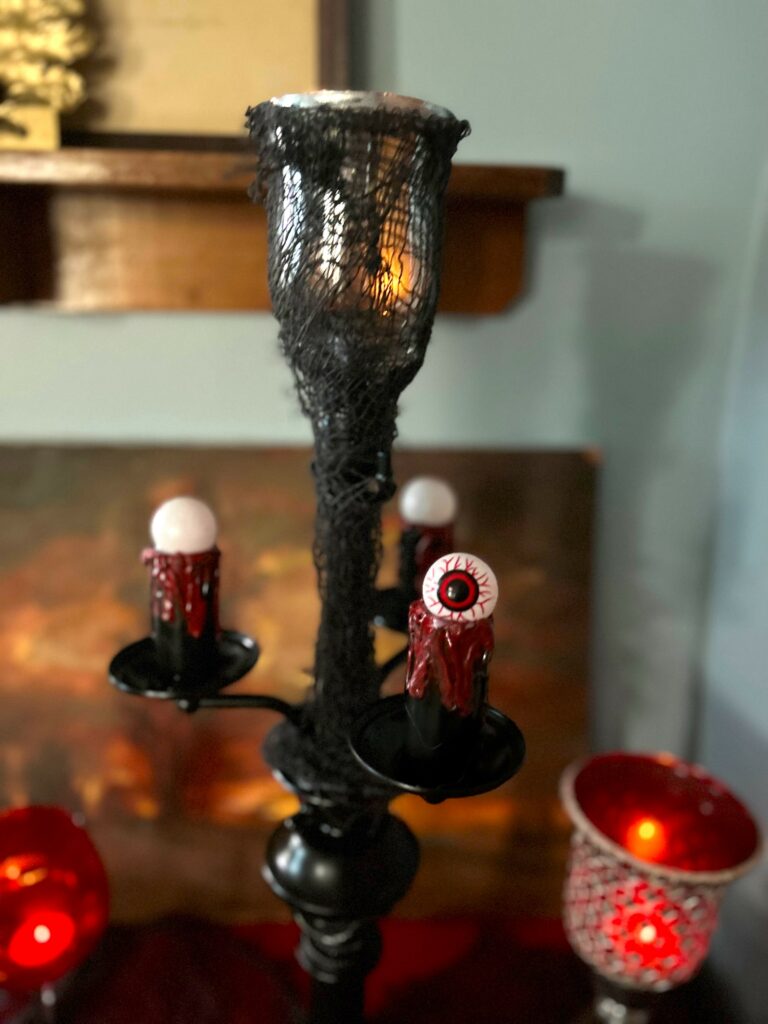
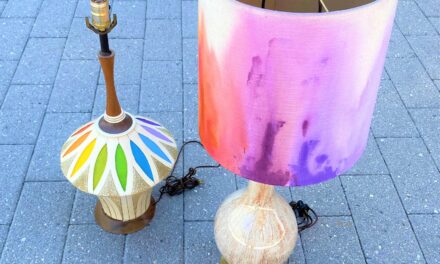
DIY Project 2: Lamp Base Becomes Eyeball Candelabra
Turn on an old lamp by transforming it into an eyeball candelabra that Morticia Adams would die for (or is she dead already?)! No electricity is needed here other than to power your glue gun as you go.
Here’s how:
1. Remove unneeded parts
The look of this lamp shrieked candelabra to me, given its design and multiple light sockets.
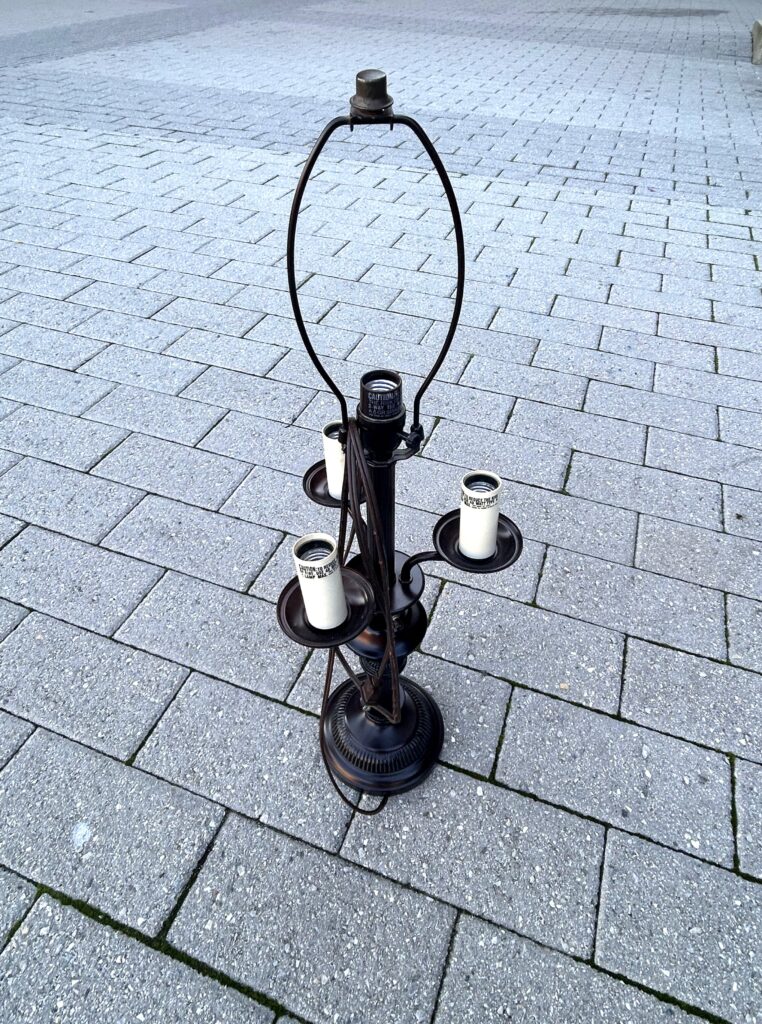
The lamp’s harp (the curved part that holds the shade in place) was removed, as was the power switch. Its cord was cut. Keep these parts for other DIY projects!
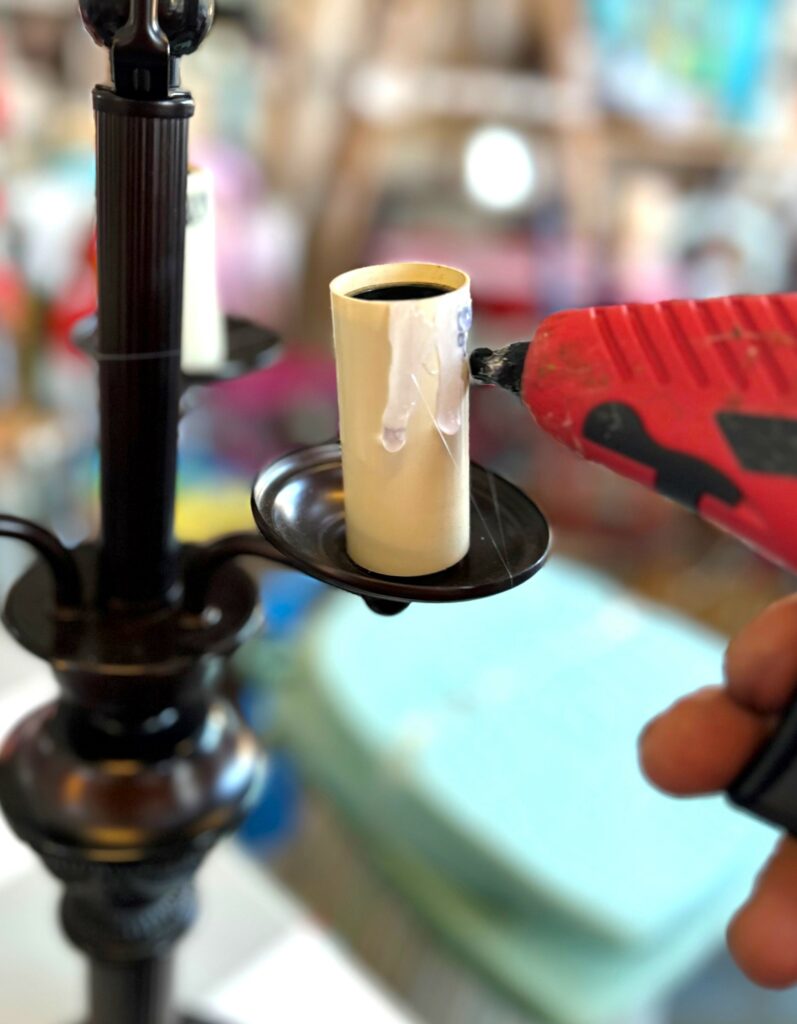
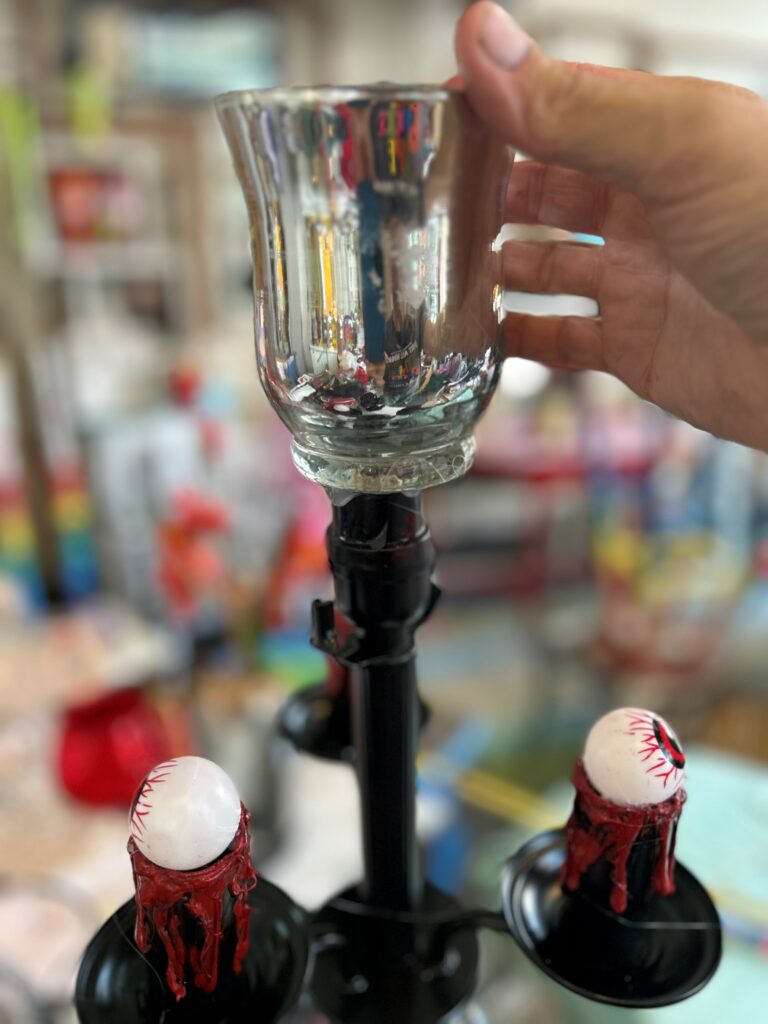
2. Add “wax” with your glue gun
Since this lamp already had parts that looked like candles, a glue gun was used to add drips along the top and sides of these parts.
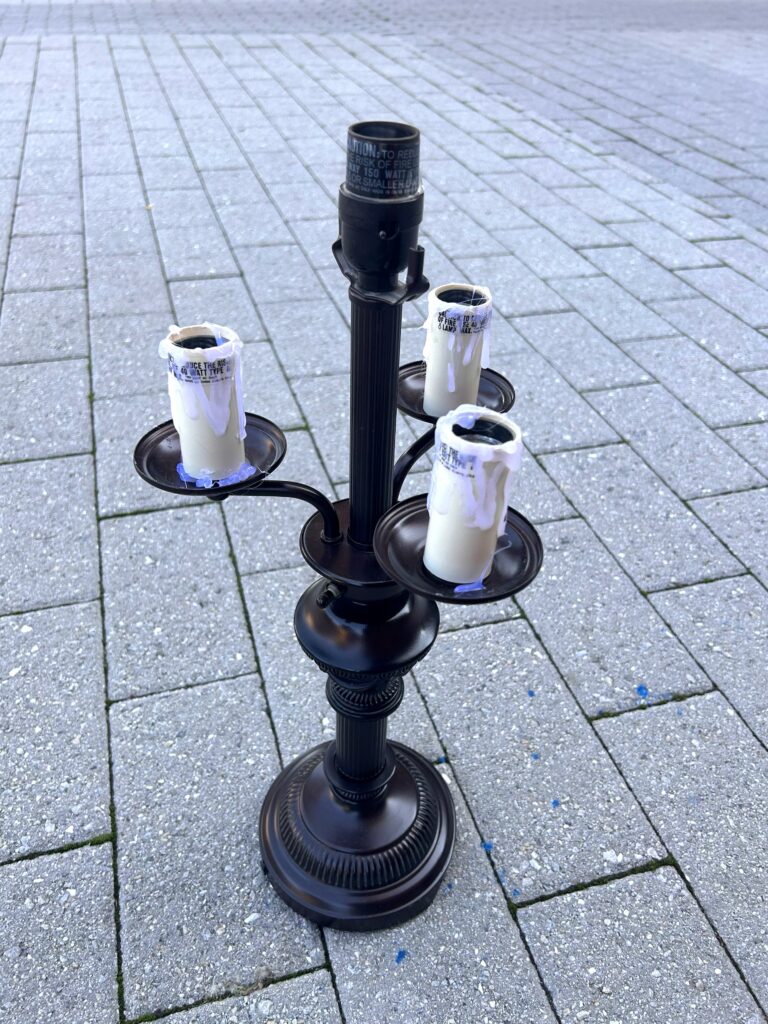
Any time you want to make a piece look like it has drips on it, use your glue gun to do so since it will harden in place.
3. Black out your bits
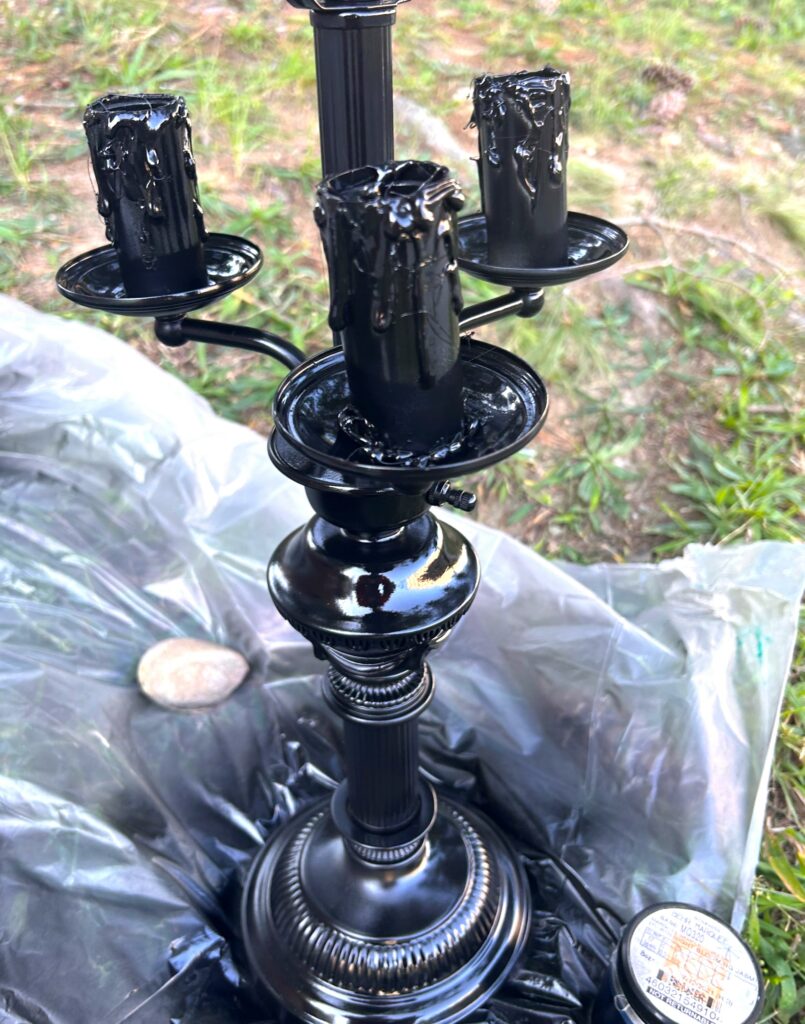
- Use a satin finish black spray paint and add a couple of layers to your lamp, of course, after you place it on a drop cloth!
- Blend in all different color parts and pieces with a couple of light layers of your paint.
- Spray over your glue gun “wax,” and you will now see the magic of the previous step.
- Consider laying your lamp-now-candelabra on its side and spray on another layer to give all parts good coverage.
- Let it dry well.
4. Brush on some “blood”
With a very small paintbrush, apply red paint on top of the glue you added with your glue gun.
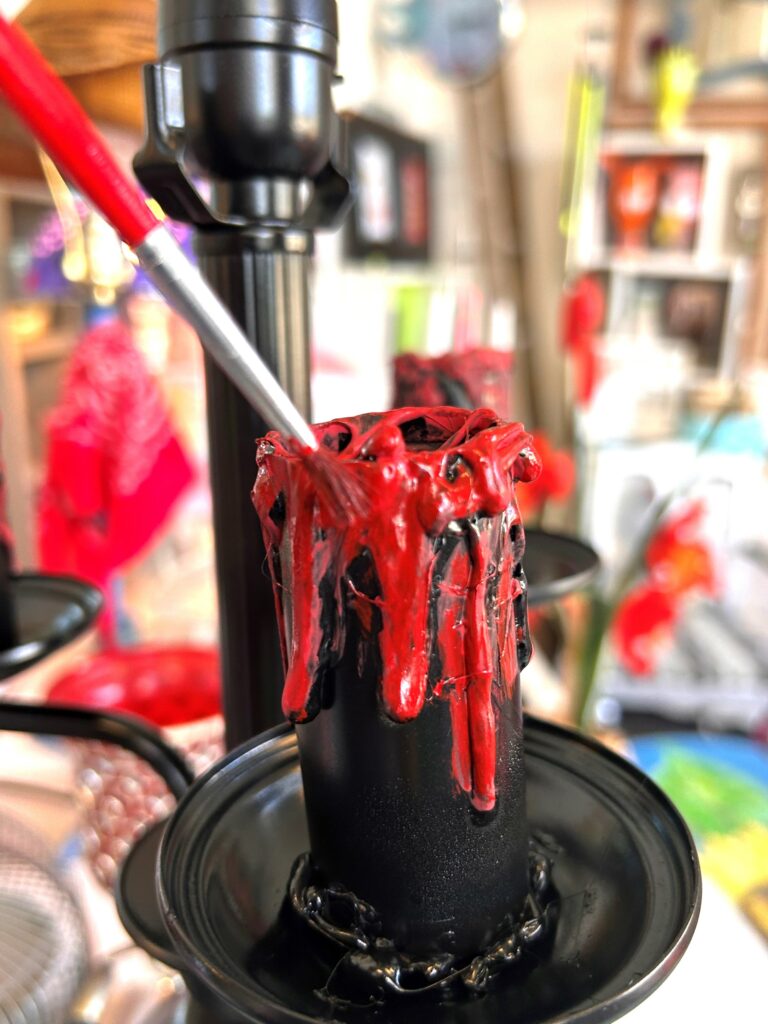

The hard, drippy glue gives a 3-D, more dimensional look, and now, with the red paint on top, it truly looks like blood! Yikes! I mean, Yes!
5. Glue on eyes
Pick up fake eyeballs at the dollar store and secure them in place on top of the flowing blood candle parts.
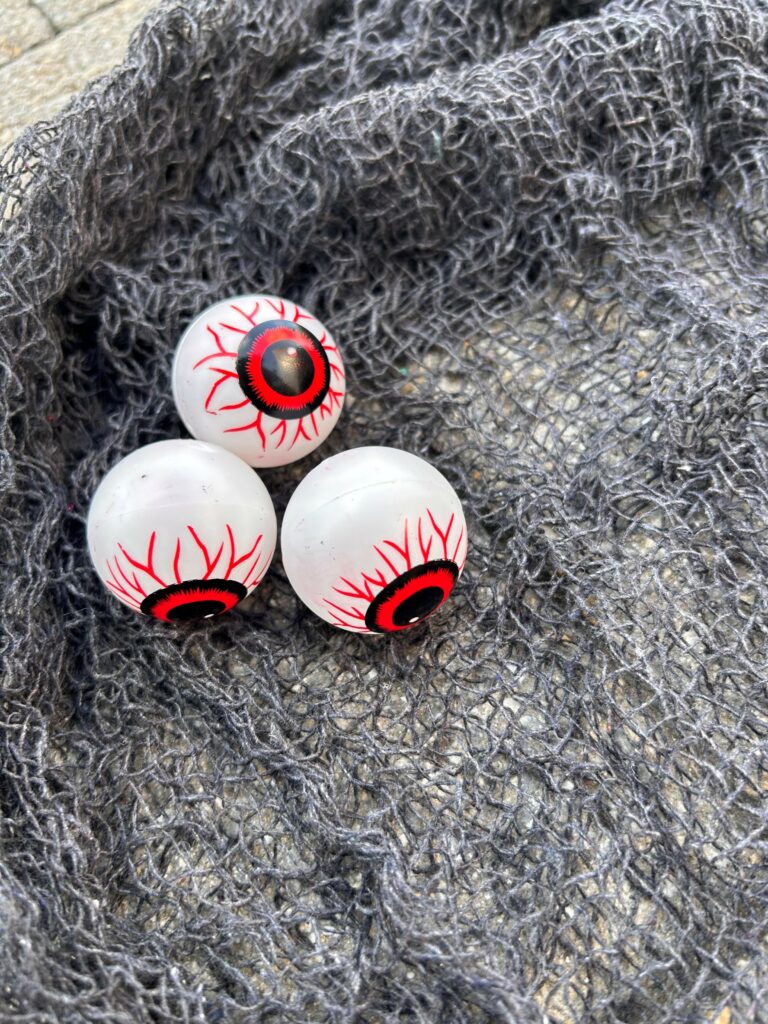
Or instead of store-bought ones, you could transform old ping-pong balls, too, by drawing eyes on them.
6. Secure a votive & web-it up
Where a light bulb was previously placed in the center, add a small votive with your glue gun.
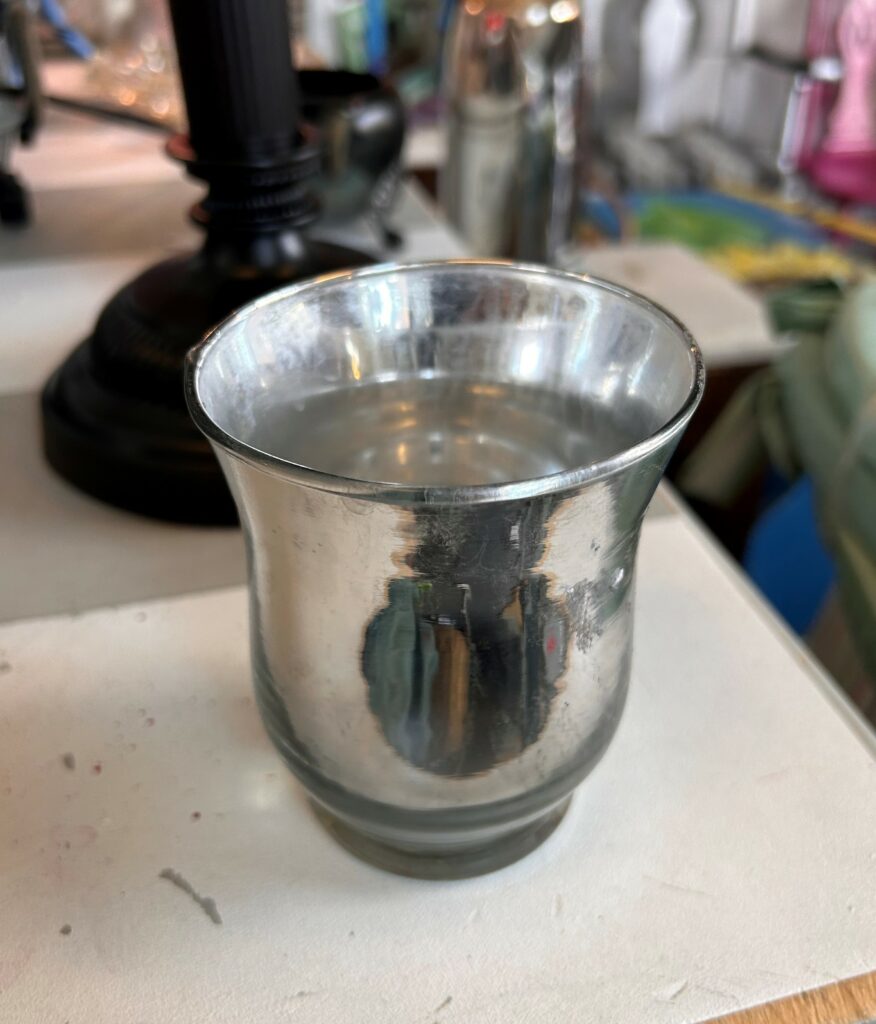

Dress it up and spook it down by adding some of your web material to it so when lighted with a small candle, you can see its creepy new look. Glue this in place, too.
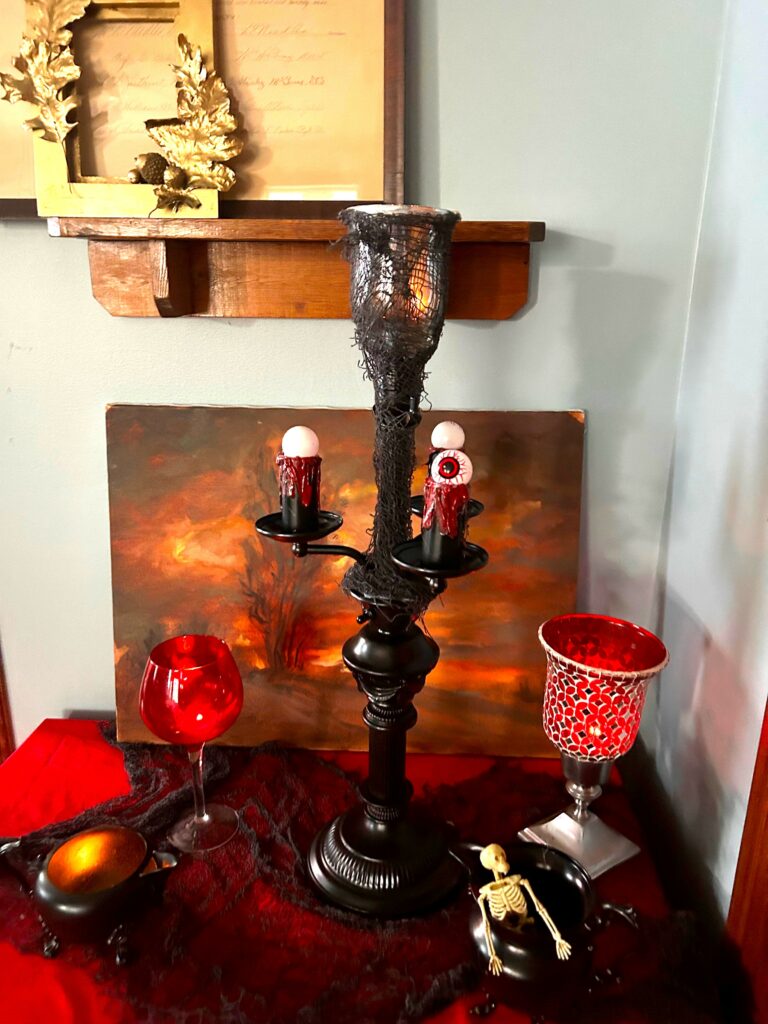
7. Position with other fearful finds
Place your former lamp–now eyeball candelabra—on a table with other Halloween-related décor.
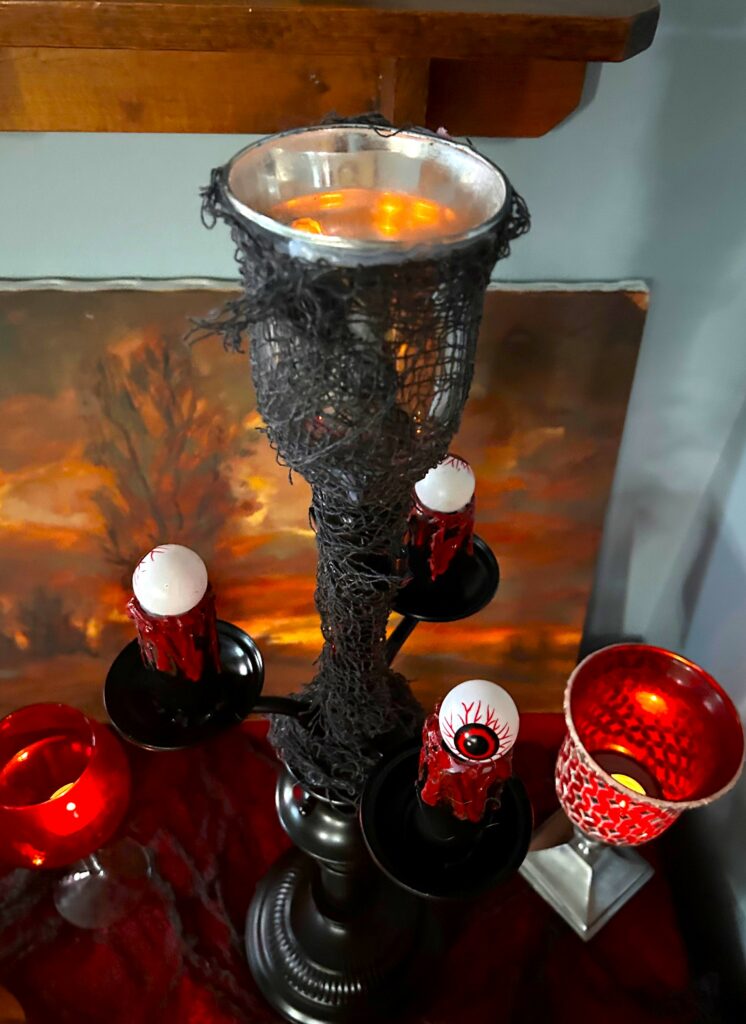
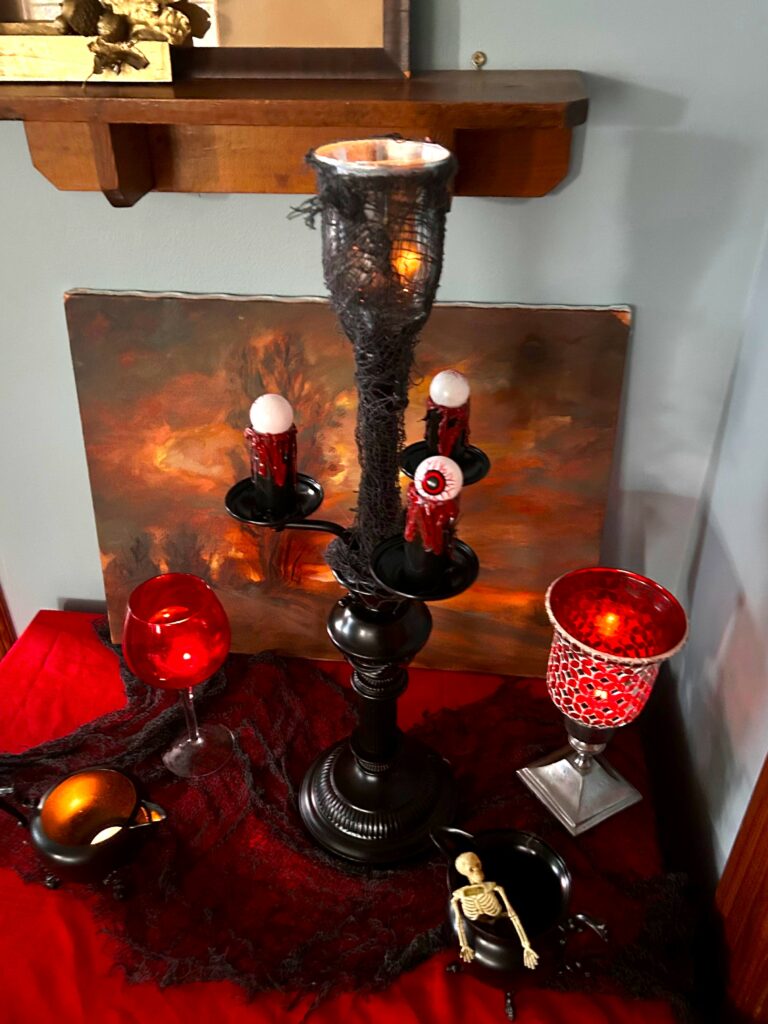
Black and red items also picked up at Goodwill, will connect to the vignette and its creepiness. Dracula will be proud of your Transylvania…I mean transformational…talents, too!
Similar Reads:
- The Easiest DIY Halloween Décor Ever!
- Halloween DIY: Decorate Pumpkins with Repurposed Items
- Halloween Home Décor Ideas to Make Your Space a Little Spooky

Tim Kime
Artist, Motivational Speaker, Life Coach