Happy New Year to all of our Finding Your Good readers/followers/bloggers/contributors! Here’s hoping that 2023 is full of love, joy, abundance—and lots of cool DIY projects! To start the year off with fun and inspiration, here is another fabric-covered chair transformation that has me doing cartwheels. You will, too, when you take a dated side chair and make her the style star using spray paints for fabric.
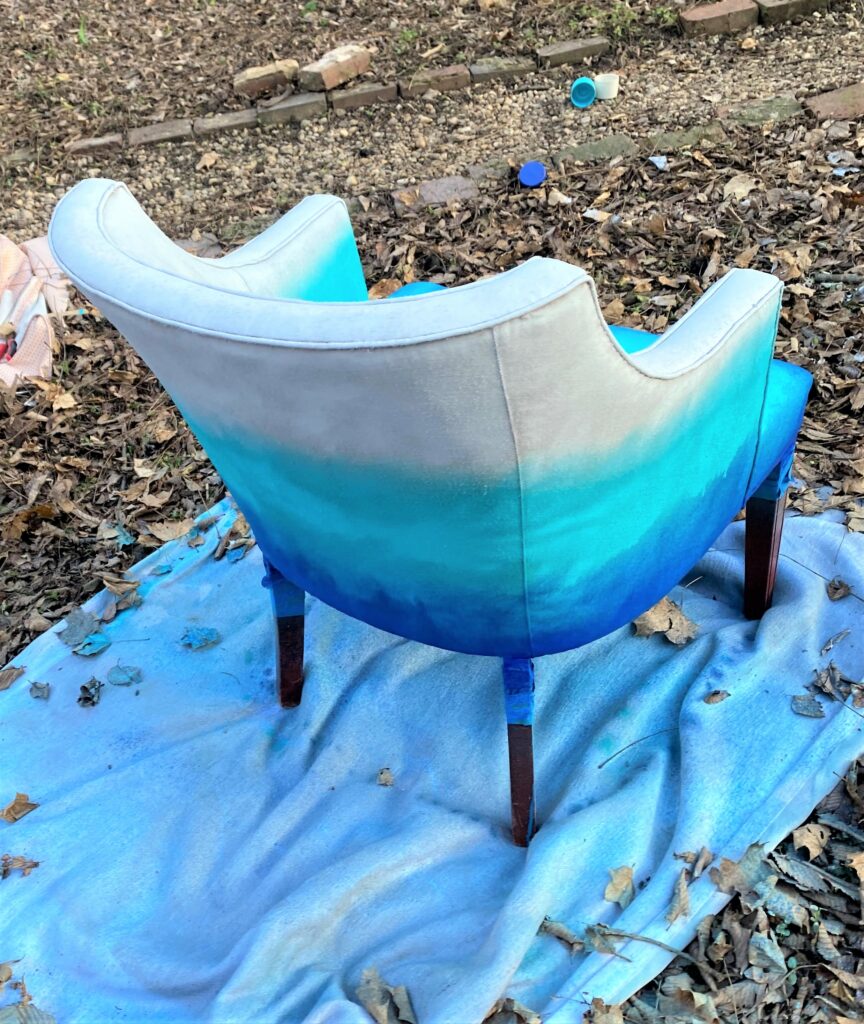
Winter color tones are combined in an “ombre” approach which overlaps darker colors to lighter ones, so they seem to flow from one to the next. Removing the chair’s skirt allowed her to show off her simple and elegant legs while making her look airy and light. You, too, will get hooked on using fabric spray paints to transform sleepy, sorry pieces into daring, dynamic ones. This is my third fabric-painted chair project, so let’s hope you think that three times is a charm, too. For my previous upcycled easy chairs using spray paint, check out these previous blogs here.
Again, many good wishes to you and yours, and may you have a year full of finding your good—and great treasures at remarkable prices—as you thrift and thrive!
Items needed:
· Fabric-covered easy chair with skirt
· Outdoor fabric paints in white, teal, and dark blue
· Screwdriver & pliers
· Painter’s tape
· Drop cloth
· Face mask
· Plastic or work gloves
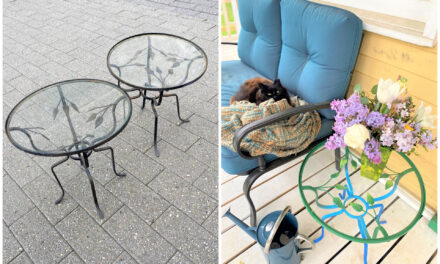
1. No skirting this issue: Goodwill always has great furniture options
Okay, you made your list of resolutions, and one of them is to take more risks in order to have more adventures. This project will help you to mark that one as completed—and it’s still the first week of the New Year! Goodwill stores are the ideal place to find a fabric-covered side or easy chair for this colorful and cool project. And your chance for success is very high because the prices are very low, making this project not a risky proposition at all.
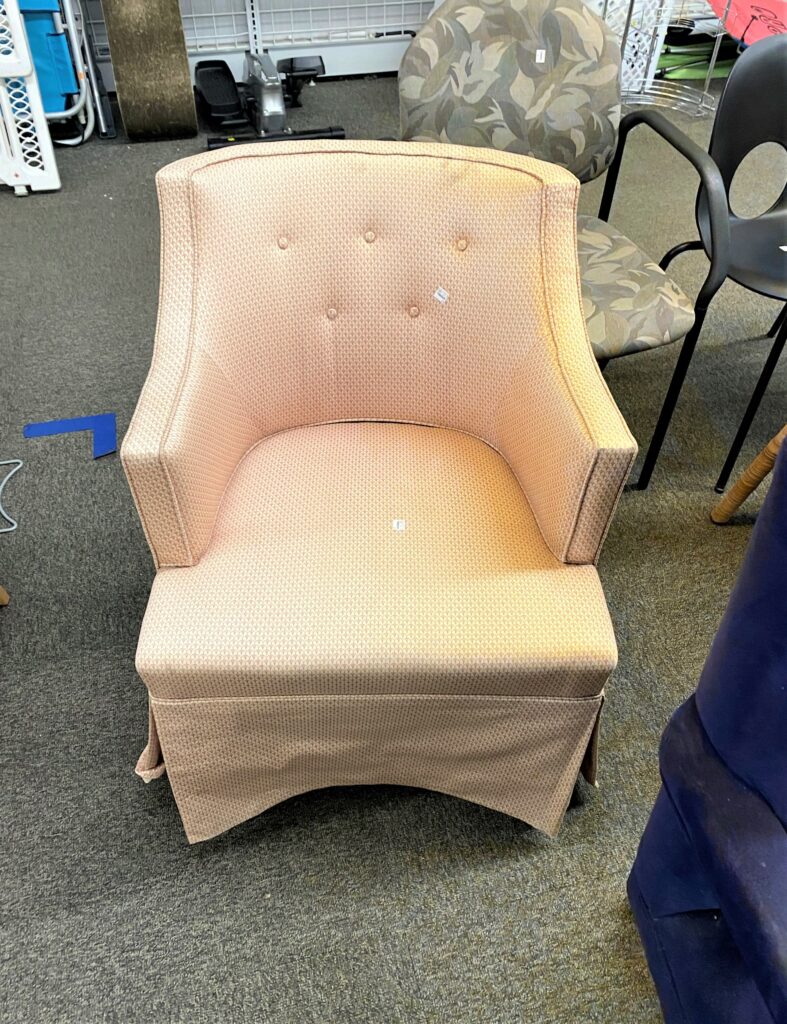
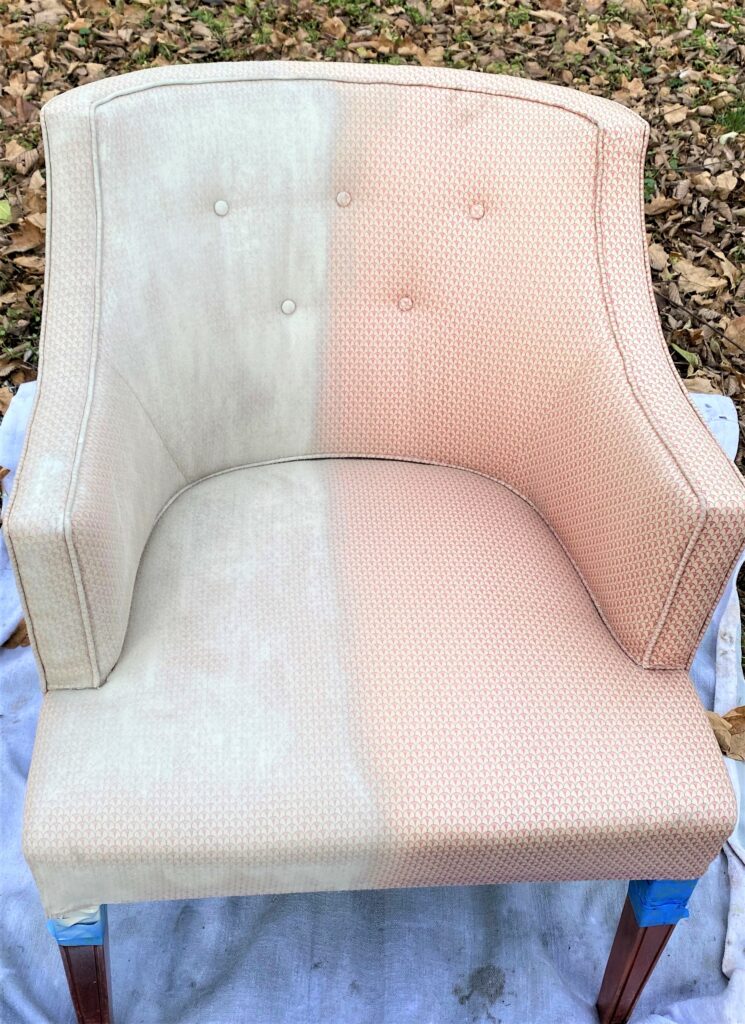
While exploring my favorite Goodwill store, located on South Dakota Avenue, NE, in Washington, DC, I fell in love with the shape and style of the side chair featured here. Its curvy shape, clean lines, and buttoned back detail were all stylish and sleek. But she had a fabric skirt covering her bottom half and legs, which screamed out “Dated!” to me. Upon close-up inspection, I could see that her legs were wooden, in great shape, and already finished in a warm tone. Therefore, home she came with me!
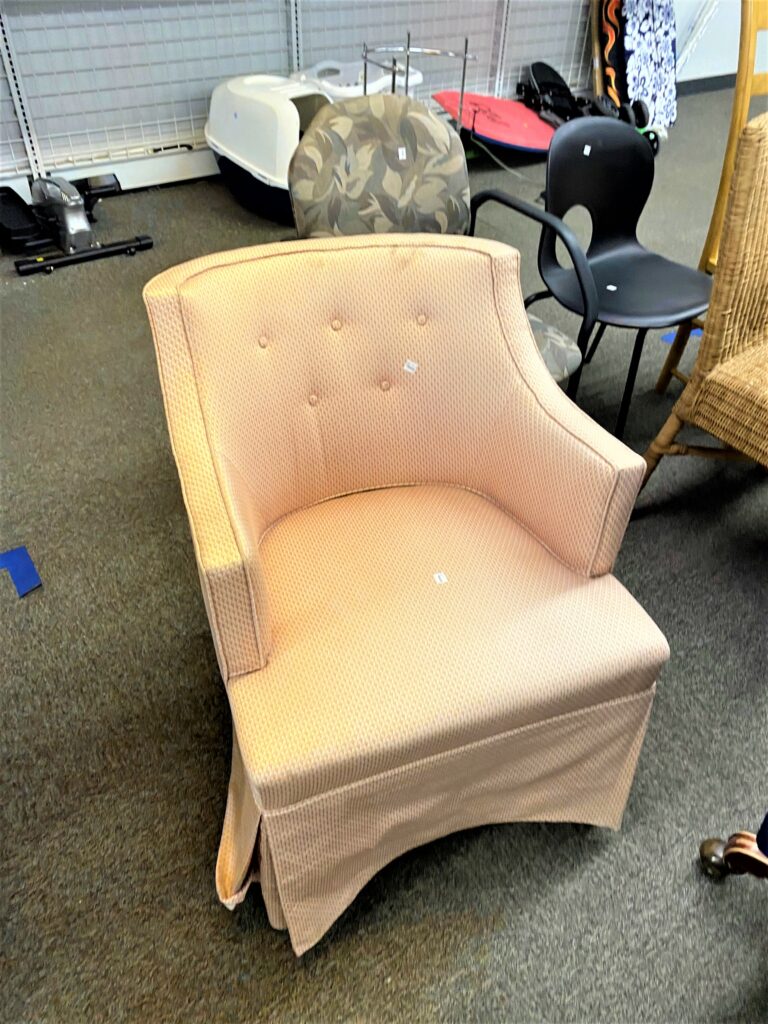
My expert advice? Do your best to look past a piece’s current colors. Is it solidly constructed? Does it have good bones? Does the shape appeal to you? Consider these questions, and if you say yes, even one of them, then purchase the piece right then and there because, as I have found out the hard way, it might not be there if you leave Goodwill and come back later.
2. Fabric paints give instant “Pow!”
You will find that most big box hardware stores have fabric spray paints in stock; you may also find them online, too.
While more expensive than regular spray paint, the investment is worth it. Rather than the time-consuming process (and high expense) of re-upholstering a piece, the paints are a simple and fun solution. If you are able to hold down the spray button for a bit, then you will be successful with this process.
The array of color options is not as large as the paints used for other projects; however, the blues and white tones were perfect for this wintery/snowy-inspired project—which I just happen to love! I saw paint options in red, green, brown, cream, yellow and black, too, so you might find a combination to try the ombre approach to match your color scheme.
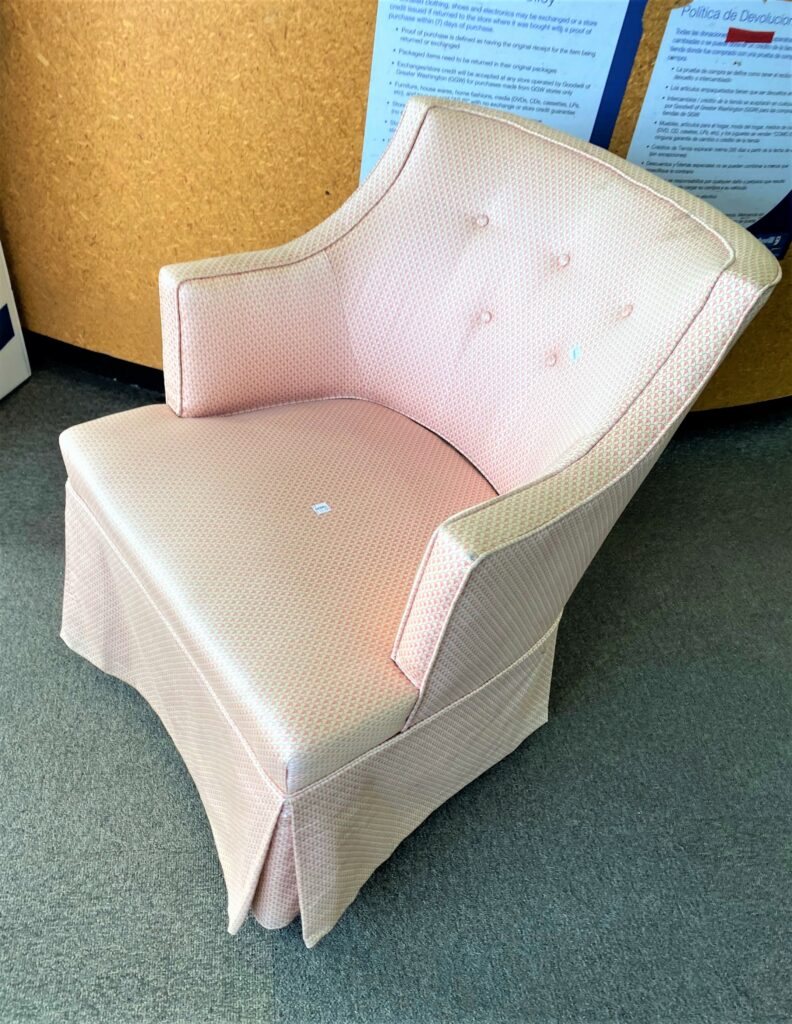
3. Remove the access fabric
The chair skirt looked like something that my dear grandmothers might have loved, and it made the chair look like it was from a bygone time and era.
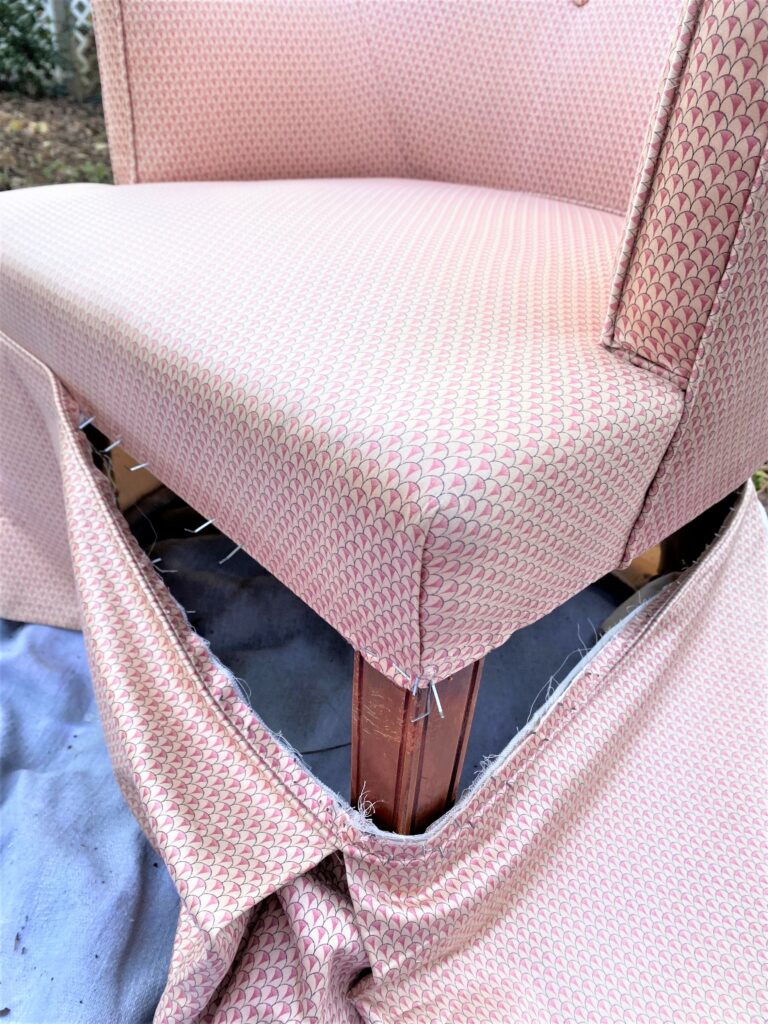
- Use your screwdriver to carefully pull away the skirt from the chair’s bottom edge; this one had staples holding it in place, so once the fabric skirt was off, pliers were used to remove them.
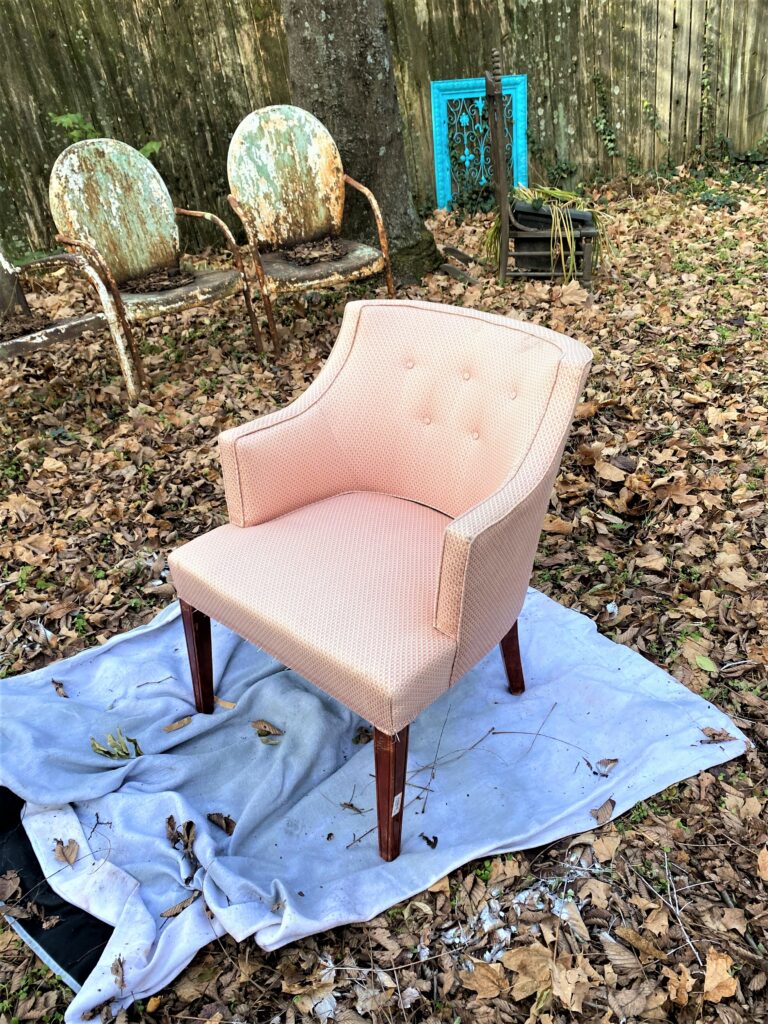
- With the skirt gone, you could see her great legs, elegant shape, and why she was a must-have to upcycle.
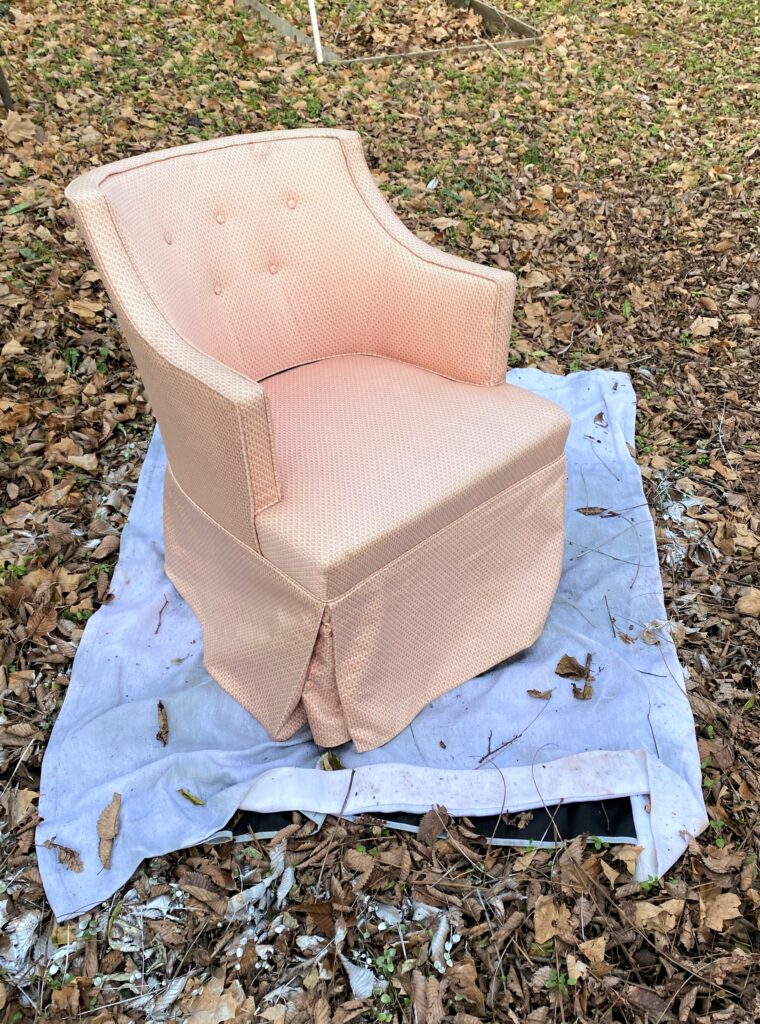
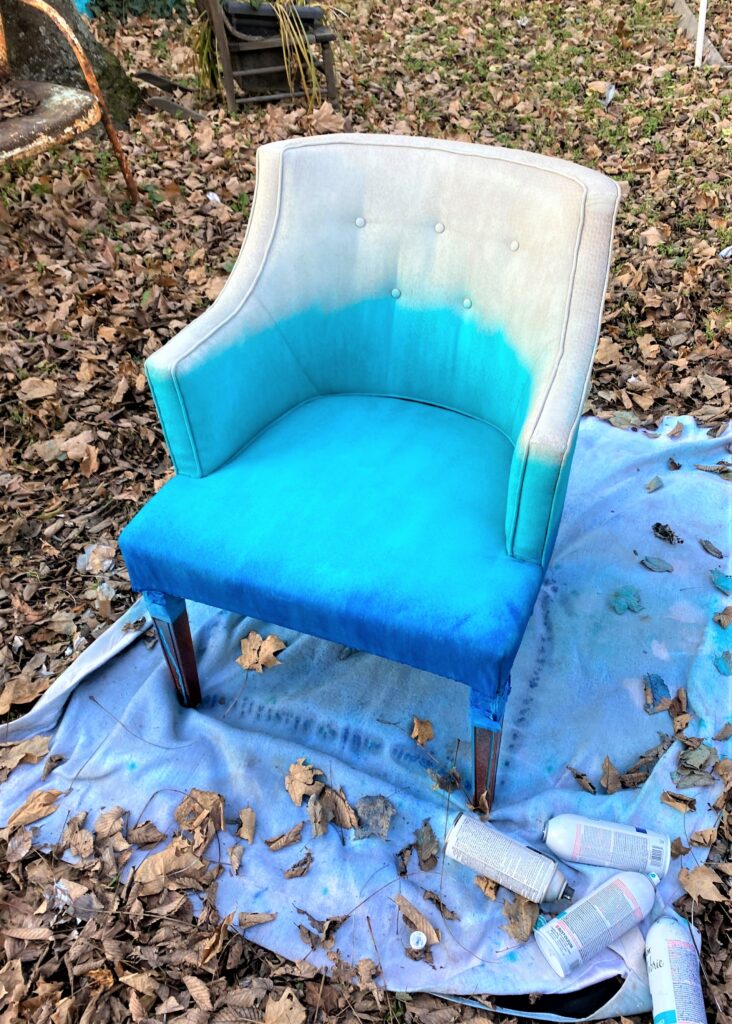
4. Place outside and begin her transformation
Yes, the weather was 15 degrees one weekend and 60 degrees the next, so if you get lucky and Mother Nature cooperates with your schedule, put your skirt-less chair outside on a drop cloth.
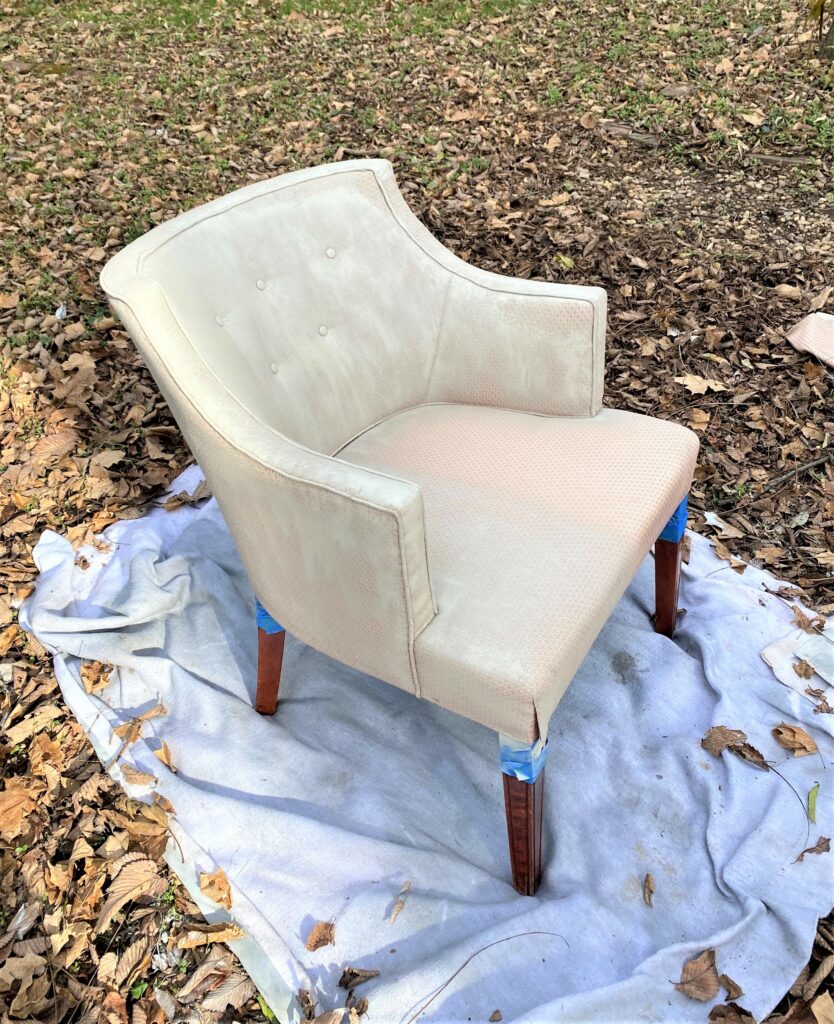
- Protect the legs by wrapping the top parts with painter’s tape. Put on your face mask and work/rubber/plastic gloves if you have them. Let the transformation—and fun—begin!
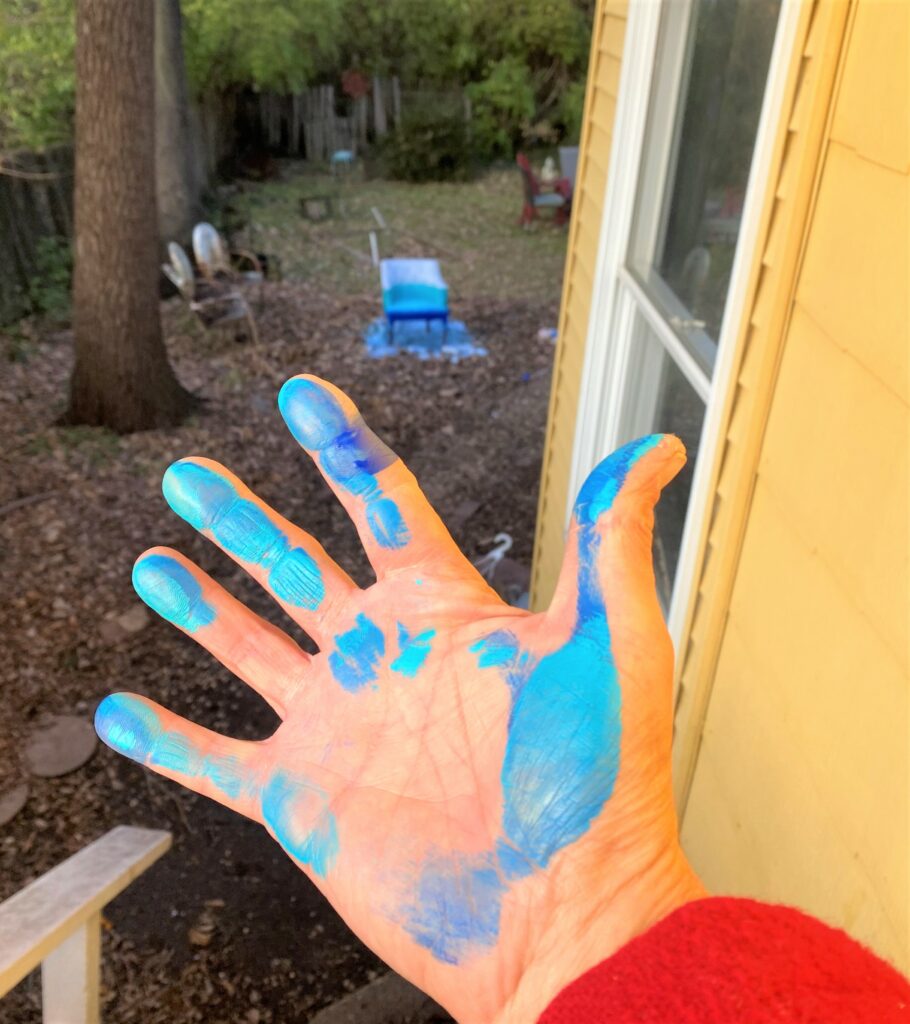
- Start with the white-tone spray paint and layer on your piece from top to bottom. This step may take some time to help hide any patterns or designs on your chair’s existing fabric. The white tone will help to neutralize it and create a blank canvas. This little chair required three cans of white to get the look I wanted. And my thumbs, hands, and wrists got a good workout (hey, working out might be on your resolution list, too, so another thing to cross off!) in the process!
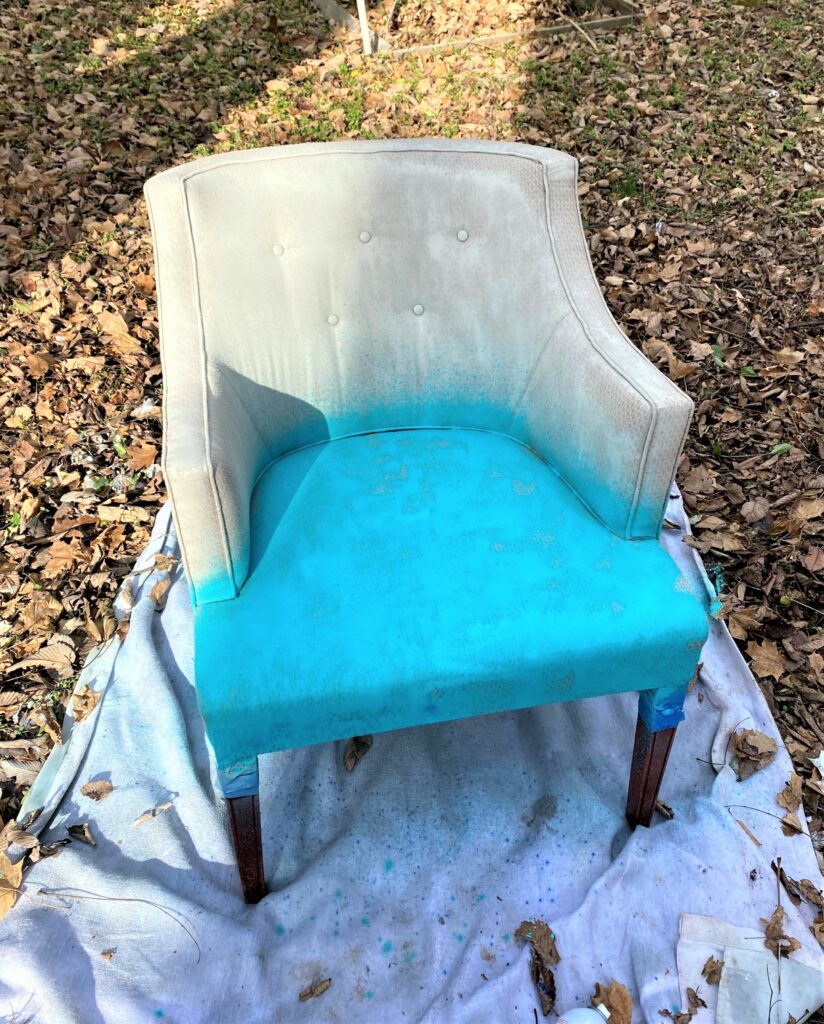
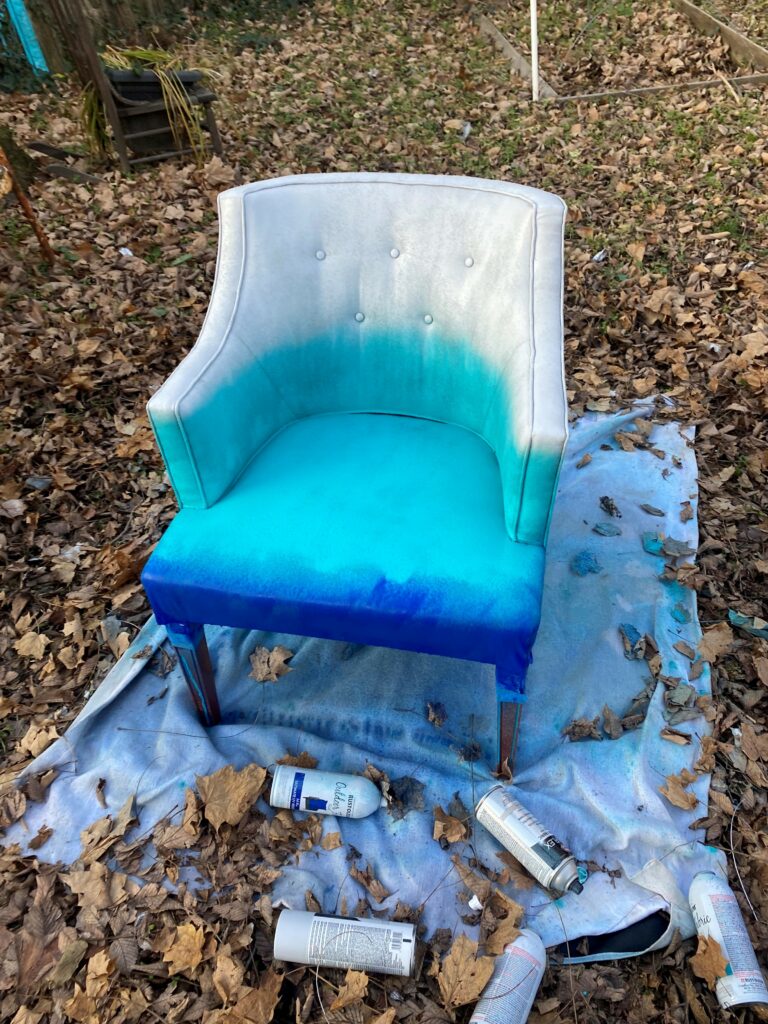
- After the white layer dried, I returned with the teal, which was the middle tone between the white and the dark blue. The middle part of the chair got a couple of layers of this color; the dark blue was added to the bottom part, so the chair went from darker to lighter.
- Let your chair dry overnight, if possible, then return to it with fresh eyes and add another layer of each color as needed and ensure the flow from one tone to the next is an organic, blended, gradual look.
5. Remove your painter’s tape and give the legs some love
Once your painted chair has dried very completely, remove the painter’s tape from its legs. Any drips or smears of the paint can be easily removed with a little soap and water using a cloth rag. Give the legs some care by using furniture polish to hide any scratches and give them some shine.
Design idea: If you don’t like the color of your chair’s legs, you can easily paint them as well. For this project, silver legs would have looked great. Black is another good option, keeping with the darker bottom and lighter top design. If you go in the painted leg direction, then use painter’s tape to protect the fabric near the legs, then brush on a couple of layers of your paint. Allow time to dry well, then remove the tape. Easy as pie!
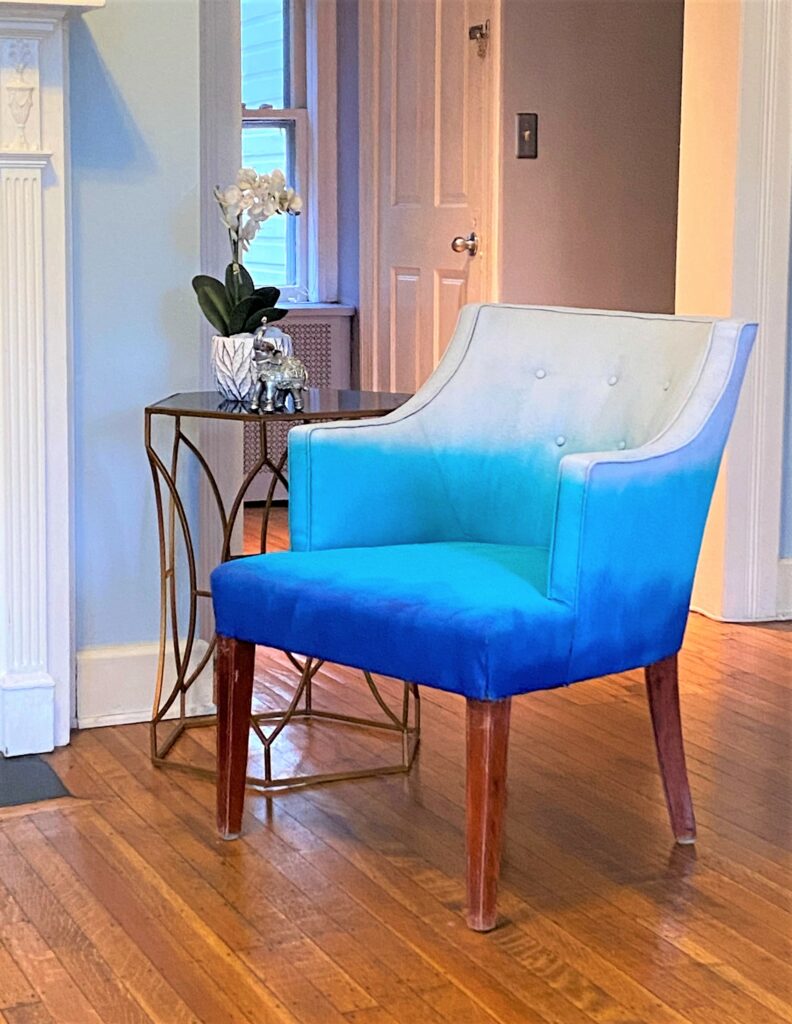
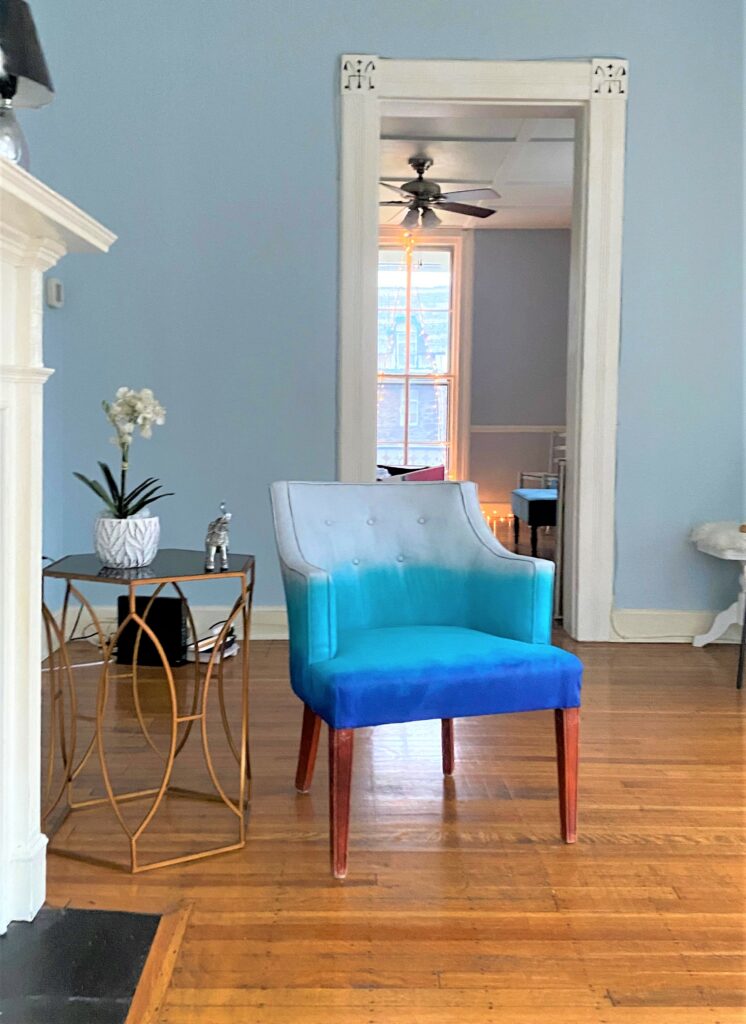
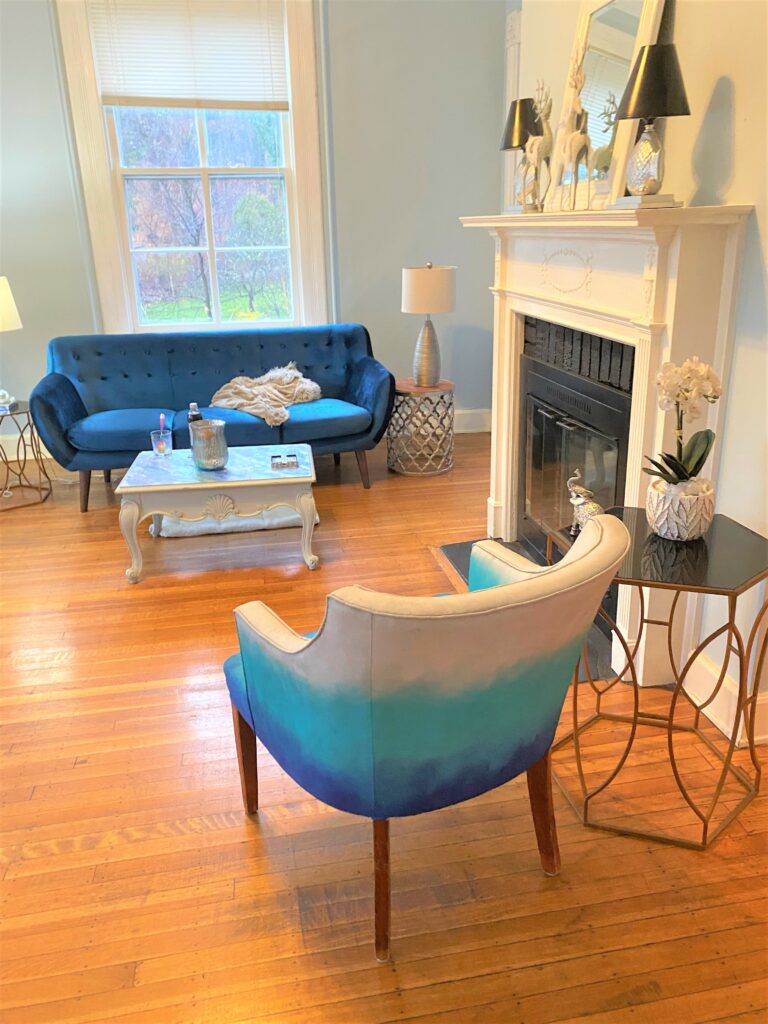
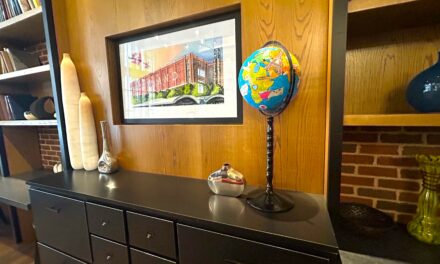
6. Set it in a special place & add style
This side chair looked really wonderful from every angle, so rather than stashing her in a corner, she was placed center stage. Next to the fireplace, she went, along with several other thrift store finds (a sleek table & eye-catching decorative items) to add style as well as giving a place to set a coffee mug or wine glass. Her new, colorful attire blends in well with the other furniture pieces in the room, and her legs, hidden for years, now look lovely with the warmth of the wooden floors.

We know that more DIY fun is on your list of goals for 2023, and we look forward to seeing what creative endeavors and upcycling projects you make happen for yourself in the New Year! Happy, happy, happy 2023!

Tim Kime
Artist, Motivational Speaker, Life Coach

