I have a horrible habit of buying amazing furniture at Goodwill that is (almost) perfect for my home. It just needs a little paint makeover to update the look or simply match my home decor better.
So I bring the items home, find the perfect spots for them, and then … well, this is the part where I would love to be revealing fabulous before and after photos for you.
But unfortunately, most of the furniture makeovers have not happened … yet.
There’s this vintage china cabinet I found in June at the Fairfax, Va., Goodwill location.

The china cabinet cost $35. I know. Because the price tags are still on it. I’m still deciding whether I want to paint it white or navy blue to match my wallpaper.
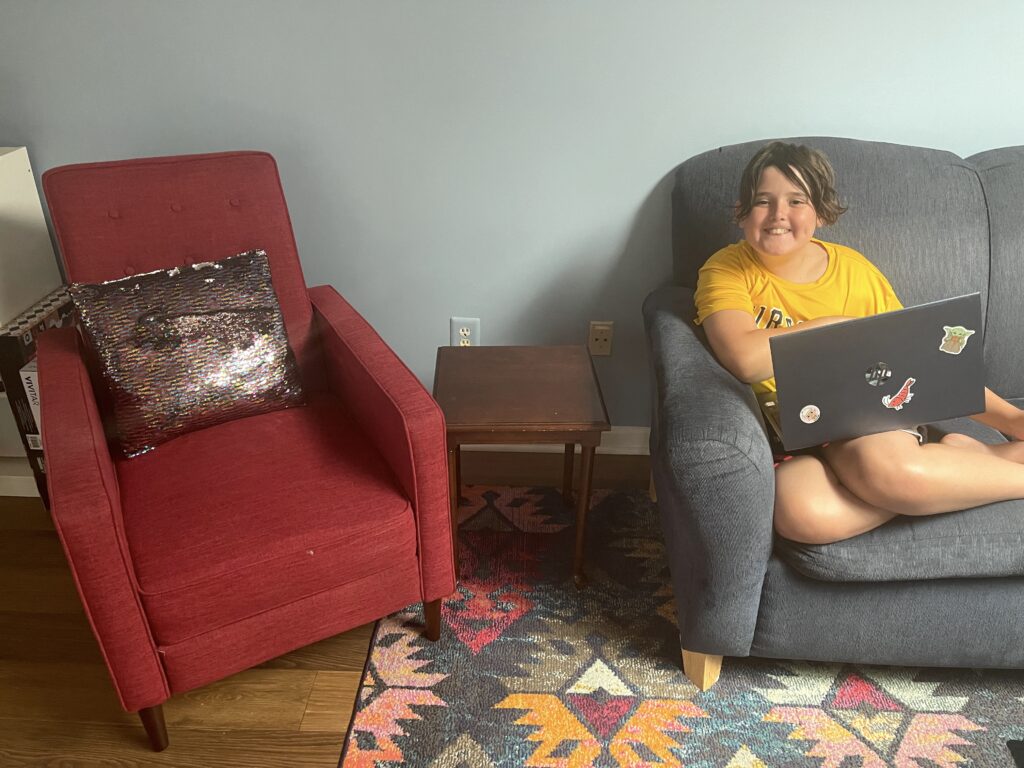
I also have this super-cute little $6 table from the Hayfield, Va. Goodwill location. It fits perfectly between the sofa and chair in the family room, but I would love to give it a more colorful look, pulling colors from the rug.
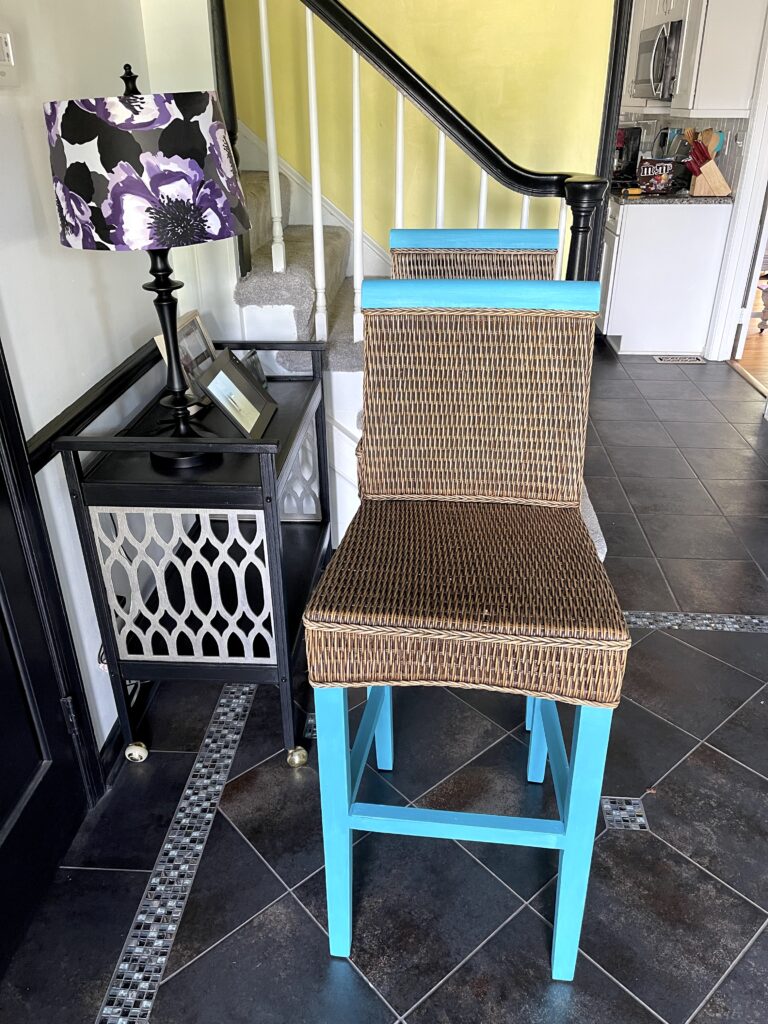
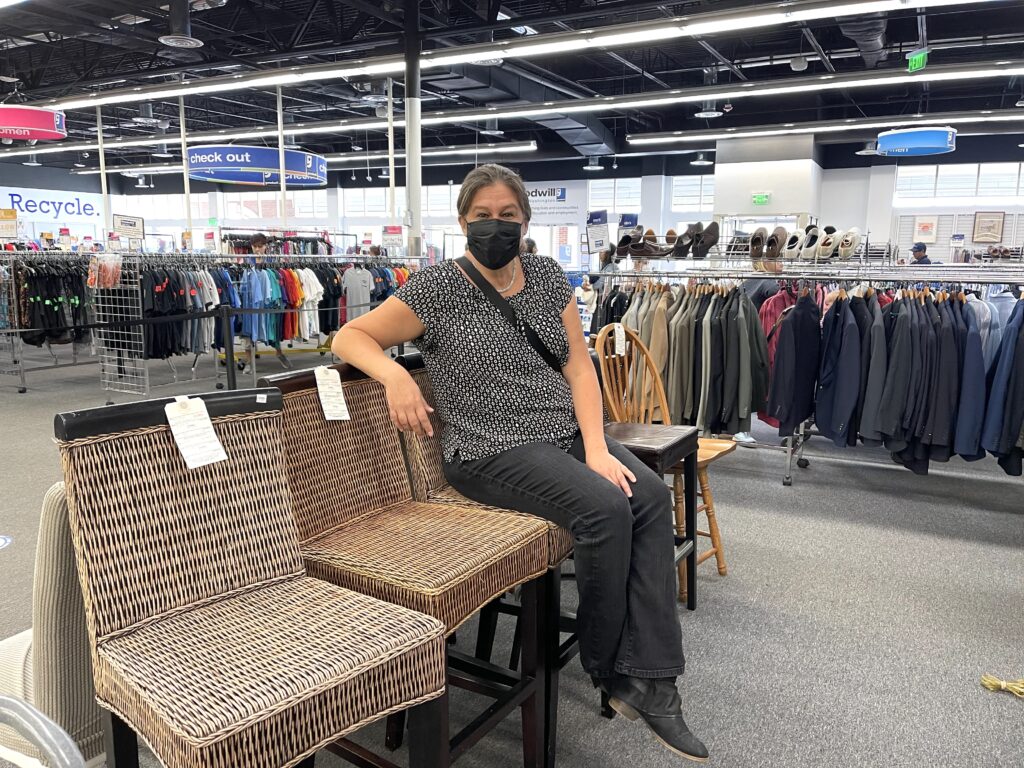
And these bar stools that I purchased for $8 each at the Centreville, Va. Goodwill location last winter.

They only had three matching bar stools, but hey, only three people live here. Perfect! I bought them to go with the Goodwill pub table I painted with tropical monstera leaves. (A project I actually finished! Yay!)
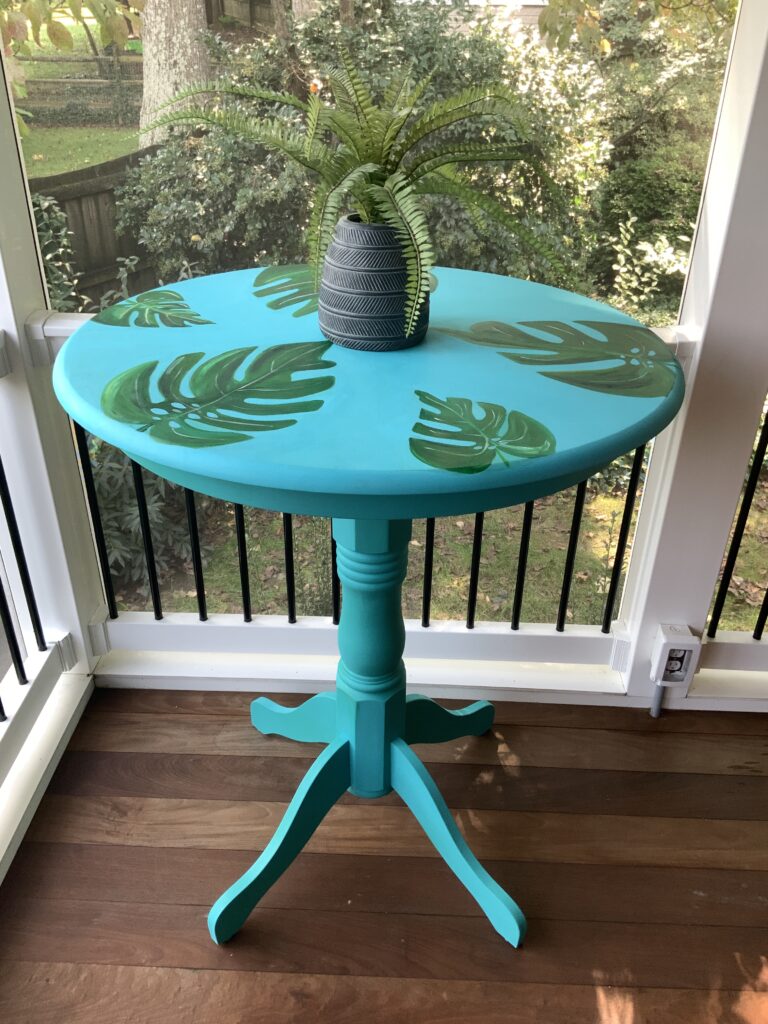
Here’s a link to my tutorial on how to paint monstera leaves.
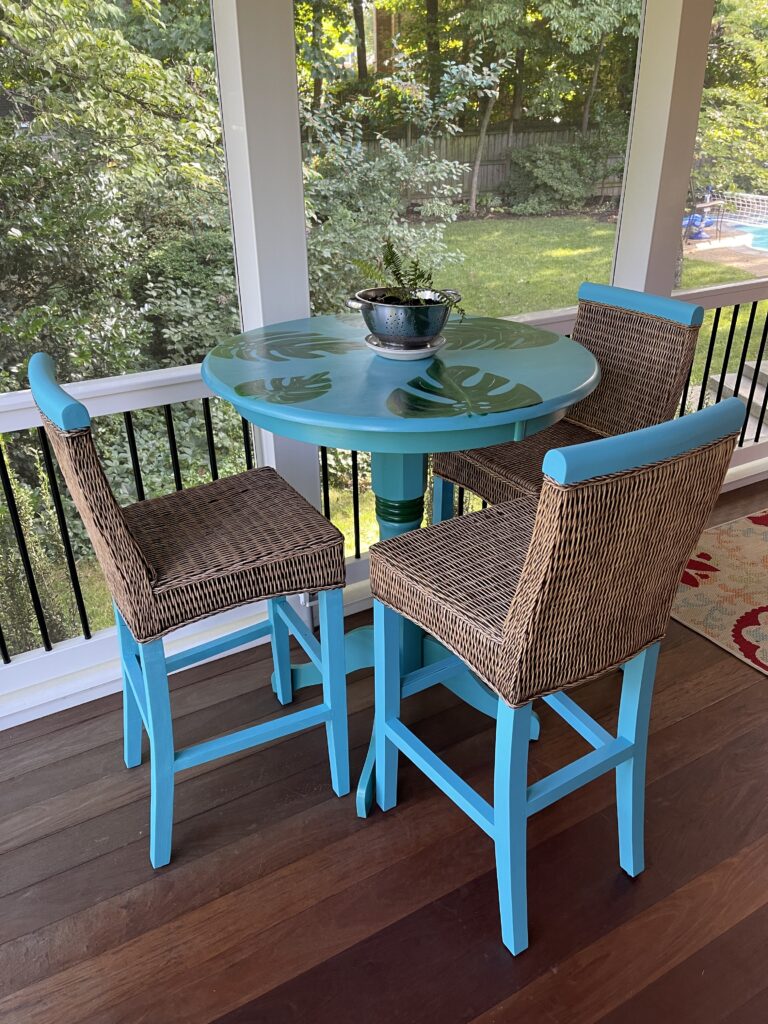
The bar stools are the perfect height for the tall table. I love the natural wicker seats. We have been sitting in them and enjoying eating outside on nice days. But the black legs don’t really match the rest of the room, which has a colorful tropical vibe accented by warm wood tones.
I knew when I purchased the bar stools that I would paint just the legs and that little strip on top turquoise blue to match the table and leave the natural color on the seats. I just never got around to it … until now!
This was an easy and straightforward DIY paint project. The surface of the legs was slick, so I painted two coats of primer first. Primer adheres better to slick surfaces than paint does. Starting with two thin layers of primer gives your paint a better surface to stick to and helps prevent it from chipping later.
PRO TIP: When working on paint projects in the summertime humidity, be sure to give each layer of primer, paint, and sealer extra drying time. I always read the manufacturer’s recommendations for how long to wait before applying the next coat of any product. However, in summer, I wait even longer. On this project, I allowed each coat to dry overnight before applying the next one just to be sure everything was thoroughly dry.
Also, I typically work in my garage. But I carefully lug everything back inside to finish drying overnight inside my air-conditioned home. If you leave a paint project out in the stifling hot and sticky garage, it may take even longer to dry or dry unevenly, which will cause problems when you apply the next coat.
I really do love how this project turned out — even if it took so long for it to come together. This is the perfect spot to enjoy a cup of coffee in the morning, eat dinner or write a blog post on a sunny summer day.
Now that this project is finally finished, I feel motivated to get going on my other projects!
For more inspiration, check out these Finding Your Good posts:


