We’ve all heard those words of wisdom, “When one door closes, God opens a window.” Well, here’s a fitting DIY project to bring that insight to life: repurpose a window sash (or two) into charming shelves to display your treasures and other keepsakes. This project is oh-so-good for our planet, too, for it prevents discarded windows from being tossed into landfills.
Design-wise, windows are universal and timeless and look great in any decorating style.
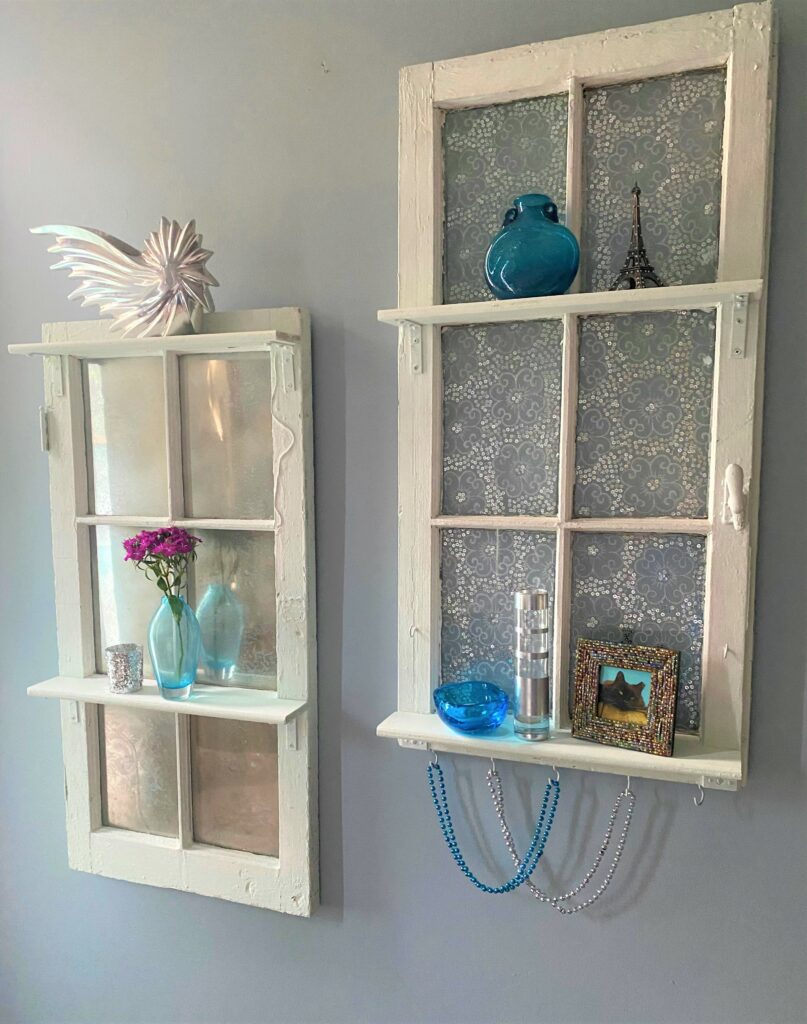
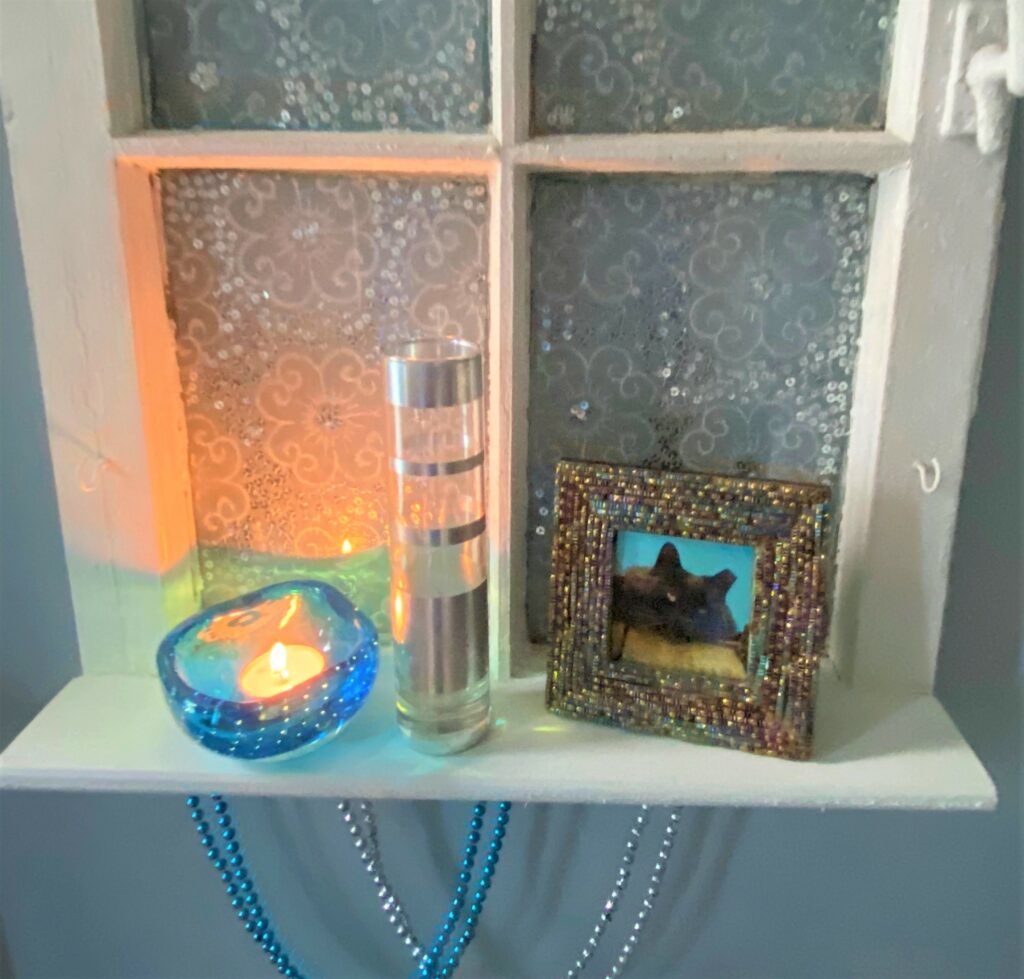
While these window sash display shelves were beautiful with their original clear glass panes, one got extra sparkle by repurposing an old scarf (found at Goodwill, of course!), and the other got more shimmer added with a mercury glass paint treatment.
Items needed:
· A pair of window sashes
· Scrap wood
· Small metal brackets
· Jigsaw
· Drill
· Wood screws
· Wood or school glue
· Screwdriver
· D-hooks
· White paint
· Tea-cup hooks
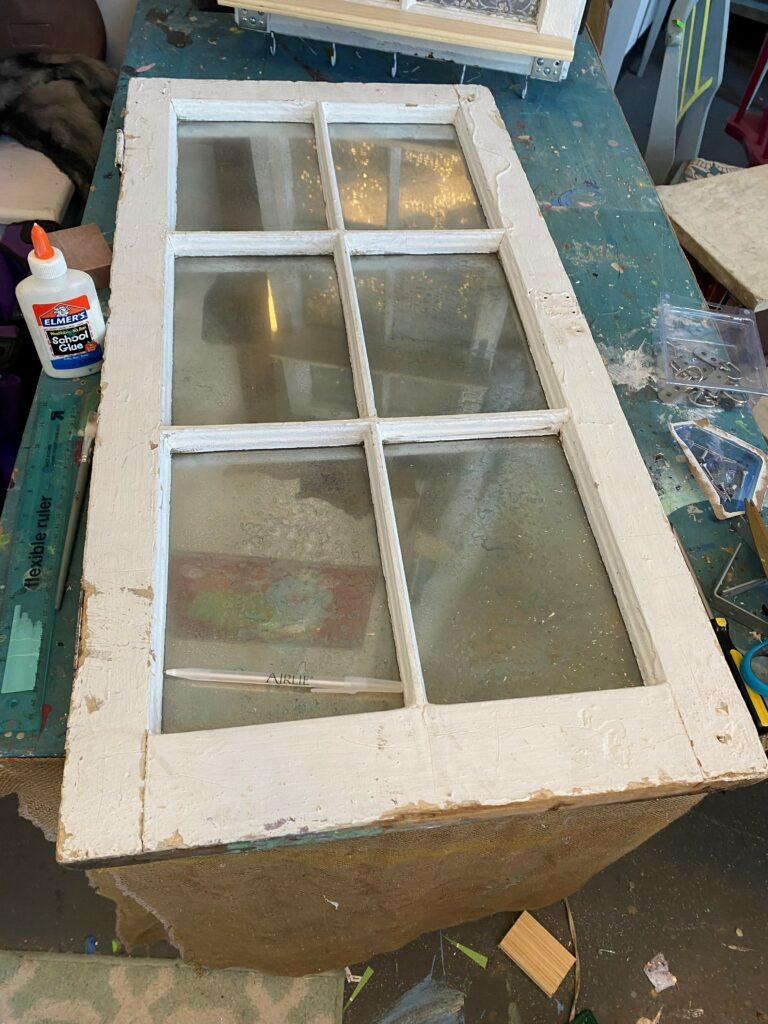
1. Find window sashes & other treasures at Goodwill
It never ceases to amaze shoppers what they can find at Goodwill. During one excursion to my favorite South Dakota Avenue NE store, an old window sash was there and ready for a new life. A second one was gifted to me by a neighbor who replaced her home’s windows with new, energy-efficient ones. I am so glad she reached out to give me the opportunity to repurpose hers into something new.
While at Goodwill, look for knick-knacks to display after this project is done. Small frames, vases, statues, clocks, and candleholders all will look lovely when paired with items you have from special events or given to you by loved ones.
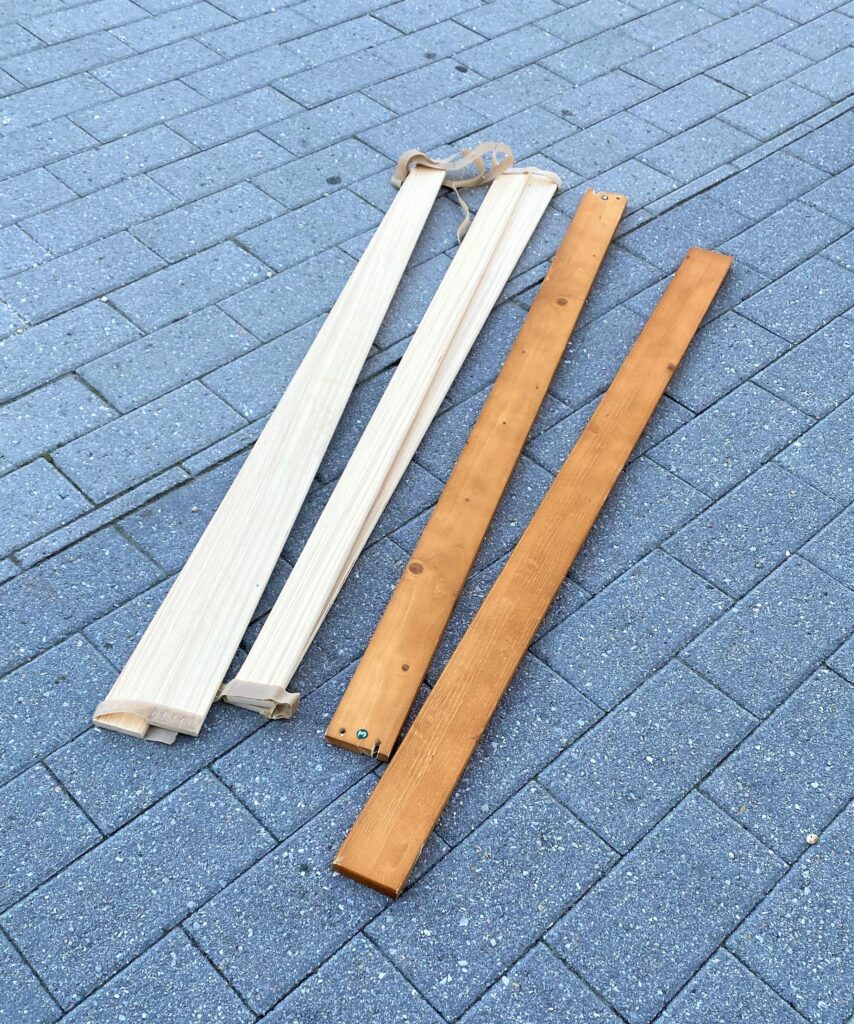
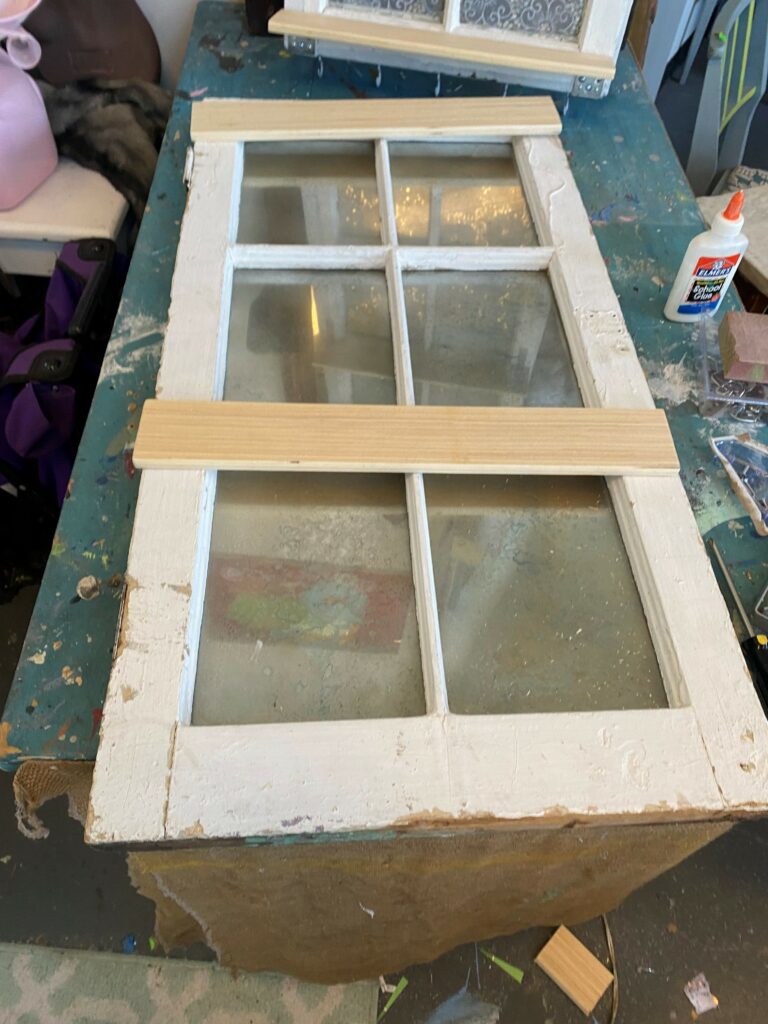
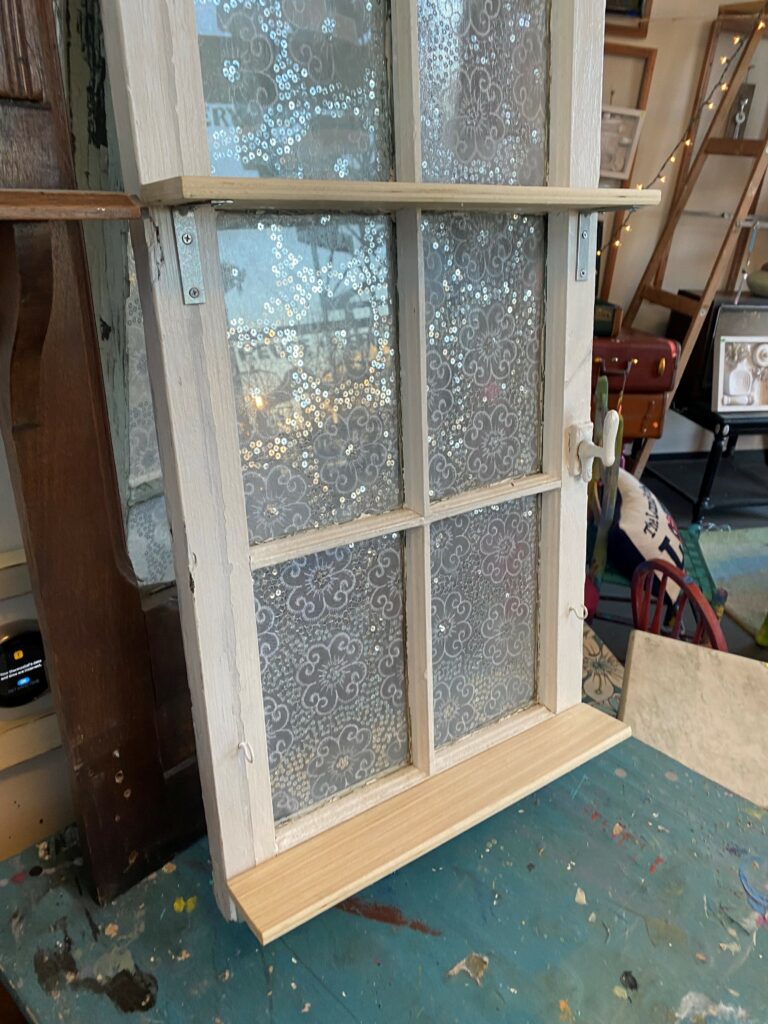
2. Create shelves from scrap wood
For this handsome pair of window sashes, I knew I wanted to add two shelves to each one. Clearly, the universe wanted this to be a totally repurposed project when I discovered a set of wooden bed slats in my studio complex’s trash room! You could use pieces of old drawers, too, or parts of a thick-width picture frame. If those ideas don’t pan out, you can pick up wood at your local hardware store.
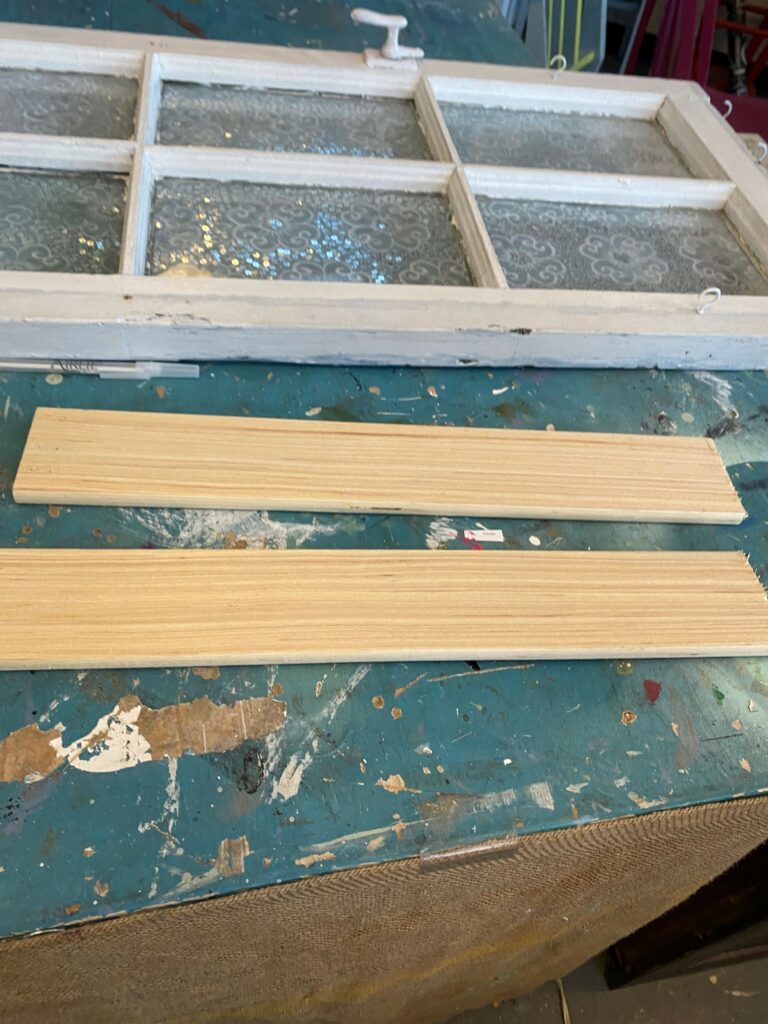
Visually, I thought a shelf would look best if it went from one edge of the sash to the next, so the bed slat pieces were measured and then cut to size with a jigsaw. The cut ends were sanded to ensure a smooth and splinter-free finish.
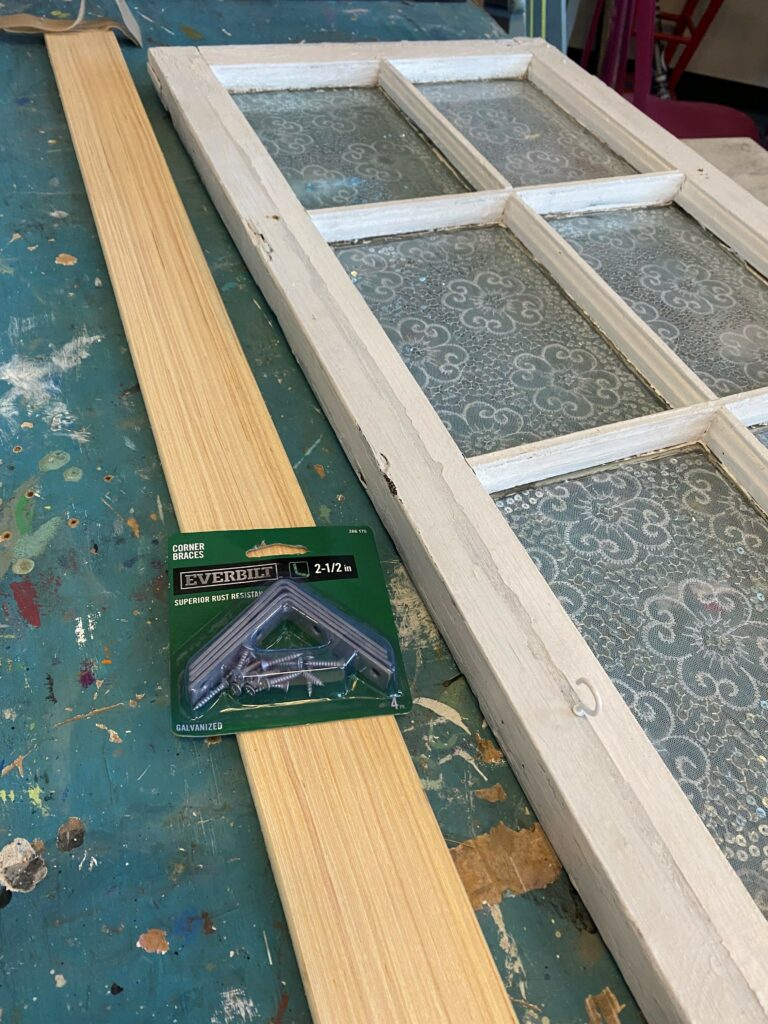
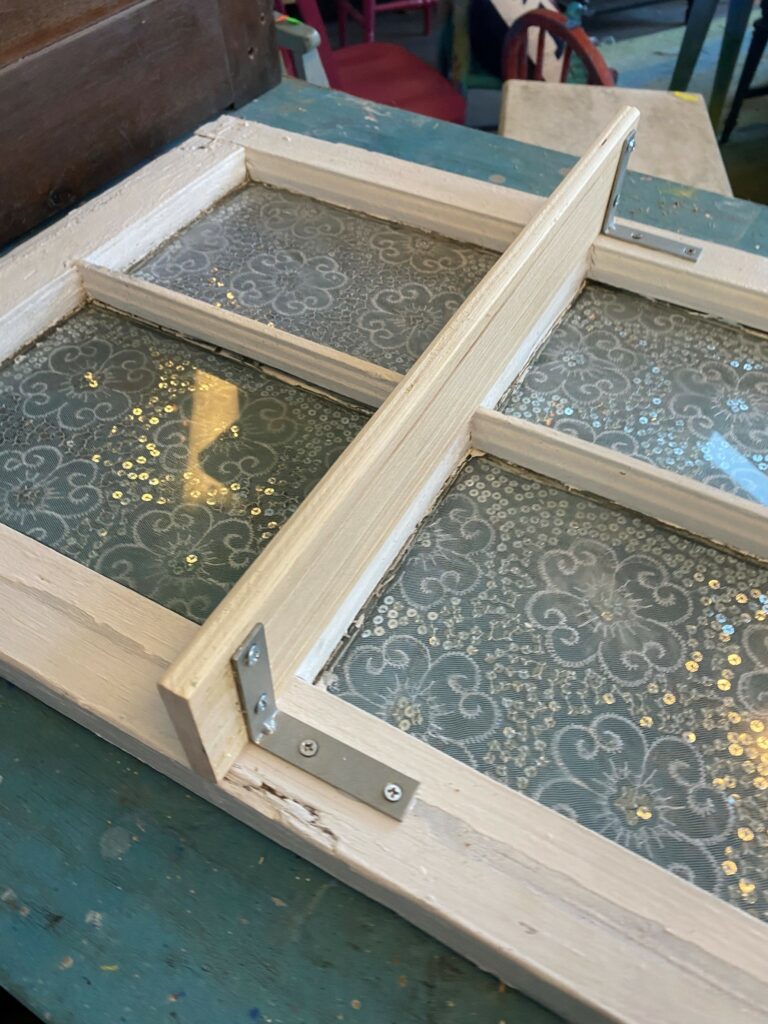
3. Brackets add beauty
Small metal brackets were used to give support to the cut wooden pieces. The shelves were positioned so that they would be in alignment which each one of the horizontal, small dividers that separate the pair of panes from the ones below it. This allows for easy positioning and placement of the shelf while making the windowpane frame items when placed on the shelves.
- Hold the wood piece in place, position the bracket where you want it, and use a marker to indicate where holes should be drilled on both the window sash and shelf piece.
- Use your drill to carefully add holes so you do not drill all the way through the shelf wood piece.
- Brush on school or wood glue to the end of the shelf, which will touch the window sash as well as the back of the bracket. Add screws to each piece, and, Viola, you now have a shelf!
4. Perk it up with paint
The original paint on this pair of windows was white.
The edges were weathered and dark from years of protecting the inside of the home from the outside elements. The shelves were raw, unfinished wood since they were bed slats and out of sight.
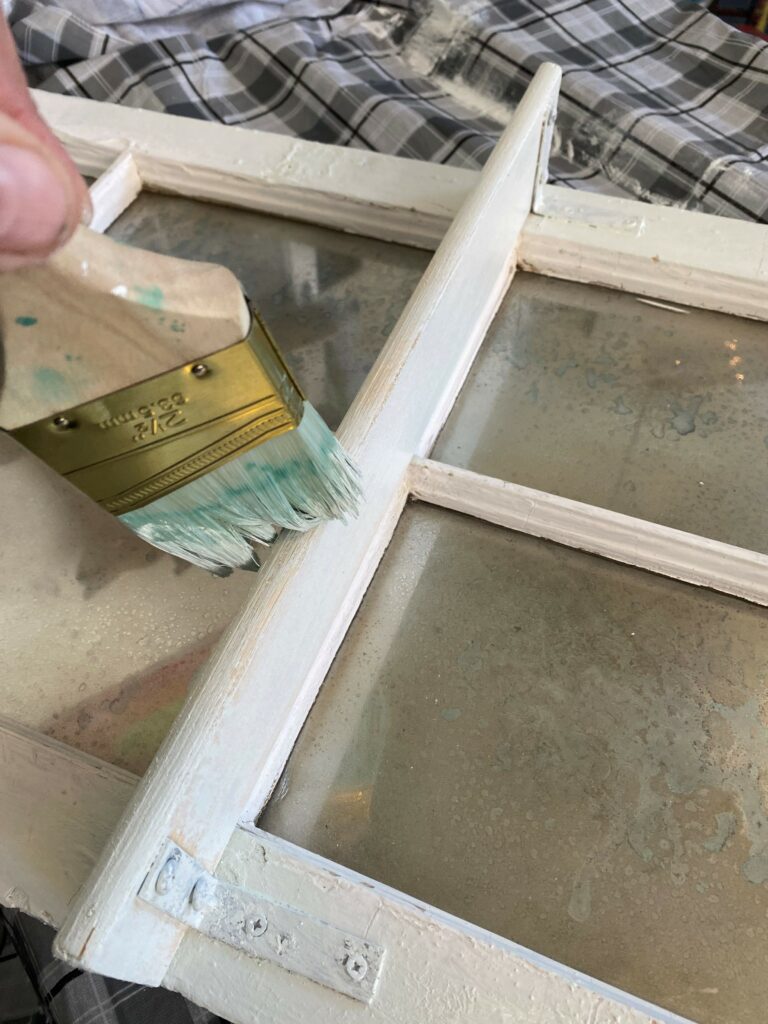
These parts were given a nice coat of white paint to brighten them up and to make the shelves match and look like they were always one unit.
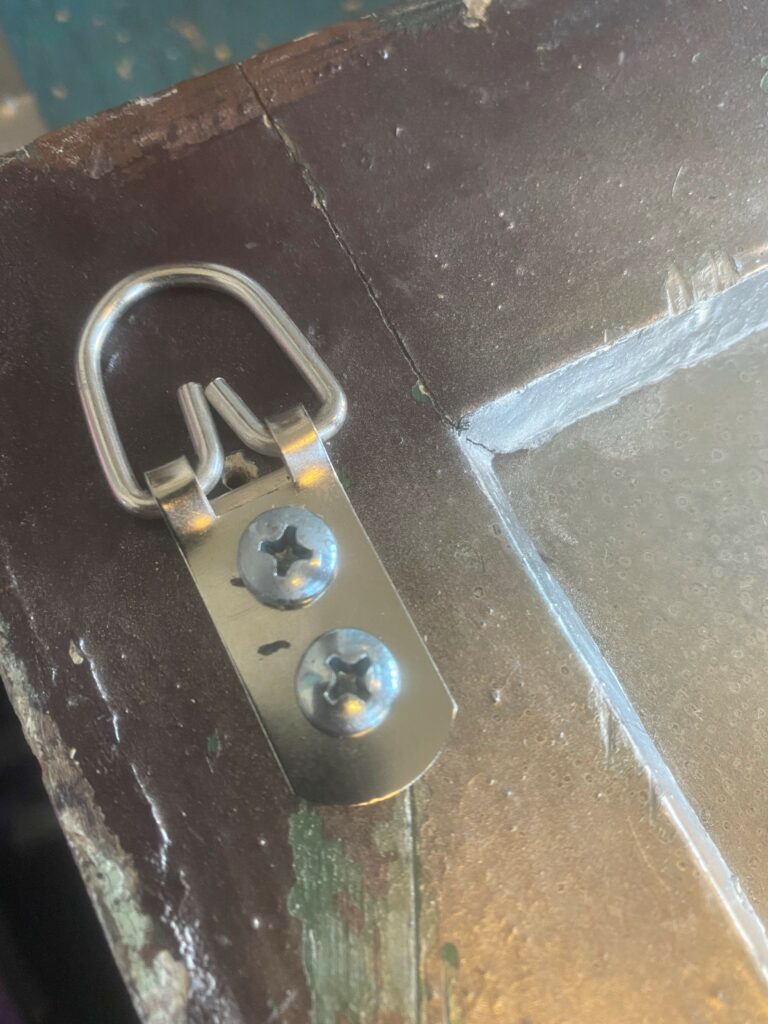
5. D-hooks add stability
- Place your window sash shelves on their backs and add D-hooks to each upper corner.
- Use your marker, drill, and screwdriver to secure them in place. The pair of D-hooks will ensure the shelves stay level, especially when beloved treasures and other accessories are added.
Optional: Two Design Ideas to Shine Up Your Panes
Add scarf pieces or use a “mercury glass” paint technique to add visual interest, shimmer, and a reflective element to the glass of your window sash shelves.
Scarf Pieces
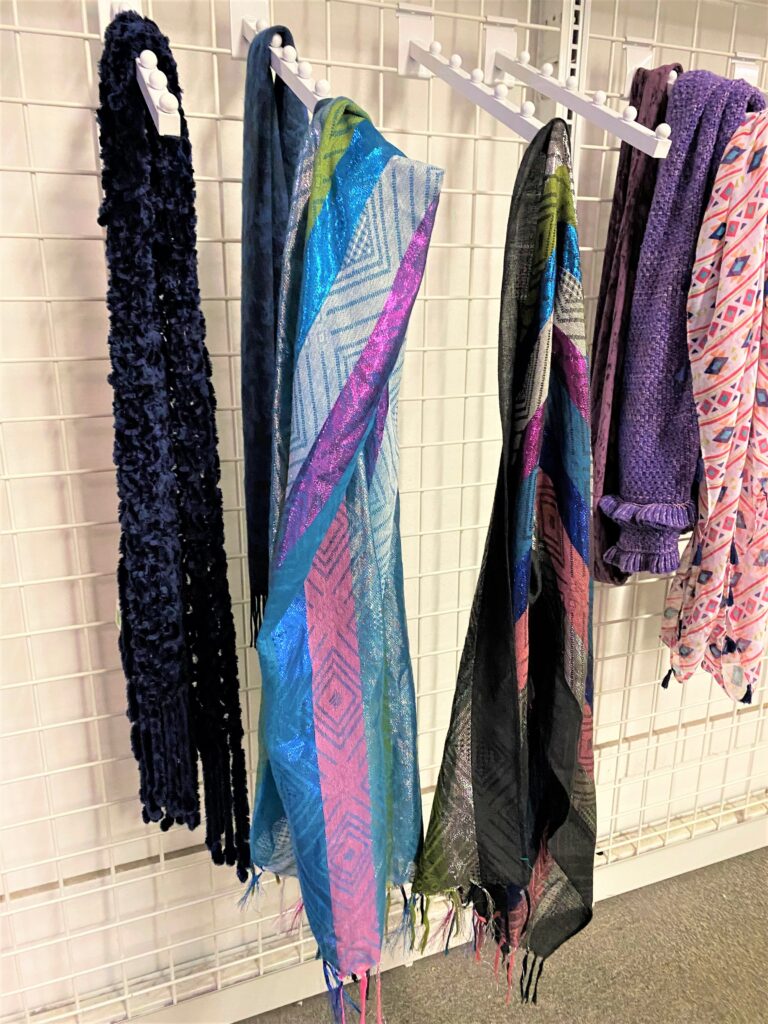
Measure the size of your windowpanes, then cut your translucent scarf (also picked up for pennies at Goodwill) into pieces that are those sizes. On the back side of your shelves’ windowpanes, brush on a light layer of Mod Podge, then carefully place the cut scarf piece on top. Let the Mod Podge dry (it will dry clear) and add another light layer if needed; ensure the edges are secure so you might touch up those areas again with more Mod Podge.
Mercury Glass
What is mercury glass? According to Wikipedia, in the mid-1800’s, “mercury glass (or silvered glass) is glass that was blown double walled, then silvered between the layers with a liquid silvering solution, and sealed. Although mercury was originally used to provide the reflective coating for mirrors, elemental mercury was never used to create tableware.”
To mimic this look in a super easy way, on the back side of your windowpanes (opposite from where you added your shelves,) spritz on a 50-50 mix of white vinegar and water. Then spray on light layers of silver and gold metallic spray paint. The paint will bead up and dry in a way that looks like mercury glass. For another mercury glass-inspired DIY project, check out these glass vases and jars which got this special treatment.
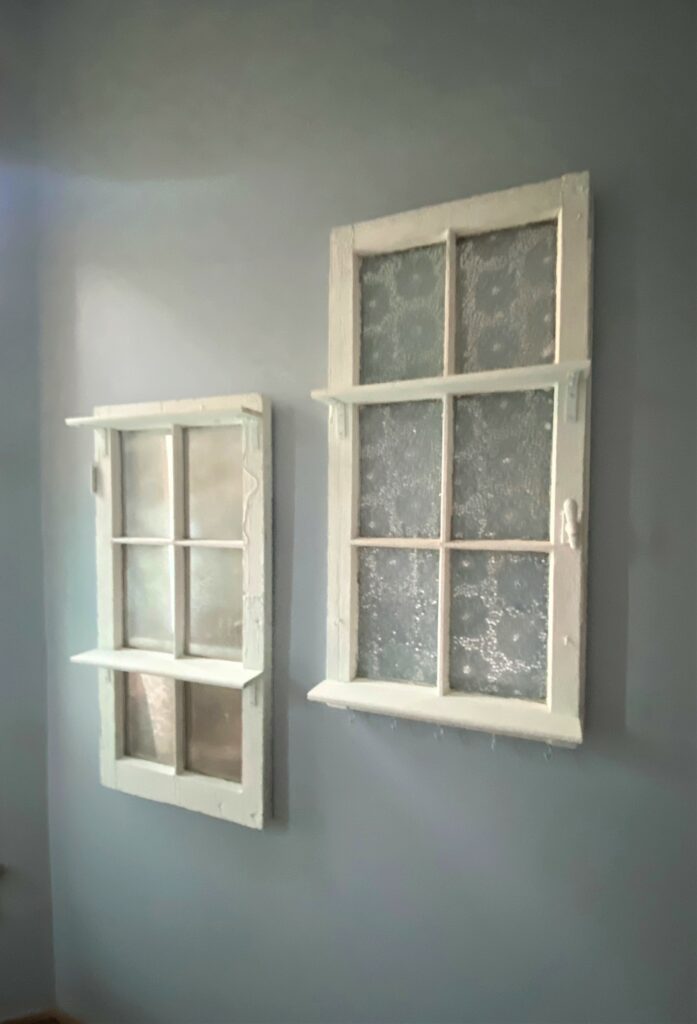
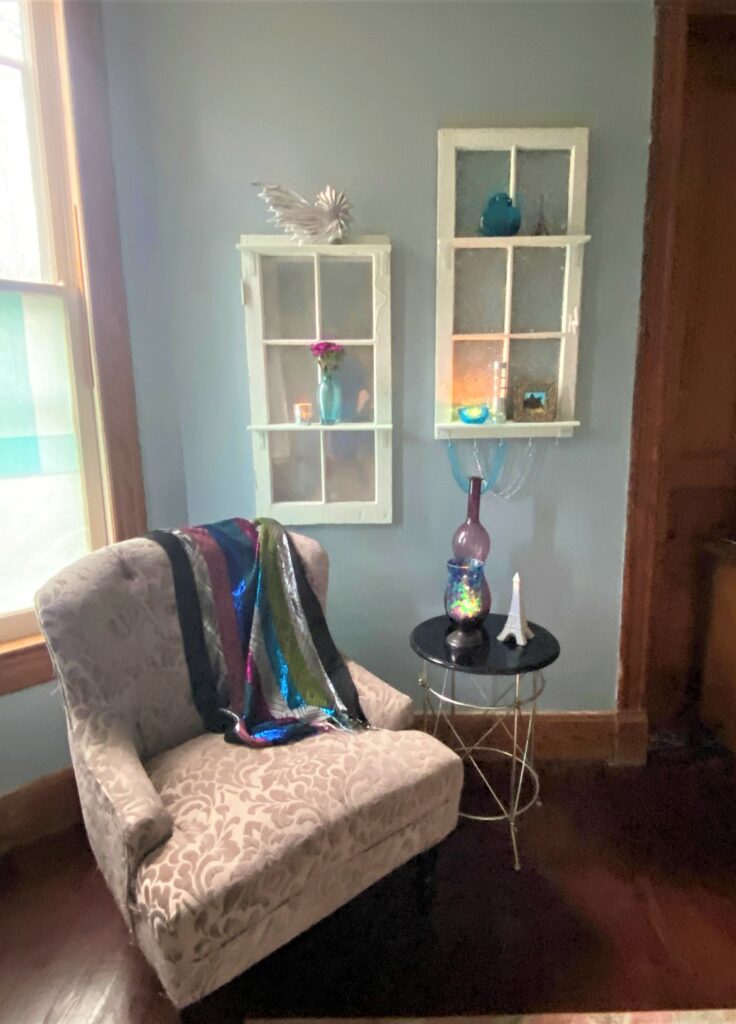
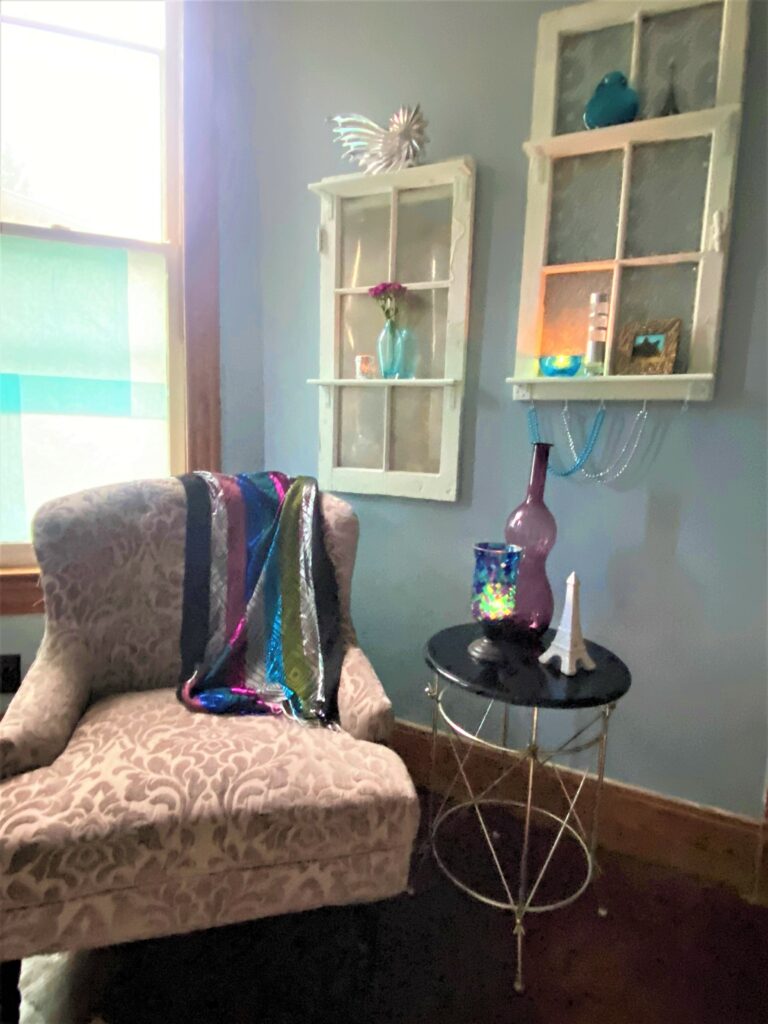
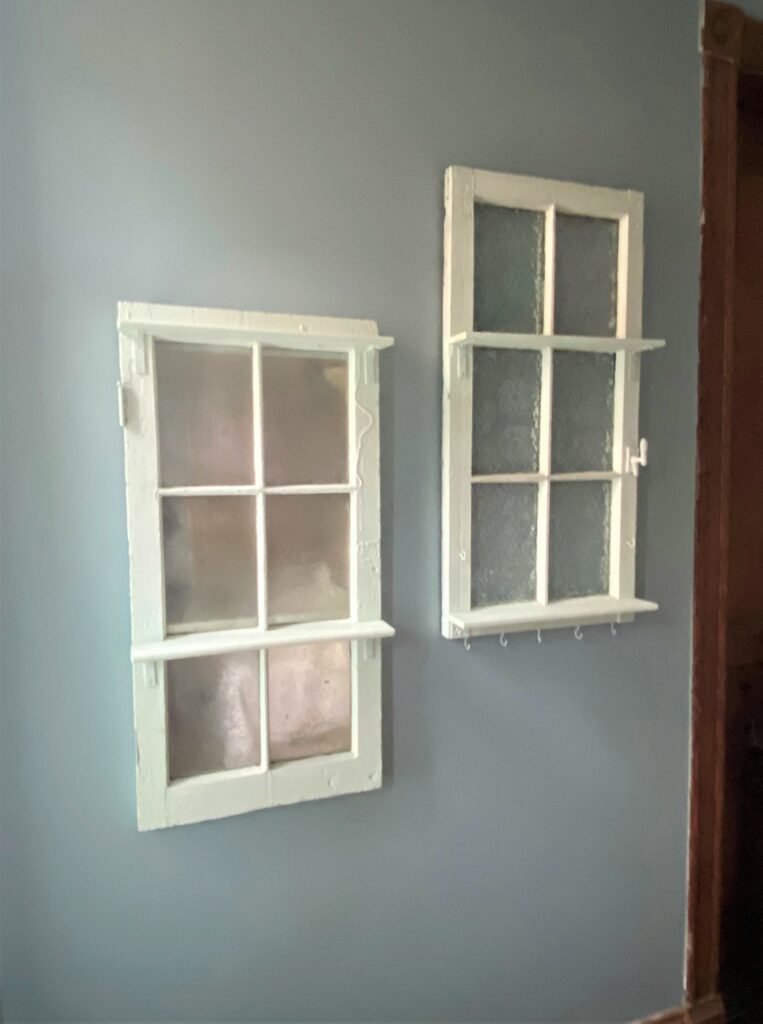
6. Position it on your wall and place items to showcase
This charming pair of window sash shelves were displayed together to biggest impact. Treasures were added to show them off. A handsome, easy chair and side table were added to the setting, along with more Goodwill-found items. Given how elegant these pieces all look together, no one will believe that you created this all for just a few dollars.


Tim Kime
Artist, Motivational Speaker, Life Coach
