
Ten Steps to a Terrific Transformation
Don’t put that old China cabinet out to pasture! Give it a new lease on life with cool and contemporary color choices. With some effort, patience, and fun, too, you can take a piece from “Grannie” to “Gorgeous!” following the steps presented here.
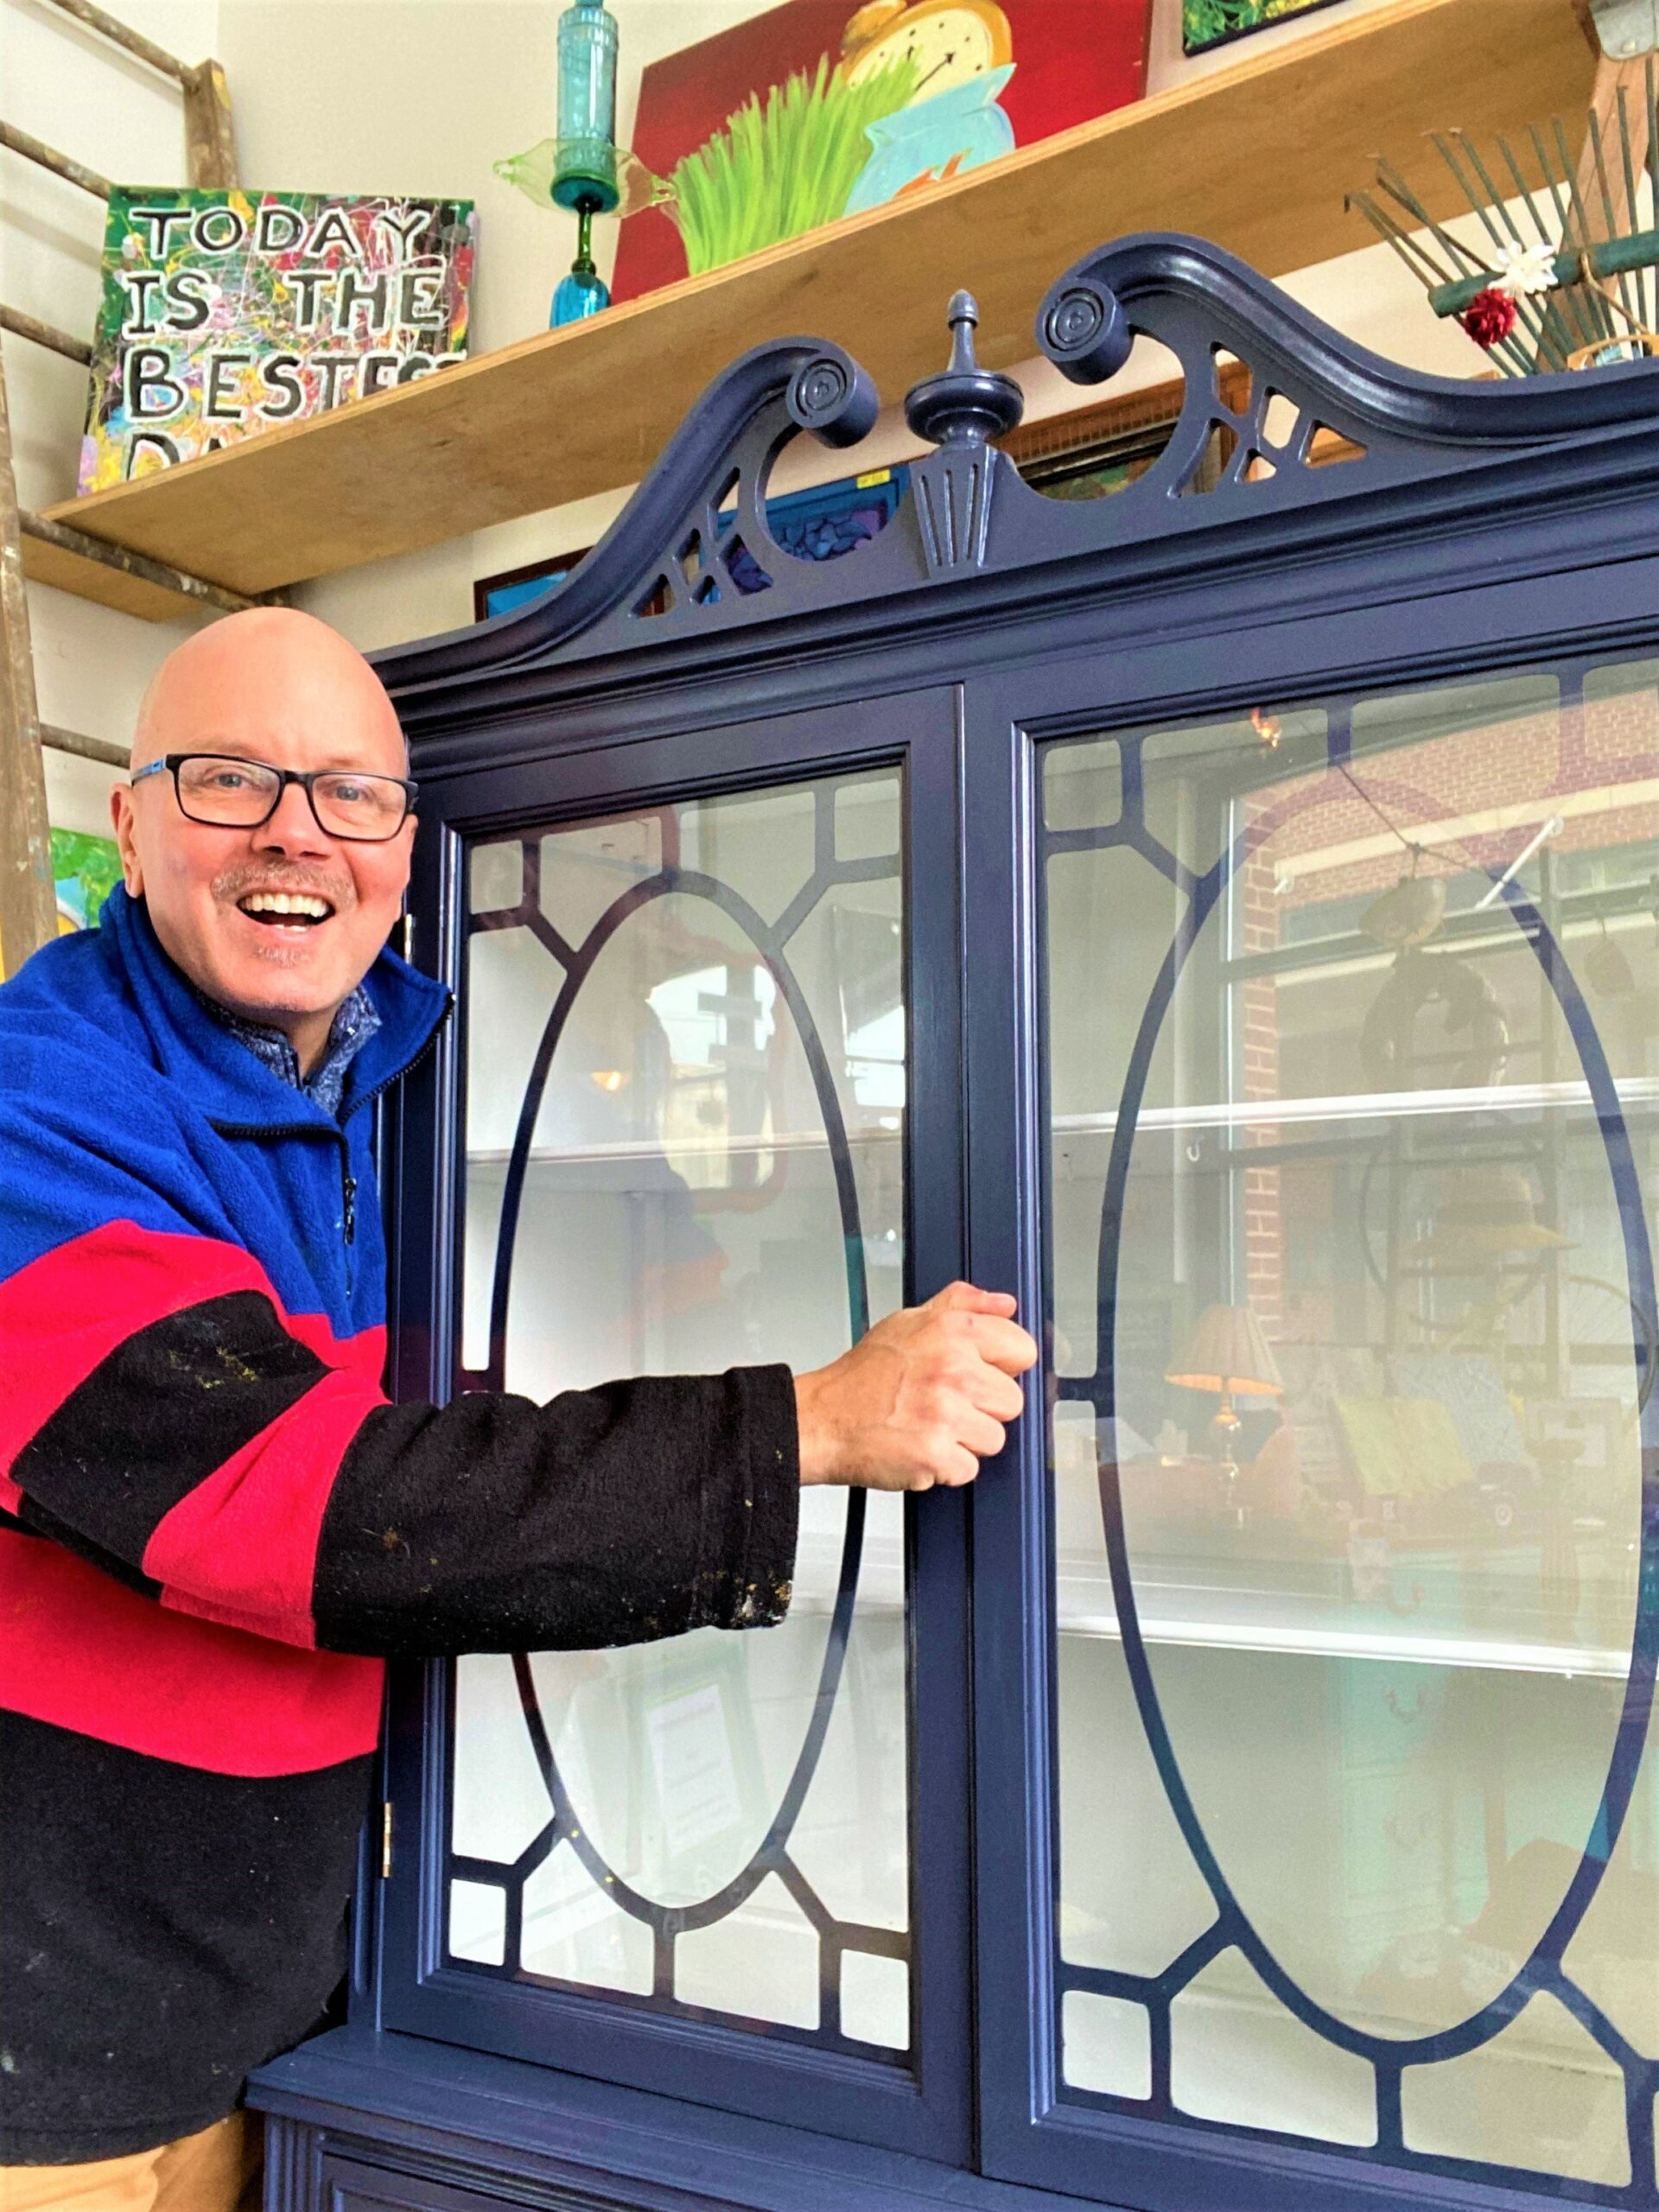
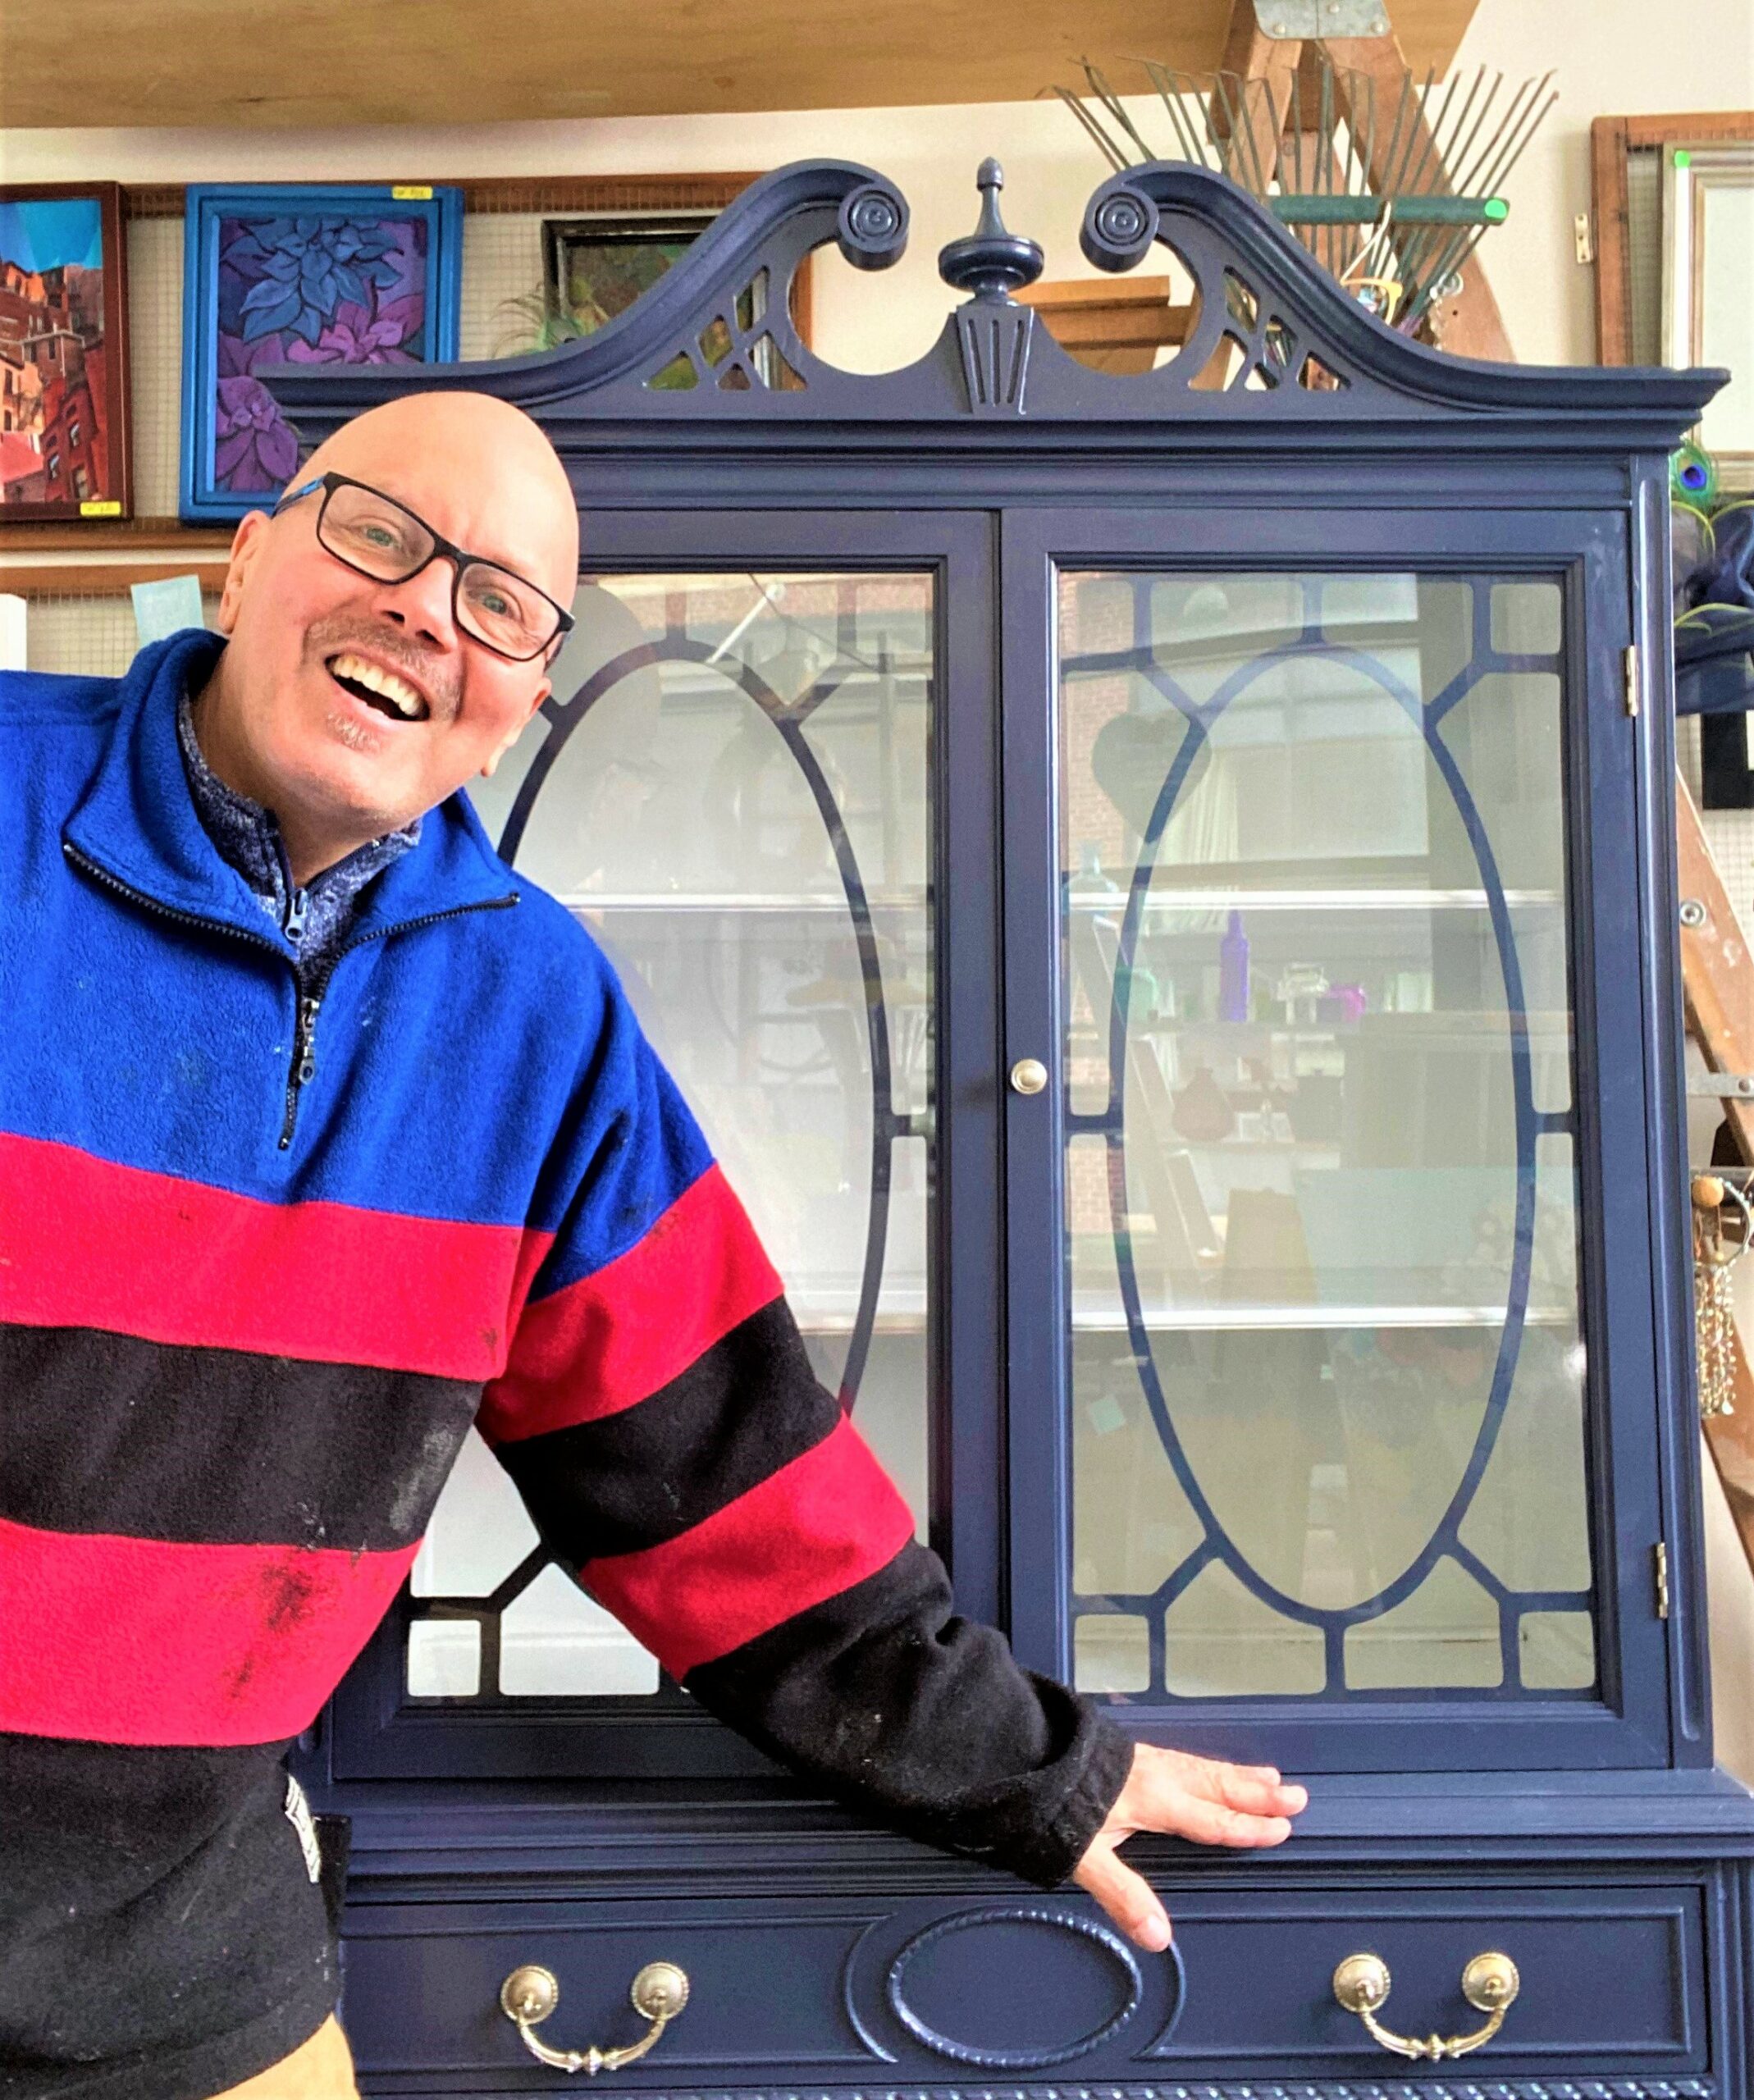
Thanks to Stacy and Eric for giving me the opportunity to transform this cabinet into a functional work of art that now is in the heart of their new home. It was a joyful project from start to finish.
Supplies Needed:
1. China cabinet
2. Two-quarters of satin finish paint (one, a crisp white & one, a dark slate blue)
3. One quart of primer
4. Polyurethane, satin finish
5. Small paint rollers
6. Paintbrushes
7. Painter’s tape
8. Silver & gold spray paint
9. Sandpaper or sanding block, medium grain
10. Screwdriver
11. Hammer
12. Needle nose pliers
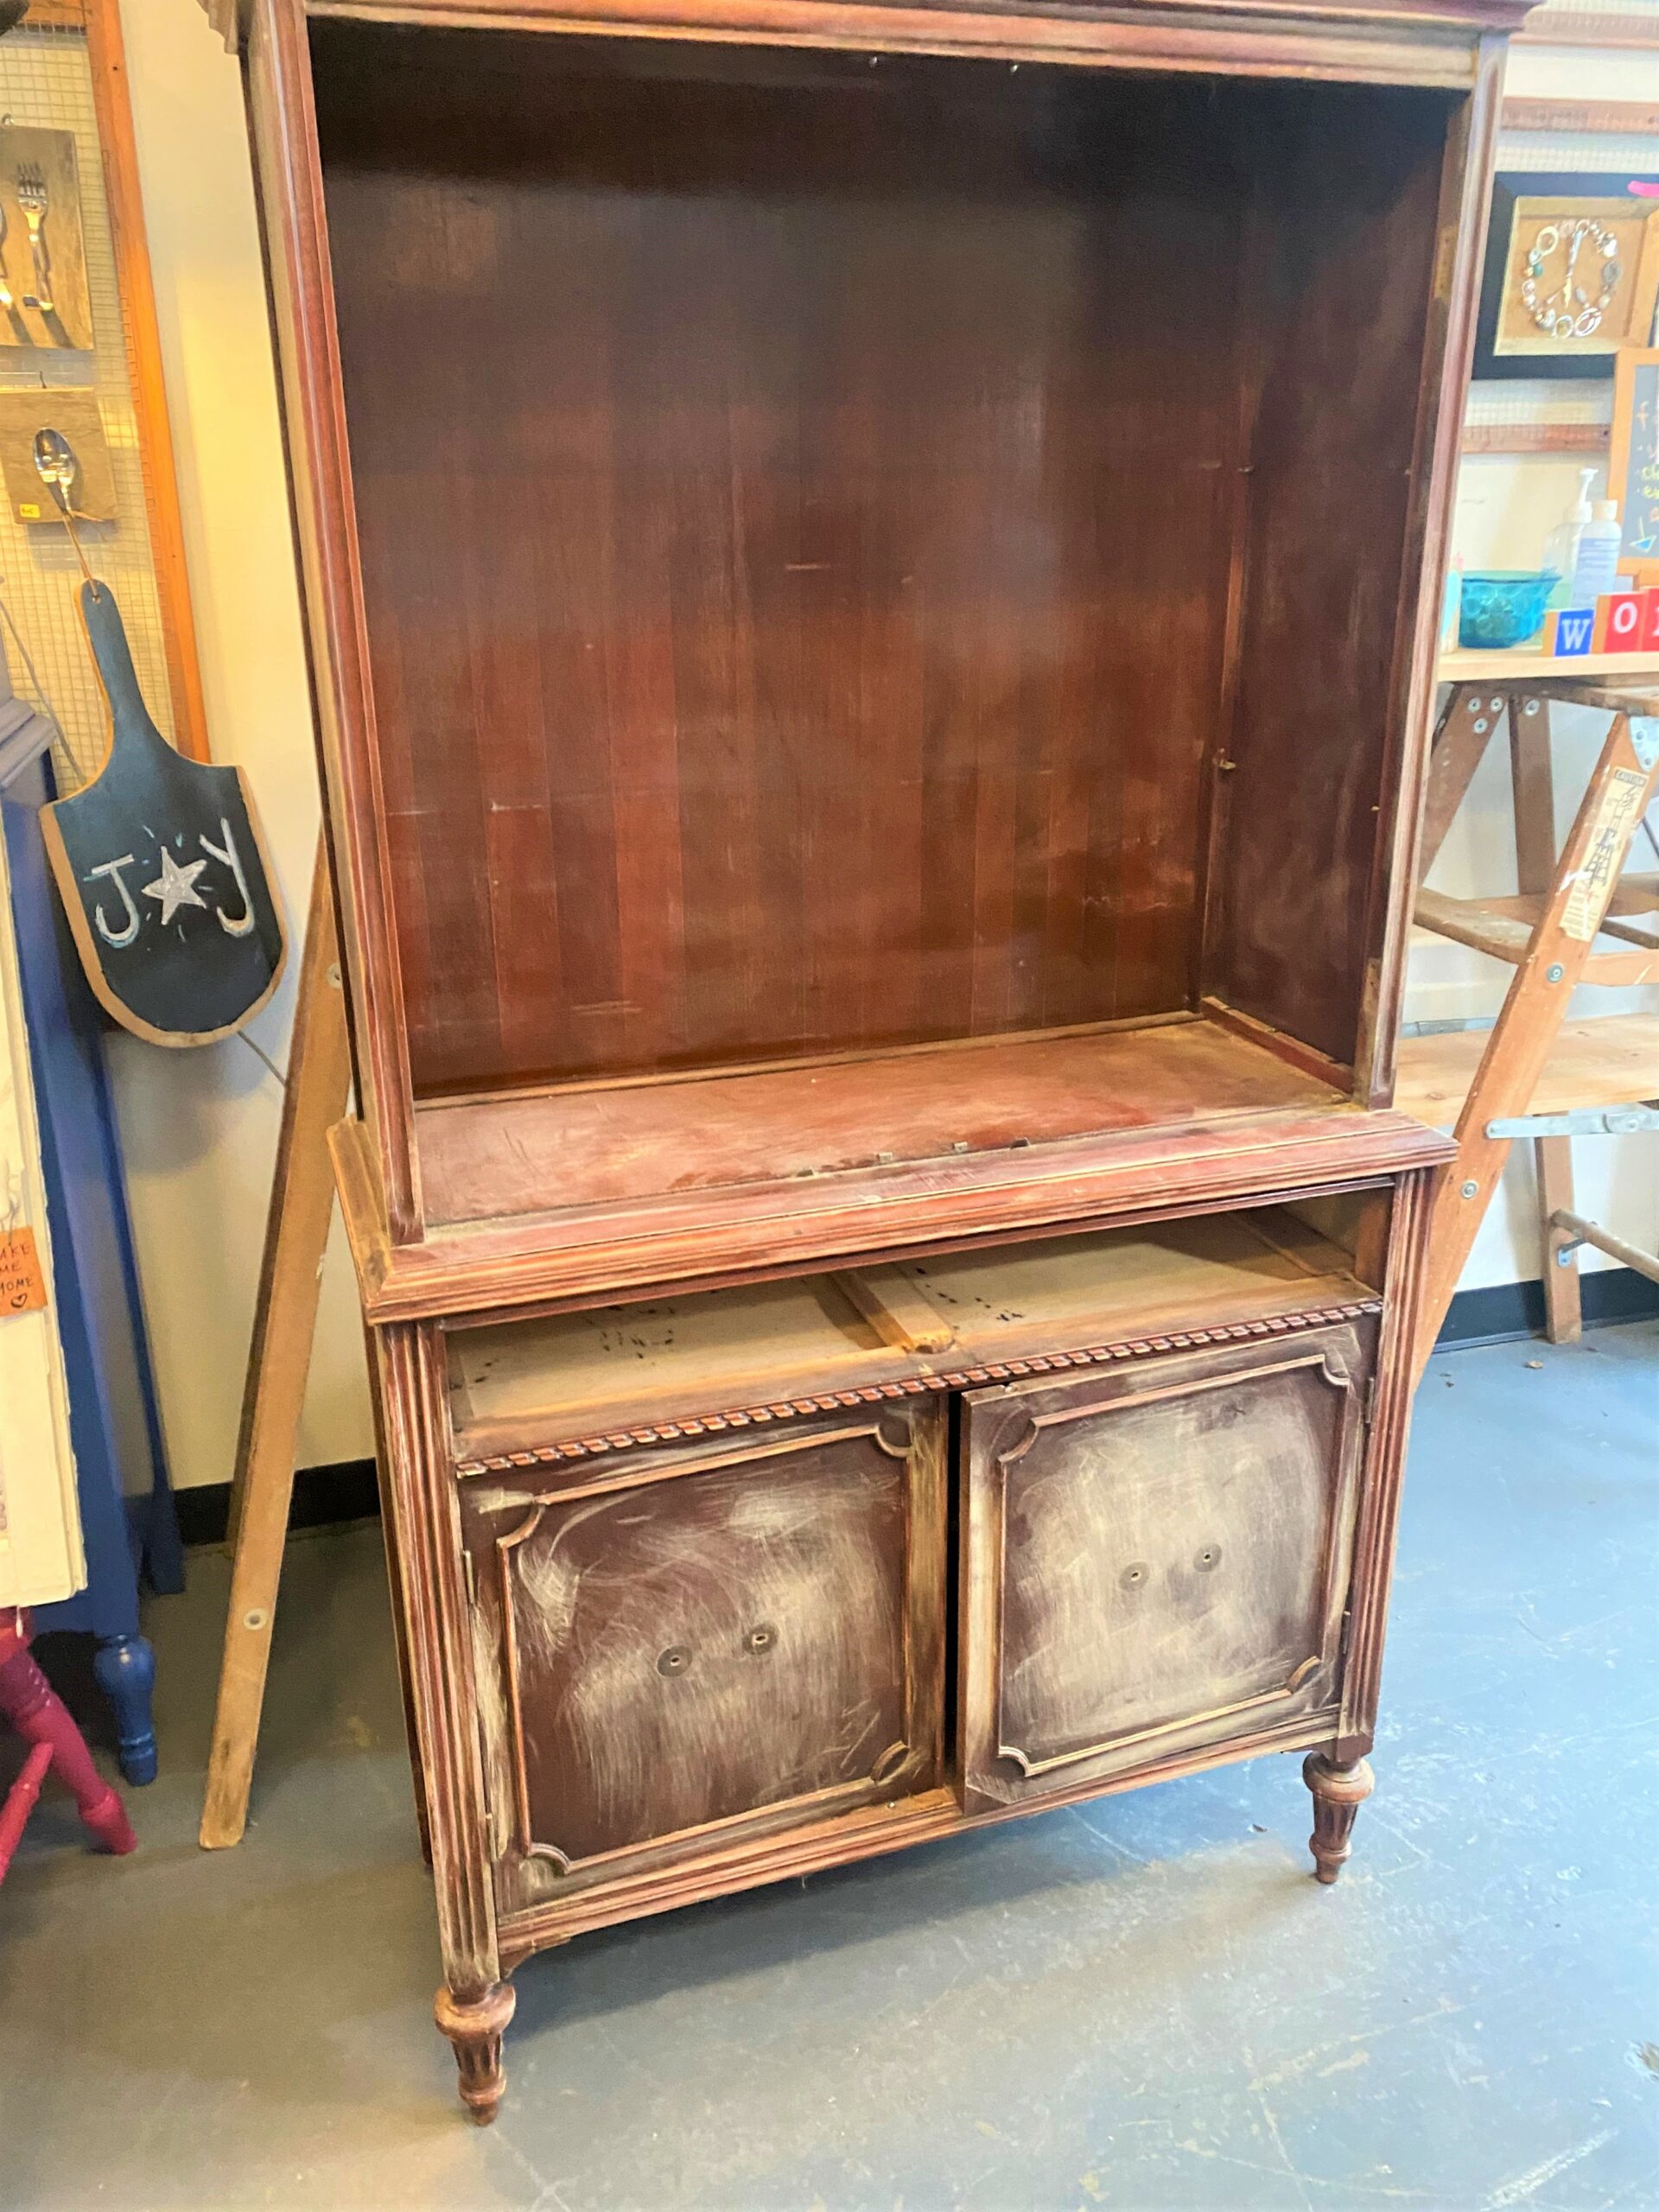
Step 1: Check out Goodwill to find your good for a good deal
Frequent Goodwill shoppers know that finding your good there comes in all shapes and sizes. While the items there vary from furniture to household goods to clothing to books and more, the consistent thread is good items in good condition at good prices.
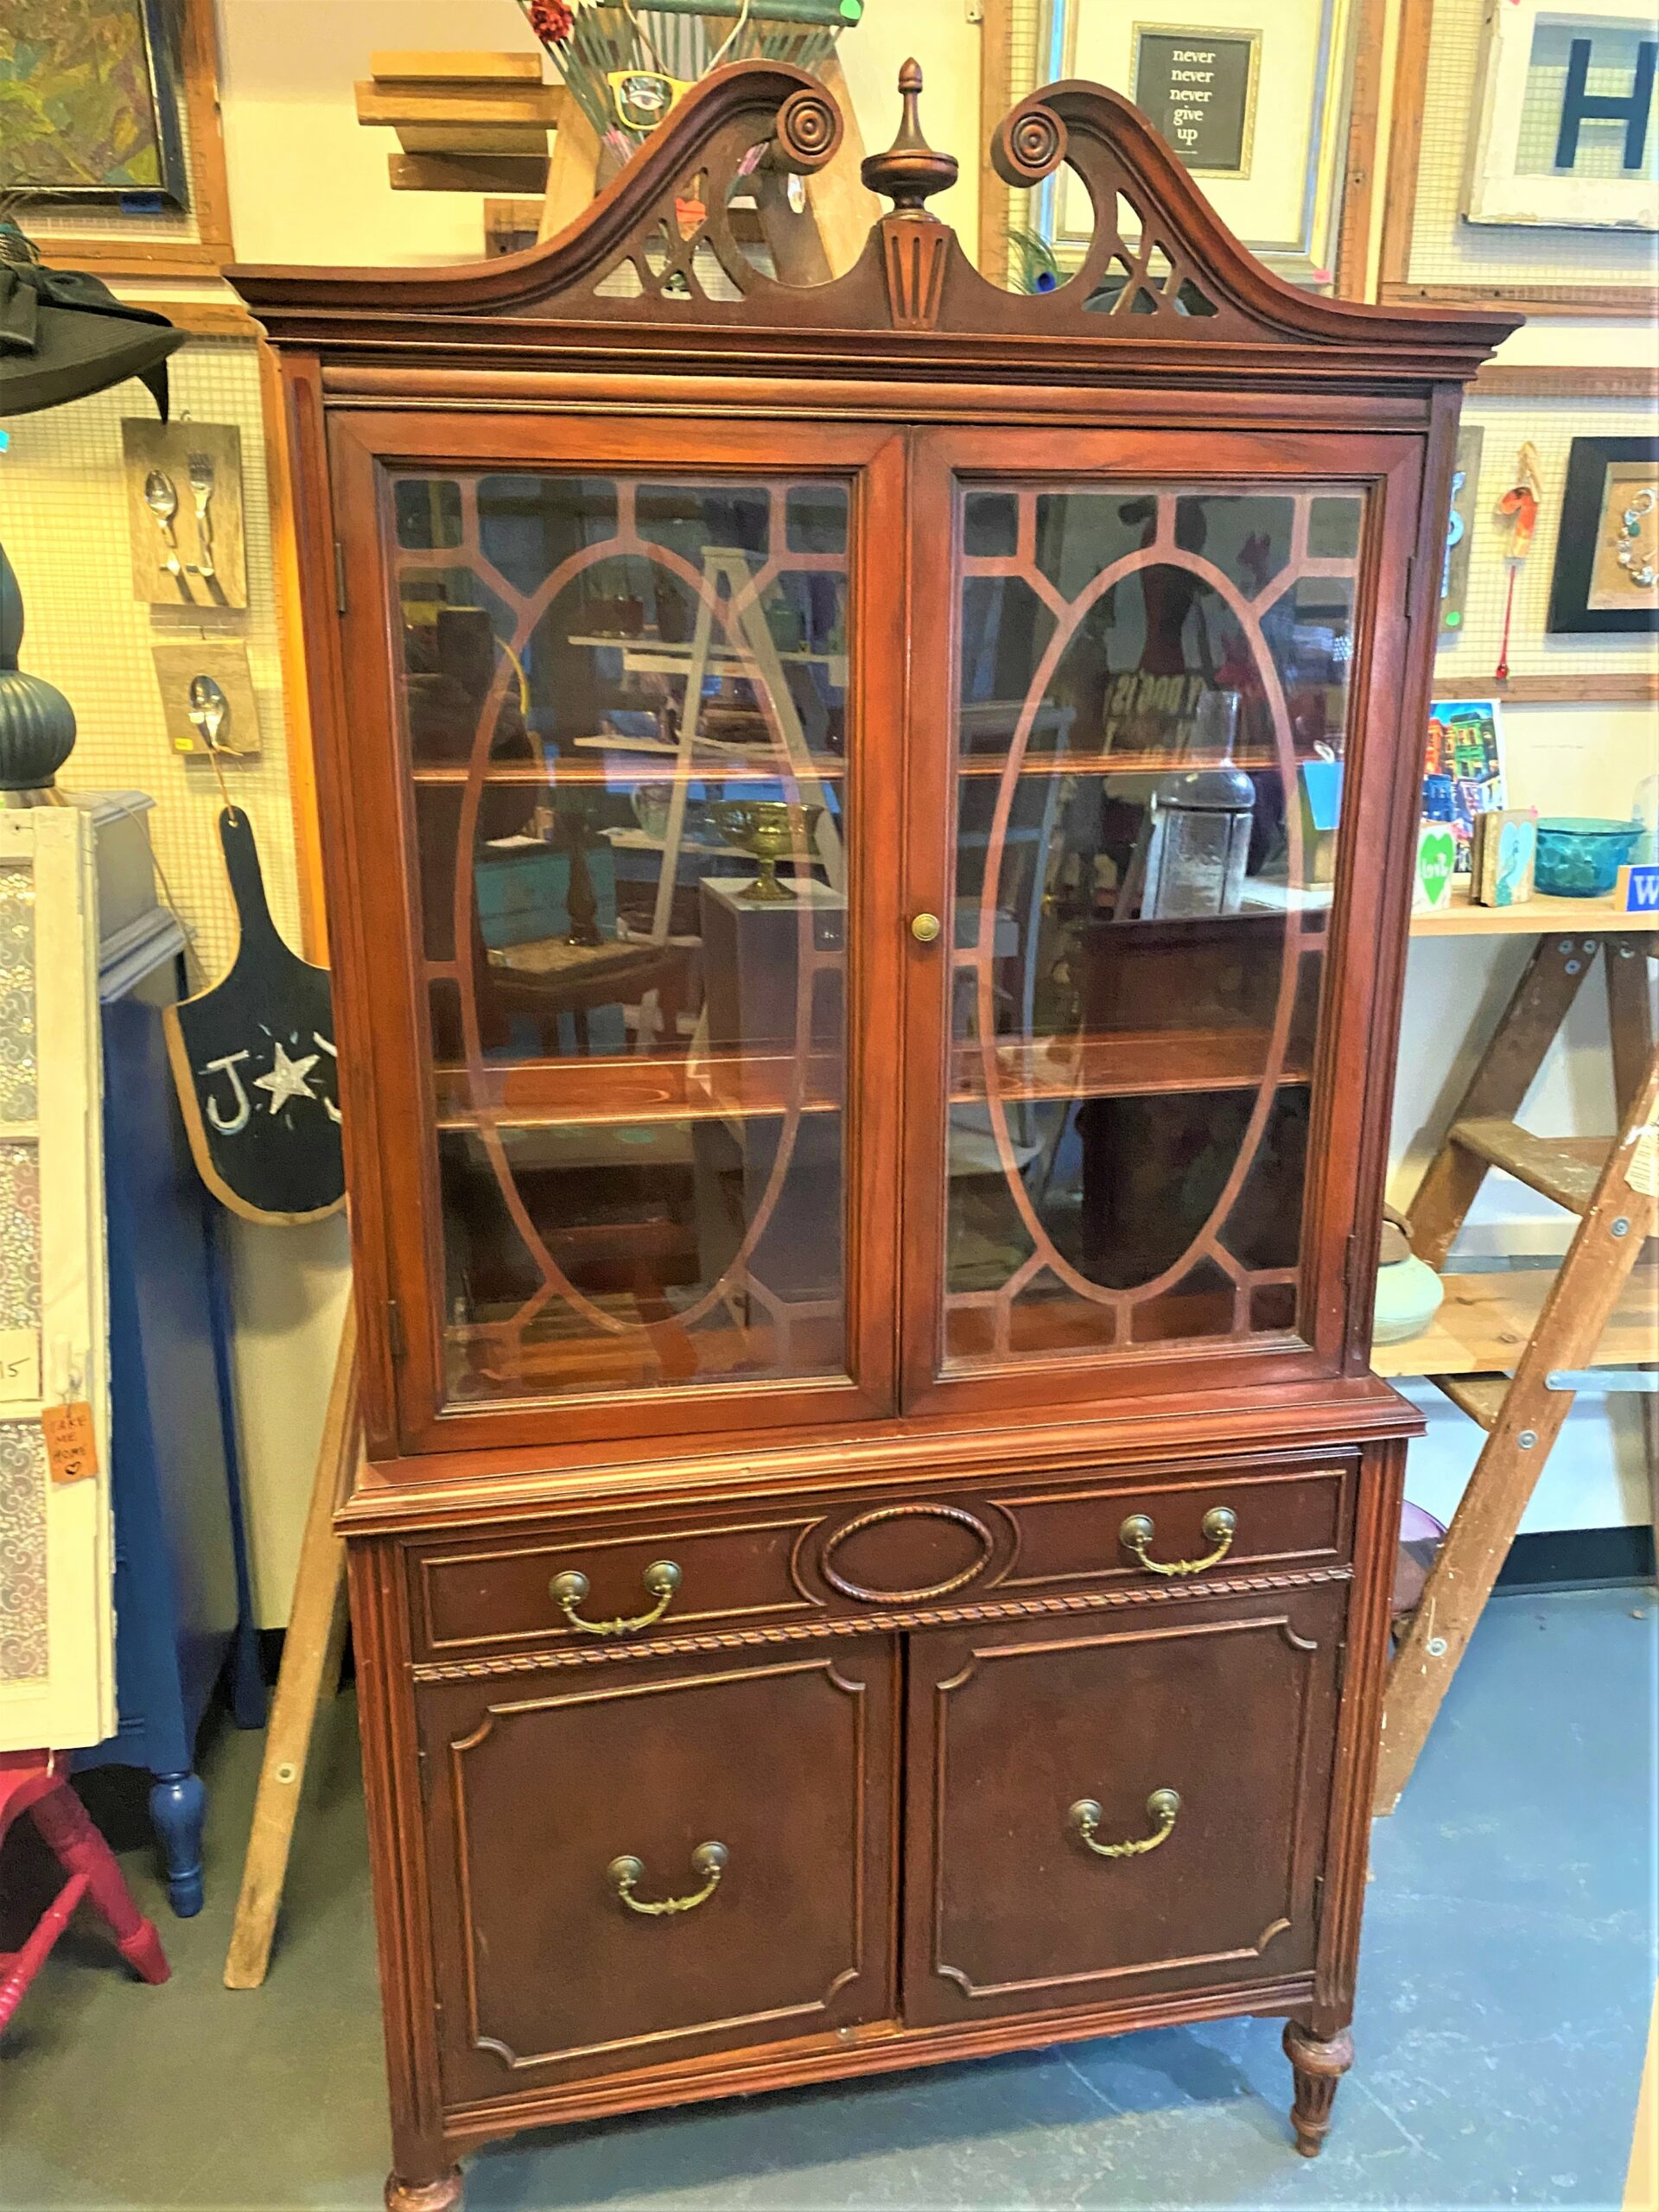
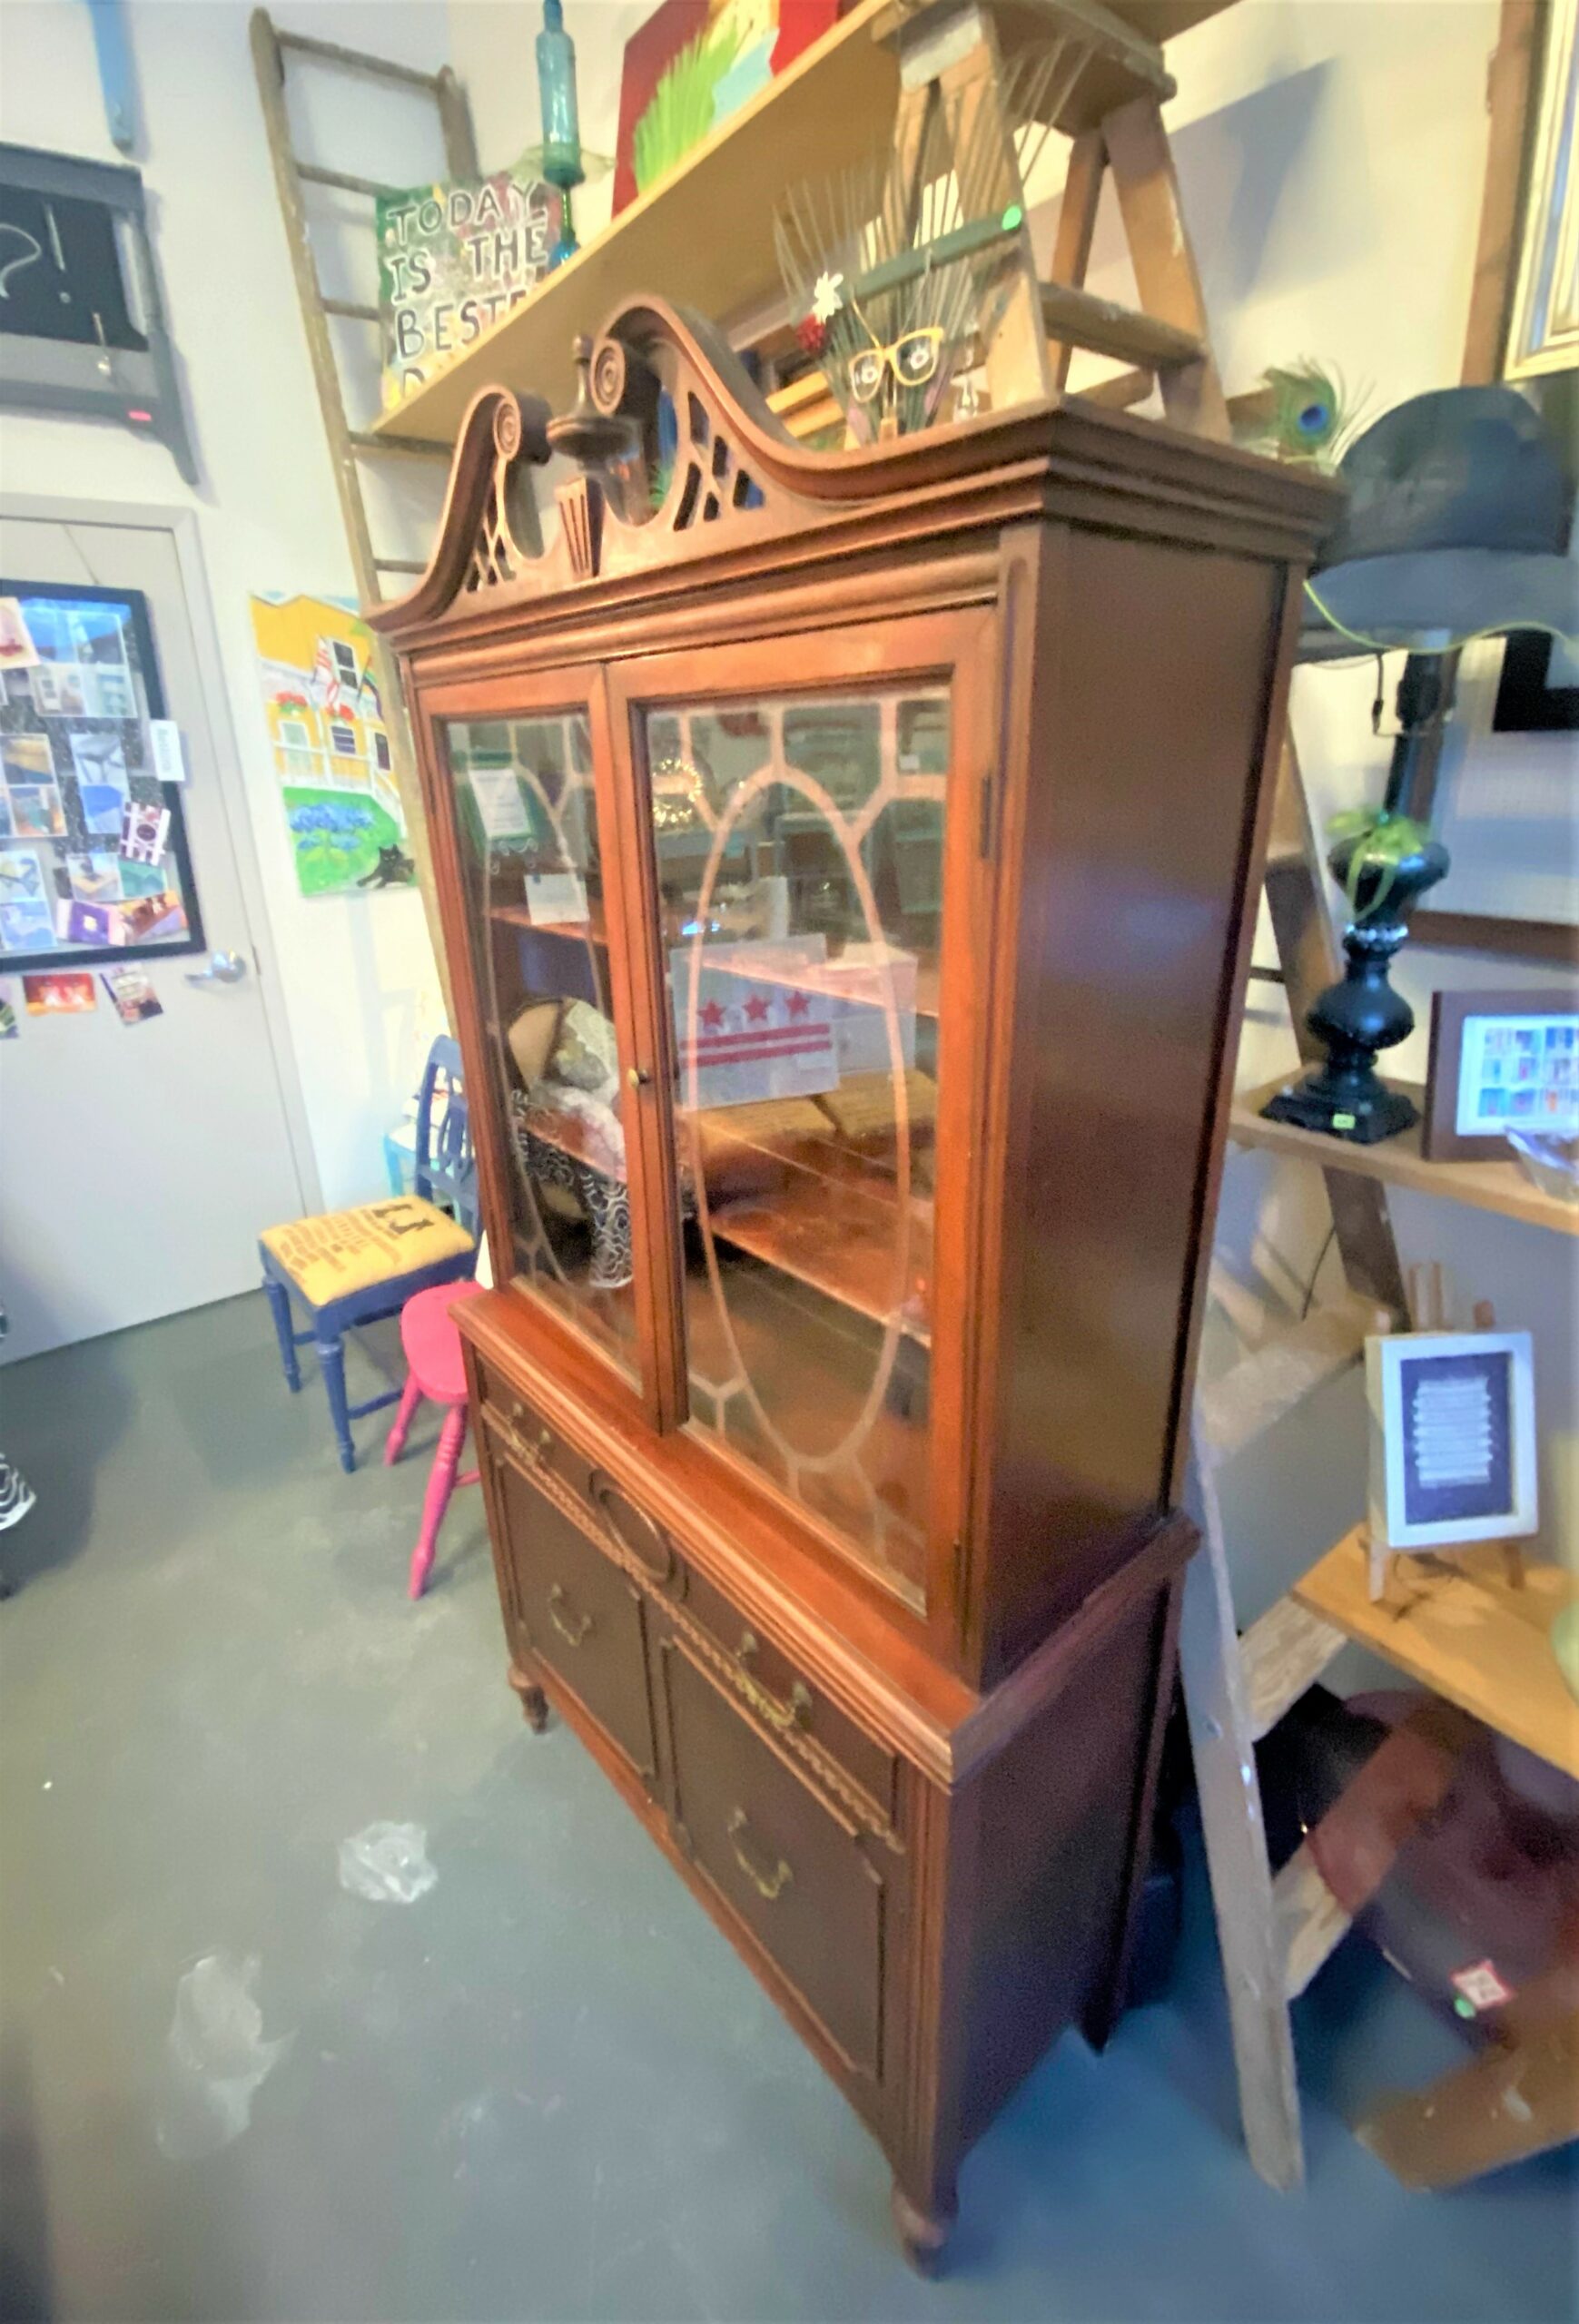
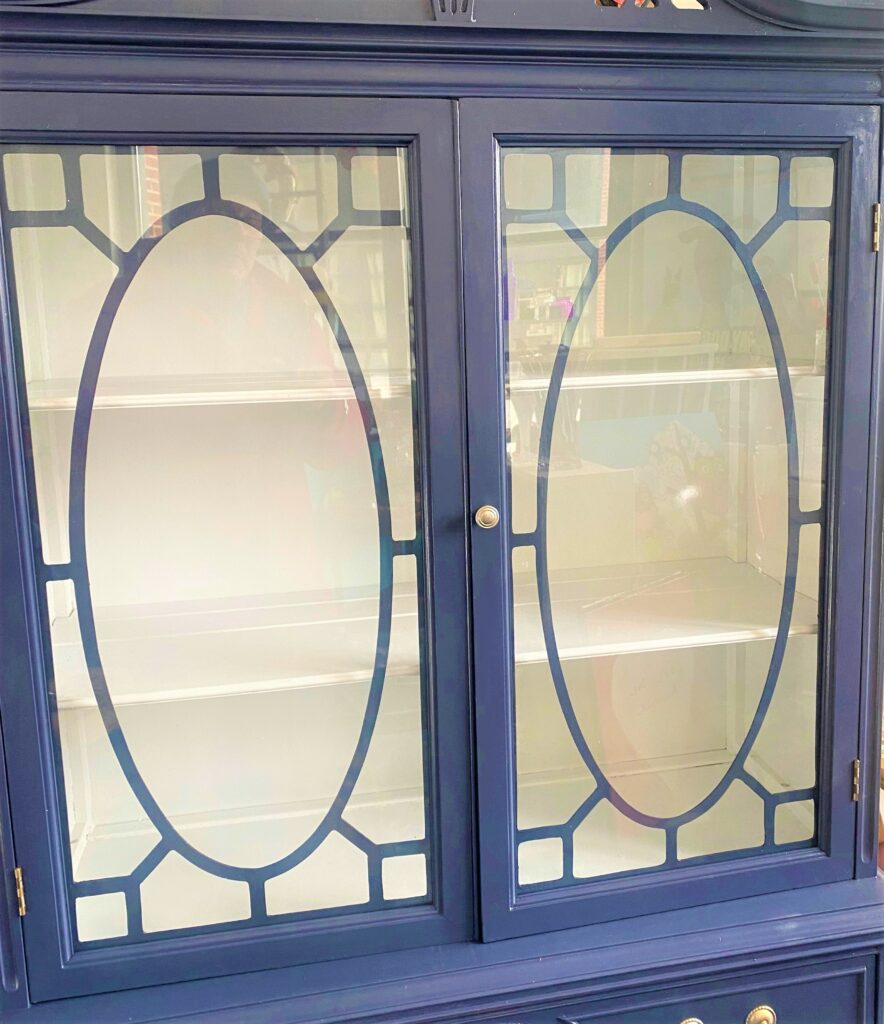
As you hunt for a piece to transform like this, look for one of solid construction using real wood so it stands up to the test of time. The China cabinet here has a timeless look with its curved top, its carved braided details, and its classic lines.
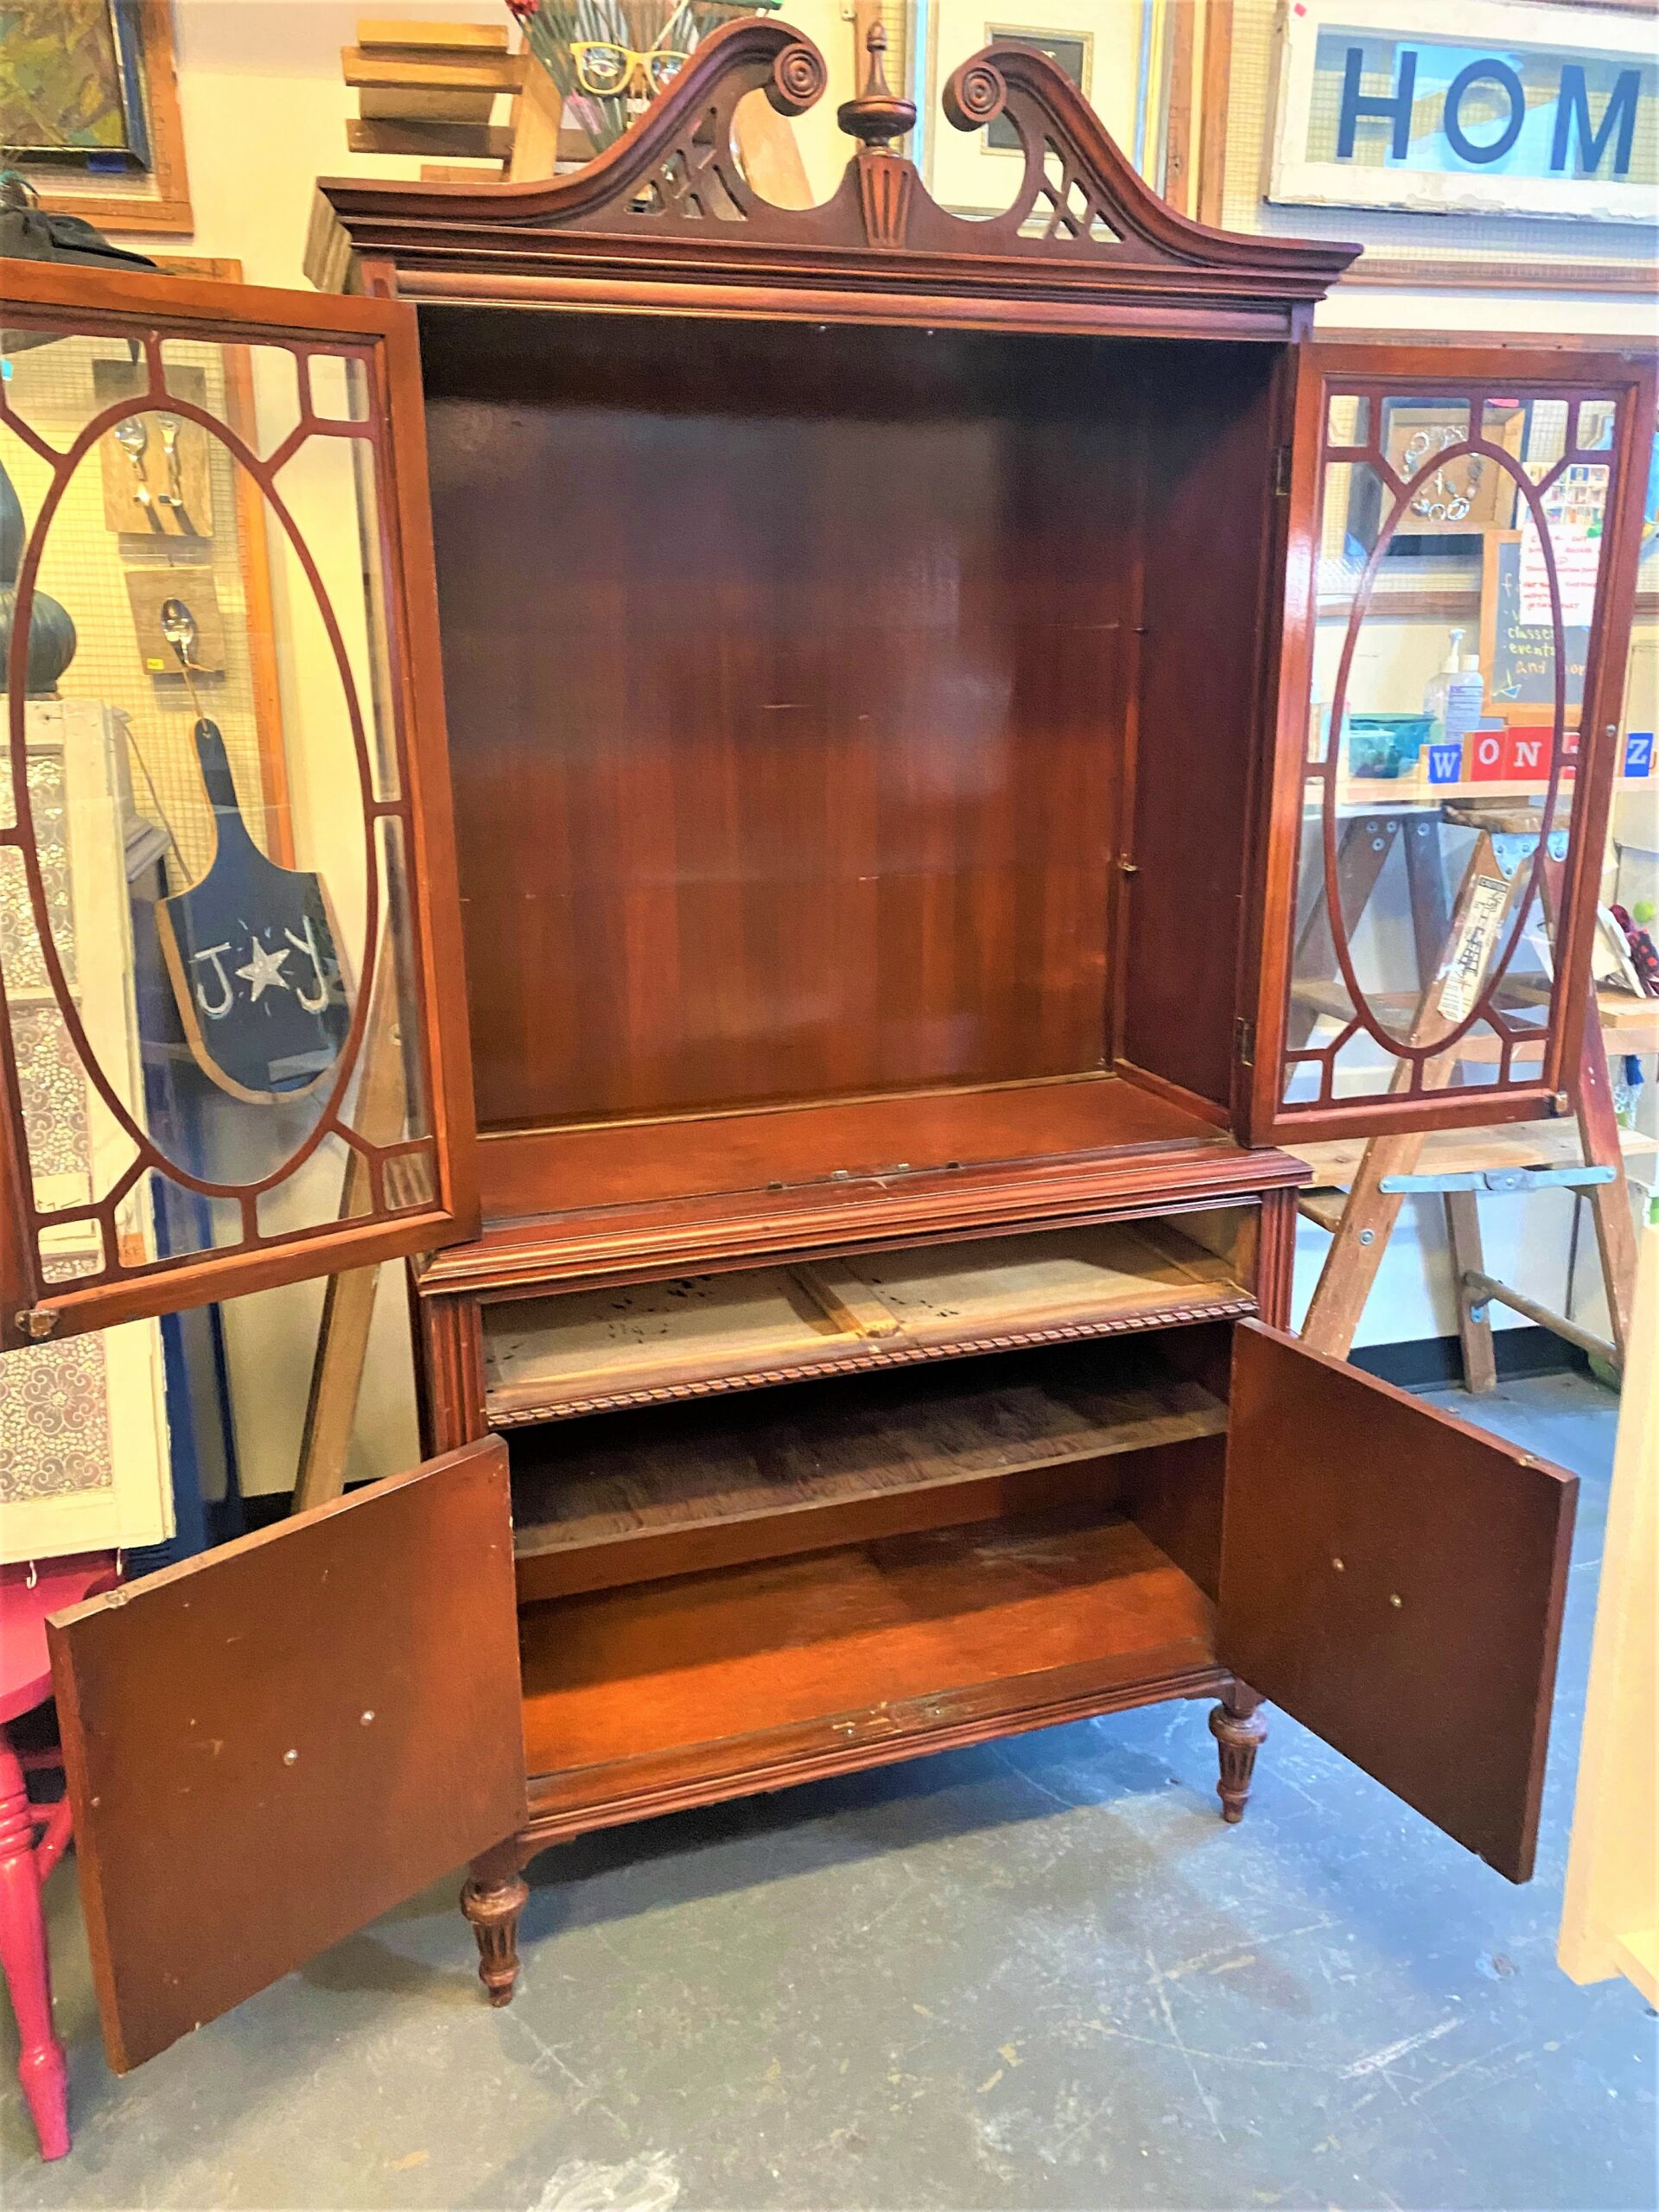
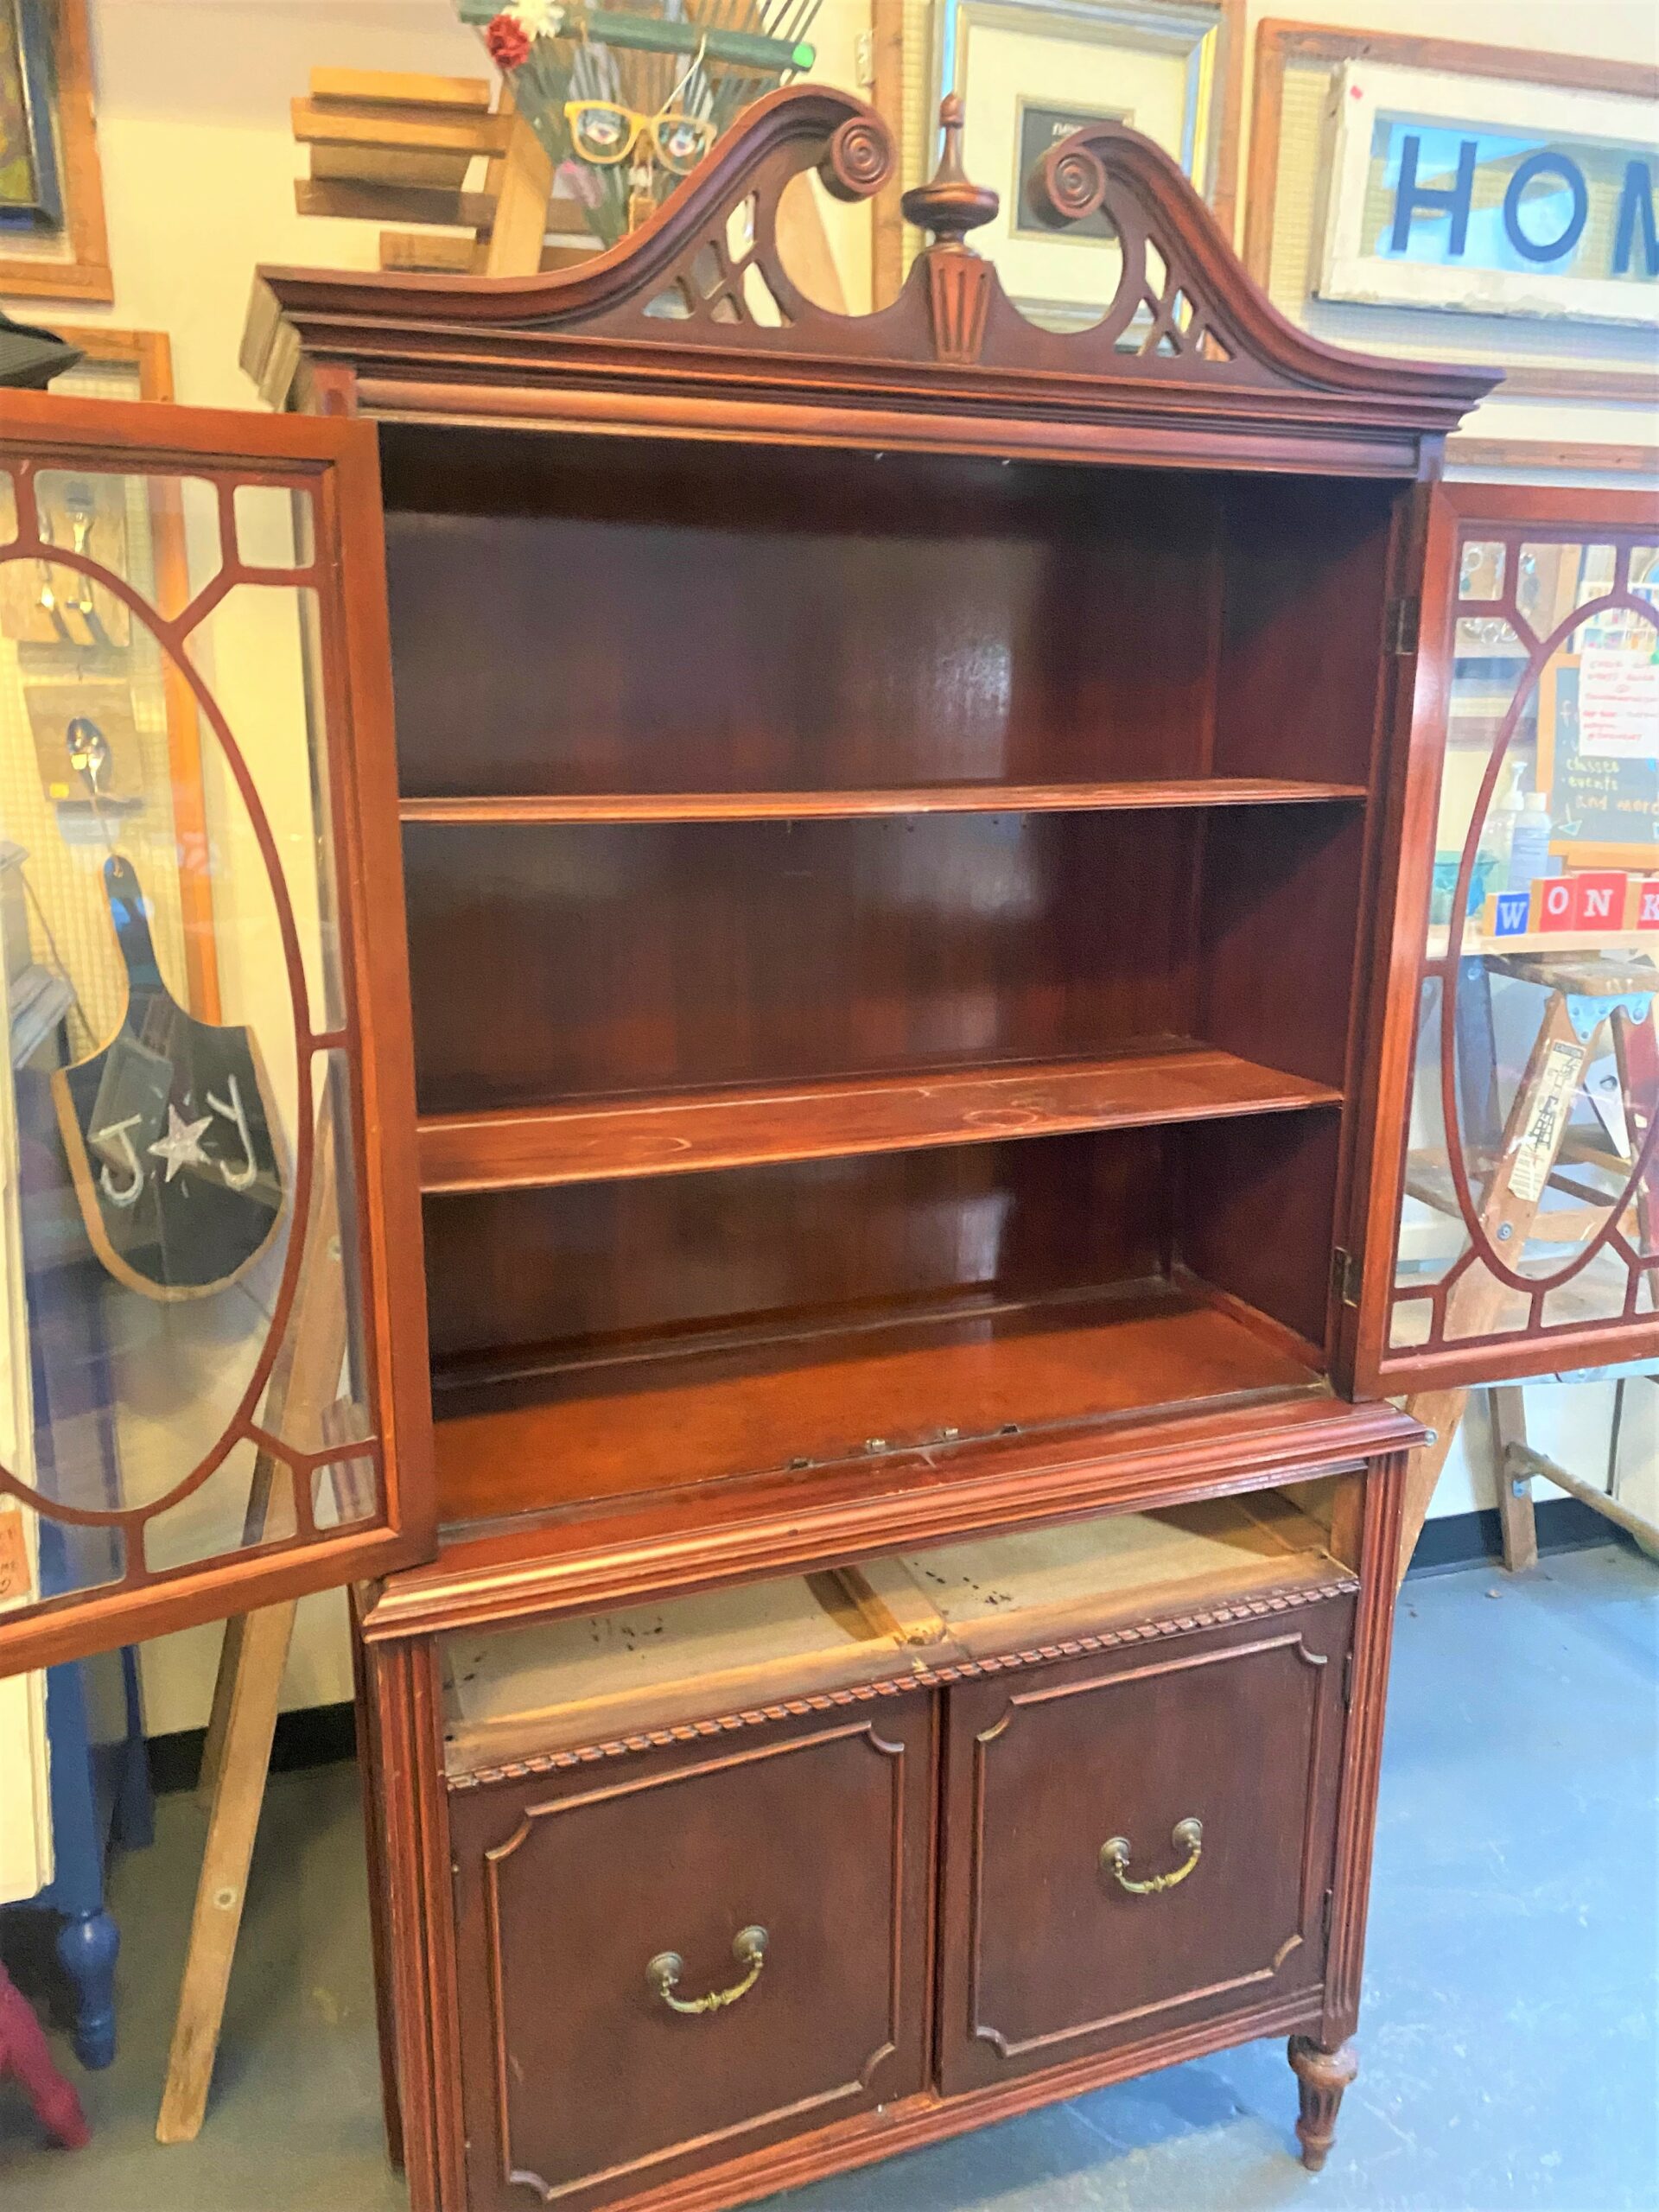
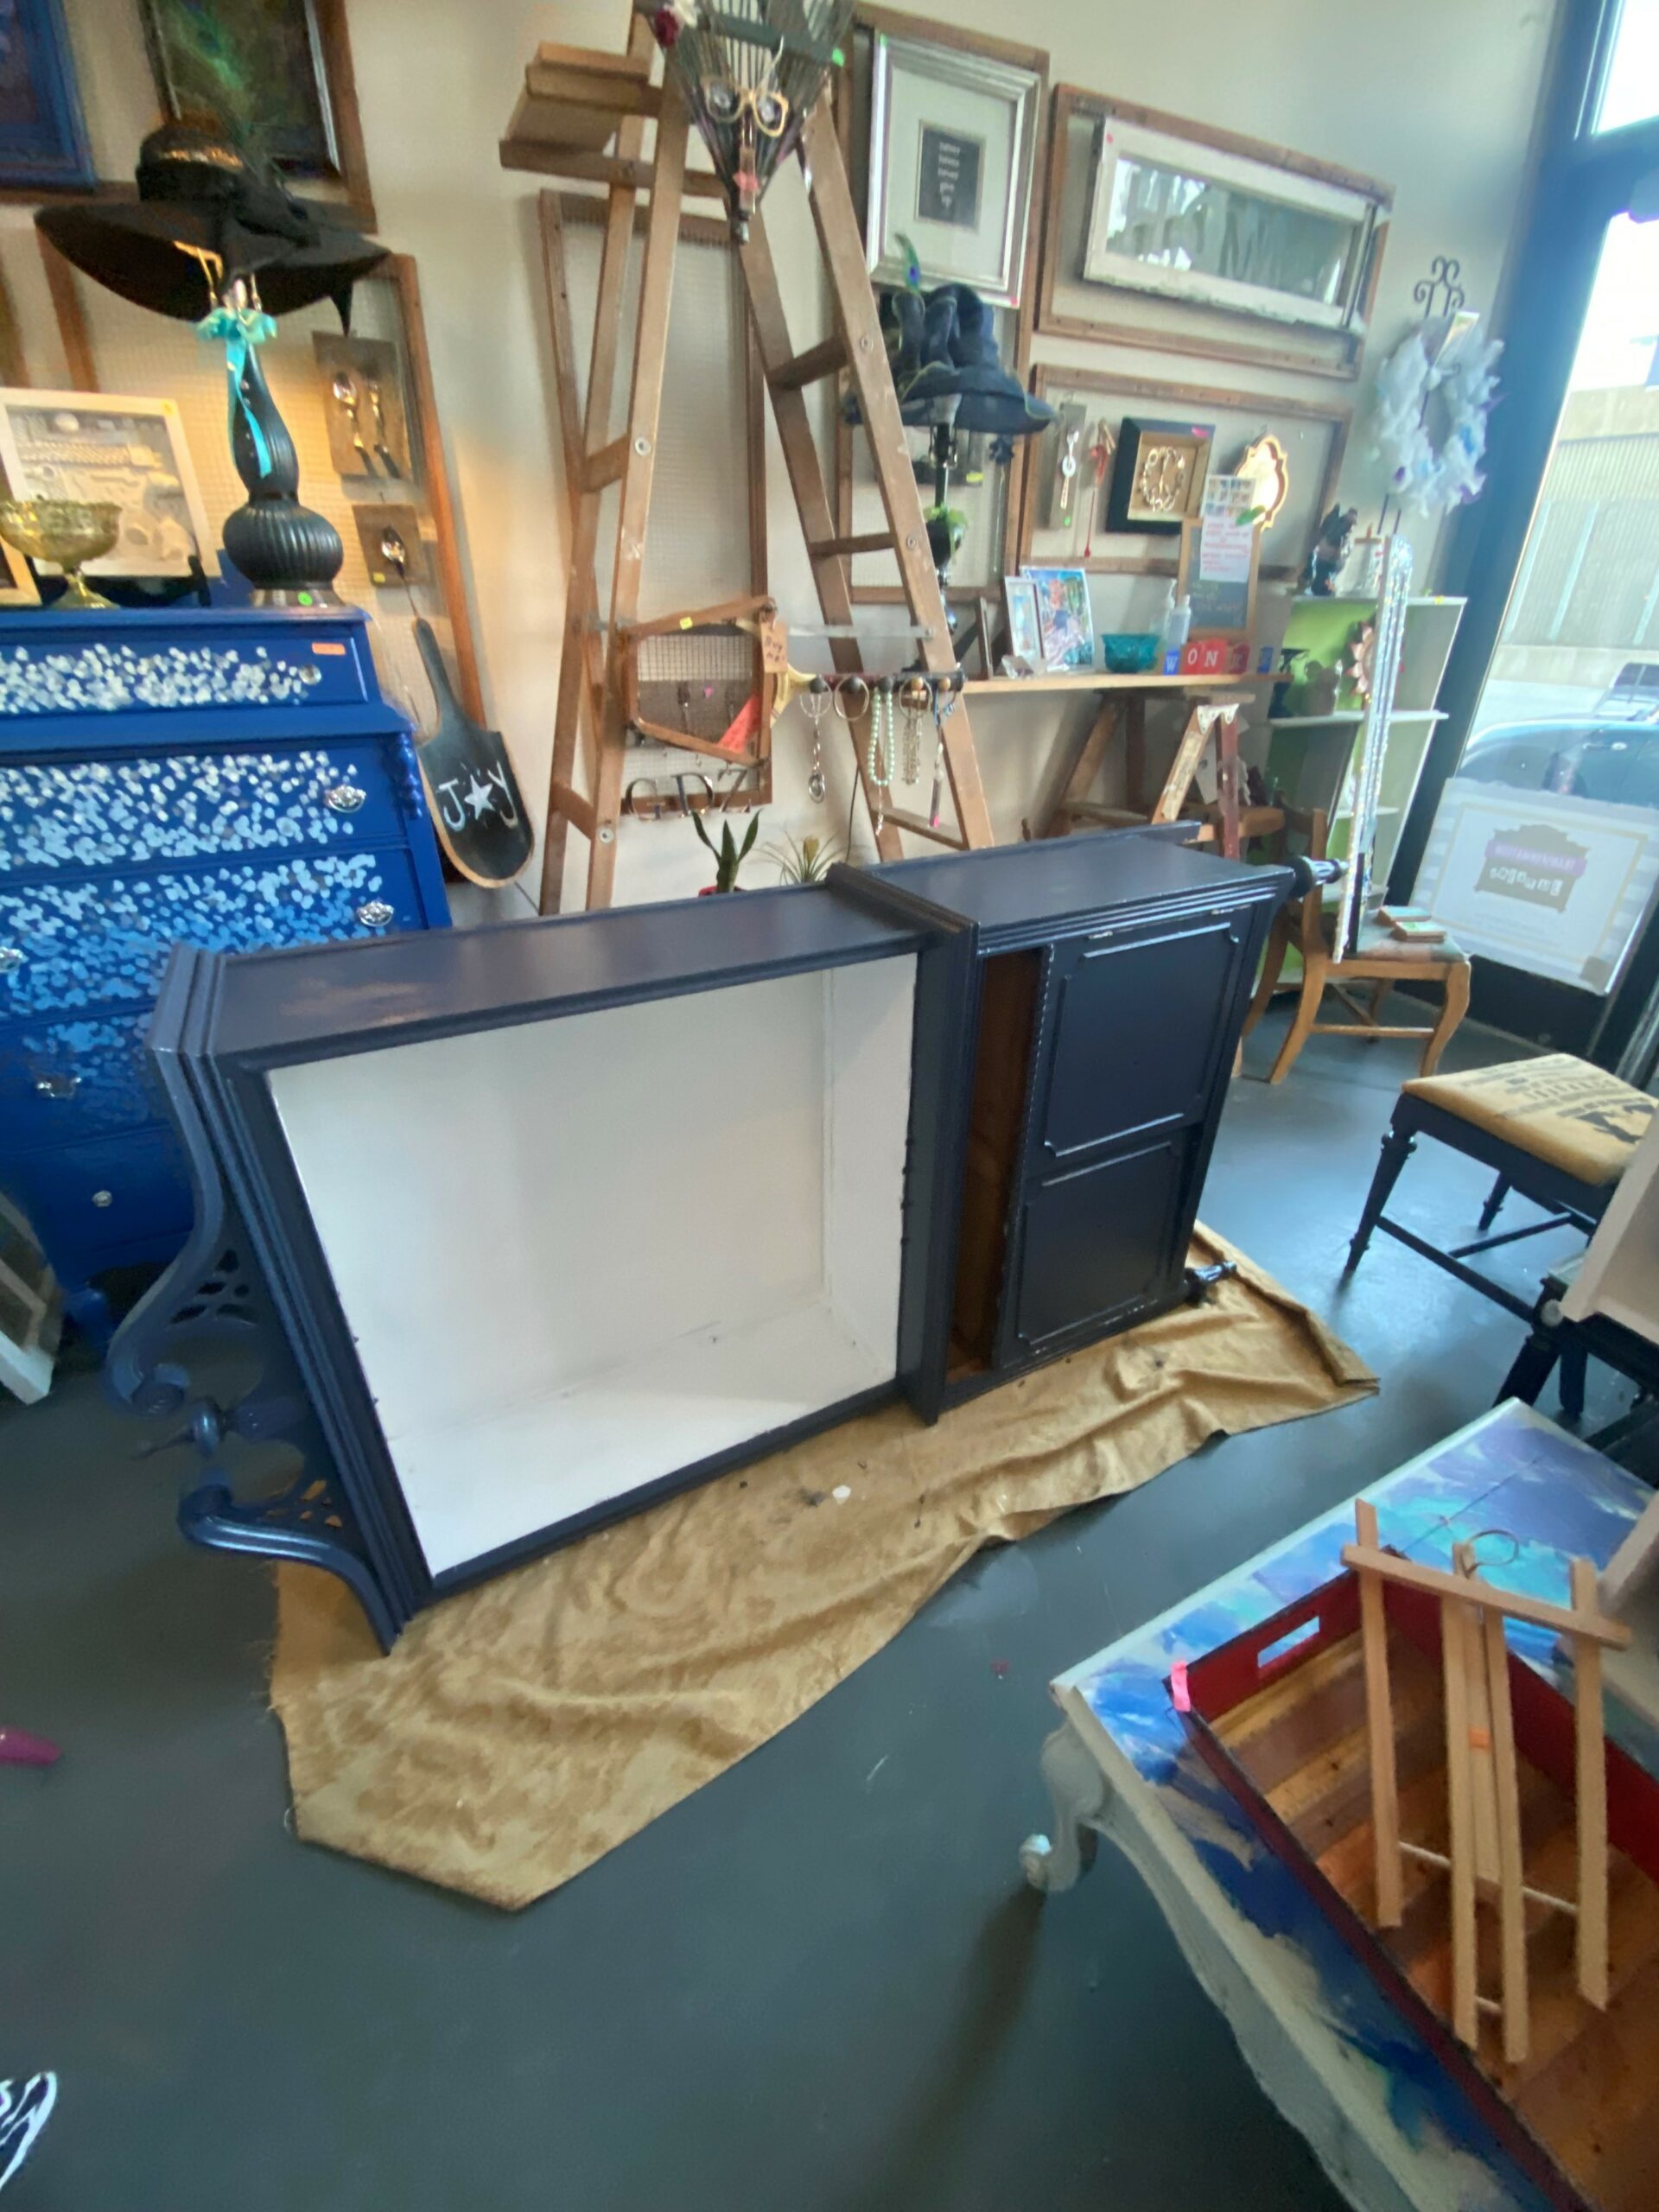
Step 2: Take it apart with heart
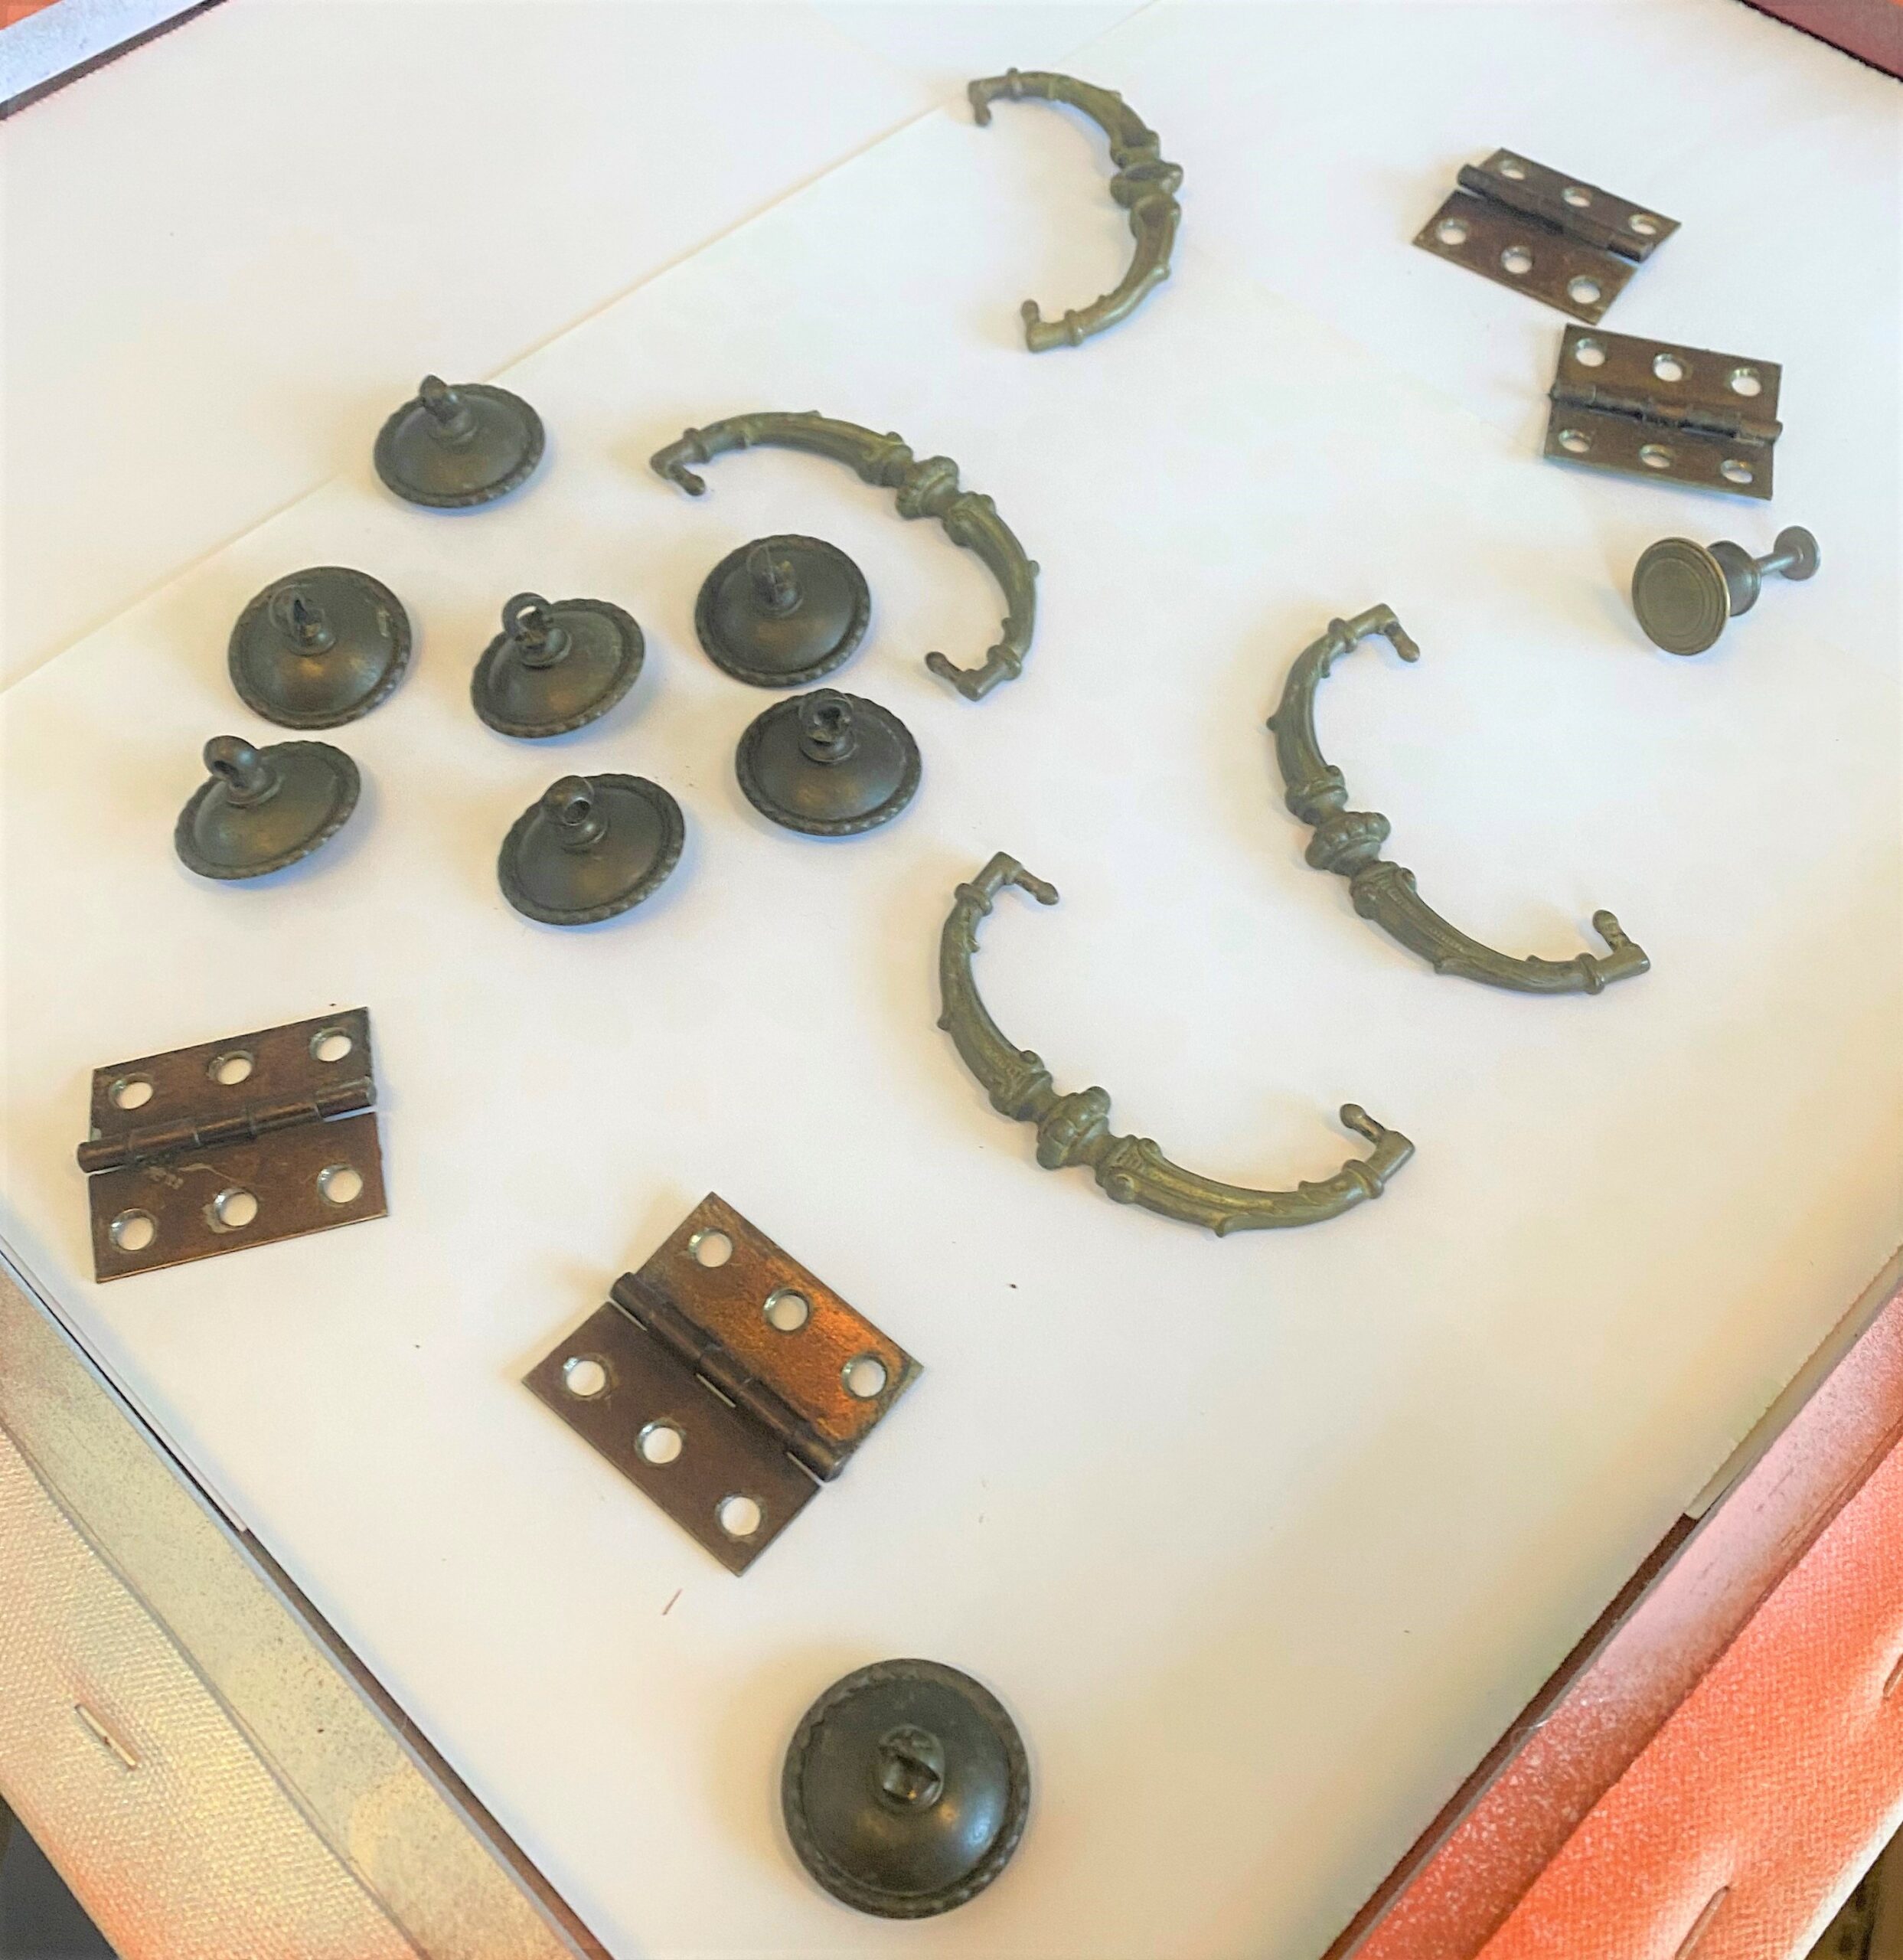
Start your piece’s transformation by removing the drawers, shelves, cabinet doors, and hardware so you have the bare bones remaining.
Put all the hardware together in a container so you won’t misplace a single screw. Consider labeling your shelves using painter’s tape so that you know which one goes where when it’s reassembled. Find a safe, temporary home for your cabinet’s doors so they don’t get bumped or broken in the process.
This step is so important and can be a little tedious so put on your favorite music in the background or invite a family member or friend to help to make it a more enjoyable step.
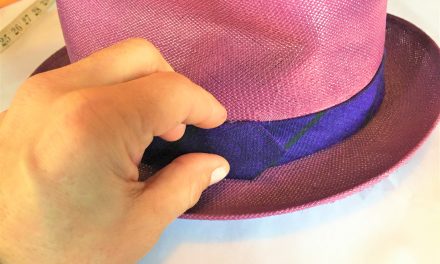
Step 3: Give it a good rub down
You want to make your piece more painter-friendly and give the paint something to hang onto, so use some medium-grade sandpaper or a sanding block.
- From top to bottom, right to left, give the cabinet parts a good rub down. This is a dusty step so you might want to put on a mask.
- When done, wipe it down thoroughly with a soft, damp cloth.
- You will want to keep rinsing the cloth out to keep it clean as possible.
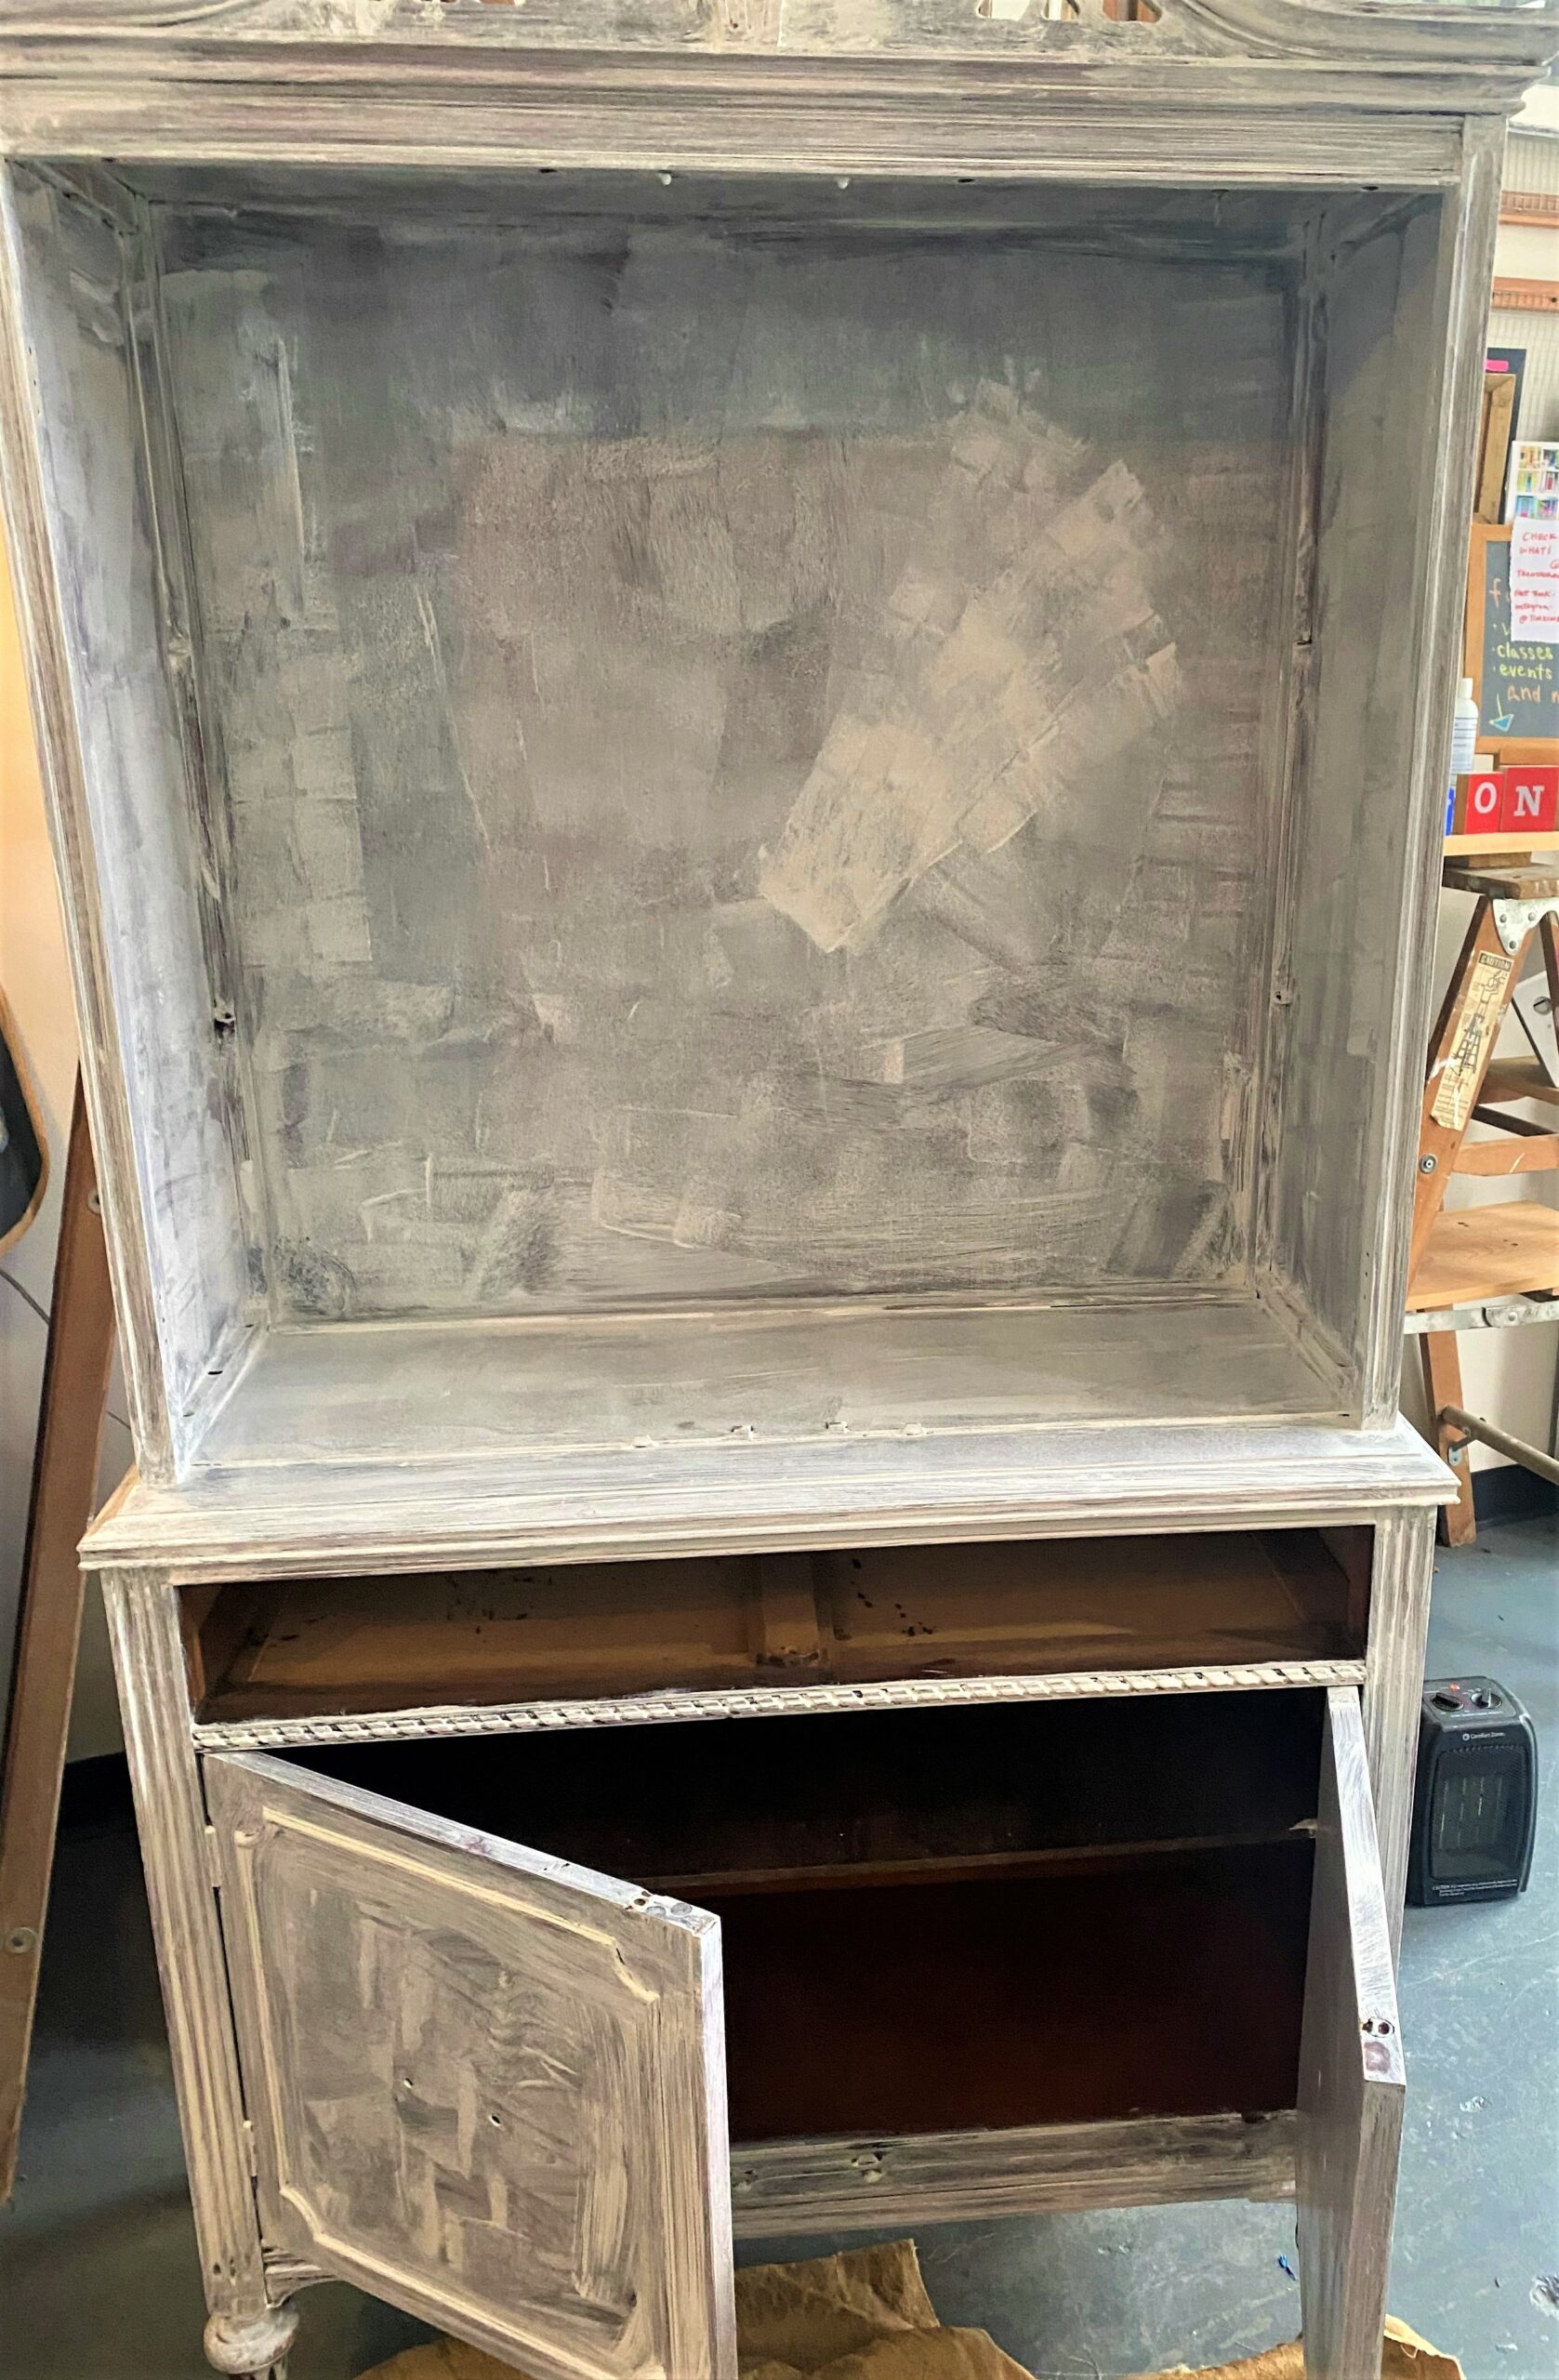
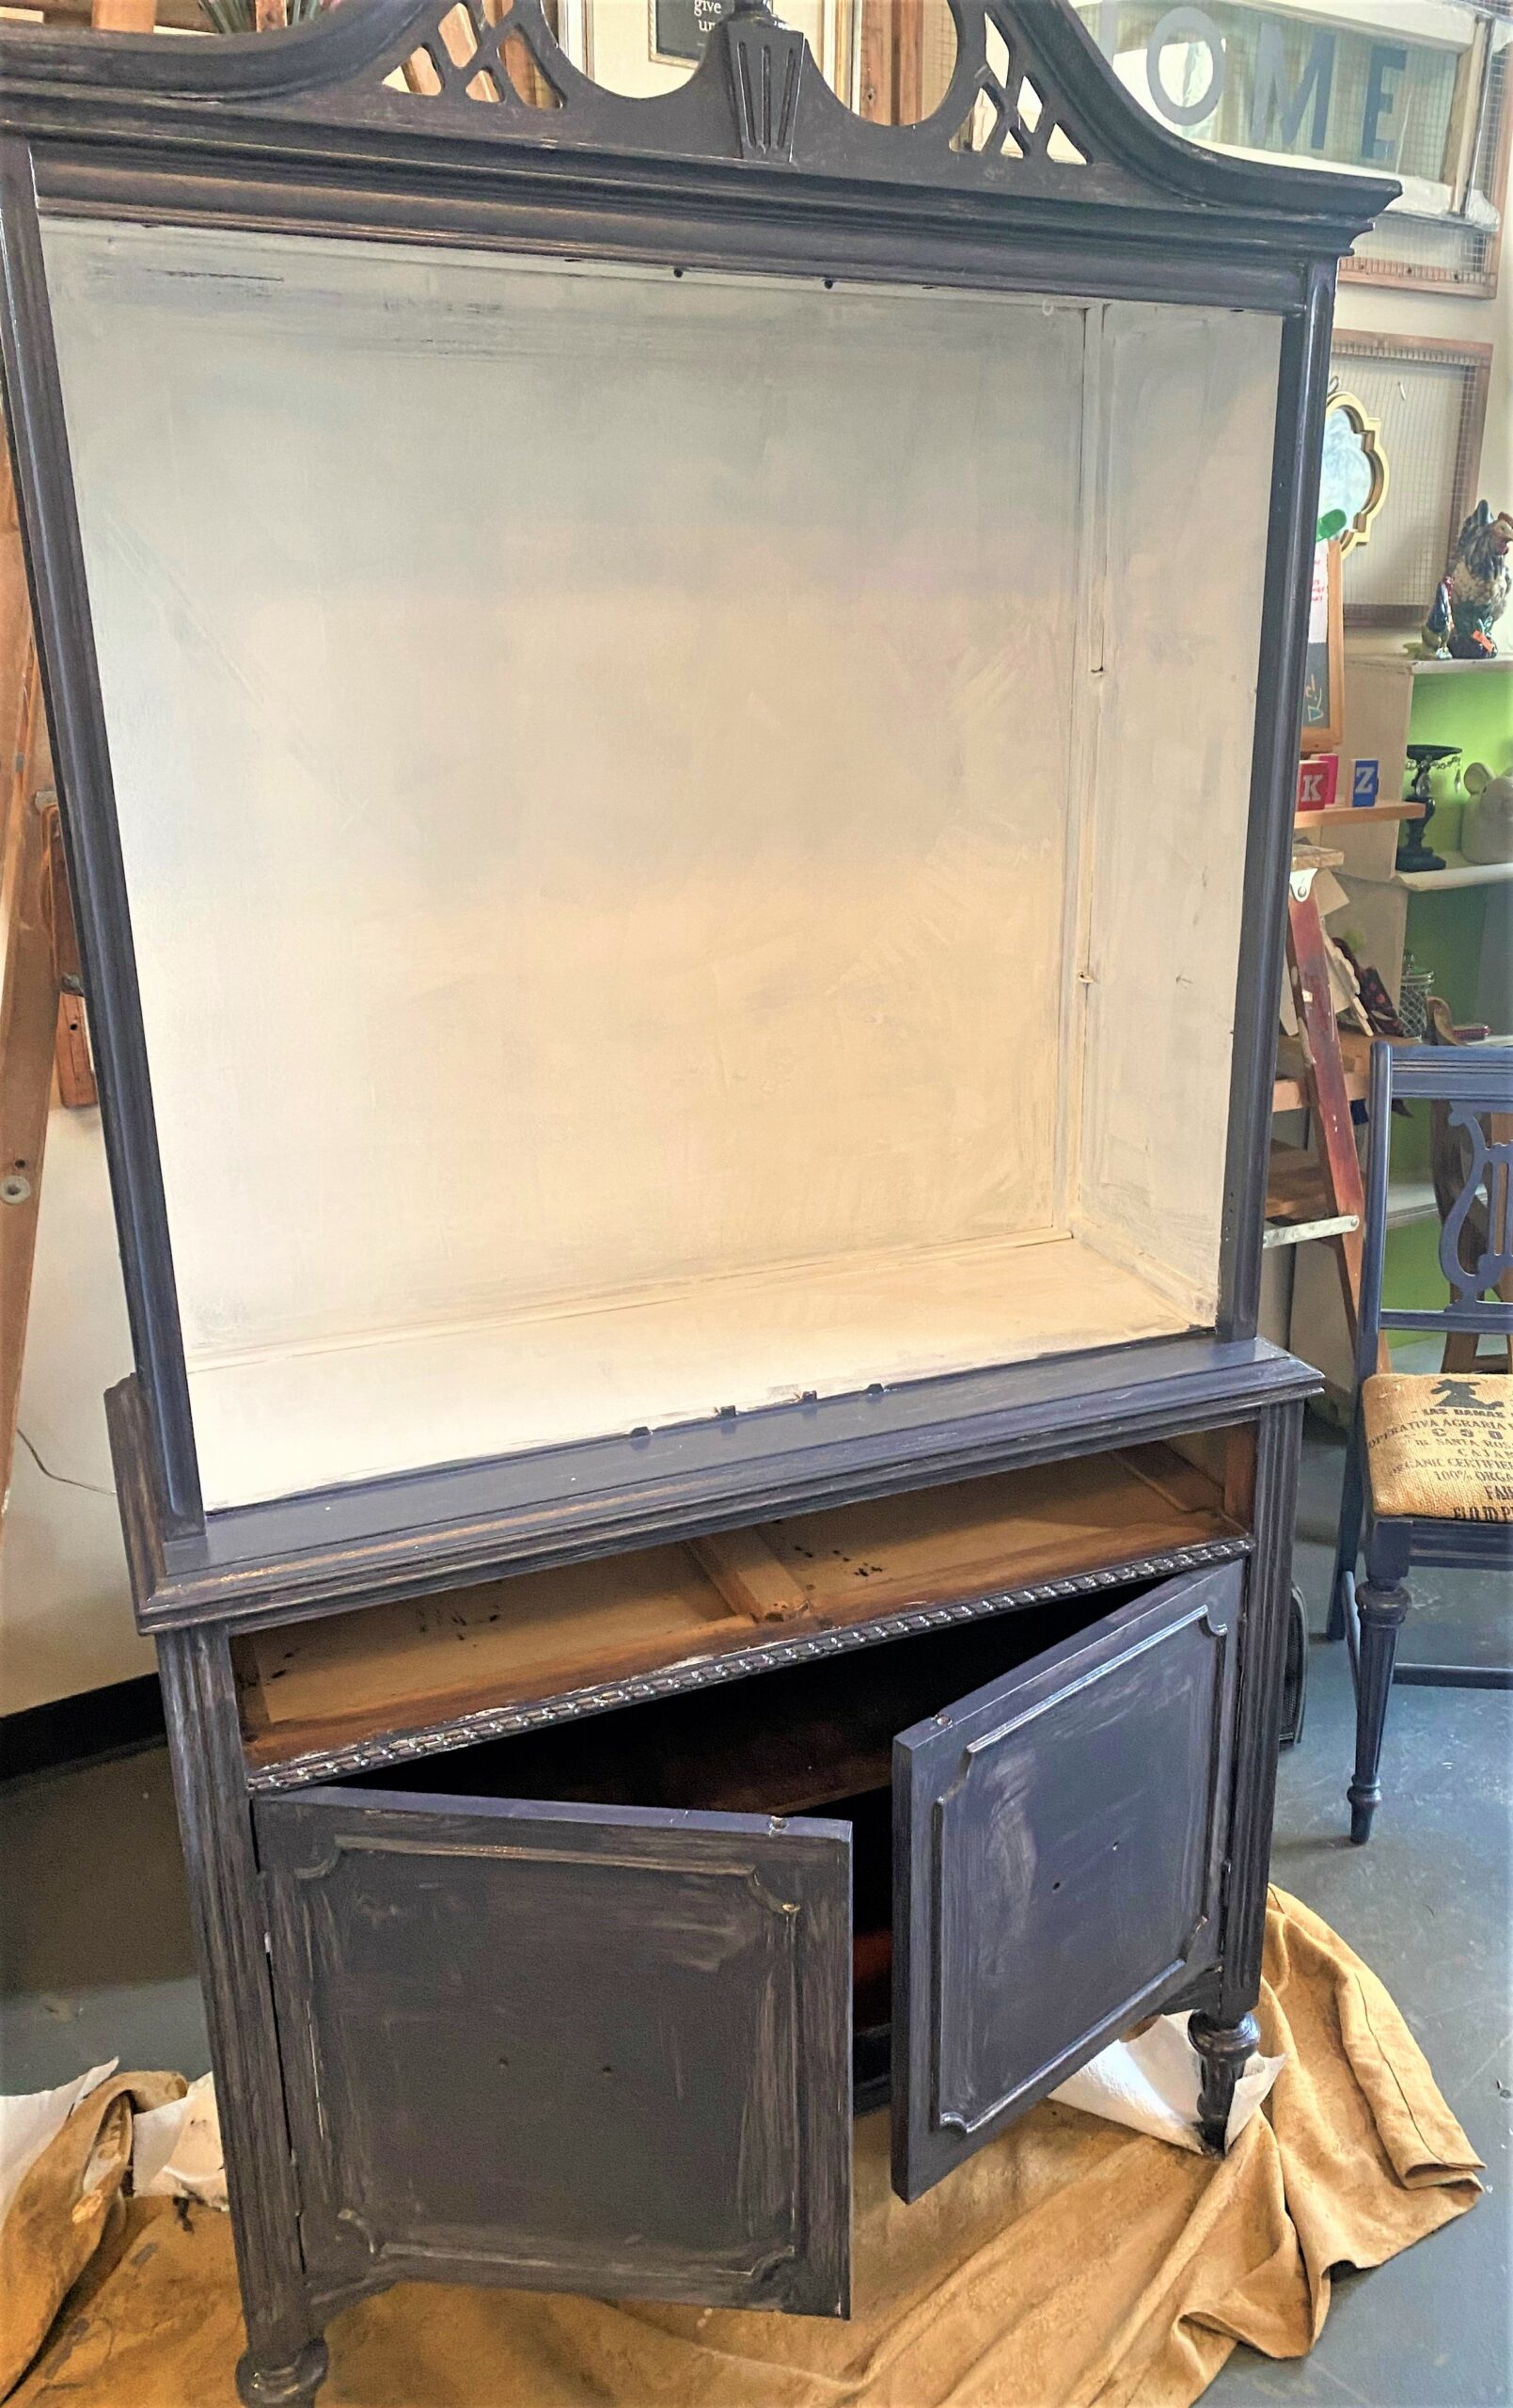
Step 4: Prime her with primer
- Place your cabinet on a drop cloth.
- Using both a small roller and brushes, apply a solid layer of paint primer to each part which will be painted.
- In addition to helping to make the paint adhere better, primer also helps to prevent stains or flaws to show through the new paint layers.
Many paint options are available with the primer mixed right in; it can be a little bit more expensive and certainly saves time in the long run.
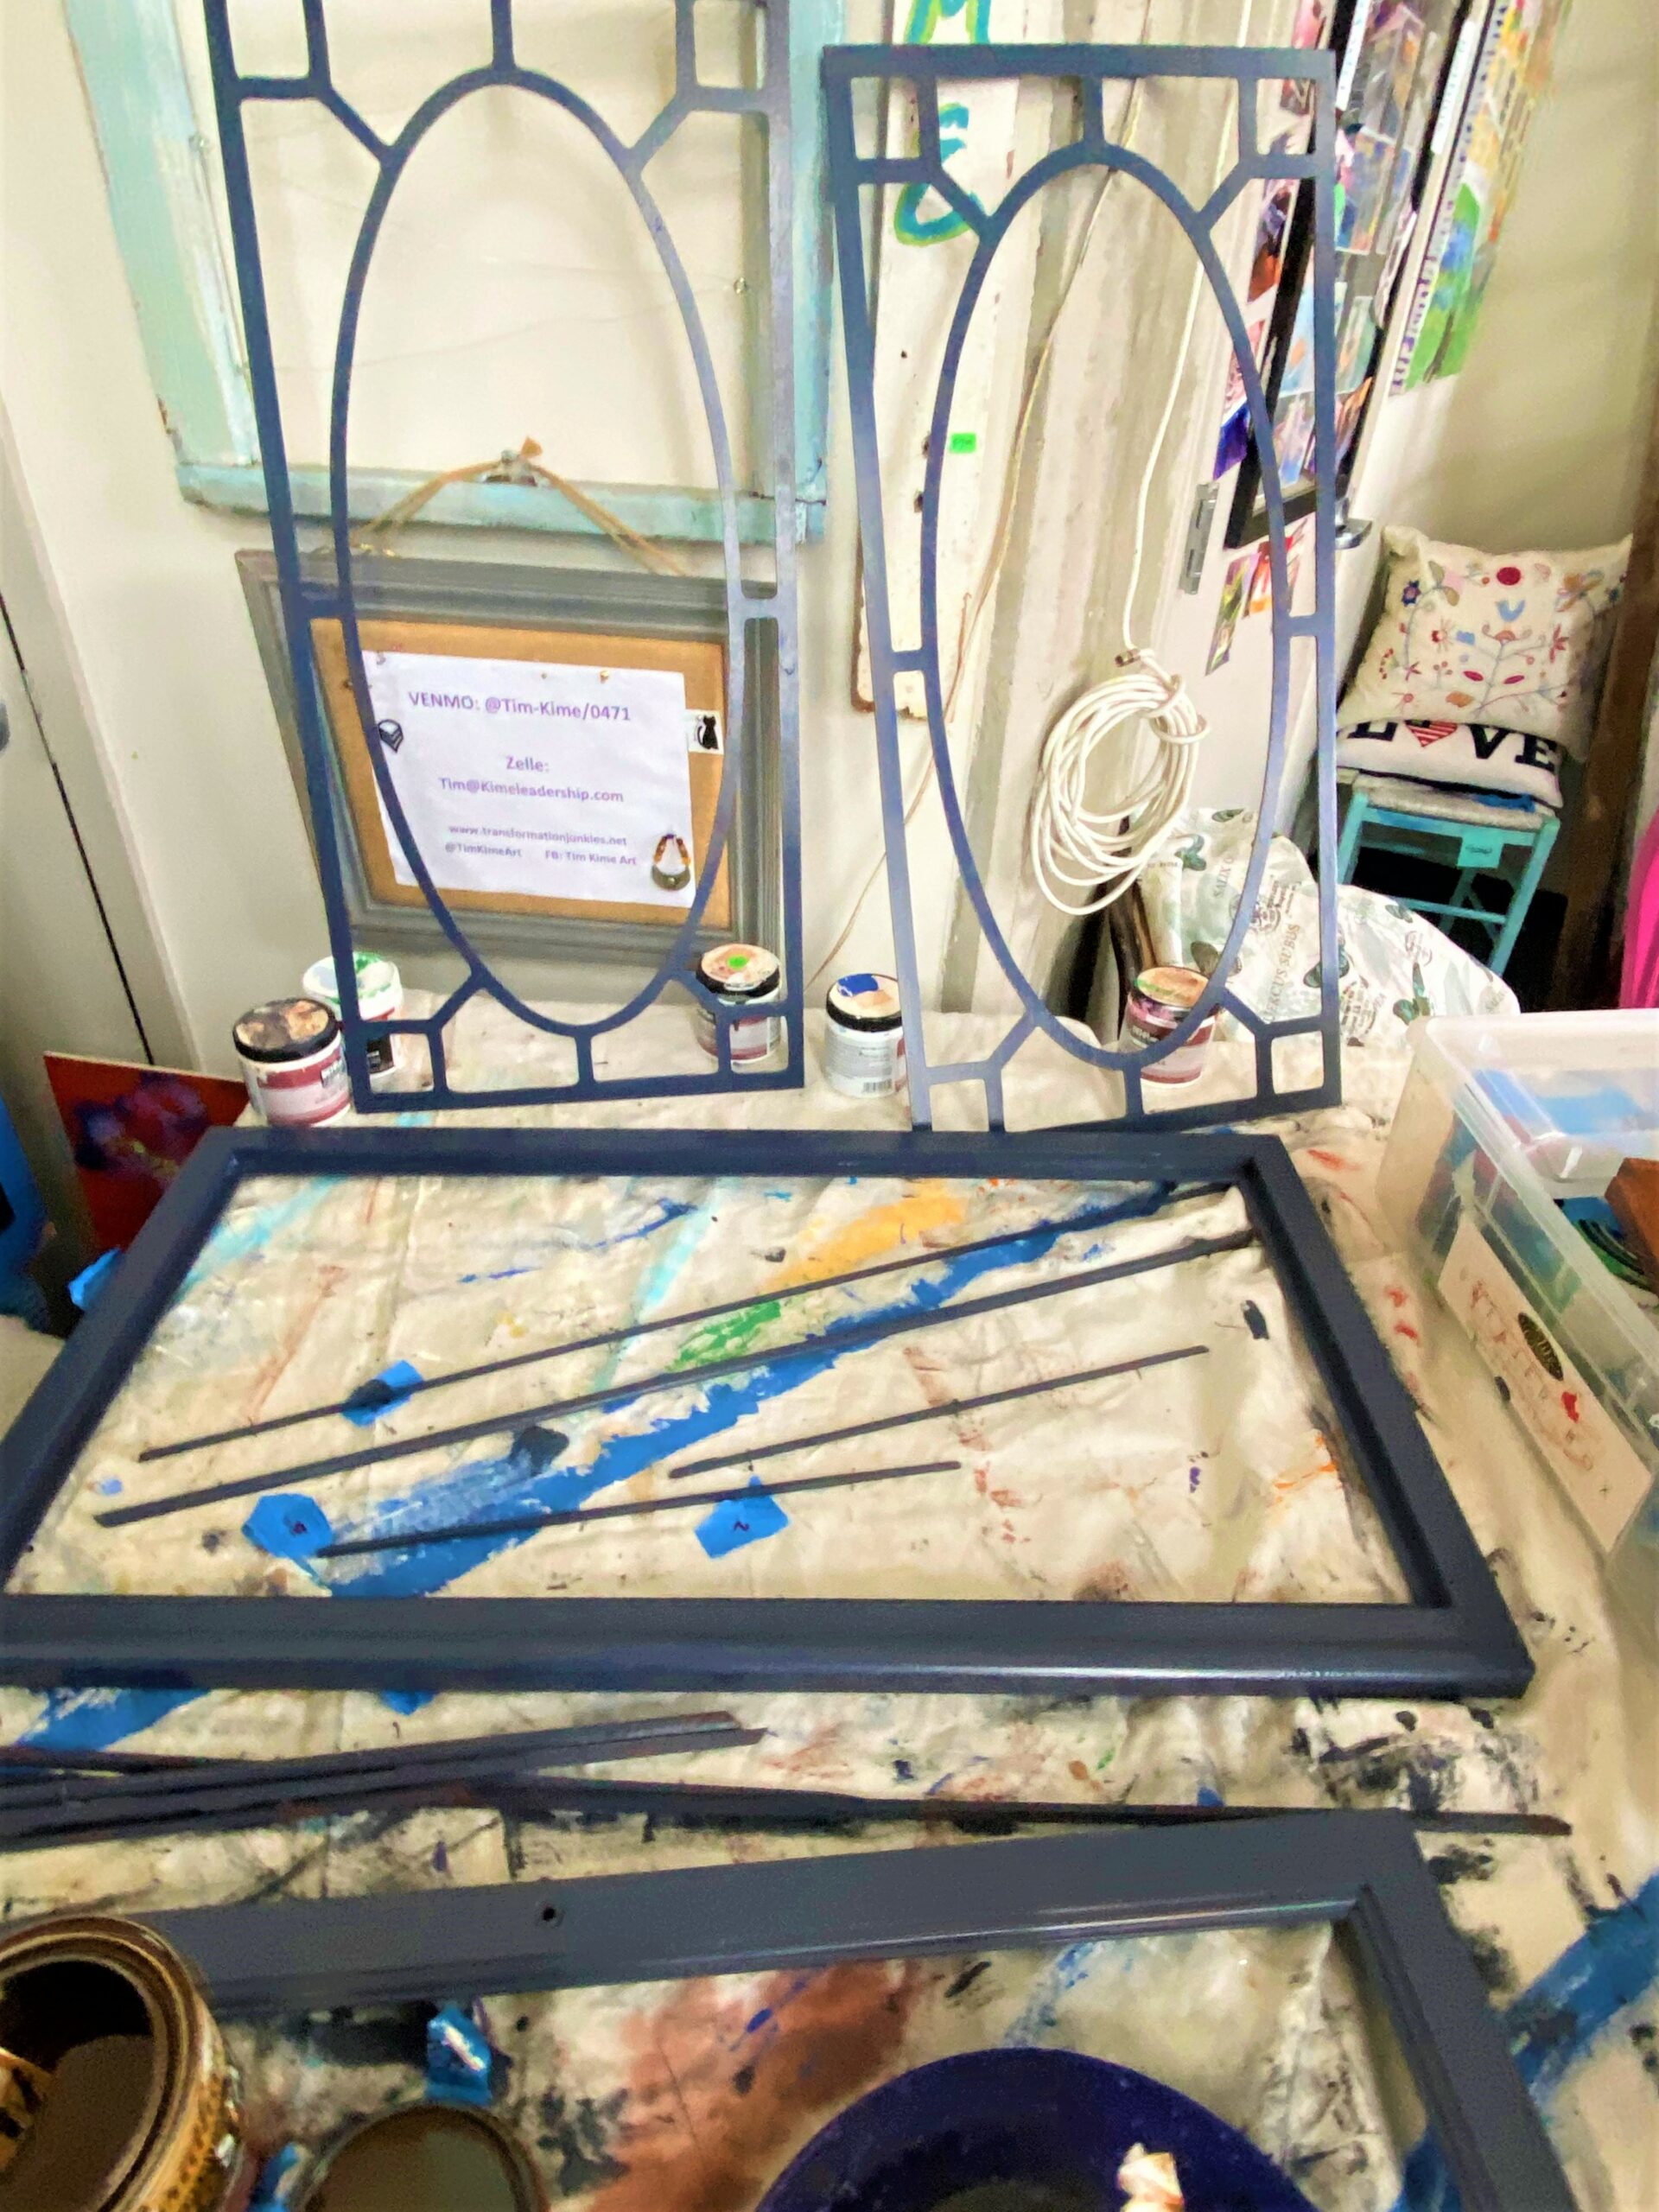
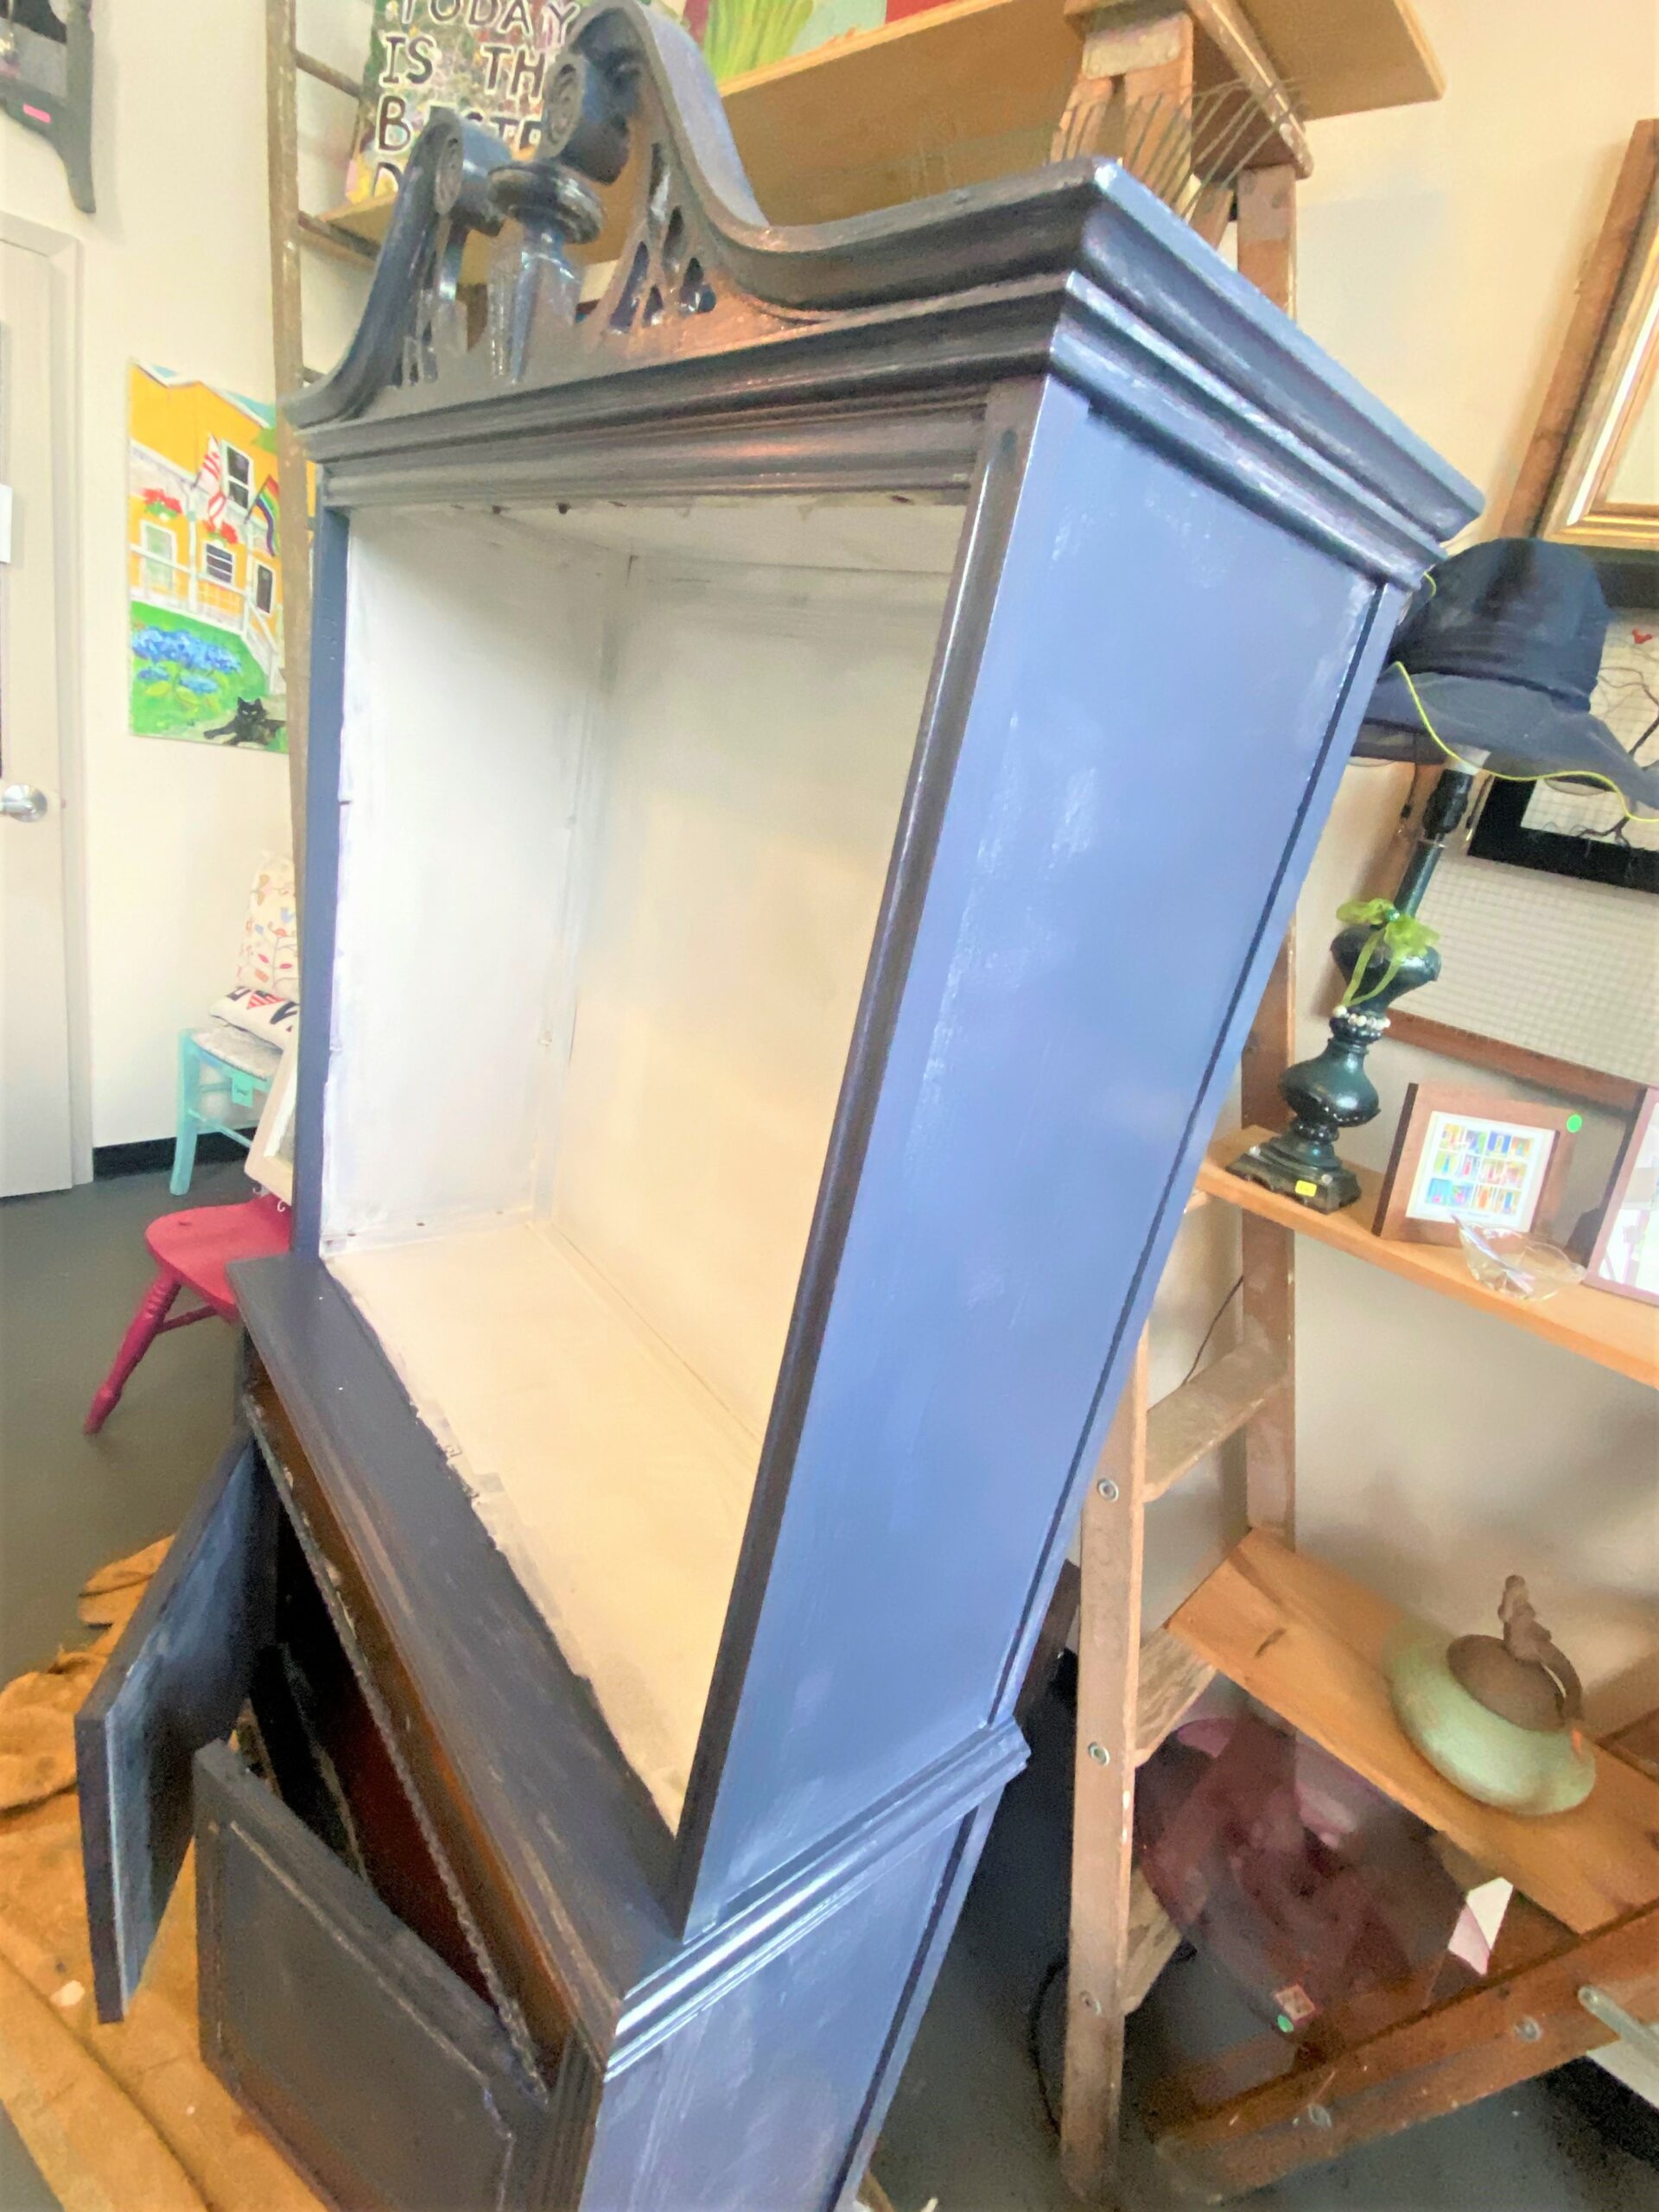
Step 5: Paint on the blue hue (and you won’t boo-hoo)
- Begin the paint transformation process by starting on the outside and working your way in.
- Use a small roller brush and put on a layer over your entire piece.
- Use a variety of sizes of brushes to get in every nook and cranny.
- An important step at this point is to lay your piece on its sides in between paint coats so that you are able to ensure every part gets well covered. Again, if possible, enlist a helper to assist you in carefully moving your piece as you lay it on its sides.
Drawers:
While the main cabinet is drying, turn your care and attention to the drawers and doors. Use painter’s tape to keep paint from getting on the drawer’s sides which can impact how smoothly they will be able to open and close.
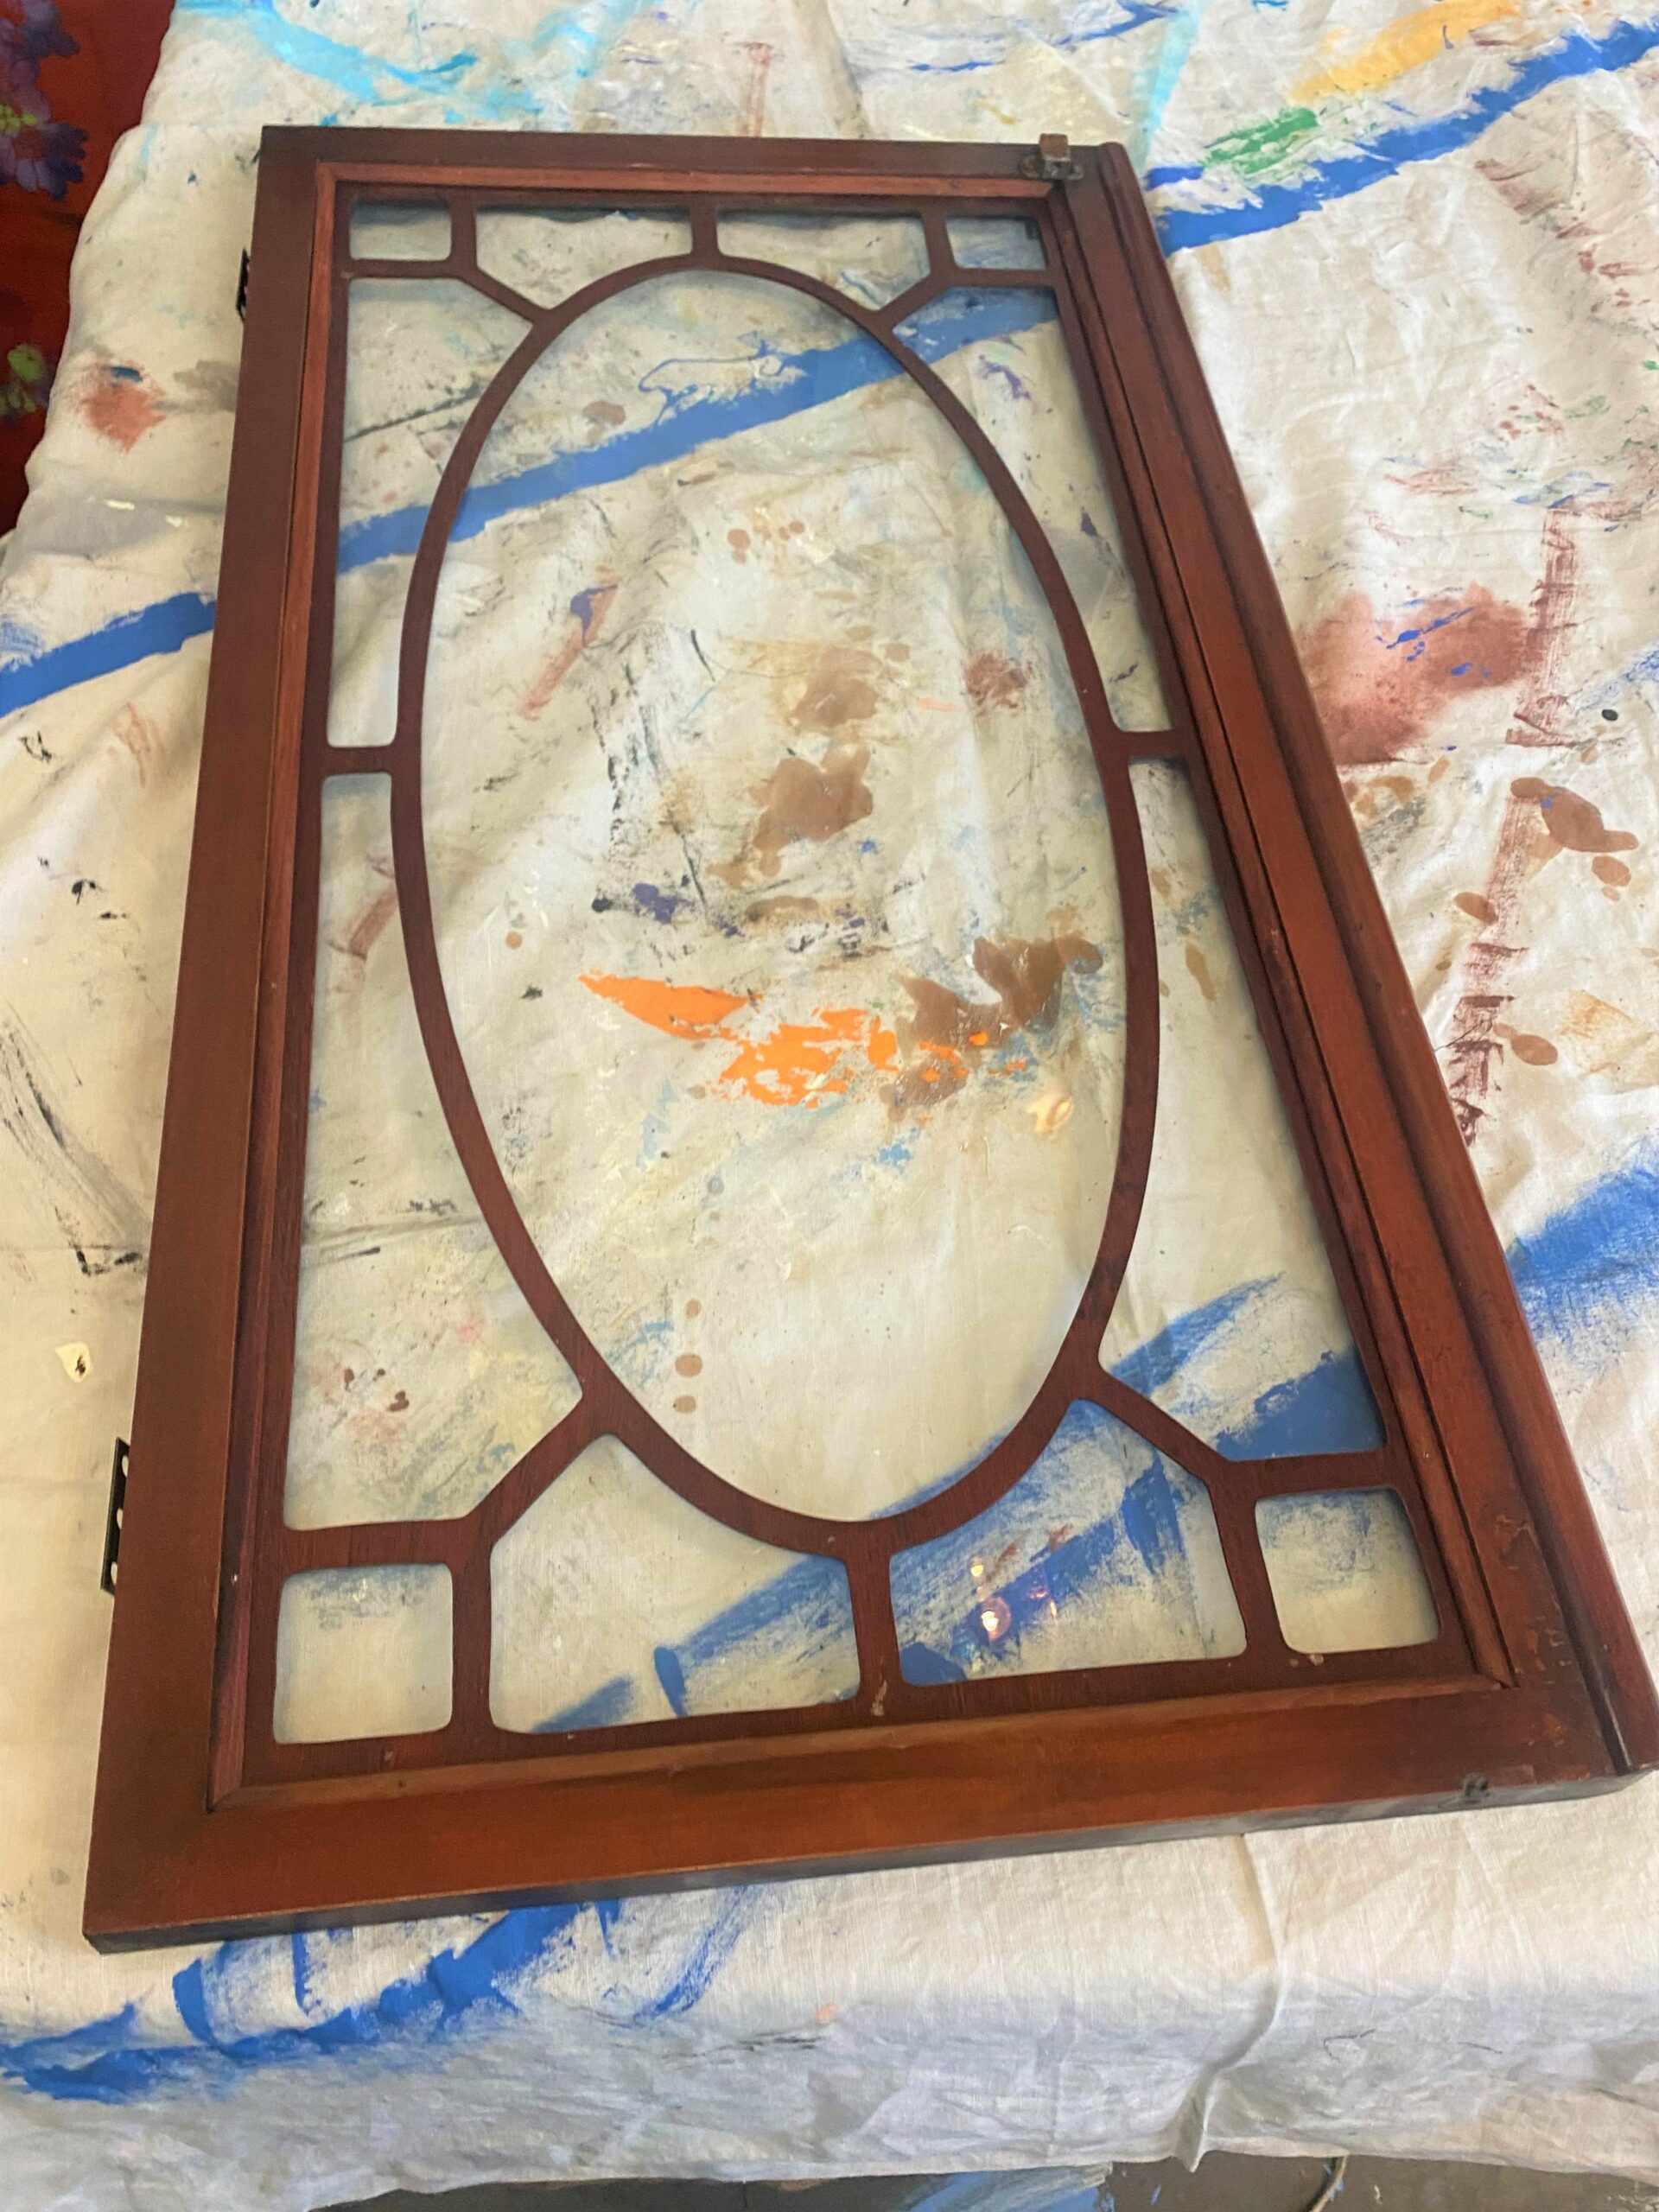
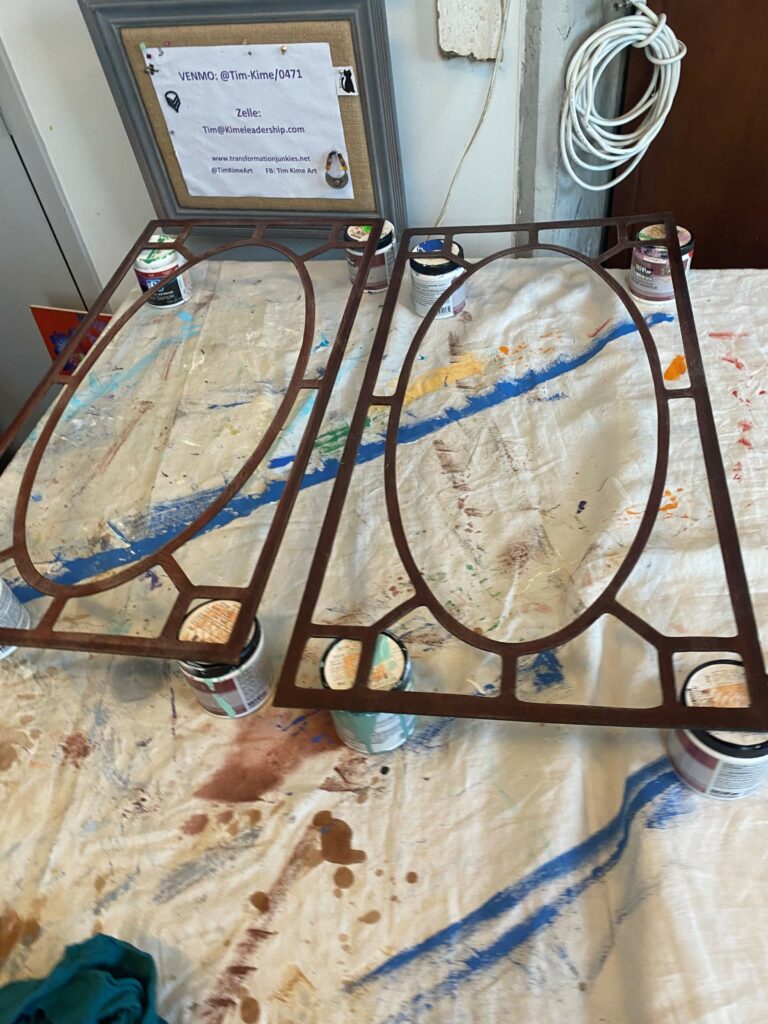
Doors:
Patience is a virtue as we have heard and learned. This step will need it for sure. Remove the hinges and knob. Very carefully, use a needle-nosed plier to remove the tiny nails holding the wood frame in place around the glass. Set the glass in a safe space until later.
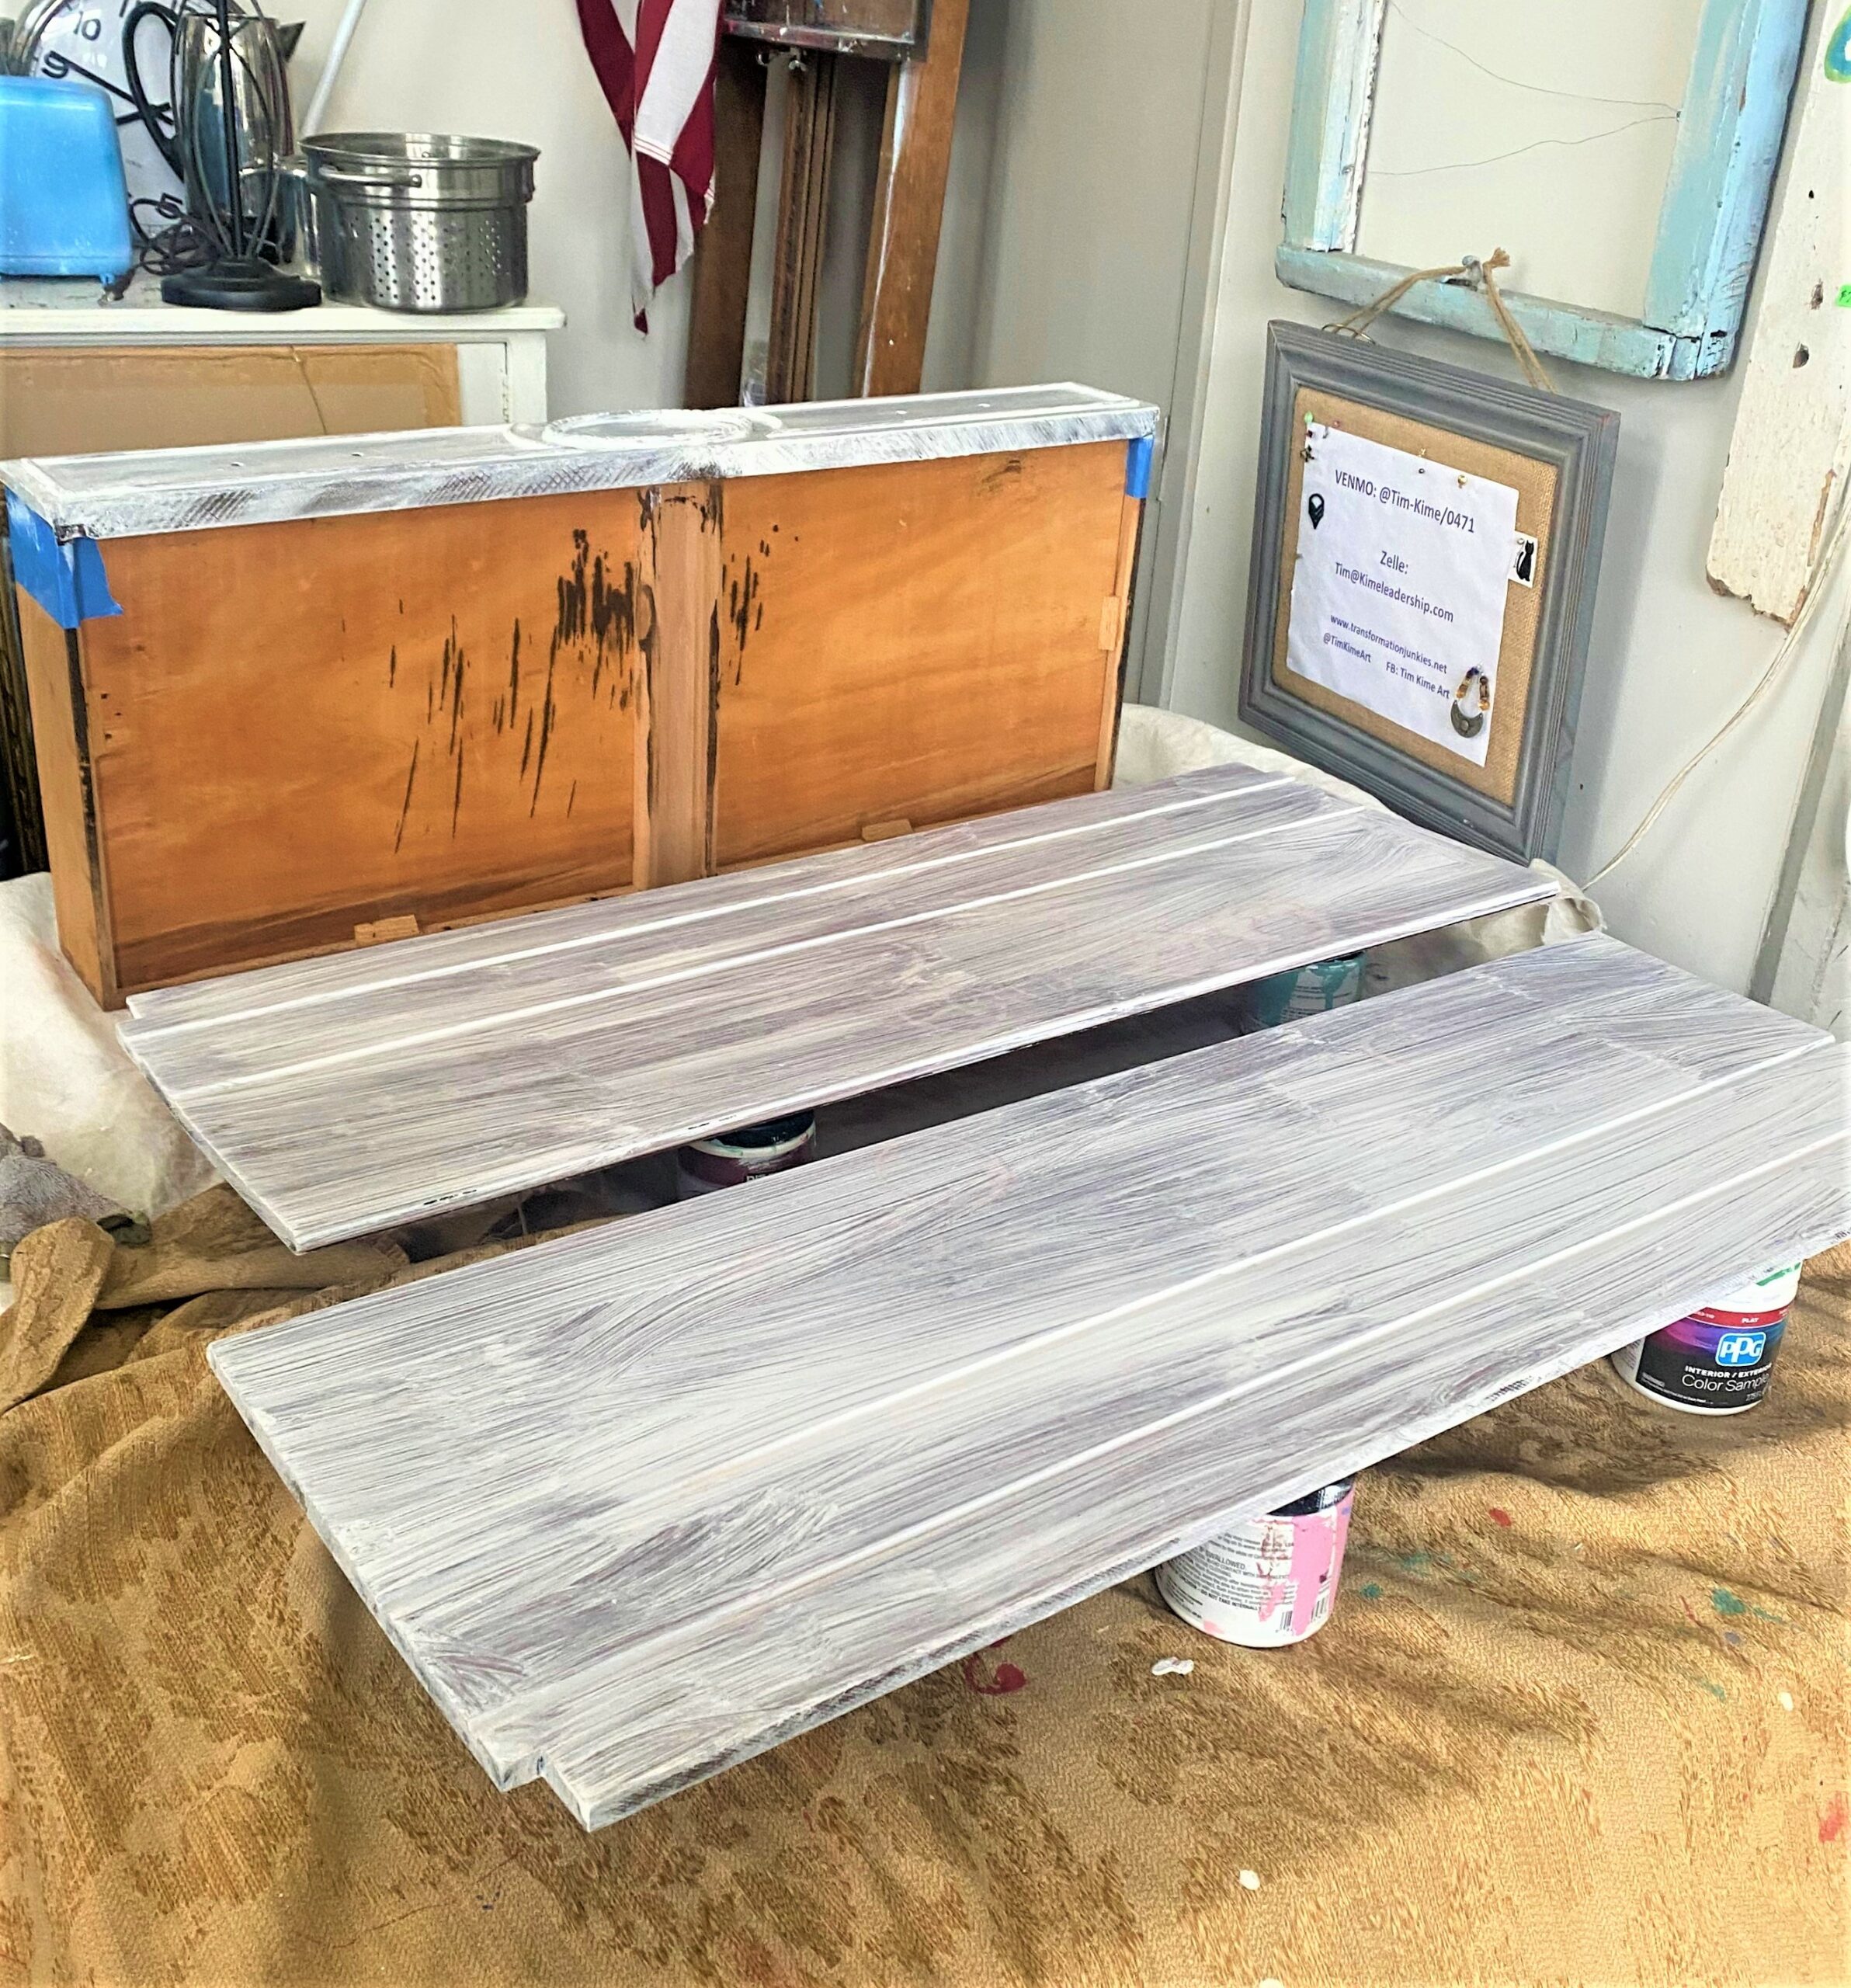
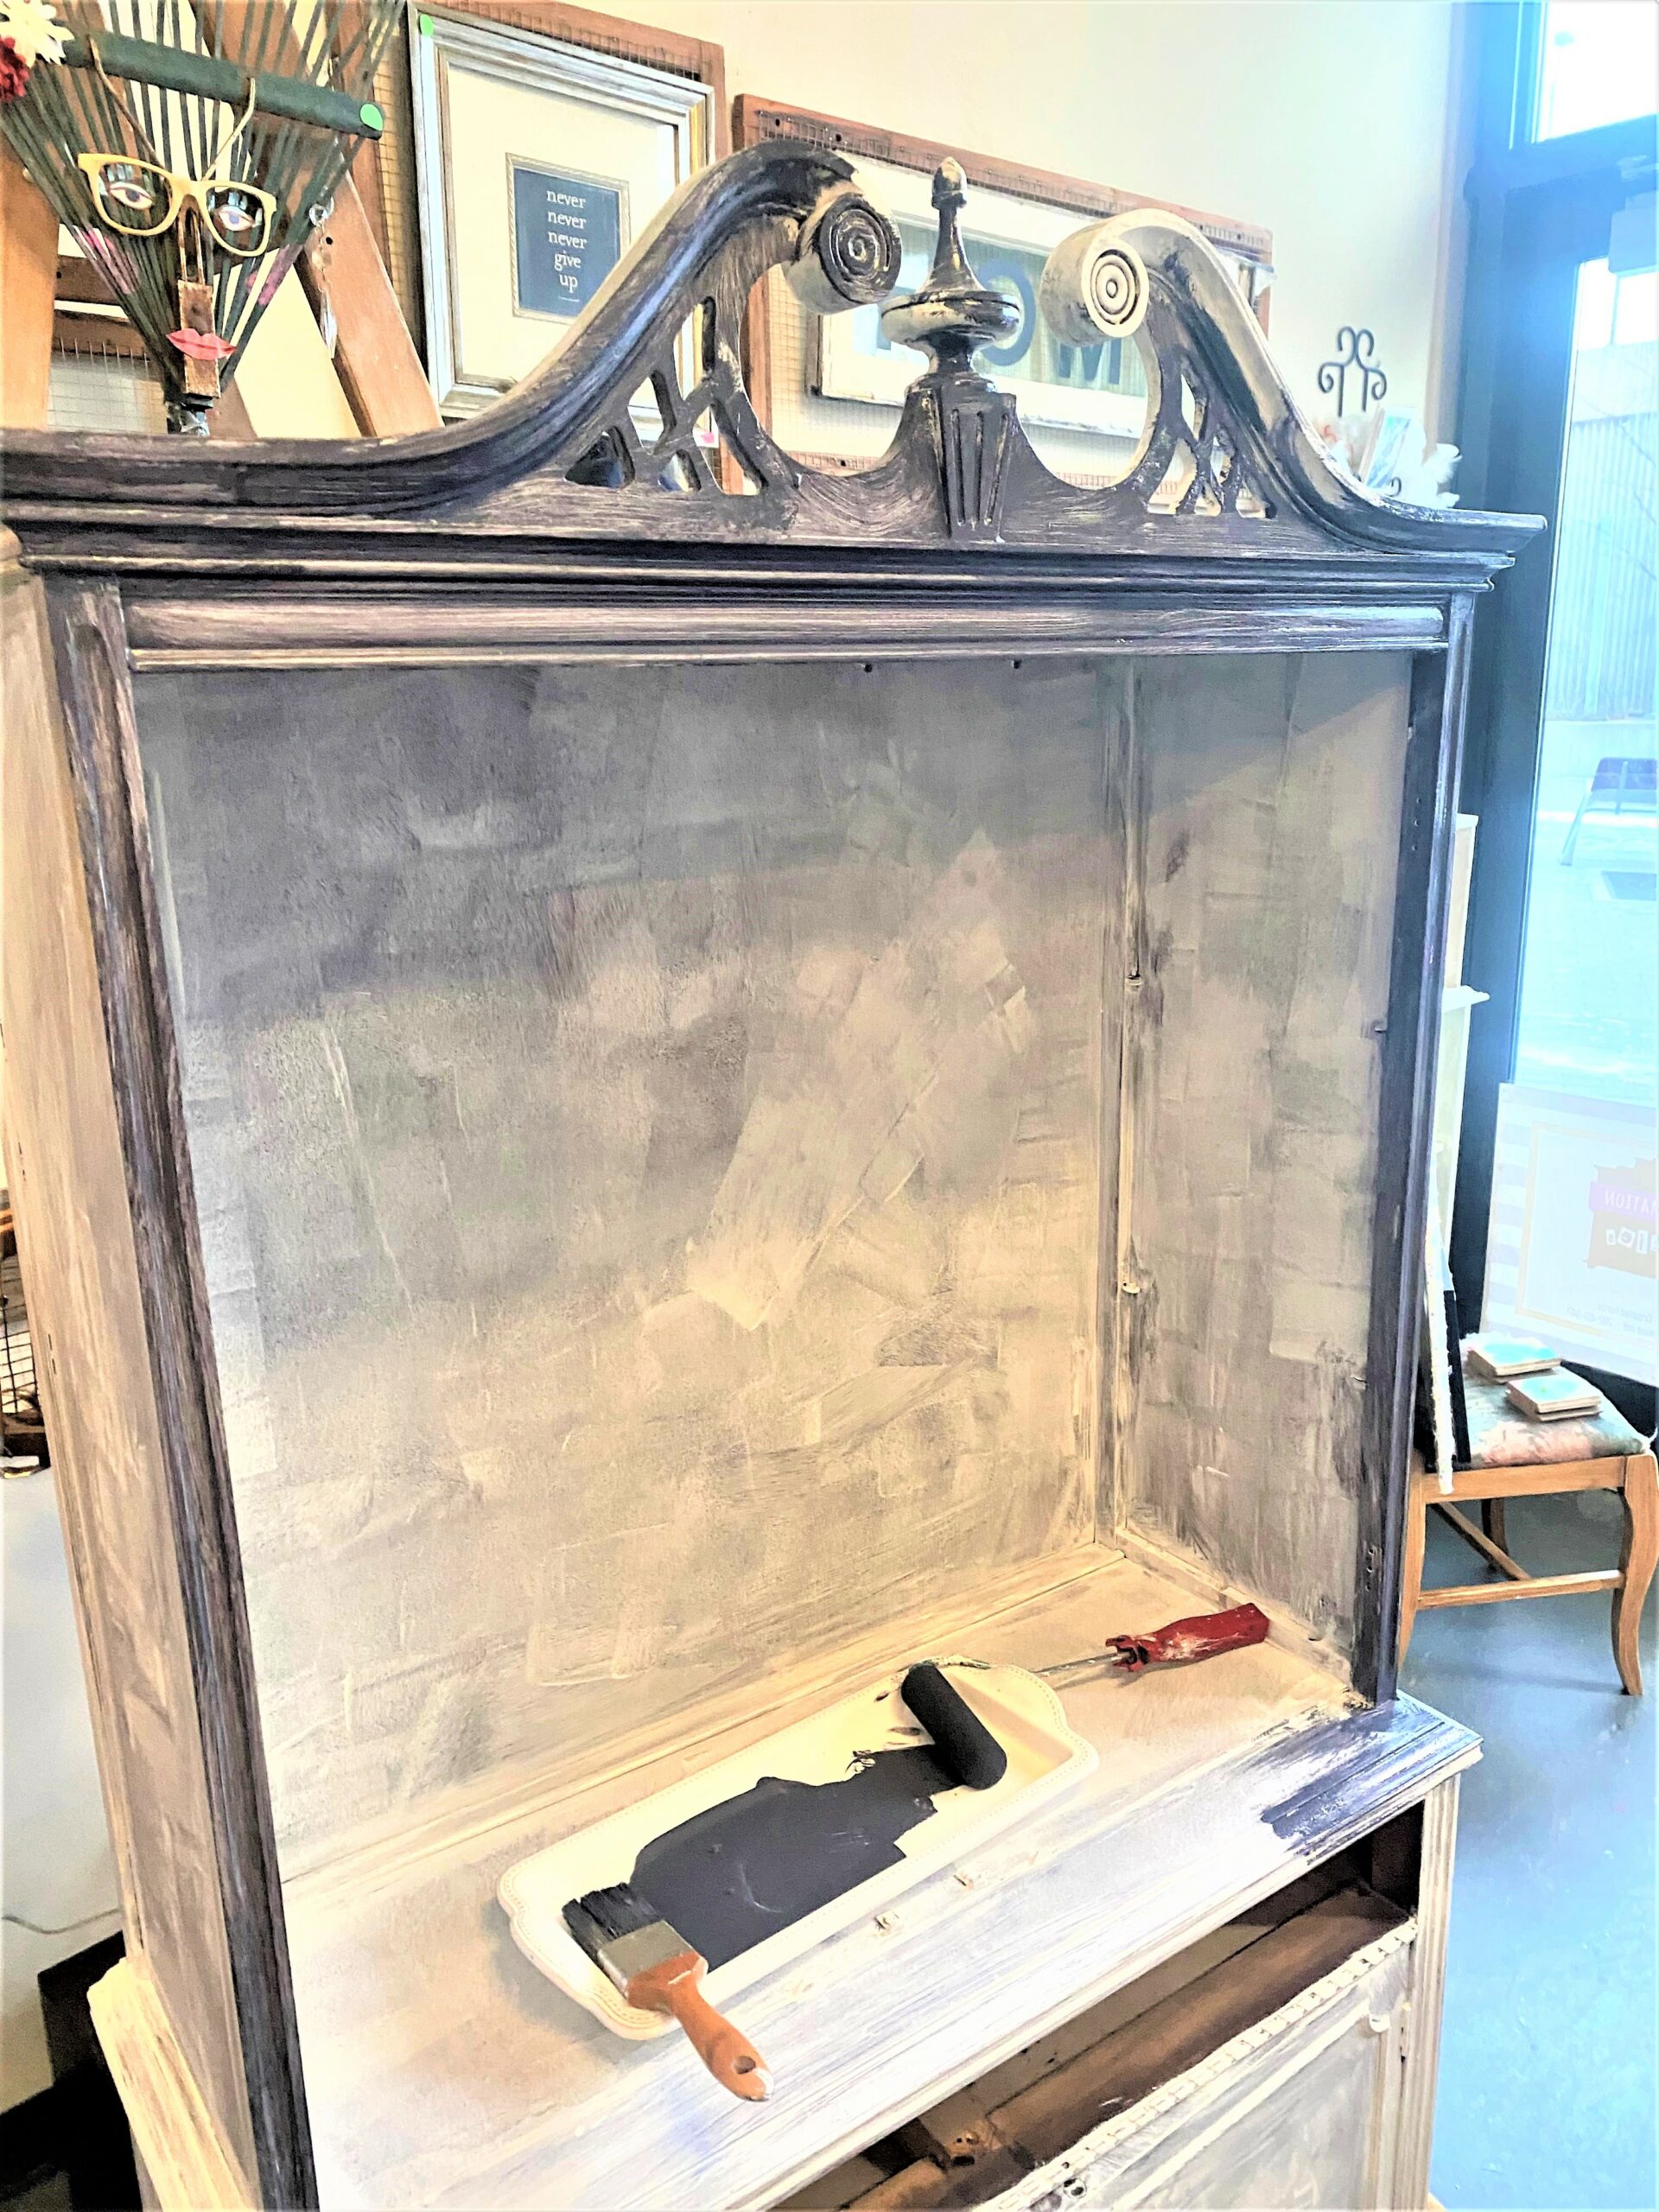
Step 6: Welcome with white
- The shelves and insides of both the glass cabinet and lower storage section were painted in white.
- Use painter’s tape along the edges to keep the white off the blue paint.
- Use rollers and small brushes as needed.
- Place the cabinet shelves on your workspace or table and prime them then give them as many layers as needed to ensure the crispest and sharpest look.
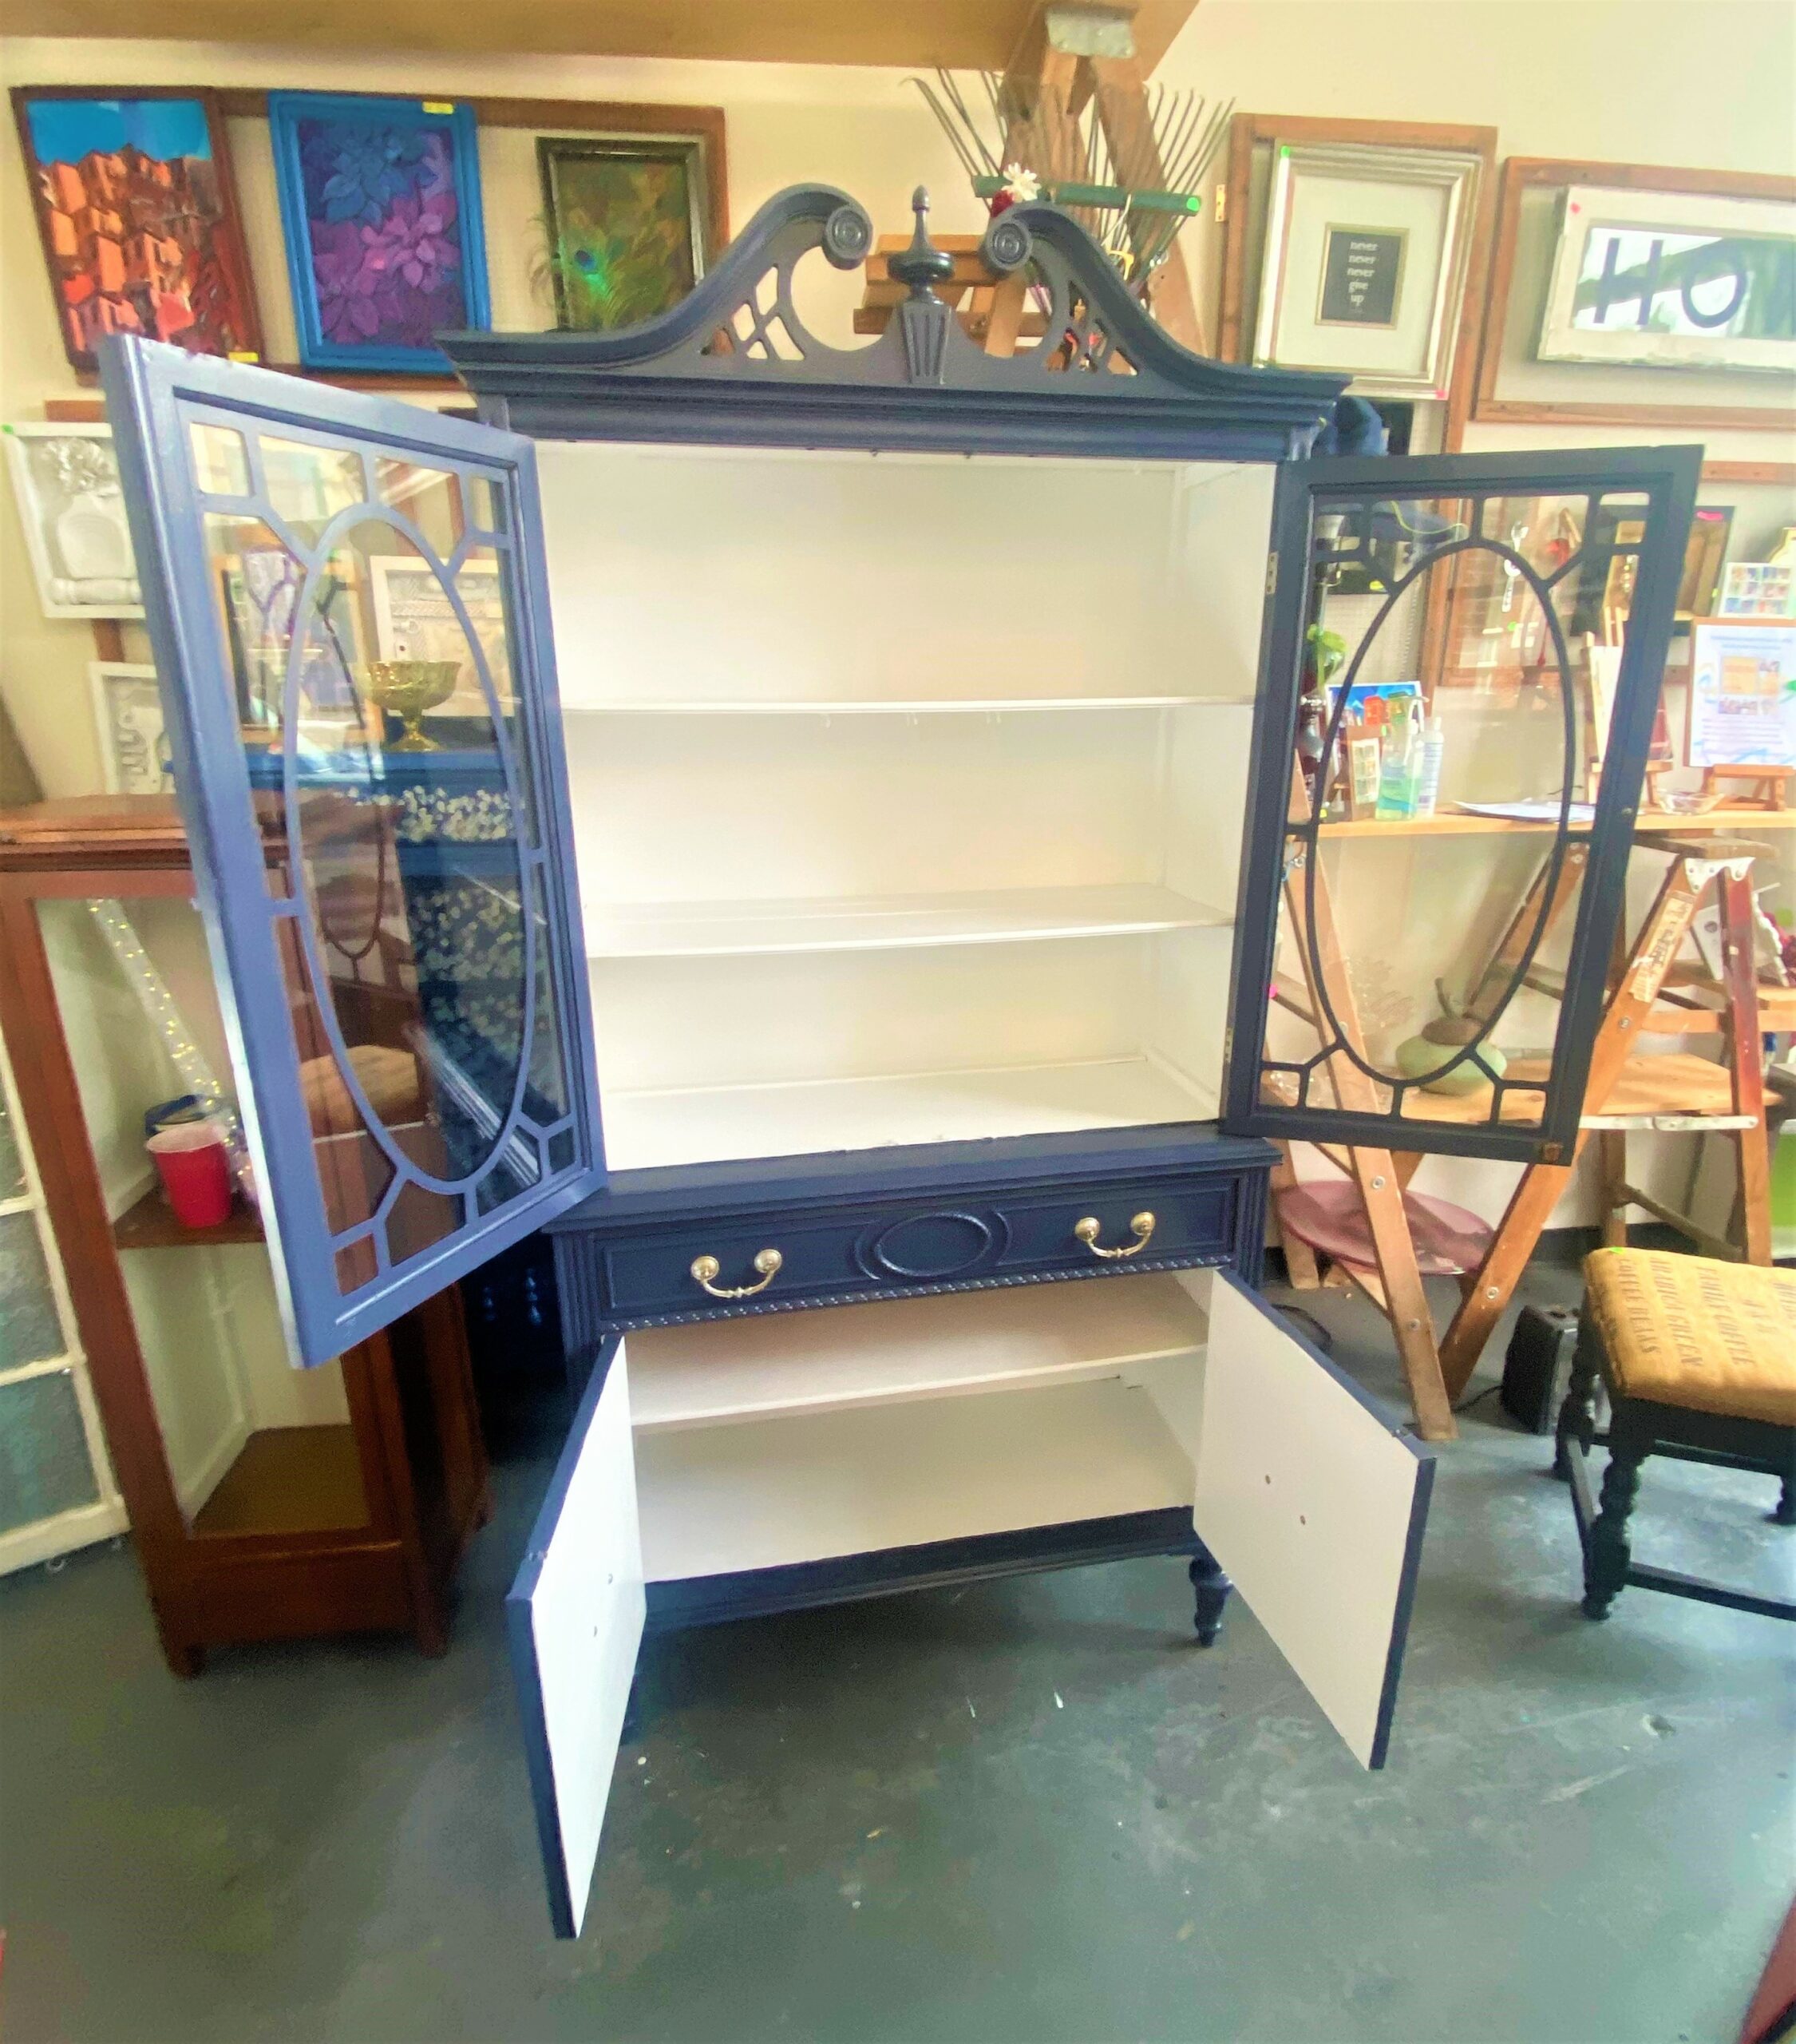
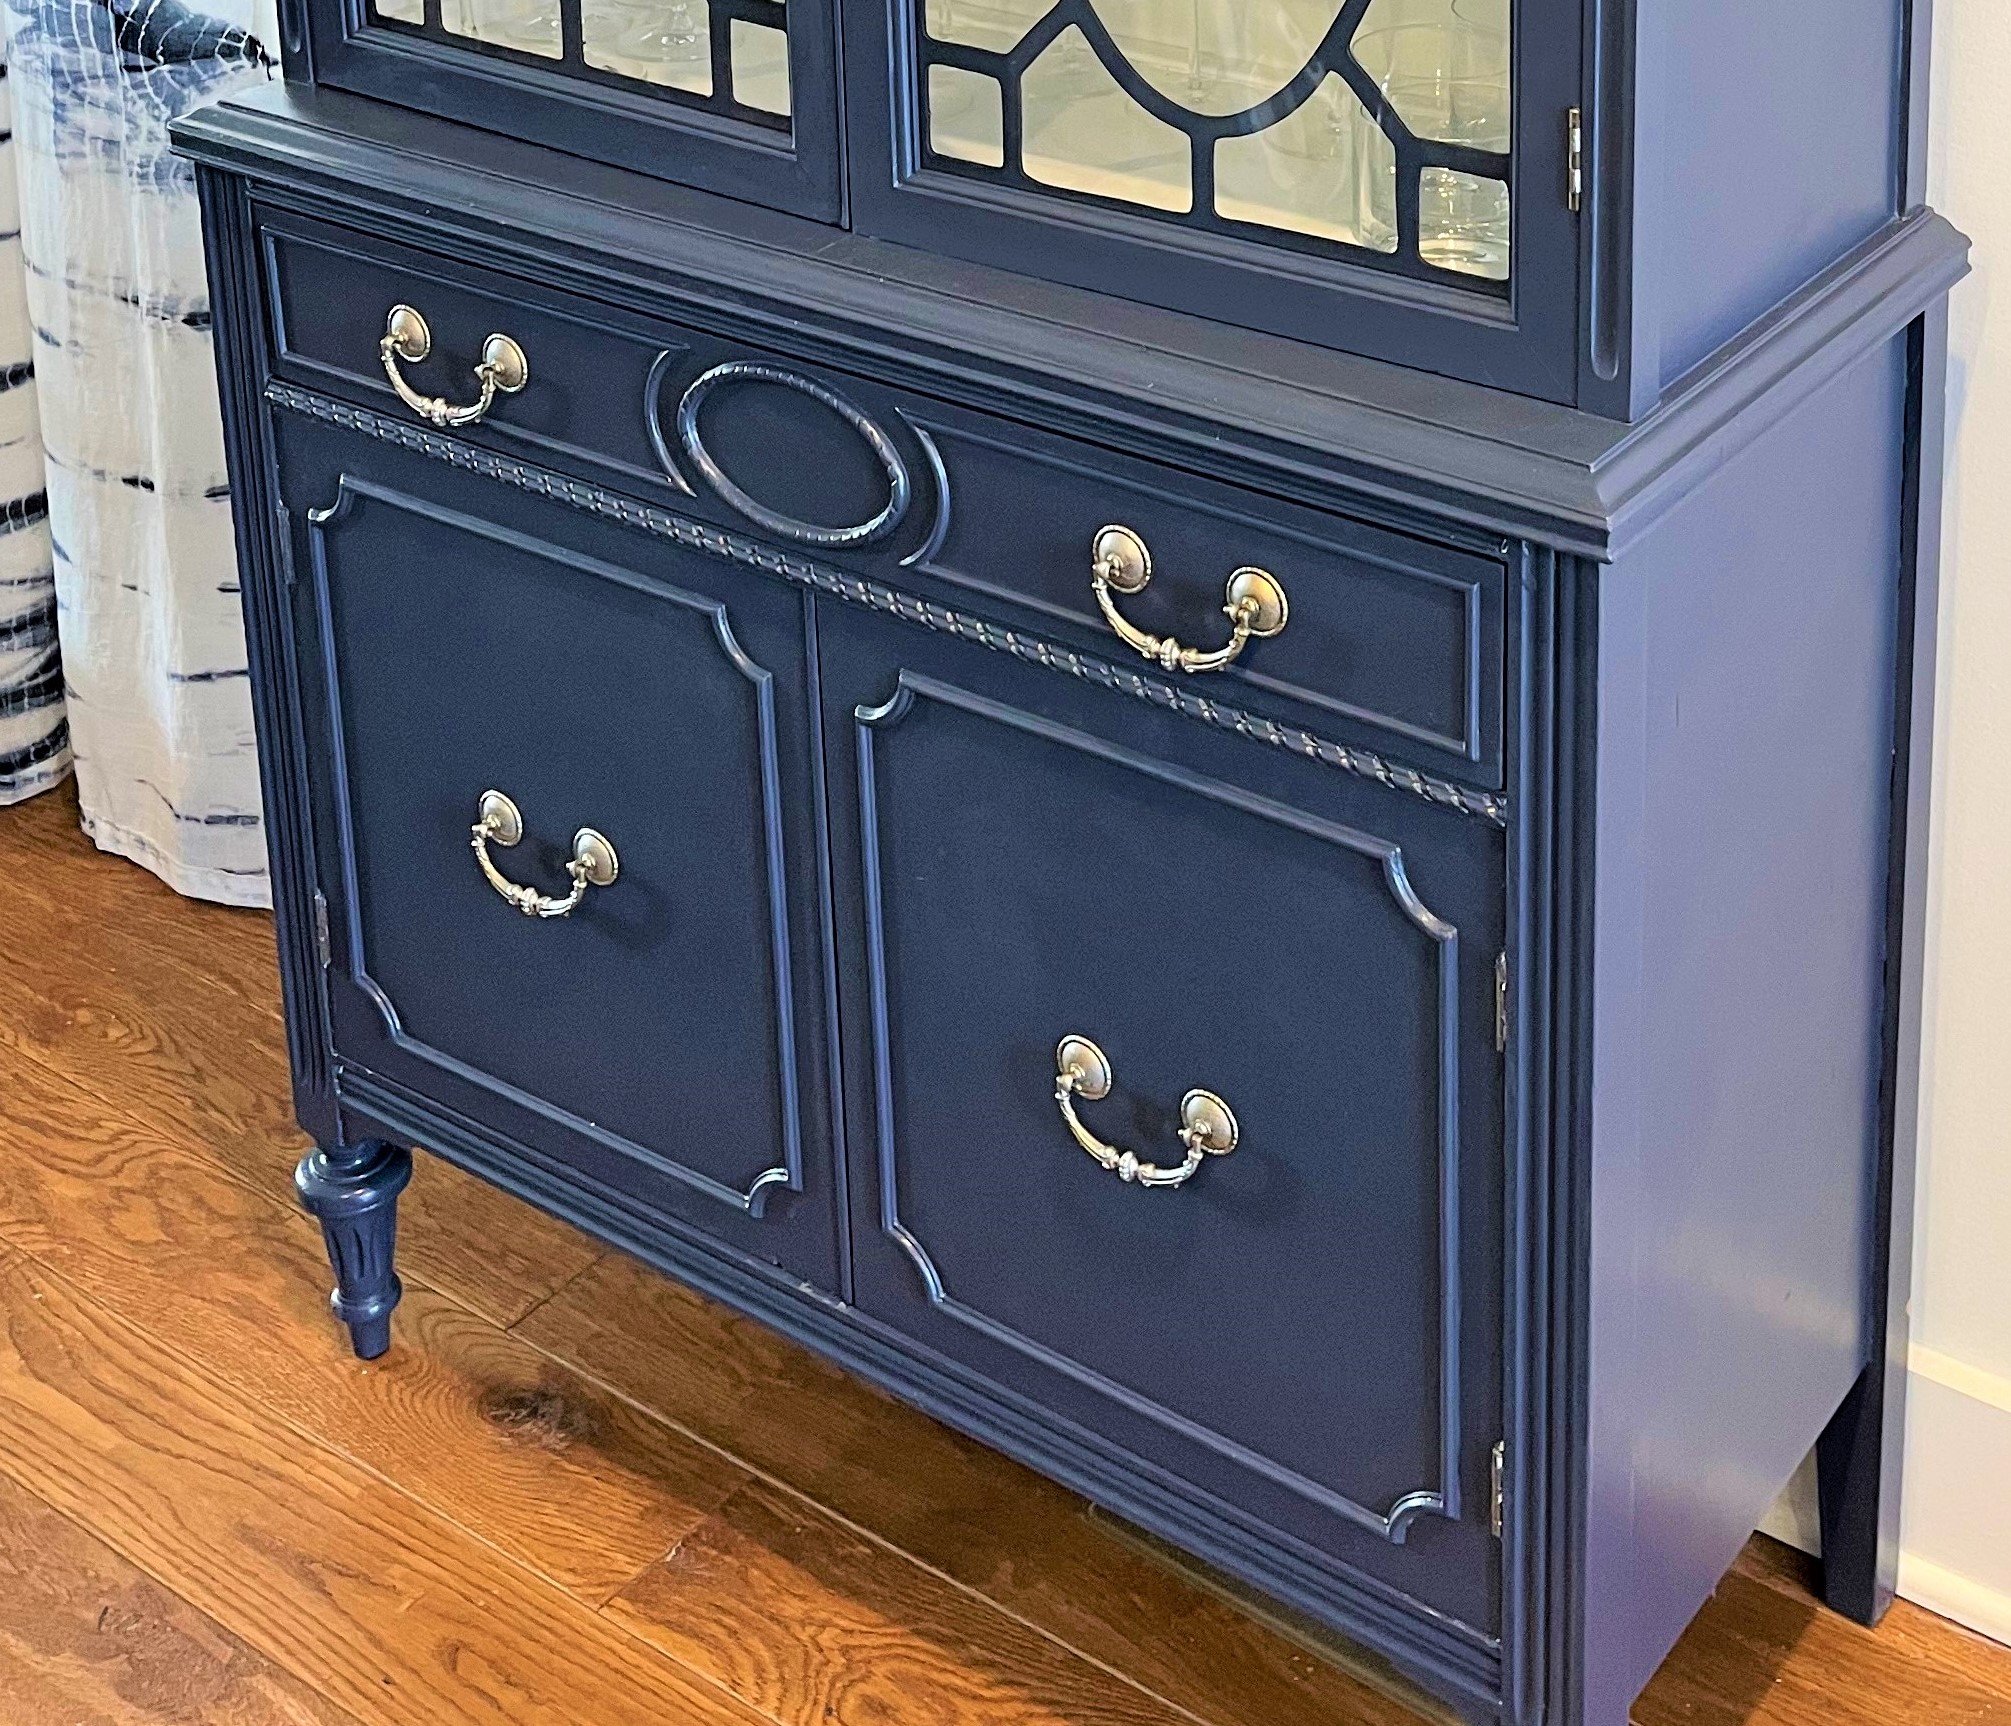
Step 7: Transform the hardware, too
- My preference is to keep the existing hardware, if possible, because it is part of its history, and you know it will fit into place when you put the piece back together.
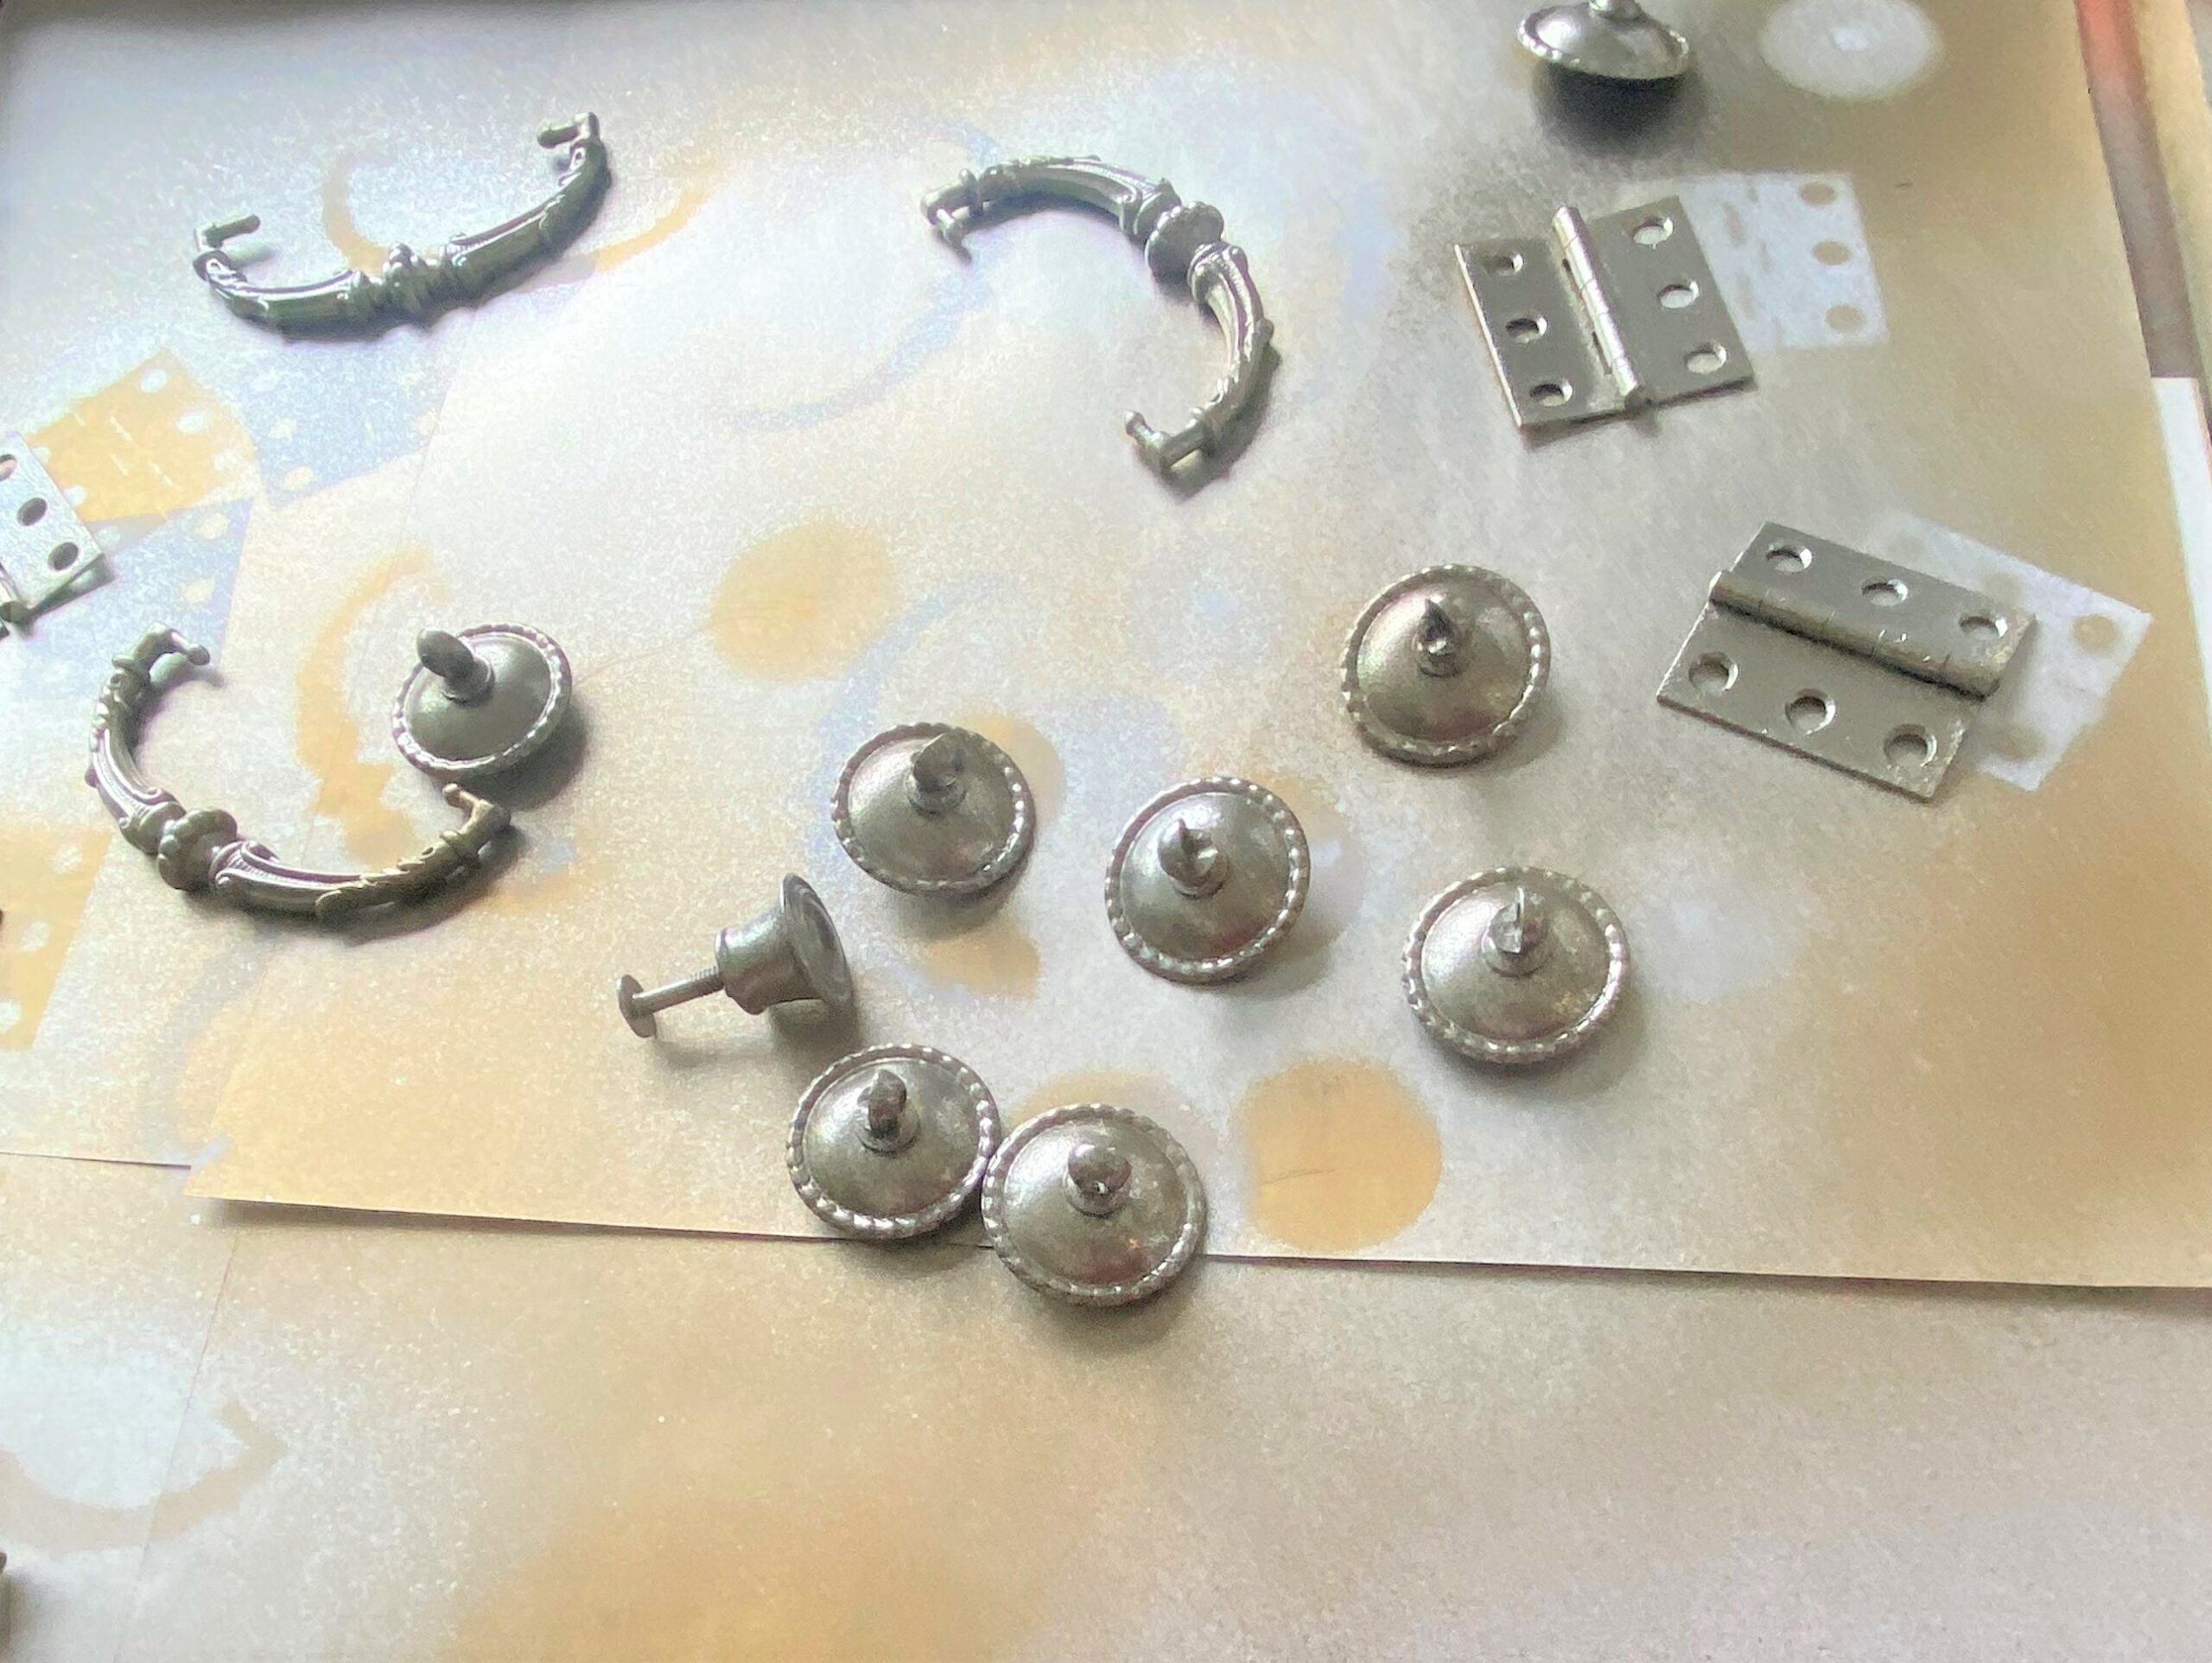
- Place your hardware collection on a drop cloth and add a layer of gold spray paint.
- When dry, “spritz” on a light layer of silver so that some of the gold shows through.
As you are able to see, you can make your old hardware look like jewelry with some shimmer and shine.

Step 8: Keep her pristine with poly
- You may want to take another step and brush on some polyurethane to add another layer of protection.
- Brush on a light layer, focusing on your shelves’ top sides, drawers and outer edge, the parts that might get touched most when used.
Step 9: Ready to reassemble
Carefully return the shelves to their place. Patiently put the glass back in the doors and gently tap in the nails. Return the hardware to their original home. This step is almost as rewarding as the painting steps because it is putting the icing on the cake!
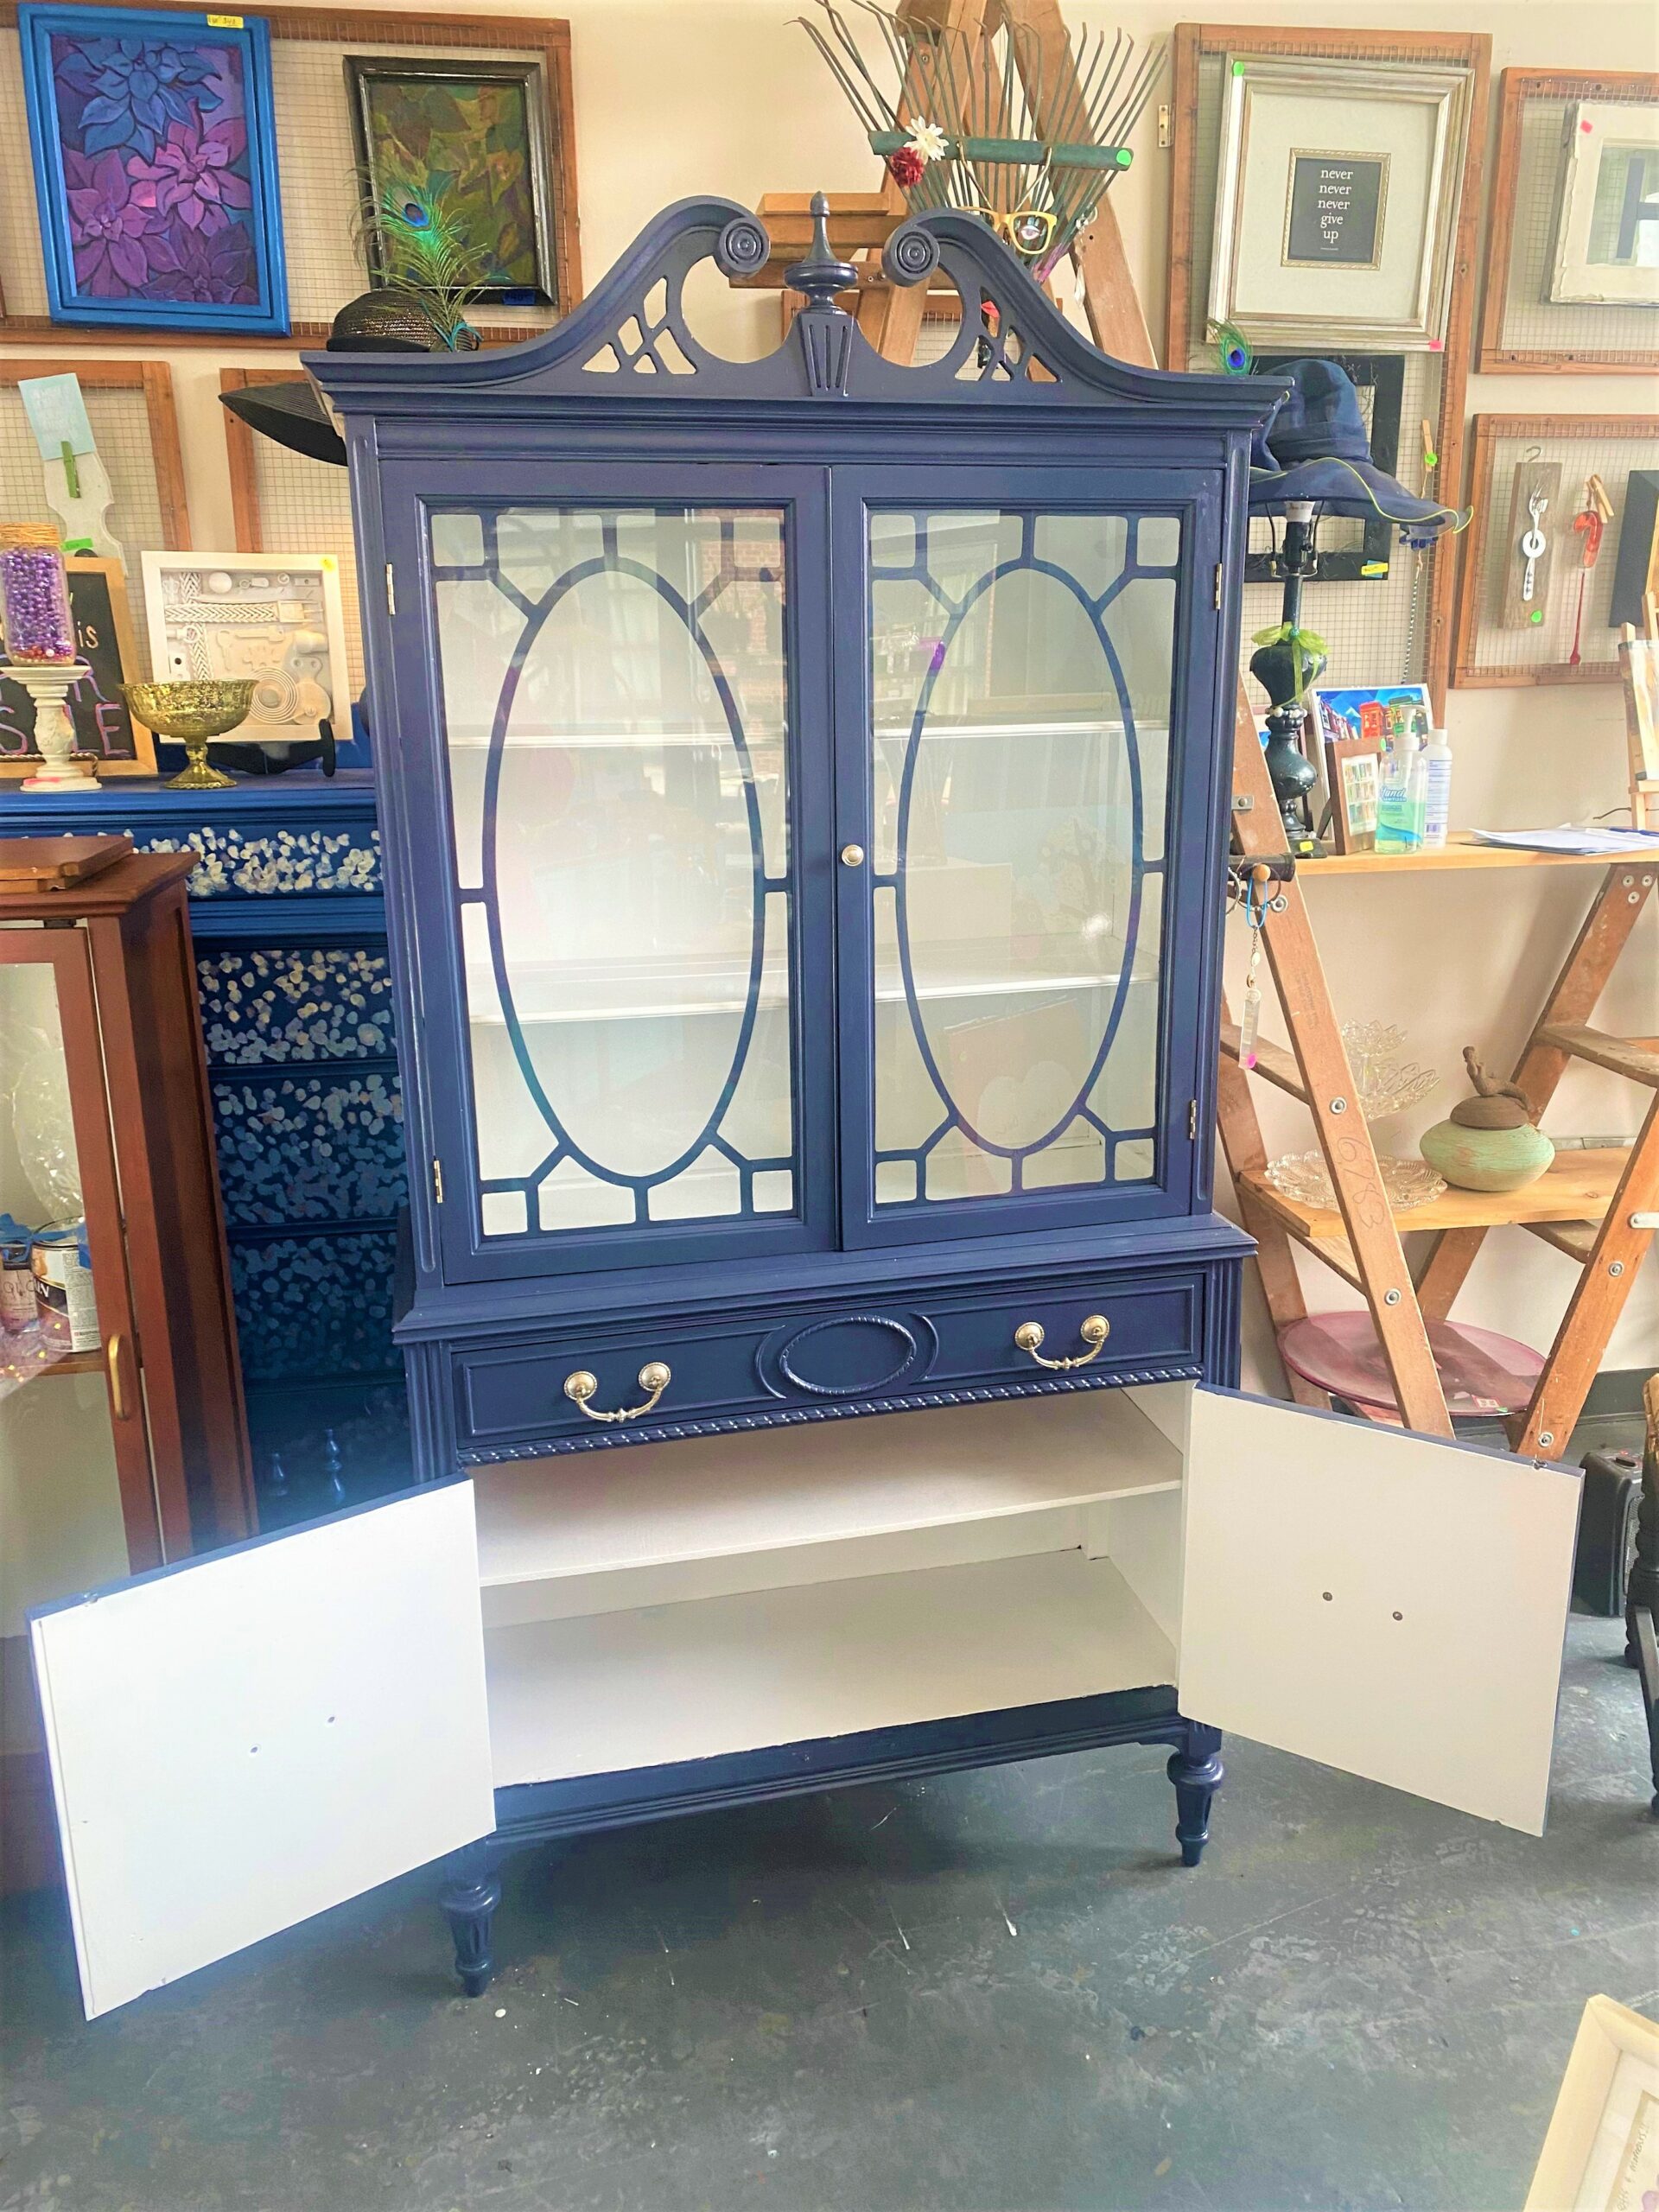
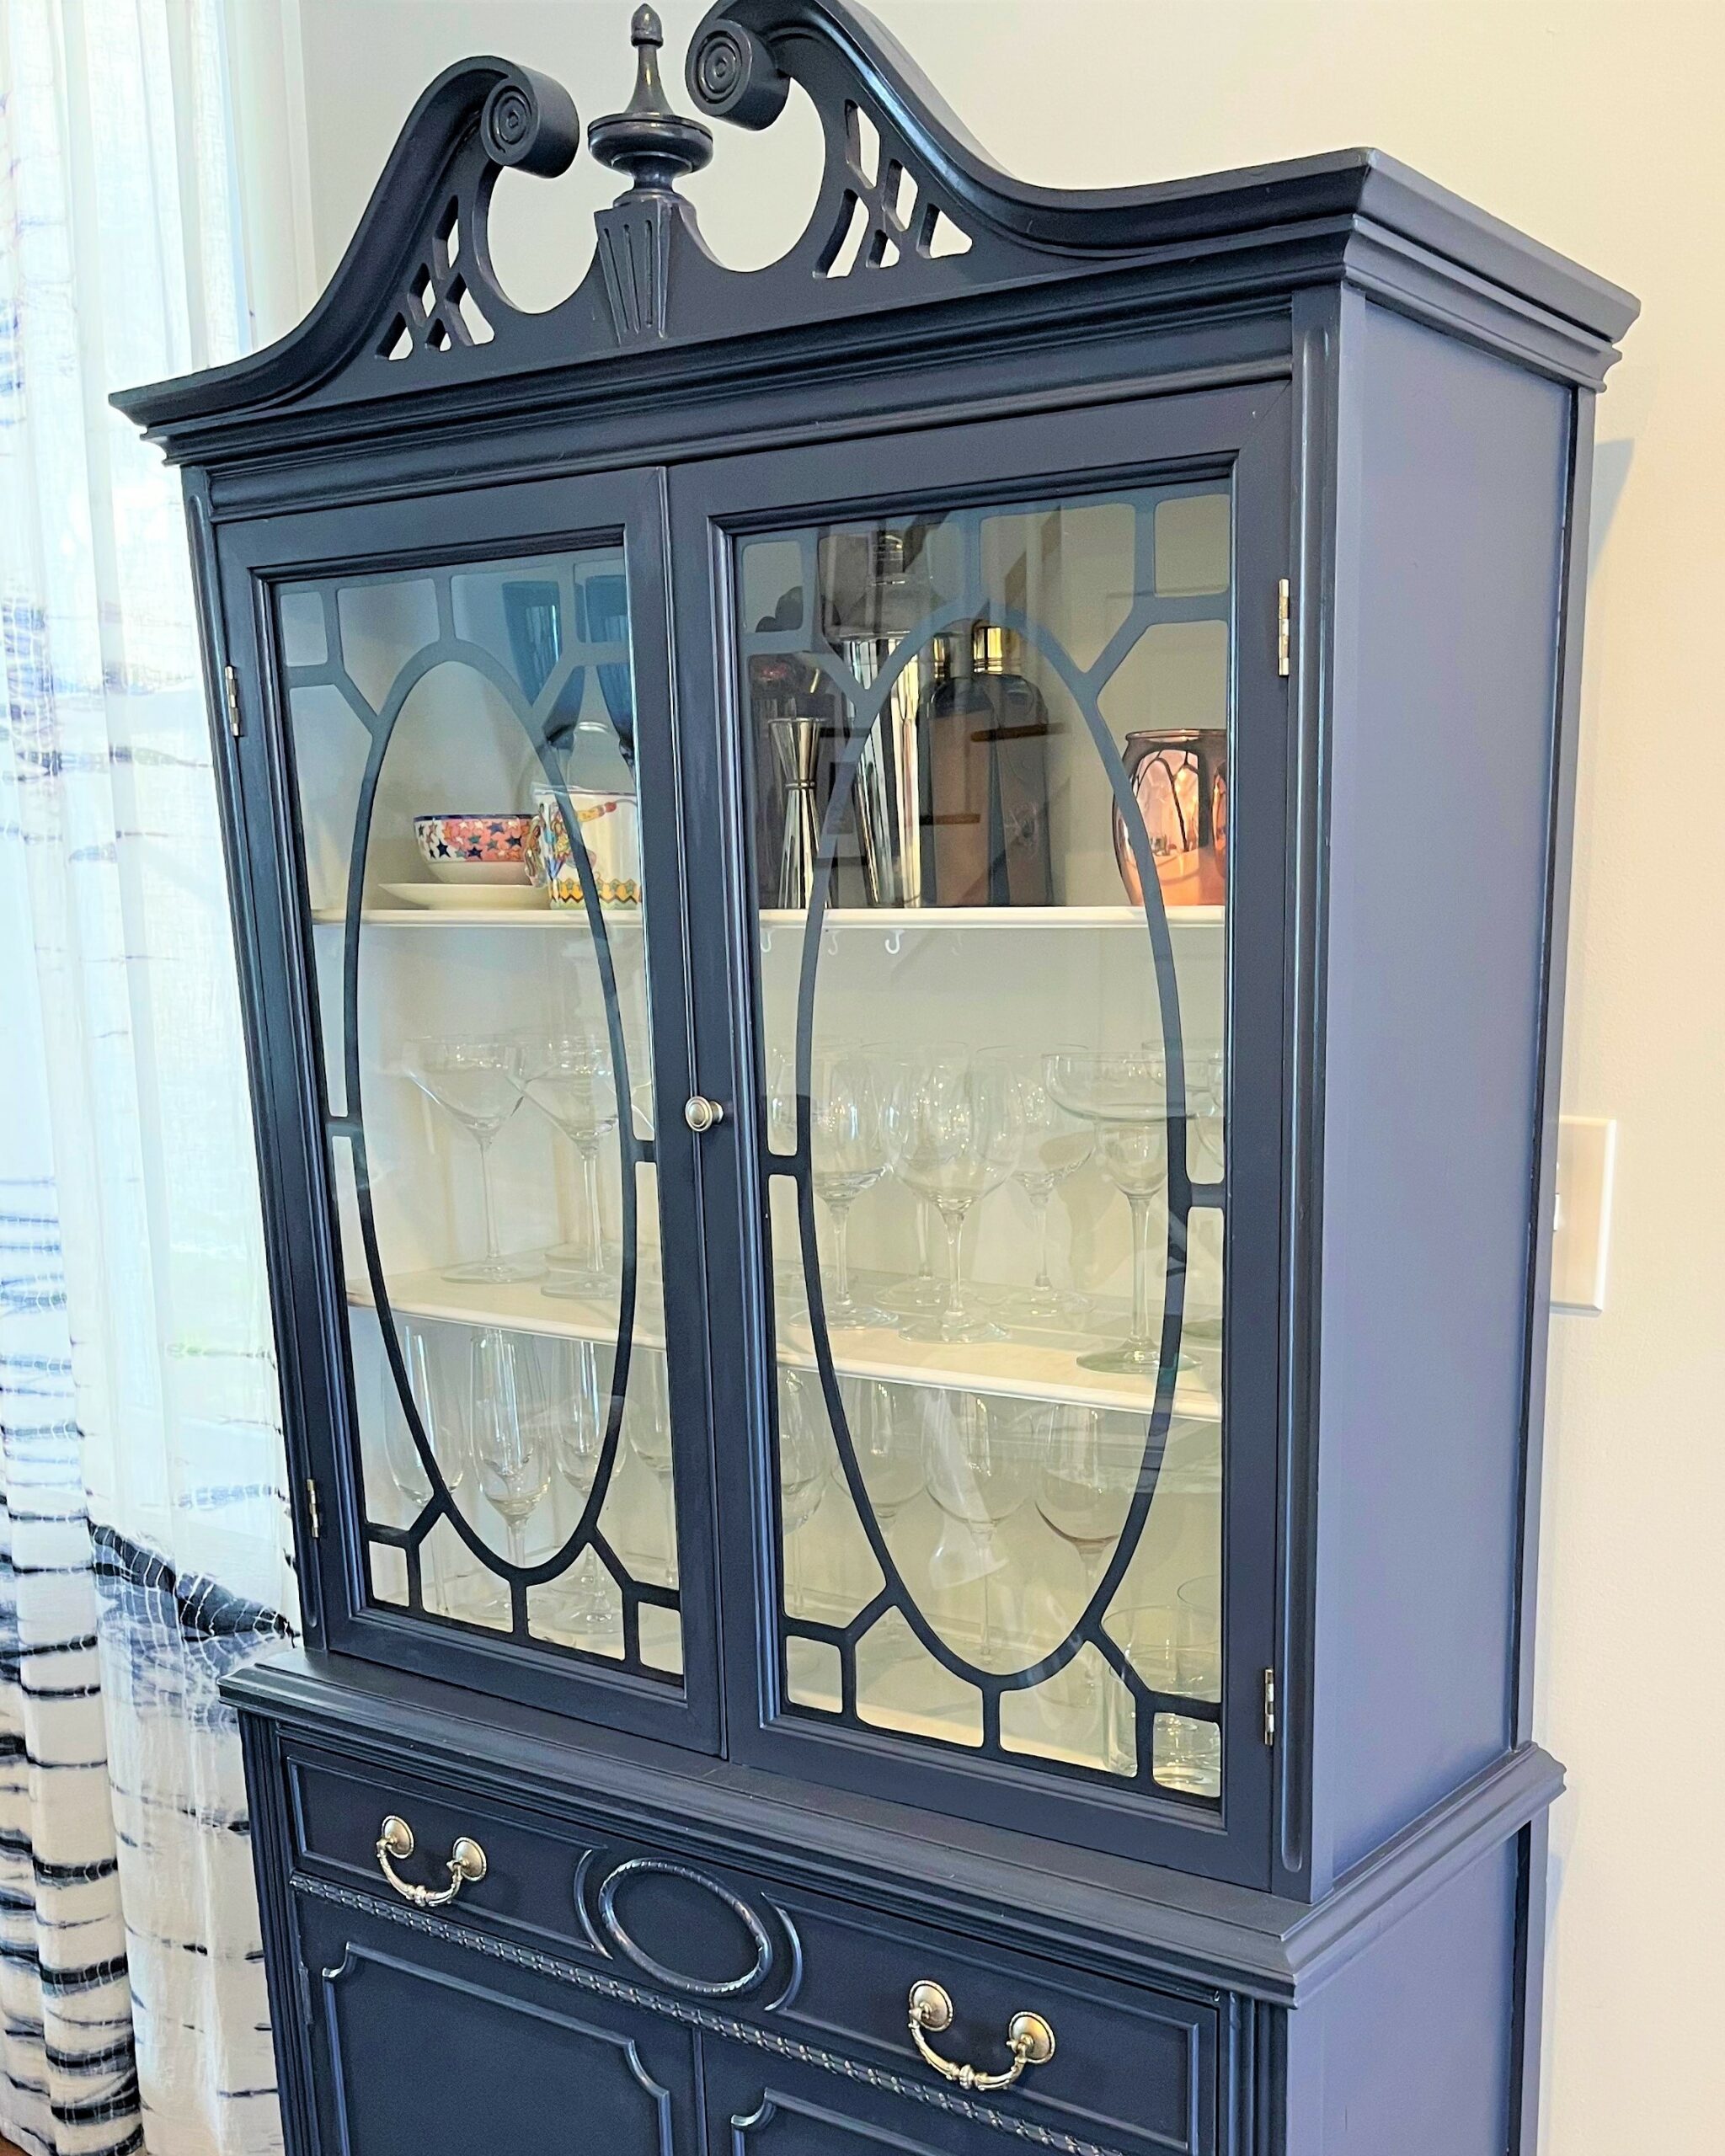
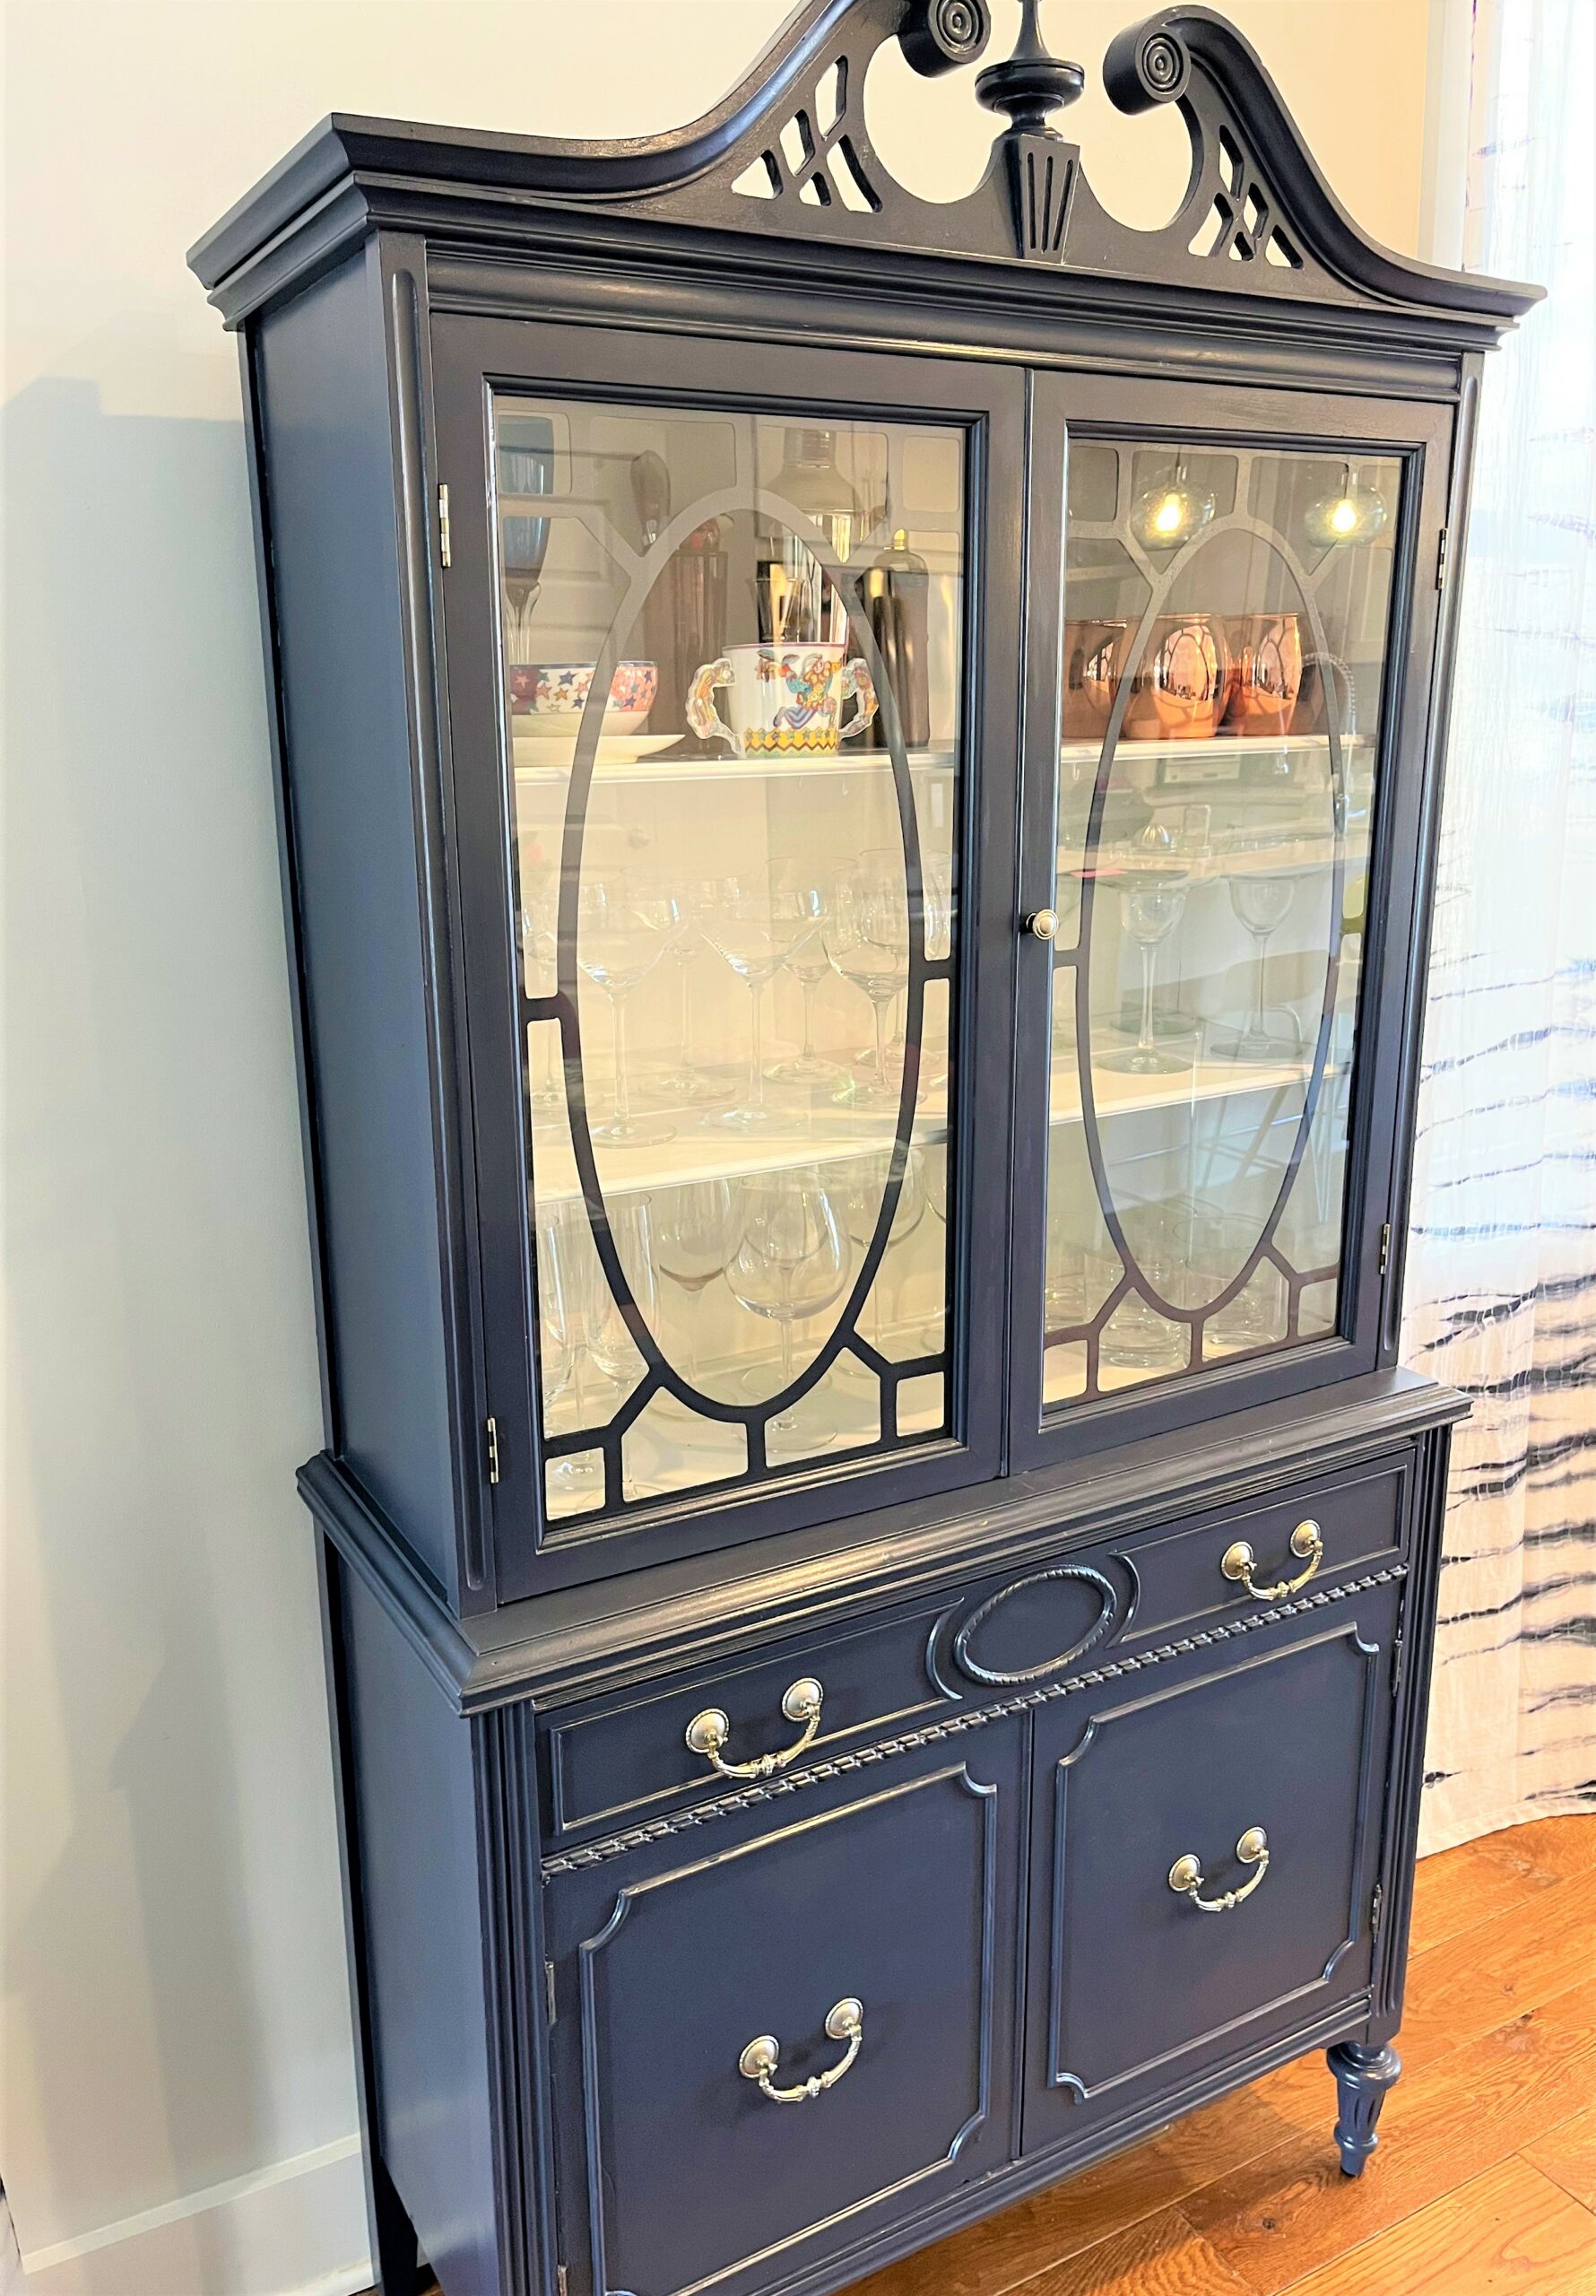
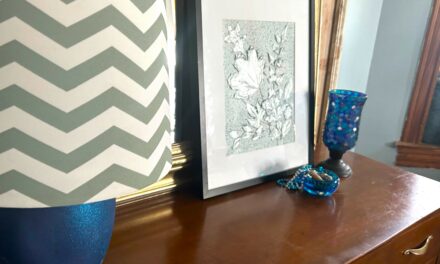
Step 10: Stage & celebrate
Place your colorful and cool China cabinet in its place in your space. Add glassware, plates, and other items to display. Use the lower storage for placemats, table clothes, and other linens. Or fill it with items that make you happy and smile like family photos, your kid’s clay sculptures, and other fun mementos.
Your transformed China cabinet will add some elegance—and some funkiness–to your home for sure!

Tim Kime
Artist, Motivational Speaker, Life Coach
