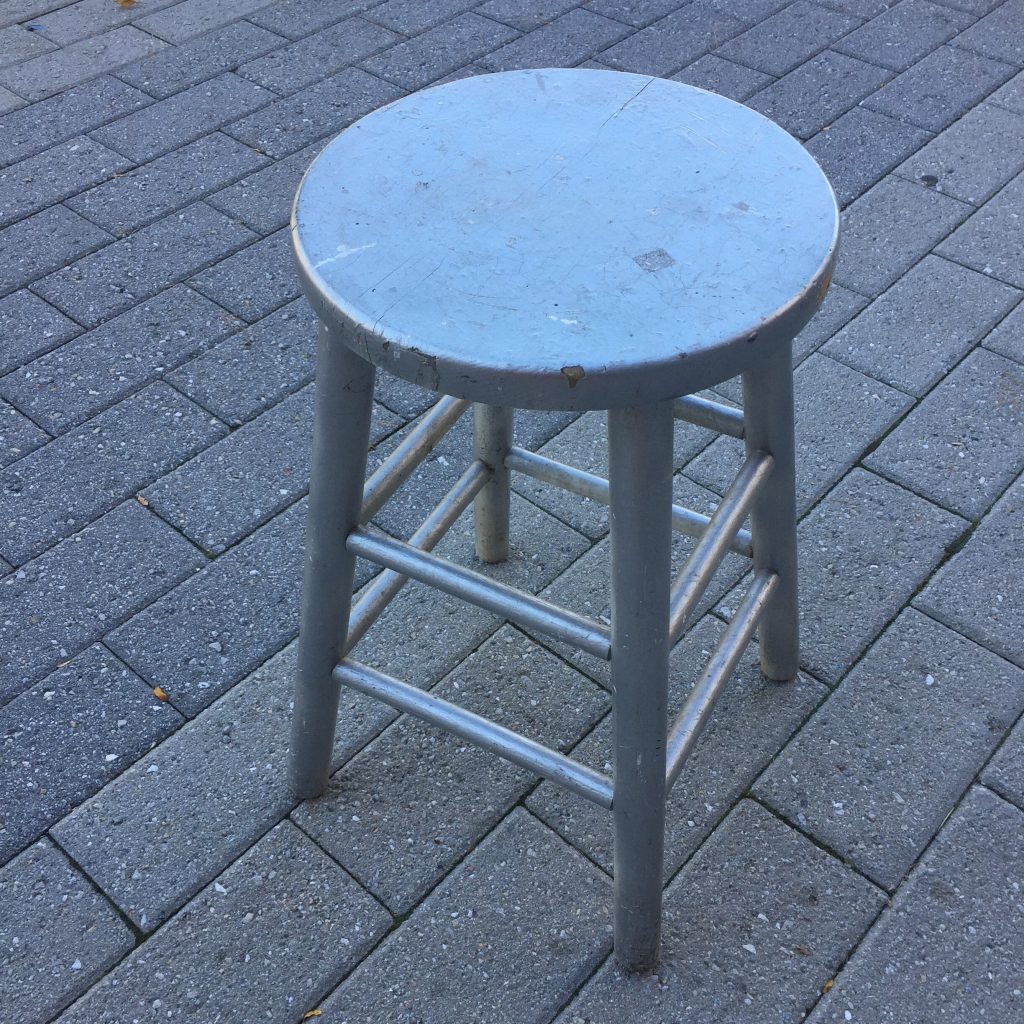
1. Wooden stool
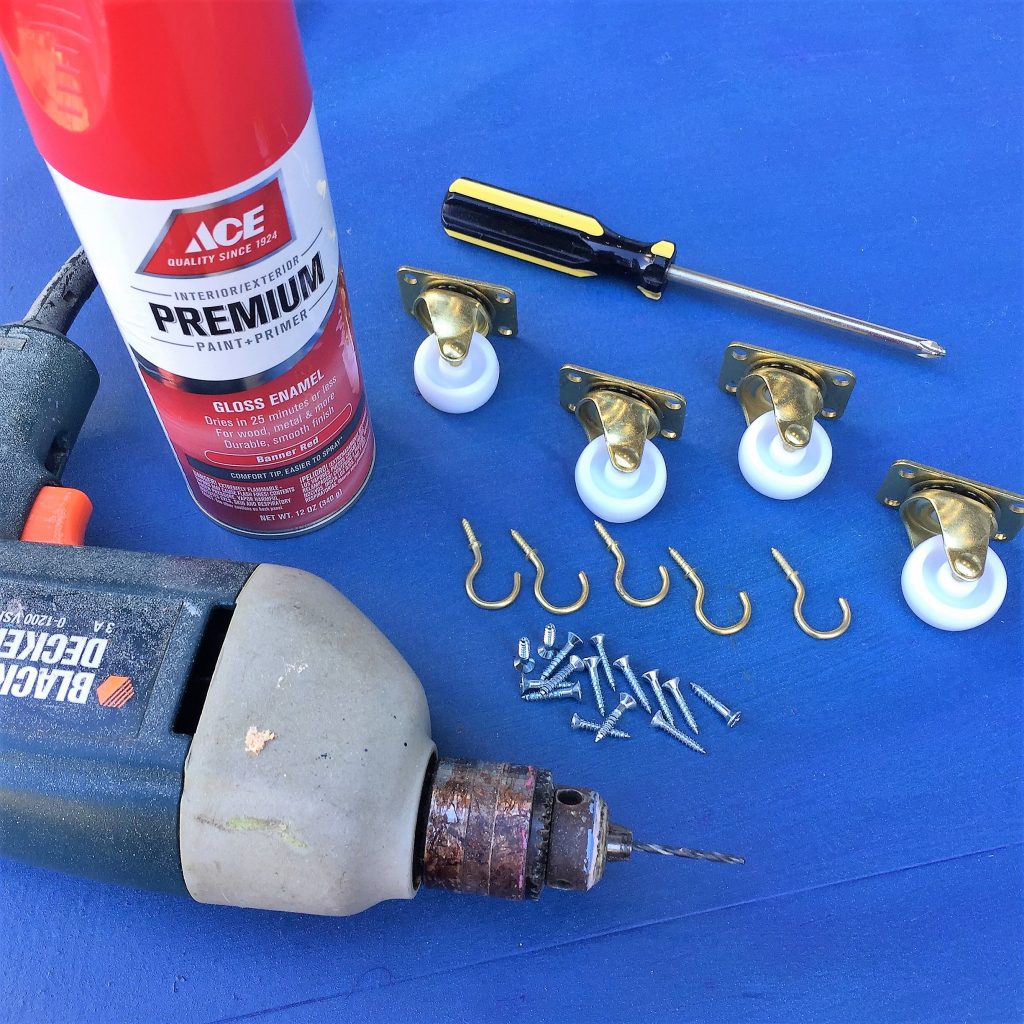
2. Spray paint
3. Four small caster wheels
4. Screws
5. Small hooks
6. Sandpaper
7. Drill
8. Screwdriver
9. Drop cloth
Cost: Approximately $30
$6 for wooden stool
$4 for a can of spray paint
$16 for wheels
$2 for hooks
$1 for screws
For some reason, single wooden stools seem to find their way to your local Goodwill store so stop in to pick one up for this easy project. Make sure the top is smooth and flat. By shopping at Goodwill, your stool will be in good shape and ready to go.
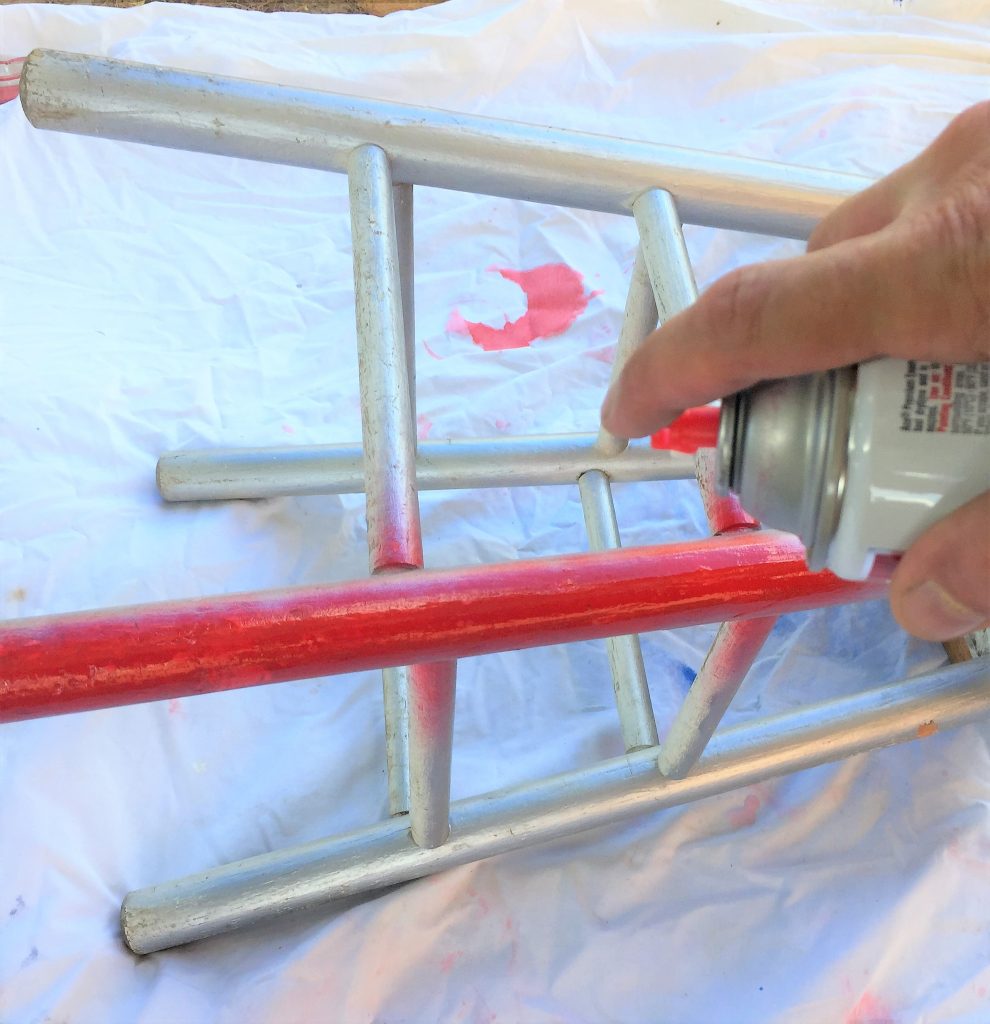
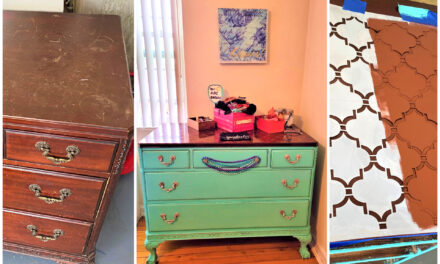
Step 2: Paint the Town
Take a minute to lightly sand the stool’s legs and cross bars. Wipe down to remove the dust created by sanding. Your stool is now ready to embrace its new life so go bold with your paint color. Bright red was selected for this project to fit into the holiday theme, however, consider picking a fun color to compliment the room or entryway where your transformed piece will proudly serve its new purpose. Use your drop cloth in a well-ventilated area; ideally, you will want to do this outside. Spray a light coat of paint on the stool and look at it from several angles to ensure you cover the entire piece. Don’t worry about the first coat being perfect as the second coat will capture any gaps. Allow your first coat to dry for a couple of hours; after that, turn the stool over or on its side so you may see where you might have missed a spot. Add the second coat.
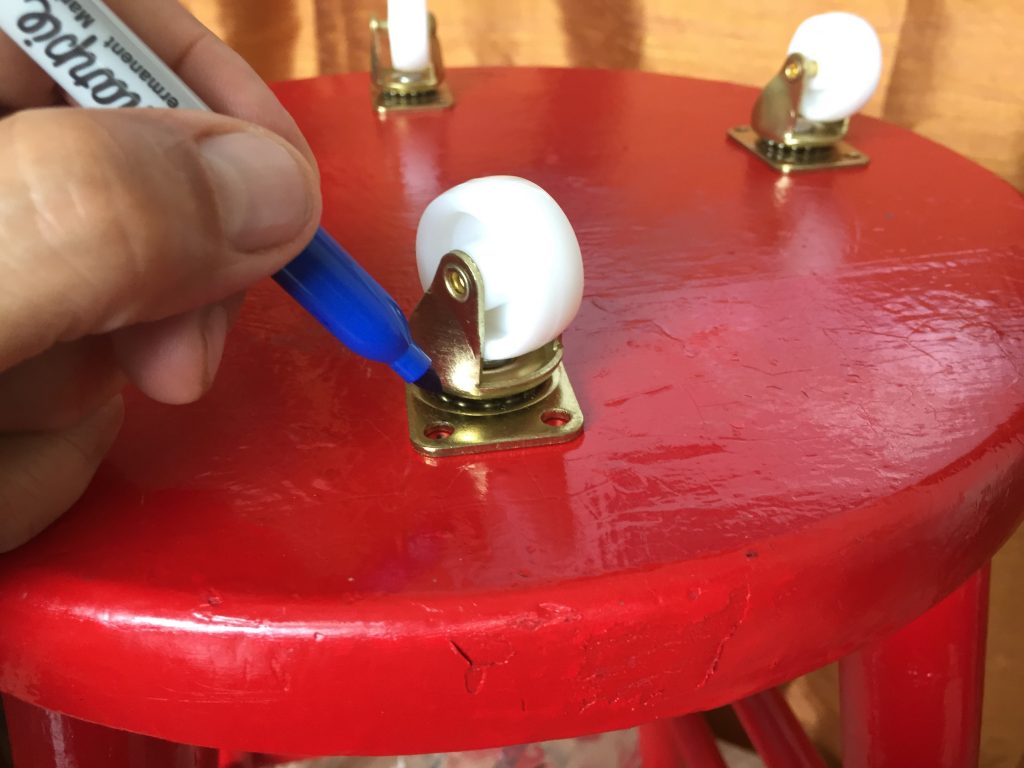
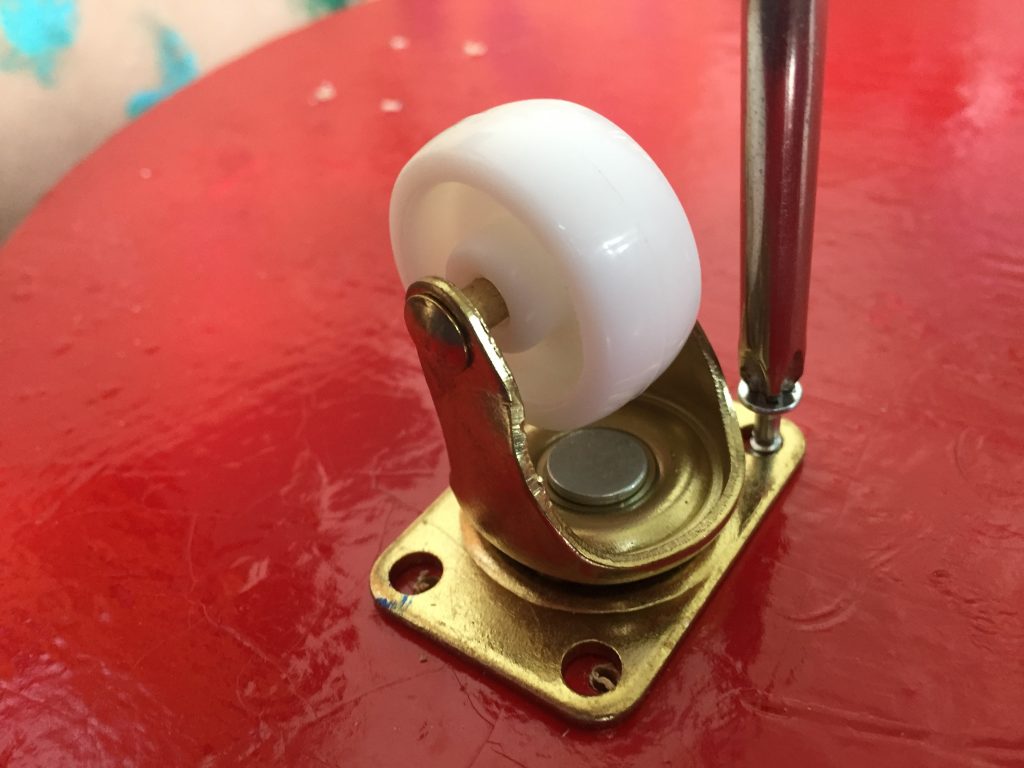
Step 4: Add Wheels
After the paint has completely dried, place your stool upright. Put the wheels on the seat and make sure they are spaced out evenly. Use a sharpie to indicate where to drill. Carefully use your drill to make holes for the screws to hold the wheels. Grab your screwdriver, place the wheels back in place and add the screws.
Step 5: Hook Me Up
Now flip your stool over so the seat is face down with the wheels underneath. Along two of the top cross bars, drill holes for the hooks. Use your fingers to screw the hooks into the piece. Remember to leave them turned up so they are ready to hold items. I added hooks along two side-by-side cross bars so the piece can easily fit into a corner. You might consider adding hooks to all the top cross bars to maximize the storage opportunity.
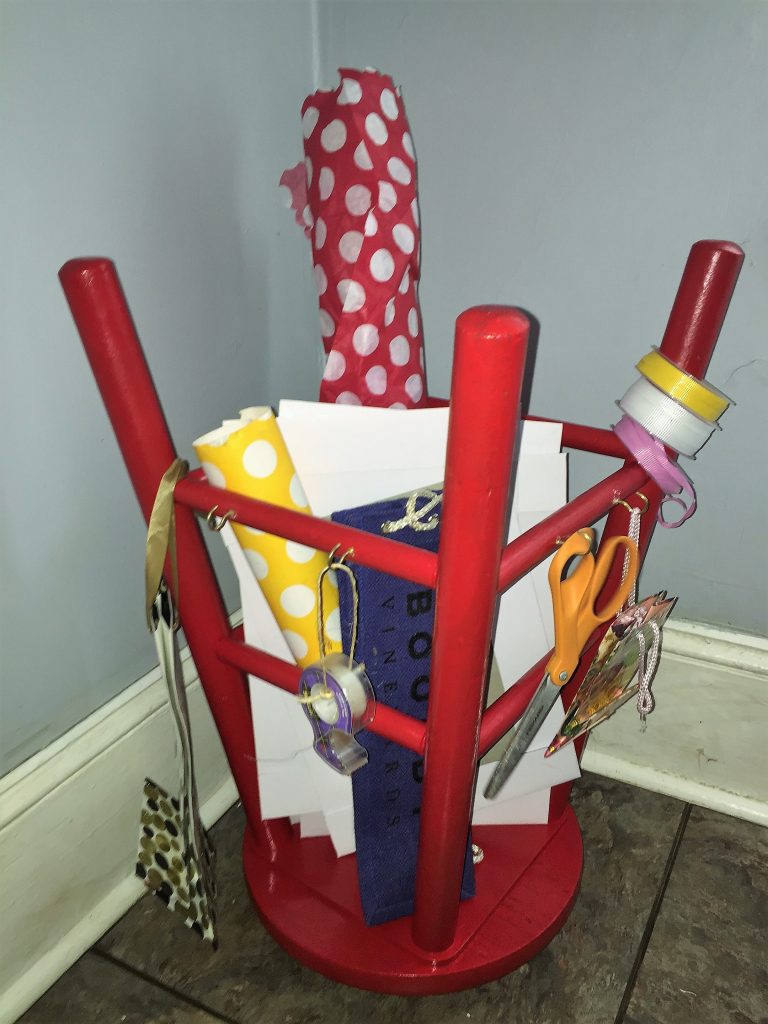
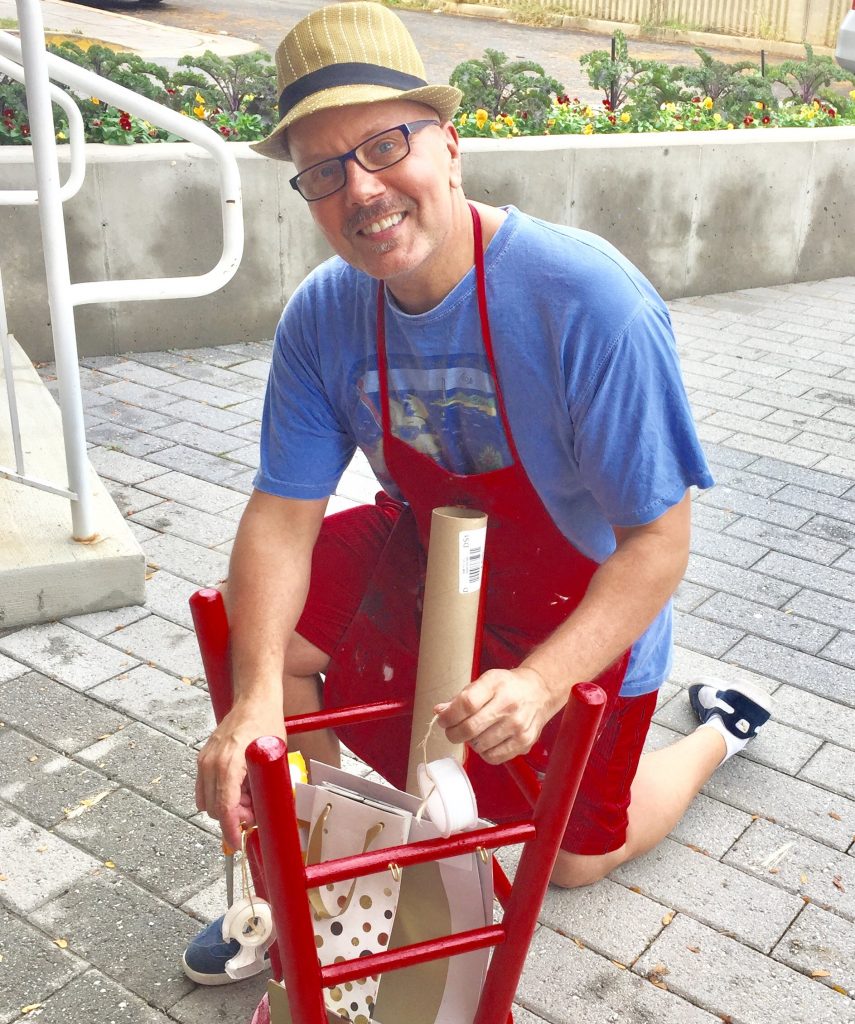
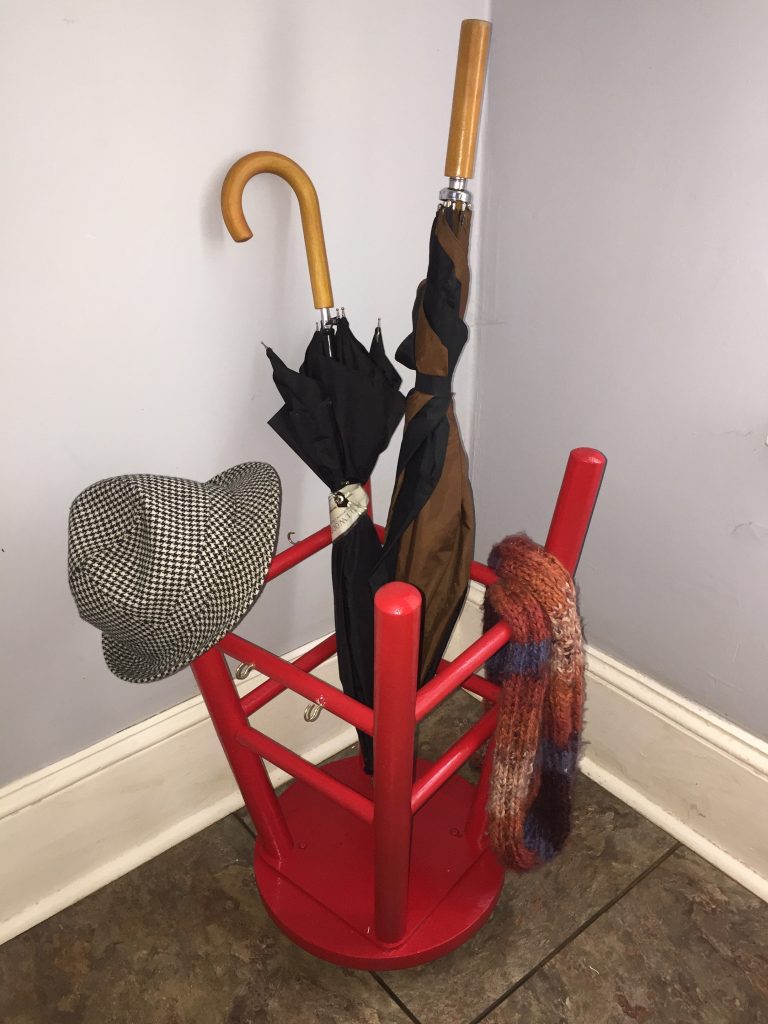
Step 6: Add Wrapping Paper or Umbrellas
Now comes the hardest part…do you use your transformed stool as a wrapping paper station or an umbrella holder? Option 1: Add wrapping paper rolls inside, along with boxes or gift bags. Use the hooks to hold scissors, smaller bags or bows. Place ribbon reels over the ends of the stool legs. Option 2: Add umbrellas to the center part, hang gloves and scarves from the hooks and add hats to the ends of the stool legs.
My recommendation? Get two stools so you don’t have to decide and you will always have a whimsical place to store your wrappings and a unique home for your umbrellas.
Let me know if you tried this project in the comment section! I’d love to hear how it turned out.