Rethink your next DIY project by painting against the grain. Layer differing paint colors in opposing directions for a woven, intriguing look. This technique will produce results that will make you want to break other rules, too!
Ability level: Easy to moderate
Age level: Older kids with adult supervision
Items:
1. Furniture item
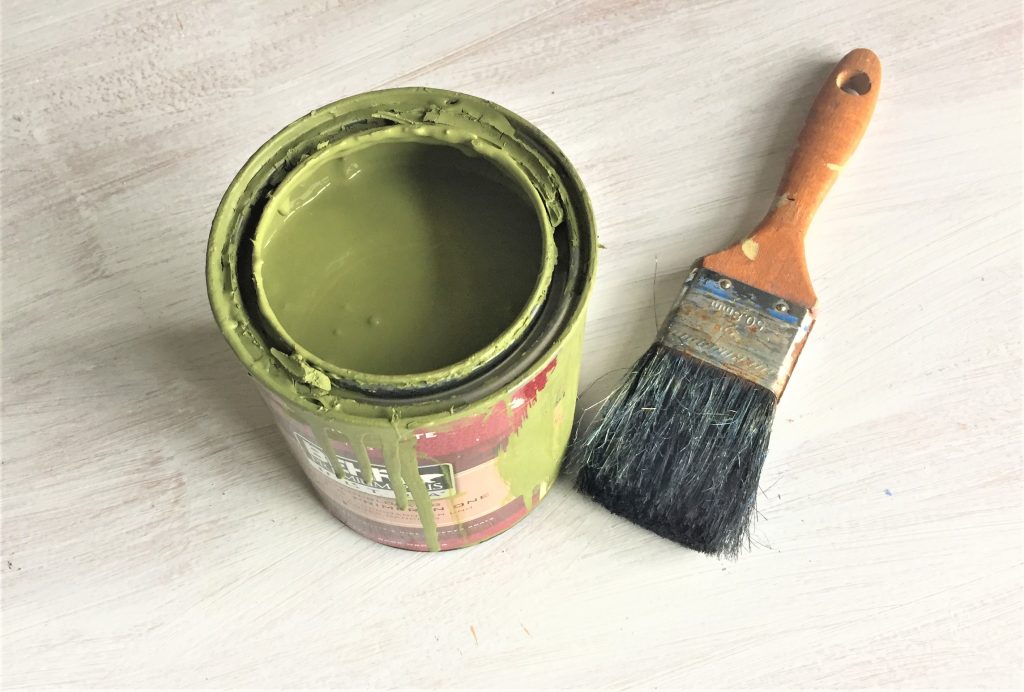
2. Paints
3. Brushes
4. Painter’s tape
5. Mod Podge
6. Scrap book paper
7. Scissors
8. Spray paint
9. Spray polyurethane
1. Get your good on a Goodwill
In the Home Goods Section at your favorite Goodwill, there is a great piece that is calling your name to take it home to transform with this fun and easy painting process.
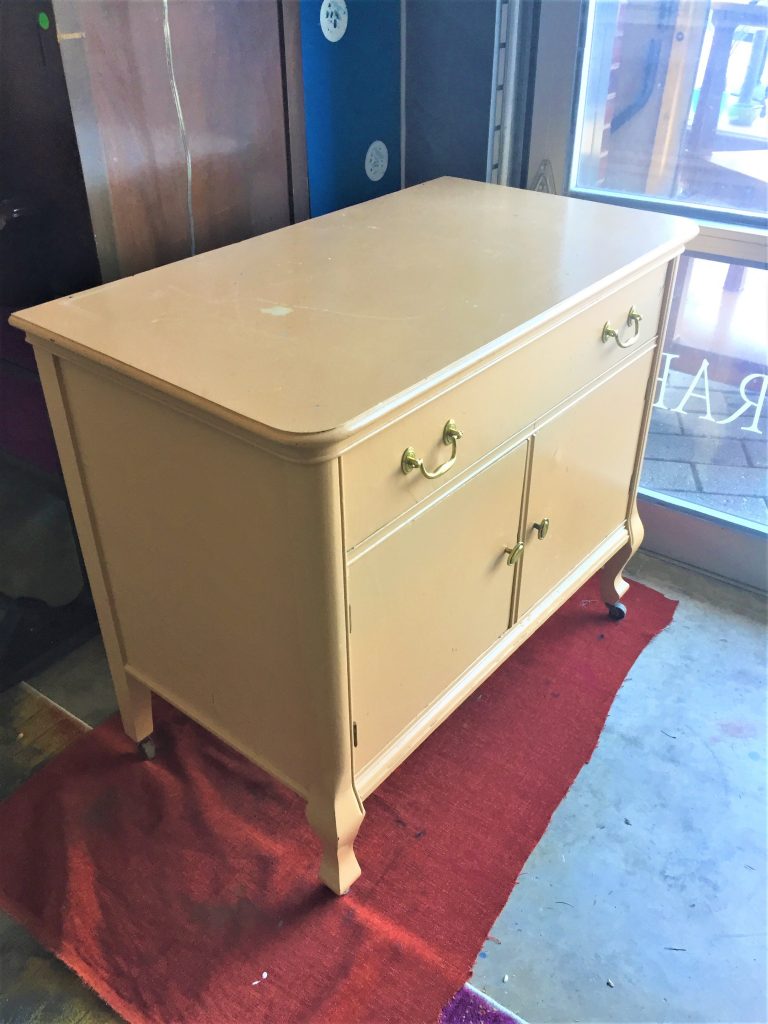
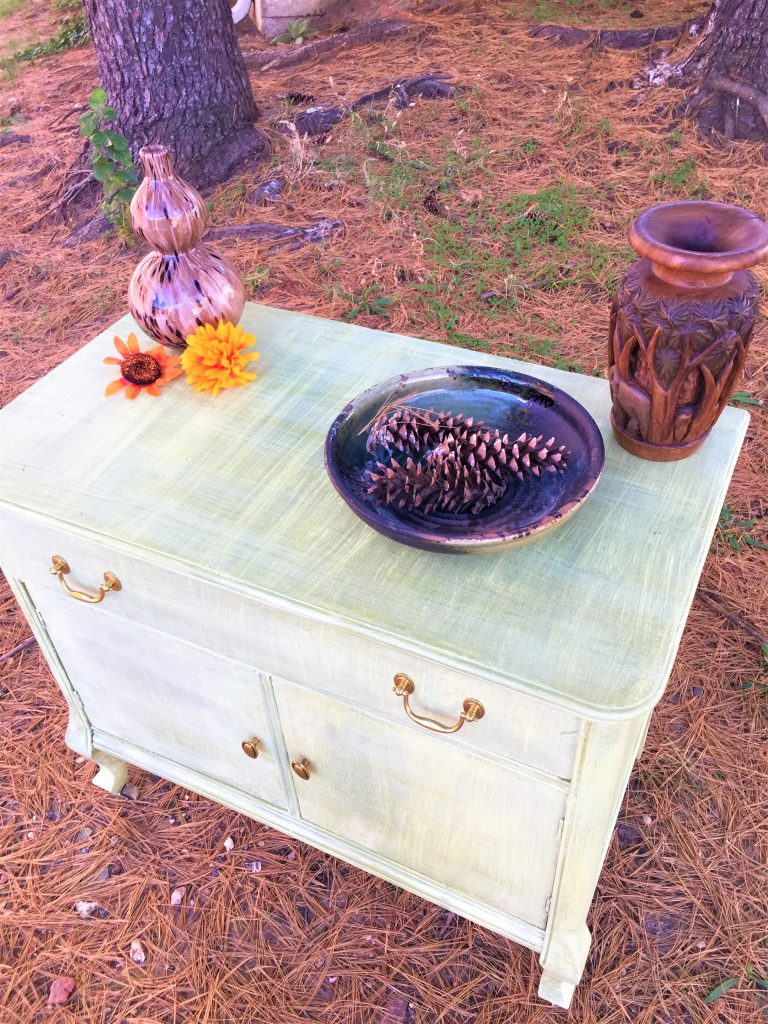
Look for a wooden piece with lots of flat surfaces. The piece featured in this blog was selected because it had great little legs with wheels, a carved top edge and lots of storage space. Remember to look past items’ current colors and focus on their basic parts to ensure a solid foundation on which to express yourself!
2. Prep your piece
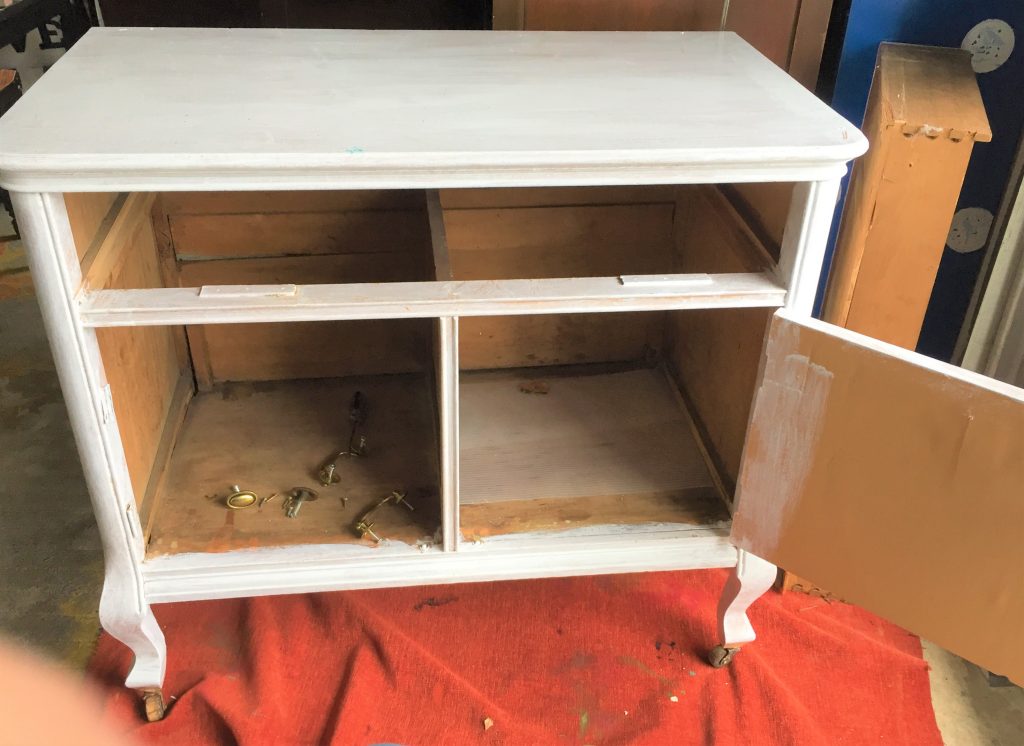
Lightly buff up your piece with a fine grain piece of sandpaper or sanding block.
You aren’t removing its current coat of paint or varnish but simply roughing it up a bit so that the paint adheres well. Most paints today have primer mixed right in them so that will save a step.
When finished sanding, wipe your piece down with a damp rag to remove the dust created and any dirt of fingerprints so you have a nice fresh surface—this is your canvas so be ready to strut your stuff!

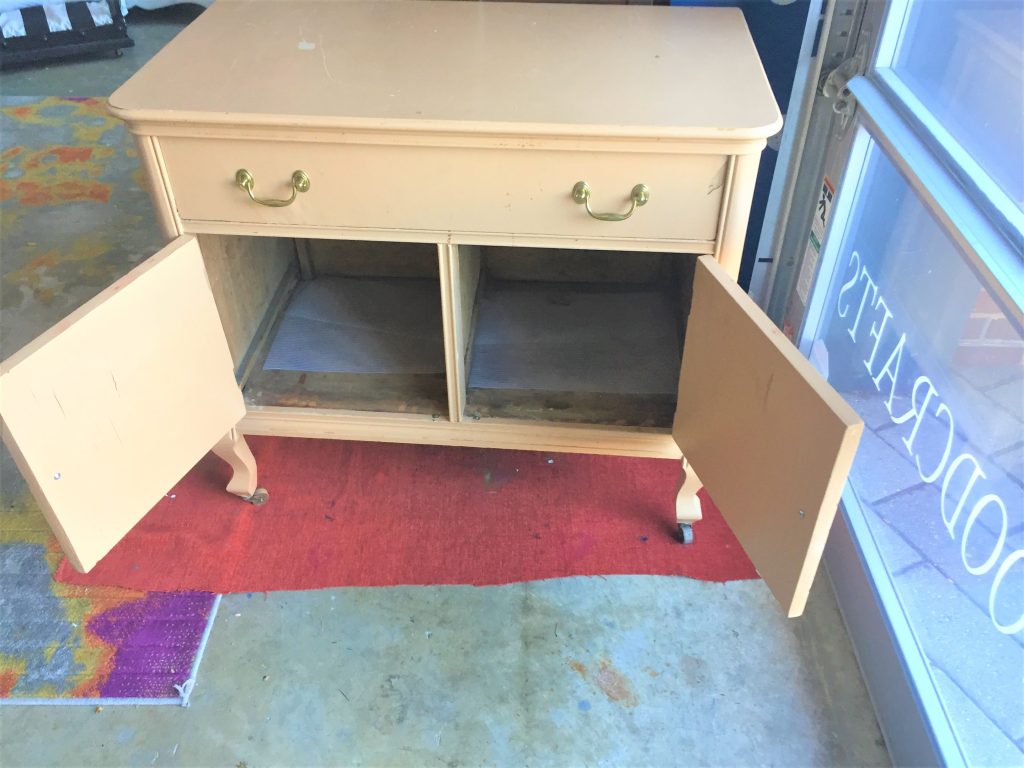
Remove any hardware and the drawers or doors if your piece has them. Place the hardware aside; keep the drawers or doors handy and ready for their turn at being transformed.
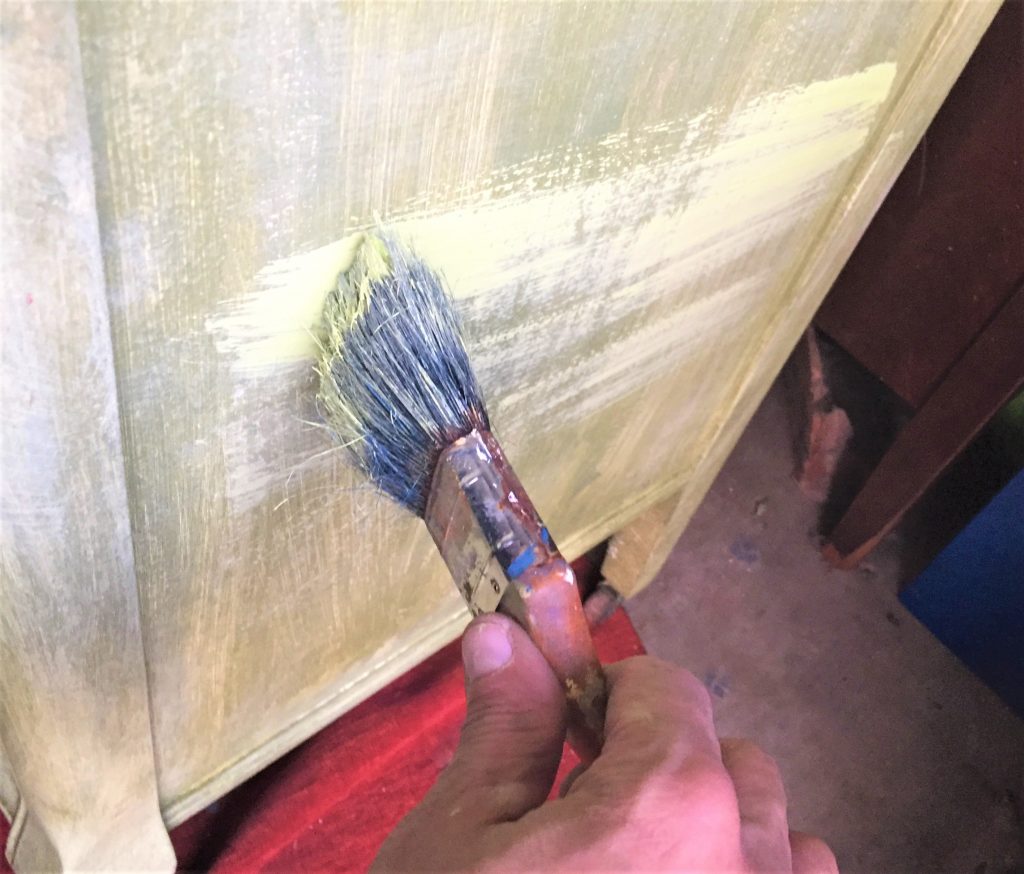
3. First layer: goes on like “normal”
- Brush on your first layer of paint on your piece, covering the entire surface.
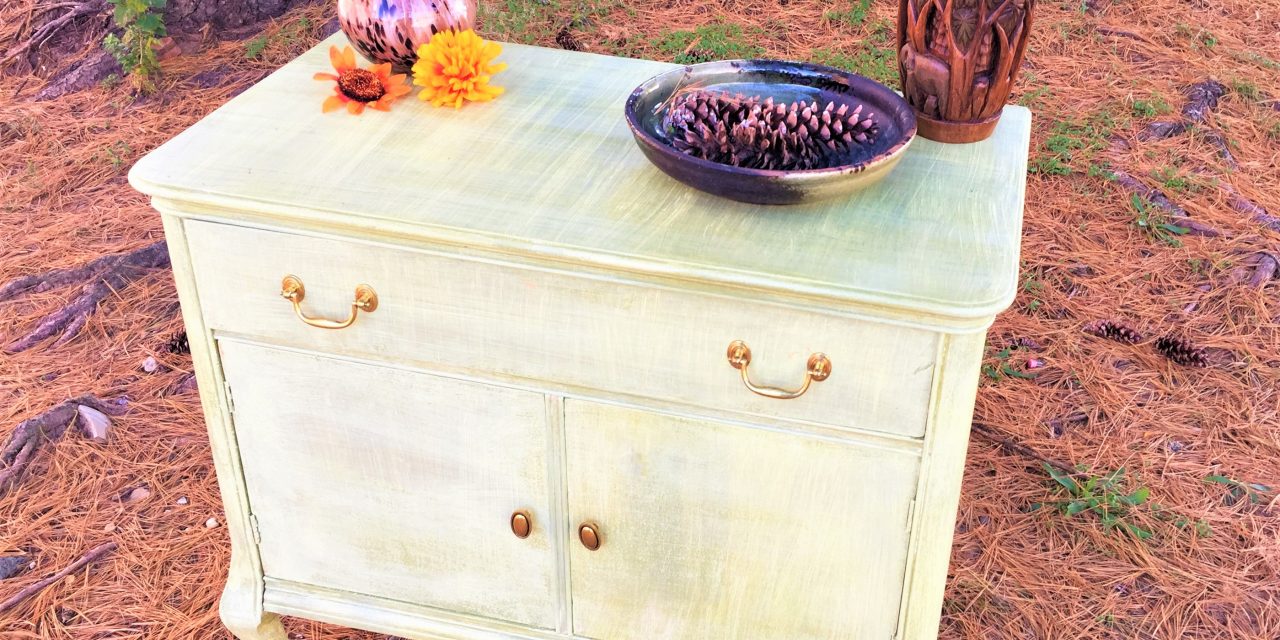
- Follow the grain or paint following the longest edges. Based on the existing paint color or surface, you might want to let some of it show through to add to the overall effect. The piece I transformed was boring beige so I painted on bright white and let the color beneath it (now the original beige) show through a little bit. I wanted to be able to see the paint strokes.
4. Second layer: Add a different color with a light touch
Paint on your second layer, using a different color, following the step above or painting like “normal.” However, don’t put on a heavy coat of paint but rather a light layer to allow the color below it to show through as you go.
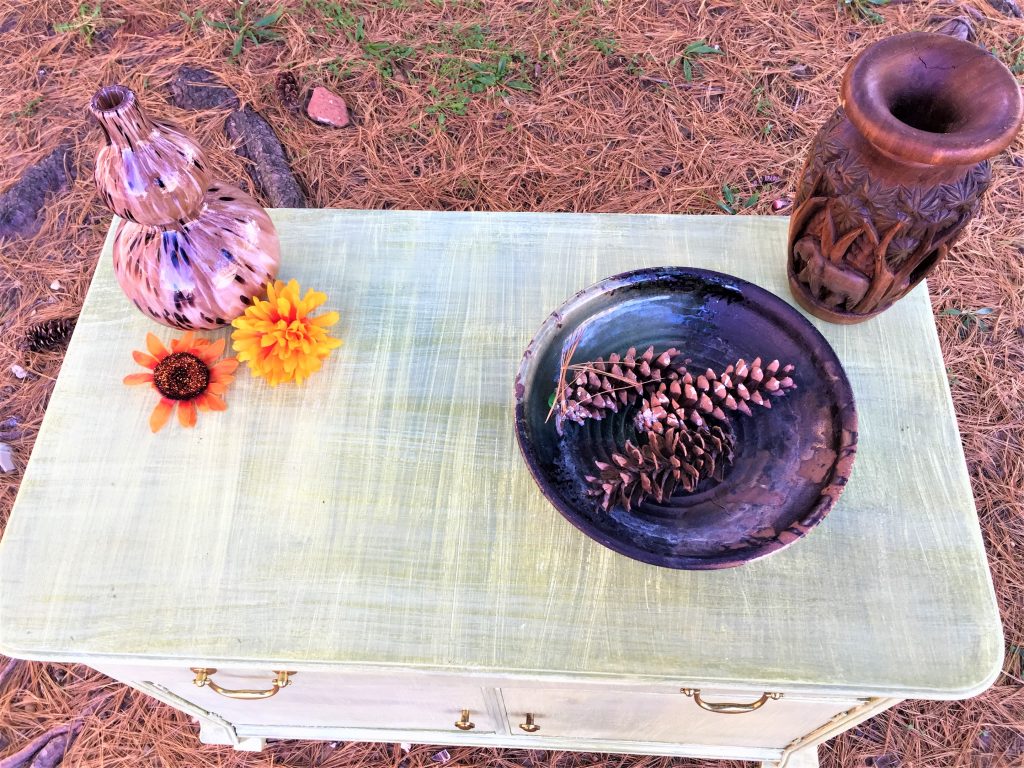
I used an olive green color and when I painted it on, I ensured you could see the white layer below. Some might call this a shabby chic approach to painting but this final piece looks anything but shabby!
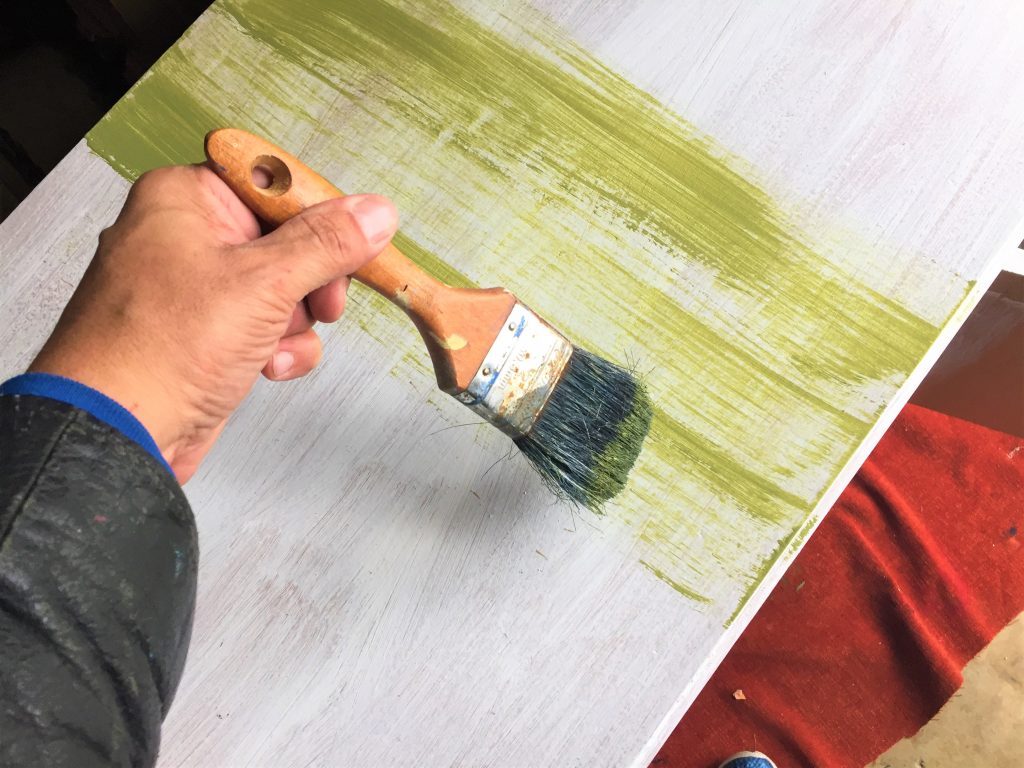
Expert tip: Part of the fun about this painting process is that you can leave your perfectionist tendencies at home. Brush with bold strokes and don’t worry of the layer below shows through because this adds to the piece’s visual interest.
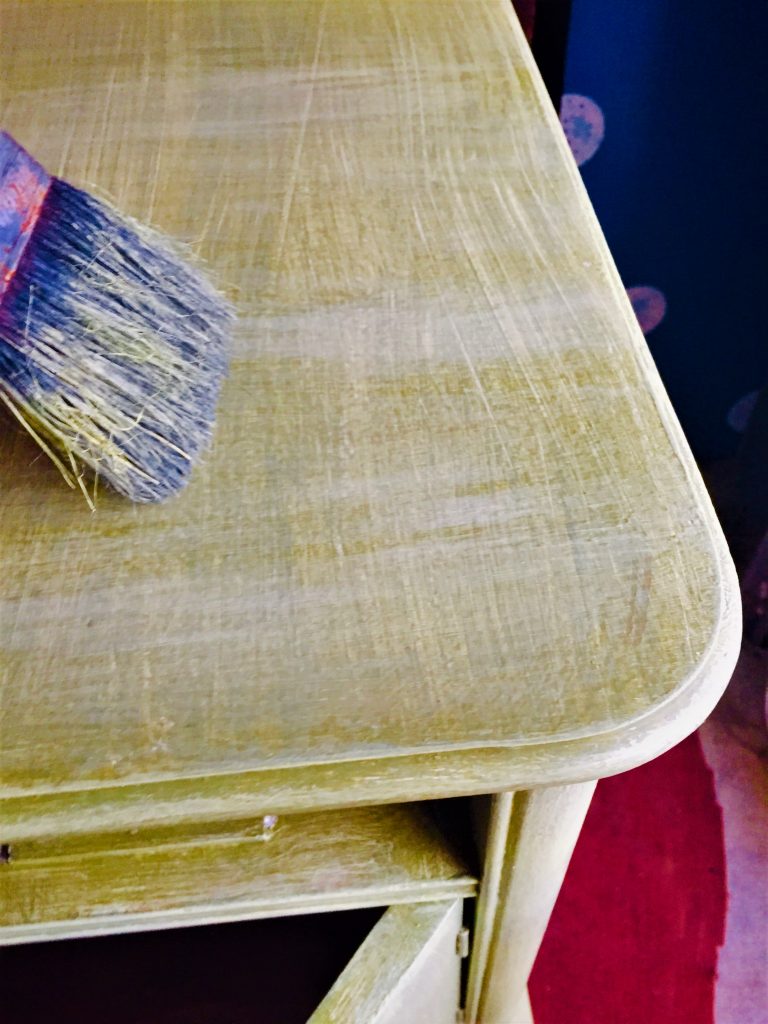
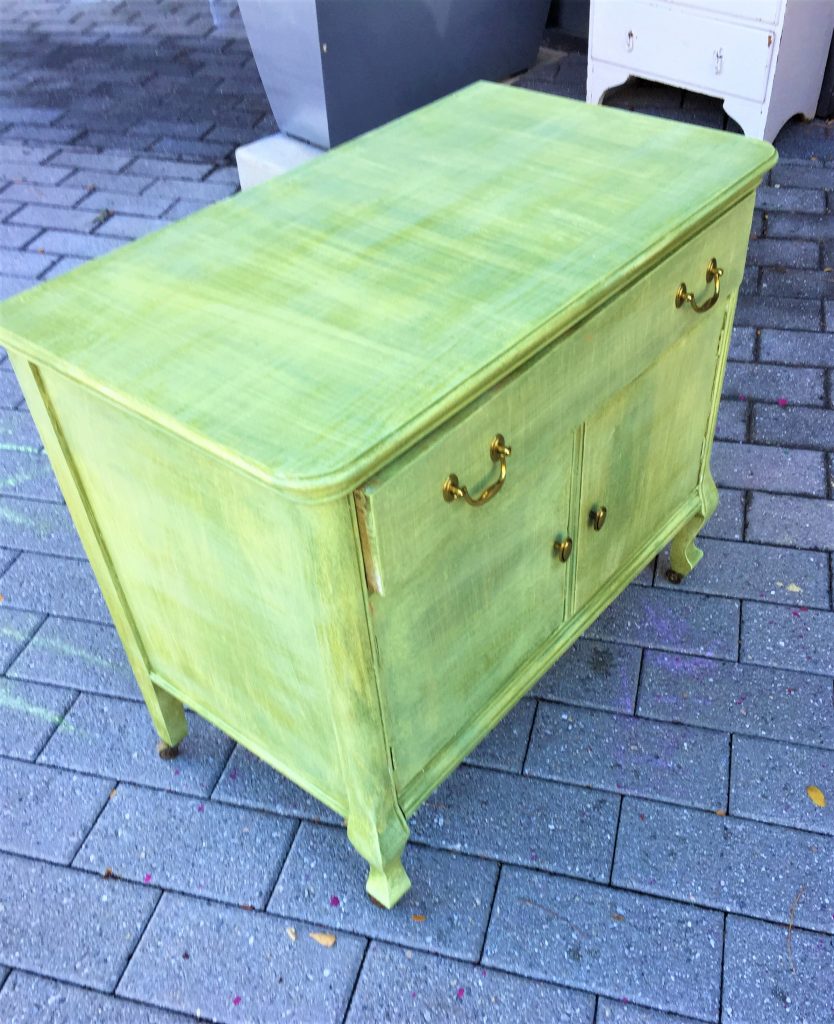
5. Layer three goes against the grain
And now the magic happens! With a different color of paint, you are going to lightly brush on another layer of paint—and go against the grain. What?! Yes, rather than brushing along the long edges like you just did before, you are now going to add this layer going from front to back, not side to side or top to bottom. This layer won’t be parallel to the current layers, but go in the perpendicular direction. Got it? Great! And you want to brush on a light layer so your brush strokes are visual and are crossing across the previous brush strokes and lines they created. In a way, this almost looks like you are weaving a basket or piece of burlap. This will blow your mind! (Okay, maybe not blow it but certainly expand it a little bit.)
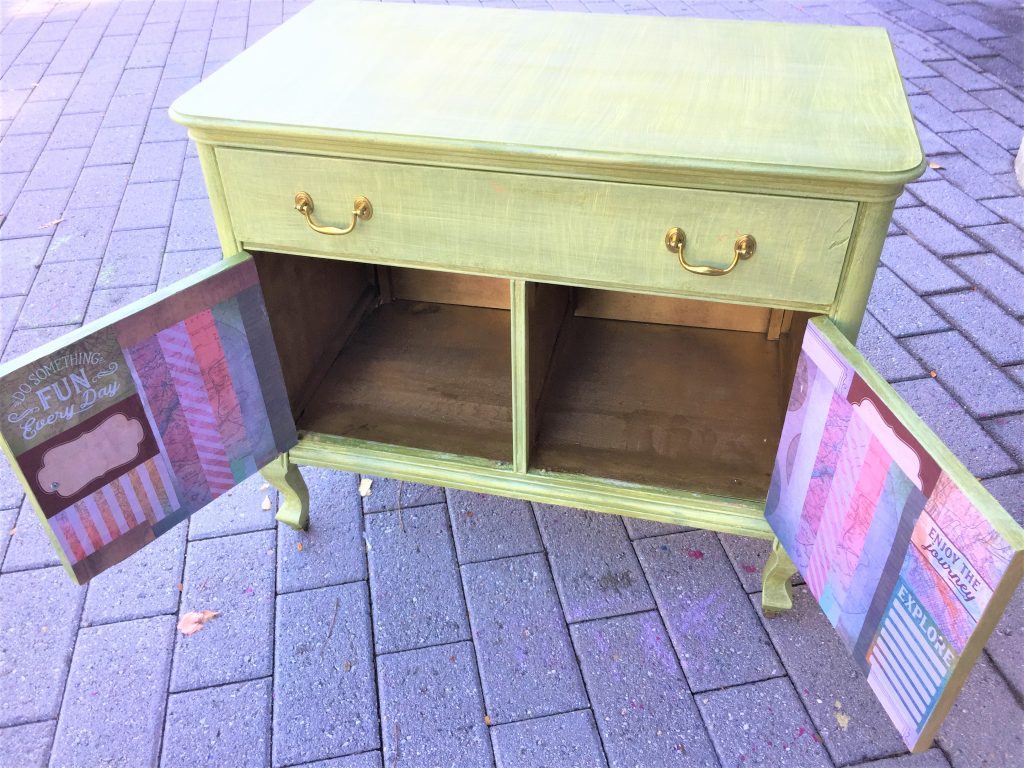
6. Don’t forget the inside edges—another creative opportunity!
Now that the outside of your piece has been transformed with this fun painting technique, it is time to turn your attention to the inside parts.
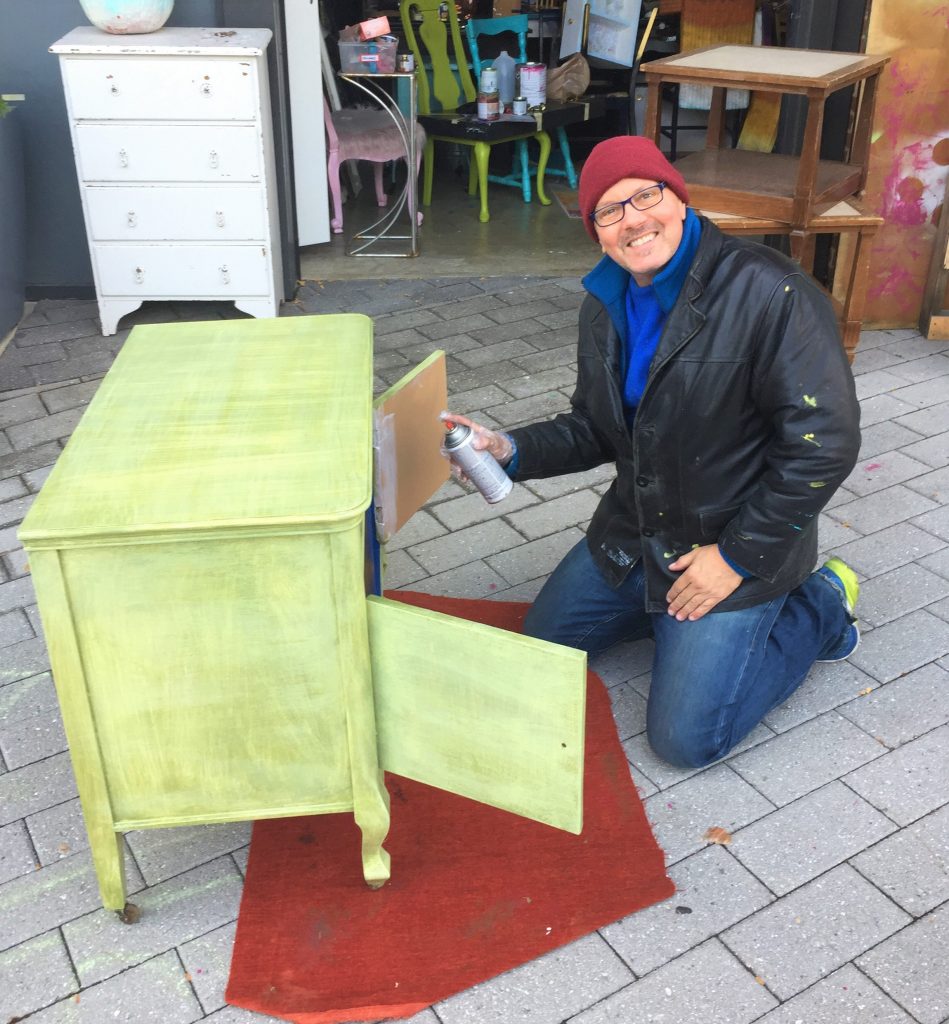
One way to provide a surprise of color, paint the inside of your drawers and cabinets. This way, each time you open up your piece, you will have a nice visual treat.
For my piece, I spray painted the insides a bright gold paint. Also, the drawer’s outer sides were painted, gold, too.
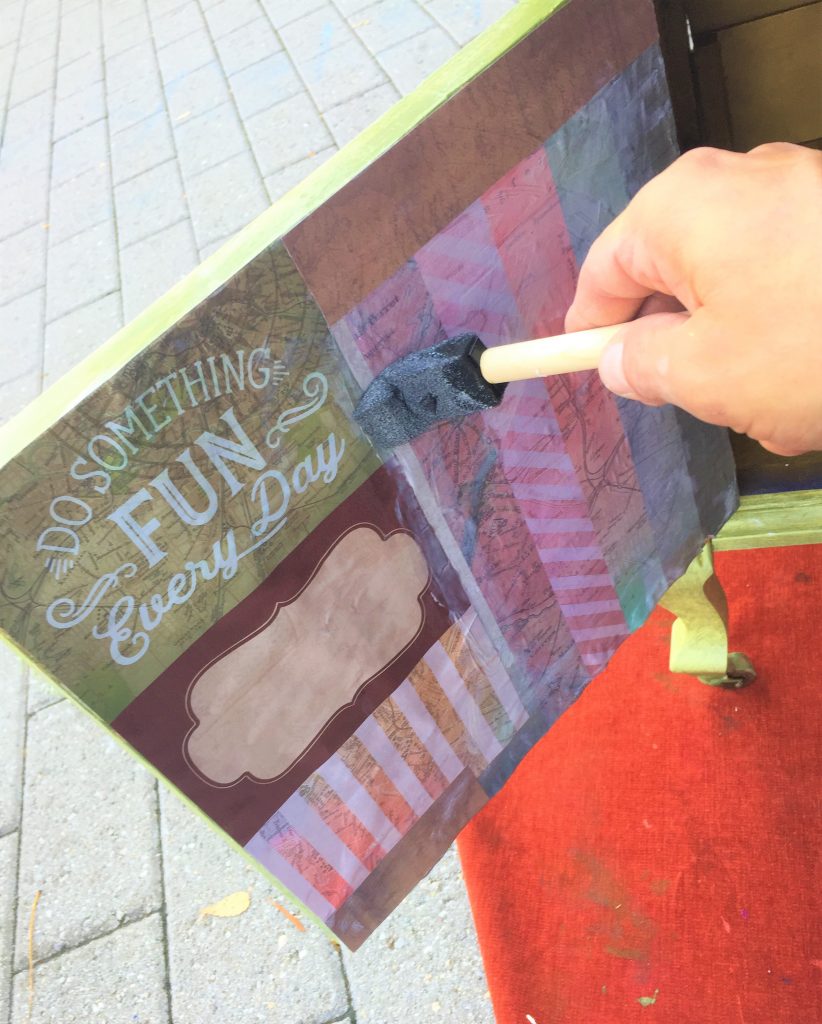
Another way to express yourself on your piece is to consider decoupaging the insides, too. Decoupaging, which is the process of gluing paper in place, is really easy.
- Simply brush on a layer of Mod Podge, put the paper in place and use your fingers to move out any air bubbles.
- Brush on another layer of Mod Podge on top. For my piece, I decoupaged the inside of the cabinet doors so you see the colorful paper each time it is opened and closed. This adds to the fun design element!
7. Spray or brush on poly to protect it
To help protect your painted piece from dirt and fingerprints, spray or brush on several coats of polyurethane. Take your time when applying this protect to avoid drips and runs. Again, use a light touch with each layer. Let dry overnight.

8. Put the knobs and handles back on
Return the knobs and handles back to their home on your piece by screwing and securing them on place.
Design idea: Based on the look of your hardware, you might think about spray painting them to give them a fresh, new appearance. A metal tone, like copper, gold or silver, always looks nice. However, you can also have fun and pick a complimentary or bright color so these parts really stand out.
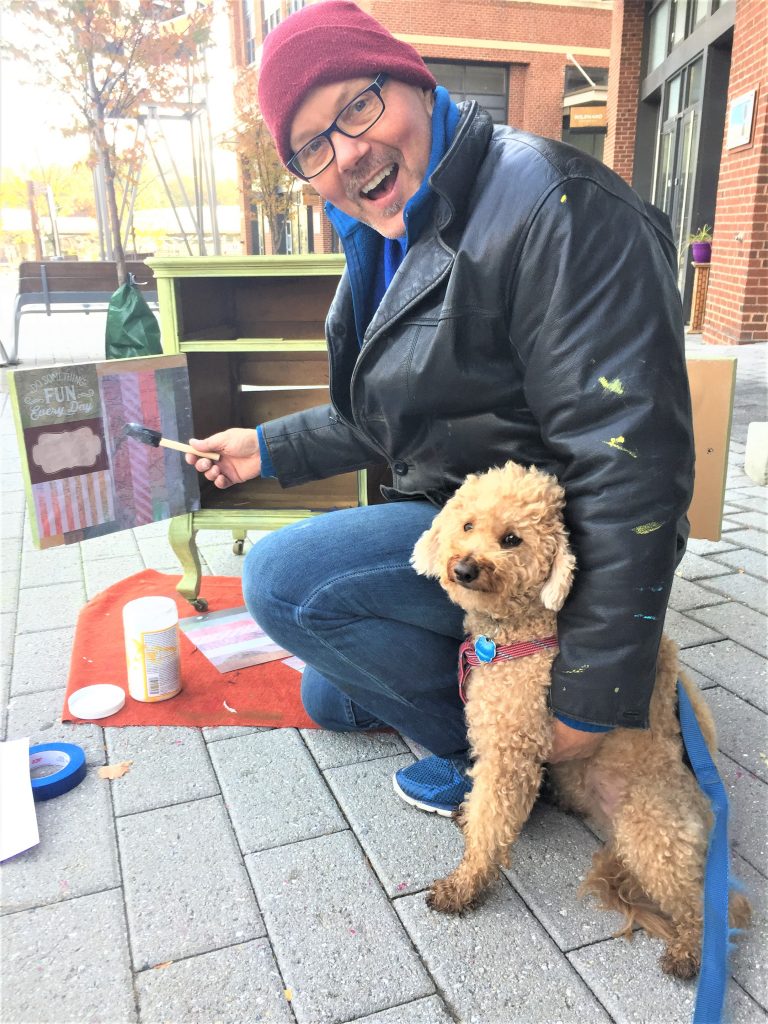
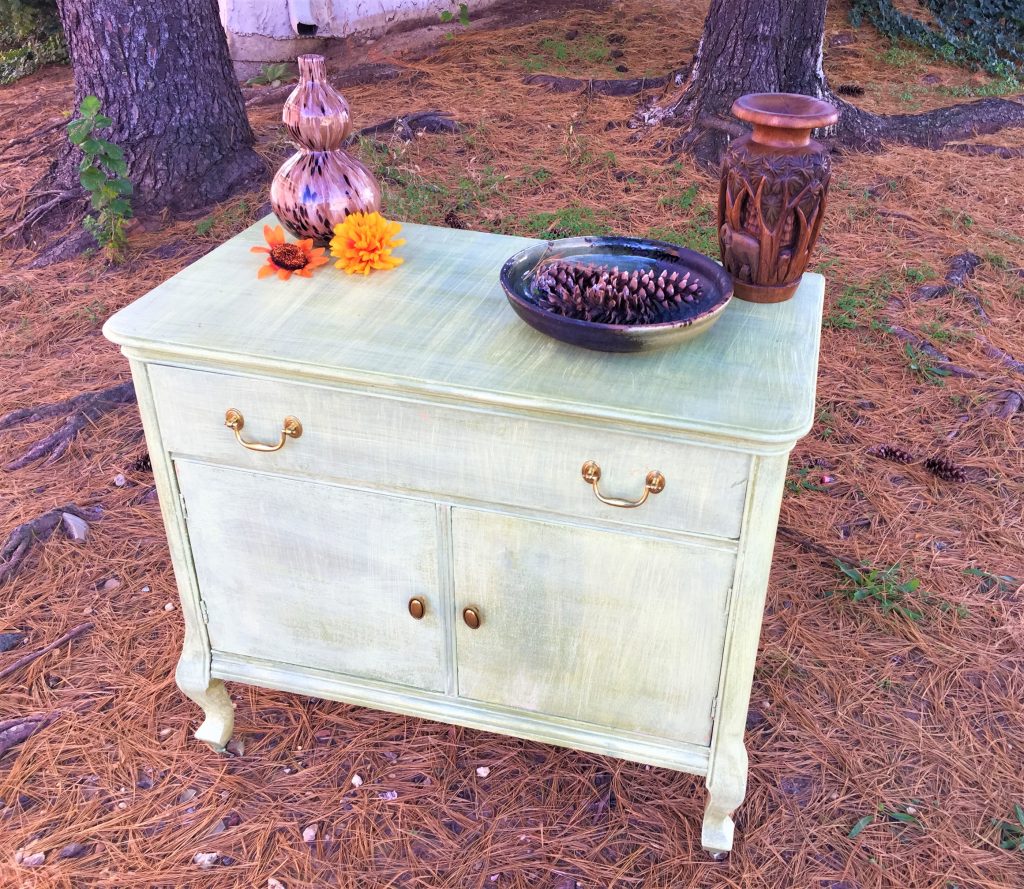
9. Position your piece
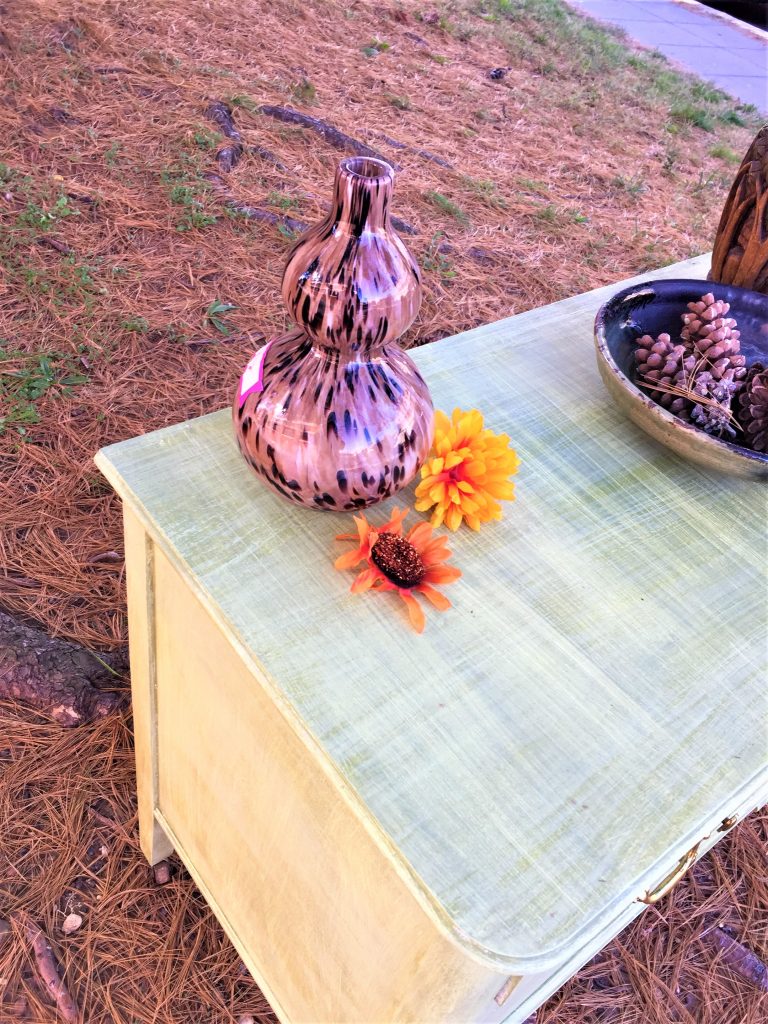
Wherever your “going against the grain” piece is placed in your home or office, it is certain to be a welcome, unique addition that fits in well!
If you try this technique, please send us your photos as we love to see how our ideas are used for your upcycled projects!

