You can never show your mom—or that special mother figure—too much love… or too much thrifted creativity. This simple DIY transforms a “perfectly fine” lampshade into something artsy and amazing using paint pens and a personal touch.
Customize it with her favorite flowers, colors, and designs, and suddenly you’ve got a one-of-a-kind piece that lights up more than just the room. Every time she flips the switch, she’ll be reminded of you—and your thoughtful creativity.
And the other “mother” who benefits?
Mother Nature, of course. Because every upcycled piece is one less item headed to the landfill. That’s what we call a bright idea.

Here’s how:
1. See the light & find your good at Goodwill
Looking for a fun Mother’s Day outing?
Take Mom on a thrifting adventure to your favorite Goodwill nonprofit retail store. Invite her to shop ‘til she drops—and then surprise her by picking up the tab. At Goodwill prices, it’s a small gesture with a big impact.
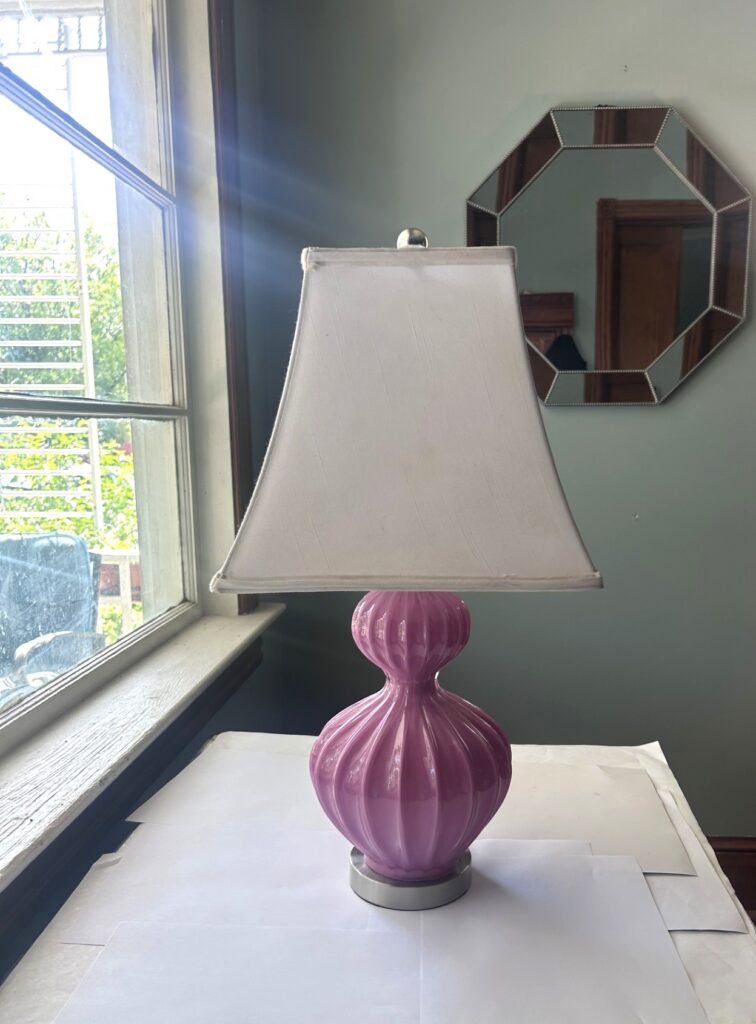
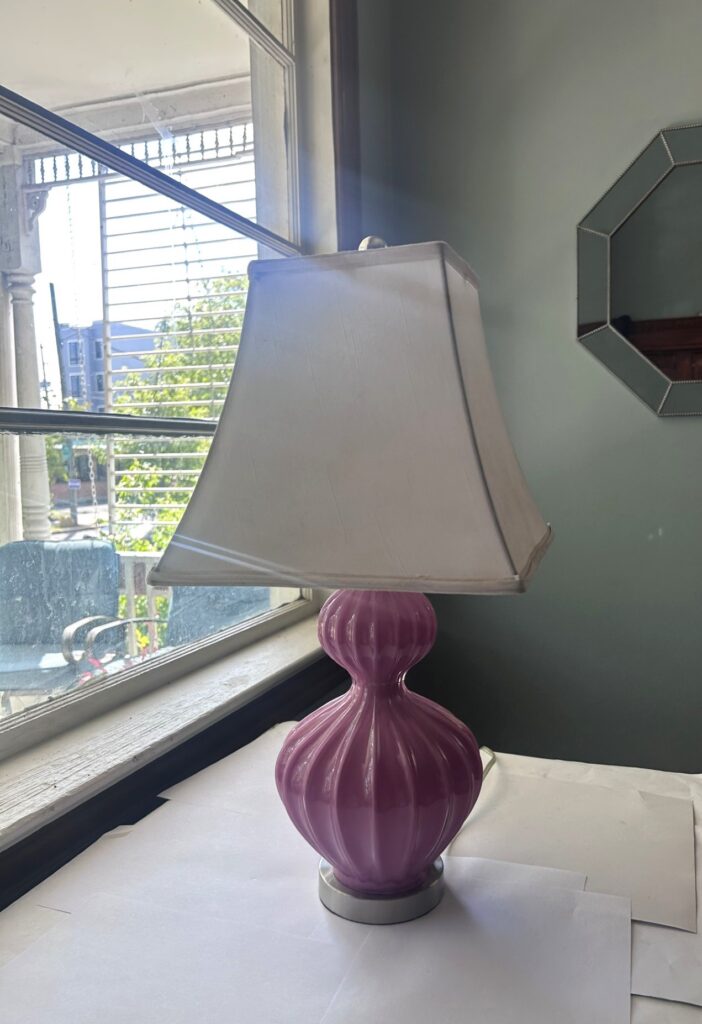
For this project, browse the Electronics section for lamps or check out Home Goods for standalone shades.
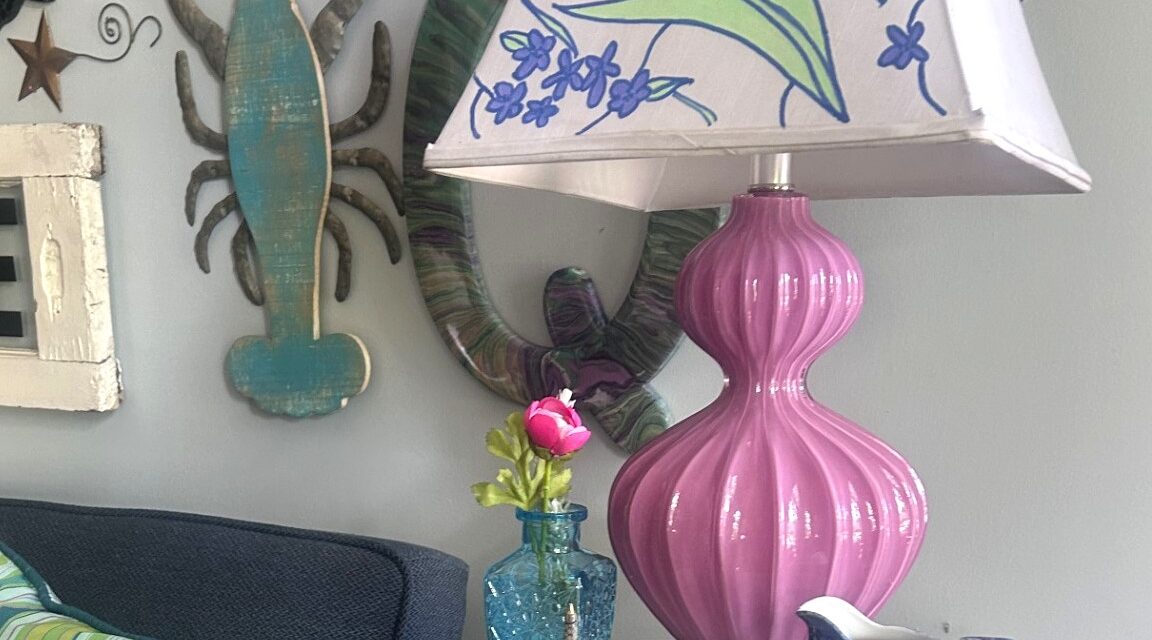
What caught my eye? A plum-purple, curvy ceramic base—elegant and modern—and a square lampshade that practically said, “Pick me, I’m your canvas!” So, home with me they went.
2. Draft your design & let your ideas bloom
The sky’s the limit here. Start with a quick sketch of your lampshade and map out your design. This step is both relaxing and helpful—it ensures your final piece feels intentional and balanced.
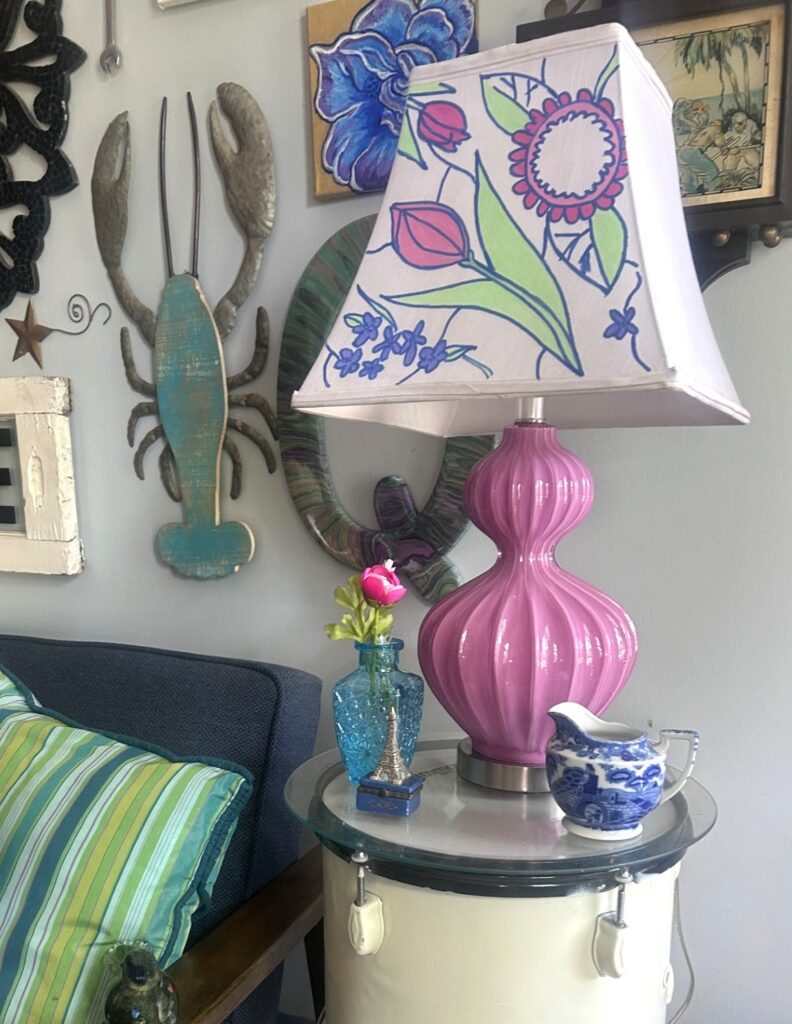
Does Mom love tulips? Add them. Roses? Of course. Daisies? Always a perfect choice. Maybe even a butterfly or two to make it extra special.


3. Paint in your posies
Instead of outlining with a harsh black, try a softer but still bold color for your lines.
I used a deep blue paint pen to draw my flowers and leaves—it adds depth without overpowering the design.
A dark green or purple are good choices, too.
Then start filling in your blooms. Don’t worry about perfection—this is where your creativity gets to flower.


4. Connect with color
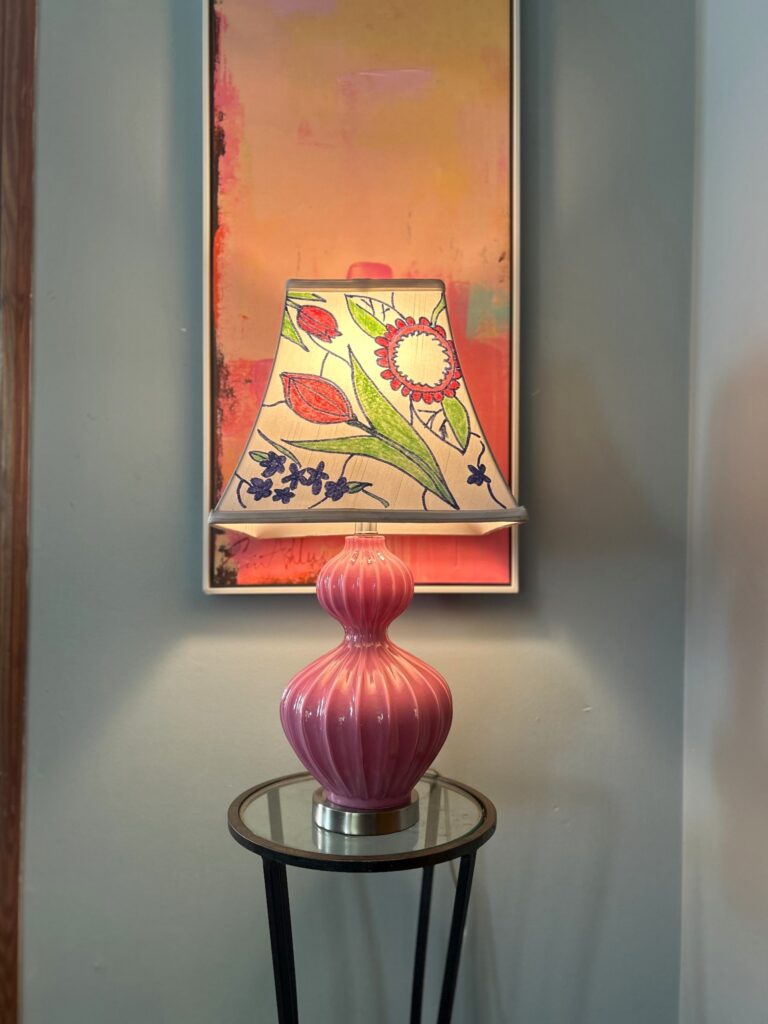
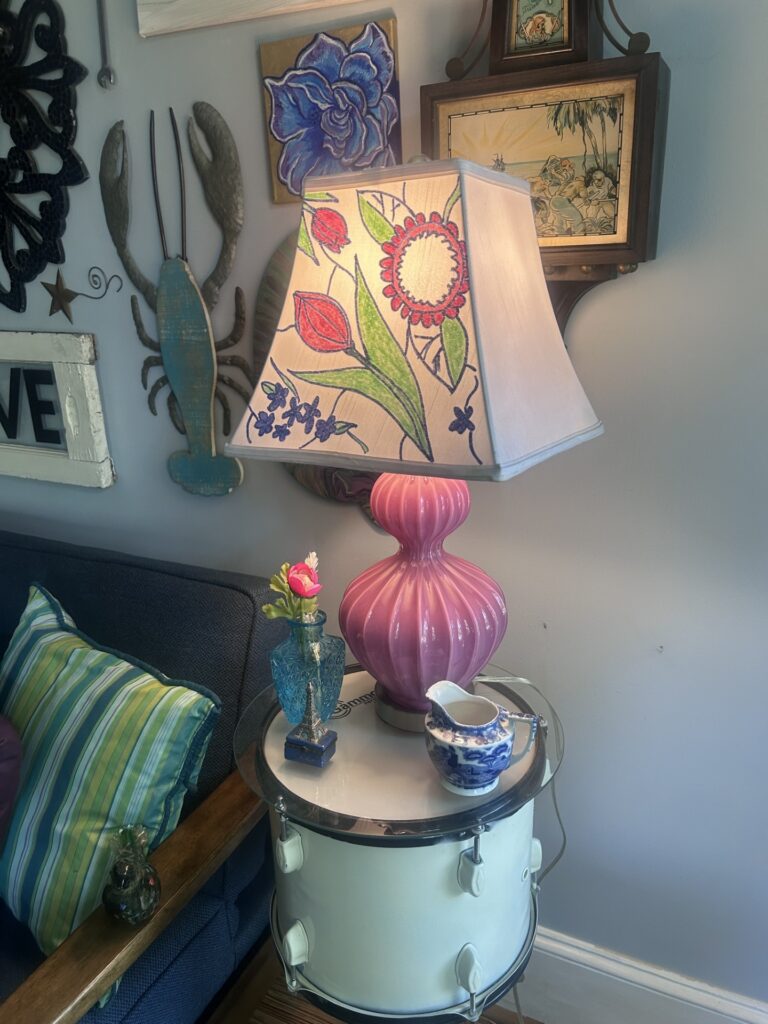
To tie the lampshade to its base, I used a plum-purple paint pen (echoing the ceramic base) to fill in some of the larger flowers. Instantly, the whole piece felt cohesive.
Add in complementary shades—lavender, soft pinks, fresh greens—and watch your design come to life. It’s amazing how a little color coordination can really make the whole look together.


5. Layer it up & define those lines
Go over your colors with a few layers to make them pop. Once everything is filled in, revisit your outlines to sharpen and define the design.
Those crisp lines will help each bloom stand out—because every flower deserves its place in the sun!
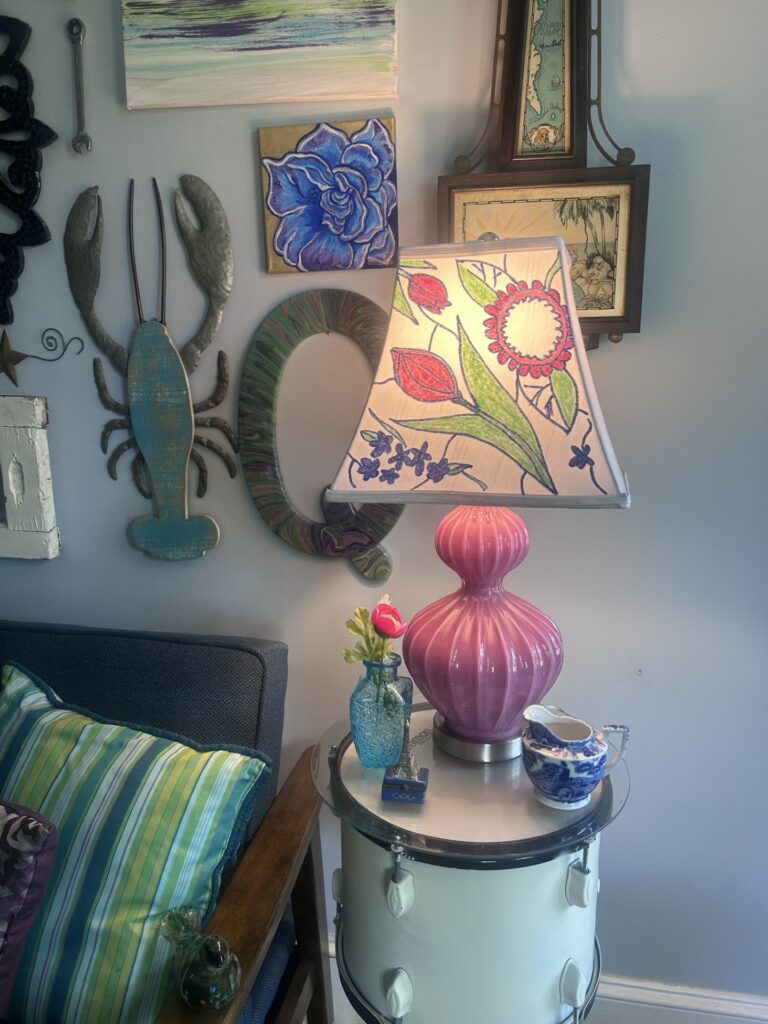
6. Embrace negative space (less really is more)
You don’t need to fill every inch. Leaving some areas blank gives the eye a place to rest and makes your painted elements stand out even more.
Think of it as letting your design breathe—a little space goes a long way toward an elegant final look.
As you are able to see in the photos, I only transformed one side of the square shade.
My original vision was to have each side have leaves, buds, and blooms. However, just one side made it look like a canvas, and it stood out in a subtle, lovely way.
7. Style your masterpiece
Once gifted (or kept—no judgment here), encourage Mom to style her new lamp with a few other Goodwill finds: small vases, figurines, or fresh florals.
Place it on a side table, brighten up a cozy corner, or add a cheerful glow to an entryway. Wherever it goes, it’s sure to light up her life—and yours.
This happy, handmade lamp is more than décor—it’s a functional piece of art, created with love. And truly, what could be more fitting for Mother’s Day?
After all, the best gifts don’t just sit on a shelf… they grow from the heart.


Similar Reads:
- Quickly Make Mother’s Day Door Decor Using Thrift Finds
- How to Assemble a Mother’s Day Gift Basket for Under $25

Tim Kime
Artist, Motivational Speaker, Life Coach

