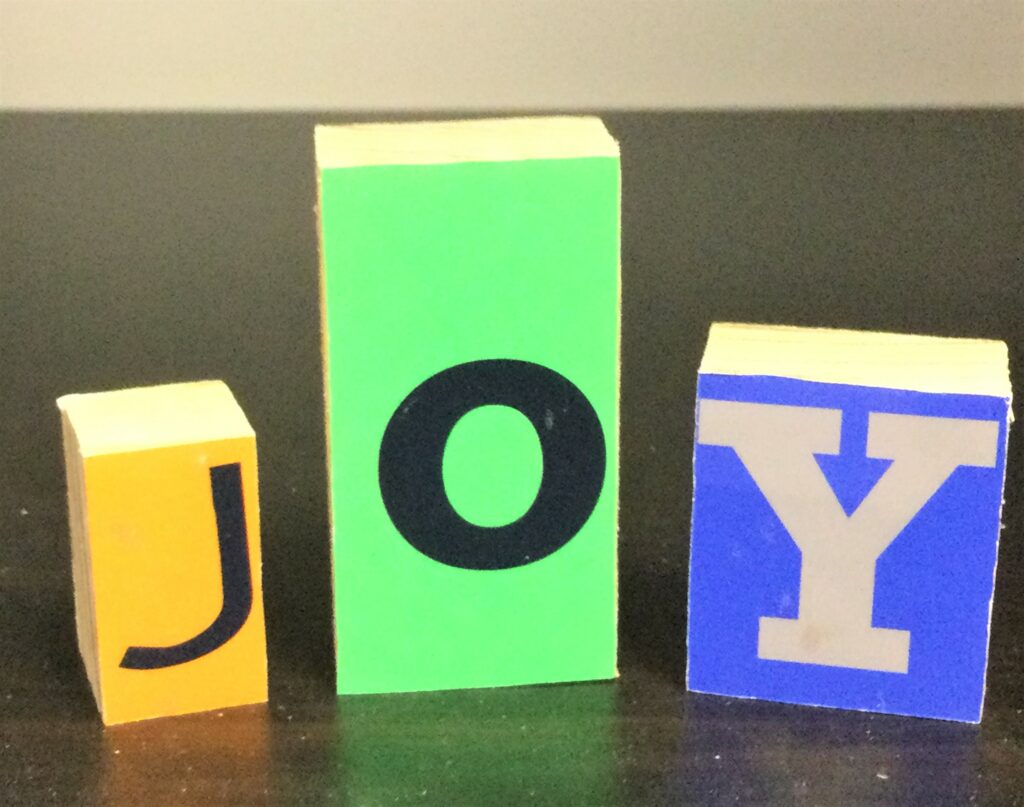
Here’s a smart DIY project that will give you straight A’s when you do it. Use pieces of scrap wood and repurpose letters to create block letters that will certainly be your type! Whimsical and fun, spell out words with these colorful letters or select ones that make your name, your state, your sweetheart.
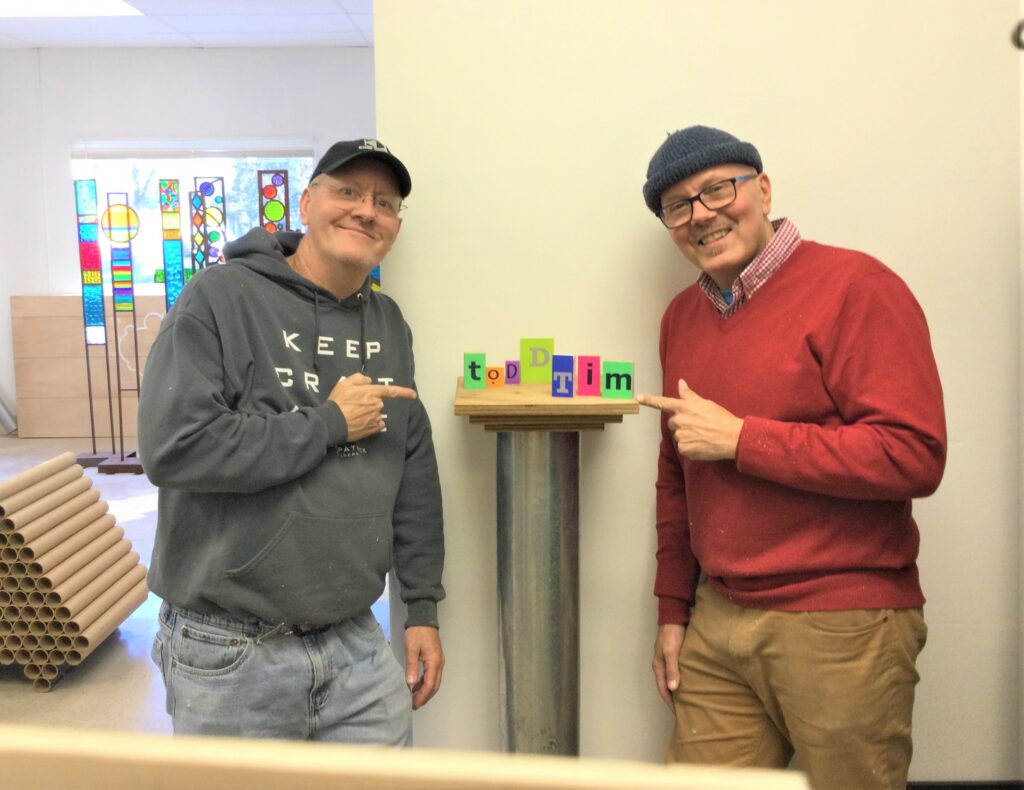
Thanks to my uber-creative brother Todd (Instagram @theartofsight) for this great idea and for the fun time together remembering our A, B, Cs. And thanks to my sister Tammy for being our official photographer. And as you are able to see, this is a family-friendly project for all ages!
Items needed:
· Letters from old boxes, political signs, promotional posters or printed from your computer
· Scrap wood pieces at least one inch thick
· Wood, craft or school glue
· Paintbrush
· Plastic or paper cup
· Scissors
· Table-top saw
· Straight edge
· Exacto knife
· Dictionary (just kidding)
1. Hunt for items with cool lettering
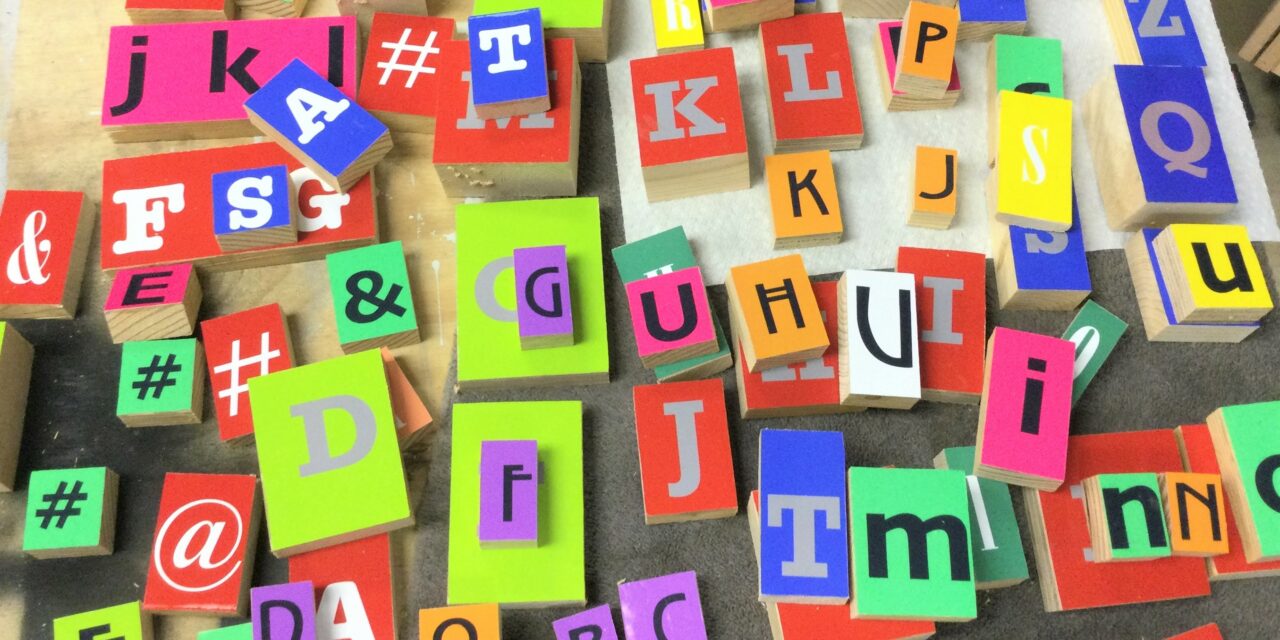
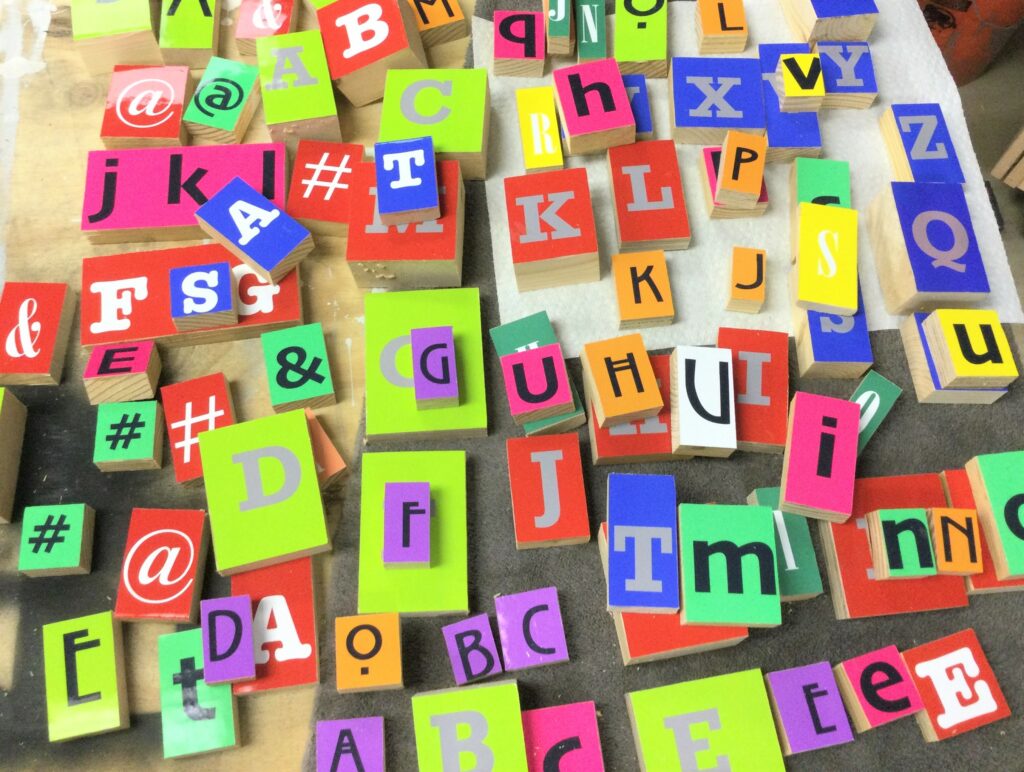
This project is fun because it has you hunting for items with letters that are a good size to cut and reuse. The lettering used for this project was printed out from the computer with various fonts, colors, and sizes. Symbols like #, @ and & were included as options. You could also print out or find numbers to use, too.
- Goodwill has record albums available every day, so you could cut apart their covers.
- Check out their collection of books for sale there too. Cookbooks, children’s books and coffee table books might have the bigger and more colorful letters you desire. You could clip larger letters from magazines.
- Old political signs could be cut apart.
- An outdated calendar could work.
What do you have on hand to transform?
Expert Suggestion:
If you decide to print letters from your computer, I recommend using paper for photographs. They have a glossier finish and are sturdier.
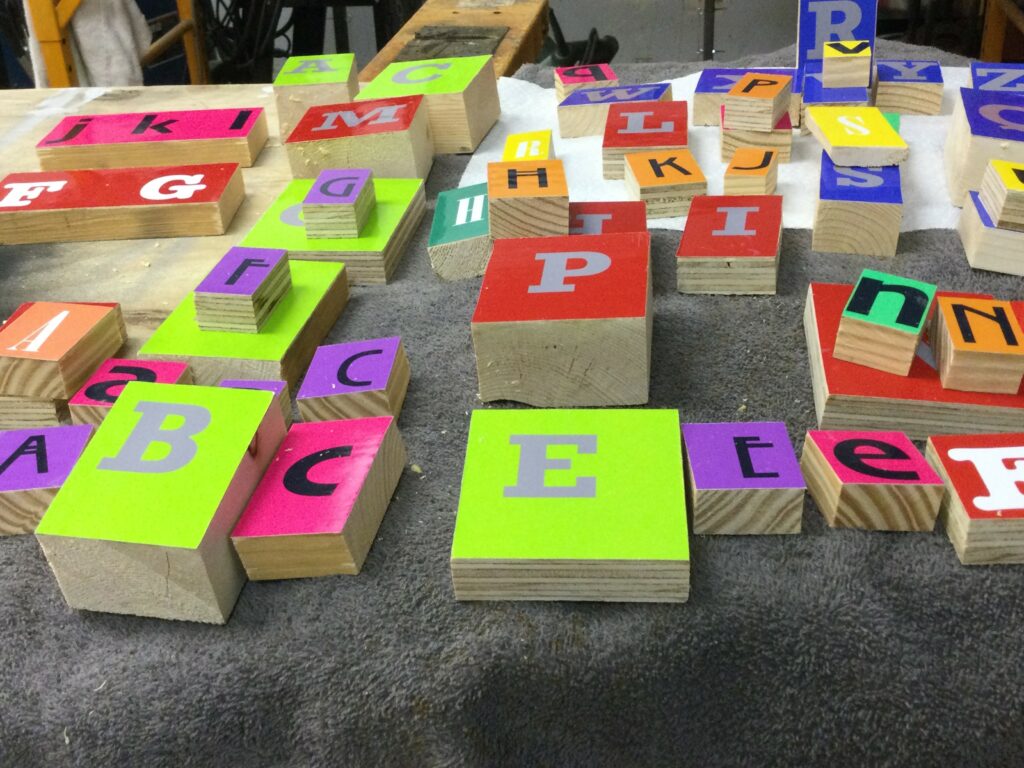
2. Cut your collection
You begin the process by cutting your various letters apart, leaving as much space around each one that is available. To allow you to spell as many words as possible, be sure to include lots of vowels in your options.
3. Saved by the scraps
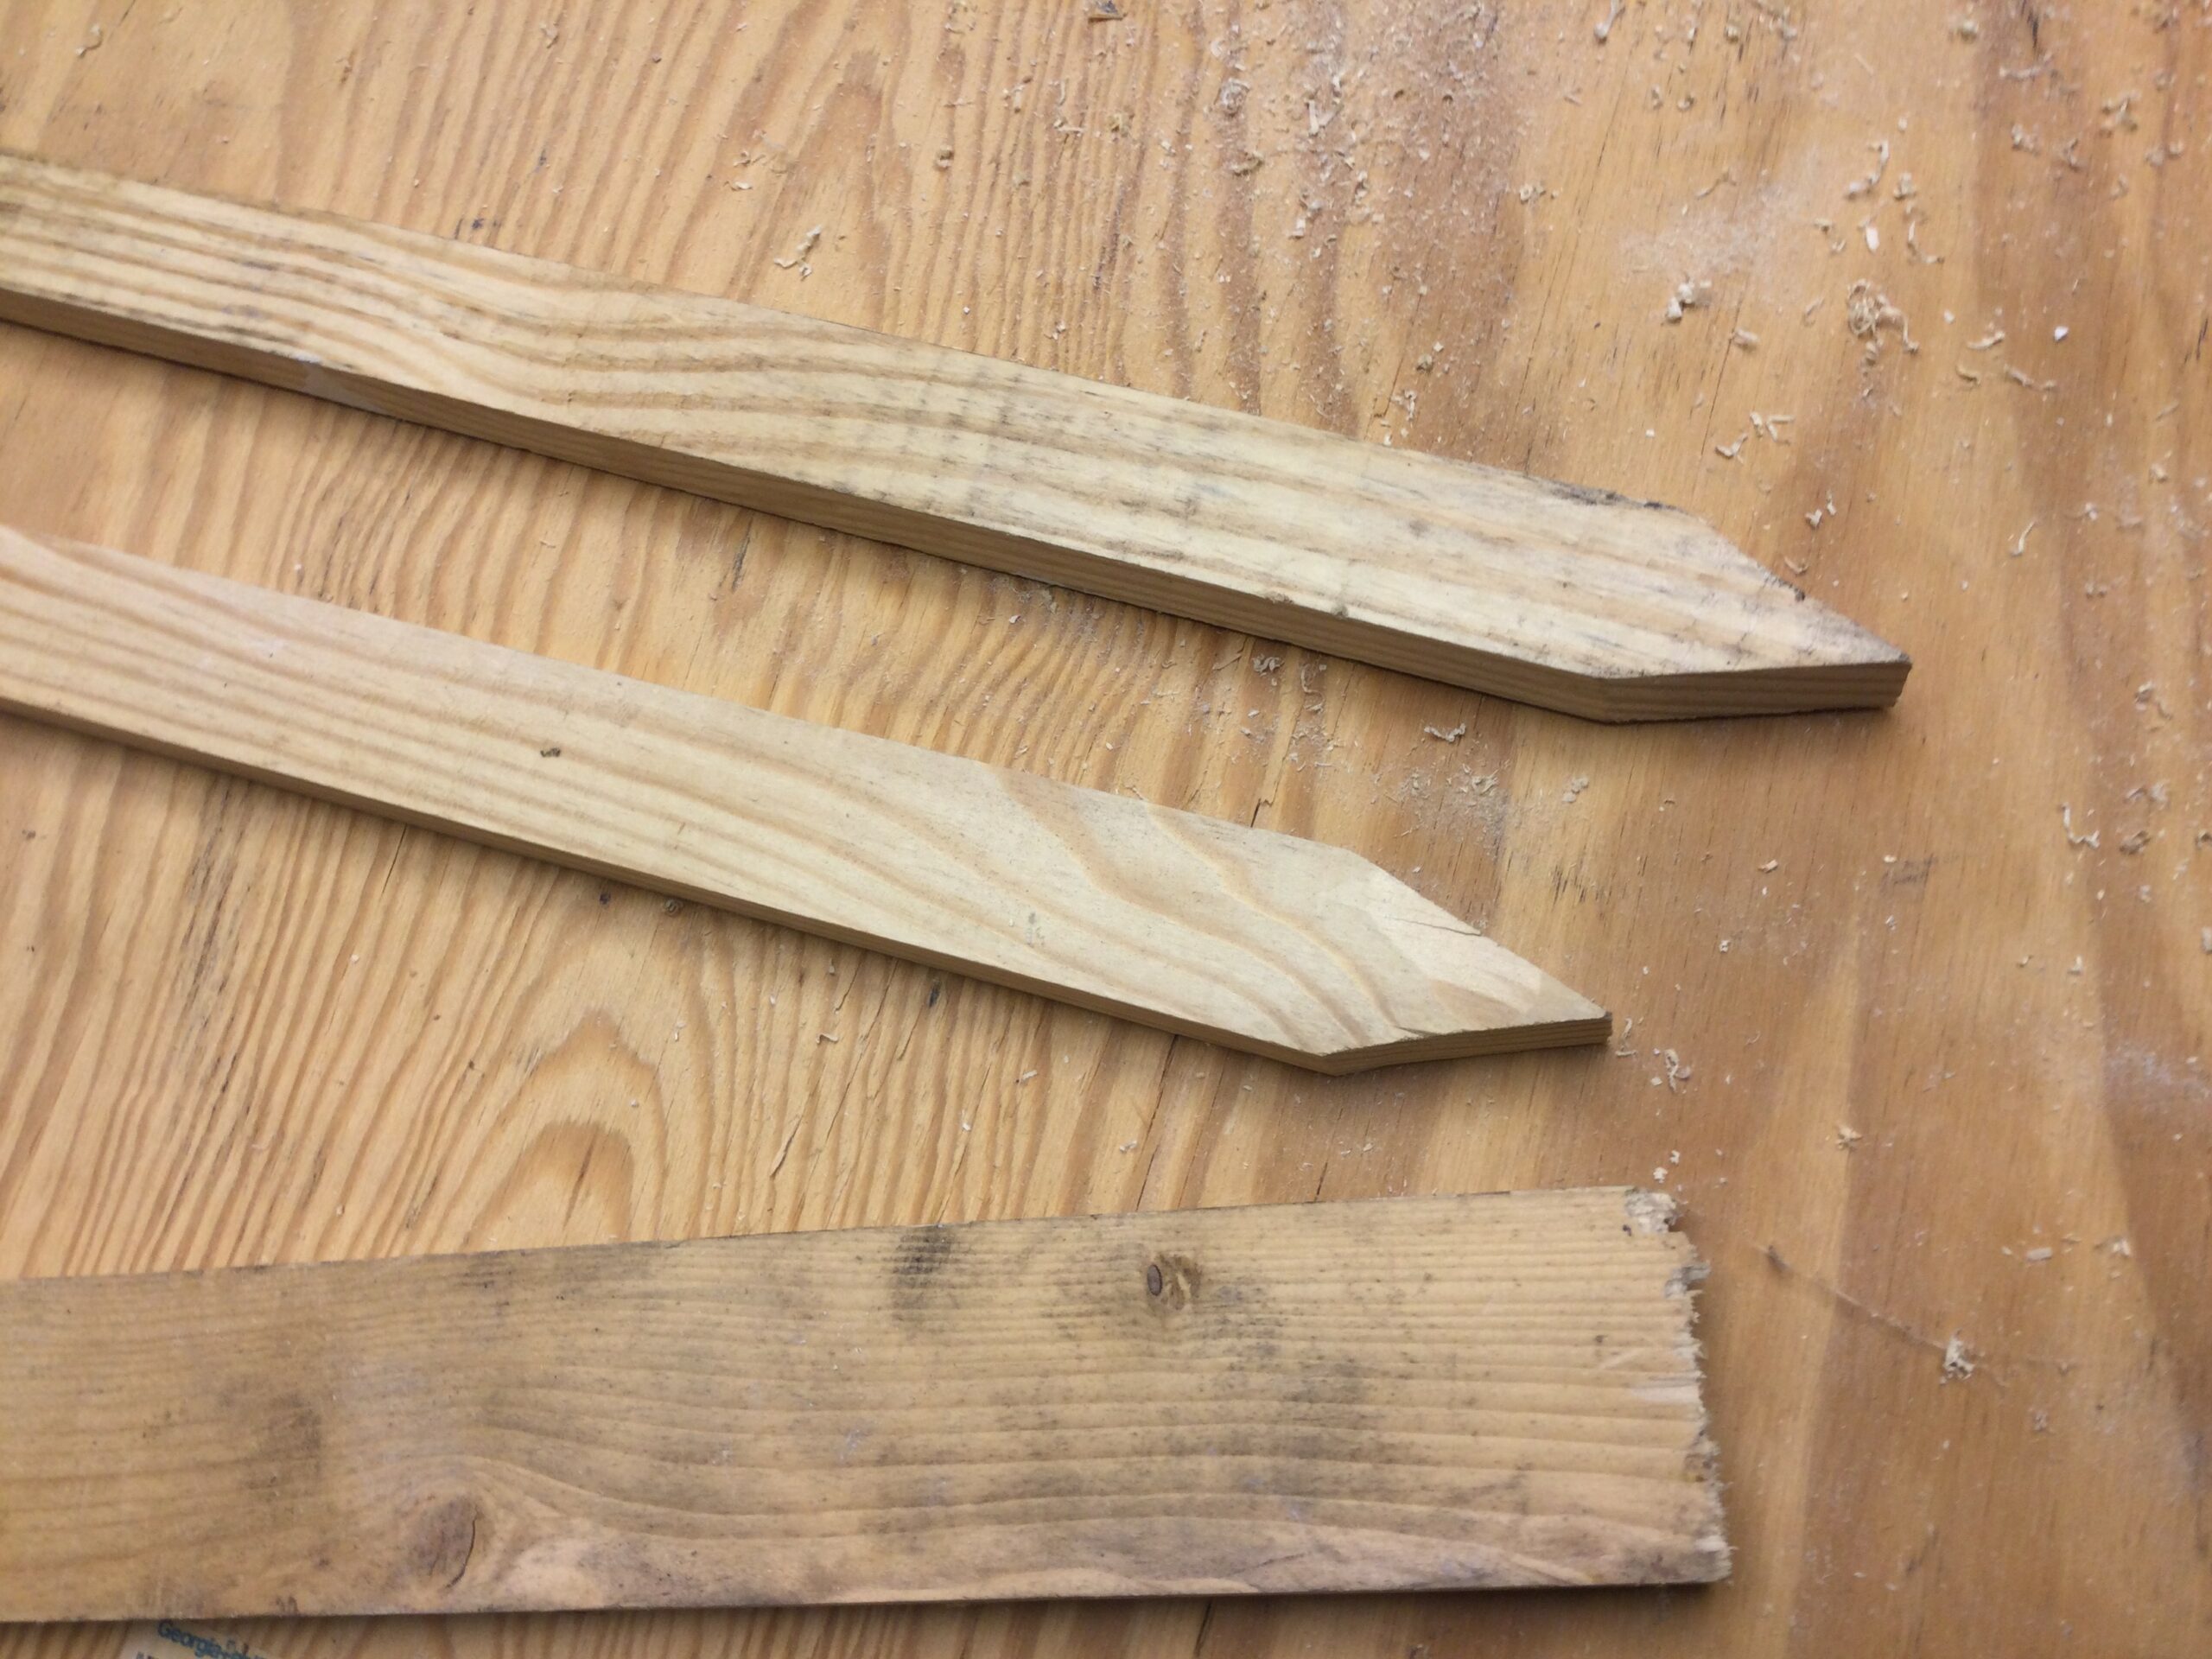
Ideally, you will be able to reuse pieces of wood that you already have on-hand. Two by fours, wooden stakes, door parts are all great options. You want each letter to be able to stand up on its own when finished so look for wood pieces that are at least one inch thick.
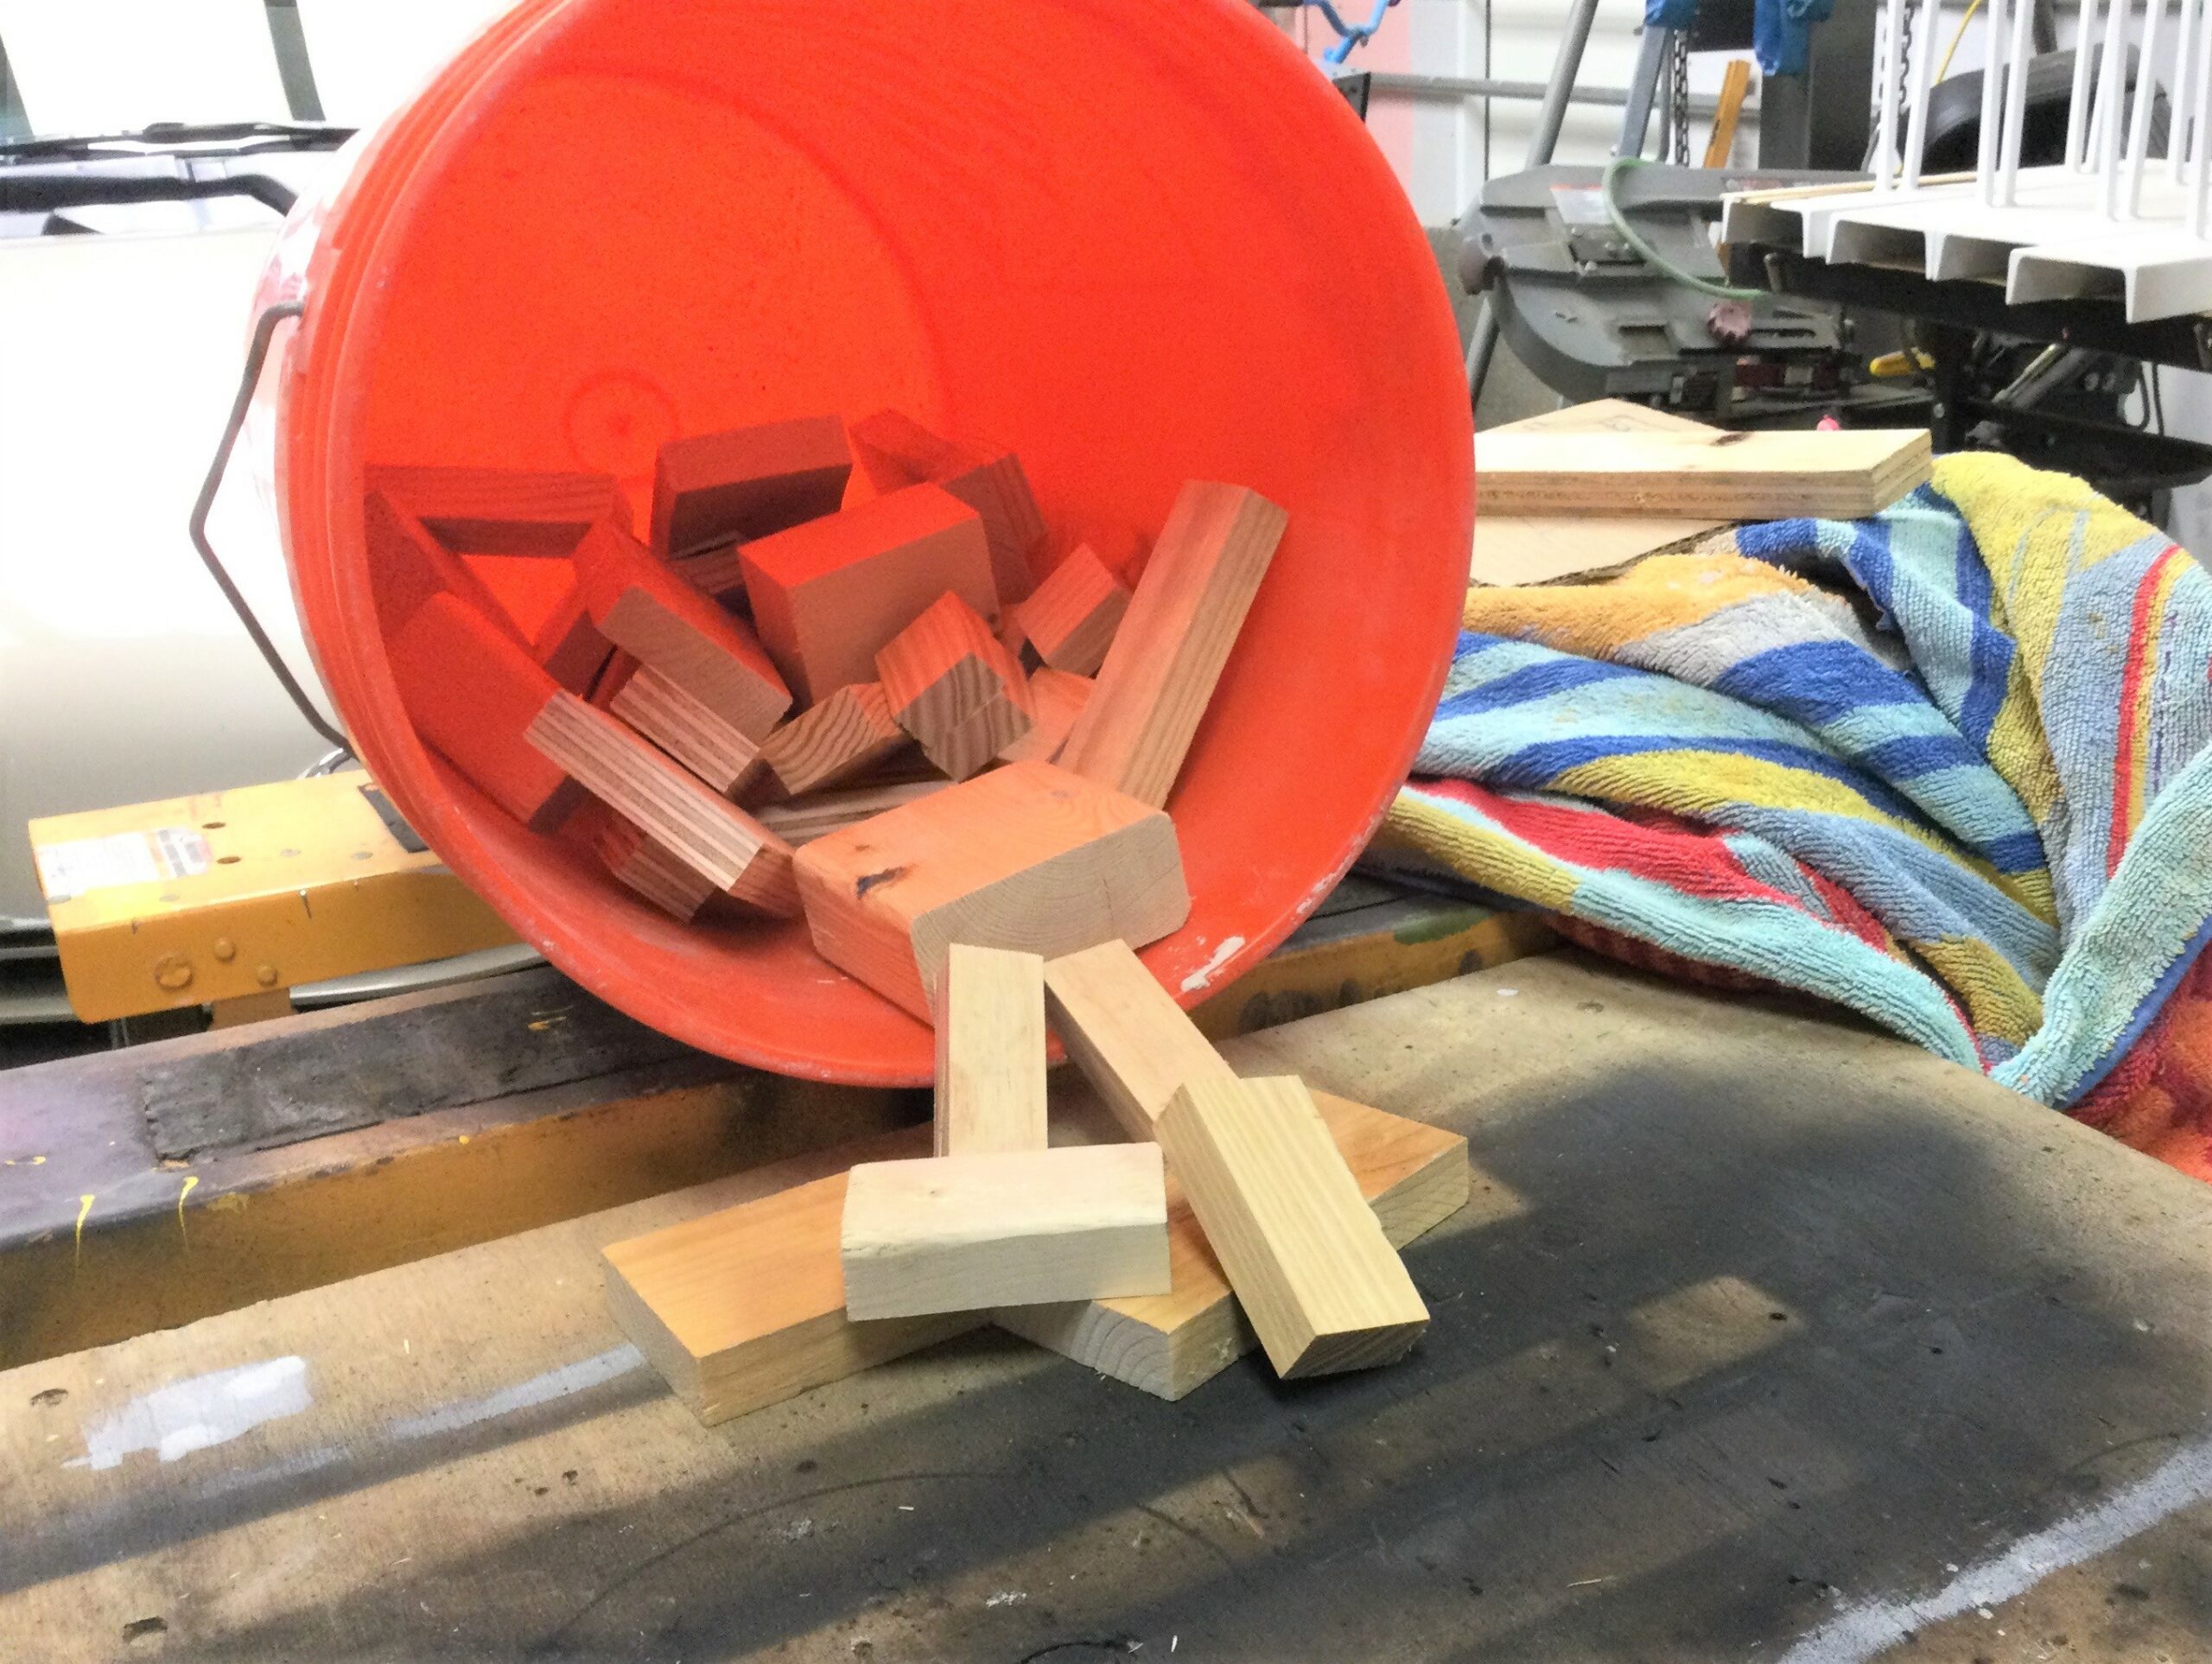
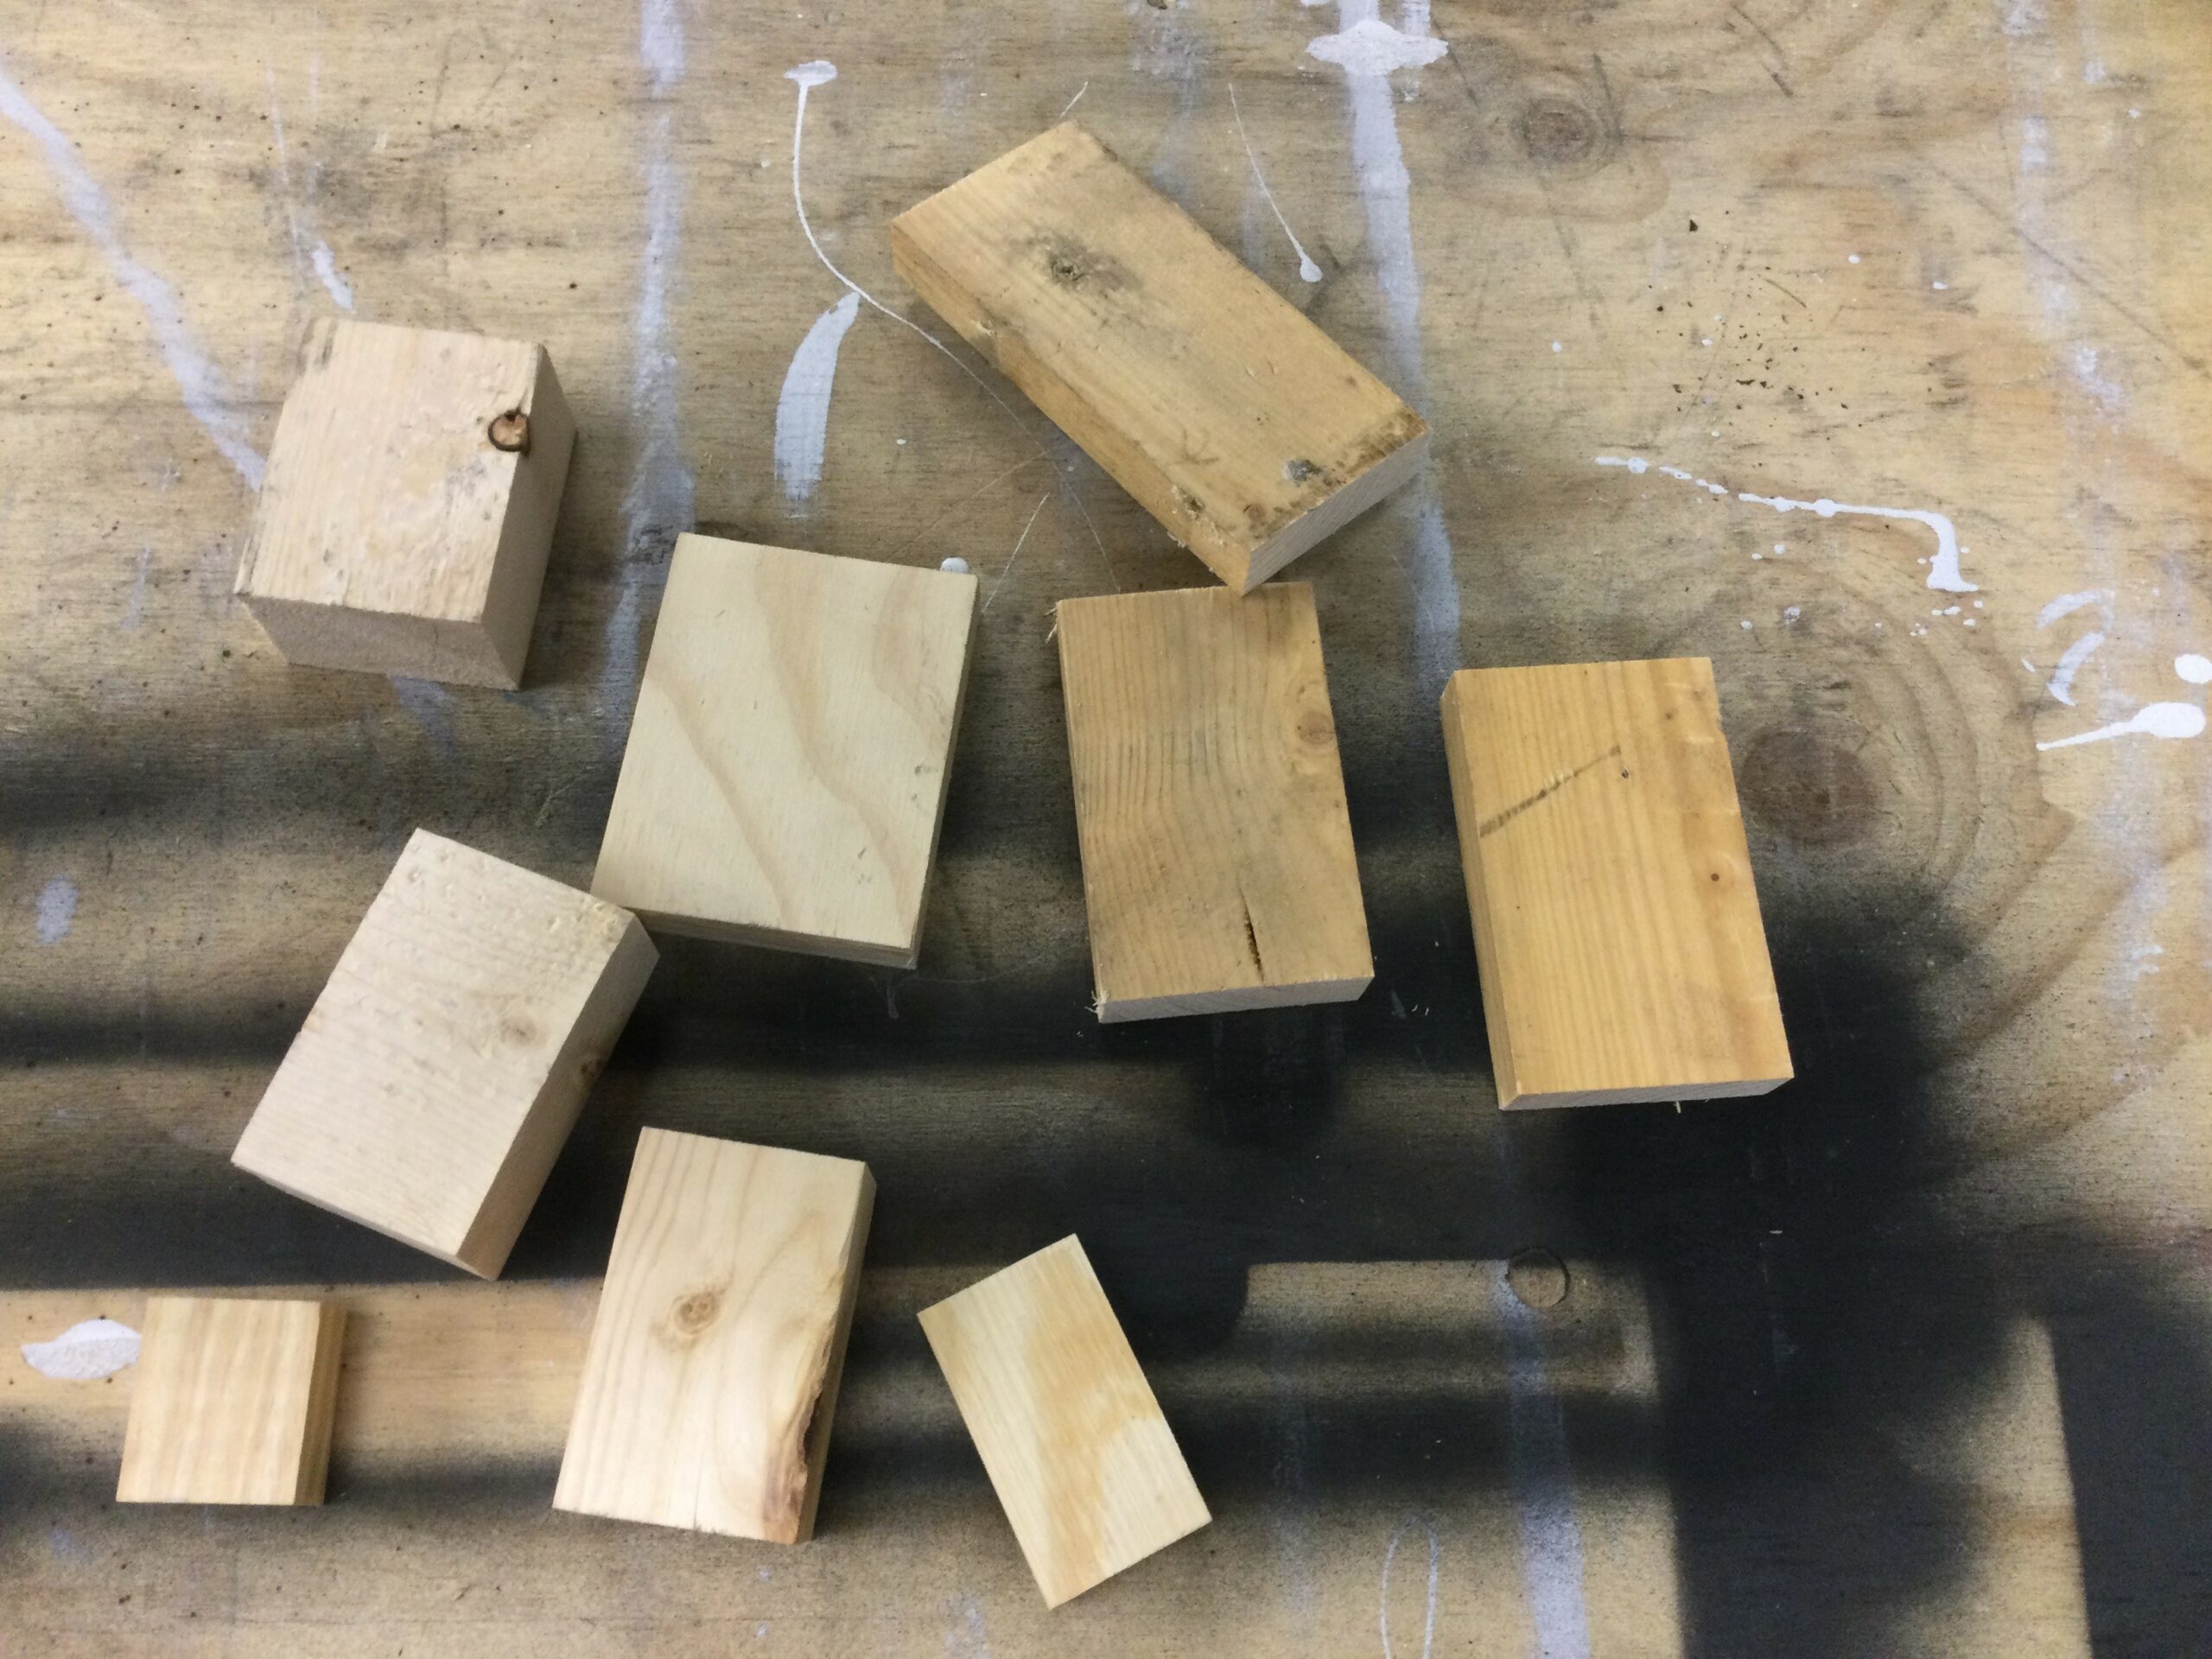
- If you have access to a table saw, cut your wood into various small pieces being very, very careful. Different-sized pieces add to the visual appeal of the final product.
- If you don’t have this tool on-hand, many hardware stores are usually happy to help out with cutting wood for just a few dollars. In fact, they might have the scrap wood that they are willing to give away, which will save additional dollars.
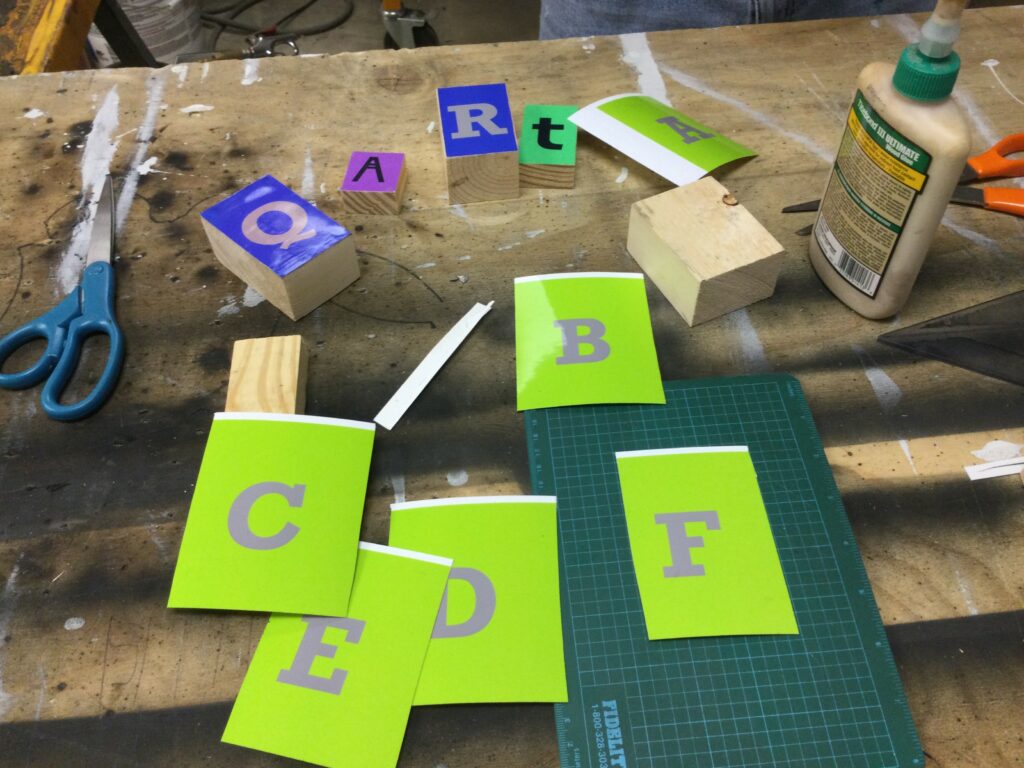
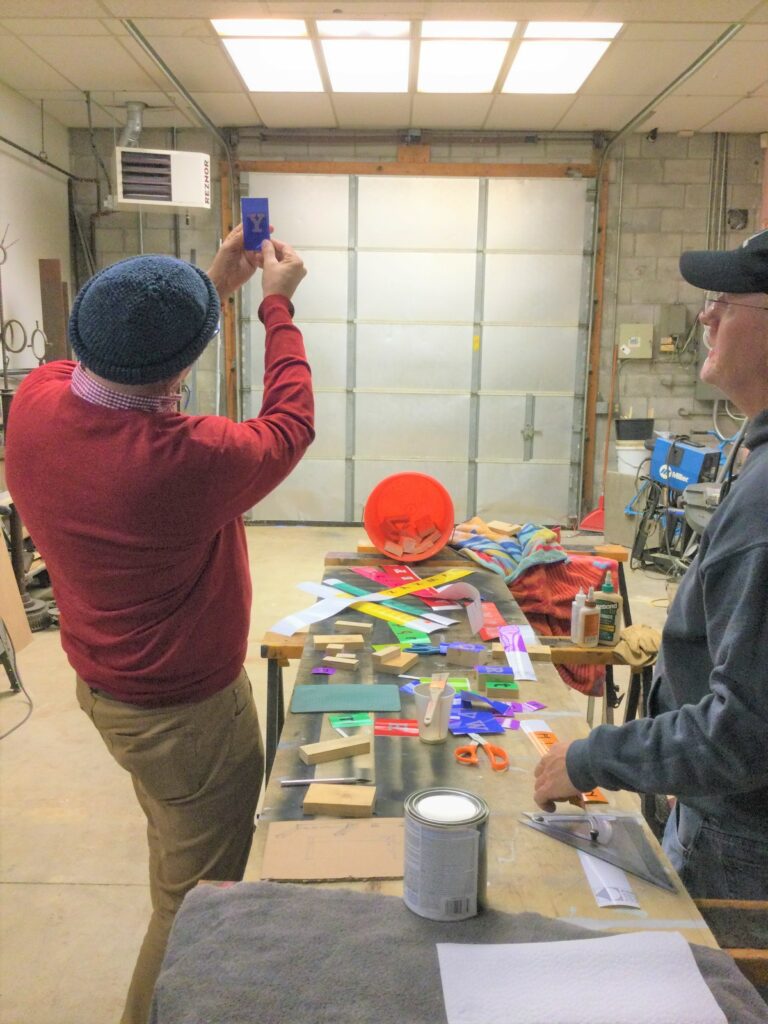
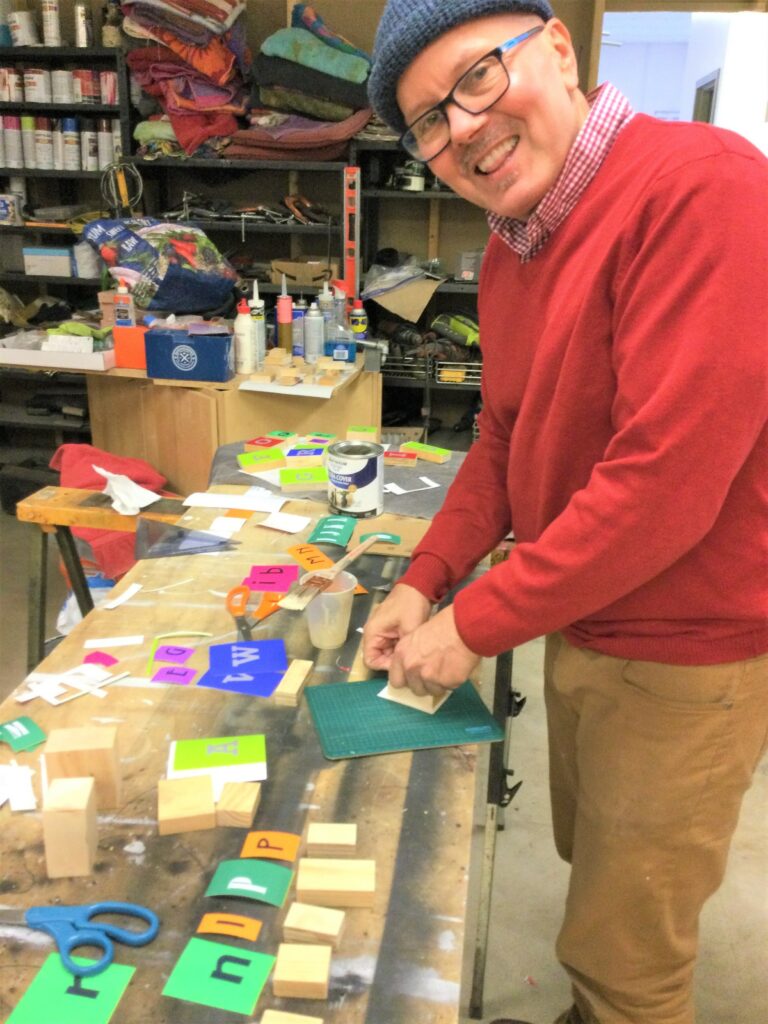
4. Brush on glue then position in place
- Place one of your cut-out letters face down on your work surface.
- Brush on some glue on one side of your wood block then place the glue side down on your letter.
- To ensure it is positioned properly, you may want to hold it up to the light to see that the letter is within the borders of the block.
- Once in the right place, put it aside—with the wood on top—and let dry.
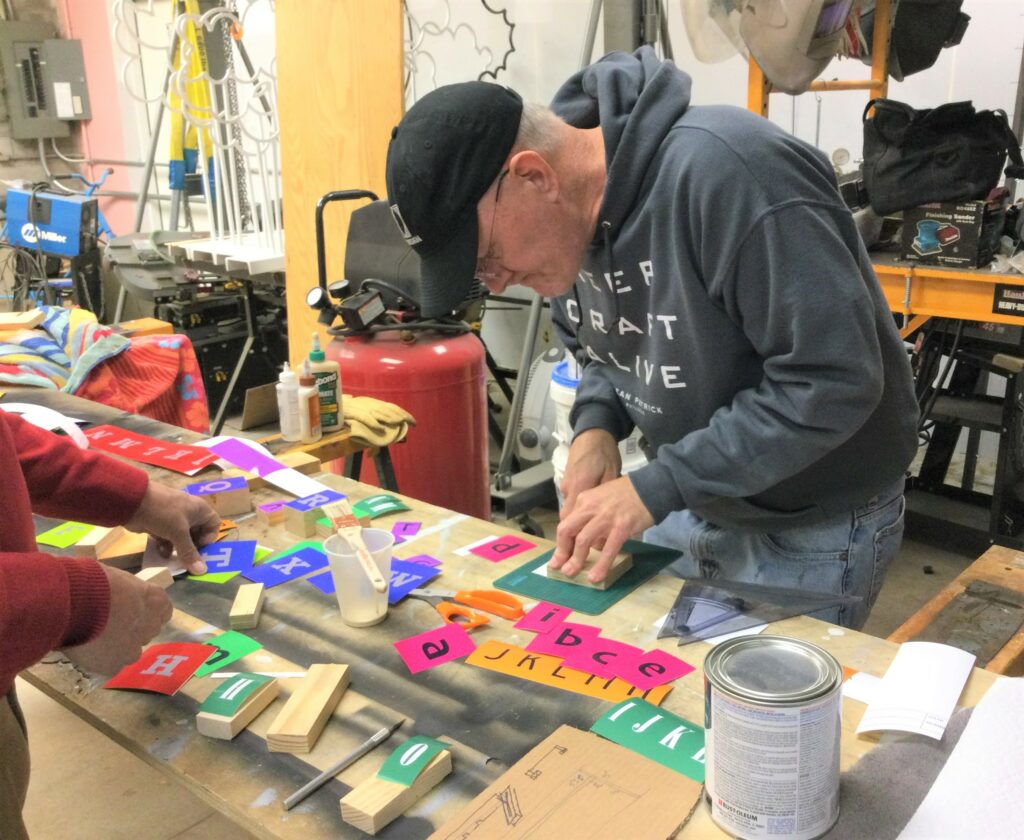
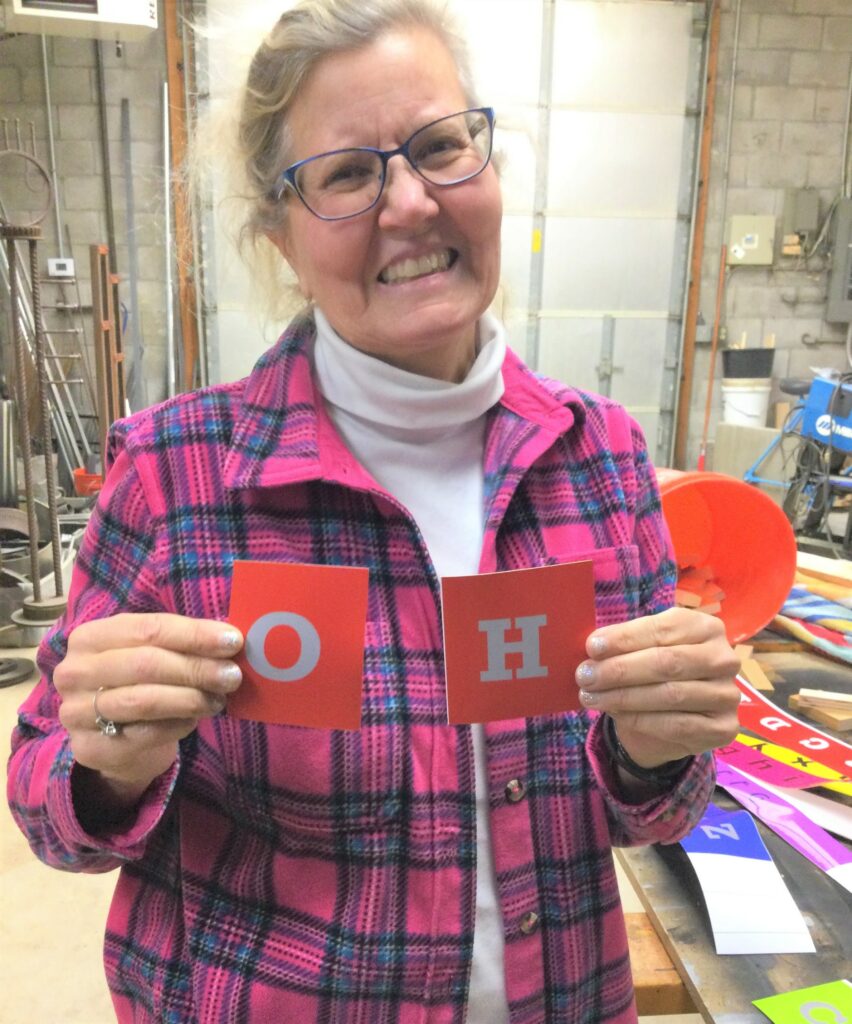
5. Trim away the access
- Once your letter blocks have dried well, take one, place it letter side down and block side up on your work surface.
- With an exacto knife, trim/cut away the extra paper.
- You may want to cut it on another piece of wood to you don’t scratch your worksurface; you will want to hold the block tightly as you trim away.
6. Flip it over and you’ll wanna flip too!
Turn your block letter over to see how great it looks.
Continue the process until each block has the excess paper trimmed away.
These sort of look like the old printing letters used with the printing presses of years ago, don’t you think?
Design idea:
Consider drilling a hole in the top of some of the bigger letter blocks to hold pencils, pens, flowers, and more. You could add eye hooks to the top, thread through some ribbon to make ornaments for your tree. Spell out a word, glue them together and add small picture hooks on the back for eye-catching wall art.
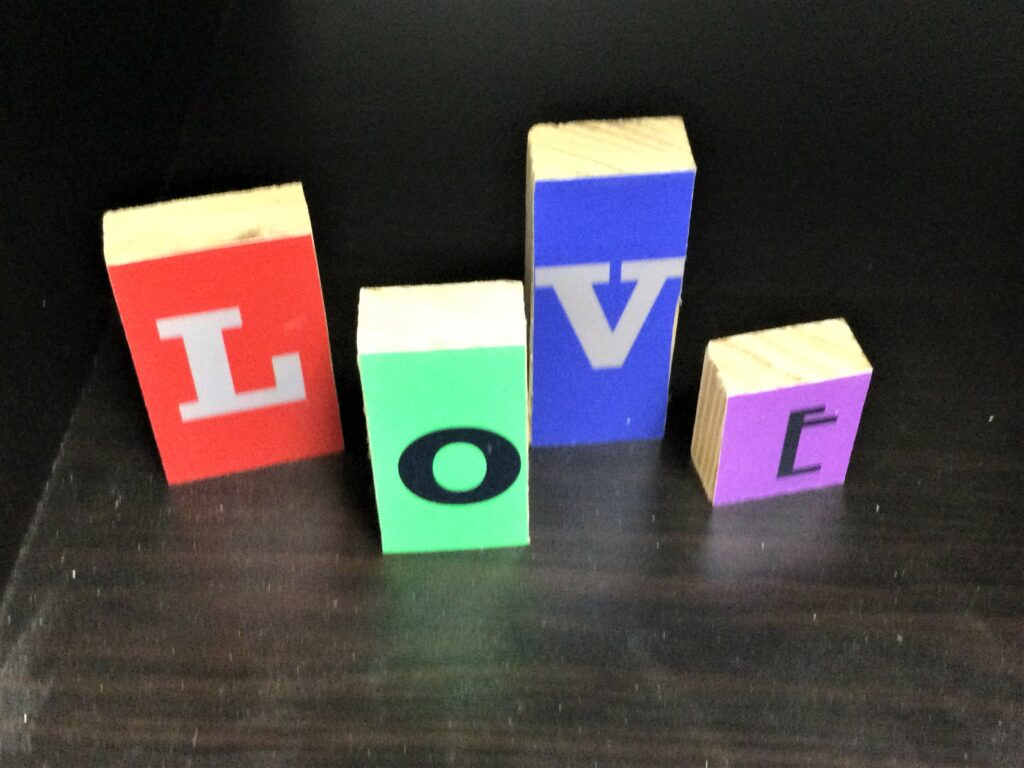
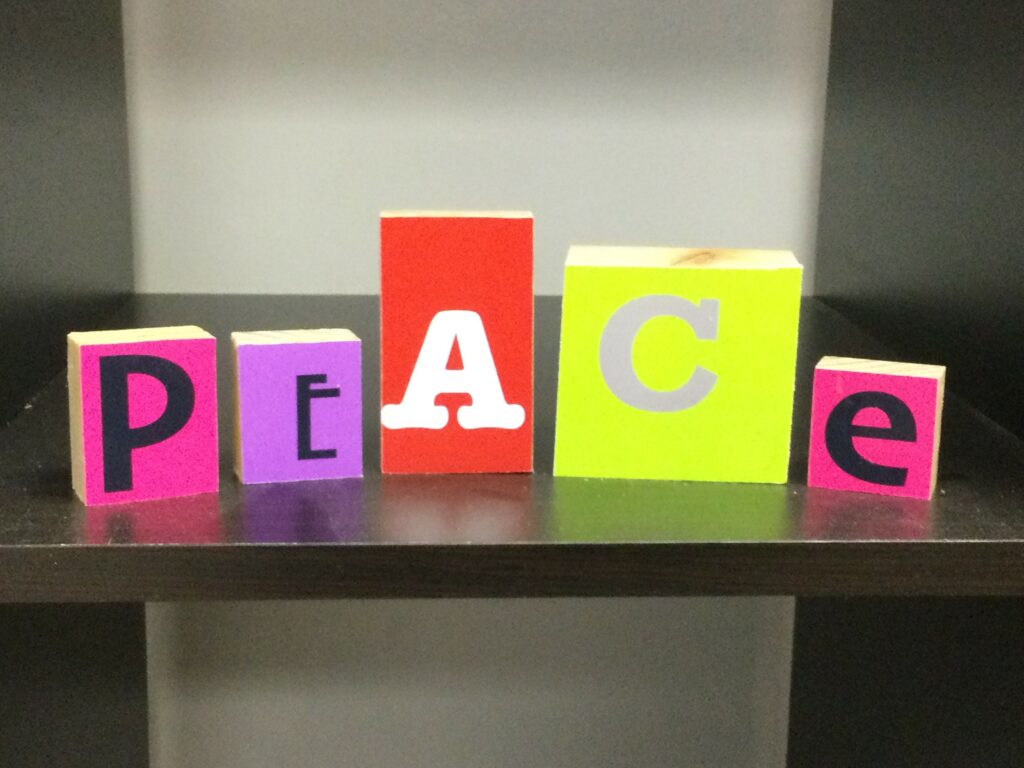
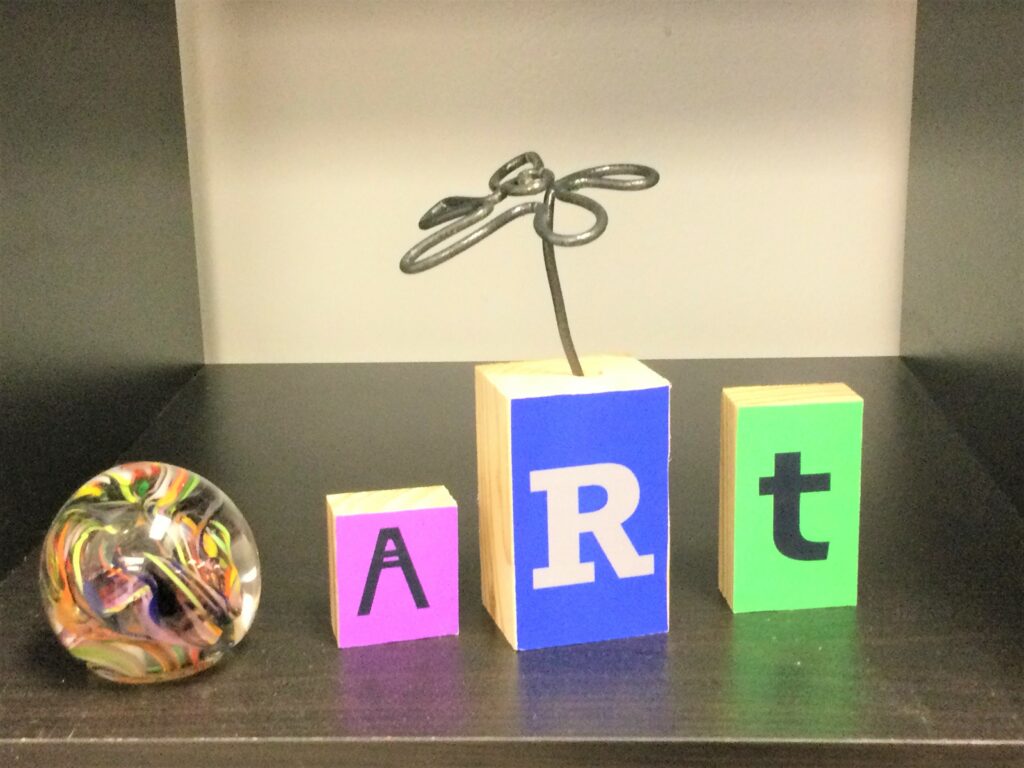
There are so many interesting ways to use these block letters and they are appealing to people of any age. What creative ways will you use yours? Please send us pictures to inspire us with your ideas!

Tim Kime
Artist, Motivational Speaker, Life Coach

