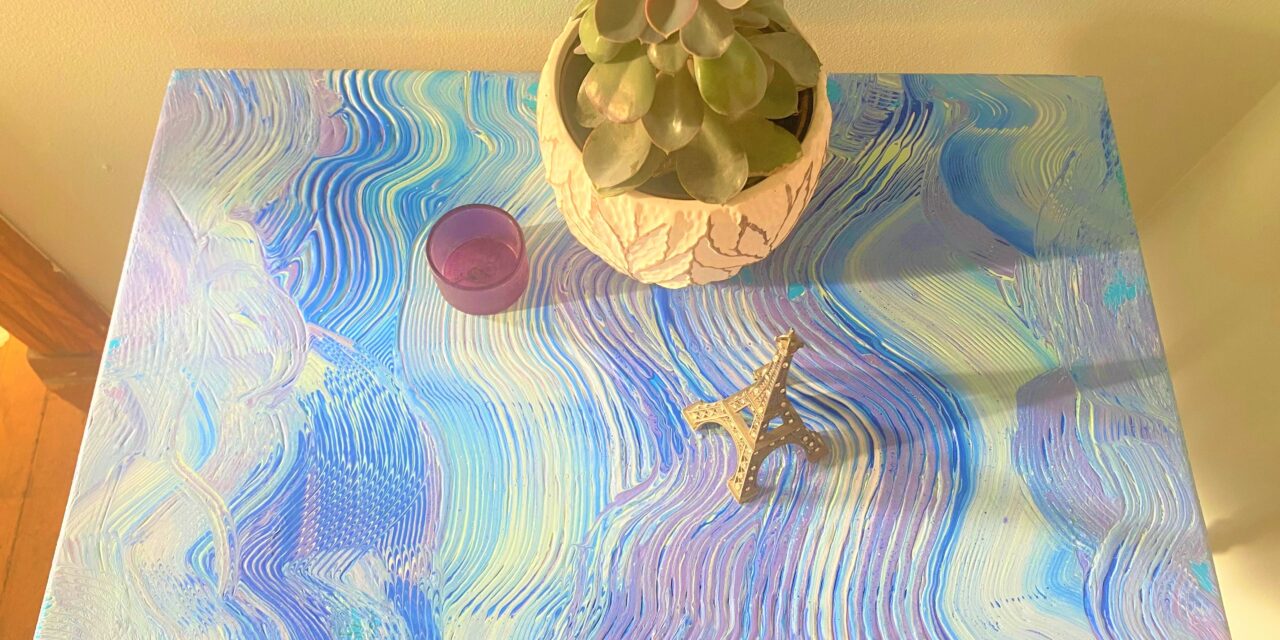
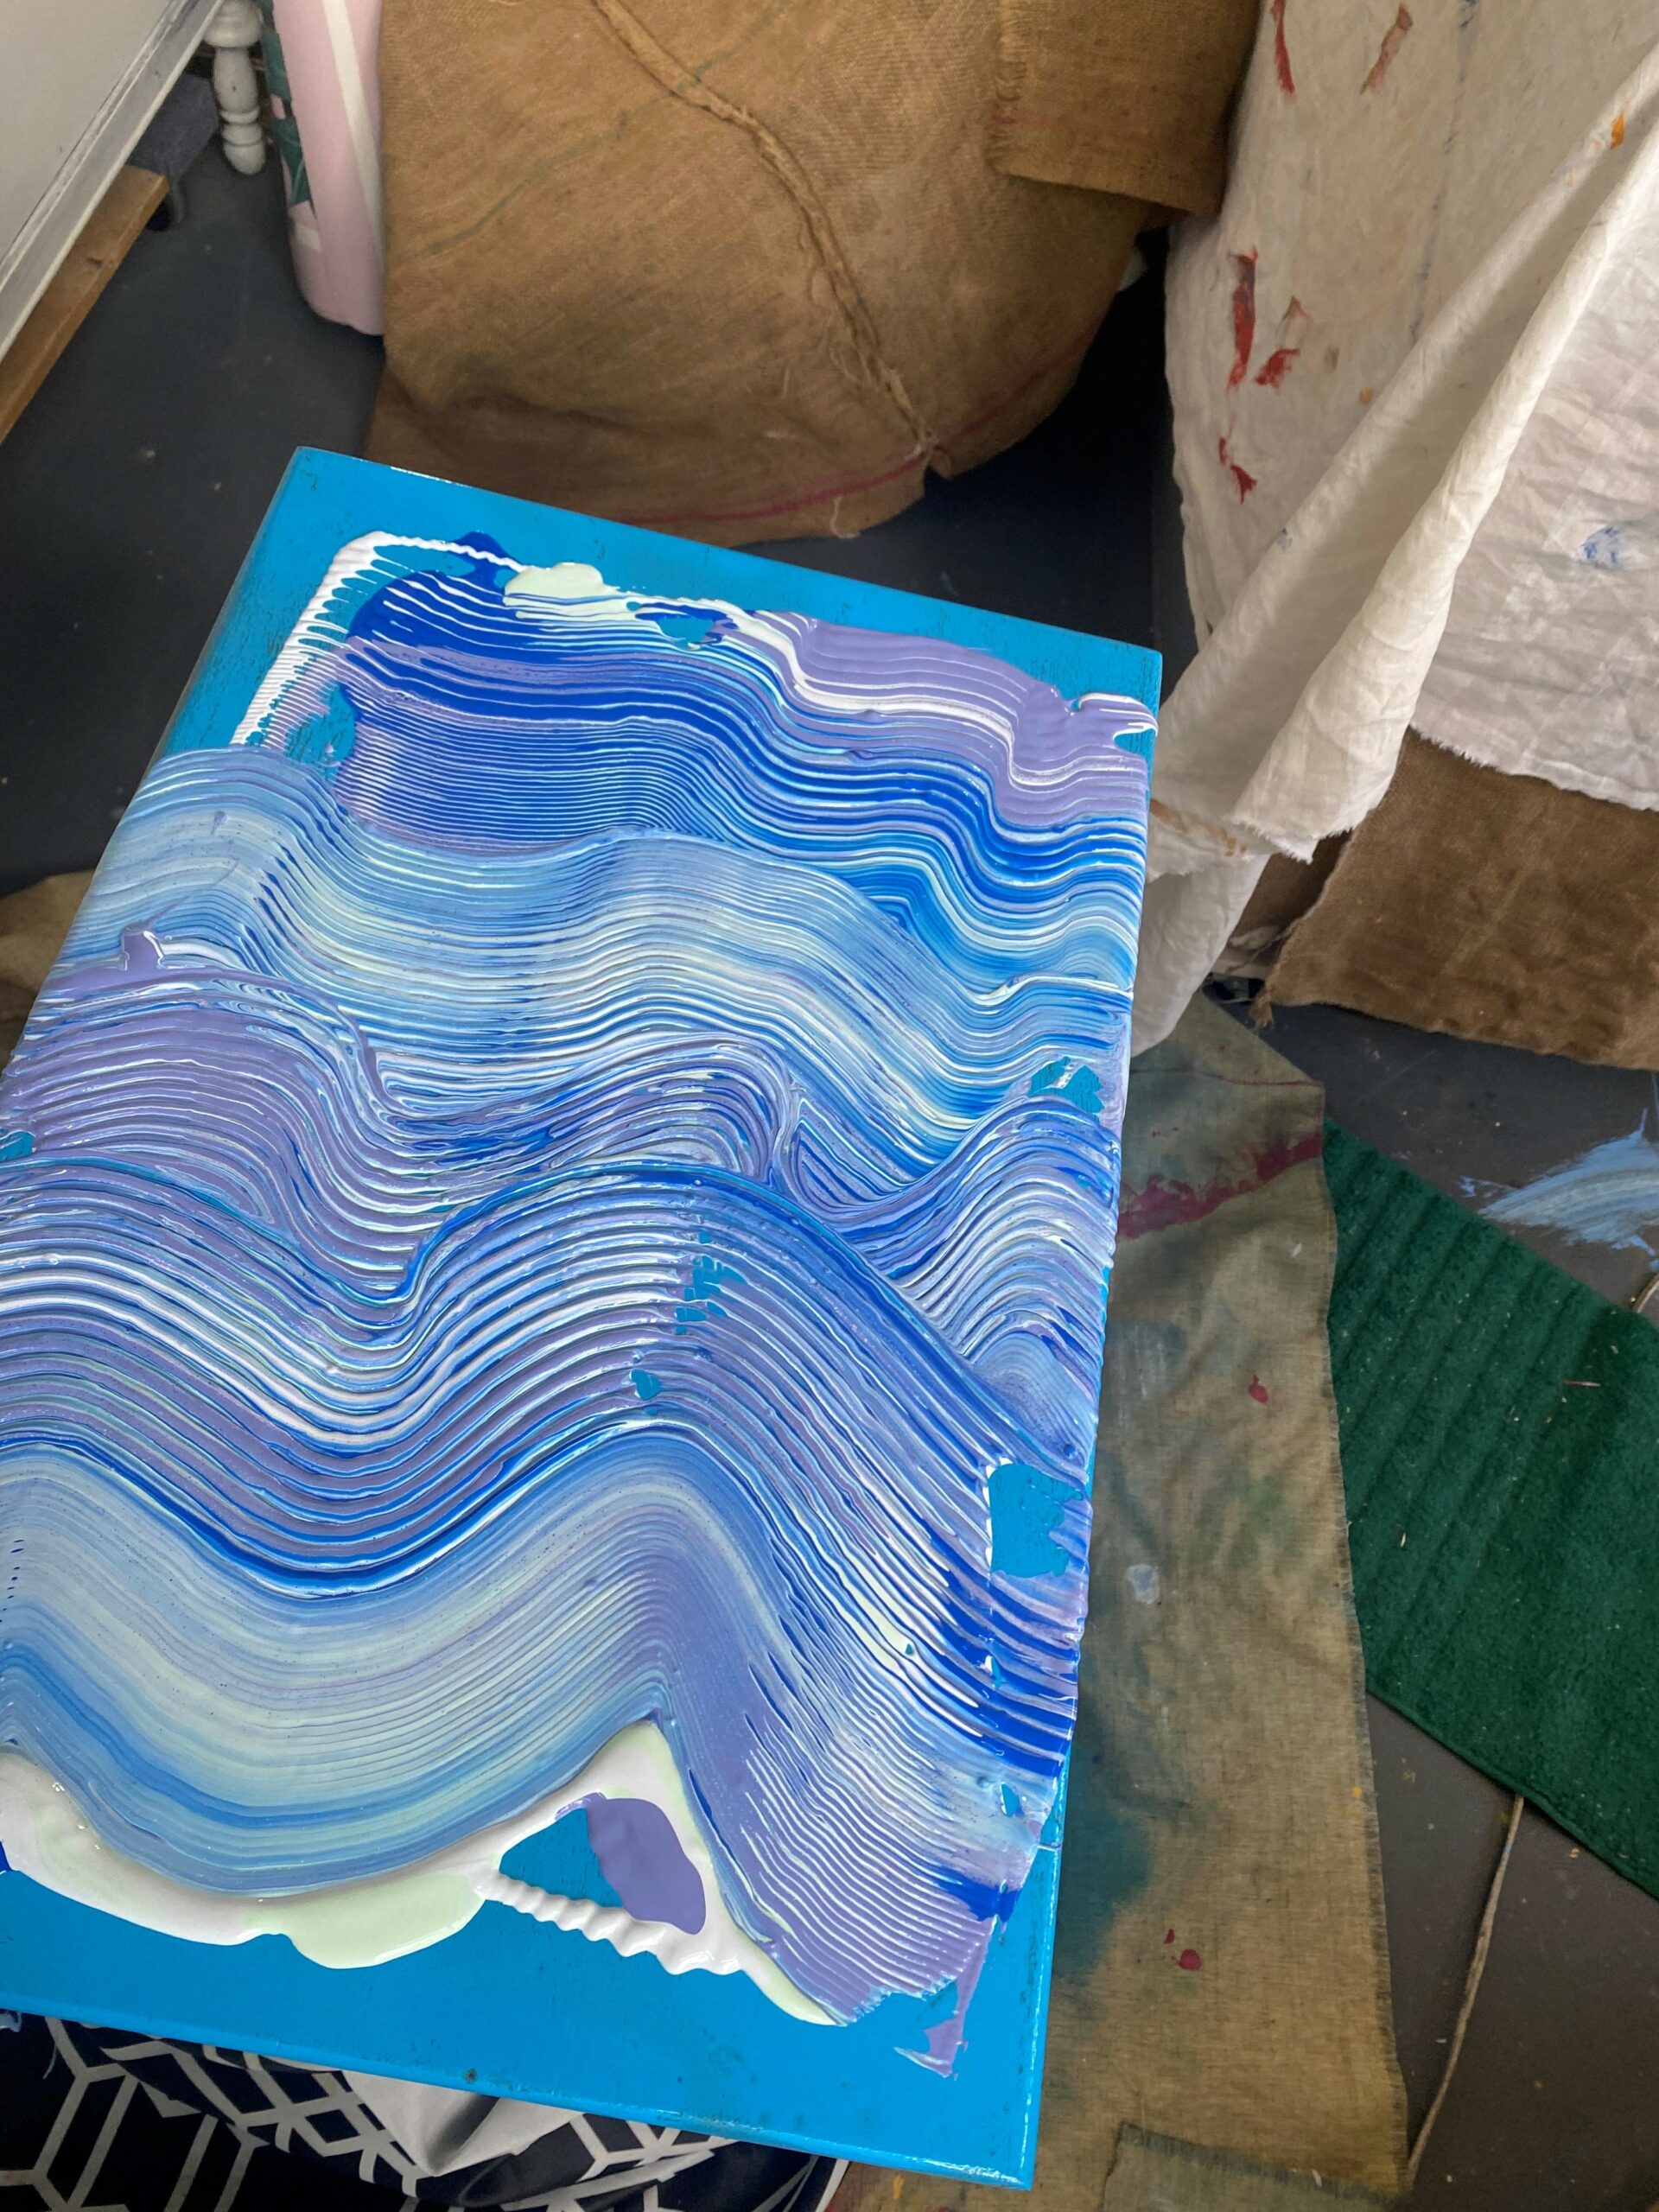
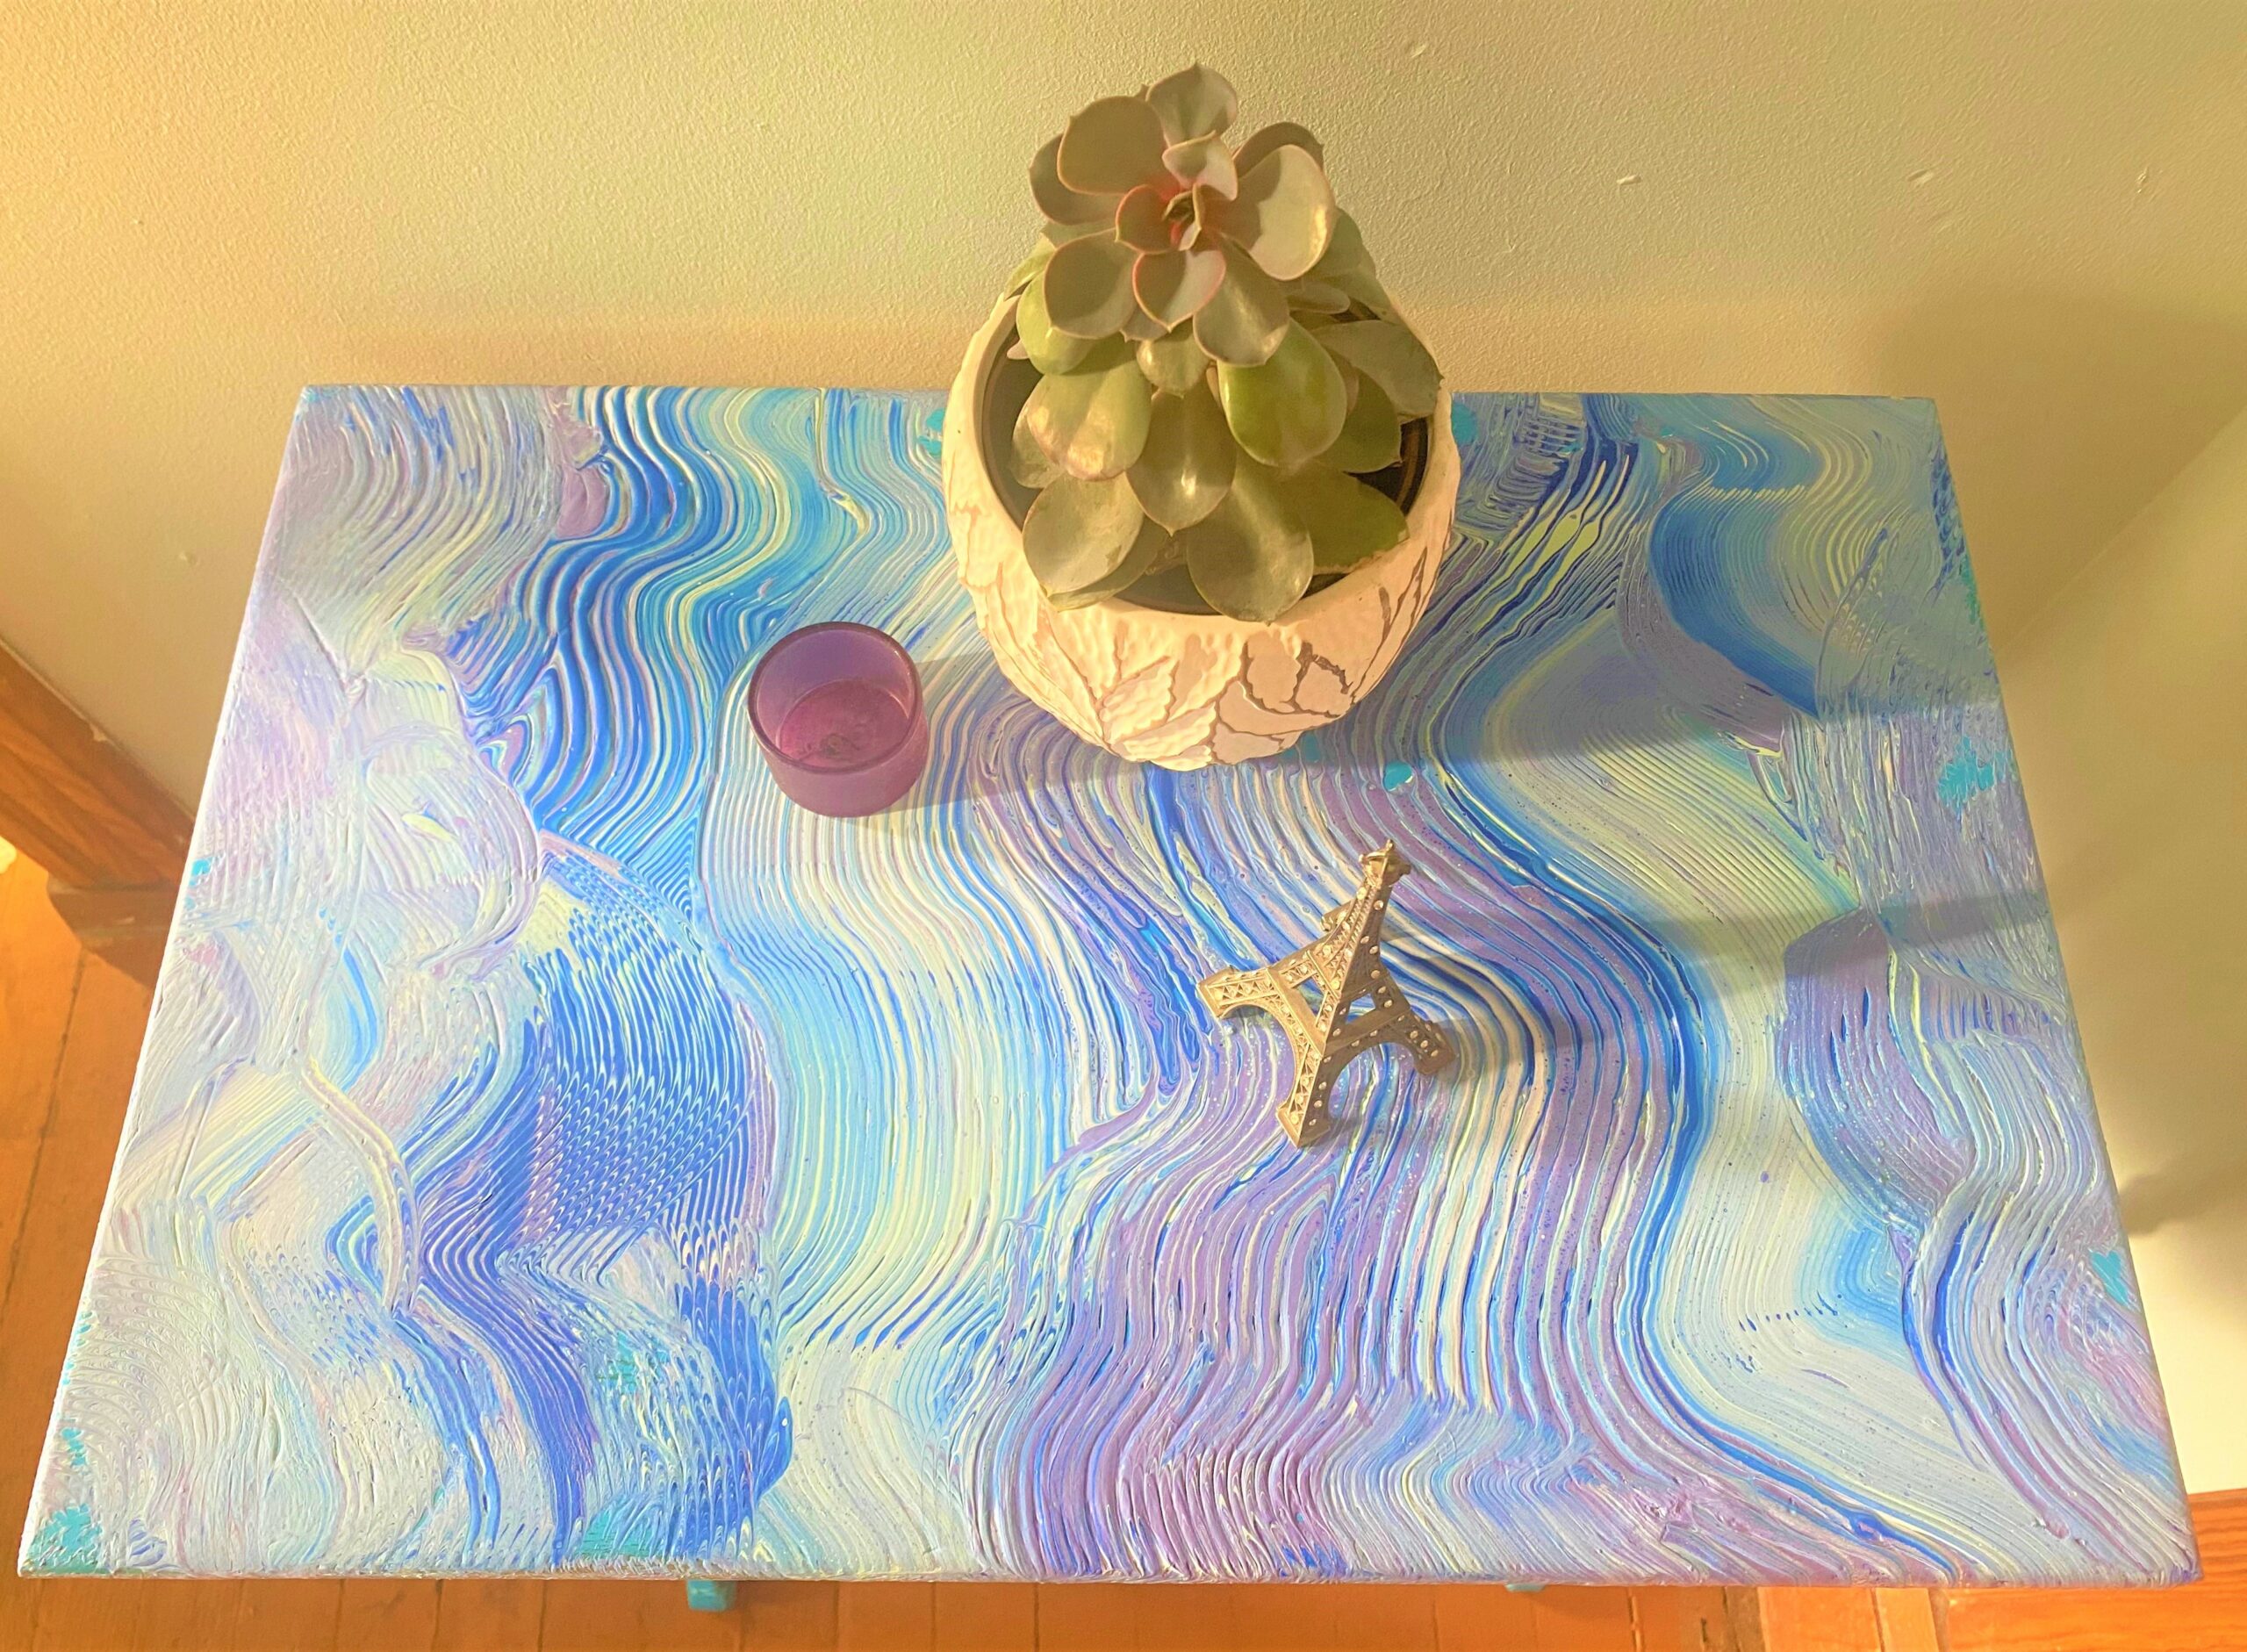
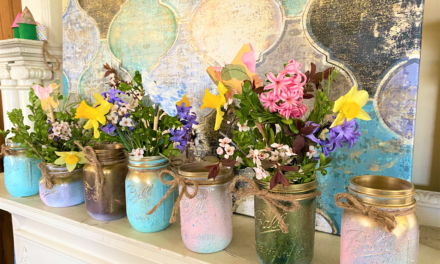
A charming but tired side table gets the royal beauty treatment in this week’s DIY project. Poured paint in purple, grays and blues then combed in a wavy, flowing manner gives a dreamy, ethereal feel. This combed paint technique has been around for centuries, often to mimic wood grain. However, bright colors make this timeless process look contemporary, creative and cool. This was an inexpensive because it used paints already on-hand but the result of a priceless masterpiece!
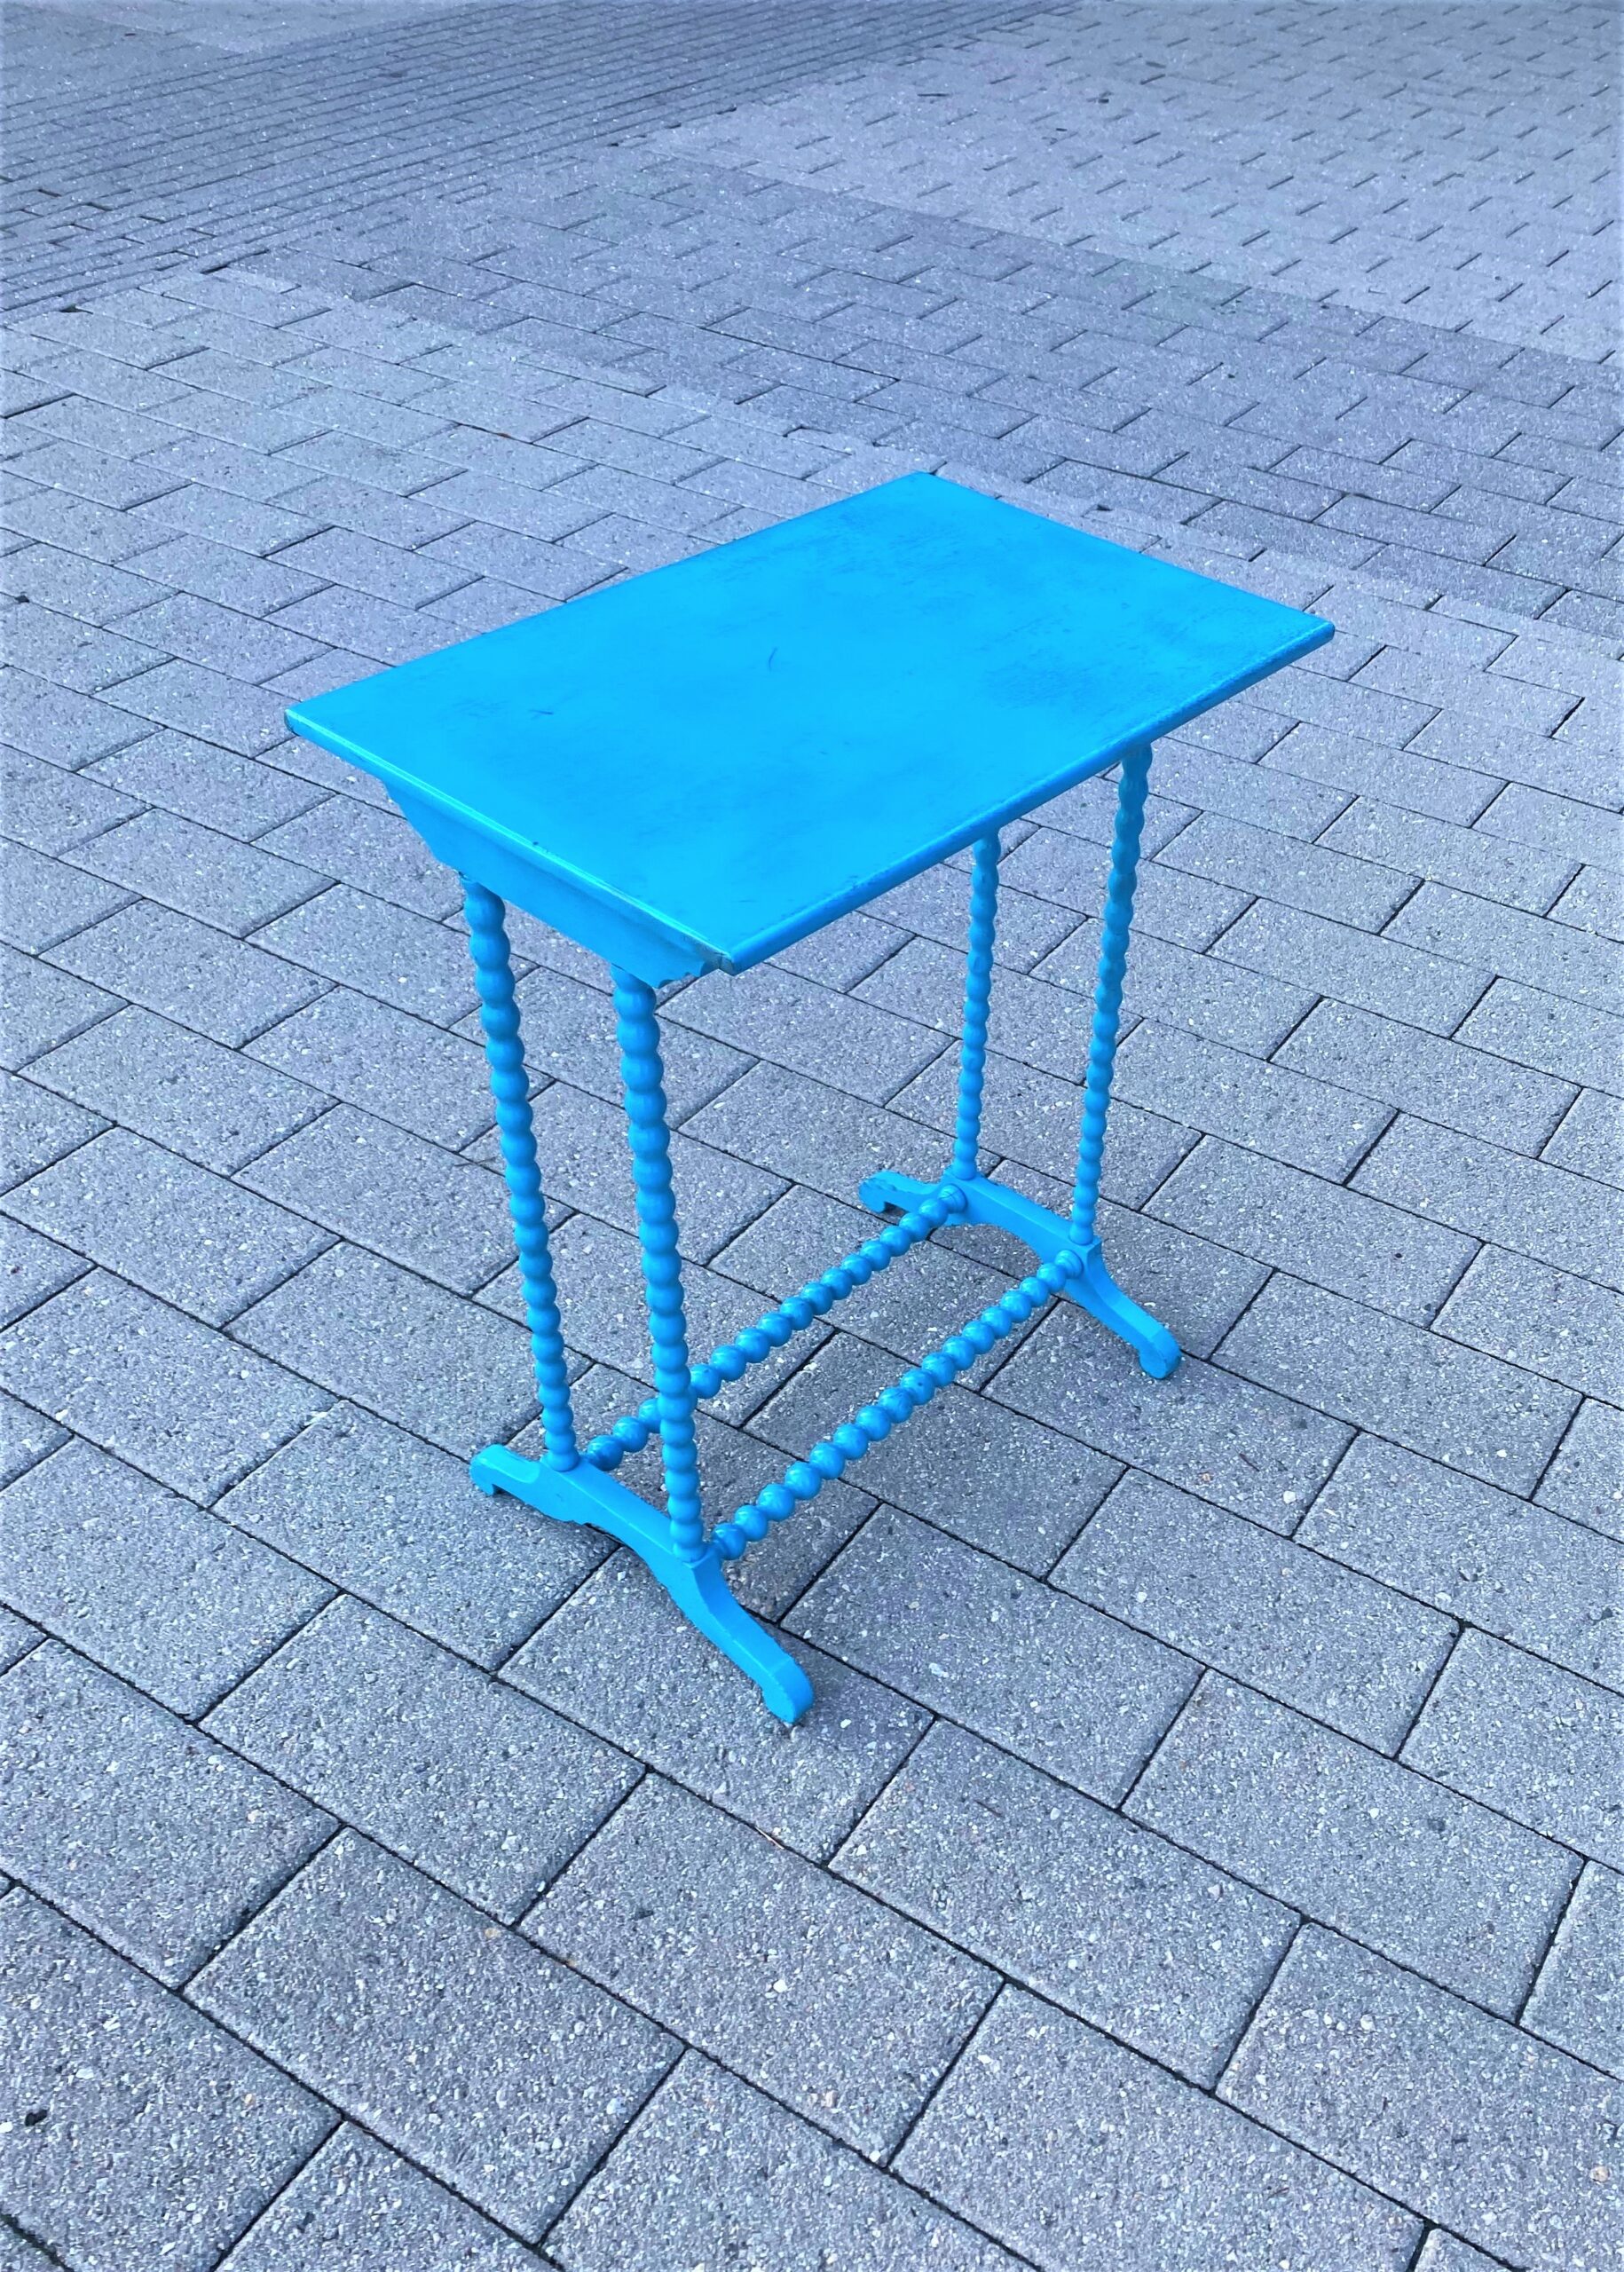
There is something magical that happens when you take a little table with charming spindle legs and give it a sweet and sassy makeover. From sad and forgotten to cheerful and eye-catching makes my heart happy! And doesn’t the final look of this little piece make yours happy too?
Items Needed:
- Wooden side table
- Spray paint, bright blue
- Left over paints in blues, purples, grays
- Plastic hair combs
- Drop cloths
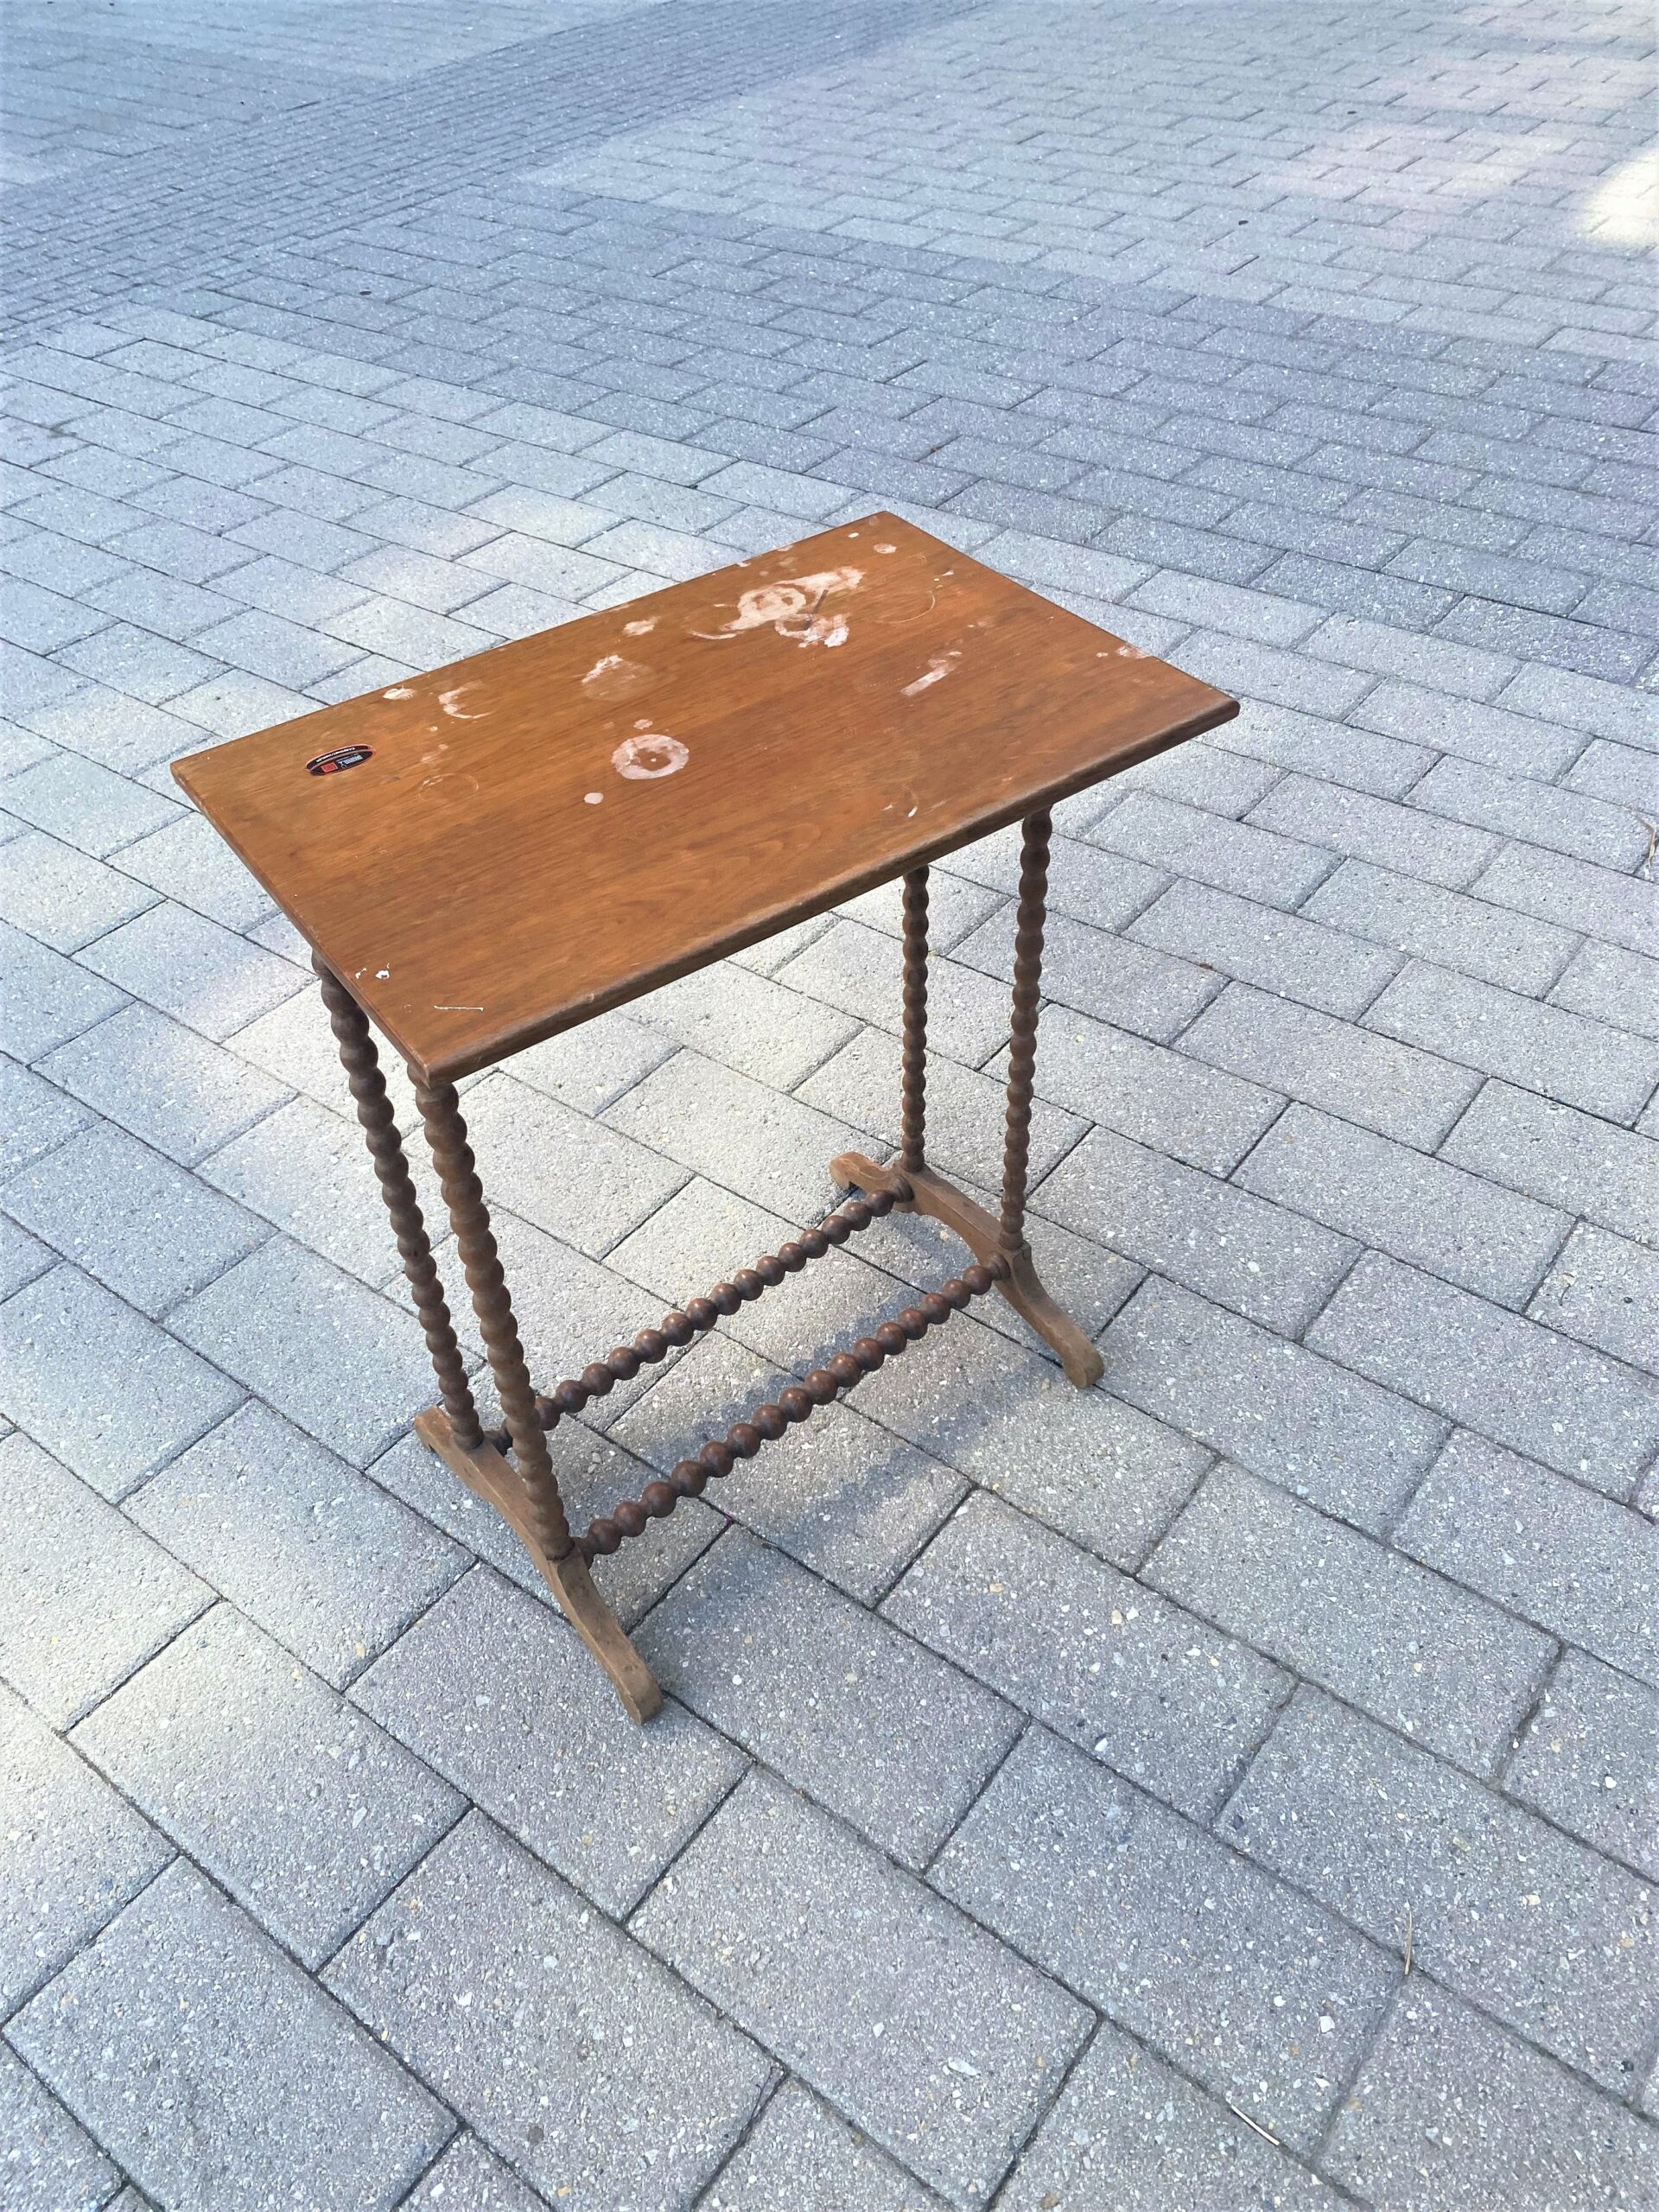
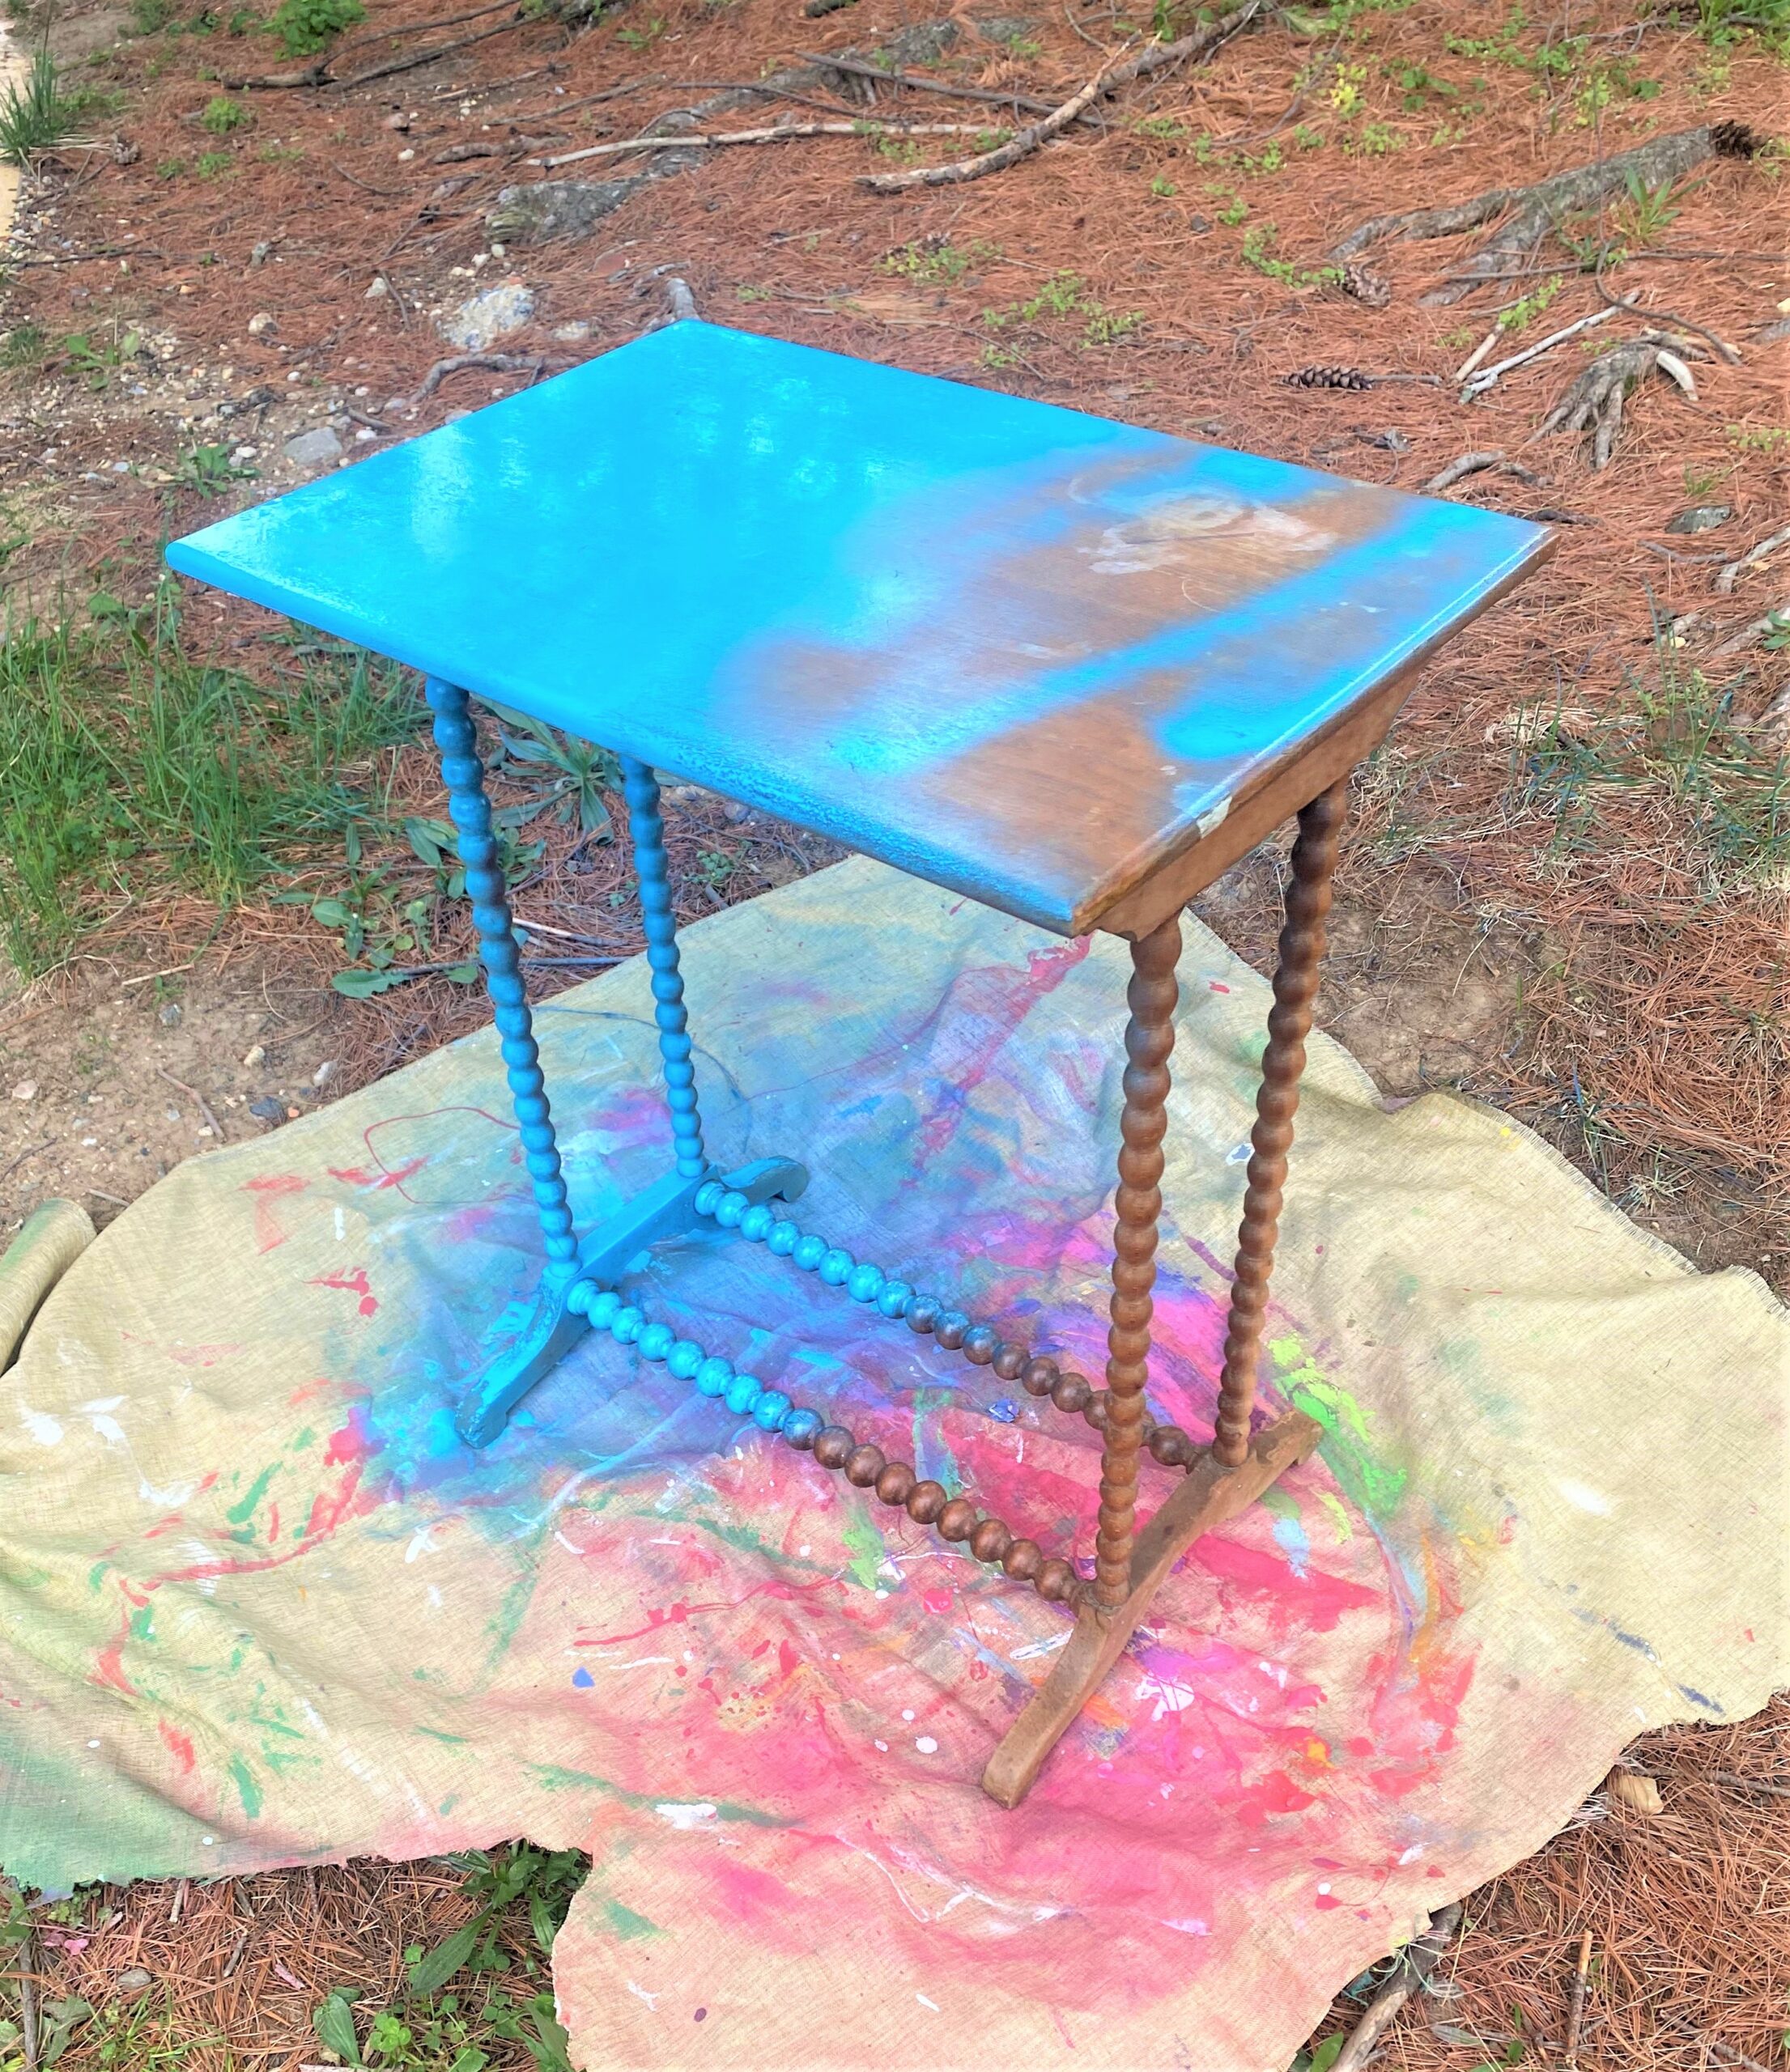
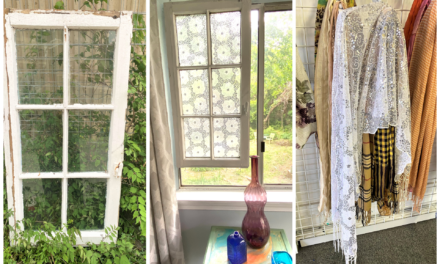
Step 1: Find your good and a sweet piece (at a sweet price!) at Goodwill
It is so exciting to find an adorable furniture item of solid construction that costs next to nothing to buy. This happens each time you visit Goodwill because they always, always, always have unique pieces on sale at lower than low prices. Honestly, this little table tugged at my heart because it was super cute but in sorry shape, appearance-wise. Good bones, as we say, with its solid wood top, carved spindle legs and interesting base. Yes brown, weathered and distressed—and not in a good way.
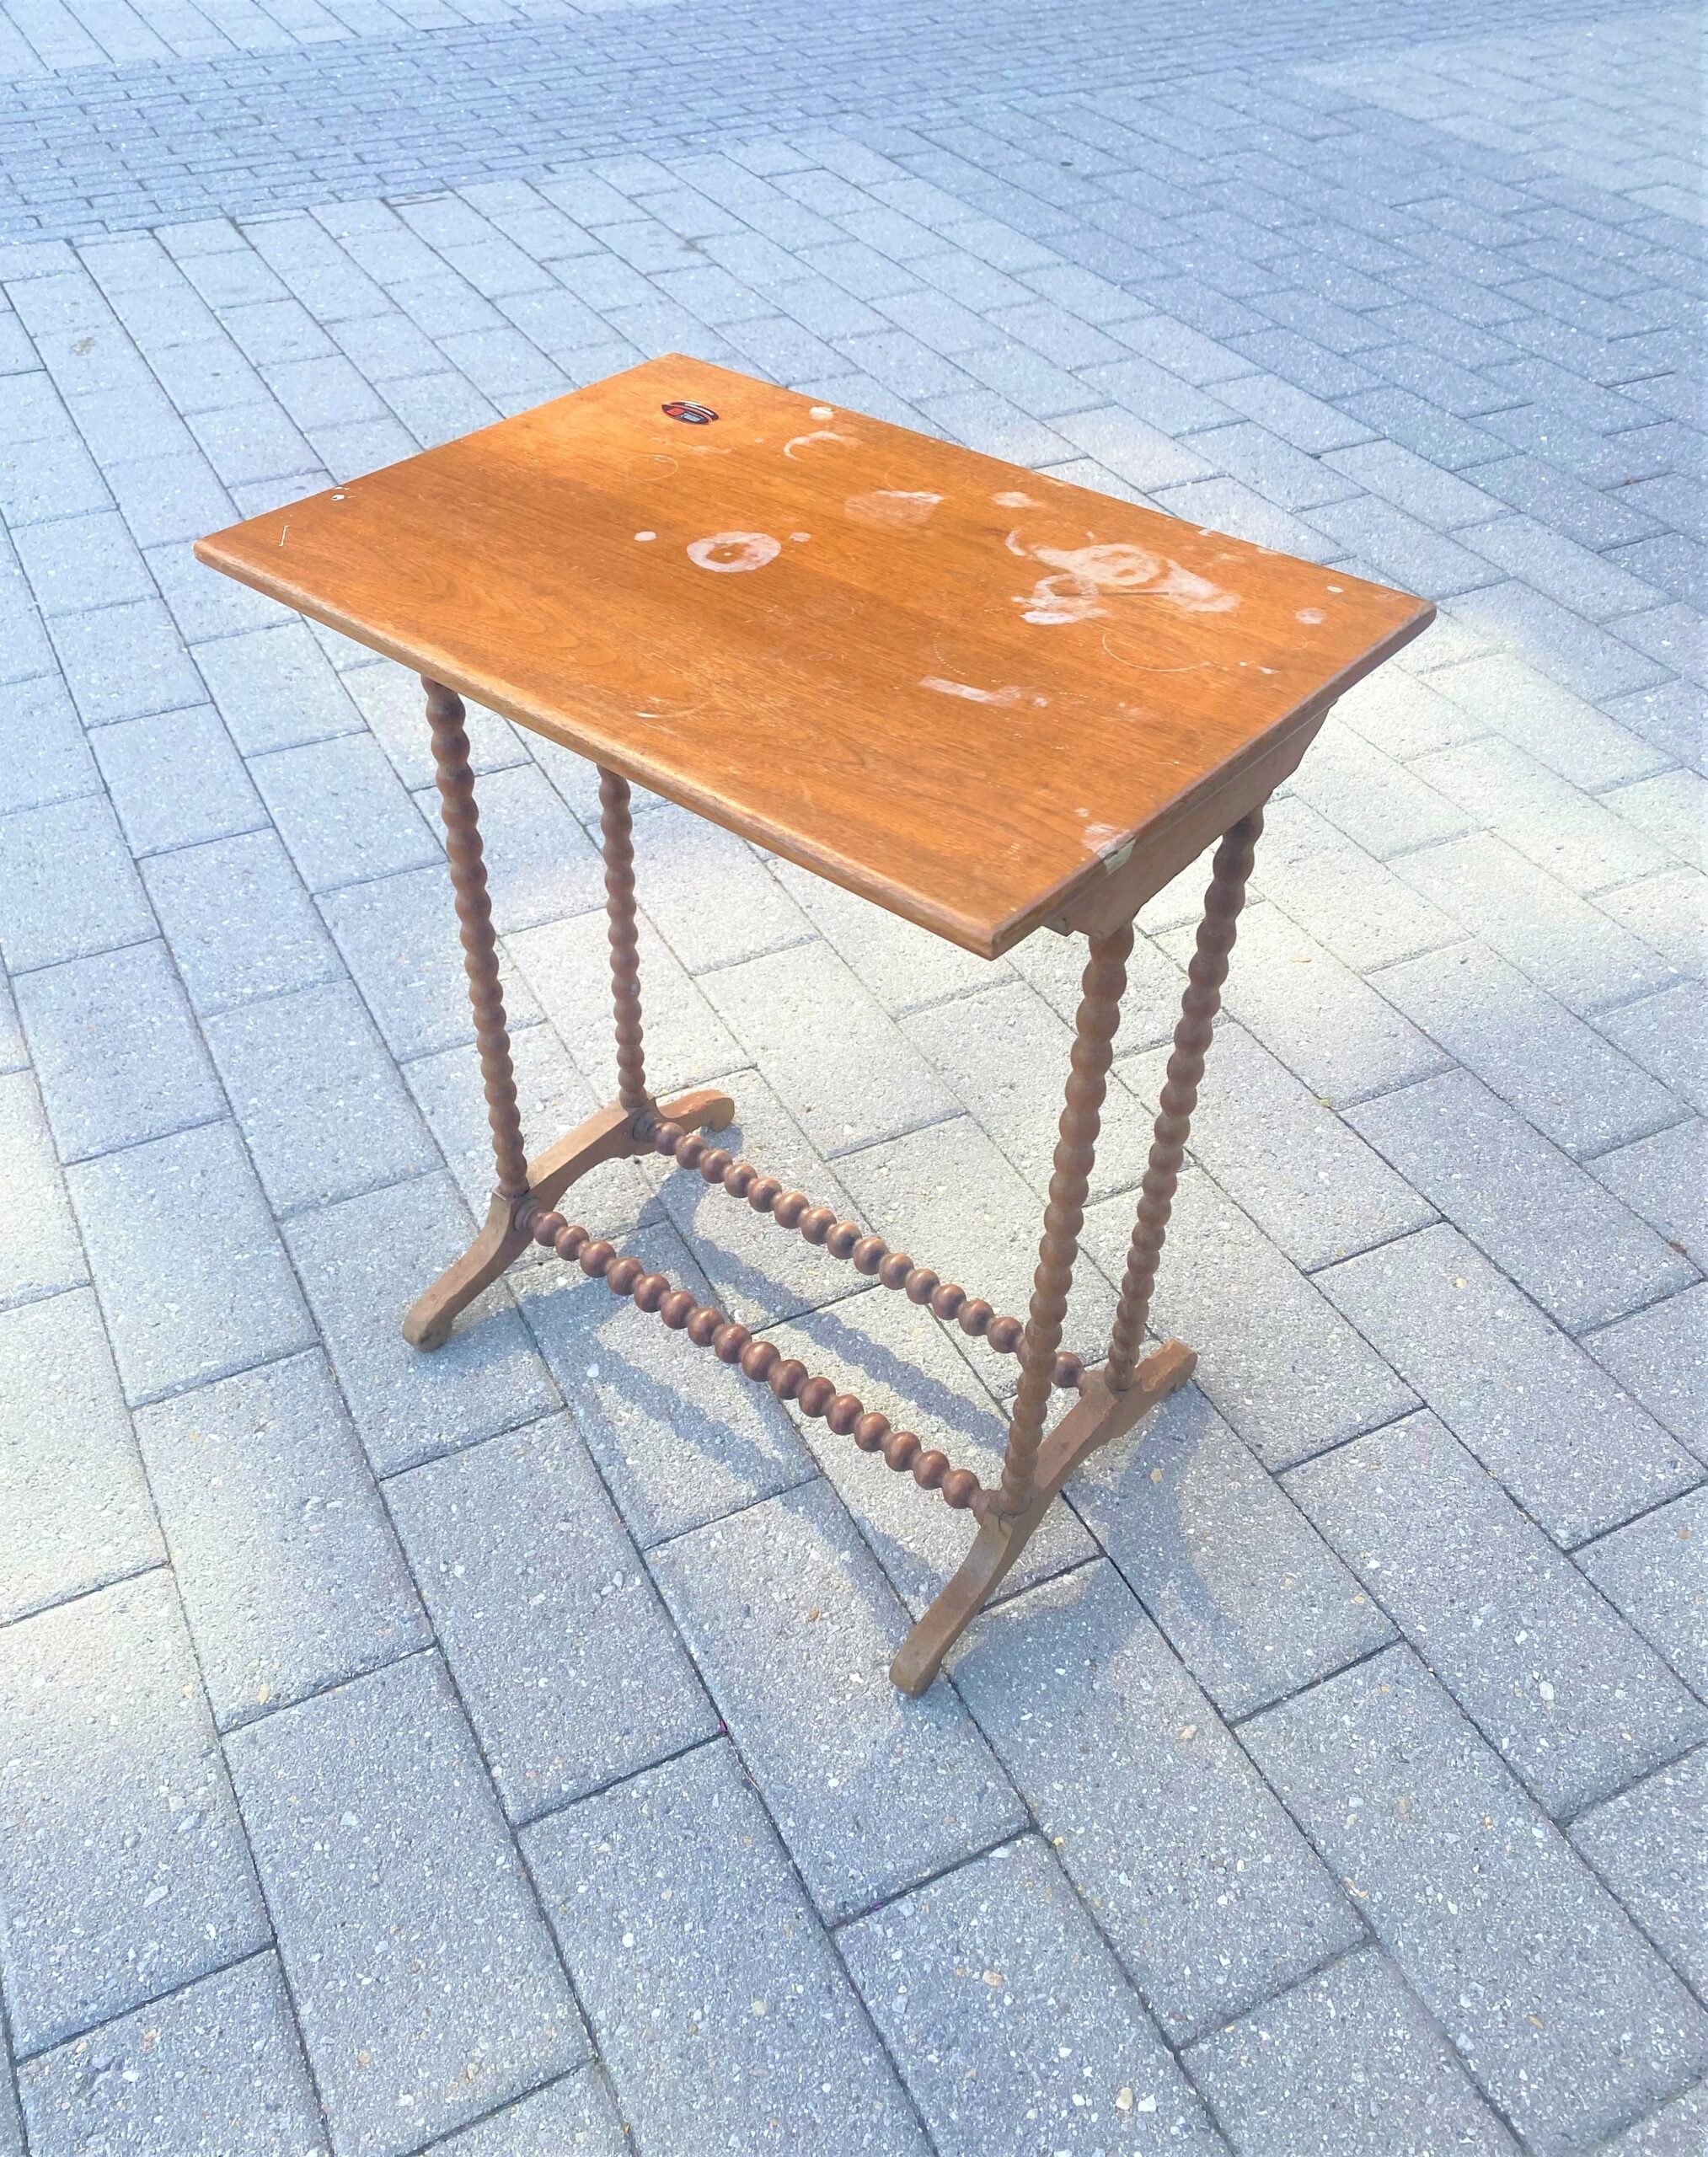

In addition to its charm, a little side table like this is super functional because it is sturdy, lightweight and sleek in size. It could work beautifully as a side table next to a sofa or chair, could be used as happy plant stand by a window or even as a unique end table positioned next to a bed. Where might you place such a pretty and perky piece?
Step. 2: Let the makeover begin: prep time
All items you pick up at Goodwill have been pre-screened and carefully “approved” before they make the retail showroom.
However, sometimes you might need to tighten an item’s screws or use some wood glue to provide extra reinforcement. This piece when from a little wobbly to super strong with a screwdriver and glue.
Step 3: Spray on the magic
- While using a paint brush to apply paint is always a good option, sometimes enlisting spray paint does the trick just as well and with very little time and effort. Given the spindle legs and its small size, spray paint seemed like the smart way to go.
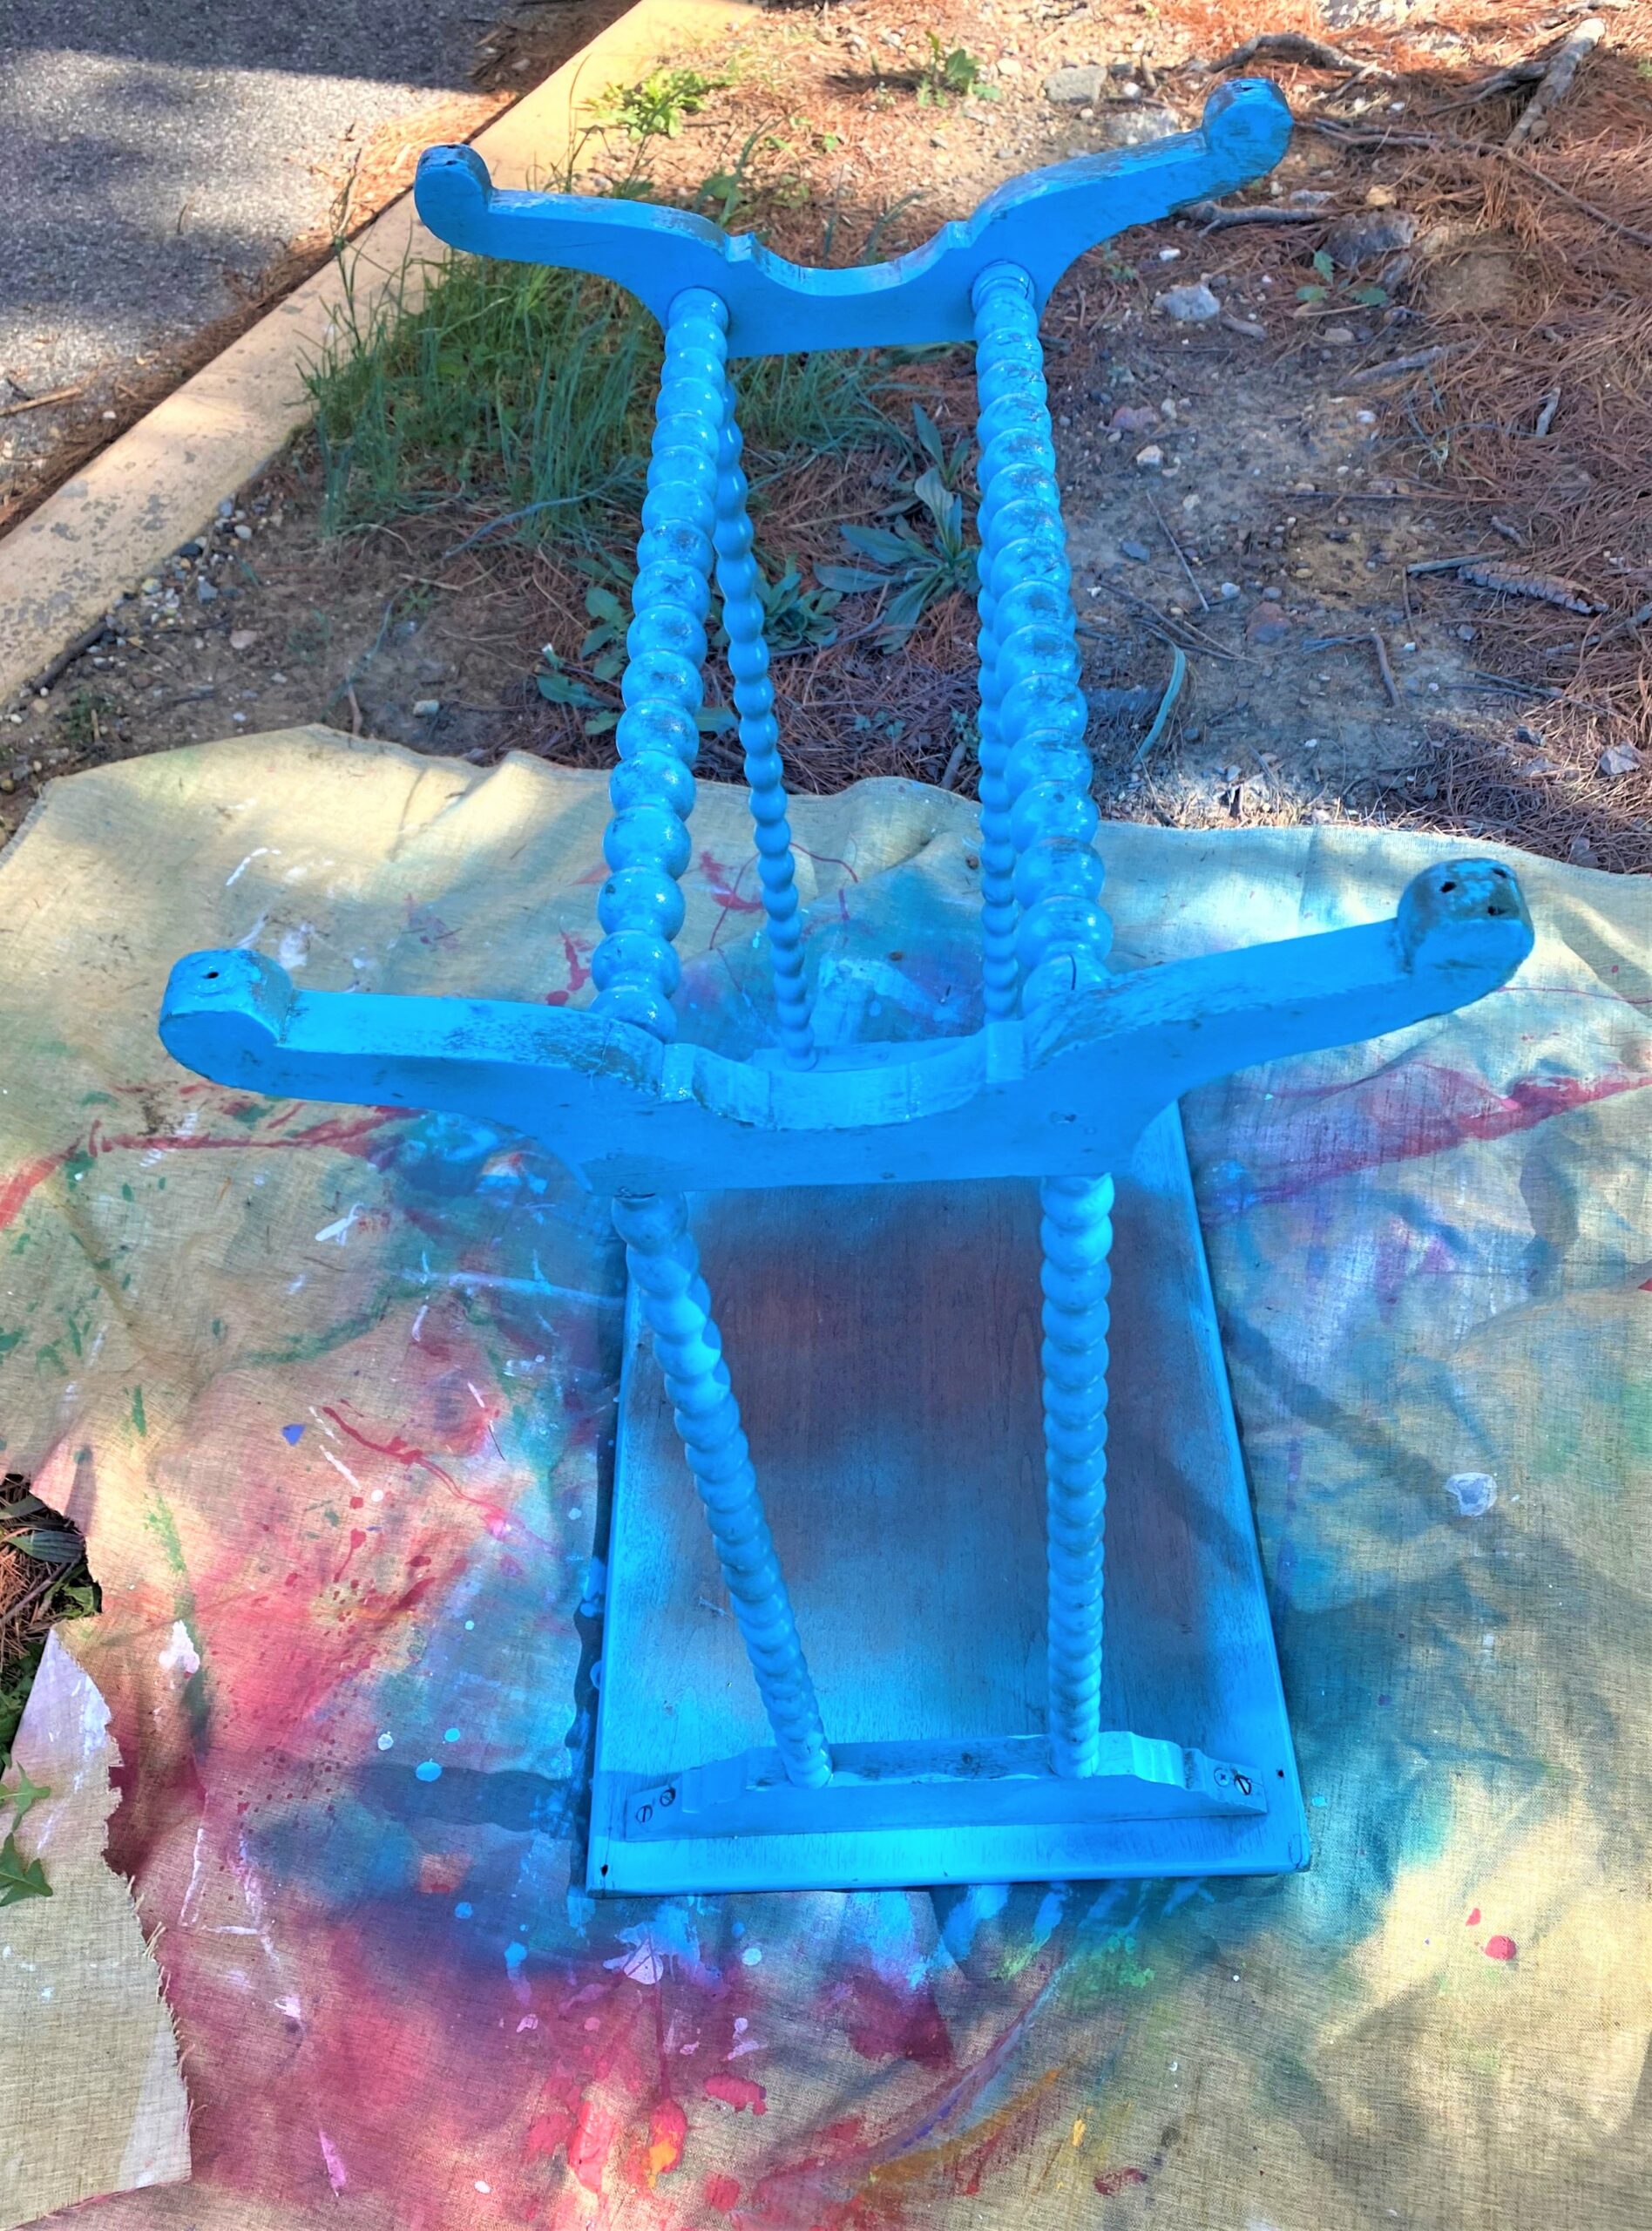
- Place your table outside on a drop cloth and add a light layer over every visible surface.
- Let dry well then carefully lay it on its side.
- Add another layer to any unpainted surface you see, moving around the item to ensure you view it from as many angles as possible.
- Again, let dry well then flip it over again and at more paint, layering it lightly.
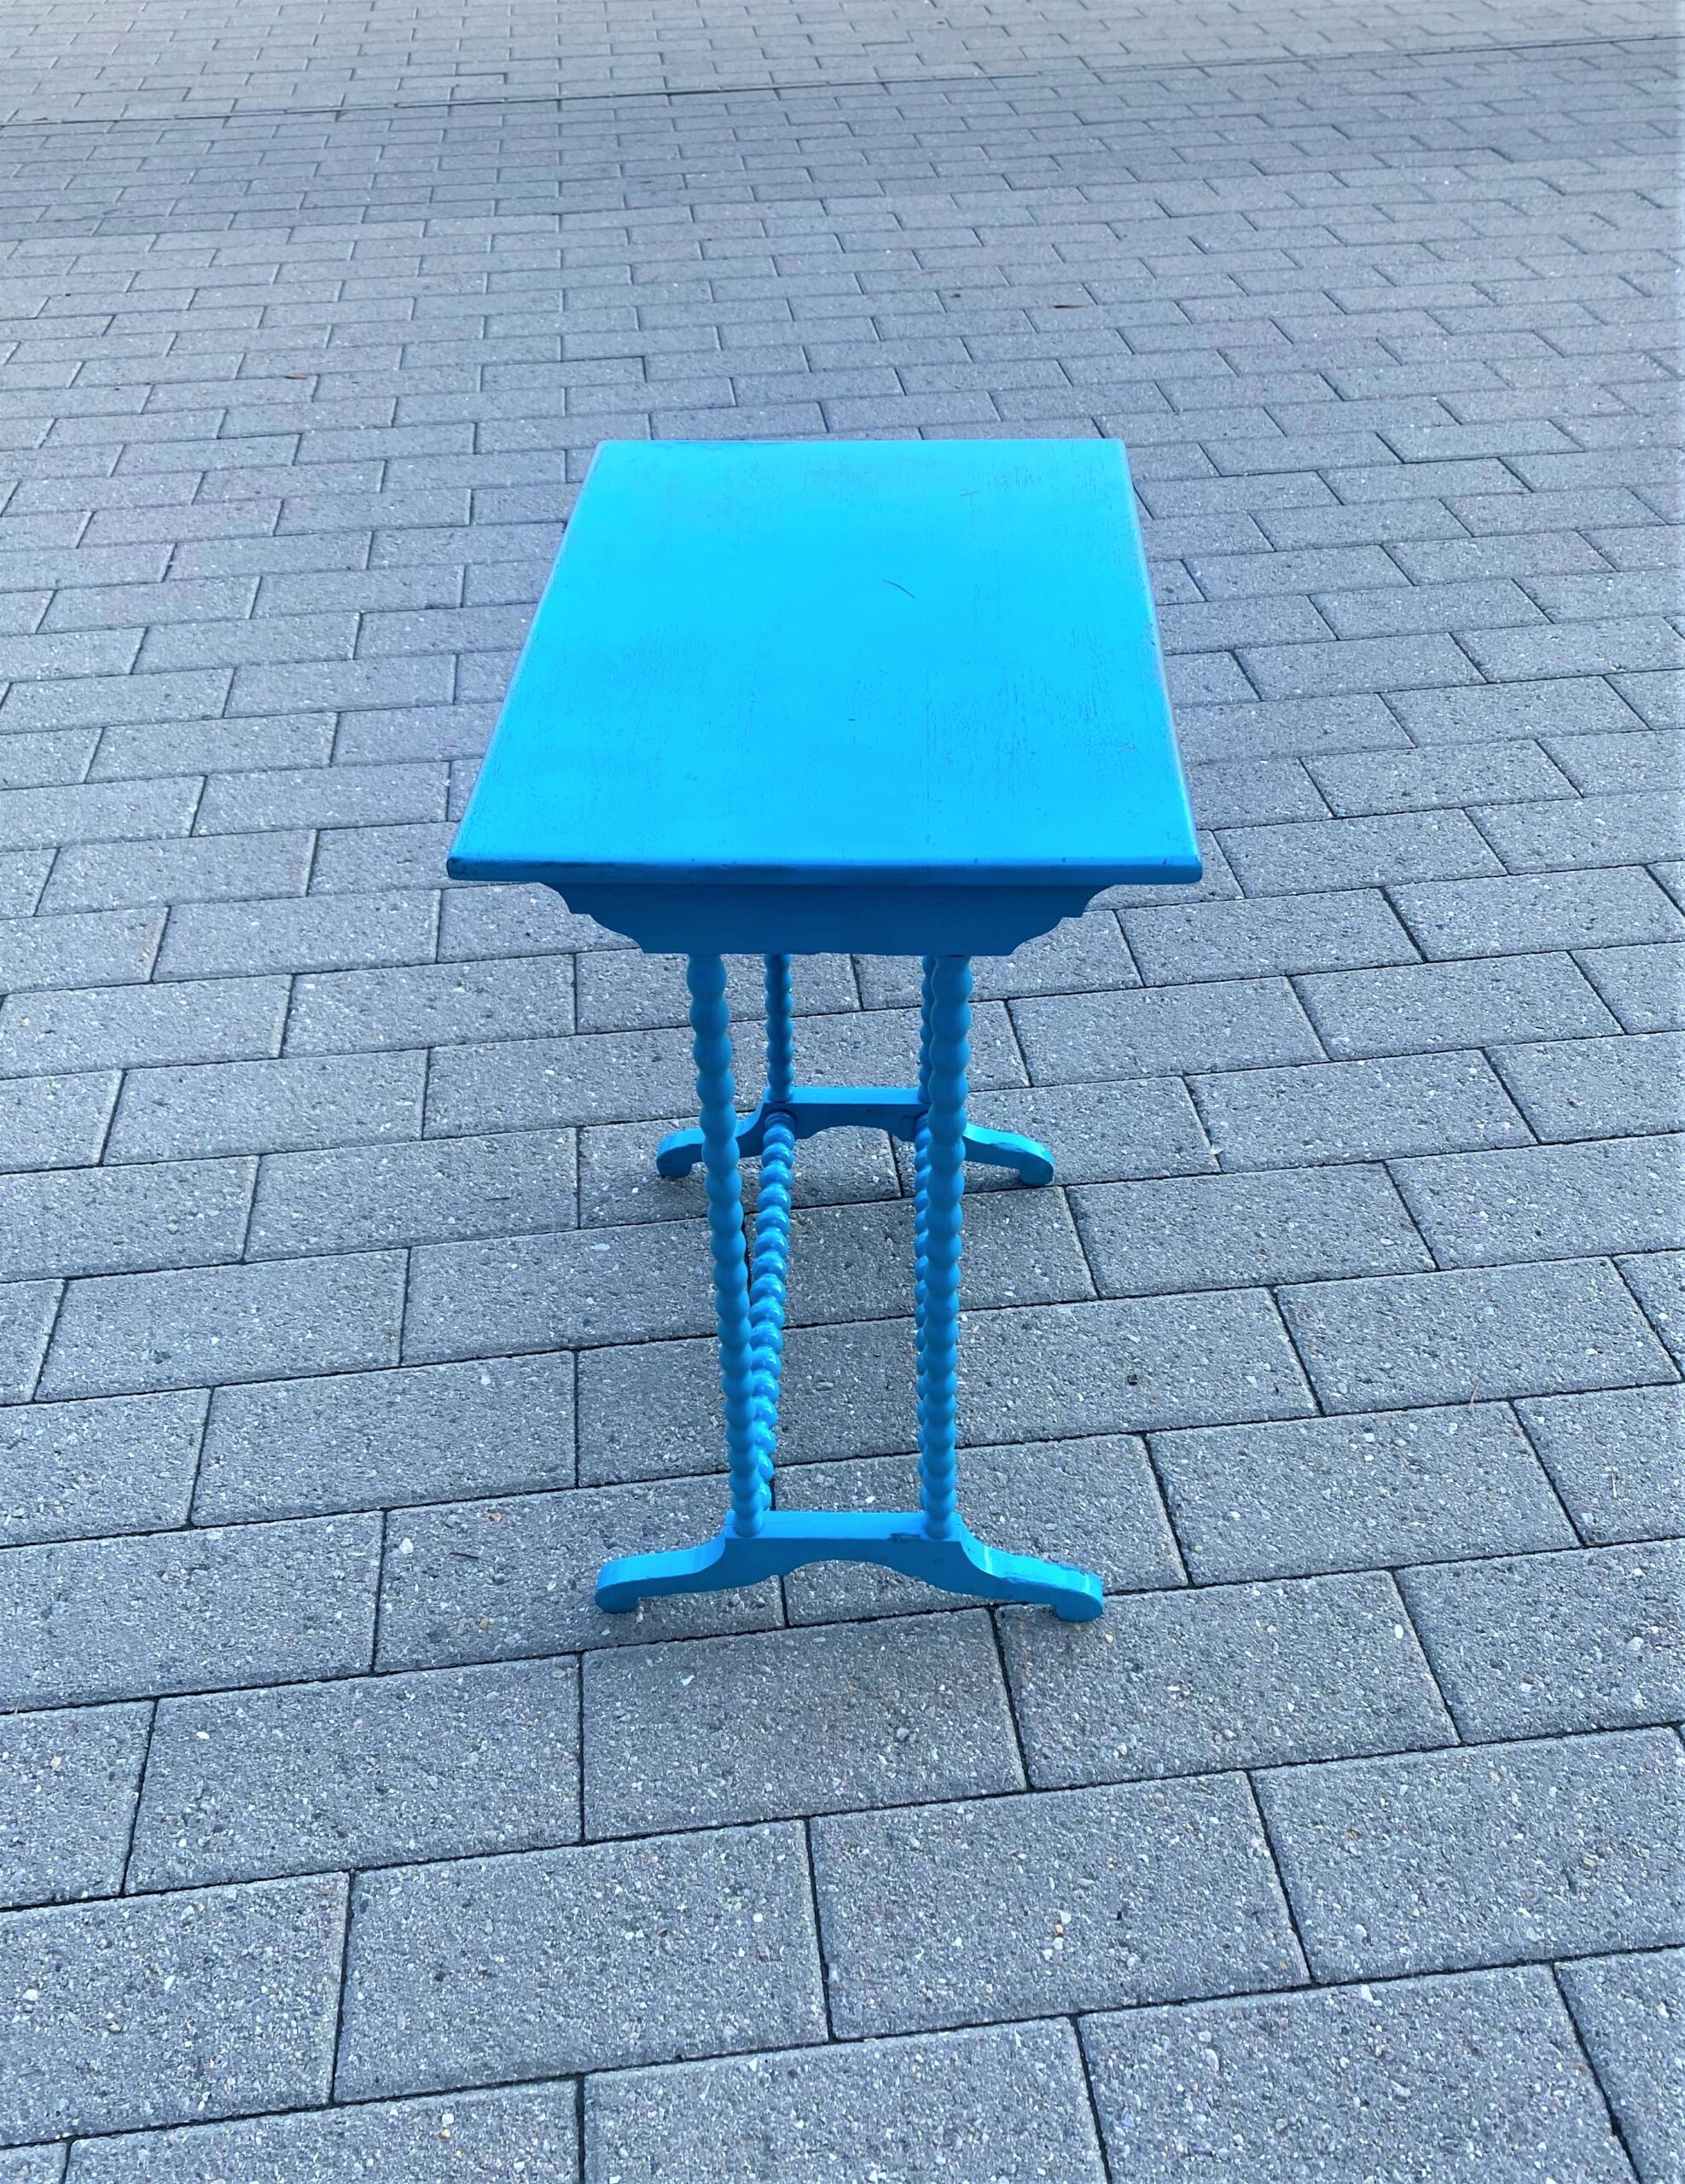
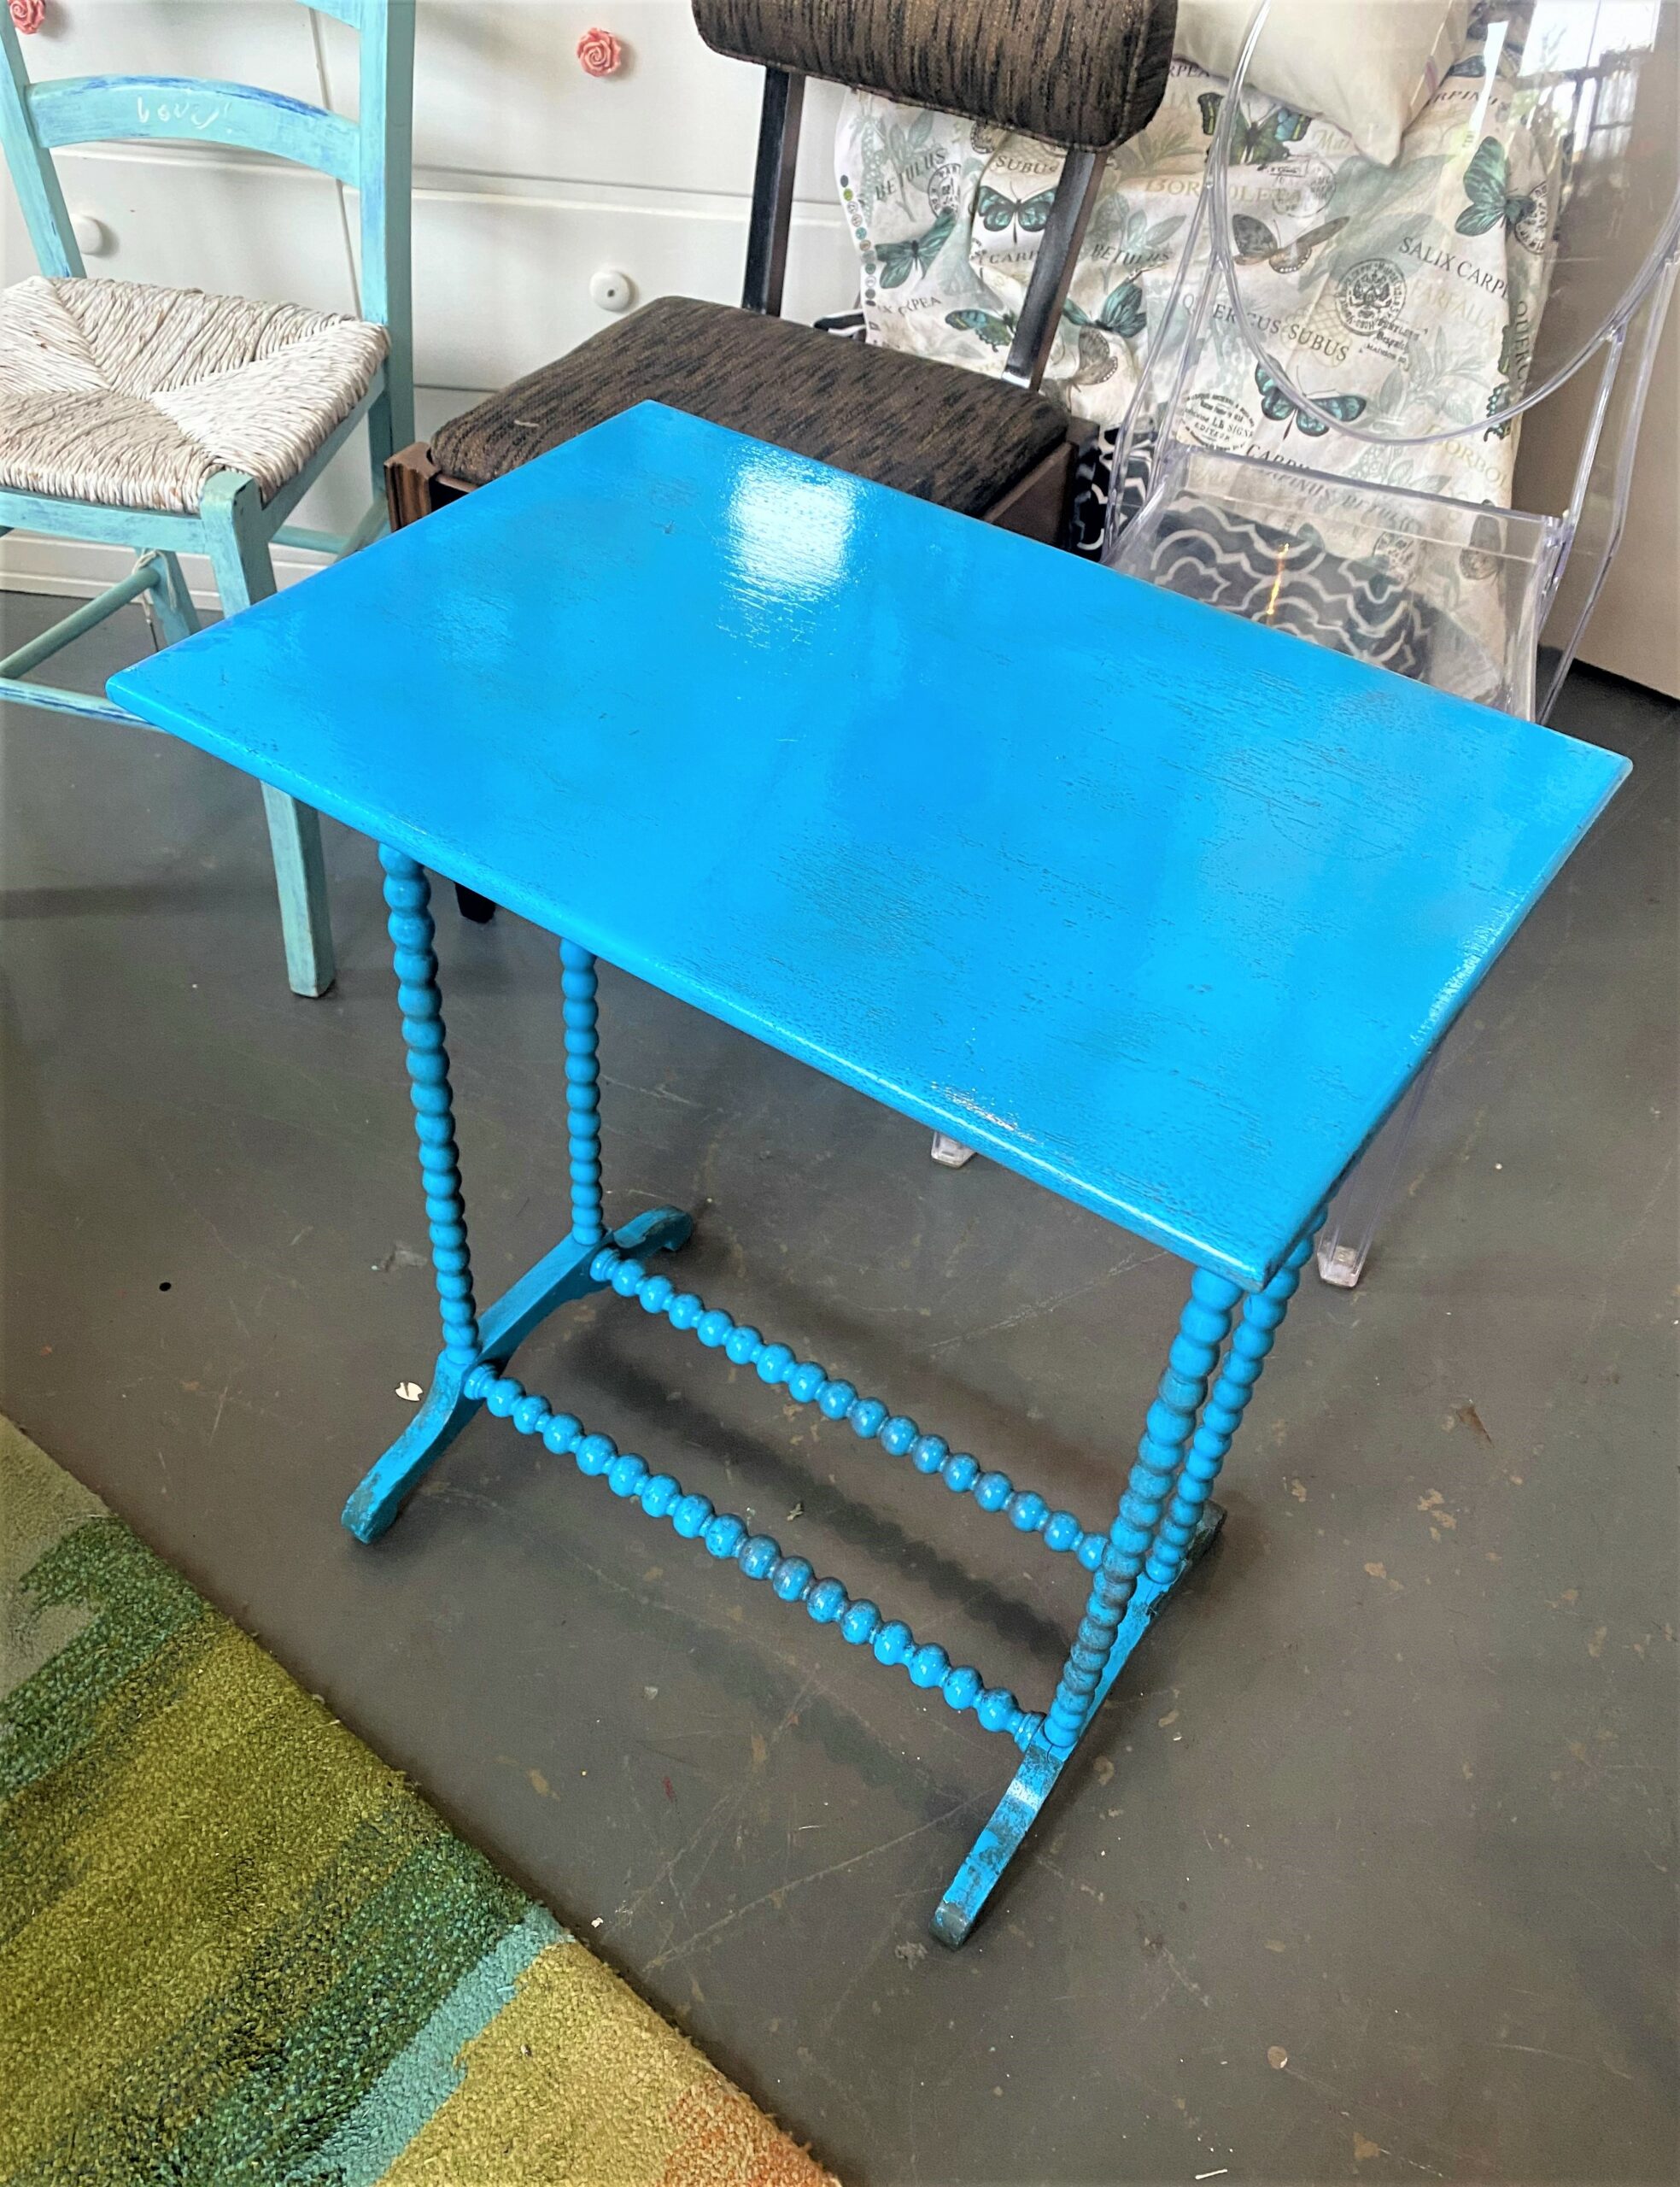
Continue this process until you table is solidly covered and any existing wood tones or old paint colors are gone forever. Your little table will look so happy with this step.
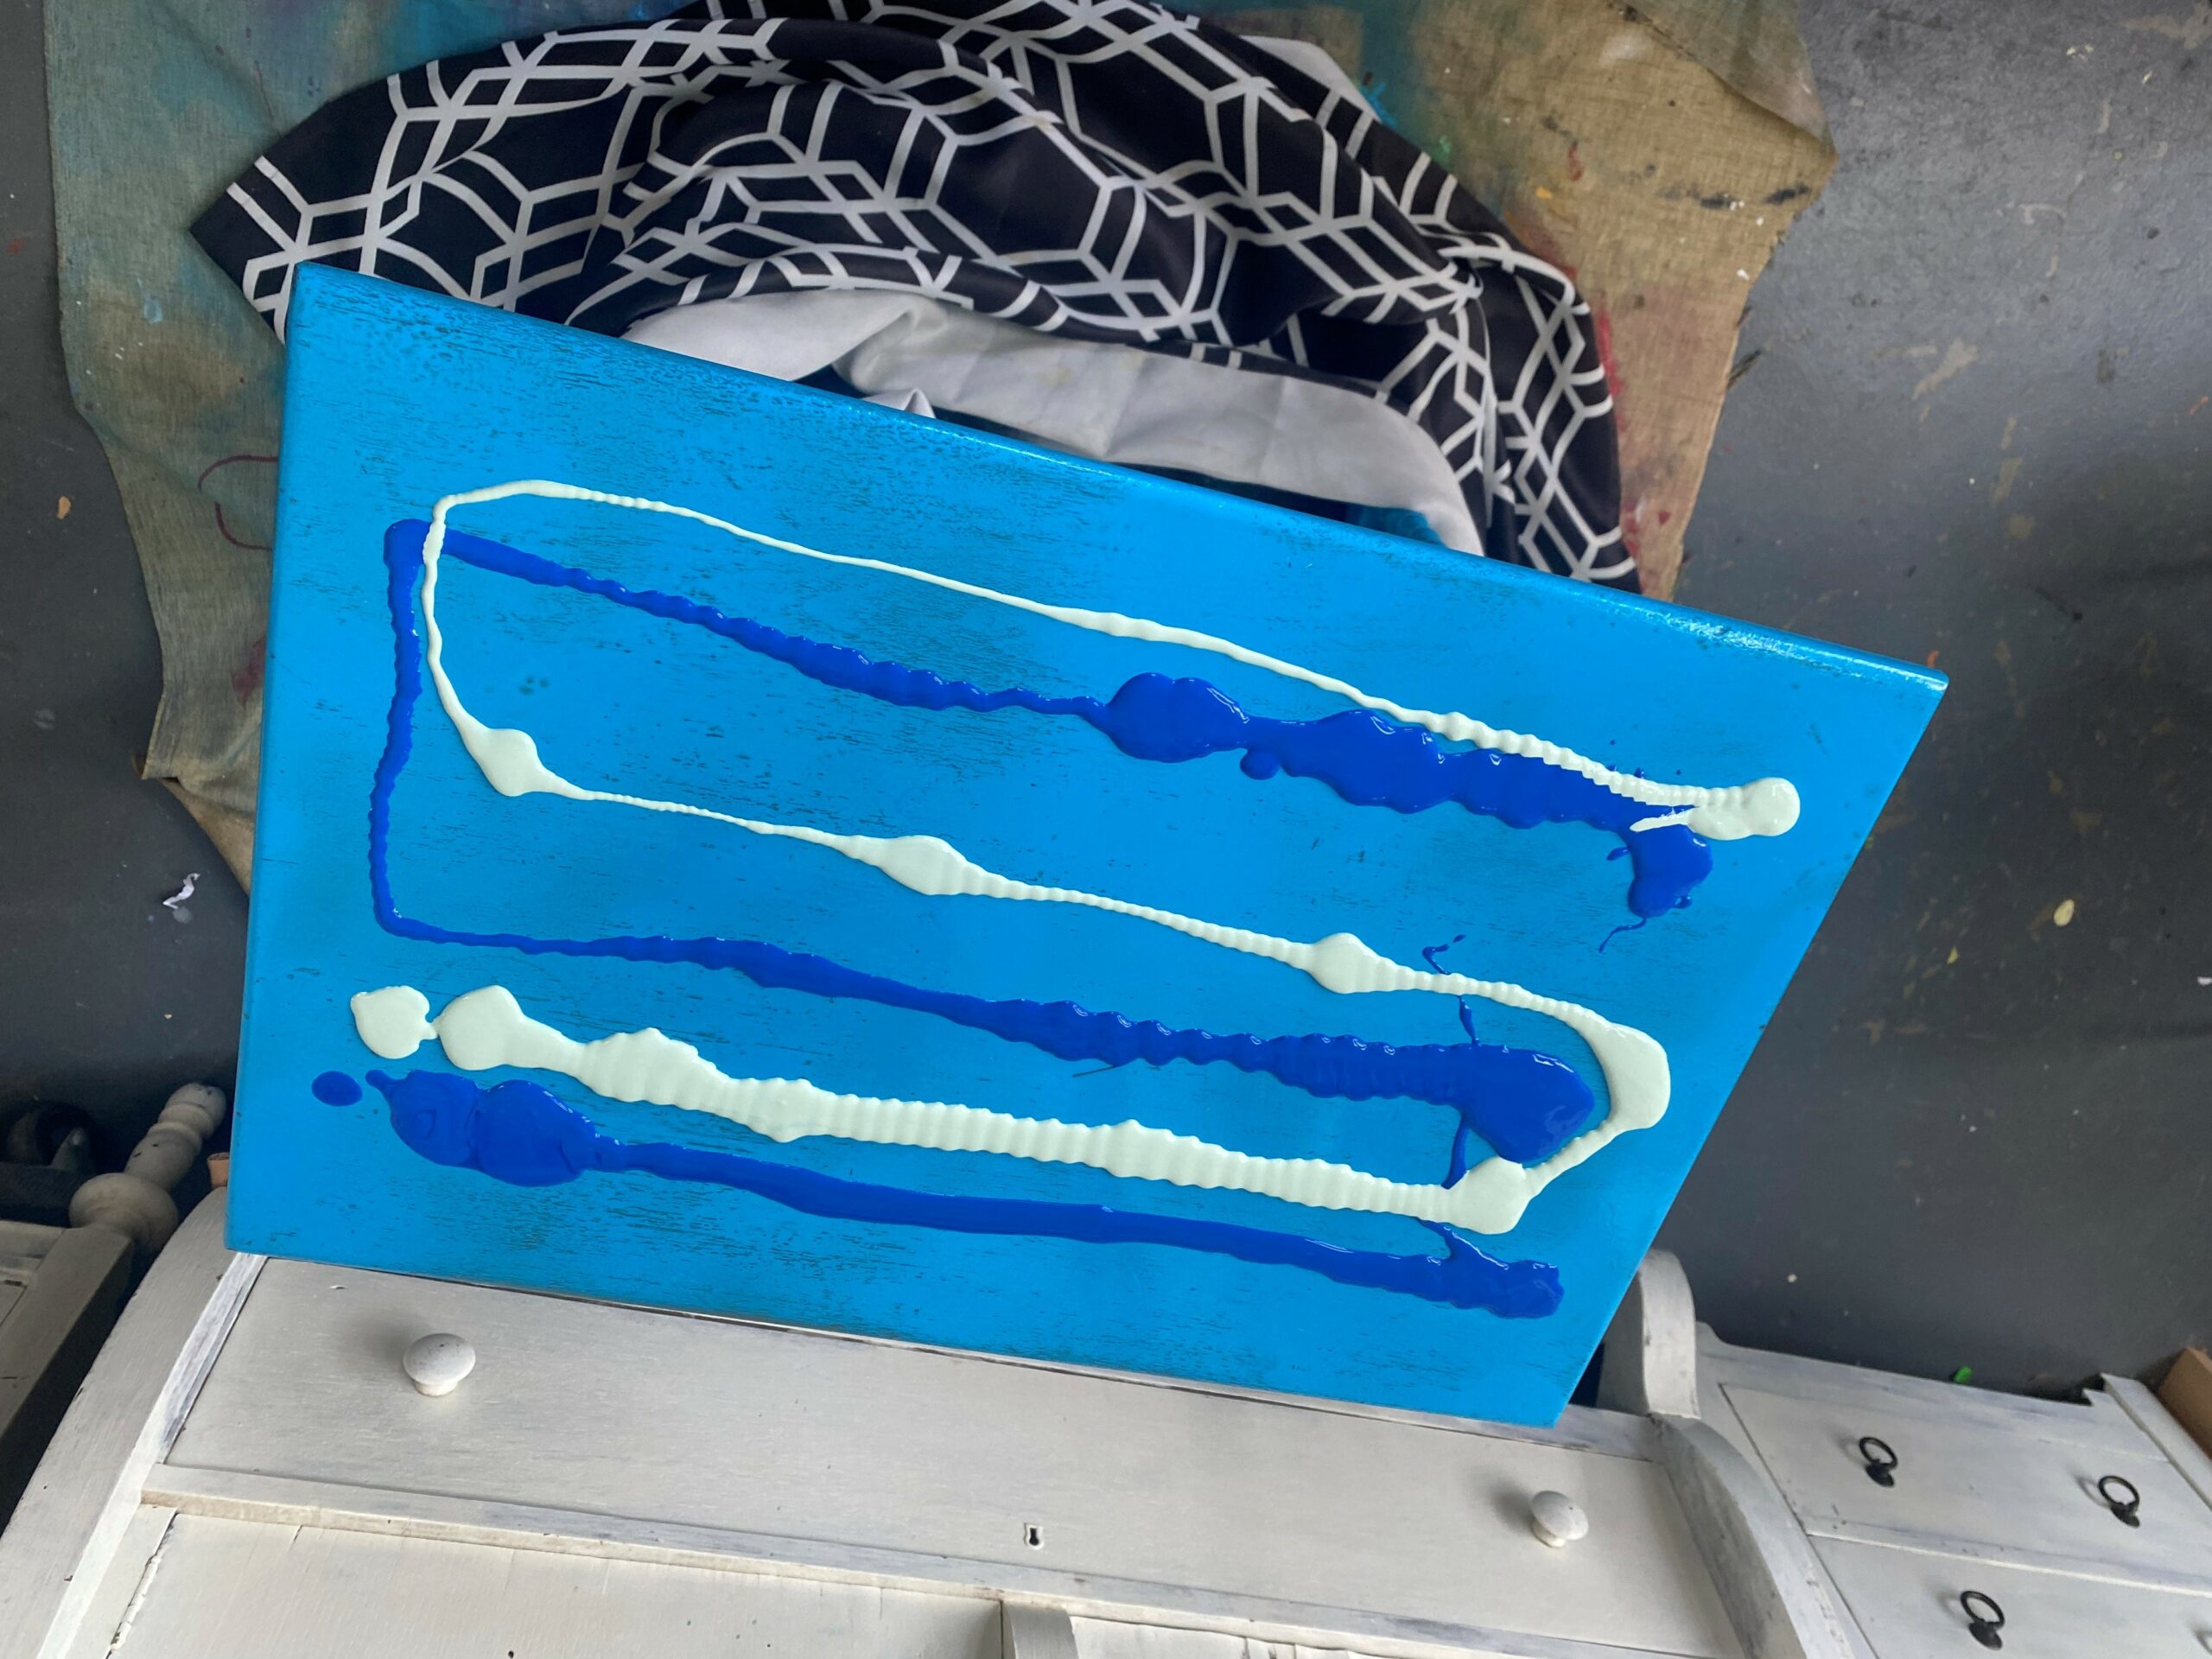
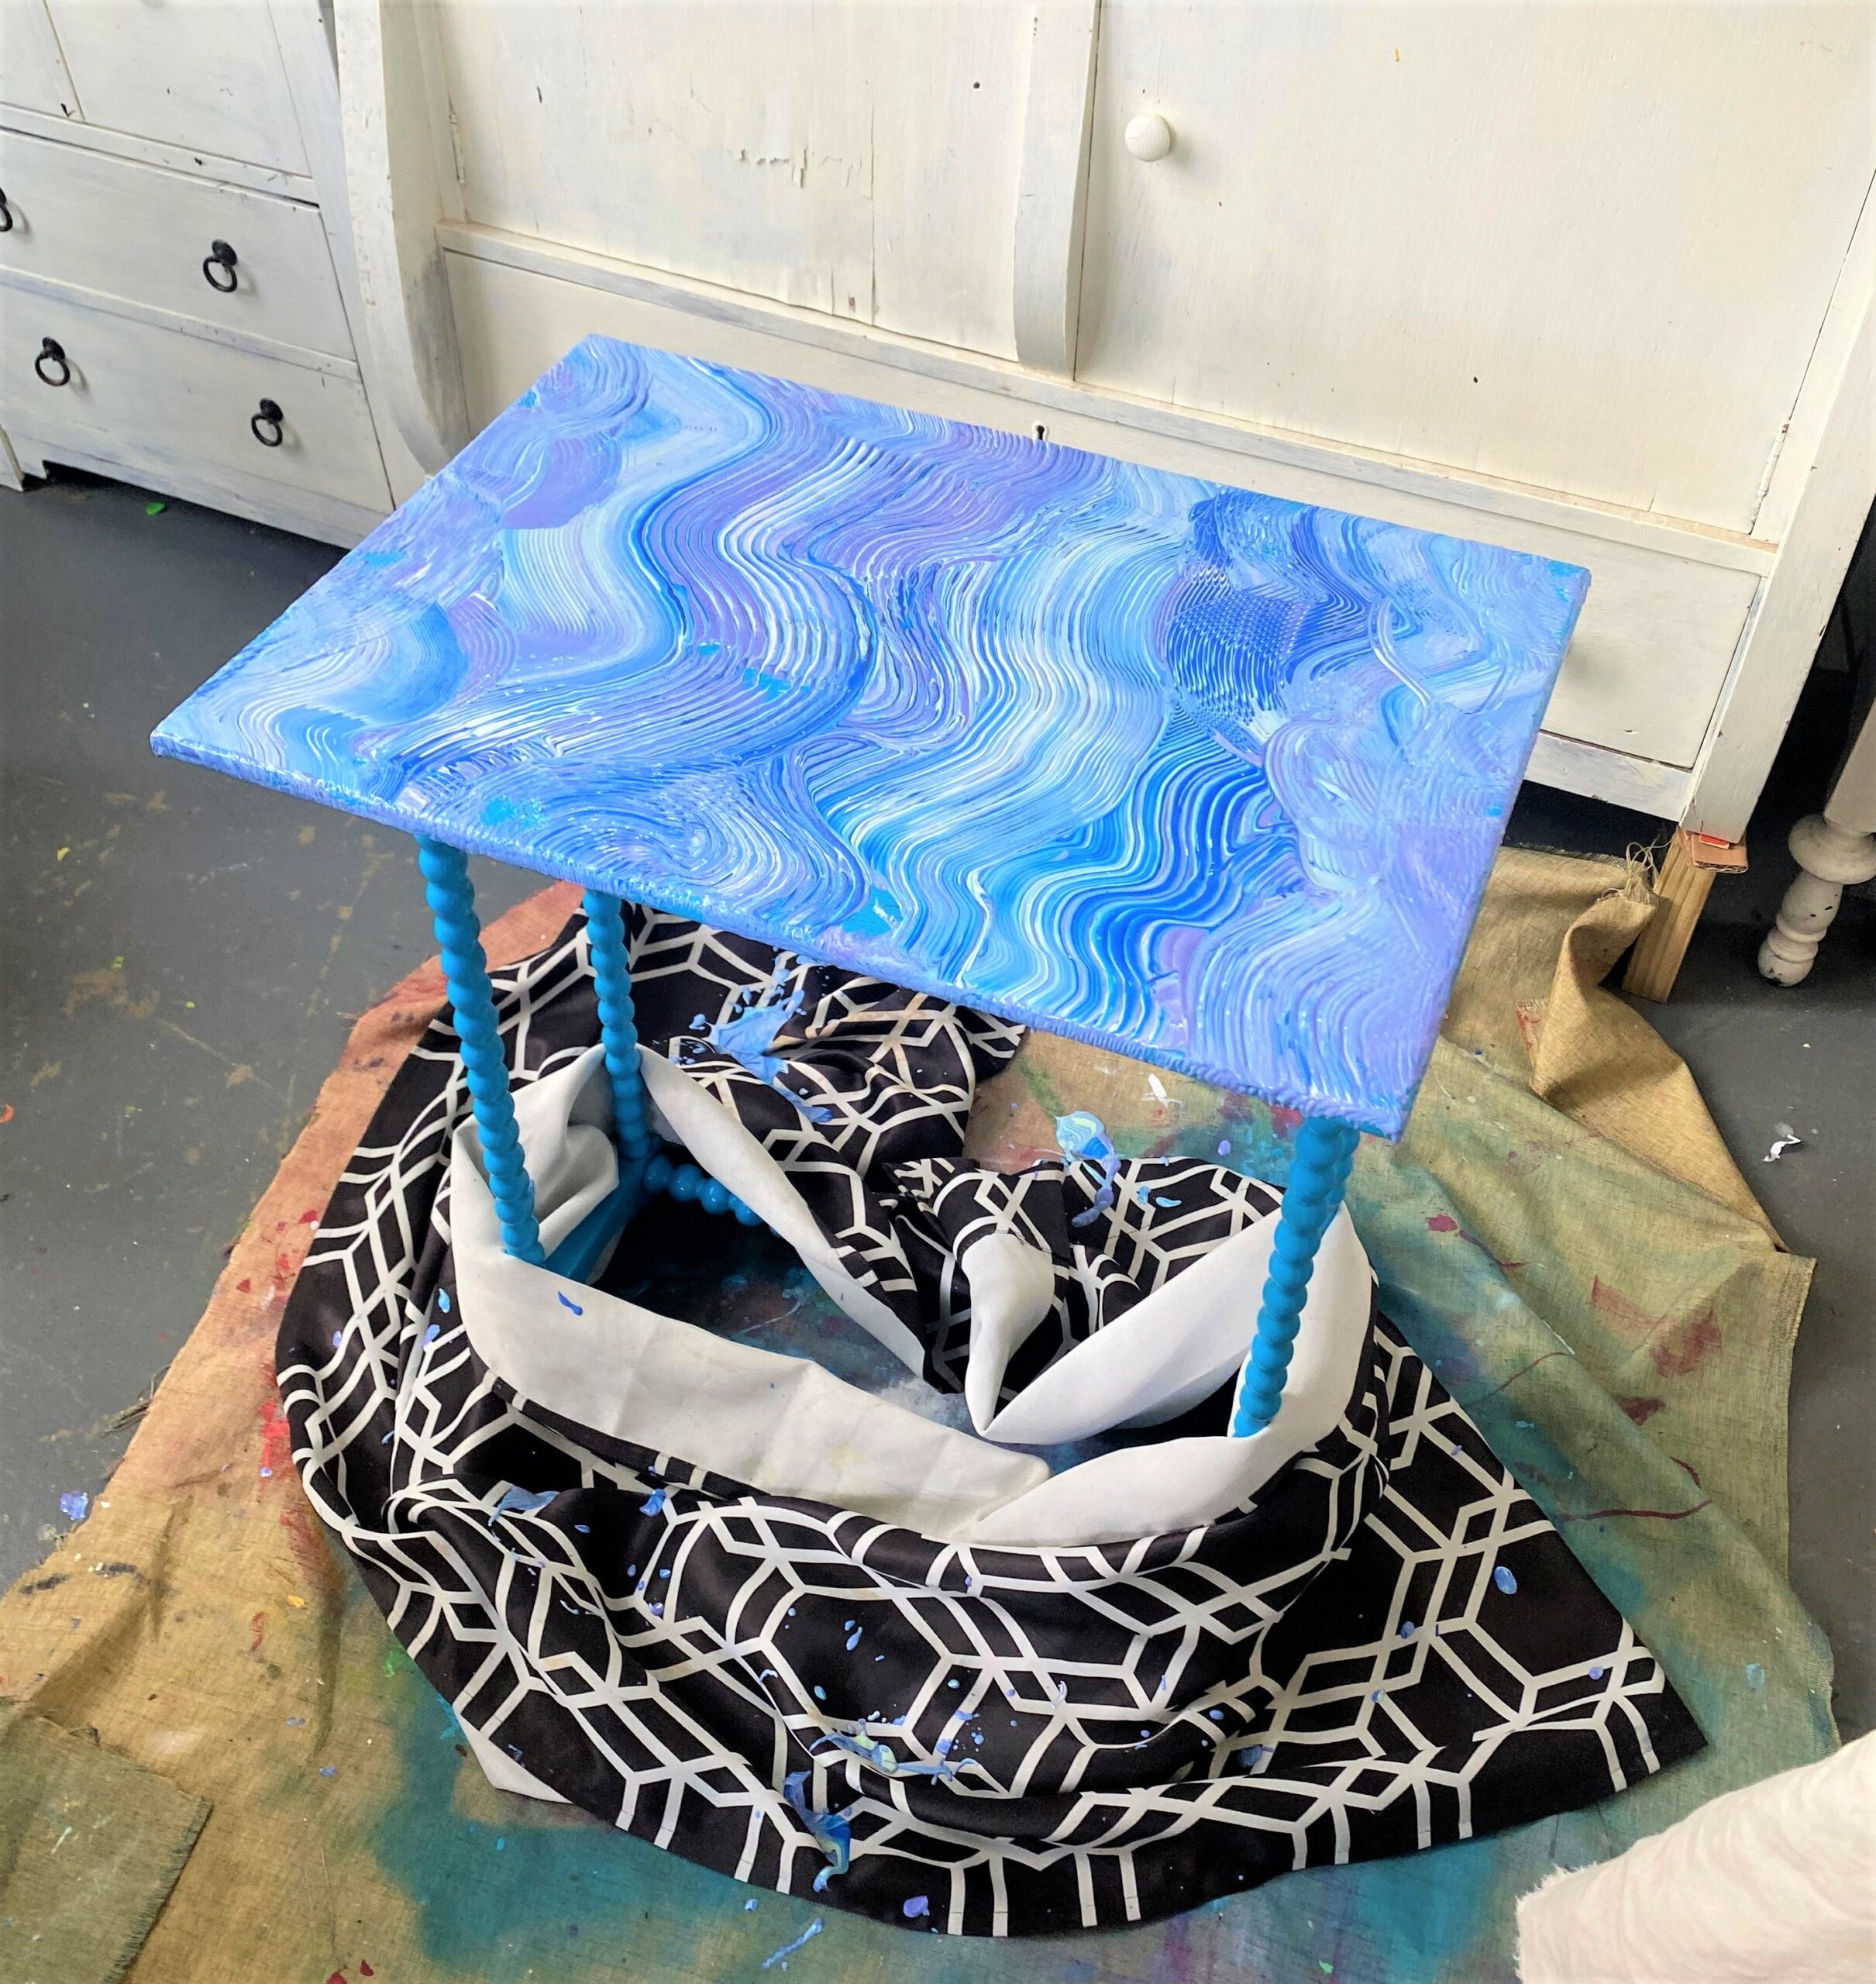
Step 4: Pour on paint
- Place your table right side up.
- Place on a drop cloth then cover its feet and legs with another cloth to prevent any drips or spills.
- Remove the tops of all your paint choices.
- Pick one up then gently pour a thin zig-zag line from end to end.
- Leave space between each line.
- Pick up your second color choice and repeat, adding lines of paint on the top surface and in between the first paint lines.
- Repeat again and again. For this project, four different colors were used: lavender, deep blue, teal and gray.
Step 5: Comb across to connect colors
This step is so much fun!

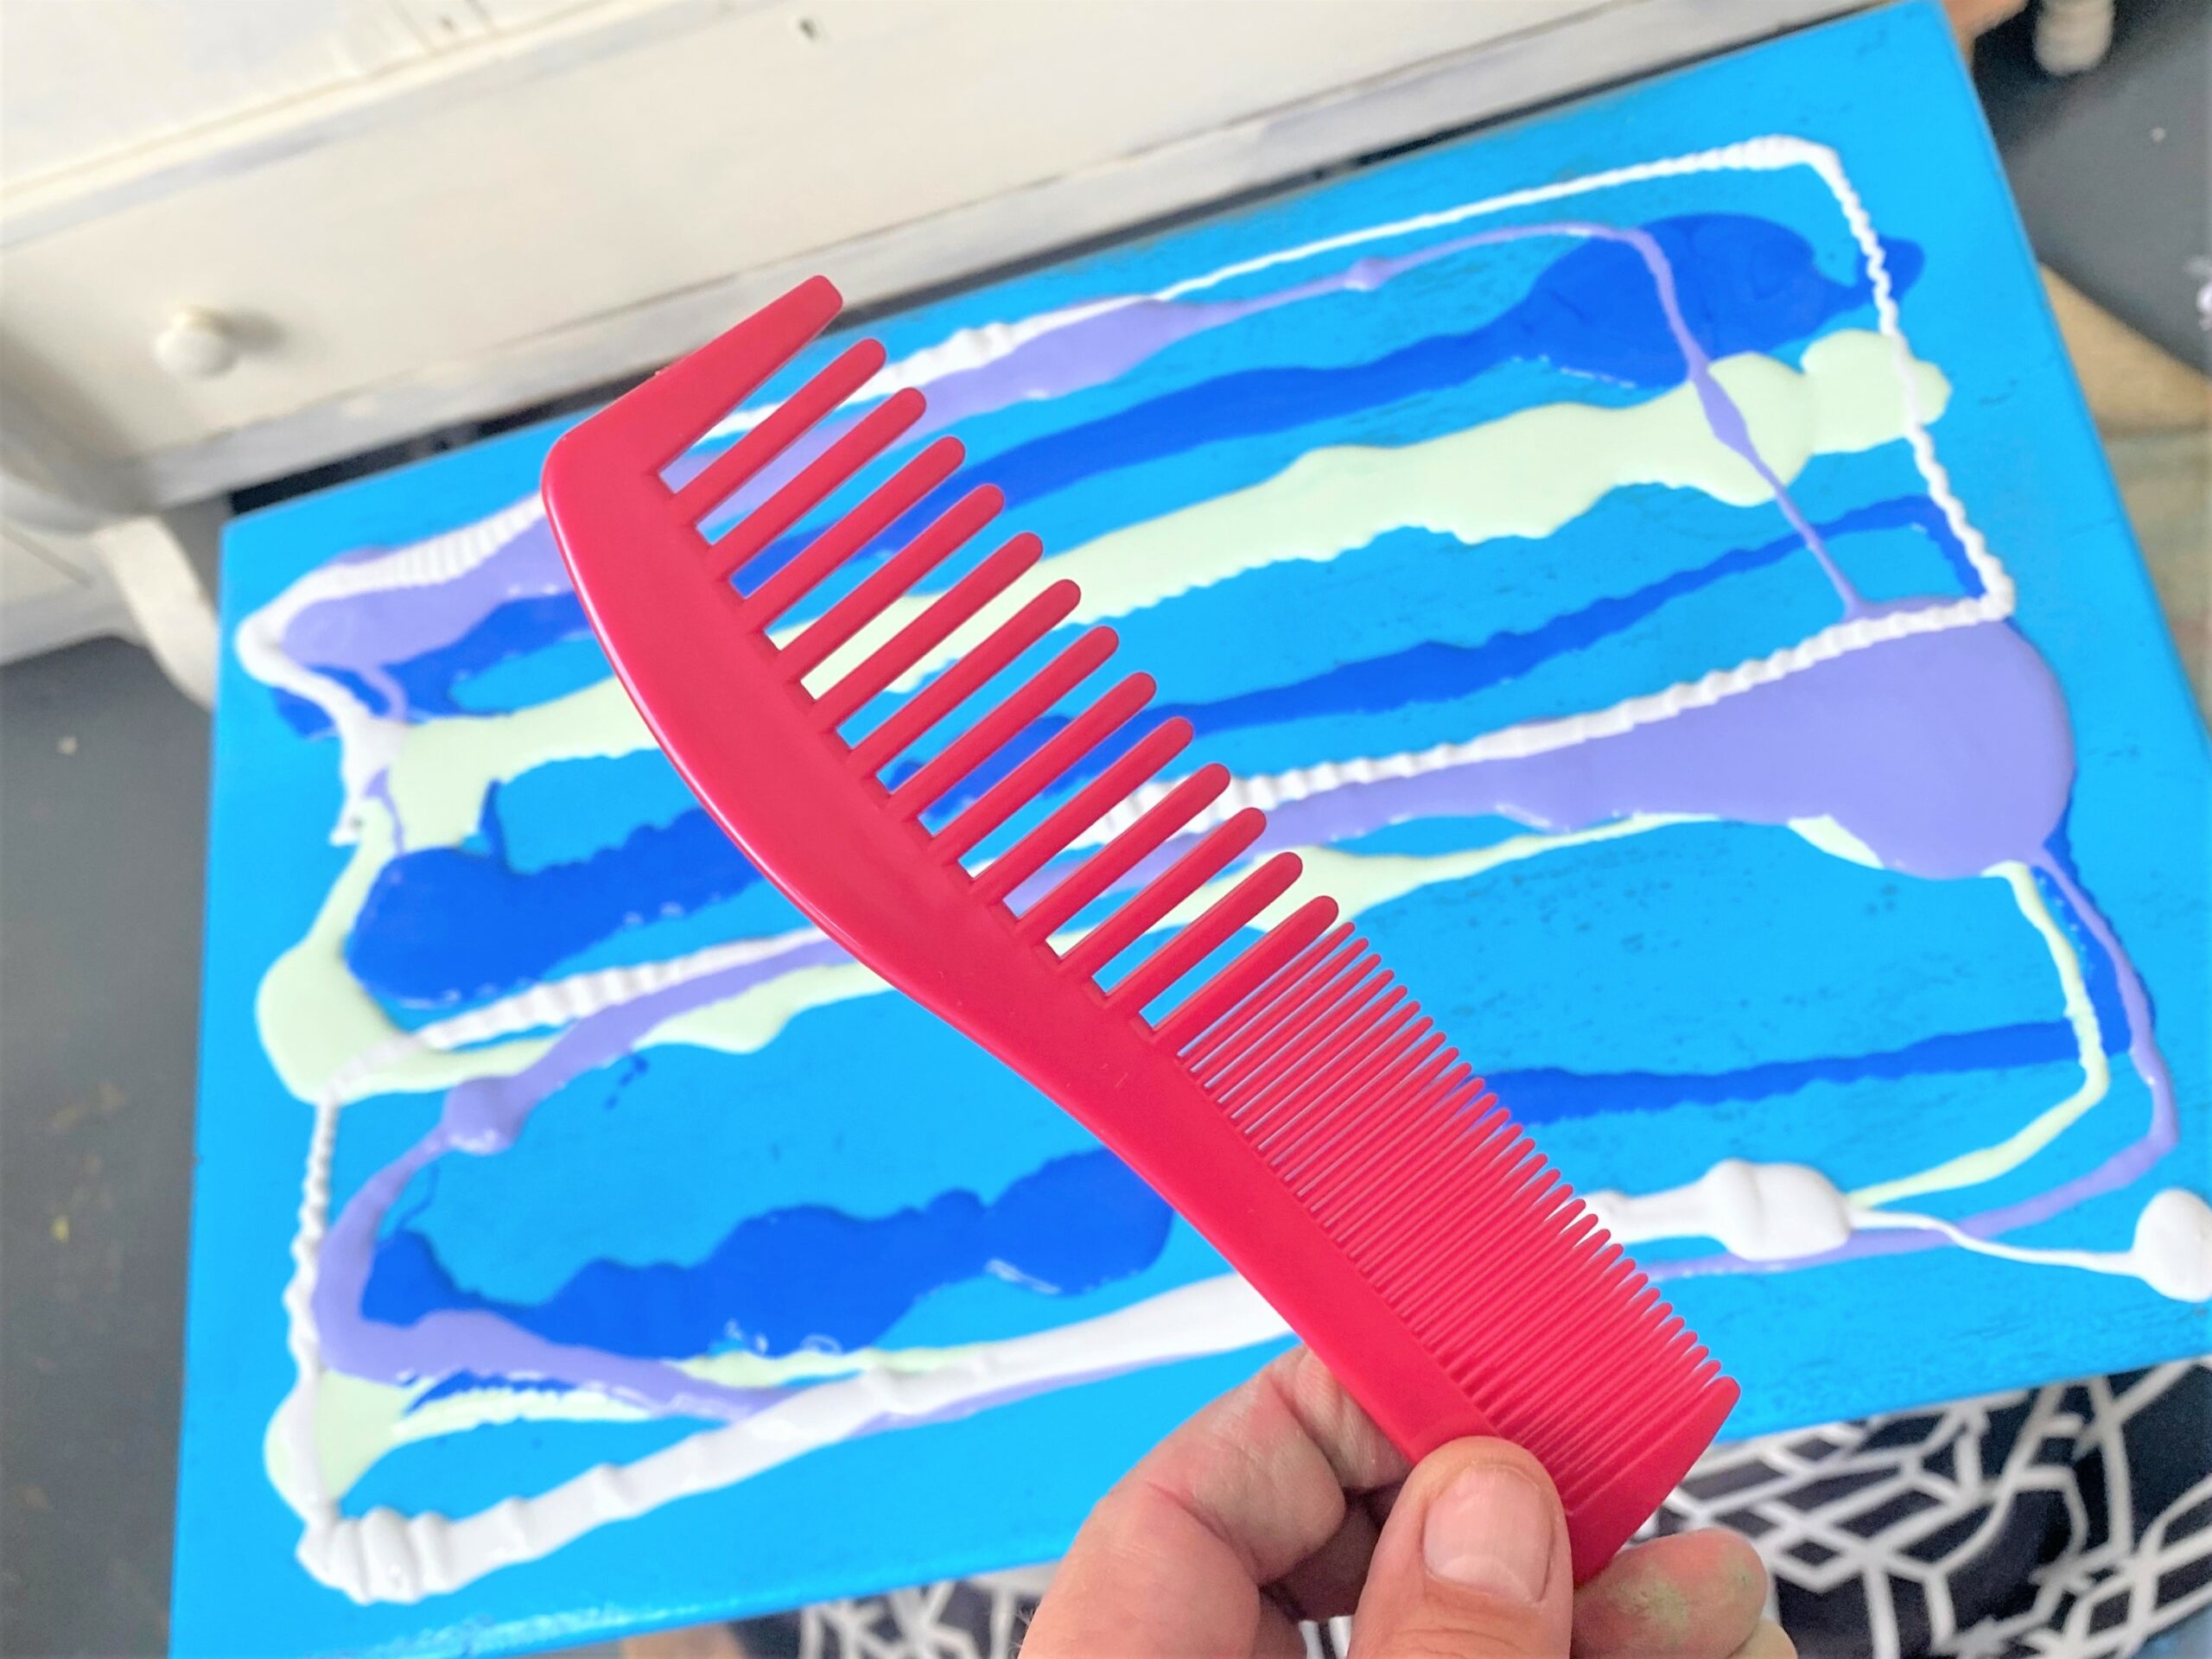
- With your comb, start on one side and comb through the paint. The comb’s teeth will move some of the paint and leave some behind.
- To give it a flowing and organic look, turn your wrist a little bit as you comb through the paint.
- Repeat this step, overlapping your comb strokes.
- Work to get one line of paint color to connect and overlap with the other.
- Return to your tabletop and use small movements to fill in any gaps.
- If your blue base spray paint shows through among the comb strokes, that’s ideal to connect the top with the legs and feet.
- With your paint covered comb acting as a paint brush, return to the edge to help remove any drips and to ensure the edge is painted too.

EXPERT TIPS:
This is a messy project (in a good way) so don’t worry if paint drips on your drop cloth. Just be careful not to step in it!
You may want to have two or three combs handy to use in case their respective teeth get full of paint. Have a plate or tray on which you may set your paint full combs.
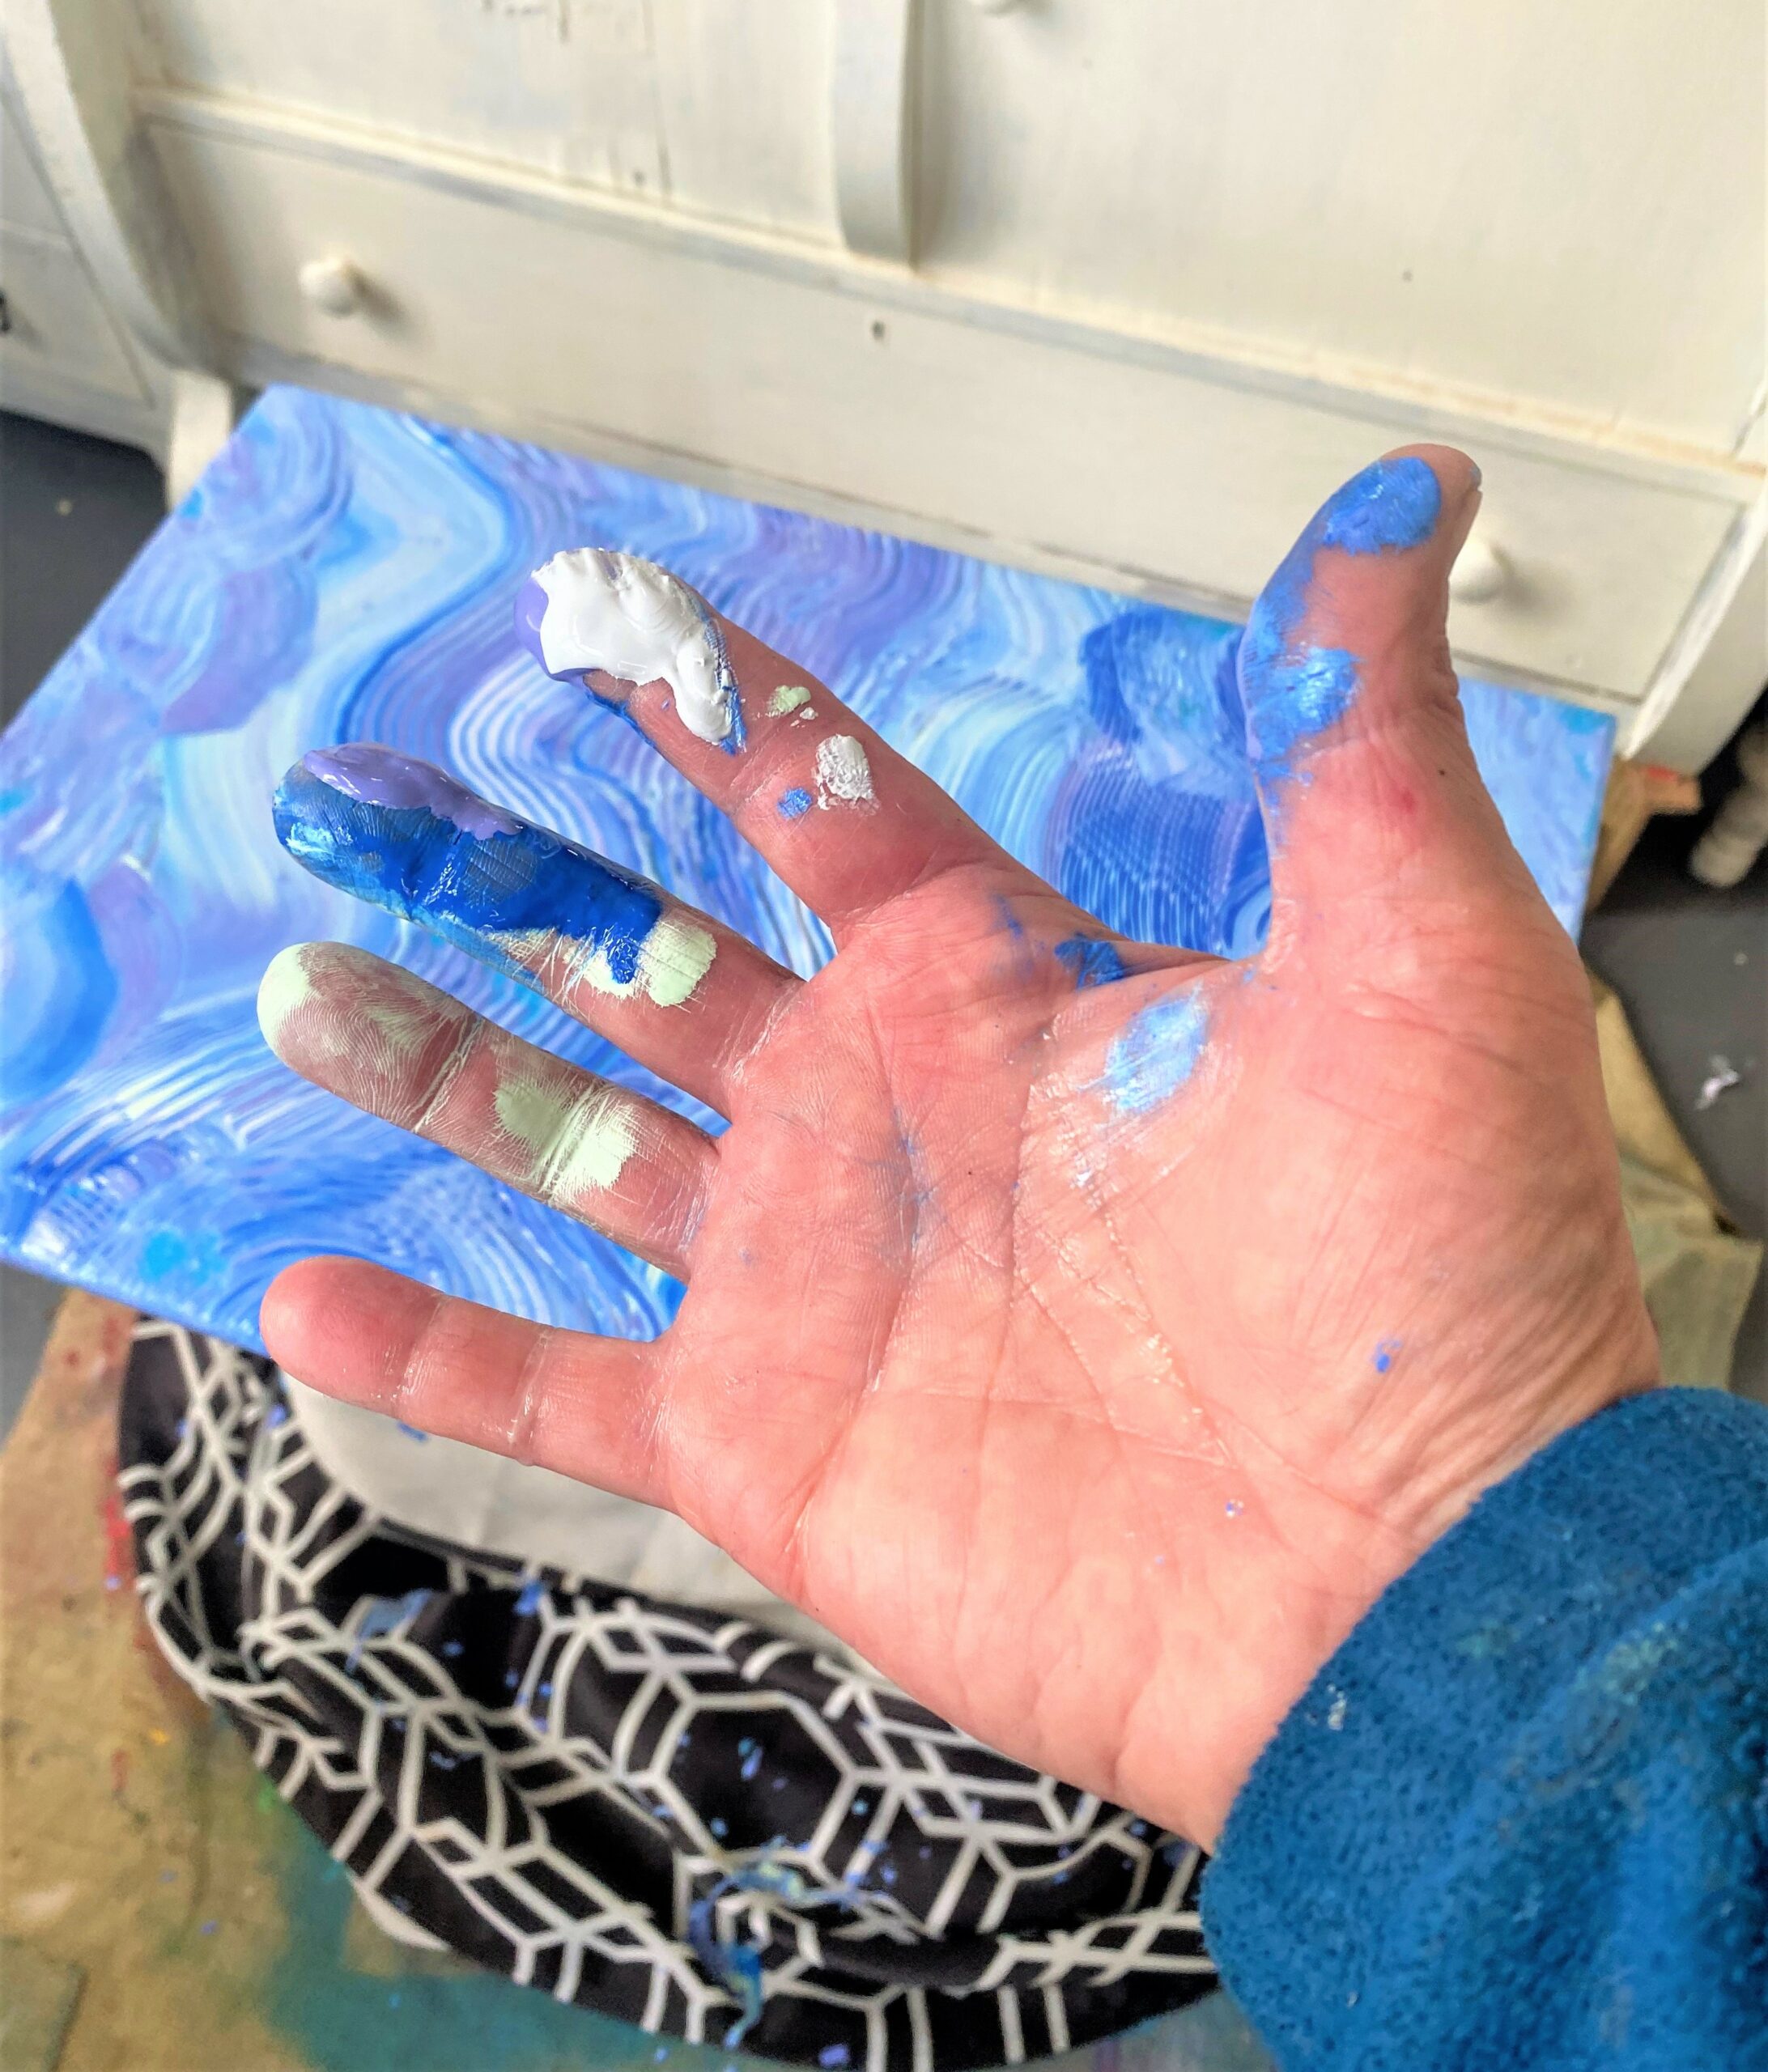
My hands got really messy from handling the brushes so have a damp cloth on hand, too. Also, you may need to use it to remove any splatters that get on your table’s legs.
Step 6: Protect the pretty with poly
- After your combed paint design dries overnight (the paint is thick and may take extra time), you will want to ensure your lovely look lasts long.
- Therefore, brush, roll or spray on some polyurethane on top.
- Several layers of this clear coat will keep your creative efforts dirt, smudge, dust and finger-print free!
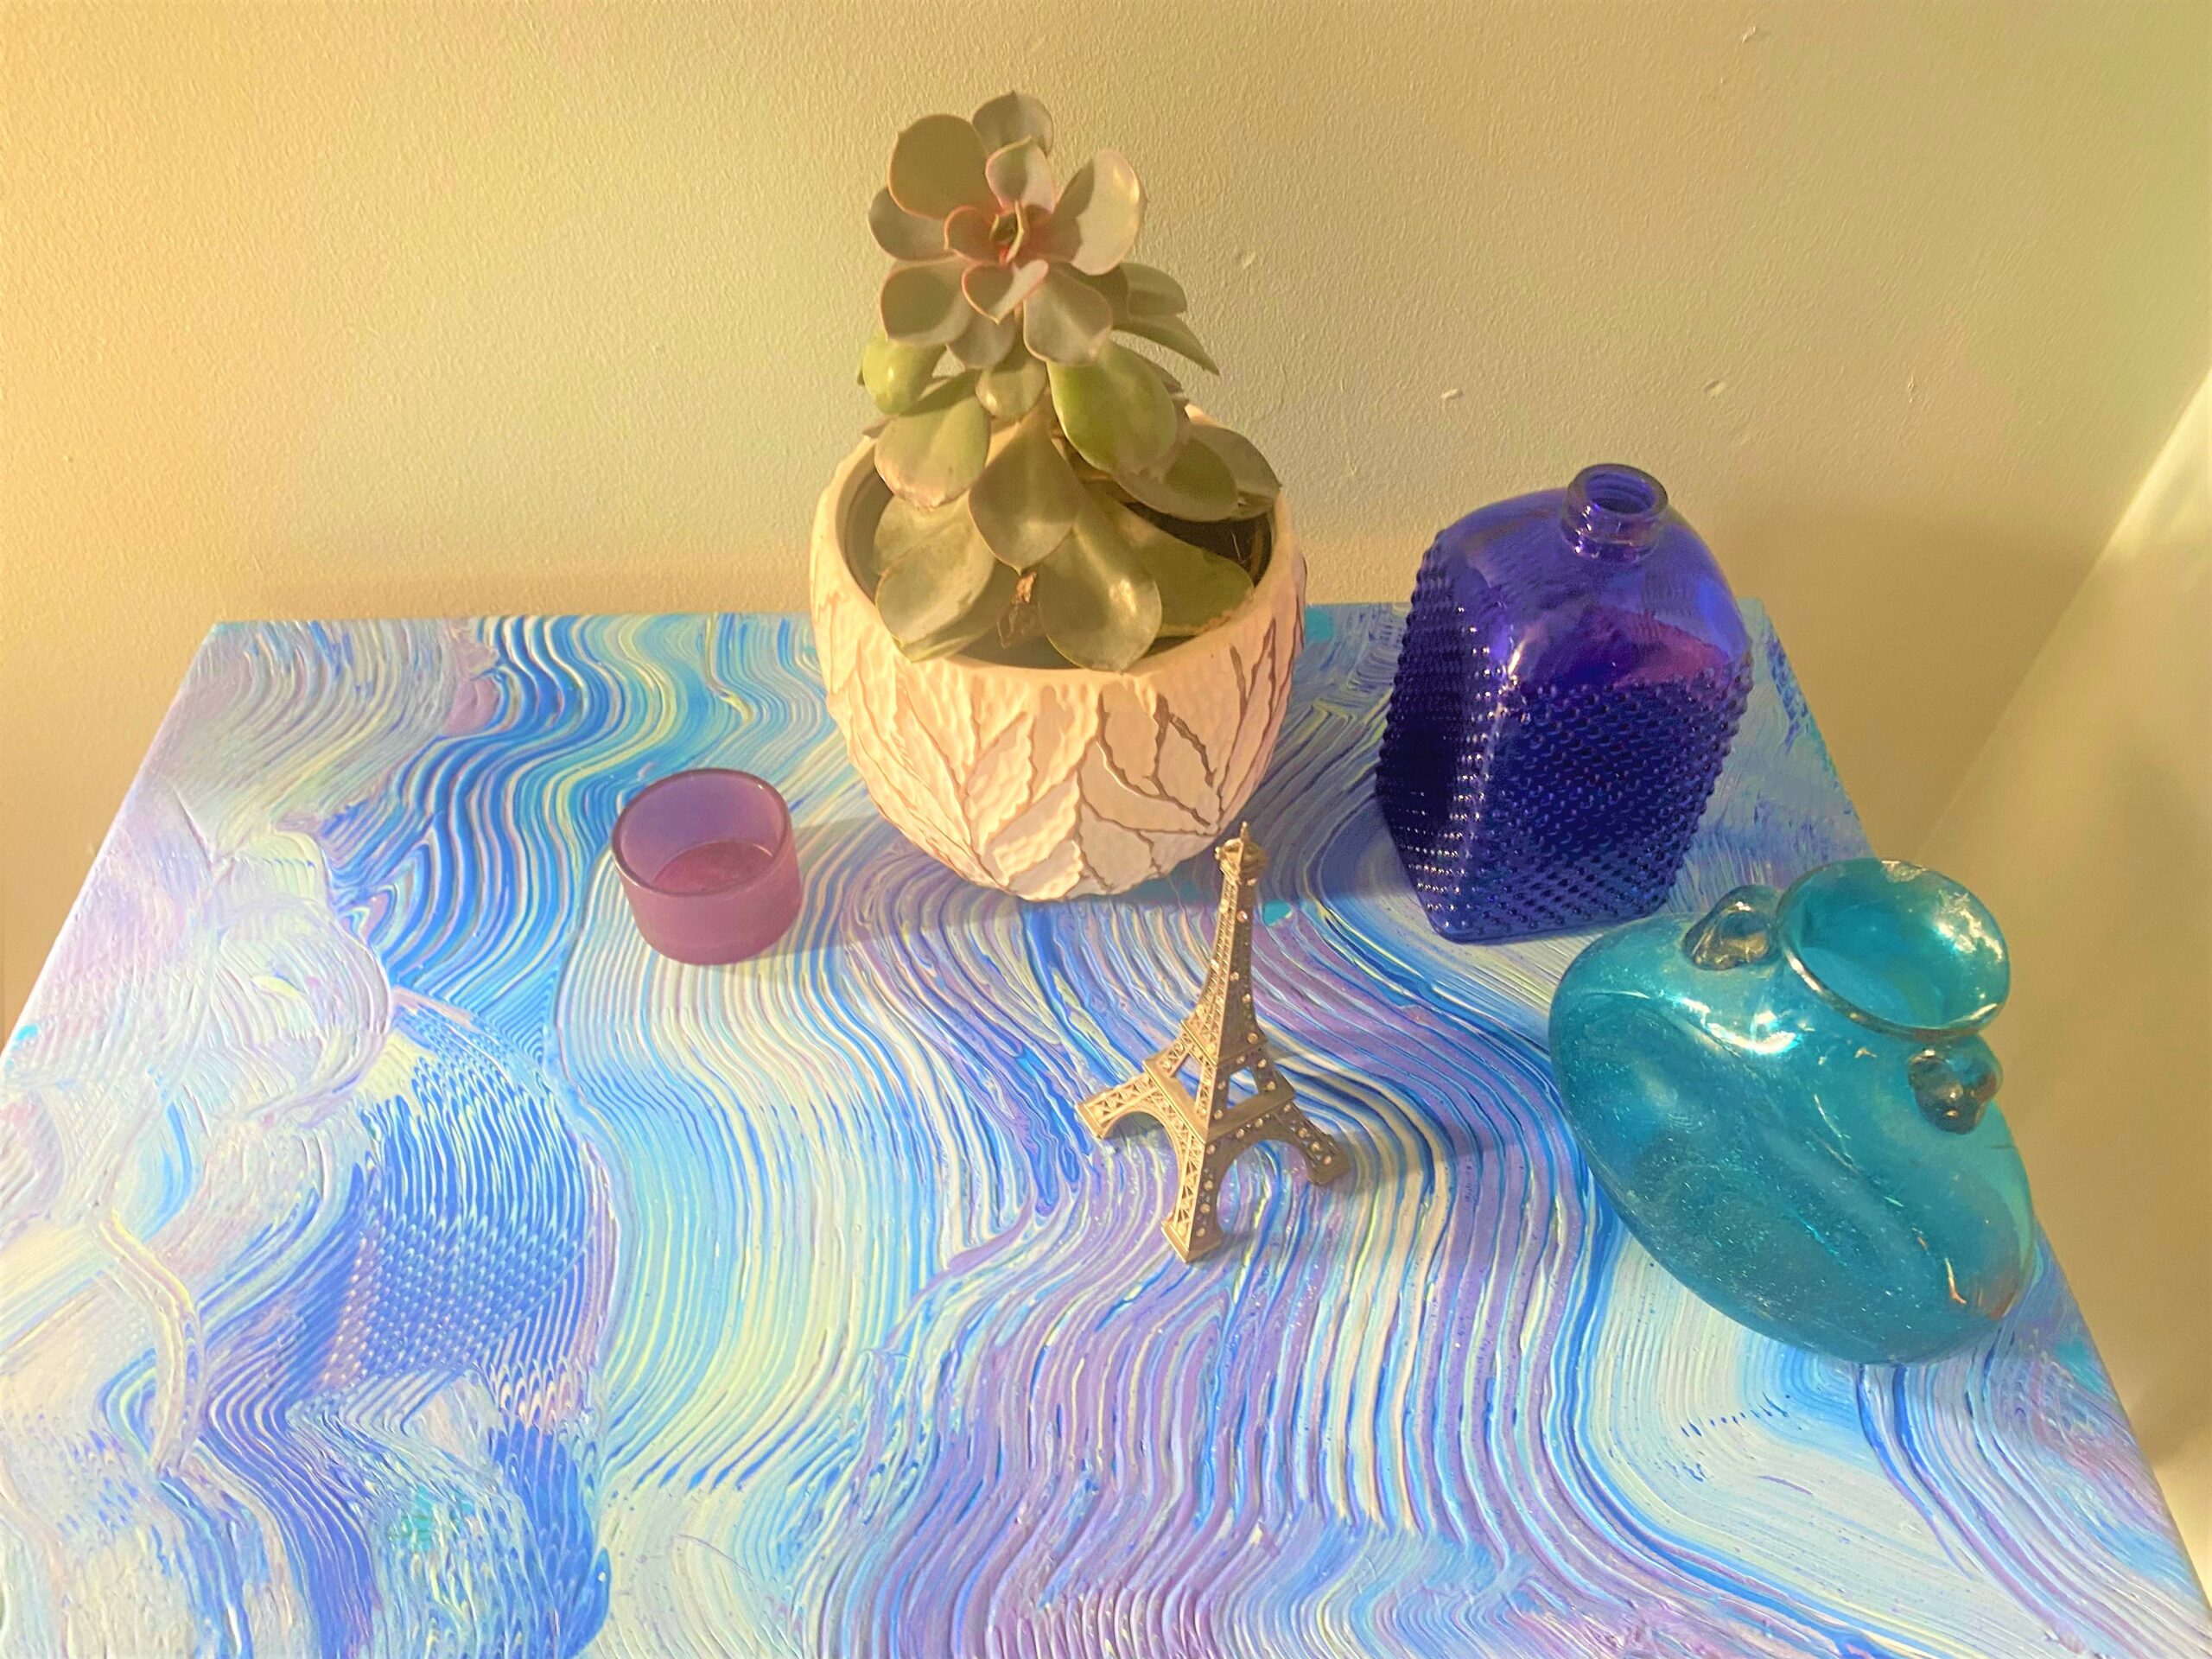
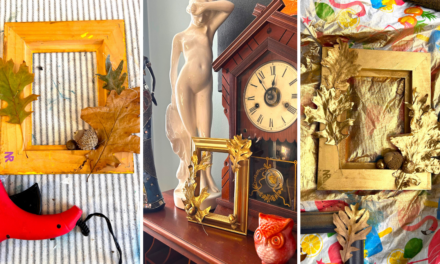
Per the start of this blog, now is the time to find a happy place in your home for this charming table.
Add a matching lamp and/or other accessories like the colorful ones featured here (and all found at Goodwill for a deal).
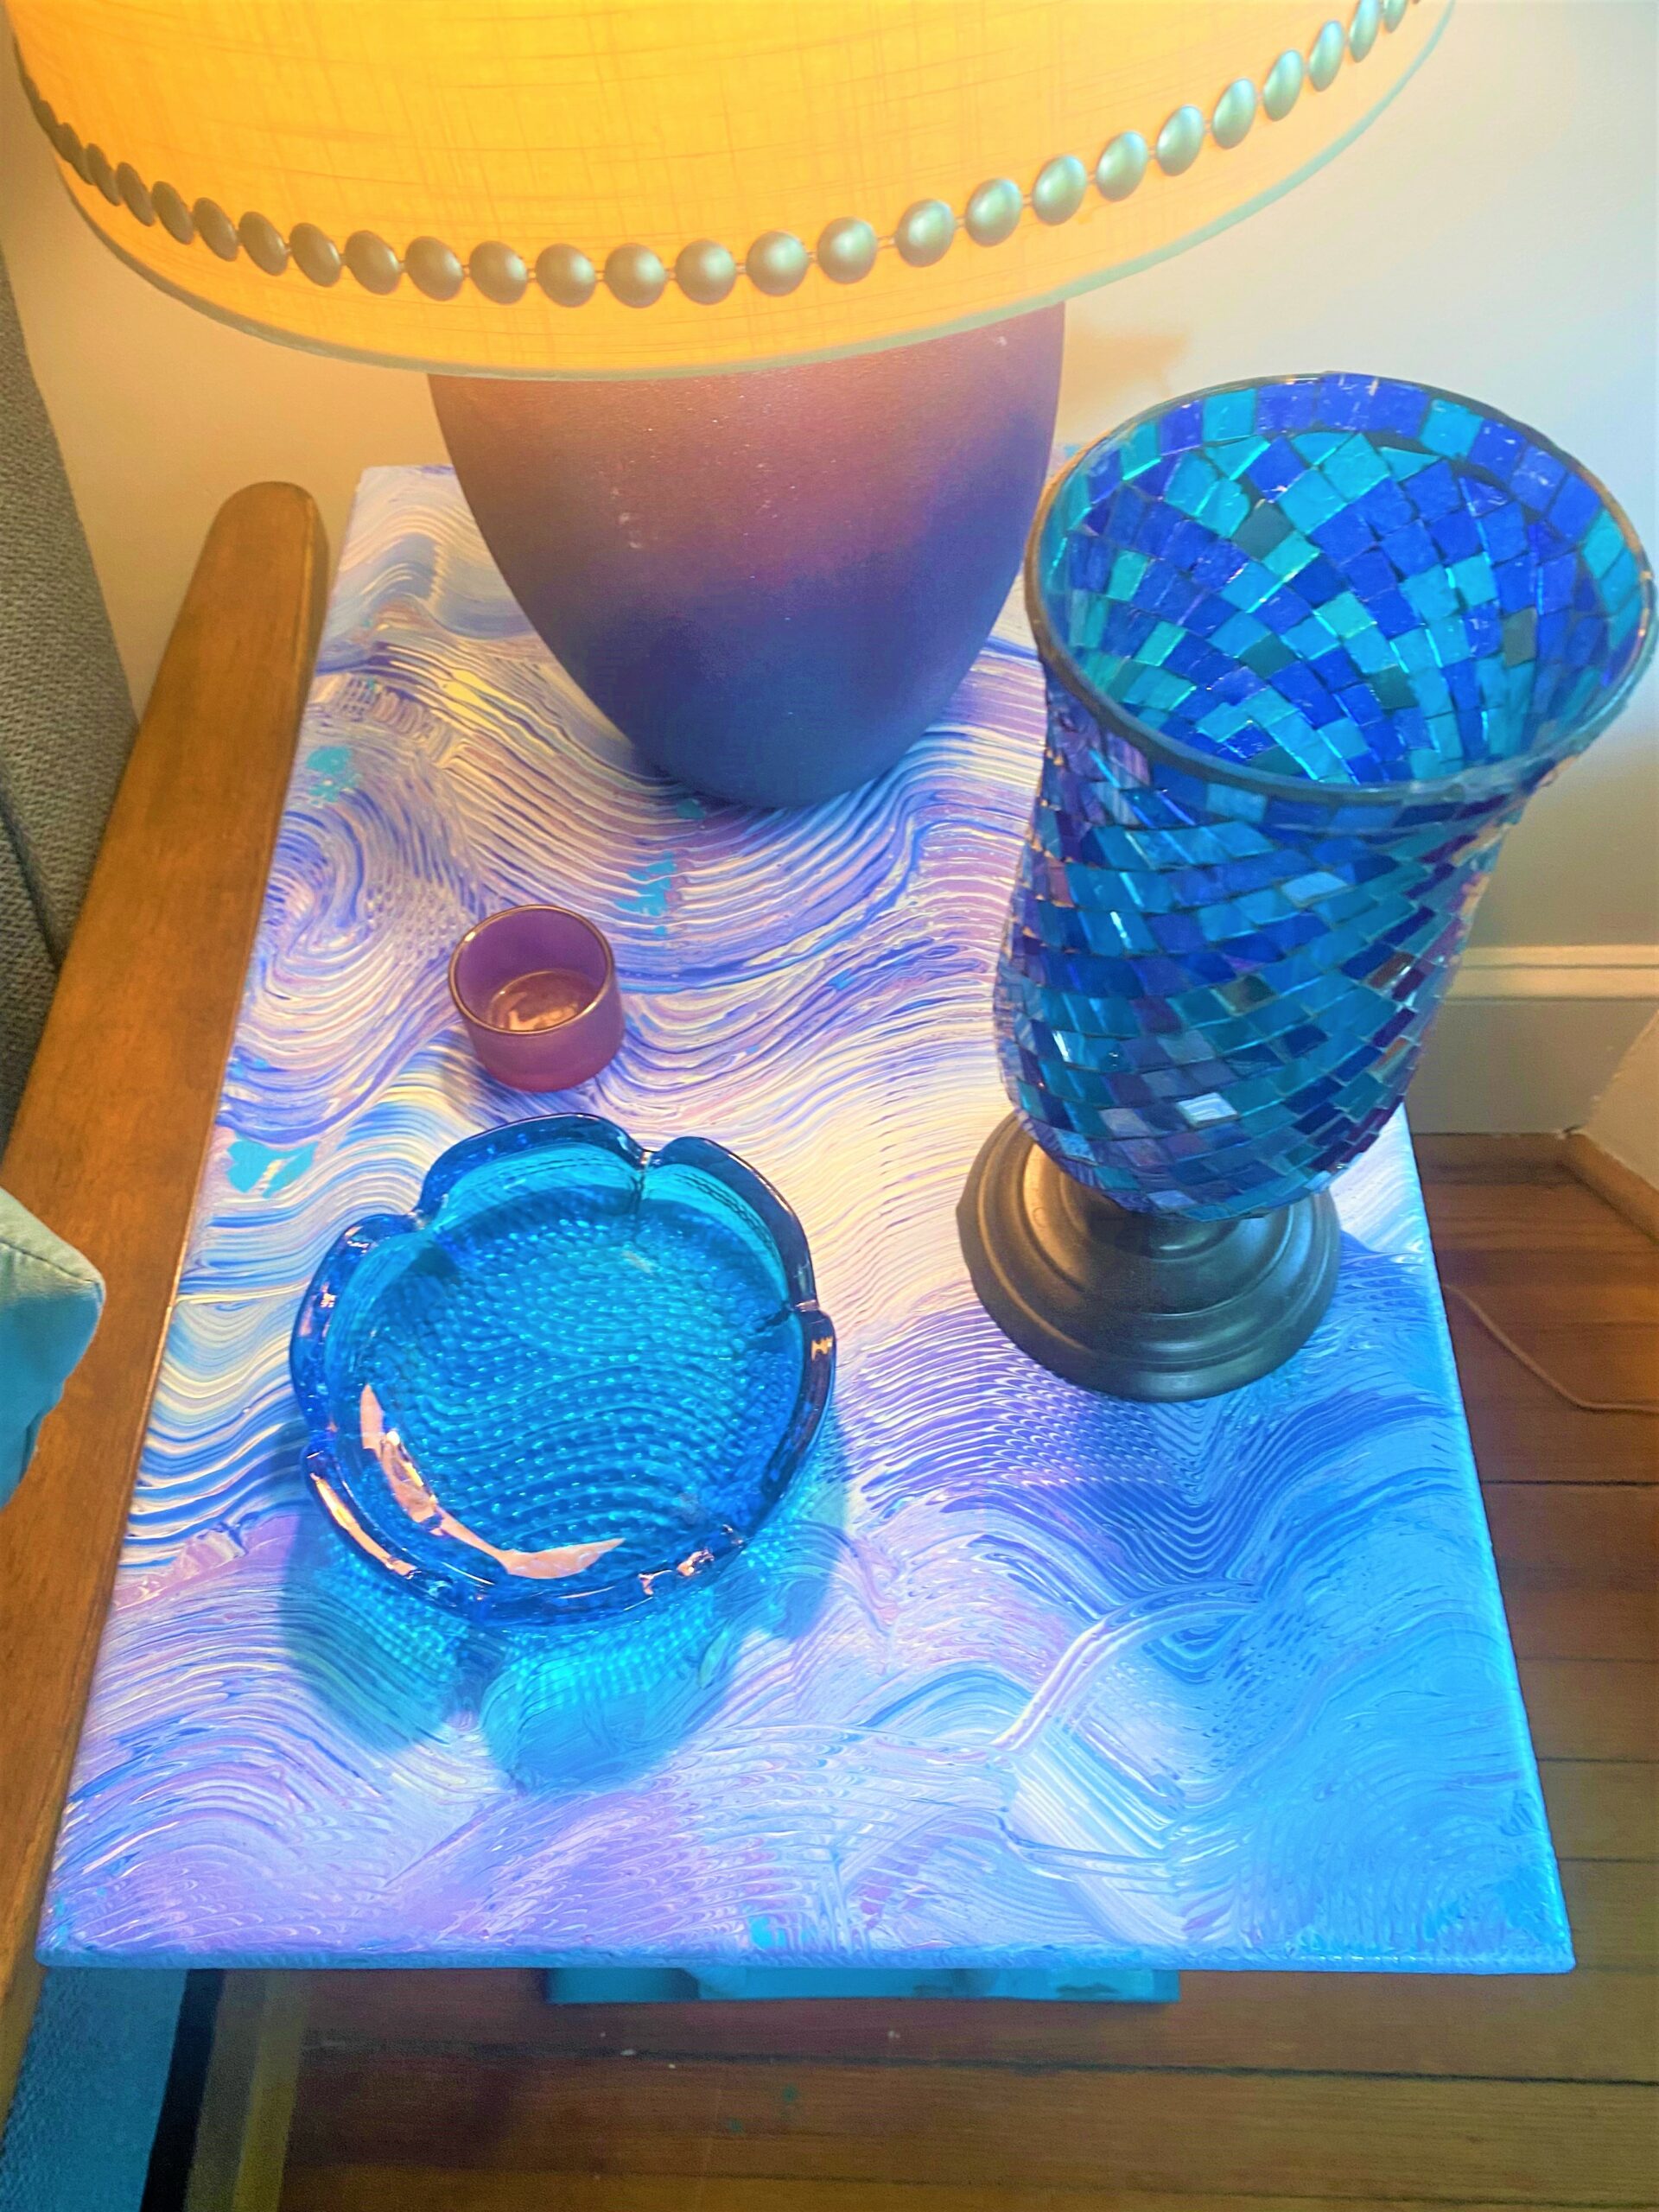
A potted plant such as a succulent or orchid always look good as does a vase of fresh flowers in similar colors and hues.
Once you do combed paint process to a little table like this one, you will be inspired to try it on other flat surfaces.
I have a round kitchen table that I will upcycle using this technique, too, so be on the lookout for a future blog featuring that transformation!

Tim Kime
Artist, Motivational Speaker, Life Coach
