
Take your repurposing efforts to new heights by upcycling an old wooden ladder into a unique & useful shelving unit. Why buy a generic, pre-fab piece that comes in a box when you can easily pull together a ladder and boards to make a one-of-a-kind item that looks great in any space?! A ladder is built to hold a person’s weight while they work, so it makes a great and sturdy foundation on which to build and create. After you do this fun DIY project, your friends and family will call you the Lord (or Lady) of the Rungs!
Okay, I can’t help myself: Here’s a ladder joke: Why did the music teacher get a ladder? To reach the high notes. You will be singing, too, when you see how fun it is to do this project.
Supplies:
· Wooden step ladder
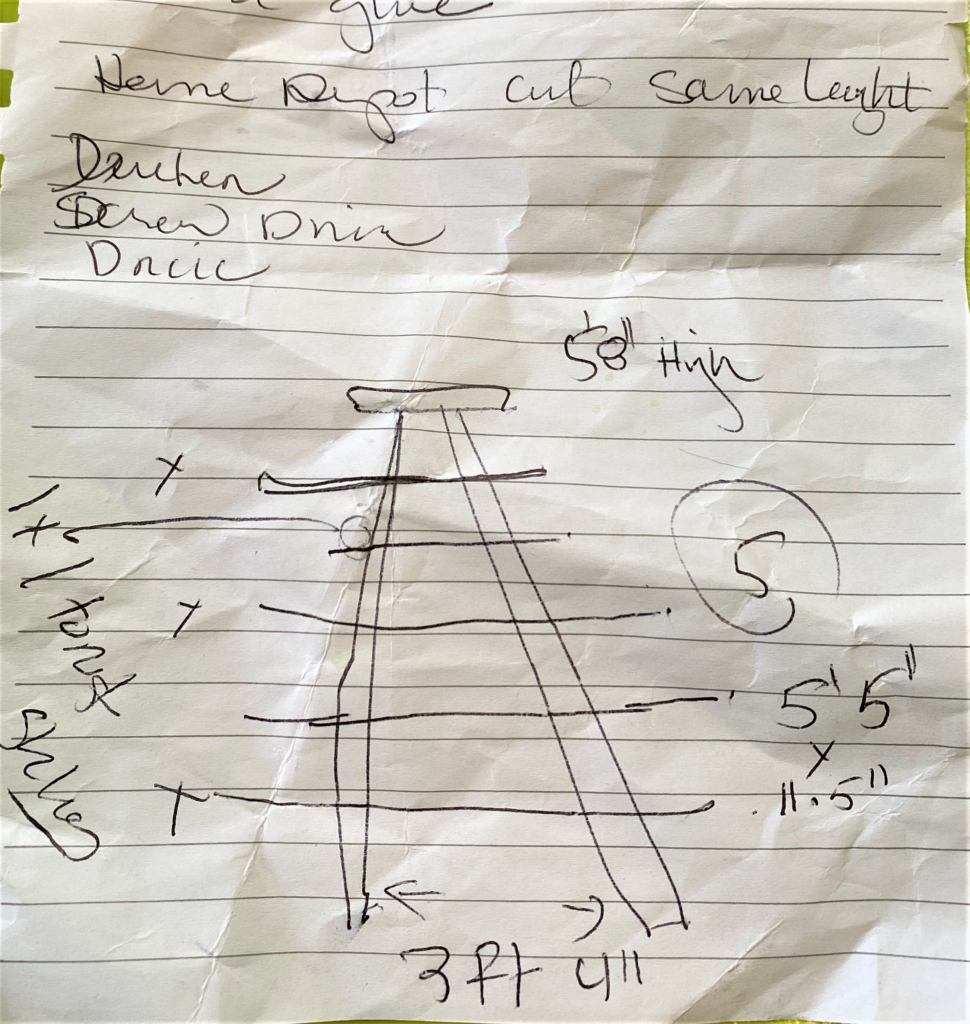
· 5 wooden planks/boards, 11 inches by 48 inches
· 5 wooden trim pieces, square, 1 inch by 11 inches long
· Epoxy glue or wood glue
· Wood screws
· Sanding block or paper
· Screw driver
· Drill
· Saw
· Pencil
· Painter’s tape
· Paint
· Paint roller & brush
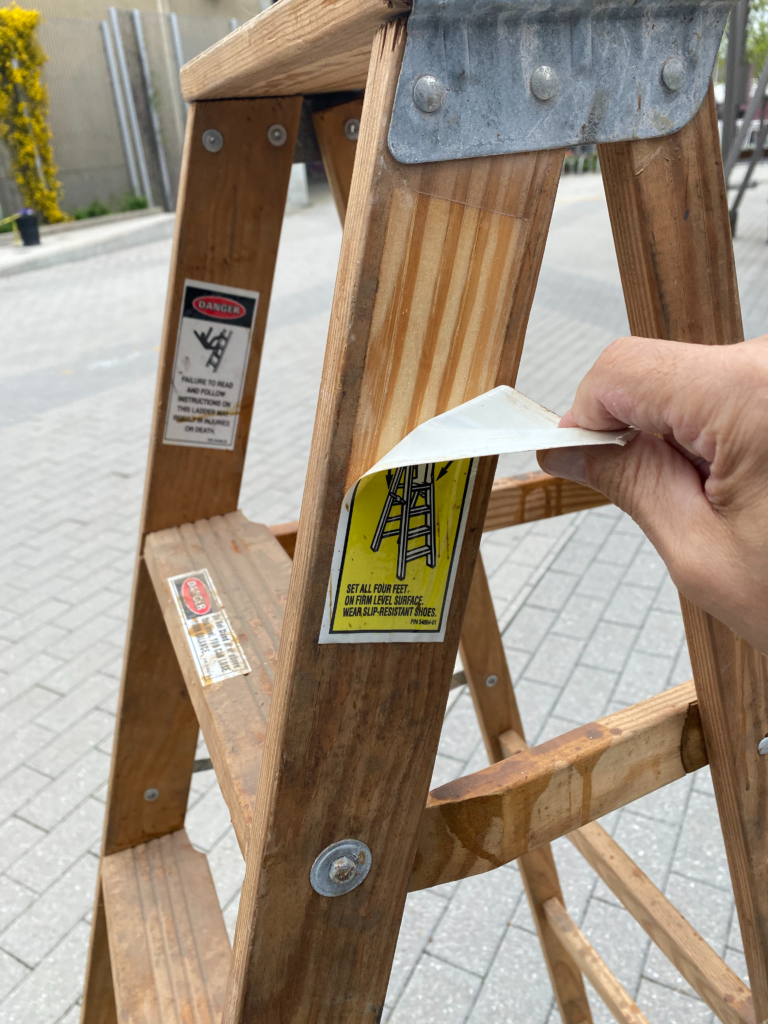
1. Locate a ladder
Everyone knows what a ladder does and has seen one in action, so this project has truly universal appeal. And given that many ladders you can purchase today are made of aluminum, there is something whimsical and charming about enlisting an old wooden one for this DIY project.
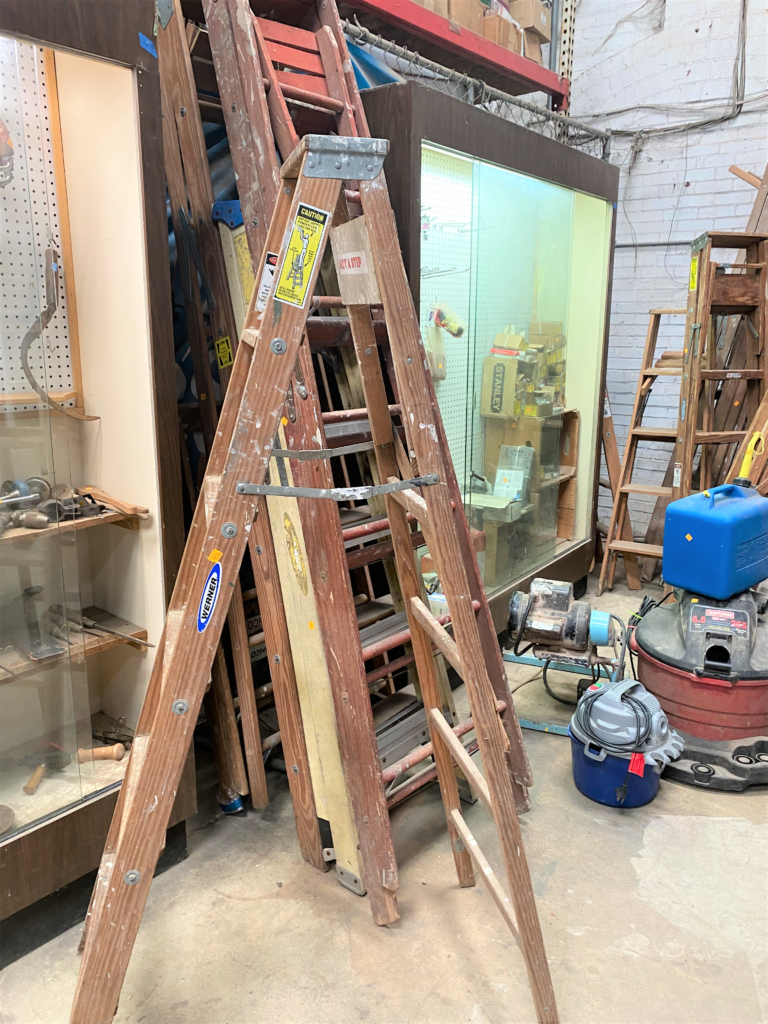

Check out the area at your favorite Goodwill that sells tools and other house-related equipment to see what is available. If possible, find one that has rungs on one side and small braces at the same level as the rungs on the other side that will support your shelves.
The ladder purchased for this project came from Community Forklift, a secondhand retailer that specializes in construction materials (items that Goodwill doesn’t typically sell.)
2. Shop for shelves
Hit your local hardware store to pick up wood boards that will be transformed into shelves. Measure the width of the top run; most will be around 11 to 12 inches wide. A standard width for boards in 11 inches will work perfectly for this project. Also, the boards purchased for this project were a standard length of eight feet, so they were simply cut in half to provide a shelf that was four feet long. Easy!
Thanks to Andre at Annie’s Ace Hardware for his help with this project and for cutting the boards in half so nicely! While you might have a circular or jigsaw at home that could cut your boards, it’s a good move to have a hardware store team member do it so you can easily get the pieces home in your car.
Be sure to pick up a piece of square wood trim and cut it into pieces ten inches long. These will be secured on the braces opposite the rungs so that the shelves are level. Lastly, purchase wood screws that are an inch and a half long to go through the shelve wood pieces and into the rungs/steps and braces.
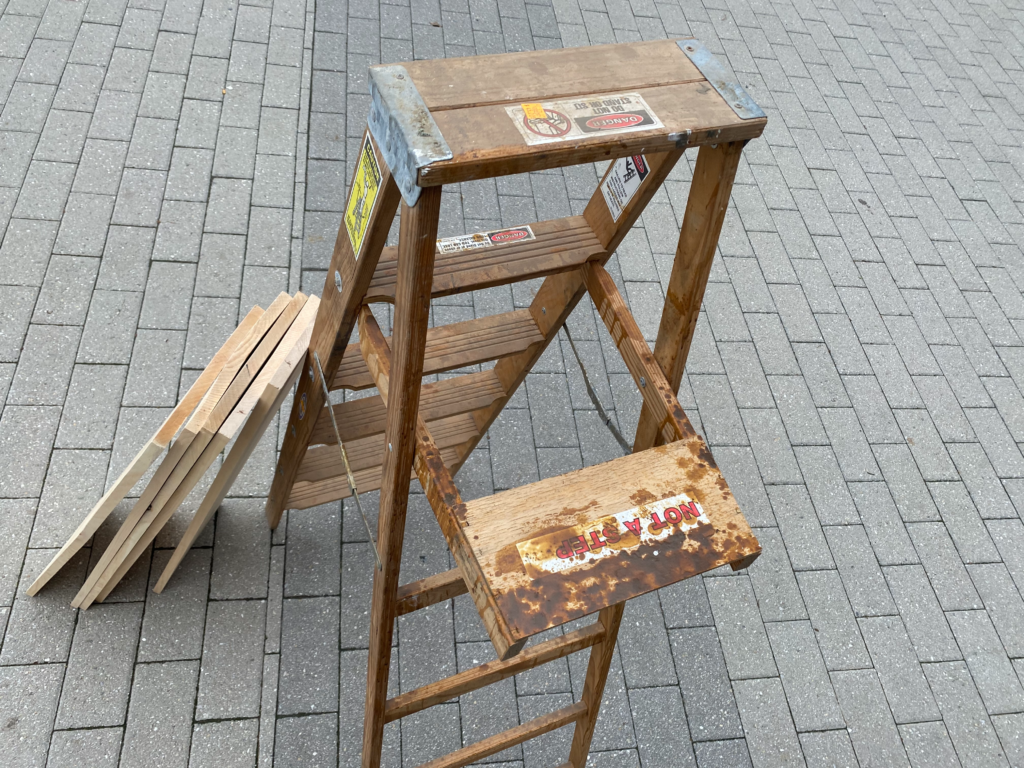
3. Prep your parts
You now have your old ladder, boards, and trim pieces.
- Using a sanding block or sandpaper with a medium grade, smooth out the rough edges caused by the cutting of your wood.
- Buff up your ladder to remove any dust and debris and to make it more friendly for painting. The ladder used here had layers of stuff on it from other projects, so the sanding helped to clean it up. I then wiped it down well with a damp rag to ensure it was clear and clean.
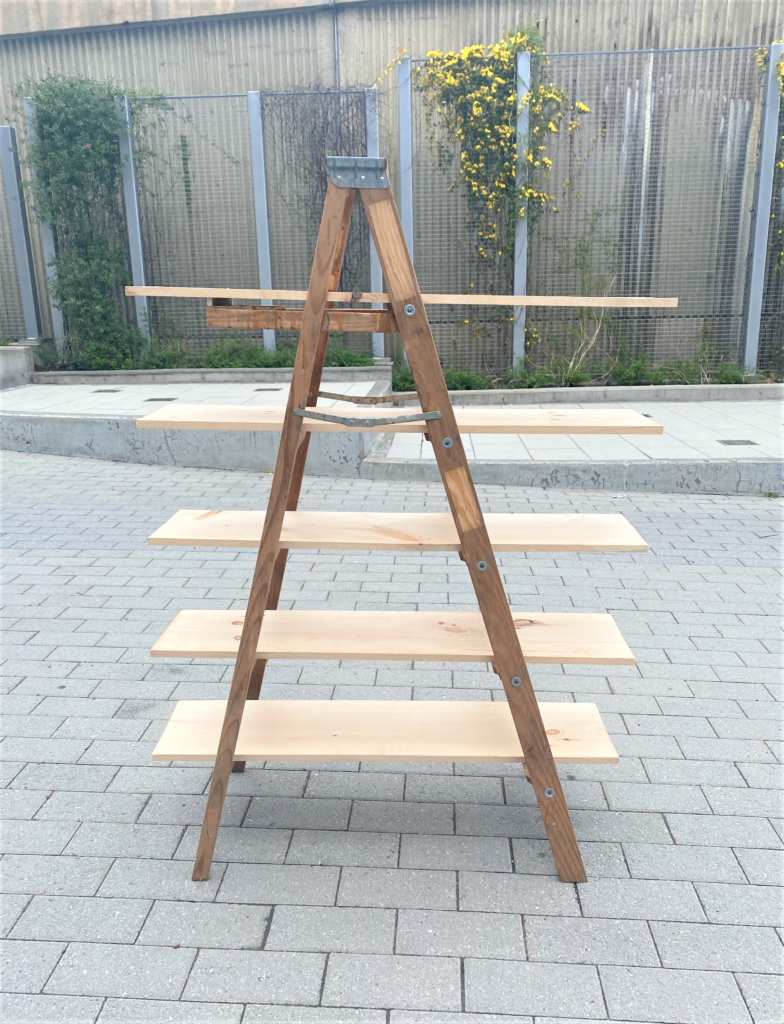
4. Line up & level
The braces on the ladder were just a little below being level when a board was added from them to the accompanying rung. Therefore, a piece of the wood trim, cut at ten inches, was added to the cross brace to allow a level foundation for the shelf. Each piece was glued on and held in place with painter’s tape while drying.

- Using your drill, create two holes in the wood trim and screw in wood screws to ensure it is super secure.
- When your glue is dry, remove the painter’s tape. Quick-drying epoxy glue was used for this project; however, wood glue is a great option and a little cheaper, price-wise.
- Add your shelf pieces. Position them in place before securing them. You will want the outer edges to line up so use a yardstick or other piece of wood so they all touch it. Then, use a pencil to mark where they line up with the rungs/braces and add a piece of painter’s tape with a number on it so that you know which shelf goes where.
- Remove the top four shelf pieces.
- With your drill, add holes to the bottom shelf so that the wood screw will go through the rungs and braces. After the bottom one is drilled and the screws are screwed in, repeat this step moving up adding one shelf at a time. Doing it this way will give you more space to work when drilling.
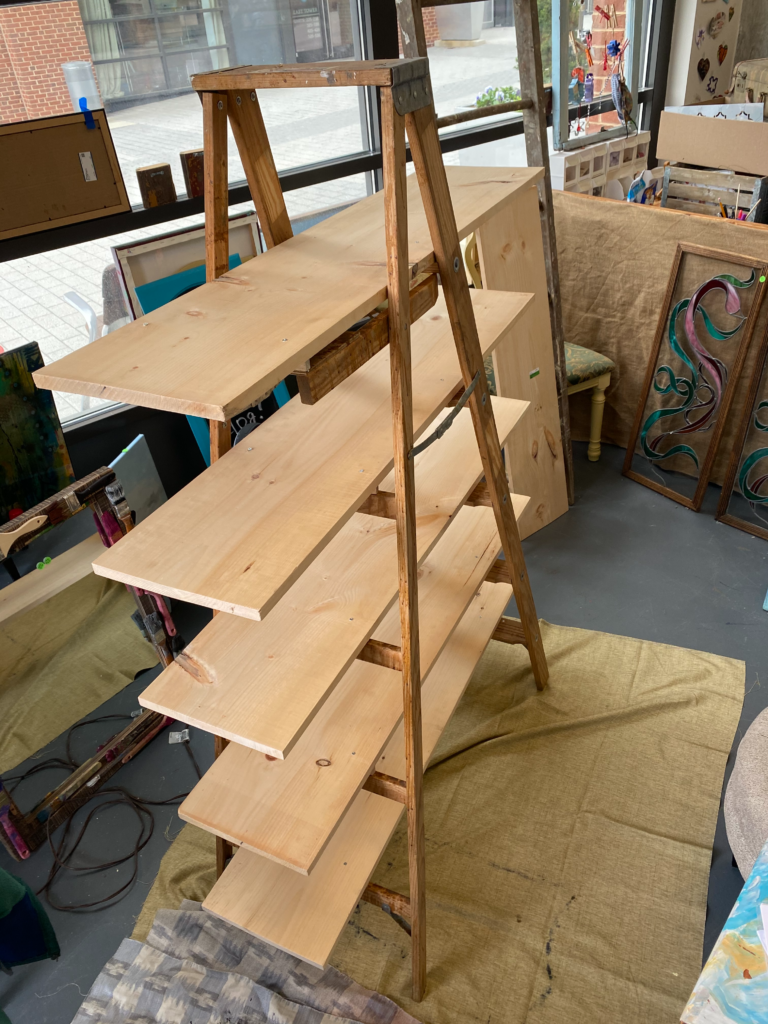
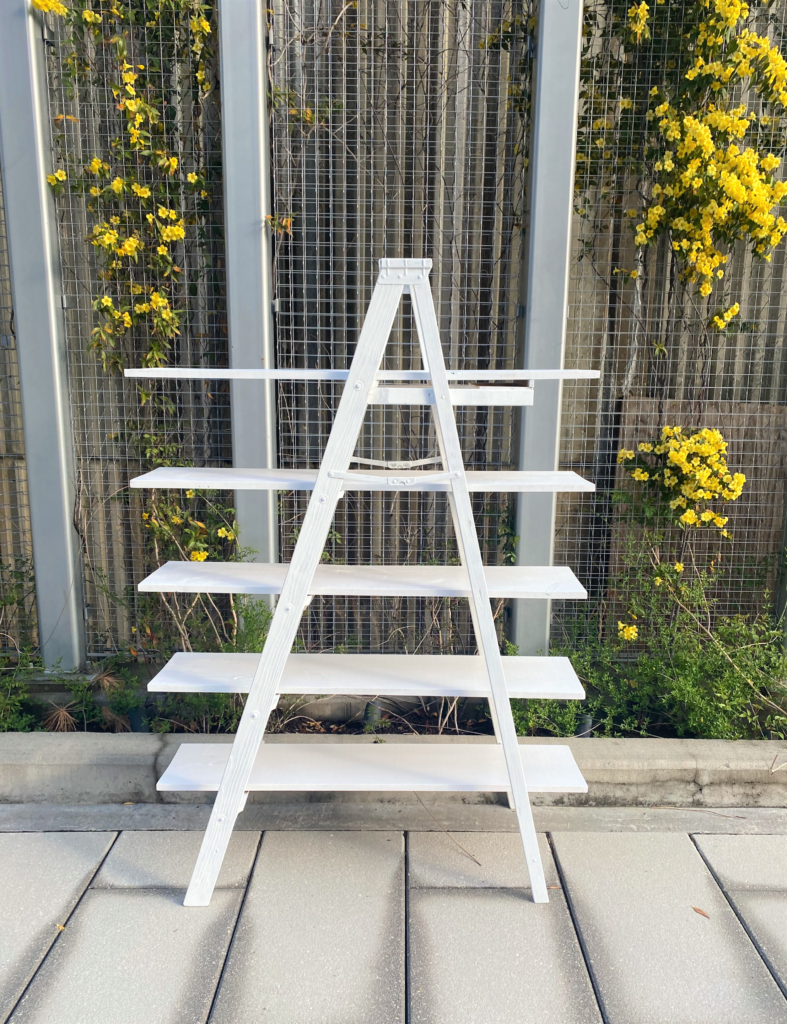
- With the top board secured in place, you now have a totally cool and very functional shelving unit!
5. Color connects

- Slip a drop cloth under your ladder shelving unit to protect your floor.
- With a small roller, roll on your paint in a color that makes you happy. I selected white because I knew I would be using this piece in my art studio to show off items. I wanted it to be bright and neutral-colored so that it would not compete or clash with the colorful pieces it would be holding. Several layers of paint were rolled on and a brush was used to get into nooks and crannies.
- Very carefully place your ladder shelves on its side (get someone to help you with this step if possible!), so you may apply paint to your entire piece.
- After dry, place it on its other side to allow you to see all edges and parts that need painting.

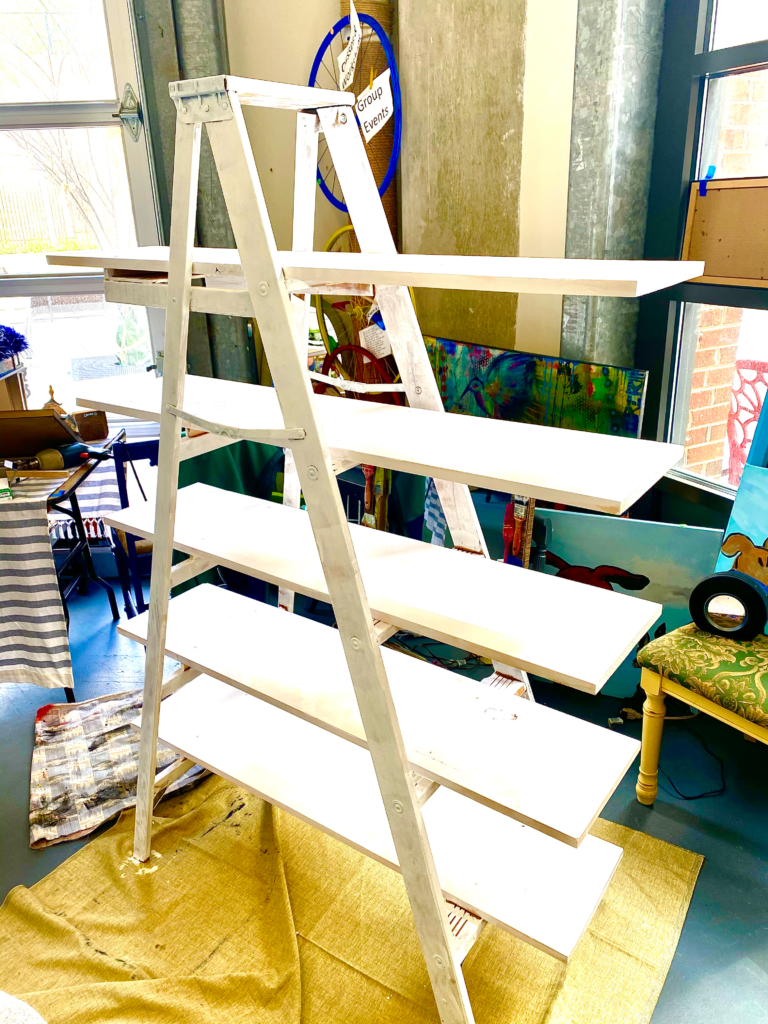

Given that this piece looks great in any setting, what color would you use? I think a bright color would make it look very inviting if used in a child’s room or in your family room. Black would make it look really hip and cool if used in the living room in an urban apartment or office. A happy green or warm yellow would make this piece look so inviting if placed in your foyer or on your front porch. The sky is truly the limit!
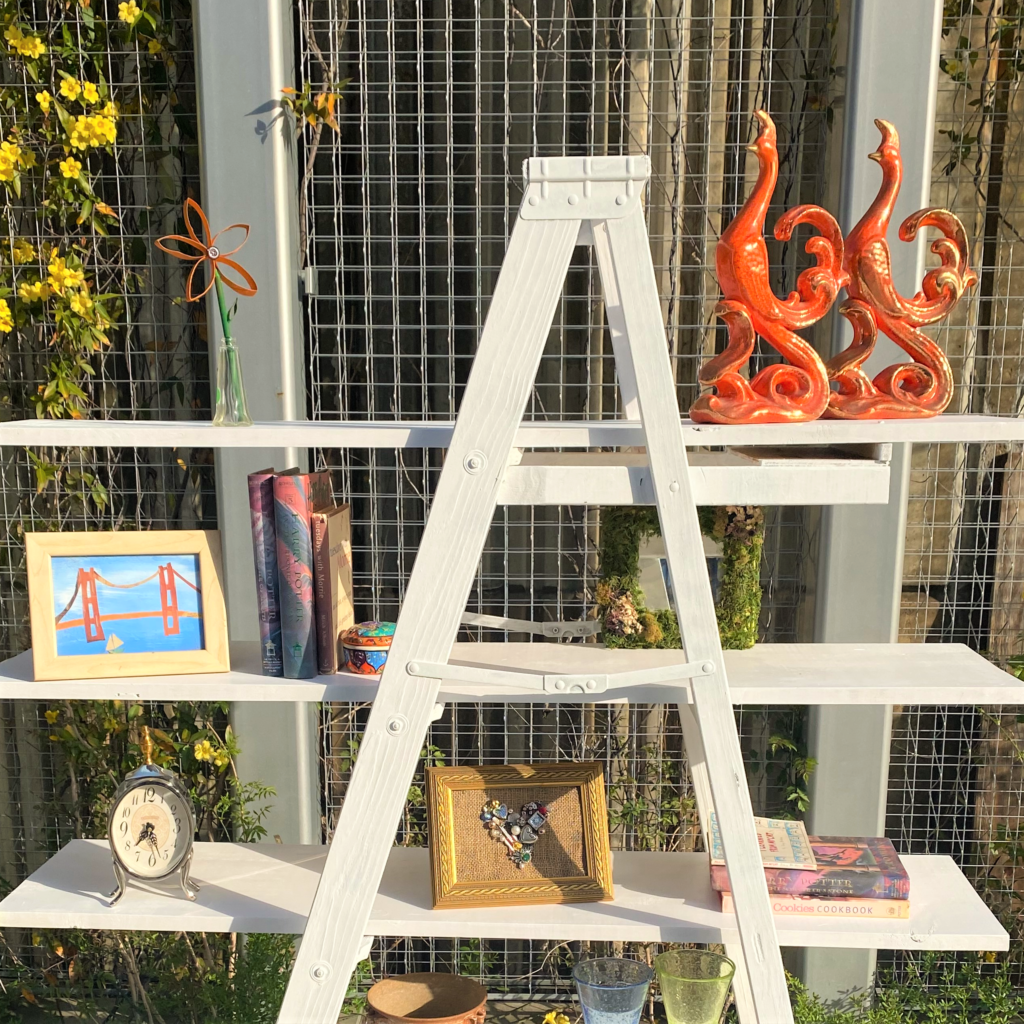
6. Useful utilization
Position your ladder shelves in your home or office.


Place it in your kitchen or in your kid’s bedroom.
Add it to your entertaining space.
Fill it with accessories like books, plants, statues, small storage baskets, and more. You’ll be amazed at: A. how much space you know have to hold items and B. how many people will want you to make a ladder shelving unit for their places, too!
The paint on my ladder shelves was literally drying when someone walked by my studio, saw the project from the window, and wanted to buy it! Love it! I will be making another one for her so will share photos of it once I have them.
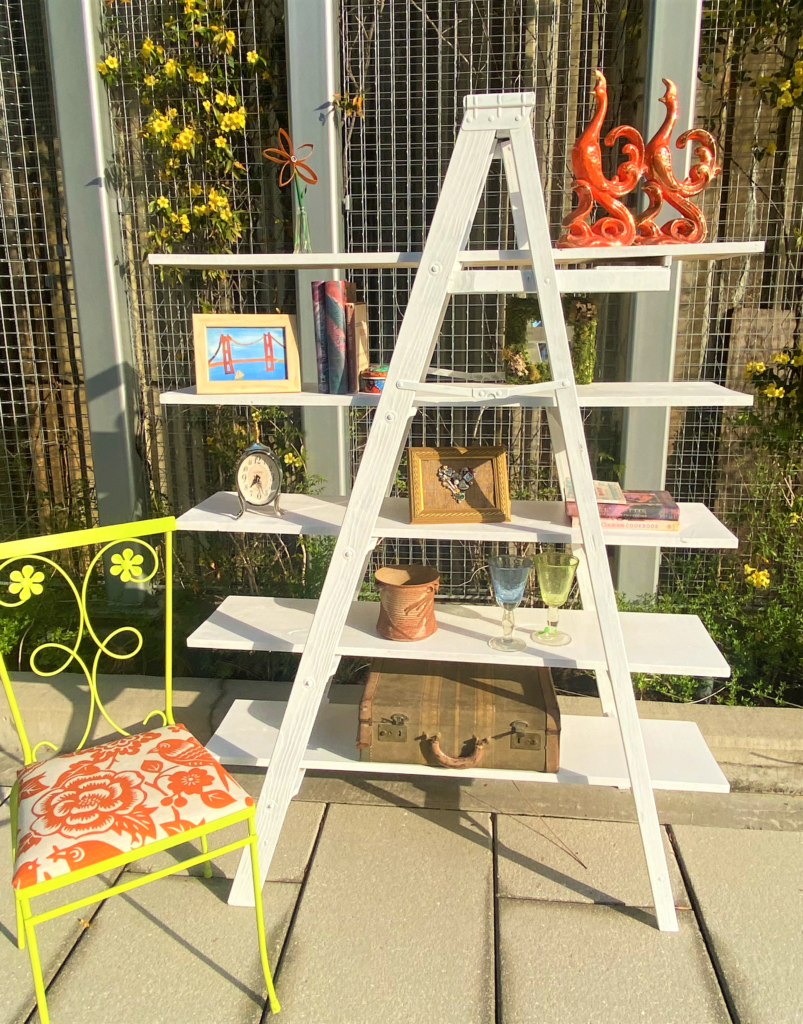
Please share pics of your DIY ladder shelves with us, too, when it’s completed, in your place and holding your treasures (from Goodwill!)!
With that, I will say, “See you ladder!” (Okay, you can groan with that one!)

Tim Kime
Artist, Motivational Speaker, Life Coach

