Keep these three “H’s” in mind when you want your upcycling project to look hip, happening, and hot: Hue, Handles & Height. An old dresser receives a dramatic transformation by painting it a new hue. Adding new and cool handles gives it a great vibe. Last but certainly not least, it gets raised to a new level by adding legs, hence the height.
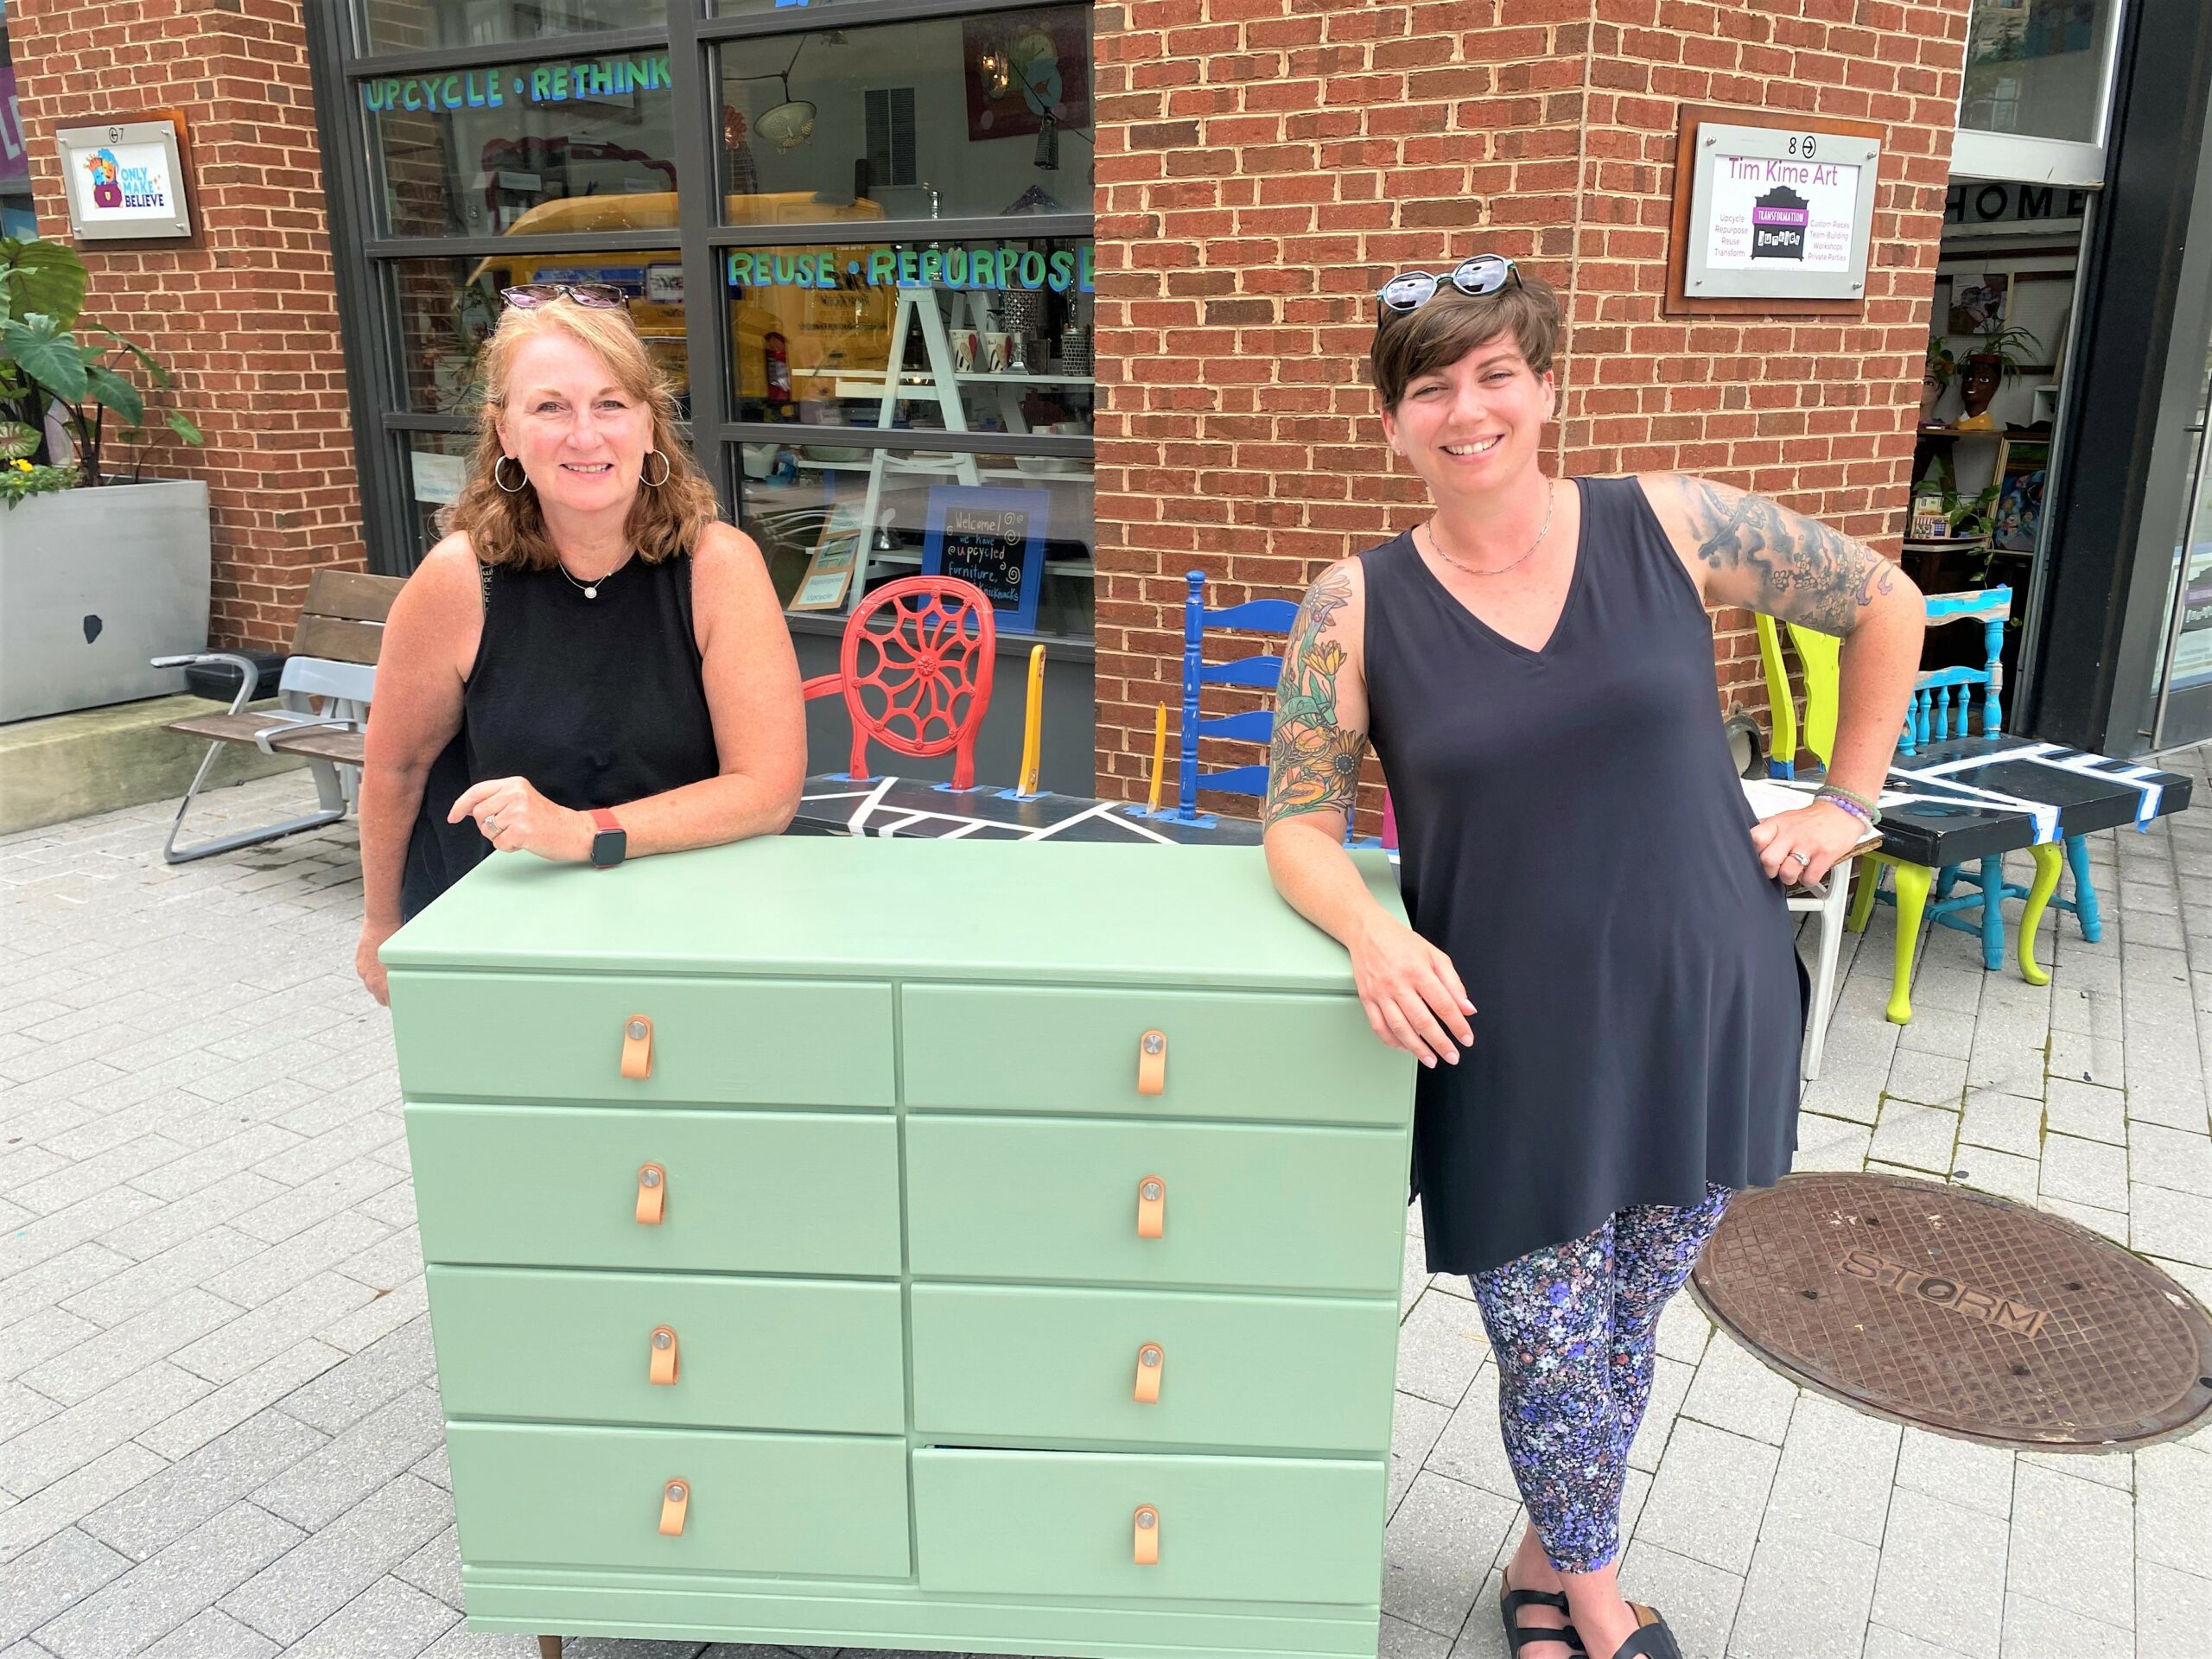
These H-tips were used to upcycle a ho-hum dresser into a “Hip-hip-hooray!” piece. Follow them, too for your next DIY project to ensure a successful impact and great, new look, too!
Supplies needed:
· Wooden dresser
· What green paint
· Short, sleek legs made of wood, metal
· Handles with metal details and leather loops
· Paint brushes
· Painter’s tape
· Screwdriver
· Sanding block
· Scrap wood & wood screws
· Drill
· Saw
· Epoxy or wood glue
· Damp cloths
· Polyurethane
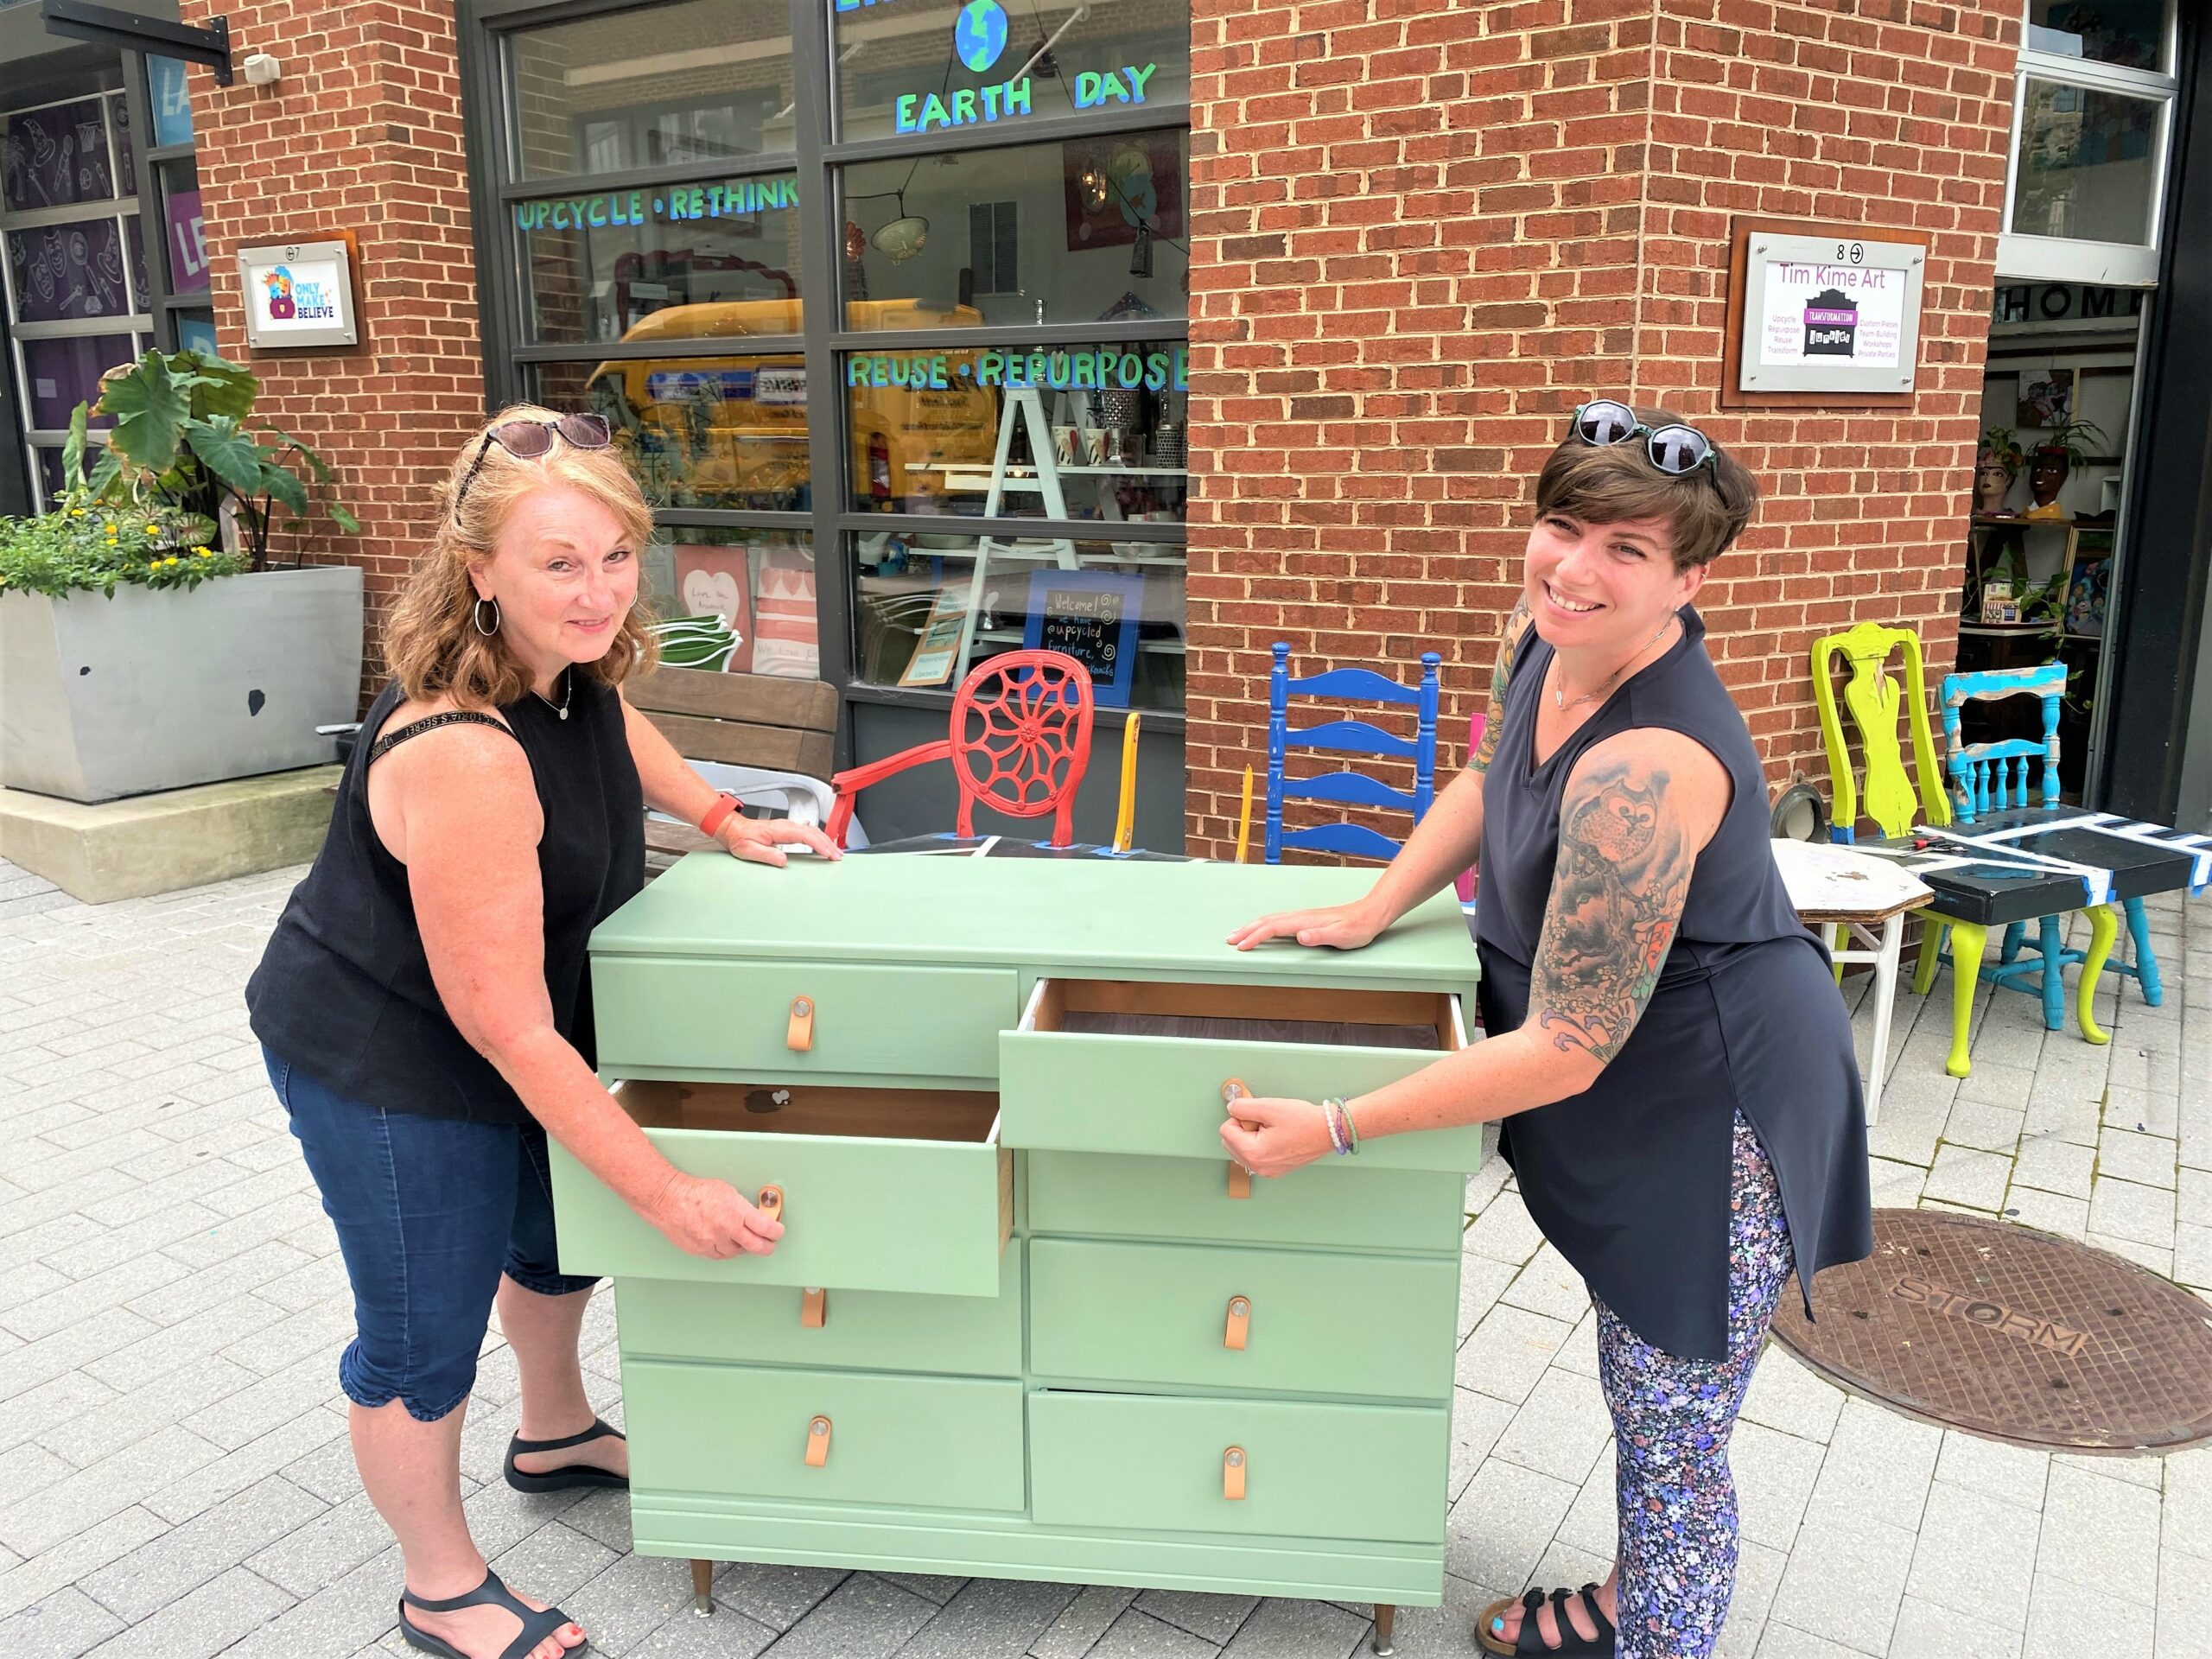
1. Happy trails happen when hunting at Goodwill
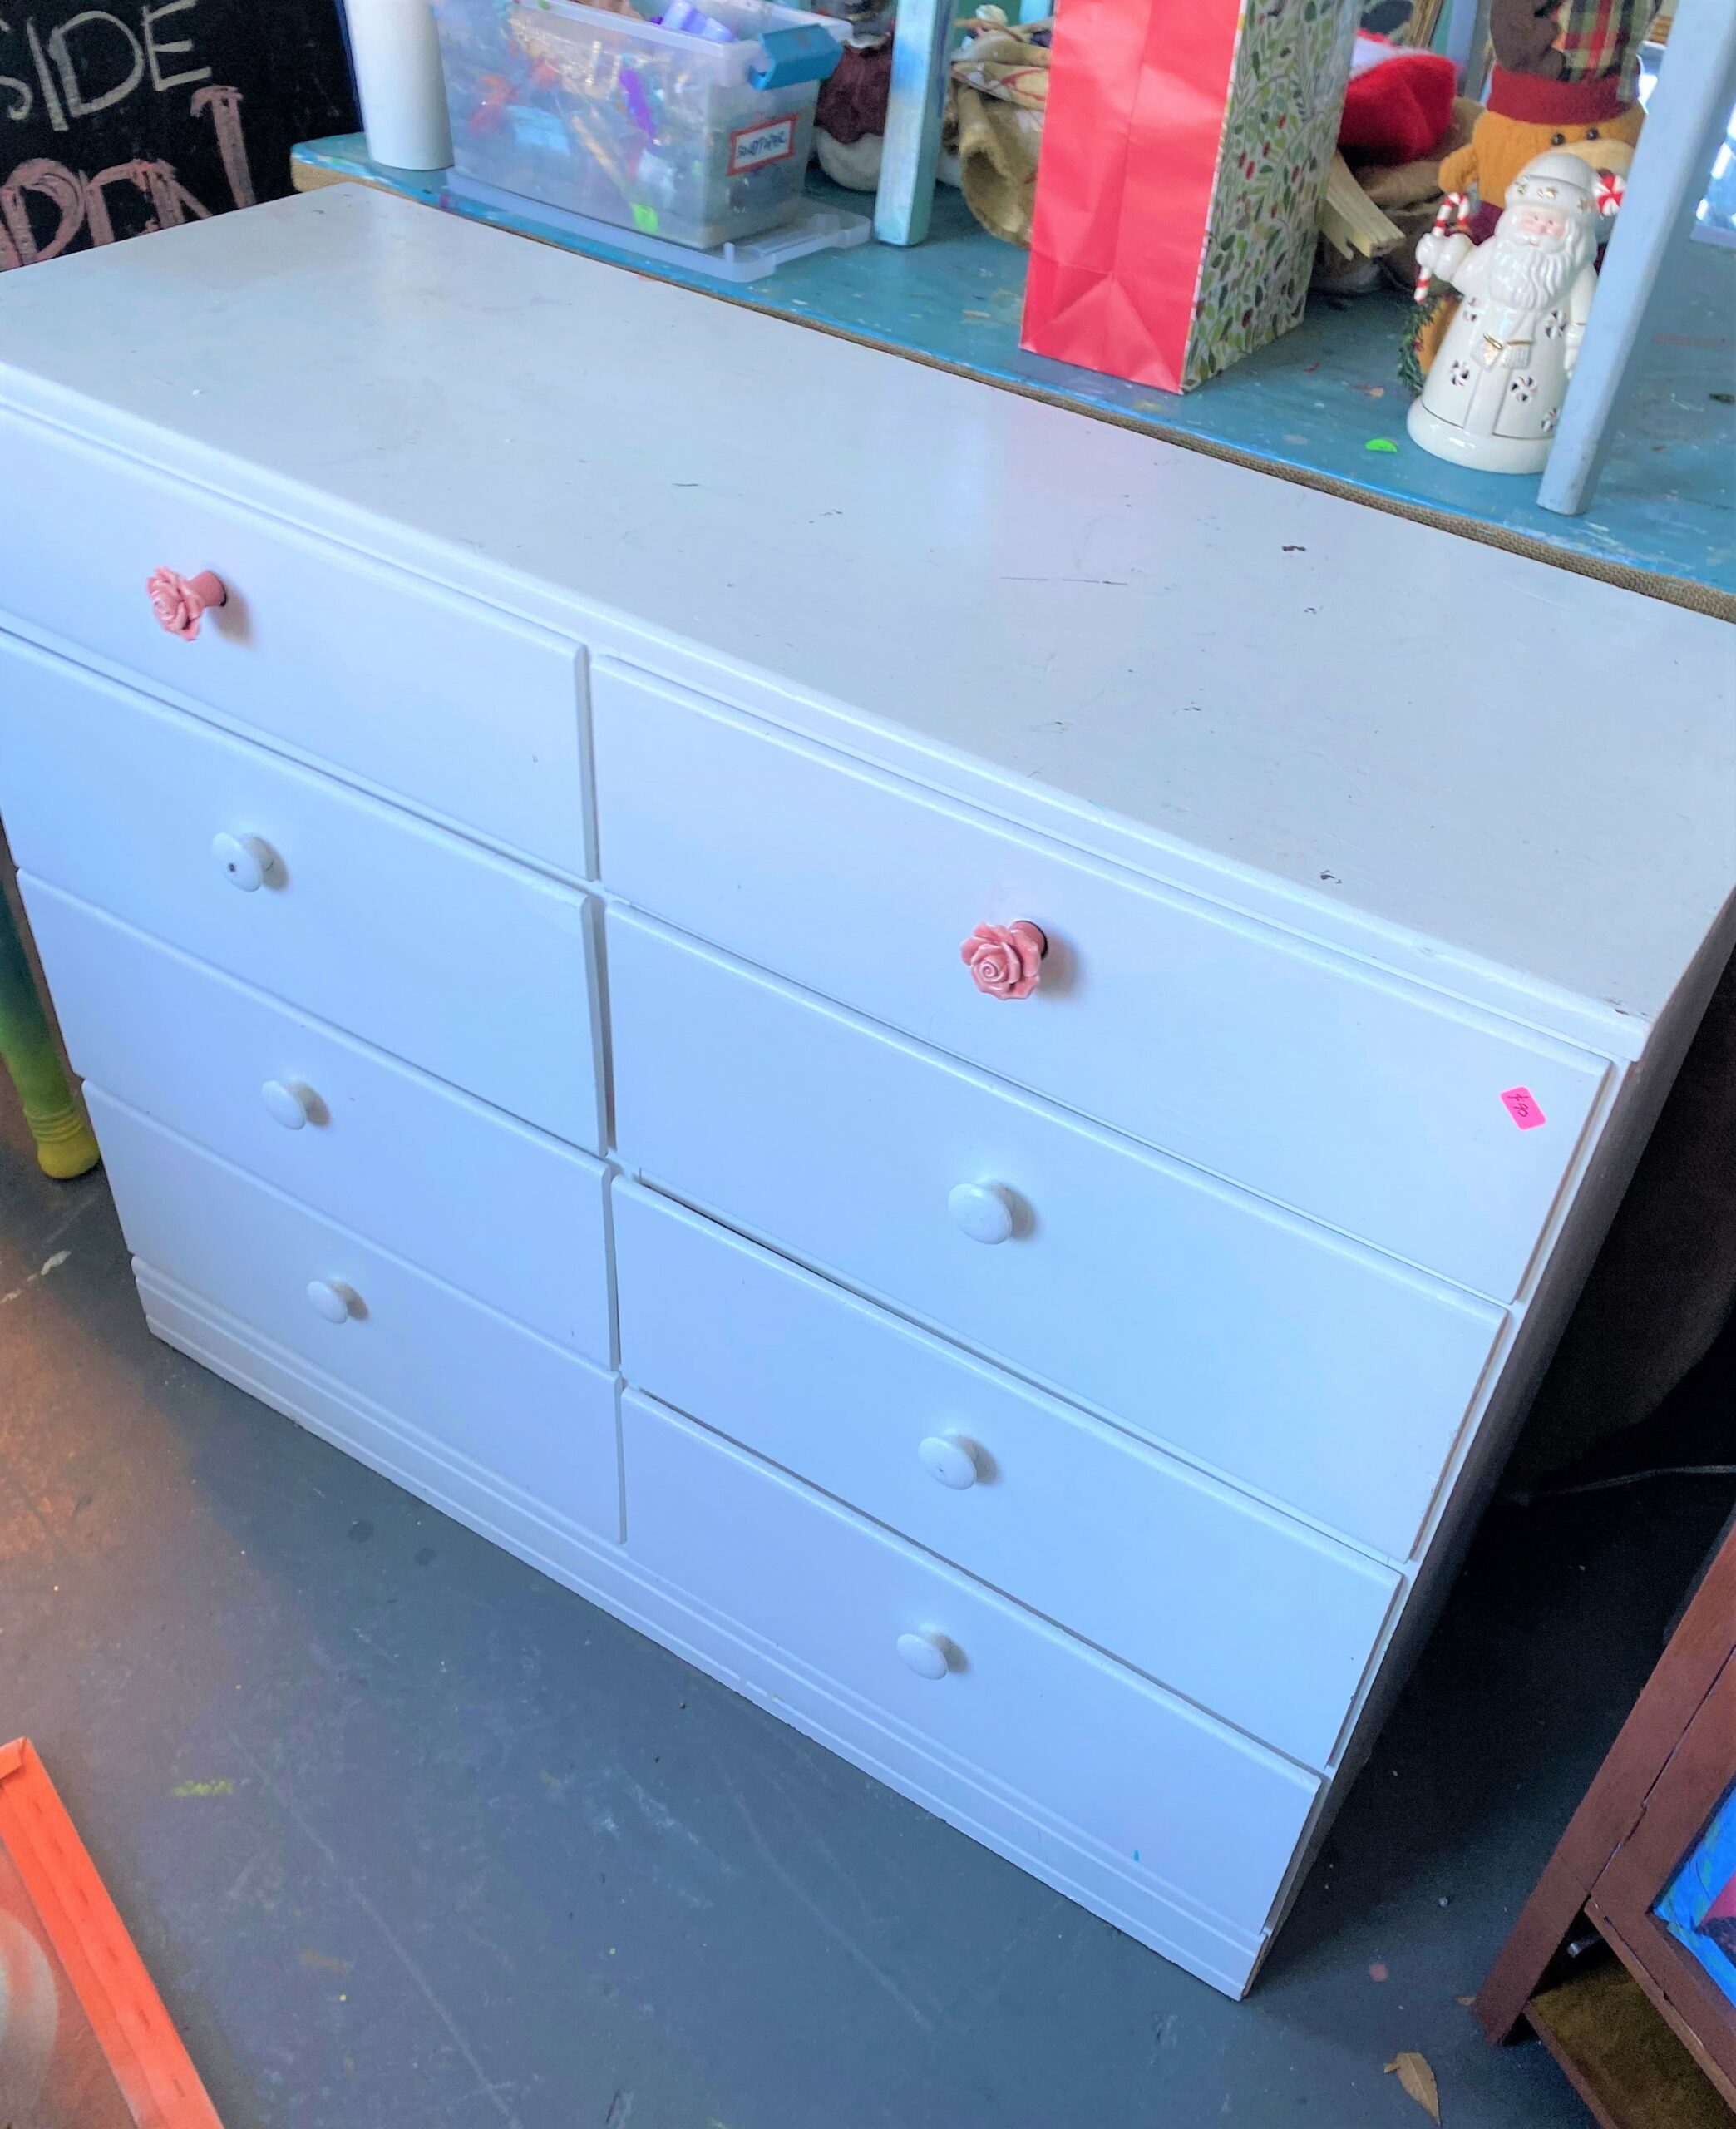
Dressers and other furniture items are always in abundance at any Goodwill store. Hunt (another H!) for one made of solid wood and clean lines. The piece featured here was simple and sleek (even with the rosebud knobs on it!) so was perfect for a 3-H makeover. You want something with a drawer or two (or eight in this case) to add new handles.
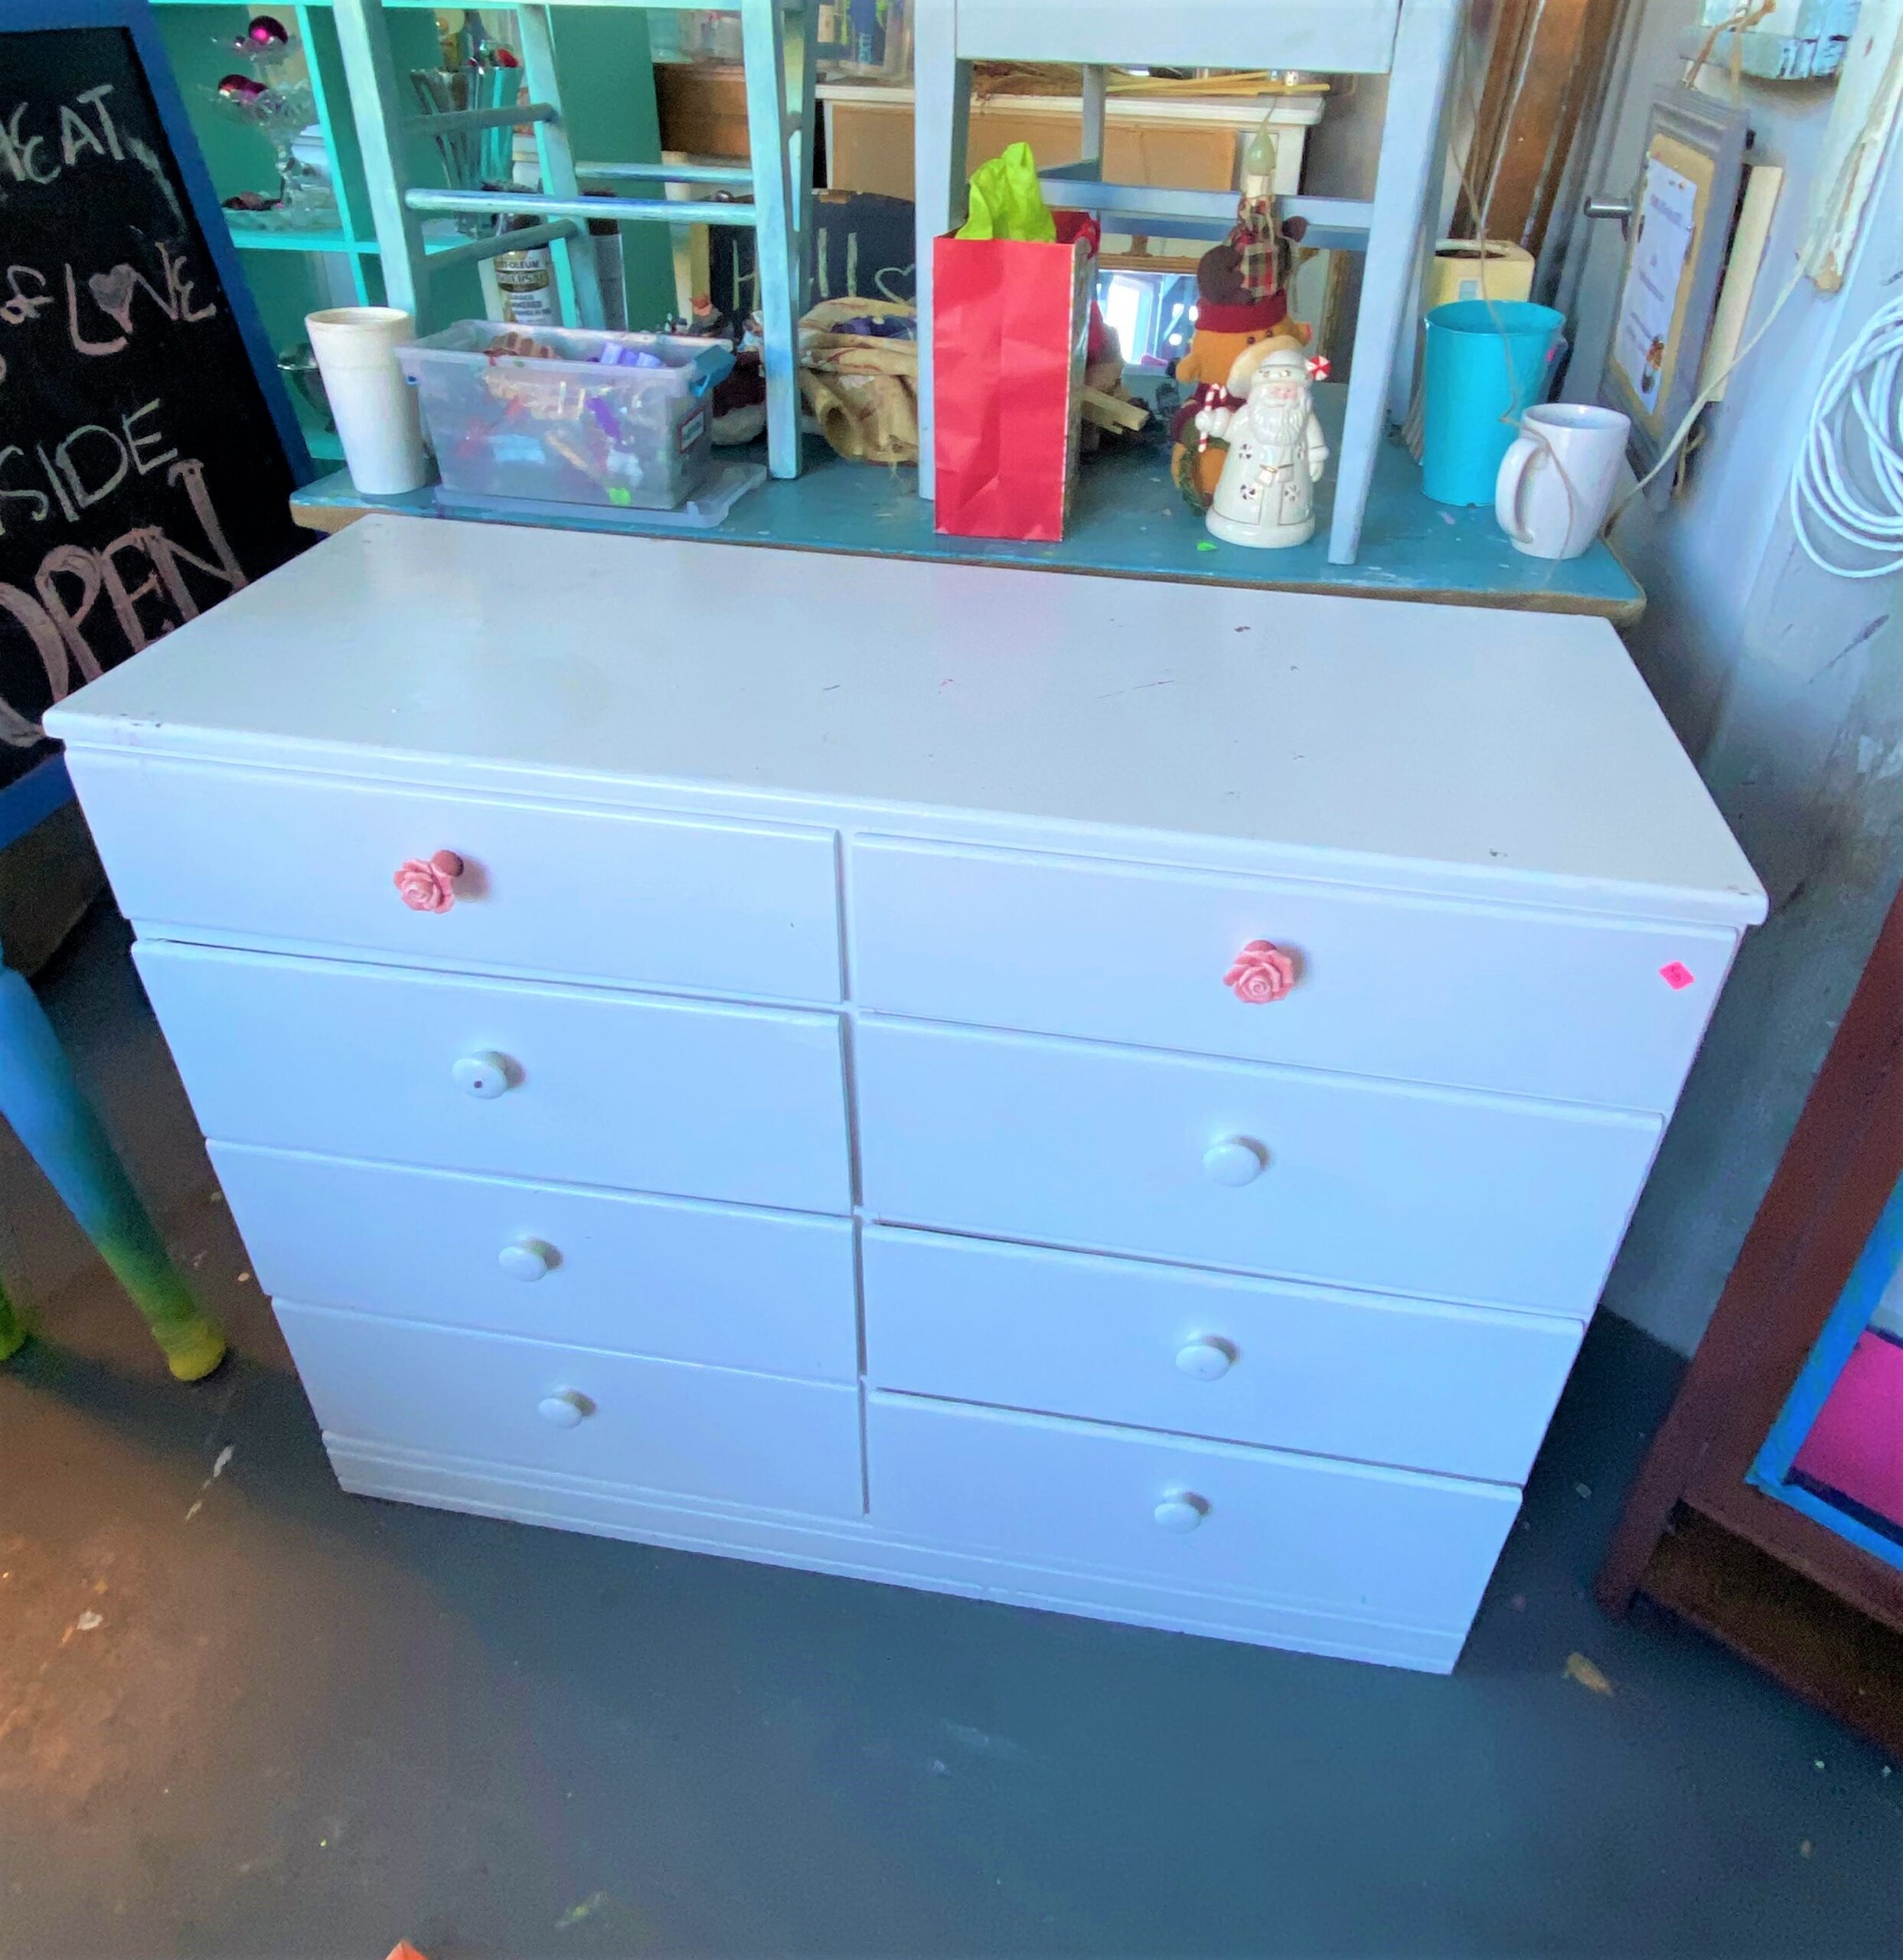
A benefit of shopping at Goodwill, in addition to the remarkable deals and helpful staff, the items you find there will be in good working order/nice condition, so you won’t have to spend time repairing them.
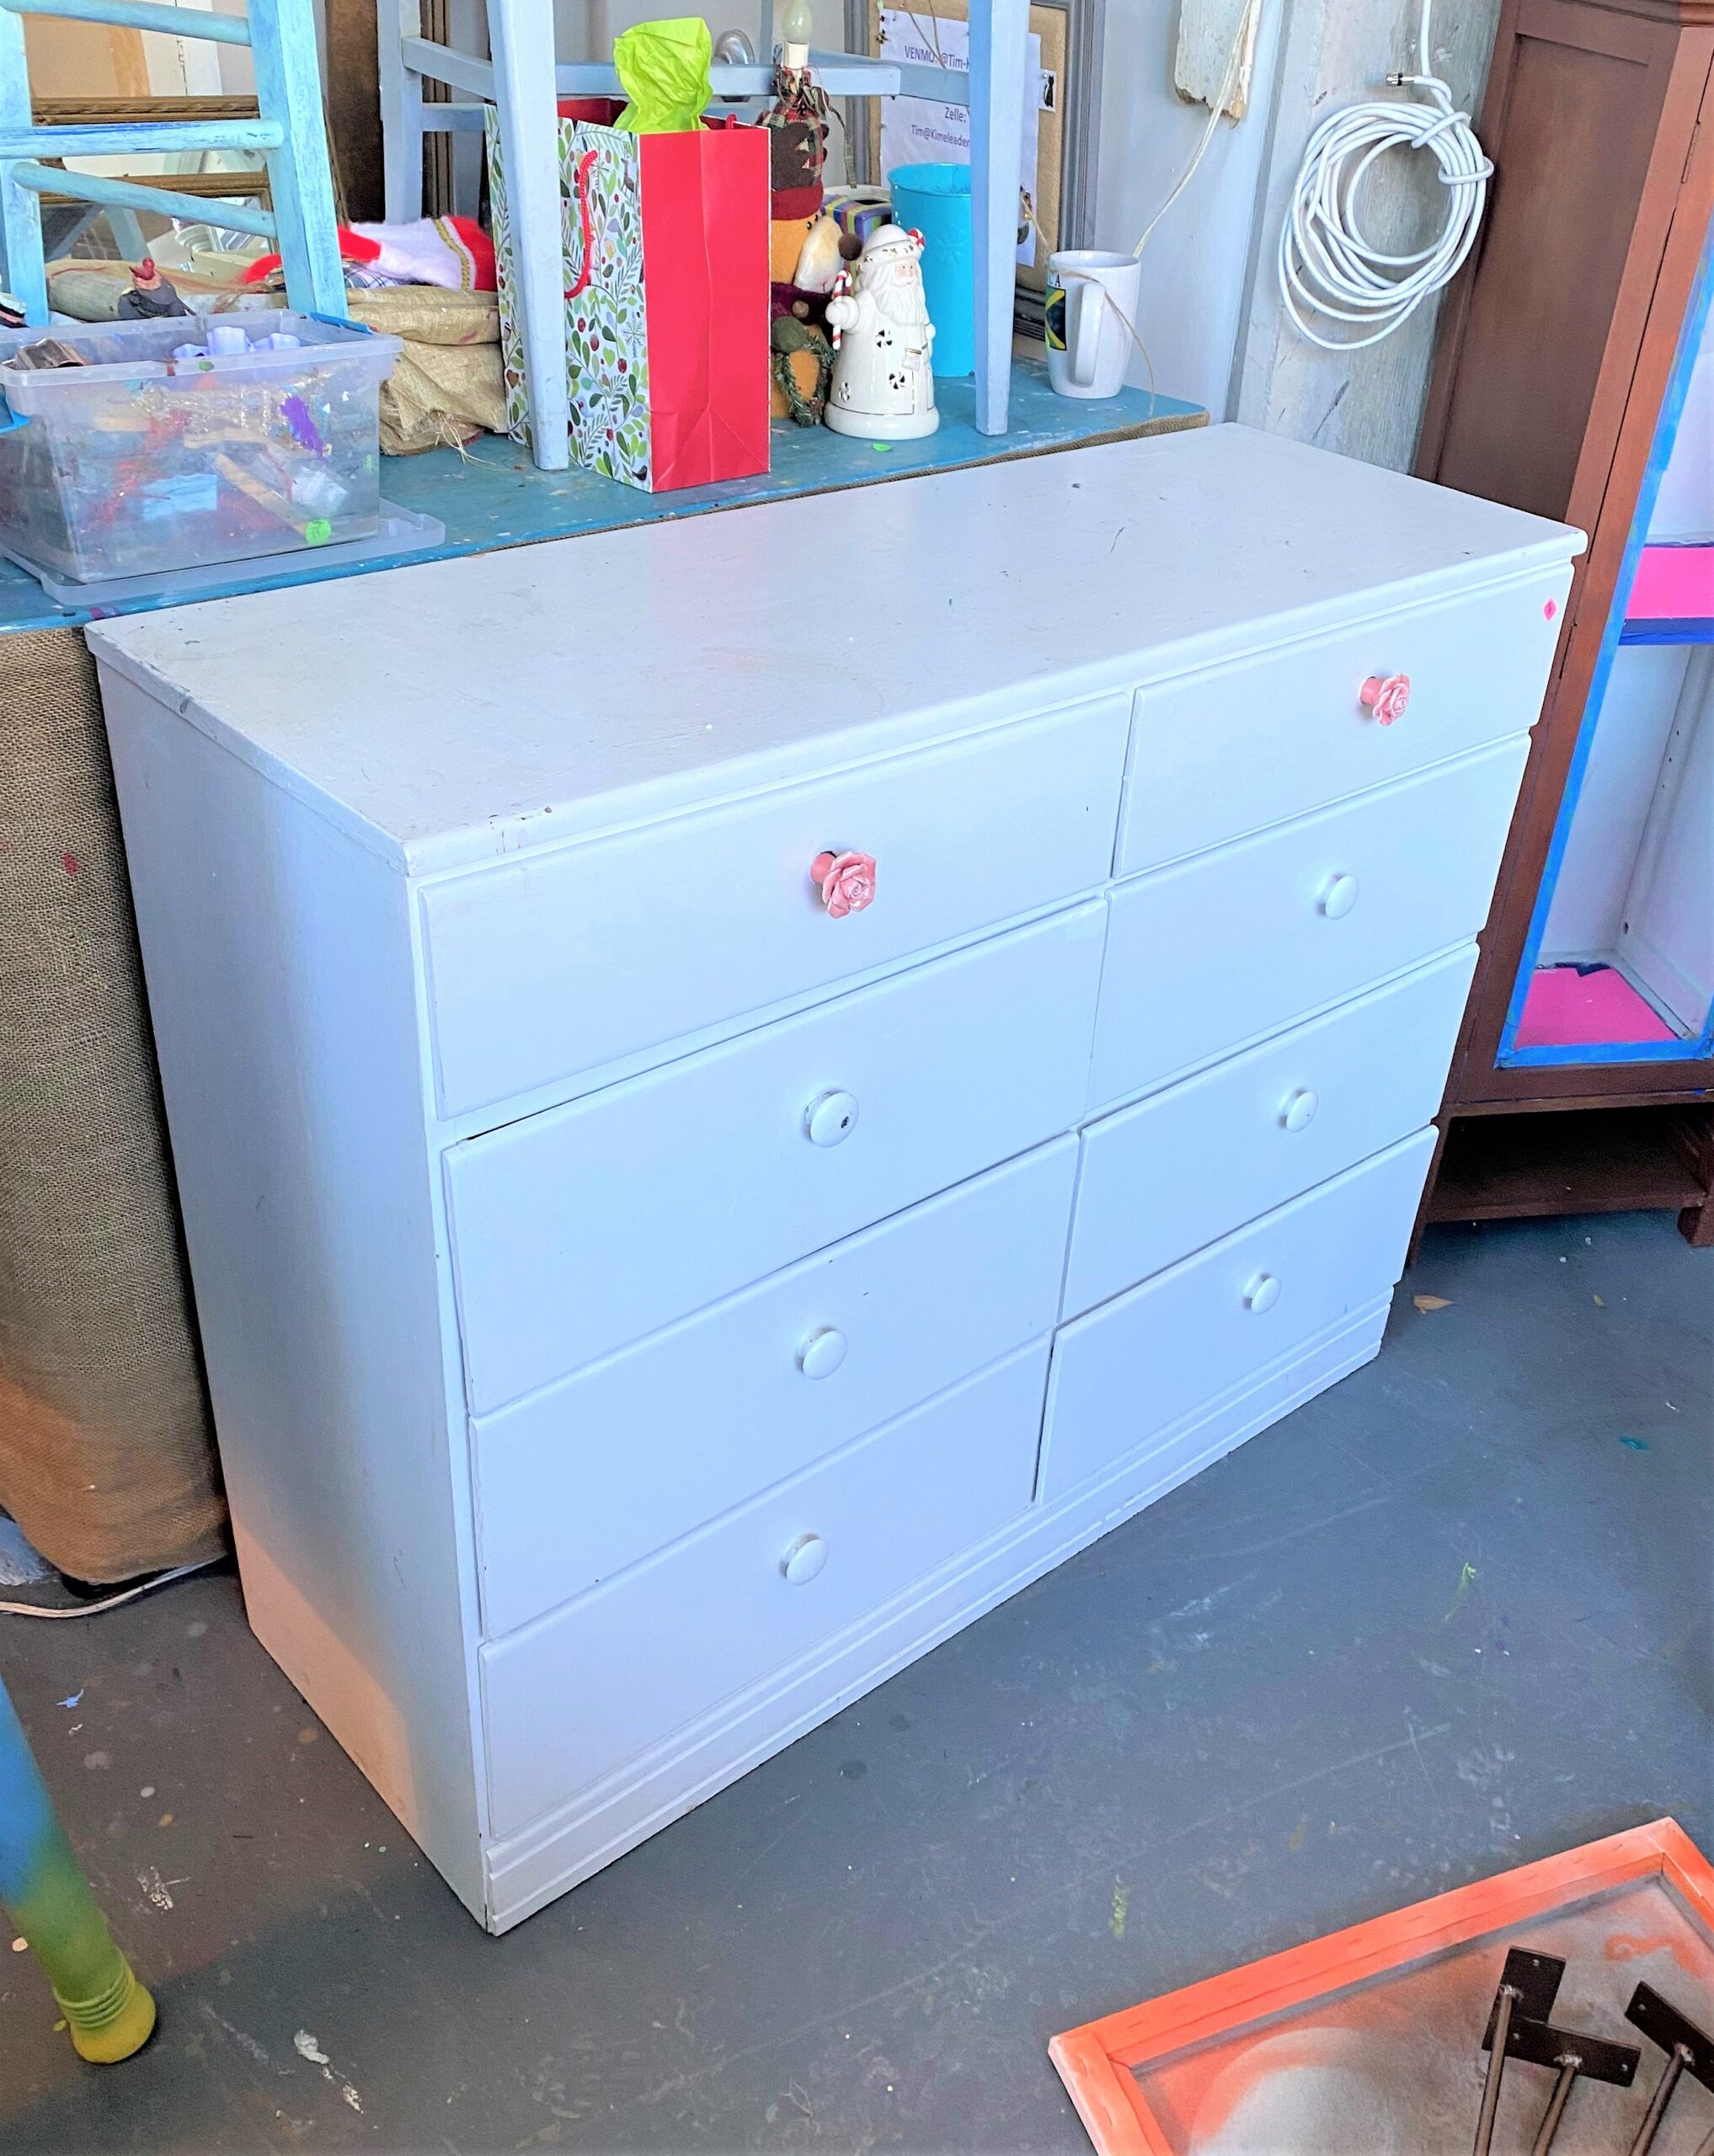
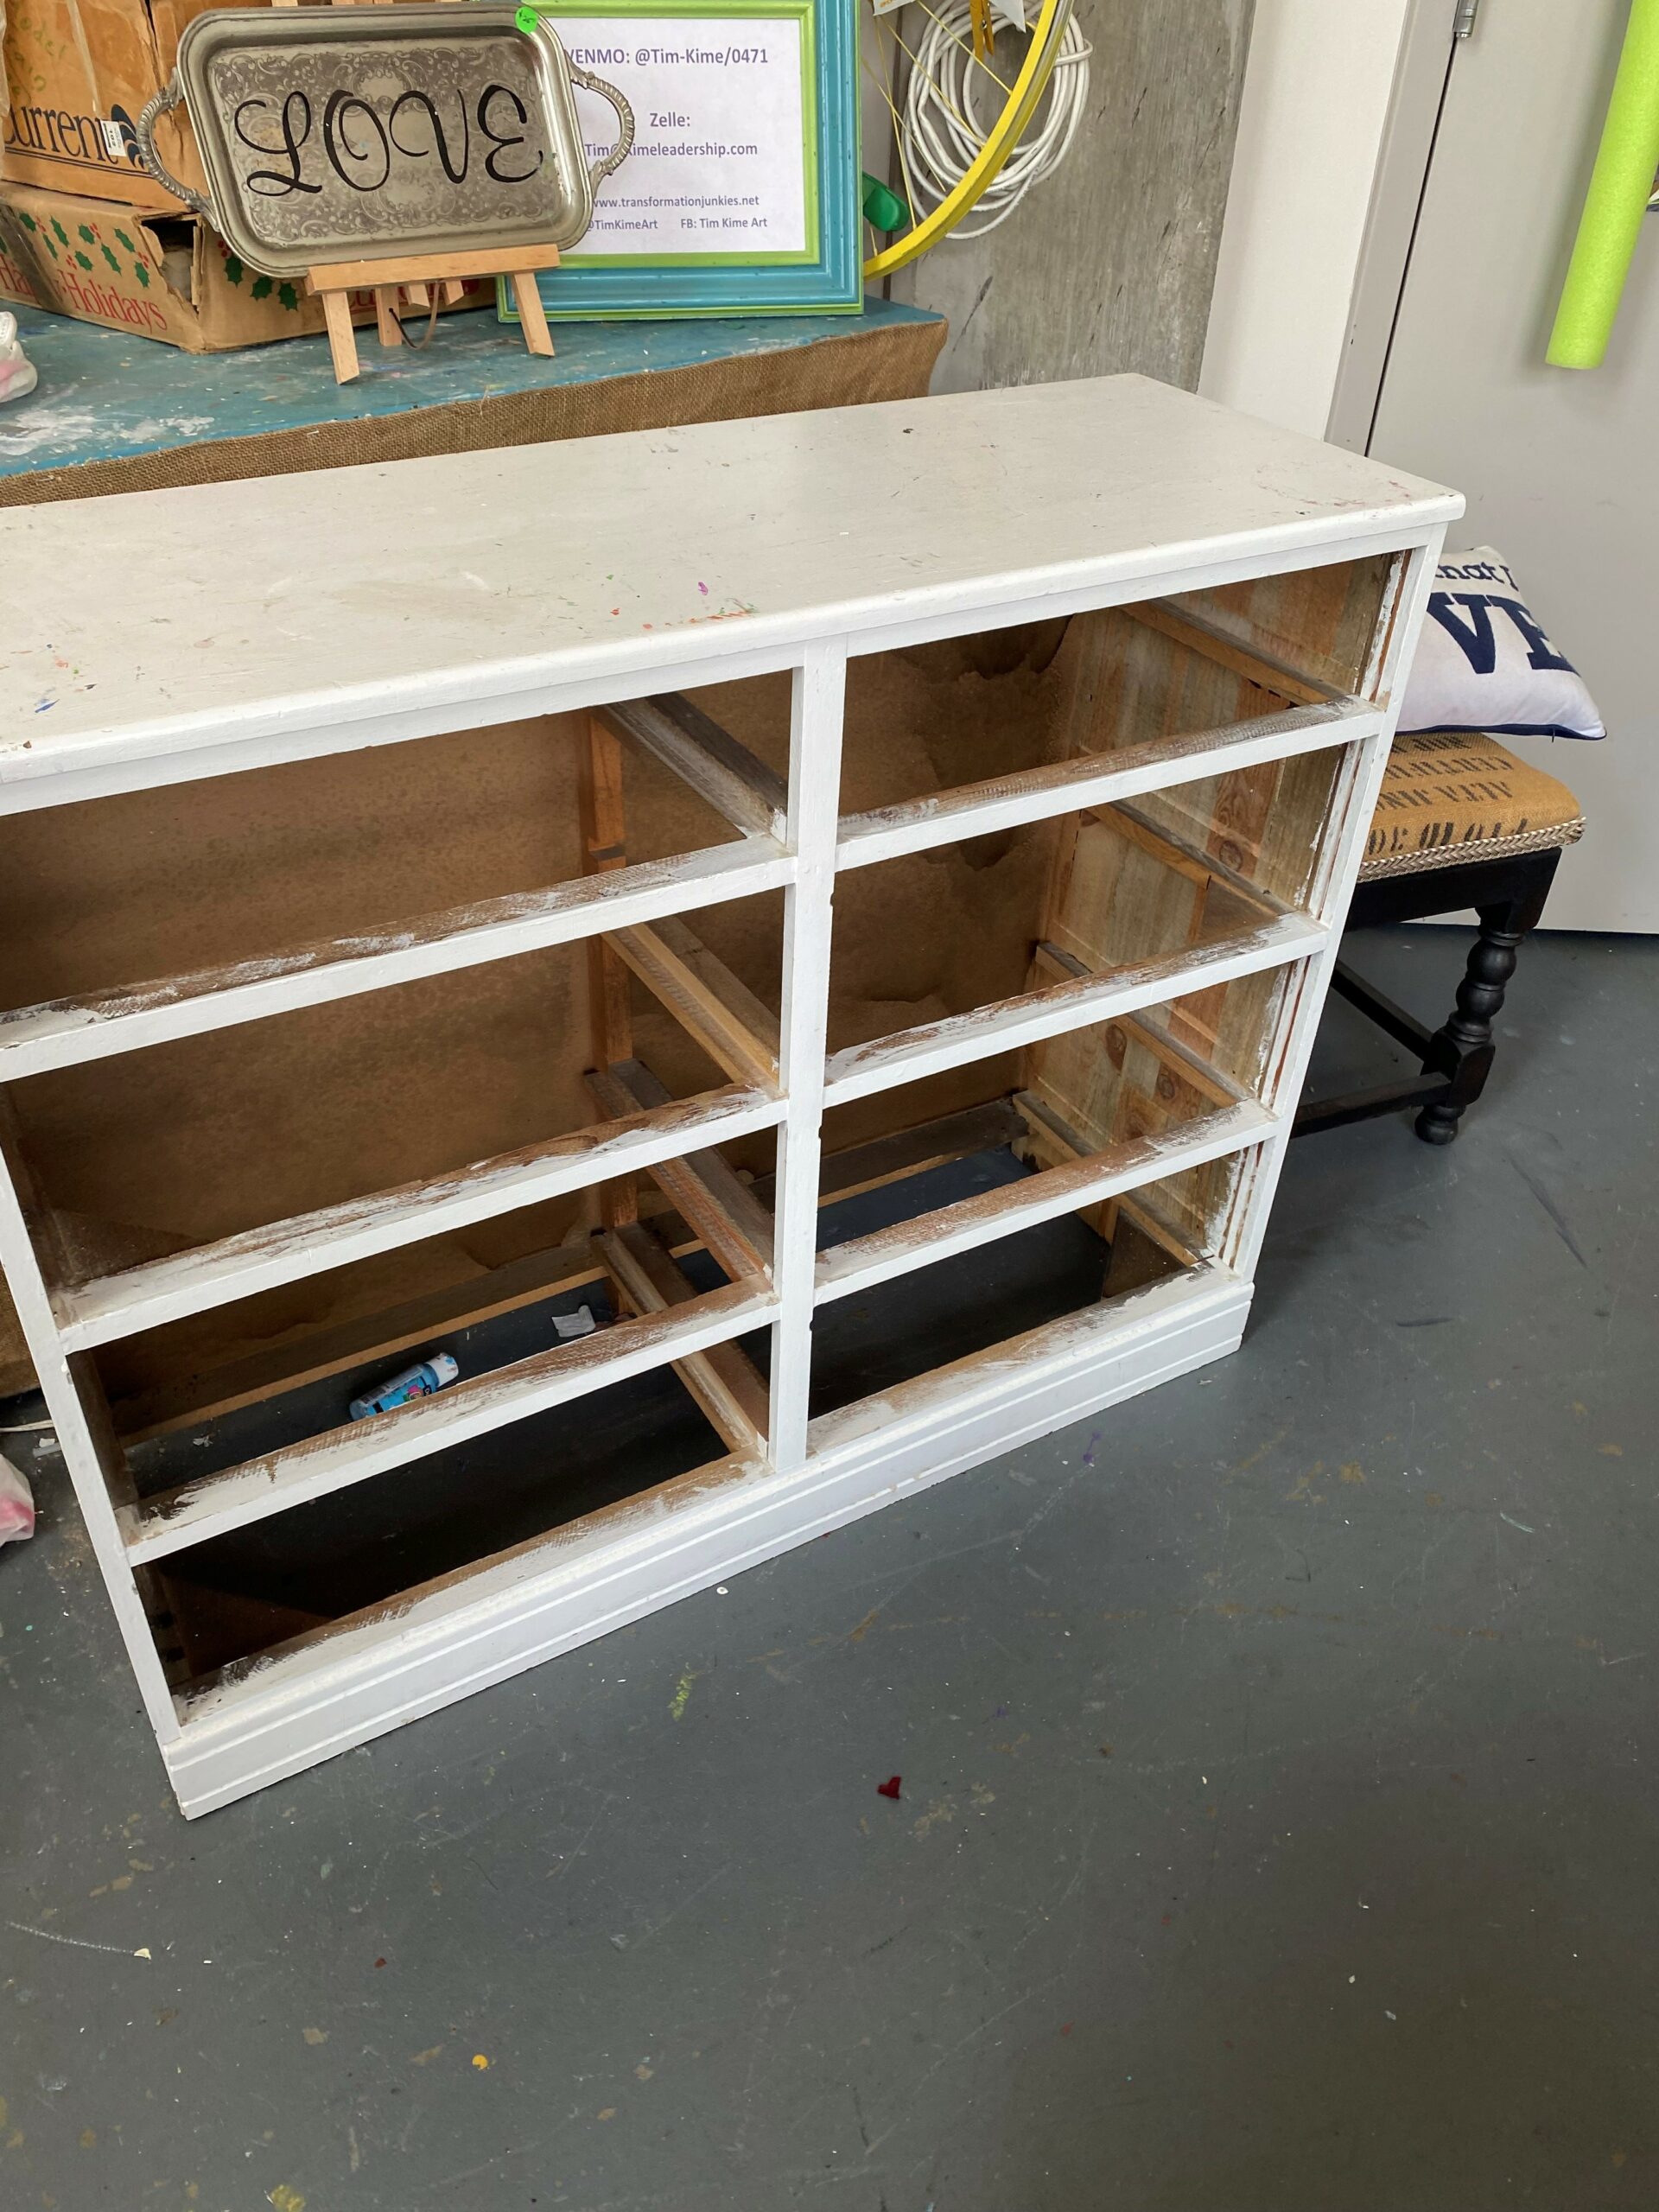
2. Prep for painting
- Remove the dresser drawers and any existing handles or knobs.
- Save them for another project, please! (The rosebud knobs were reused for a pretty piece decoupaged with paper featuring red flowers and buds.)
- With a medium to coarse-grained sanding block or sandpaper, buff up each drawer’s front part to make it more paint-ready.
- Do the same for the dresser frame’s front, top, and sides.
- Gently wipe down each piece with a damp cloth to remove all the dust and debris created from sanding and transporting.
Expert tip:
Take a moment to wipe the inside of each drawer as well as the inside of the dresser’s frame. Very often, layers of dust are inside the frame because we don’t typically remove drawers during our weekly housecleaning and dusting. You might find cobwebs, too, or even items which fell behind the drawers.
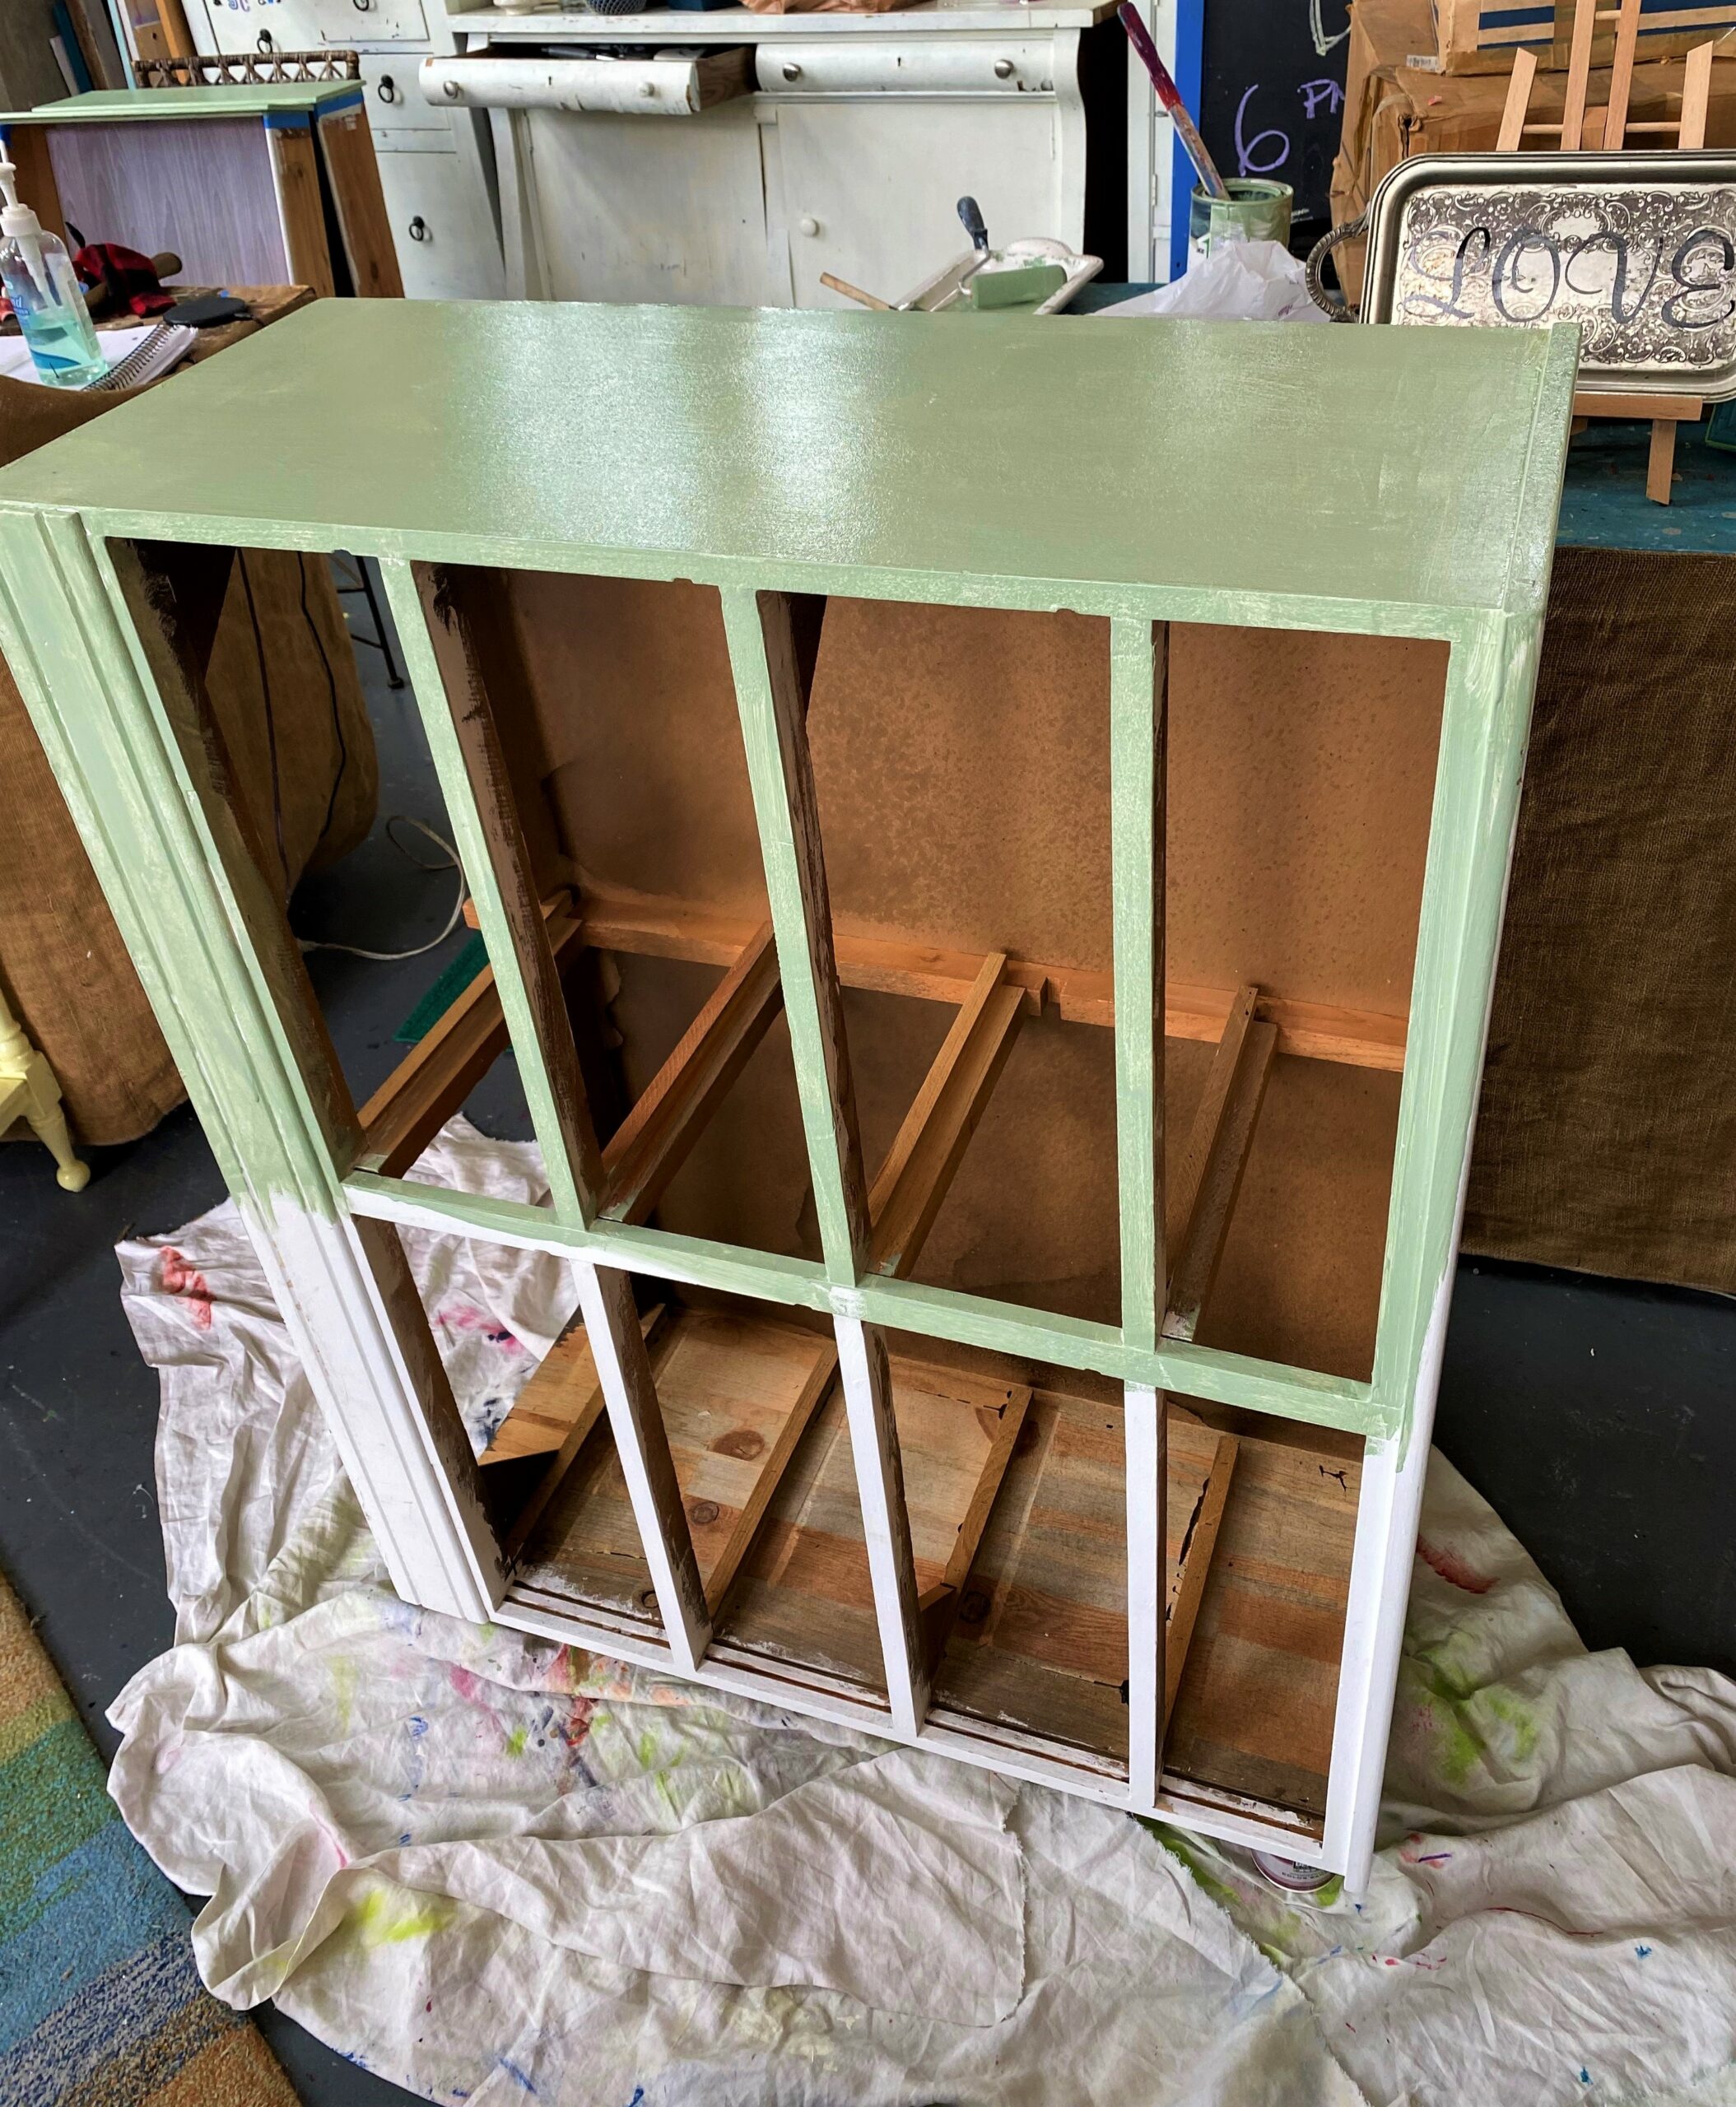
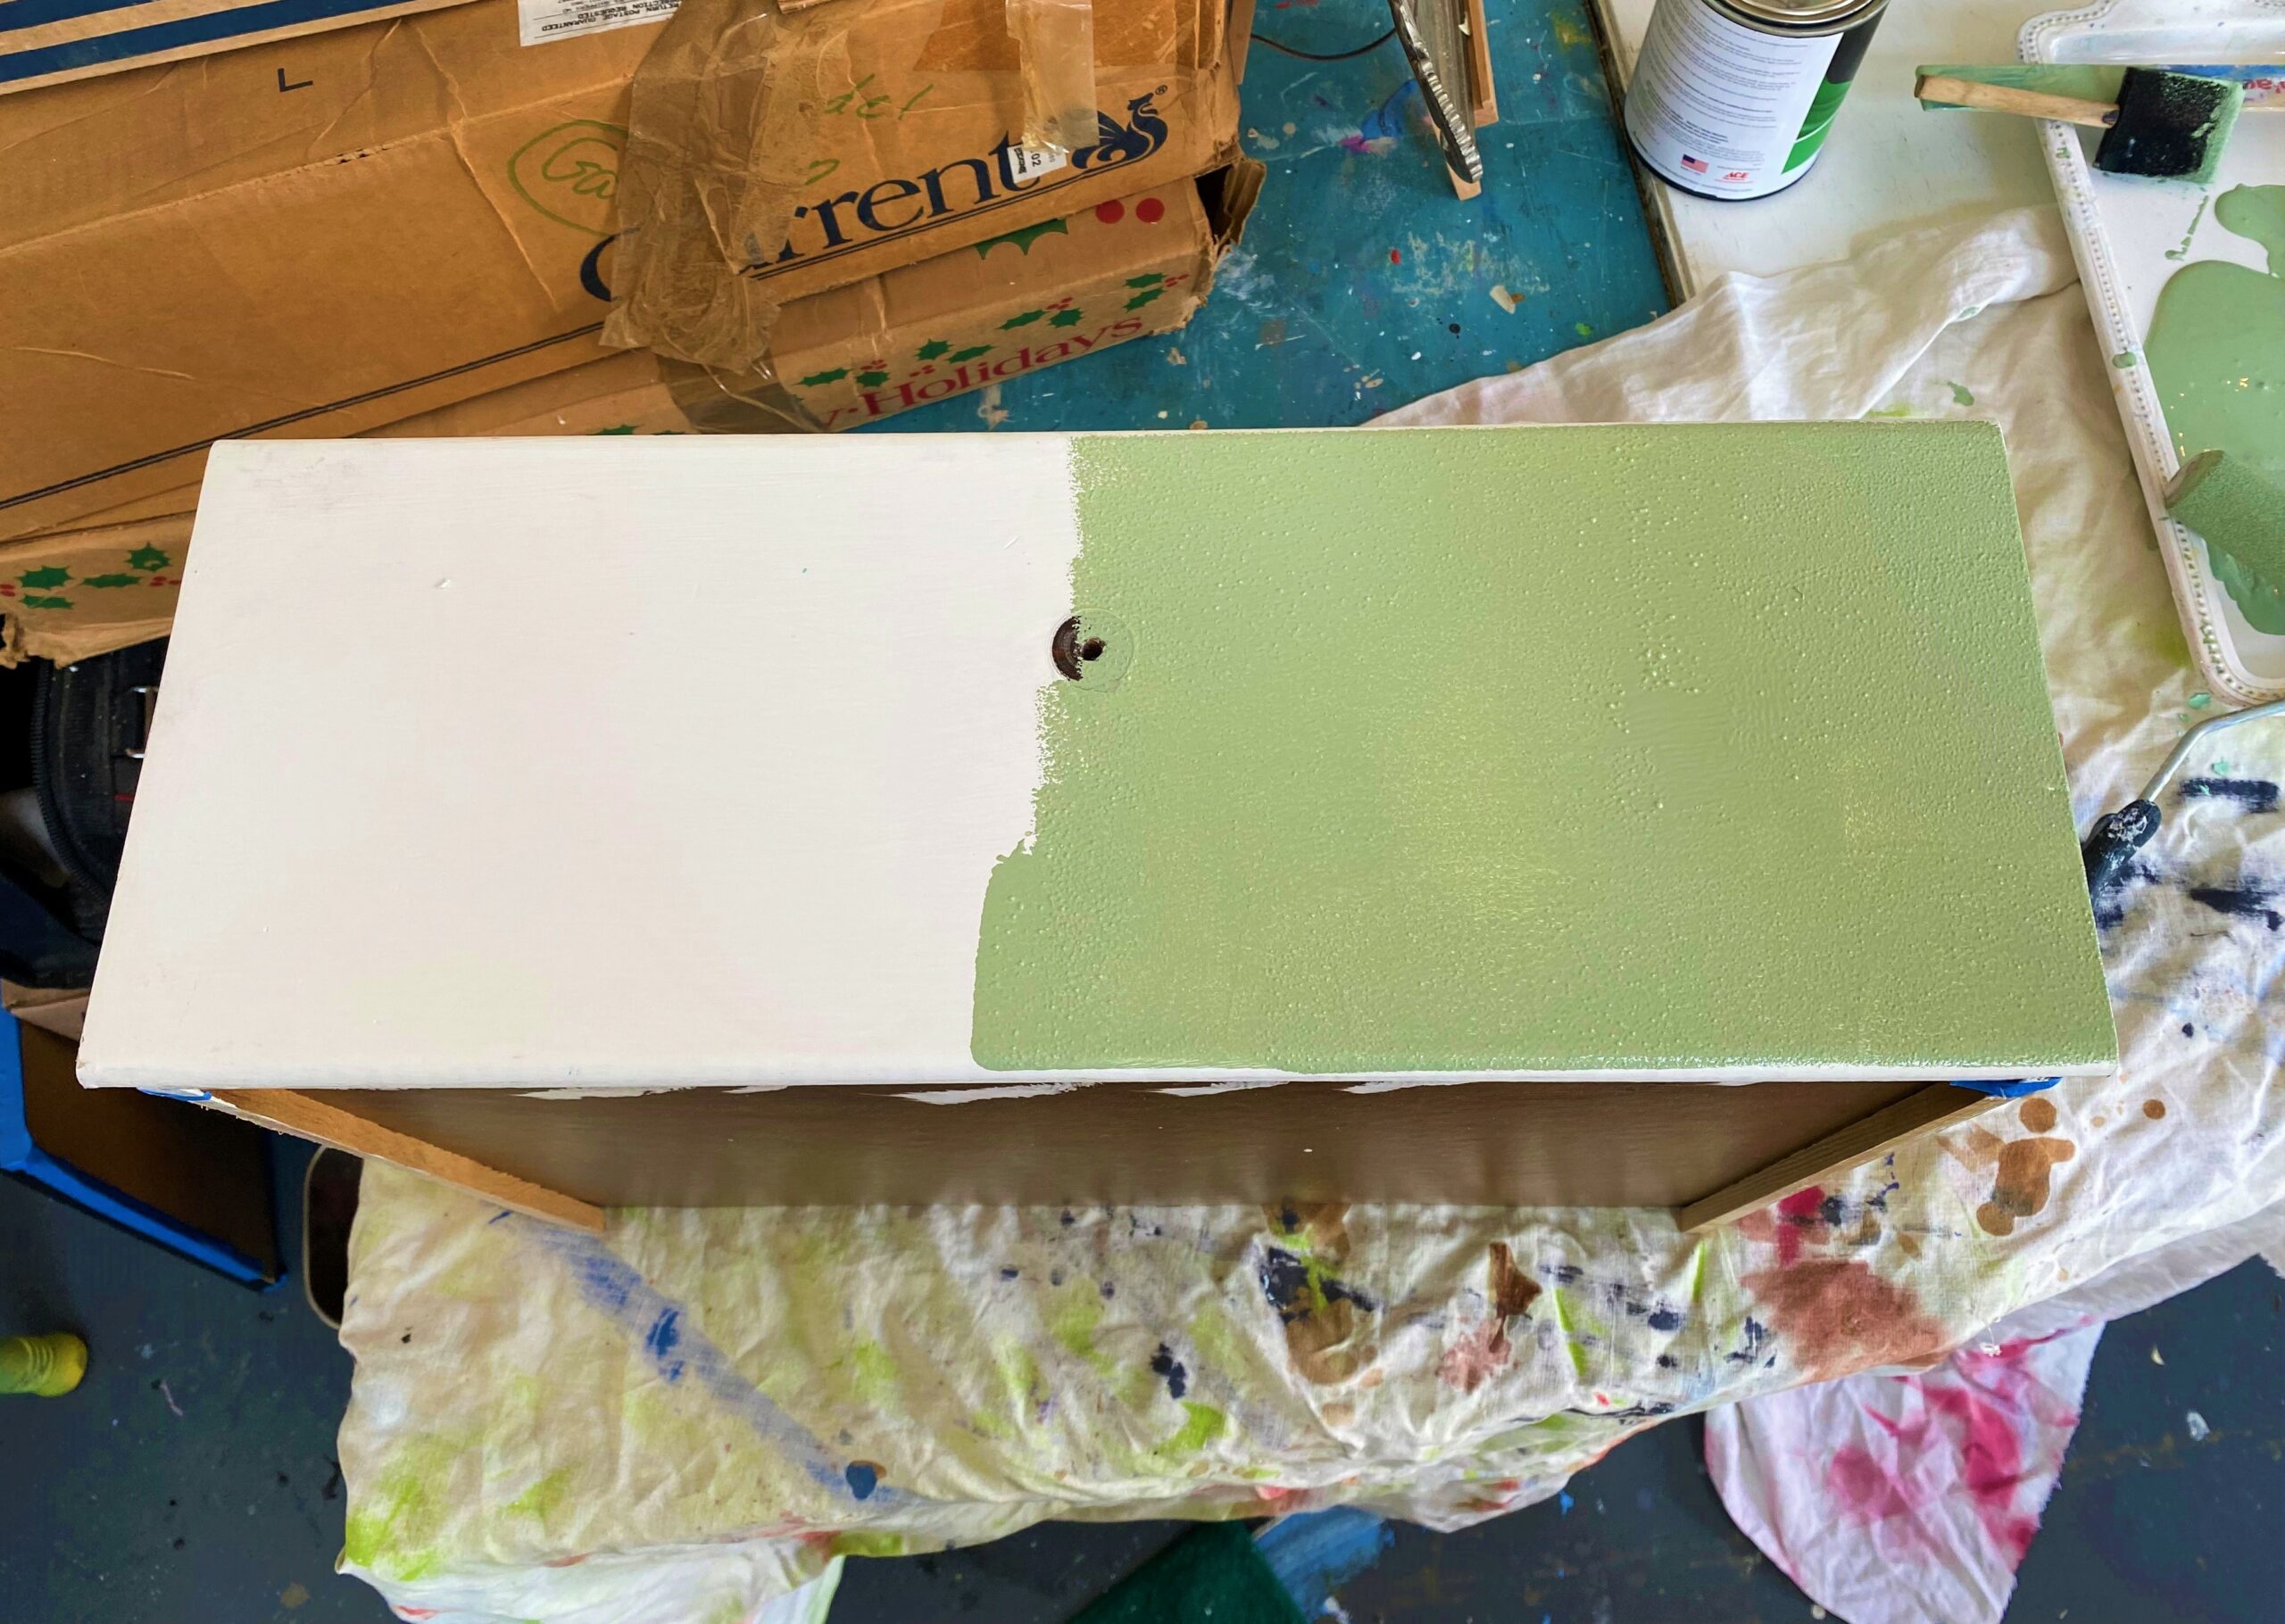
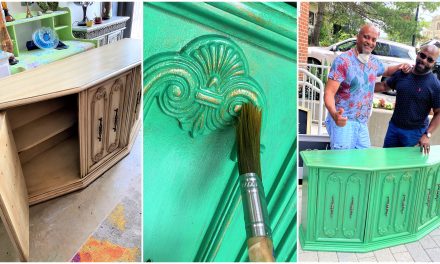
3. How about this handsome hue?
The new paint’s hue is an inviting olive green. It is timeless and looks great in today’s modern living spaces. This color will be in style for a long time, for sure!
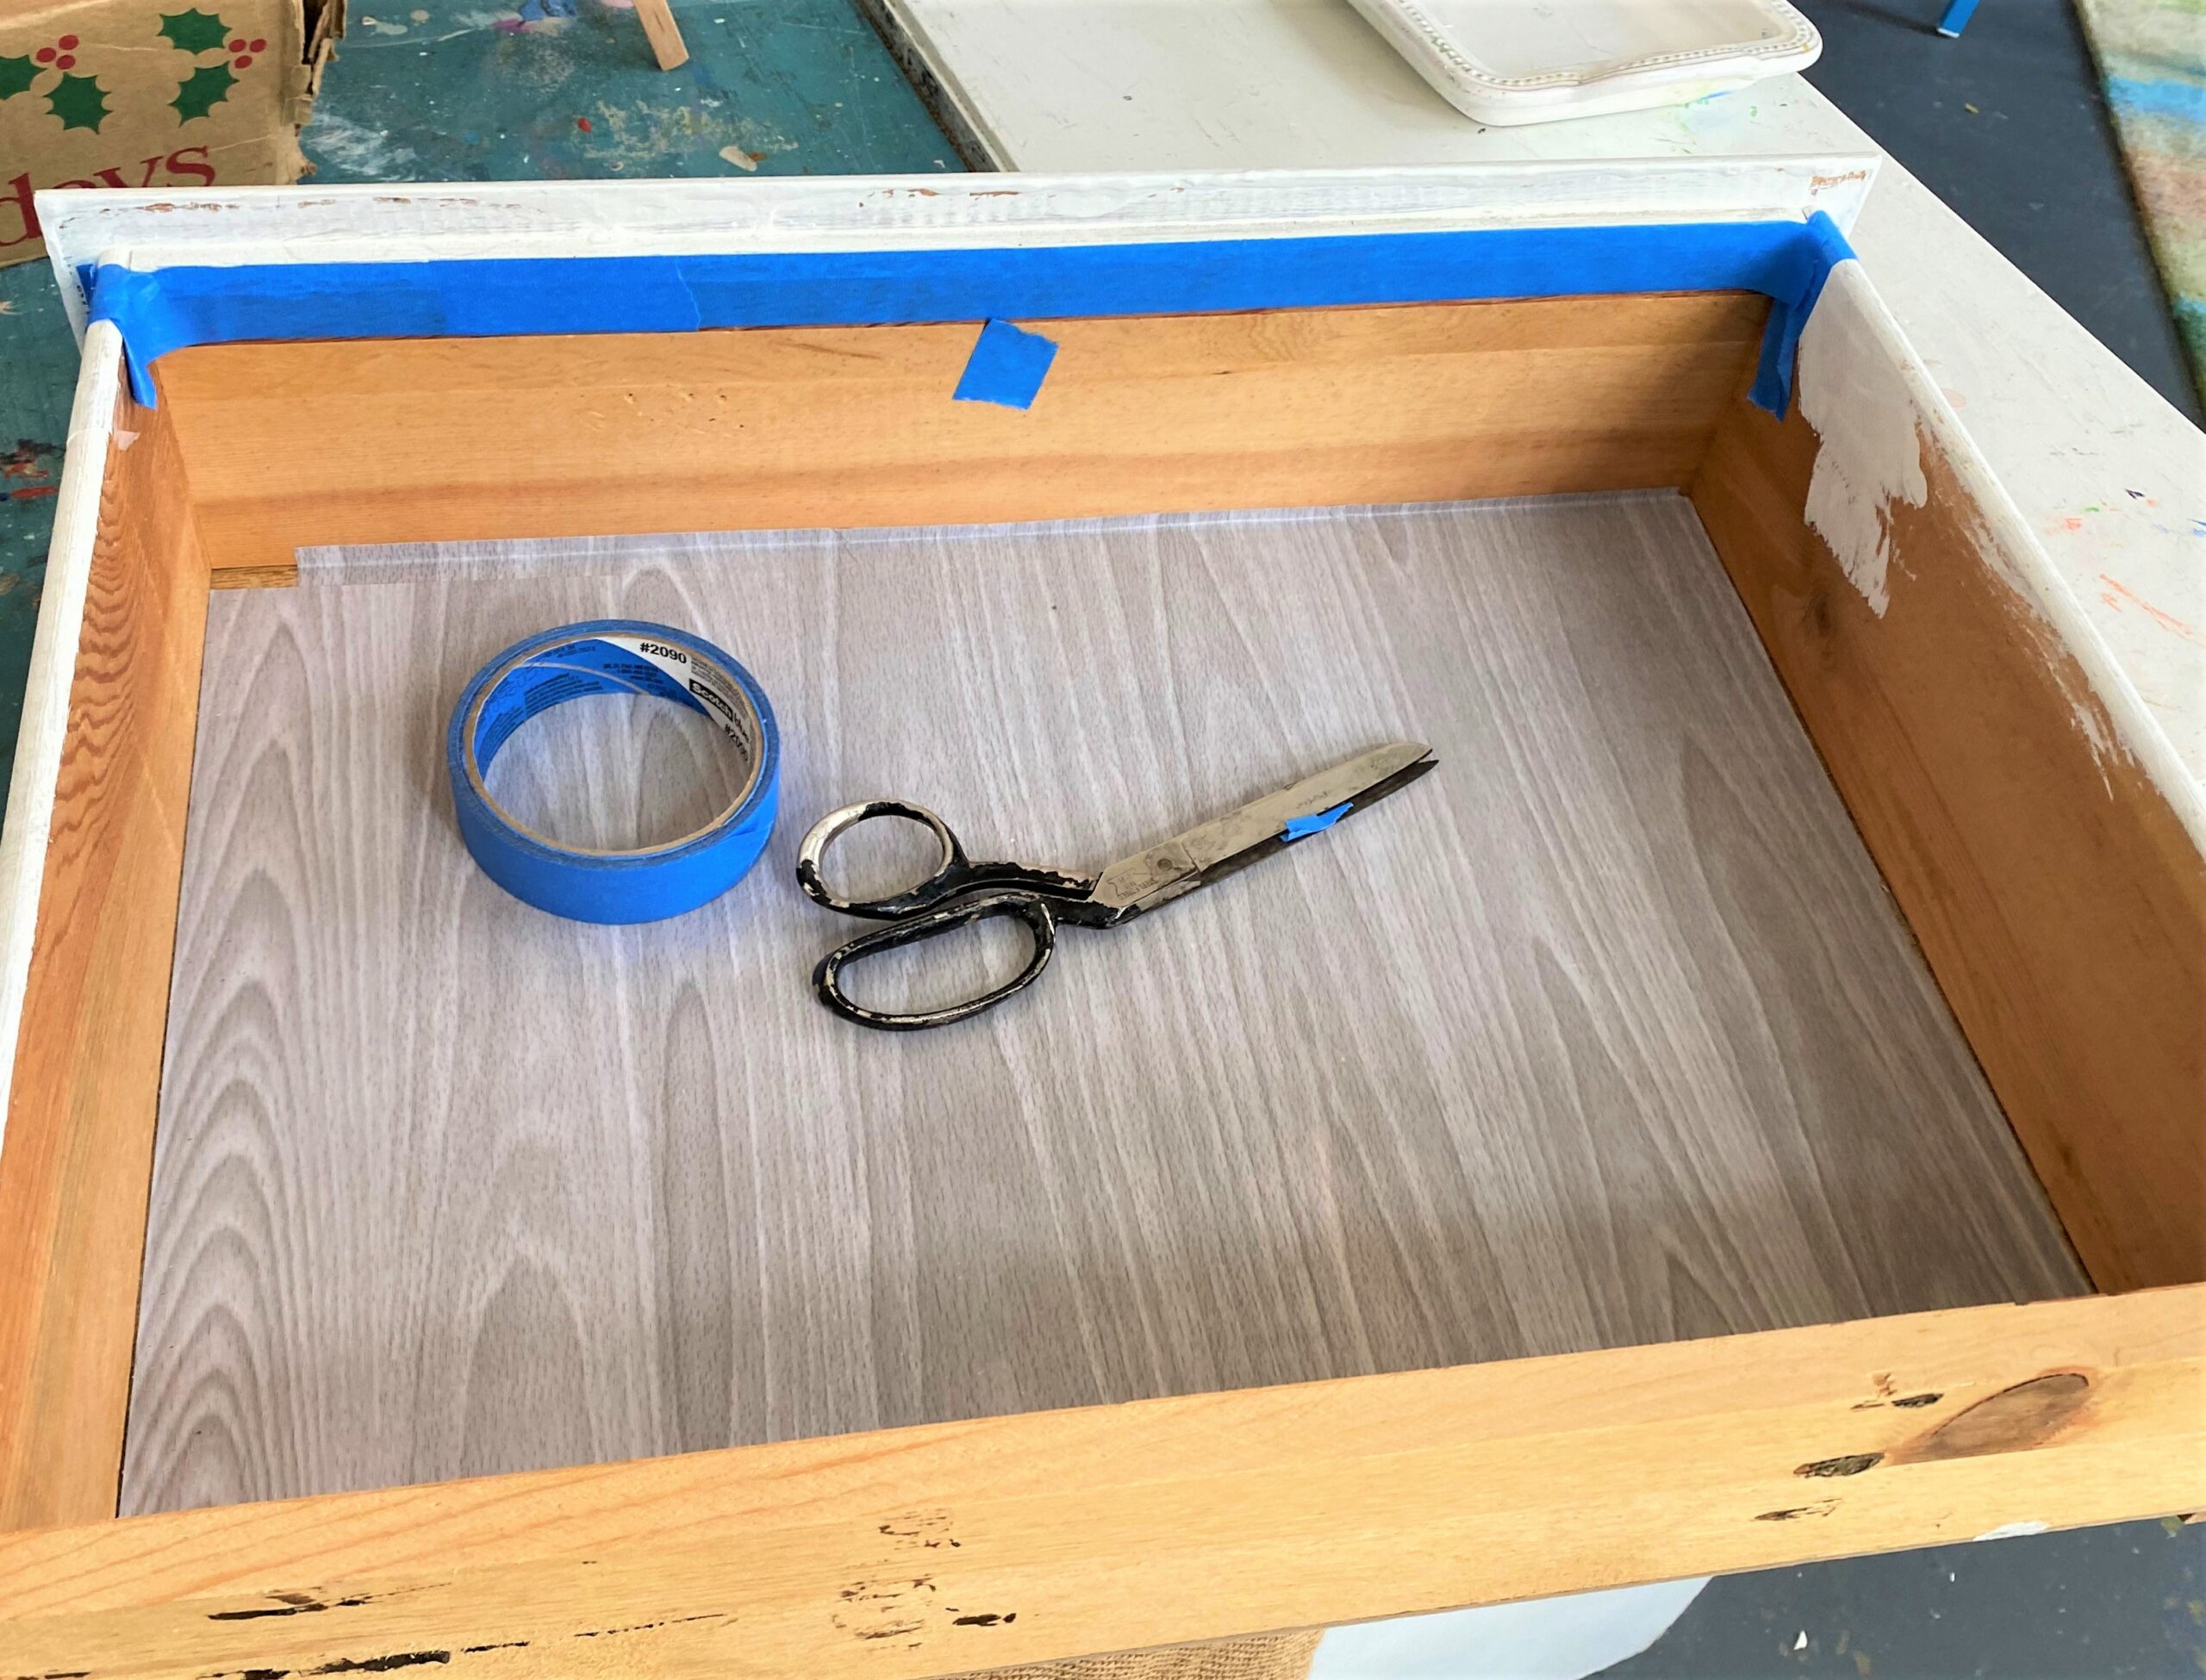
- Protect your piece with painter’s tape.
- Add tape on the sides of the drawer to keep them clean and paint free and so the drawers will open and closely easily and smoothly.
- On the inside of the drawer, place a small piece of painter’s tape over the handle’s hole so paint doesn’t drip through it.
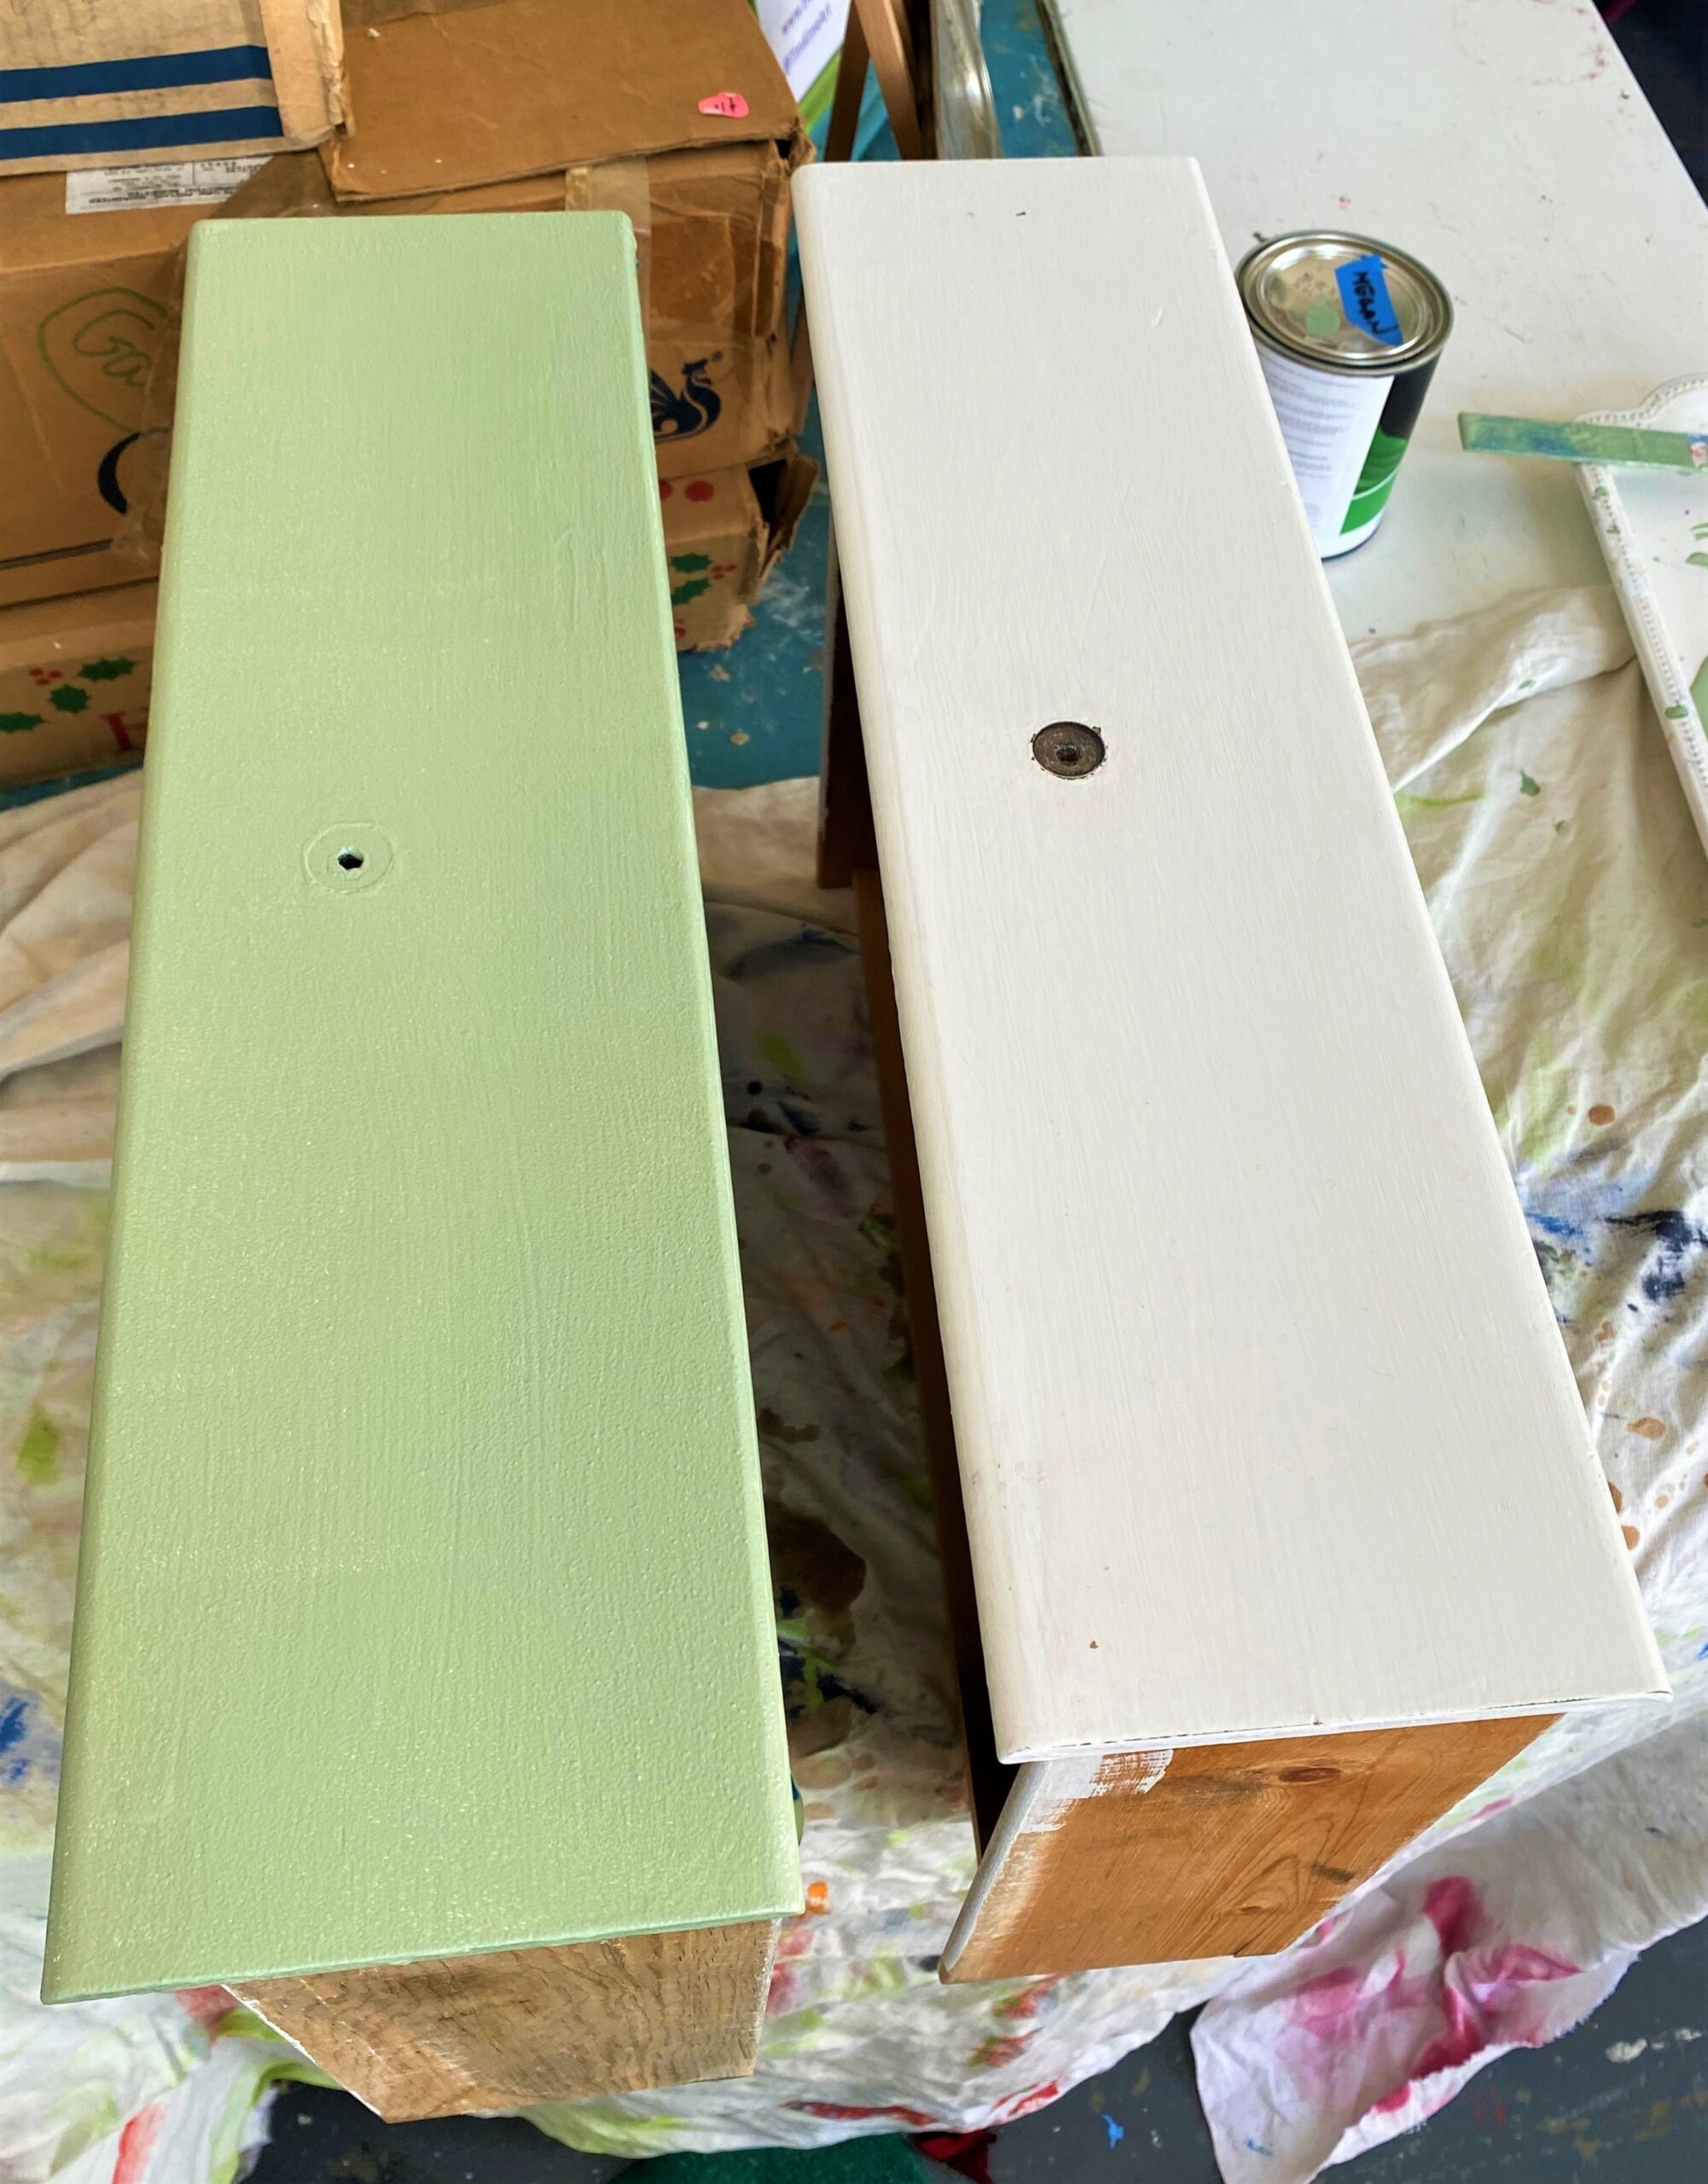
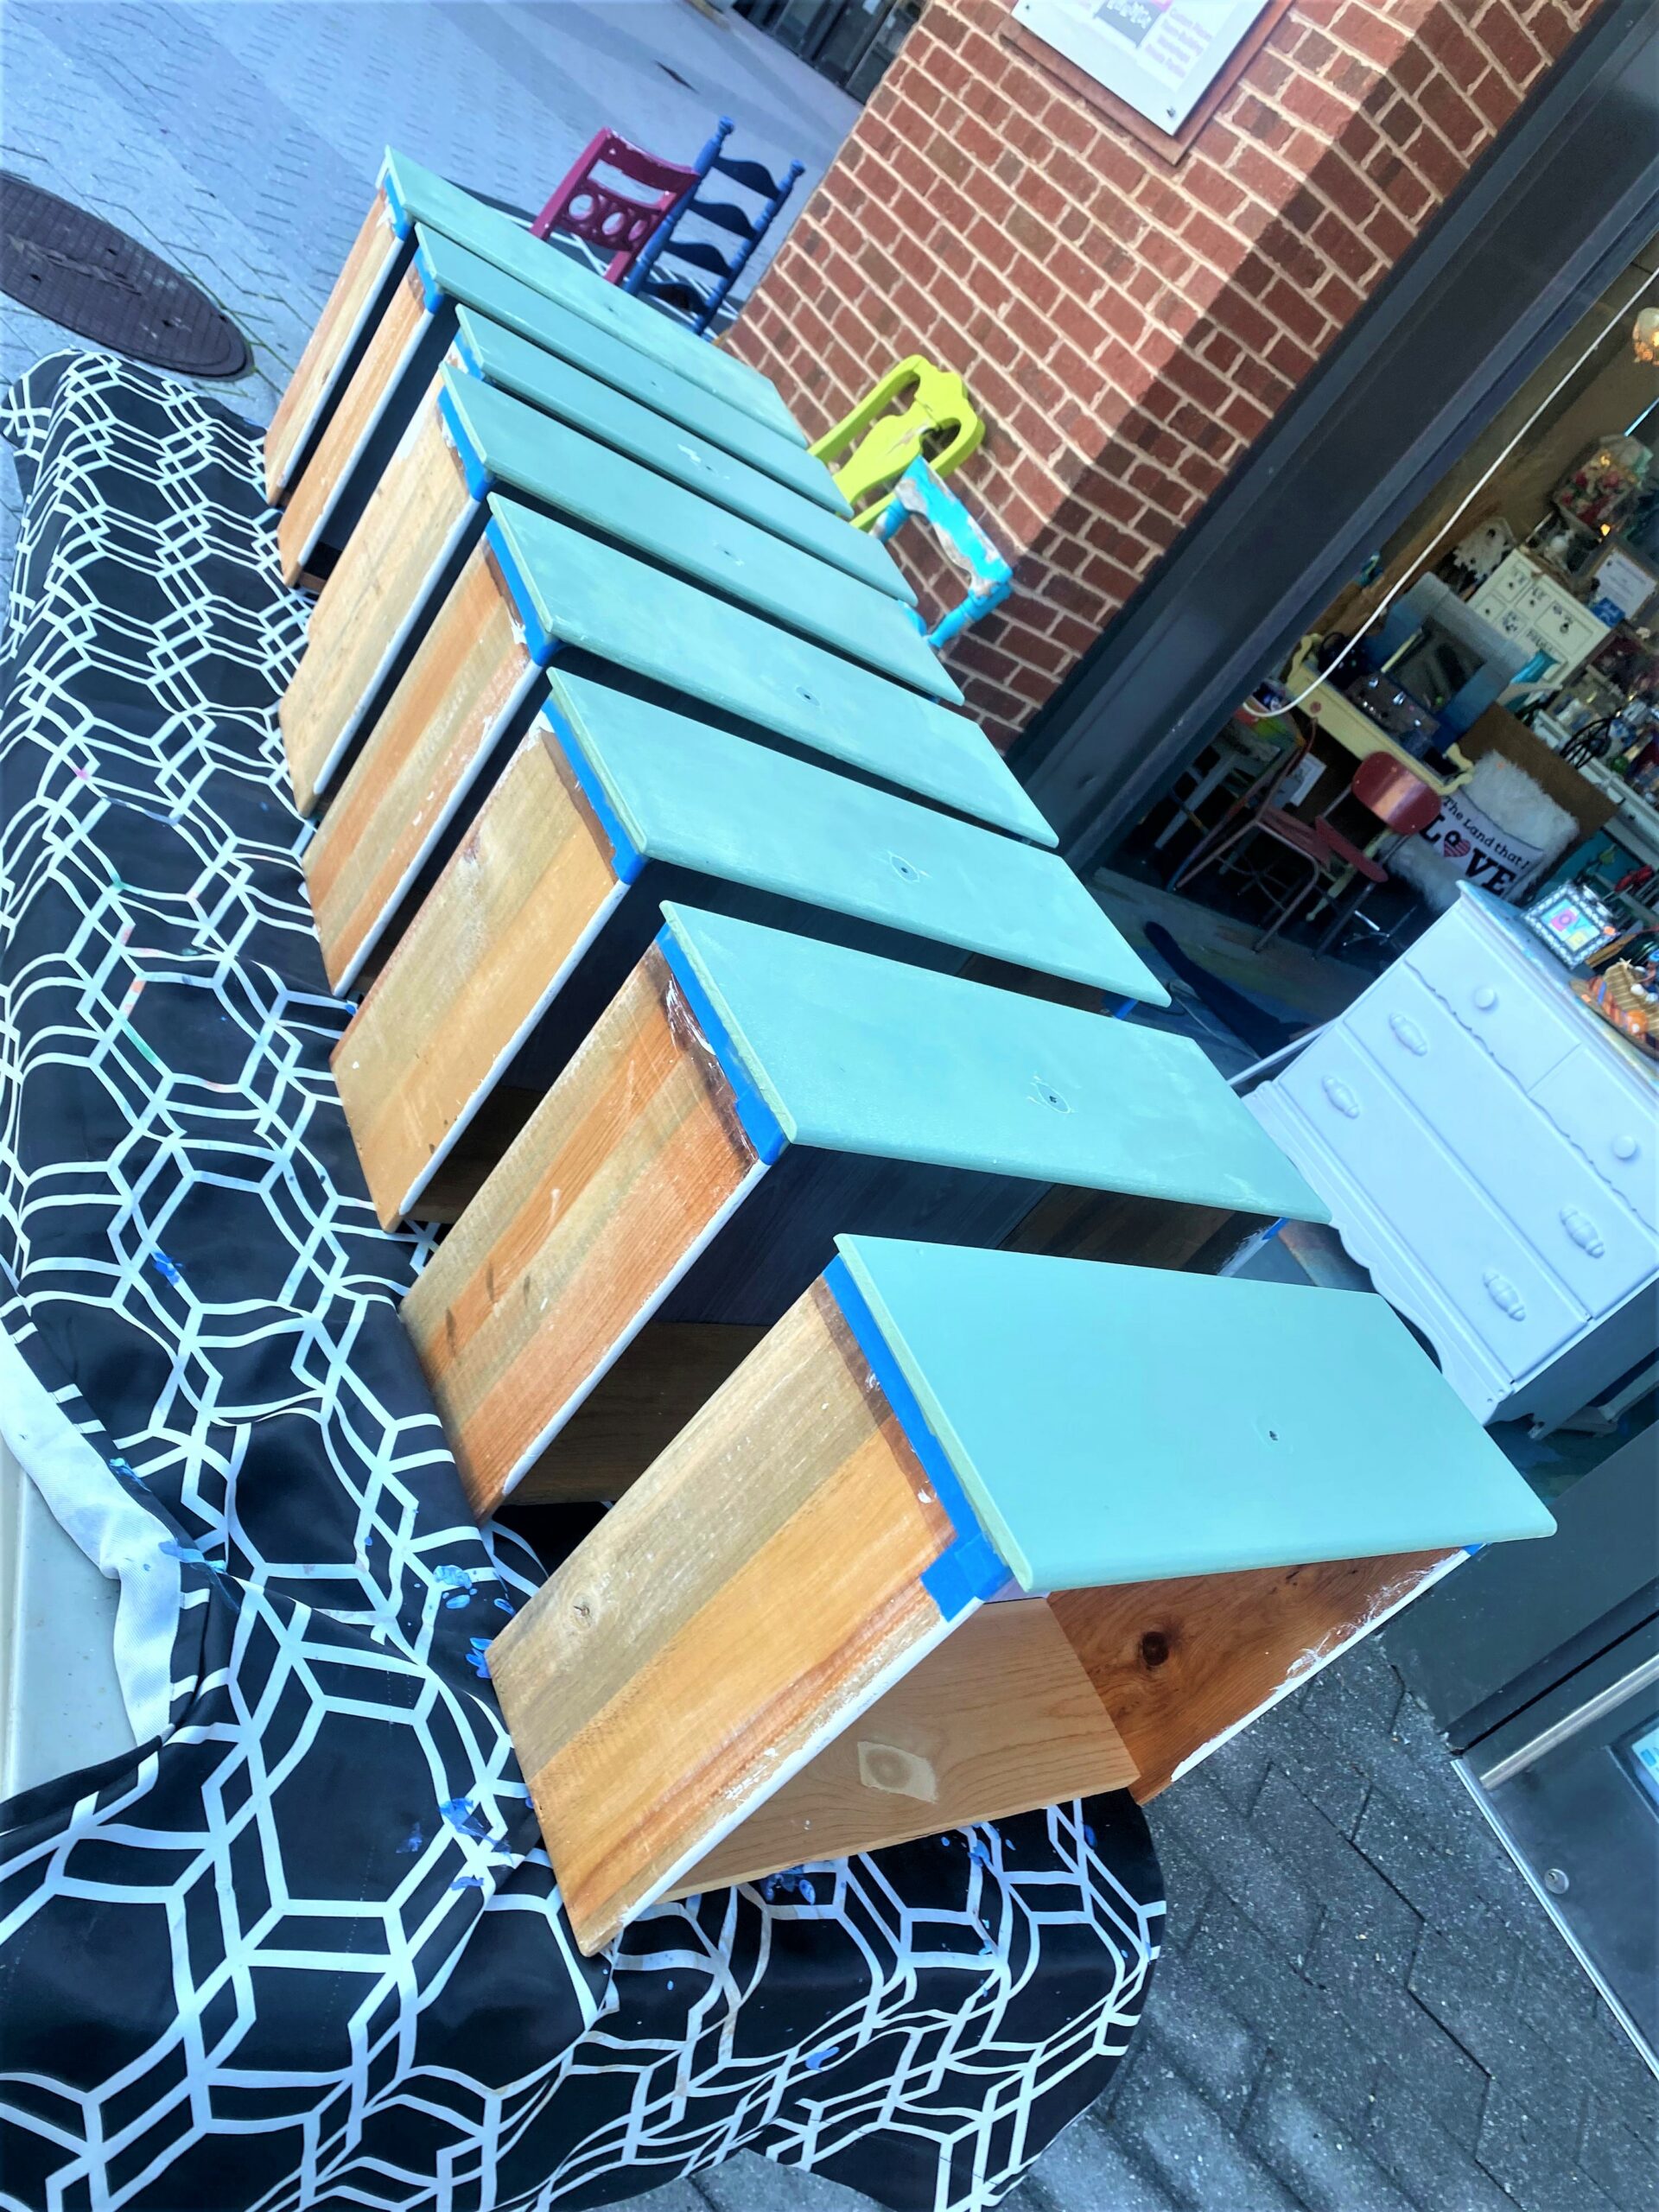
- Brush on three or four light layers of paint on the fronts of each drawer as well is the front’s edges.
- Add layers to the dresser frame’s top, side and front, too. This step is always so much fun because you are able to quickly see how a lovely hue can easily transform a weathered piece into a wonderful one!
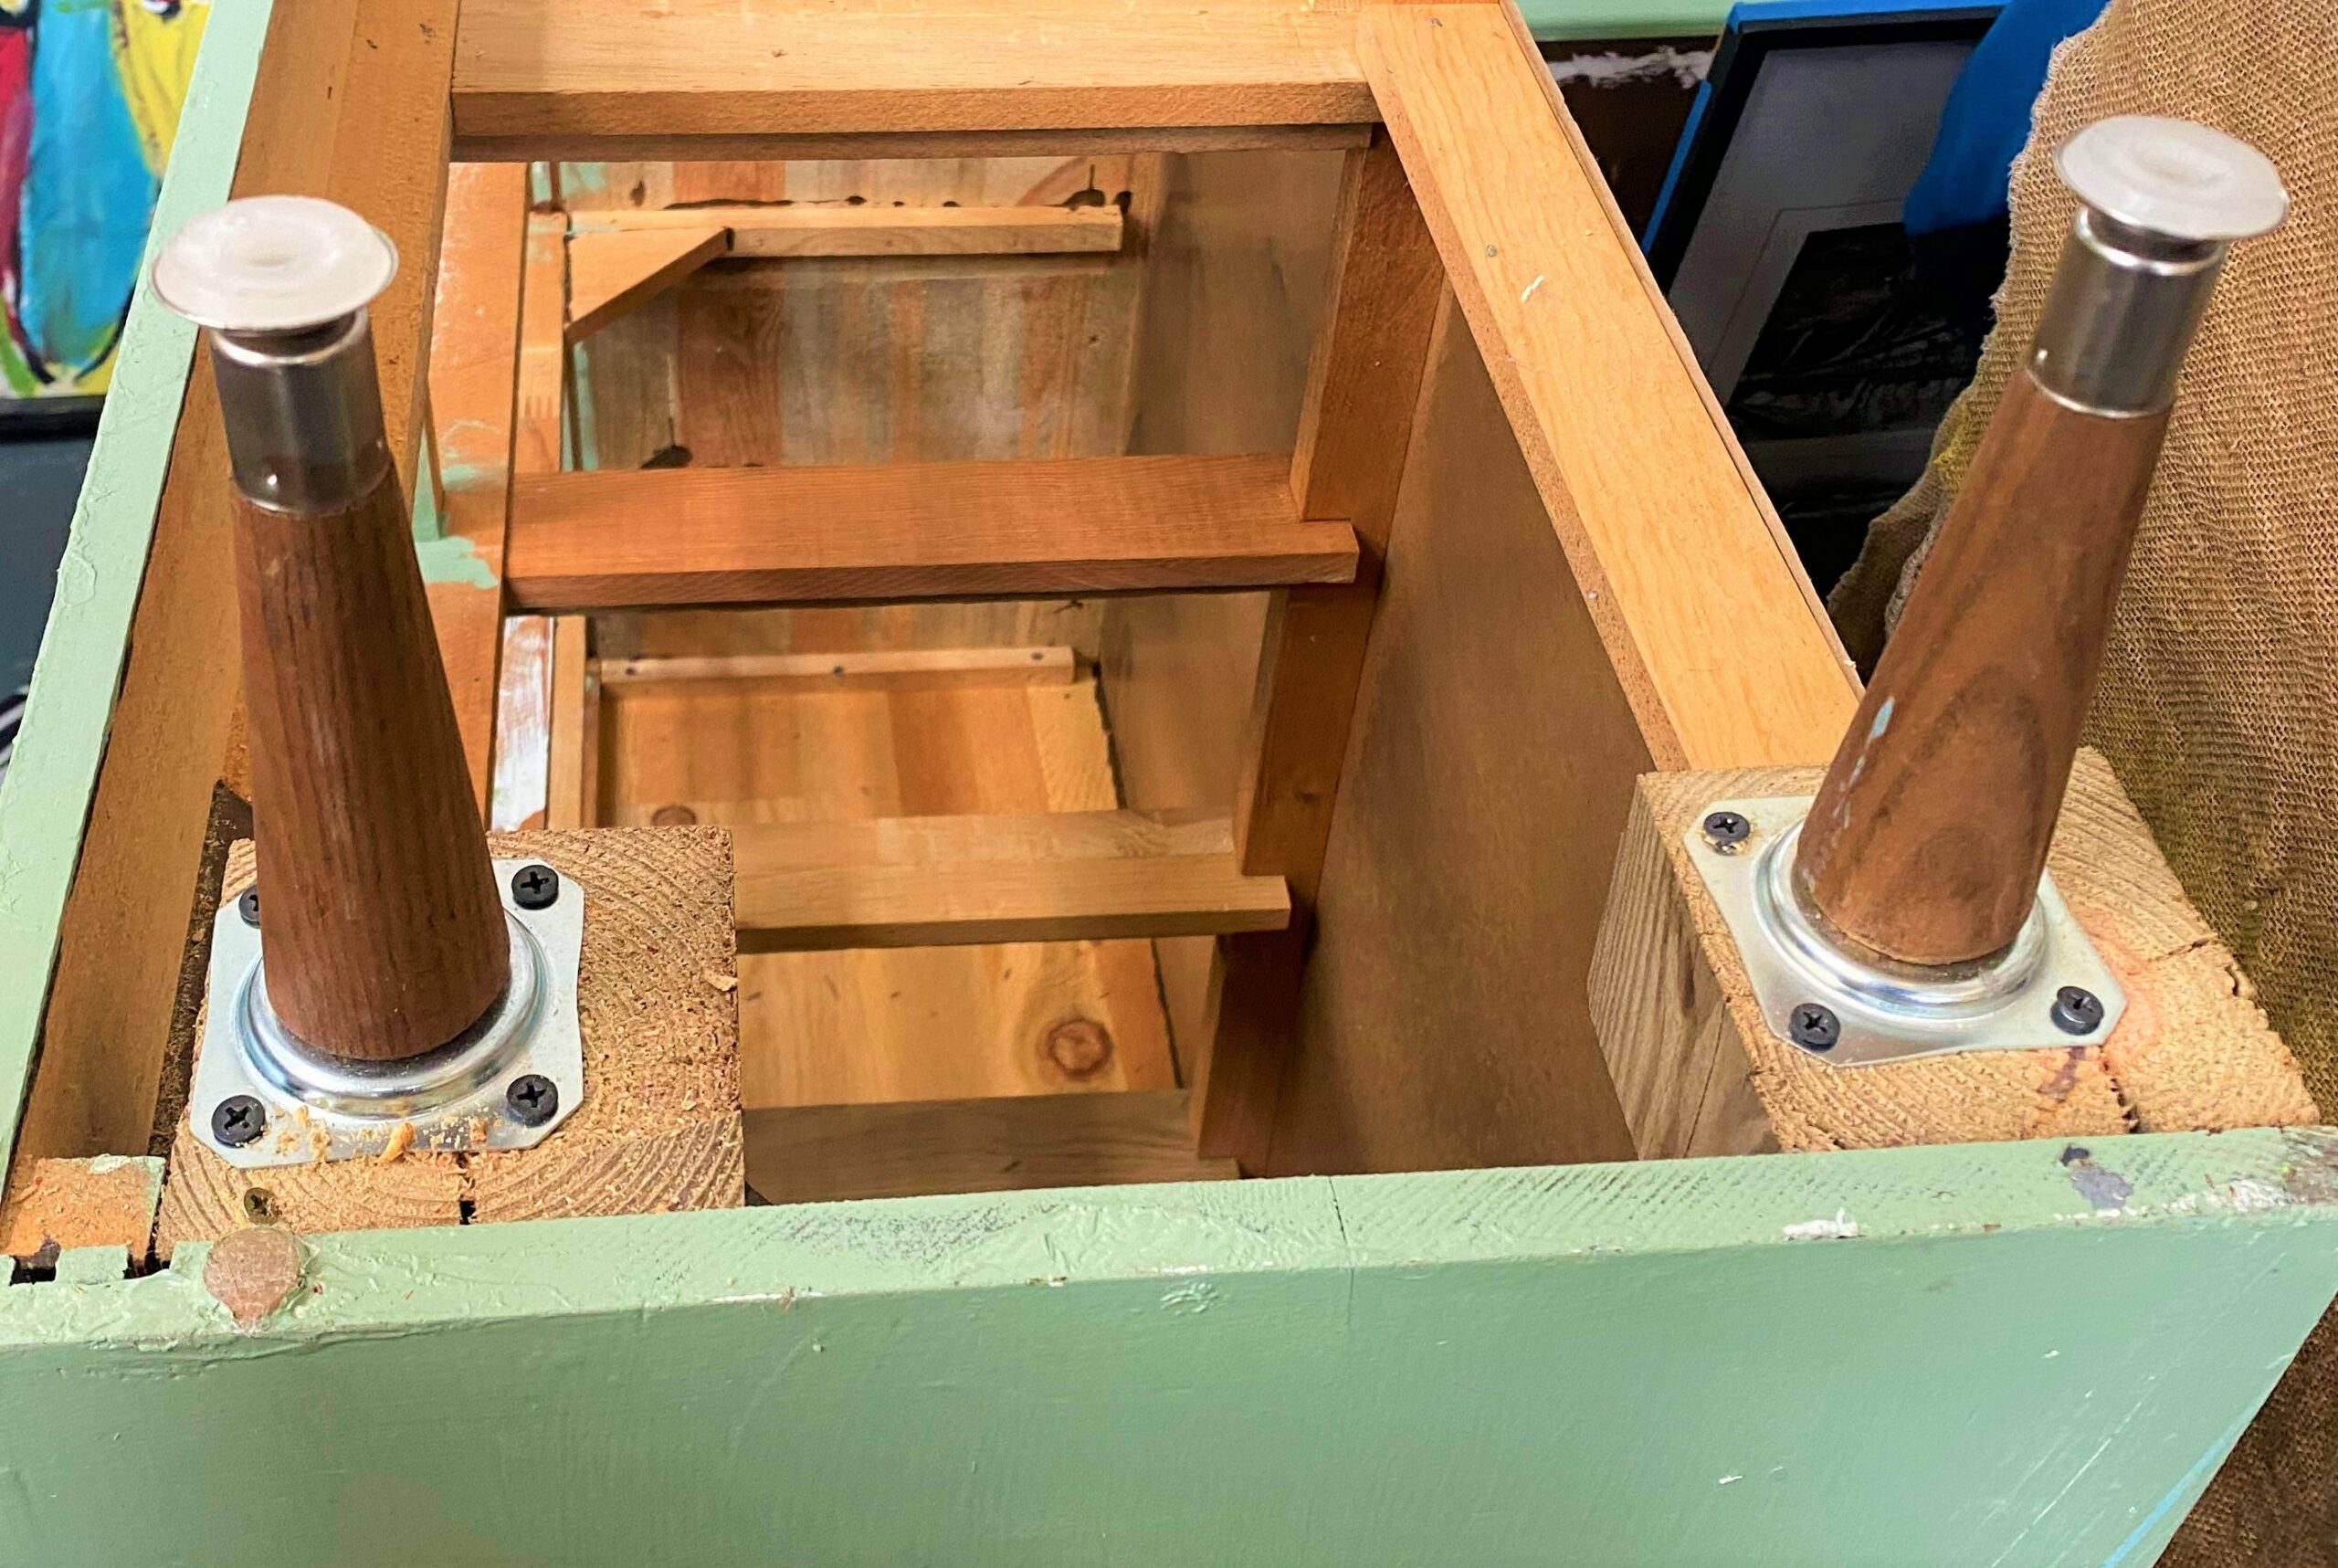
4. Turn it over to add height: legs
- After your paint layers have dried completely, enlist a friend or family member to help you turn your dresser upside down.
- Place it on a blanket or soft drop cloth to project the top. What will be facing your now is the dresser frame’s bottom/underside.
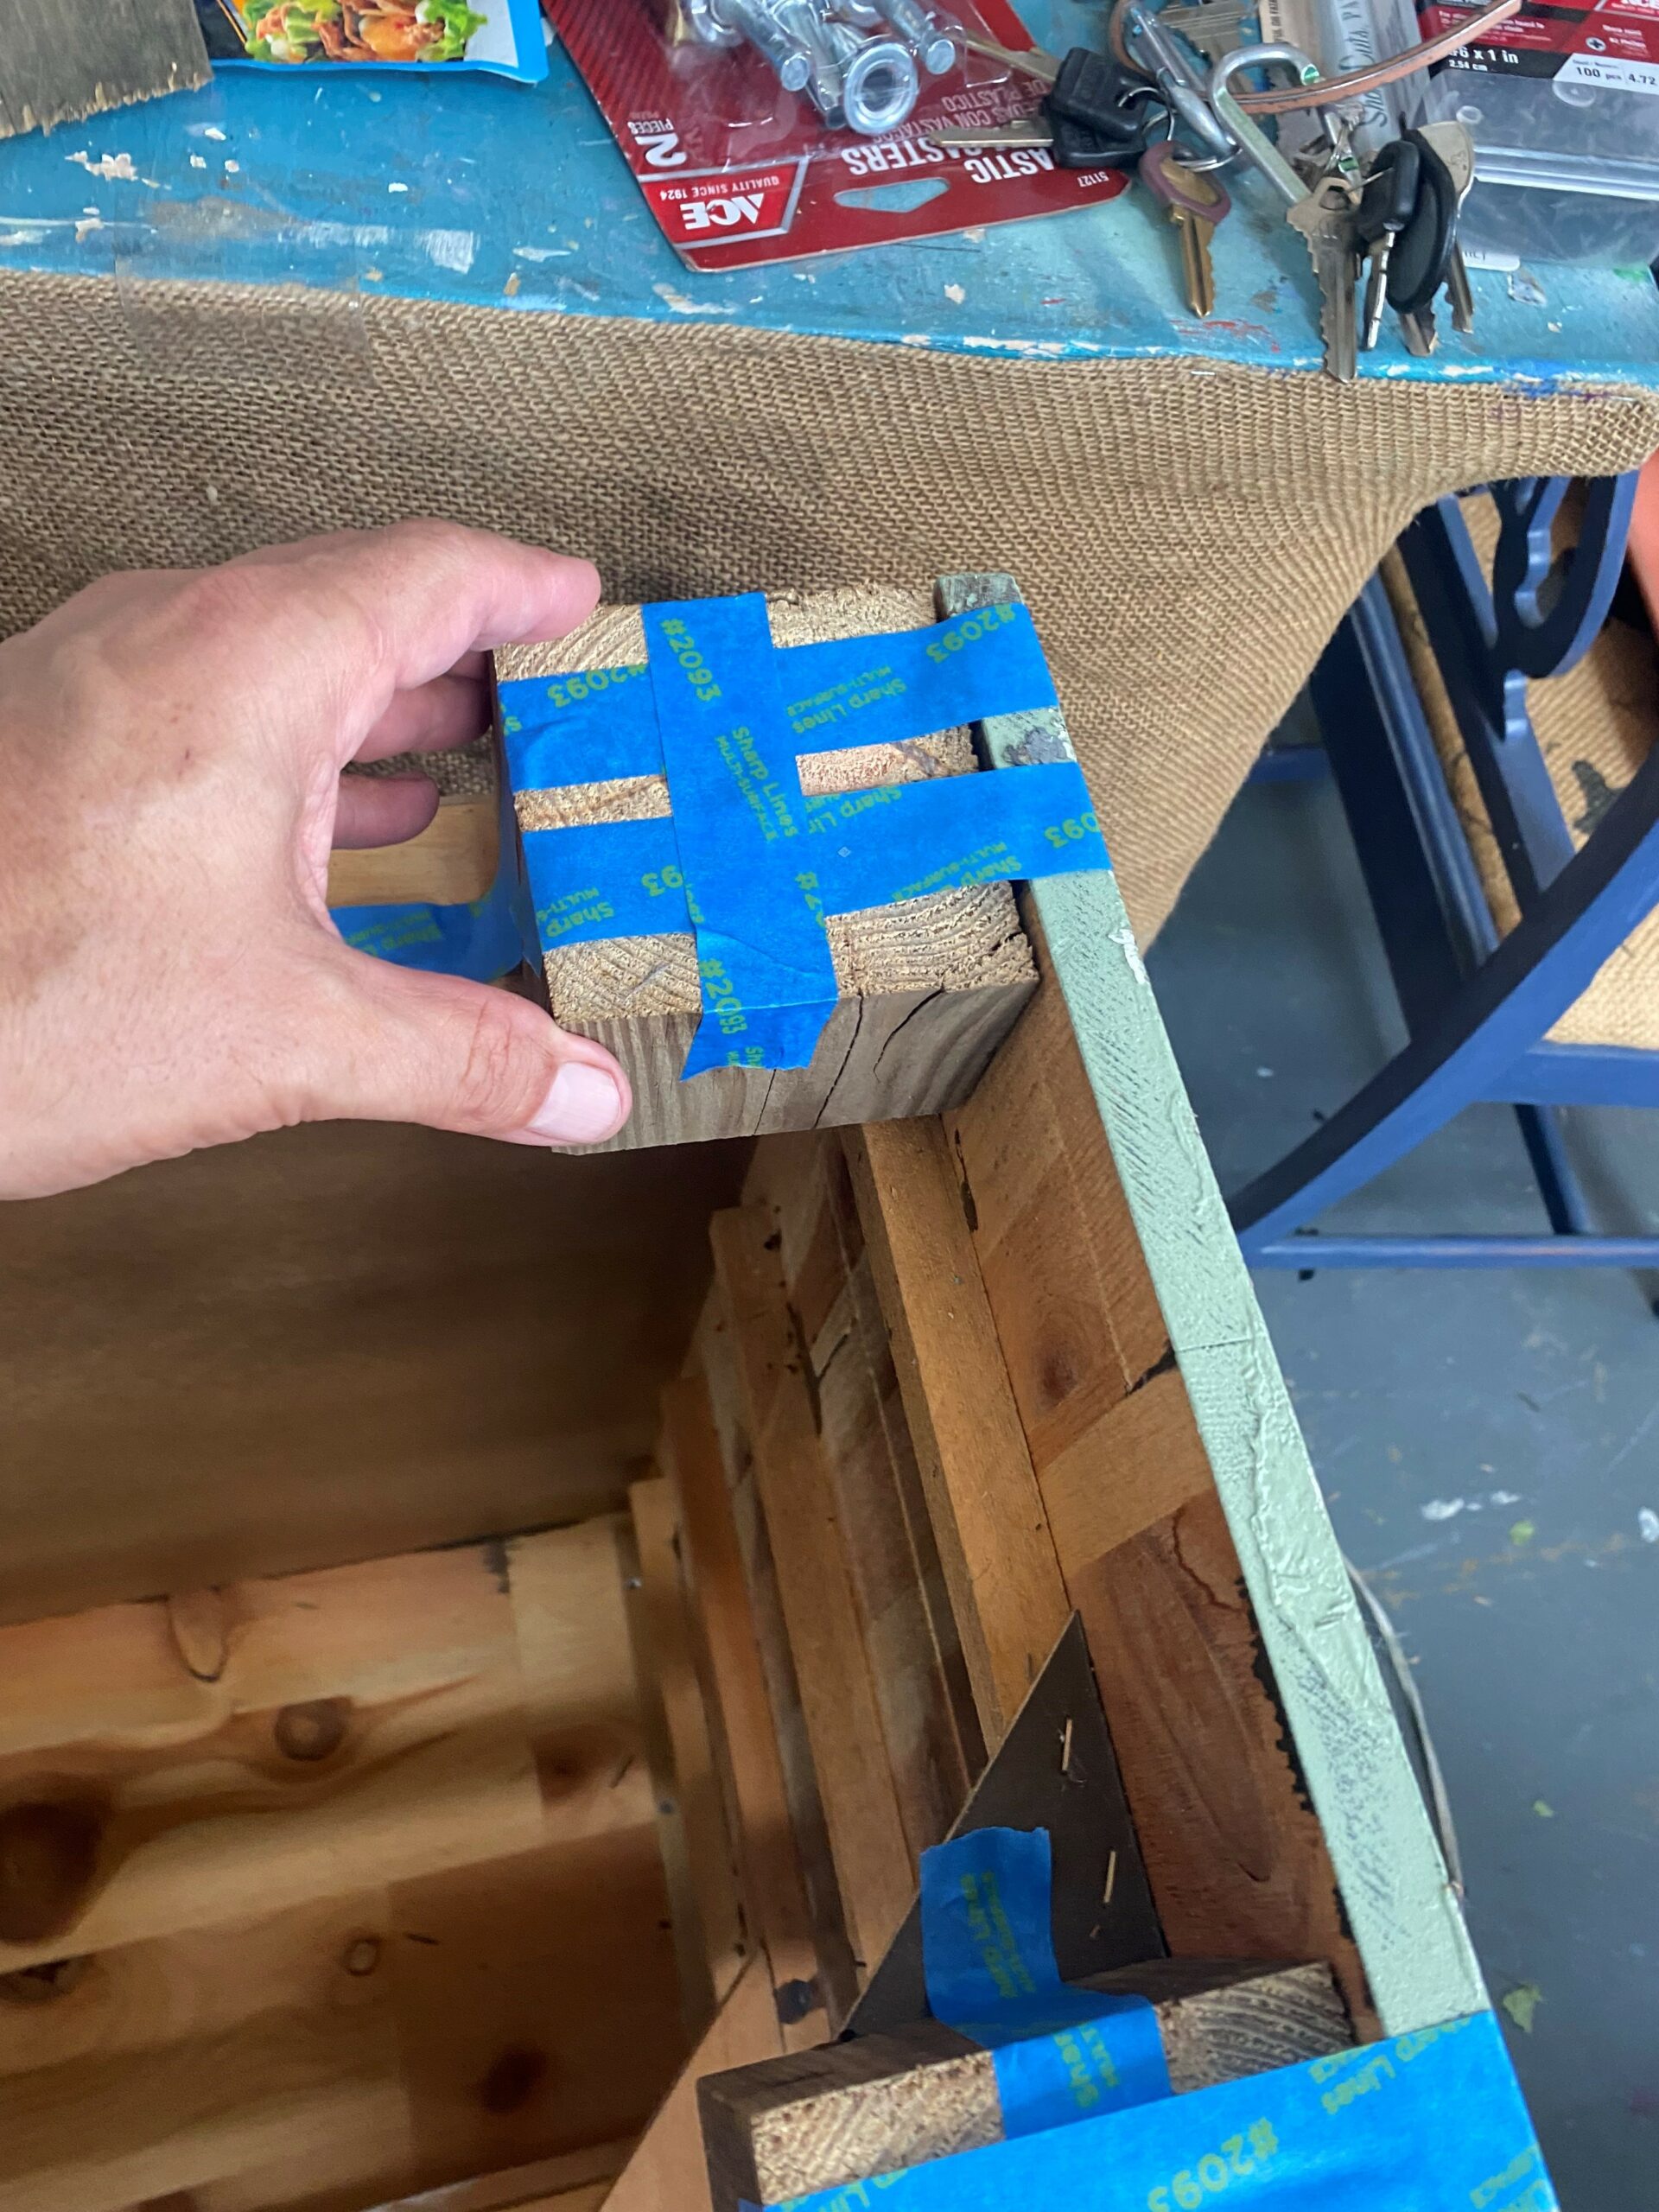
- Depending on its construction, you may have to add some wood on which to secure the addition of its legs.
- If possible, use scrap wood, cut to size then glued and screwed into place. Luckily, I had a leftover 4 by 4 piece of wood that I measured, cut, glued and screwed into place.
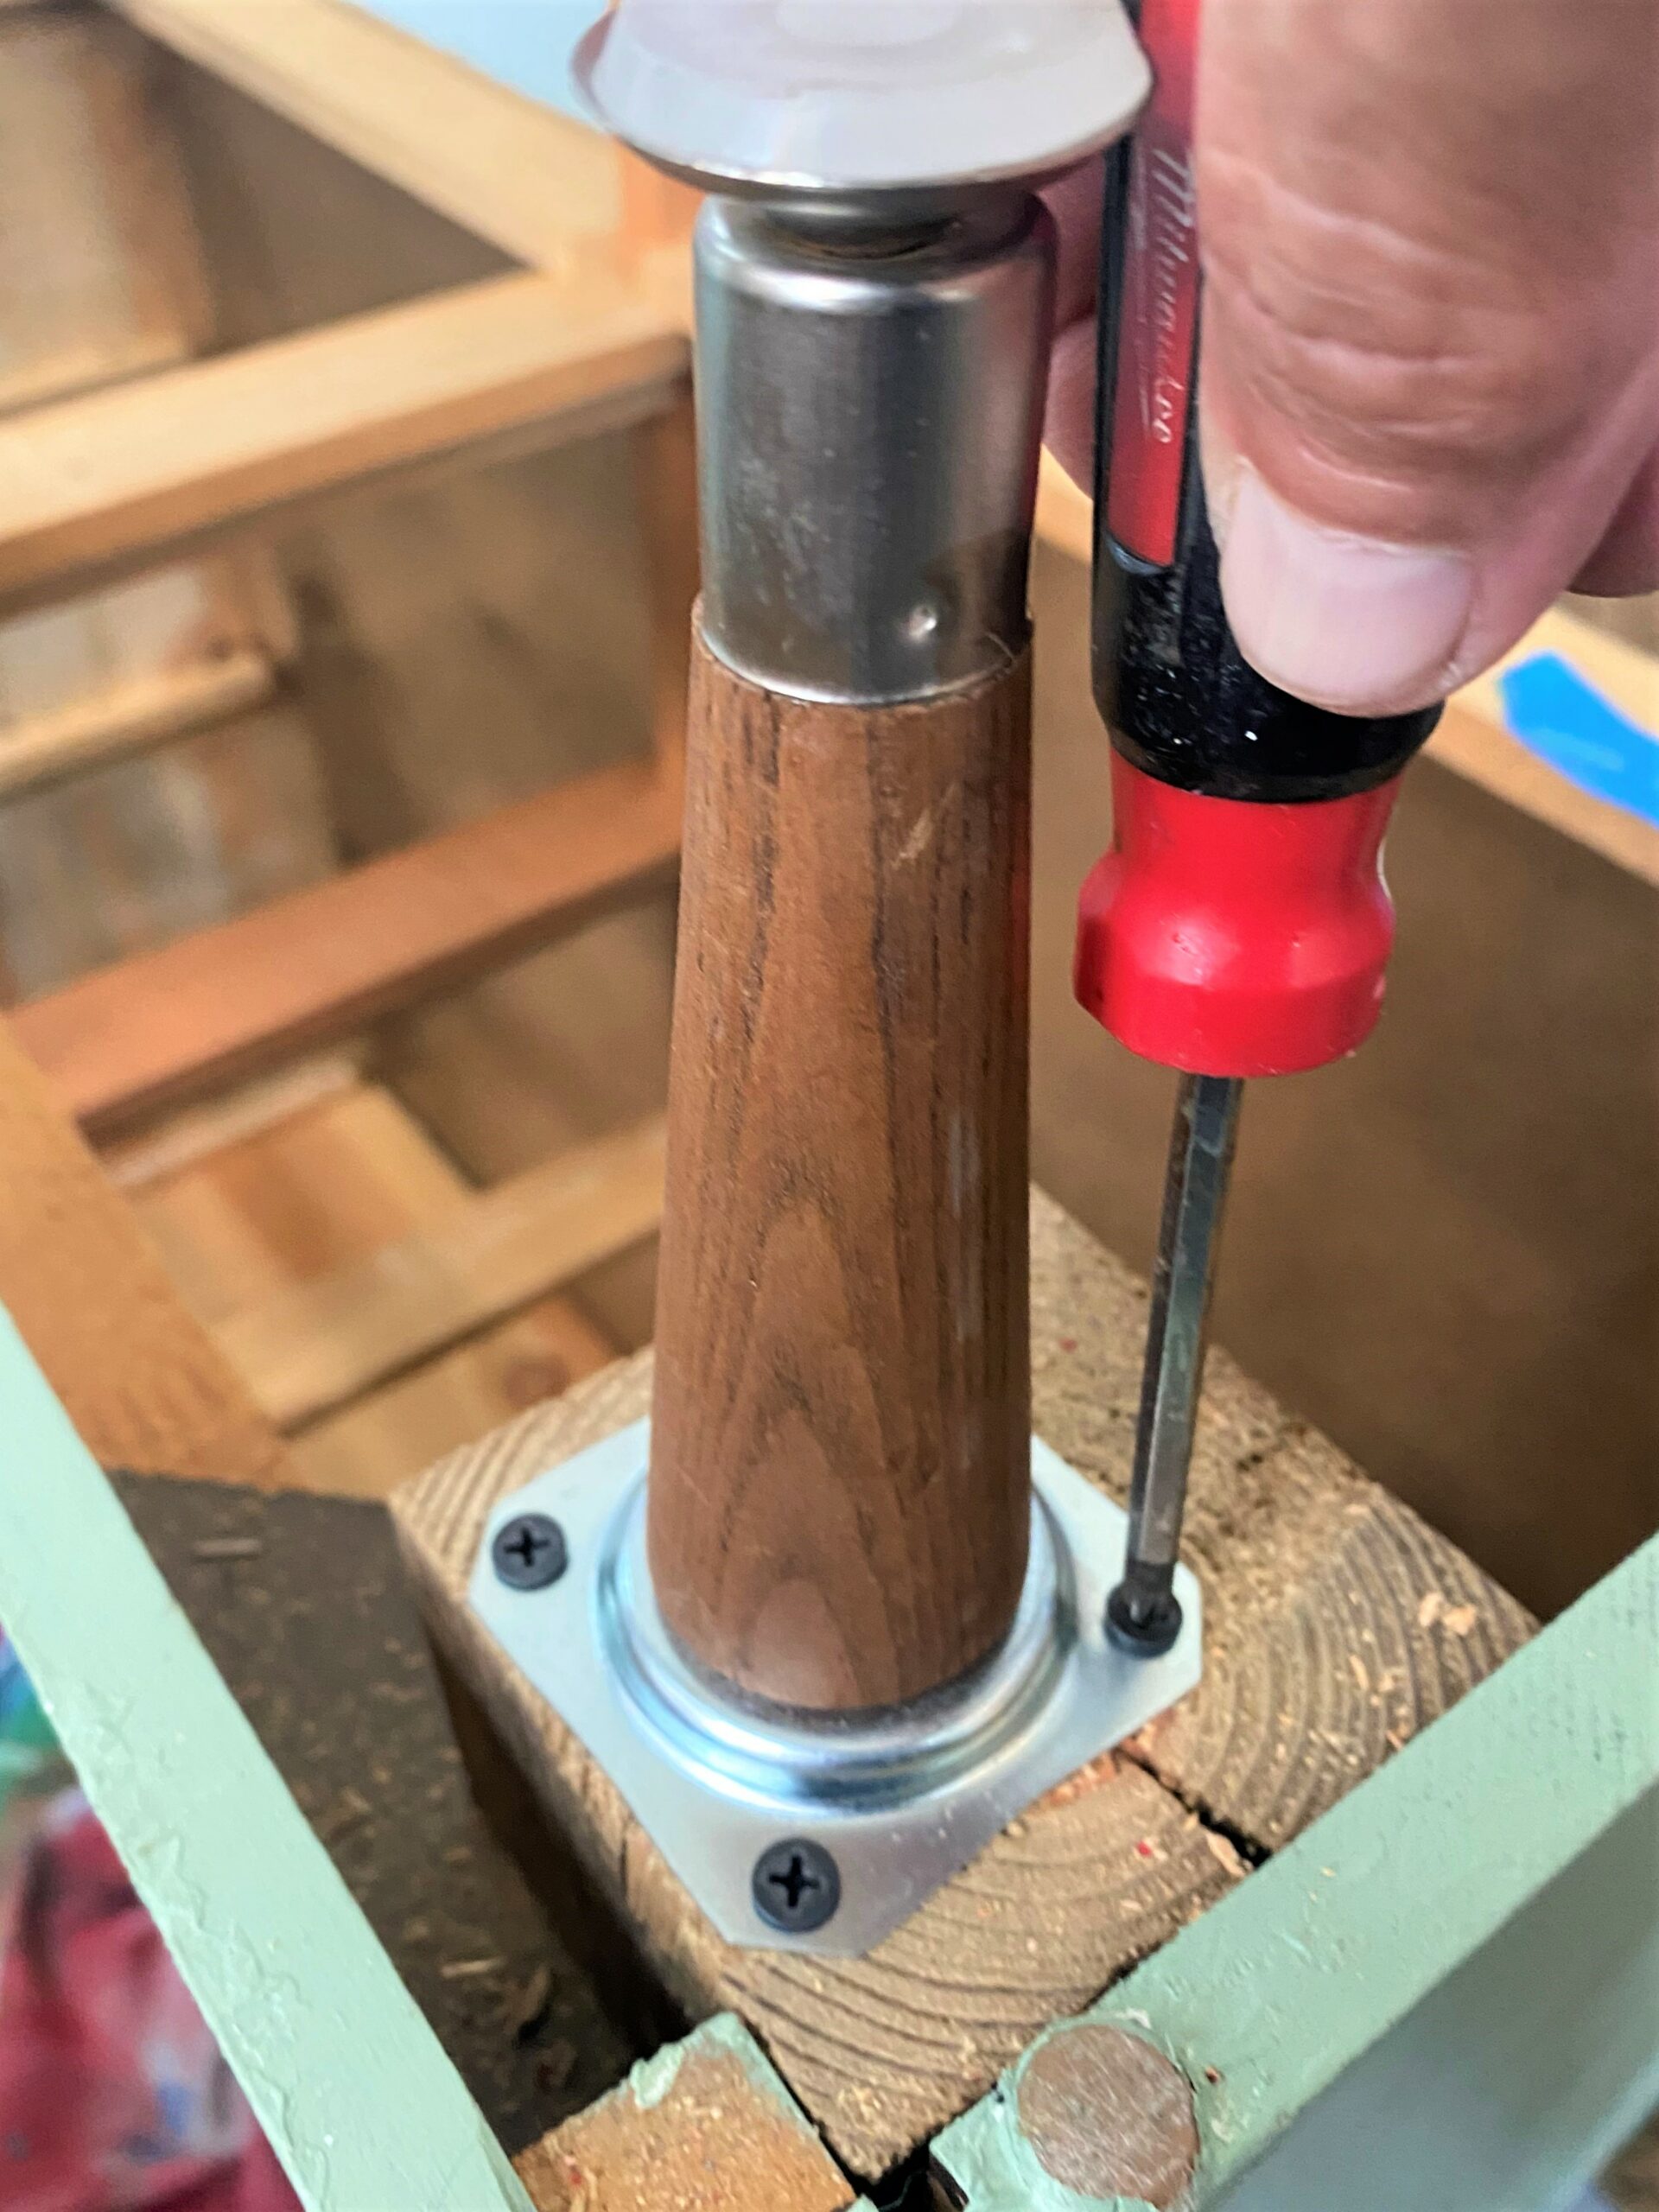
- Use a marker to indicate where screw holes should be drilled then use your drill. Each table leg needed four holes and four screws to secure them in place.
- When all your legs are attached, borrow your friend again to turn your dresser right side up.
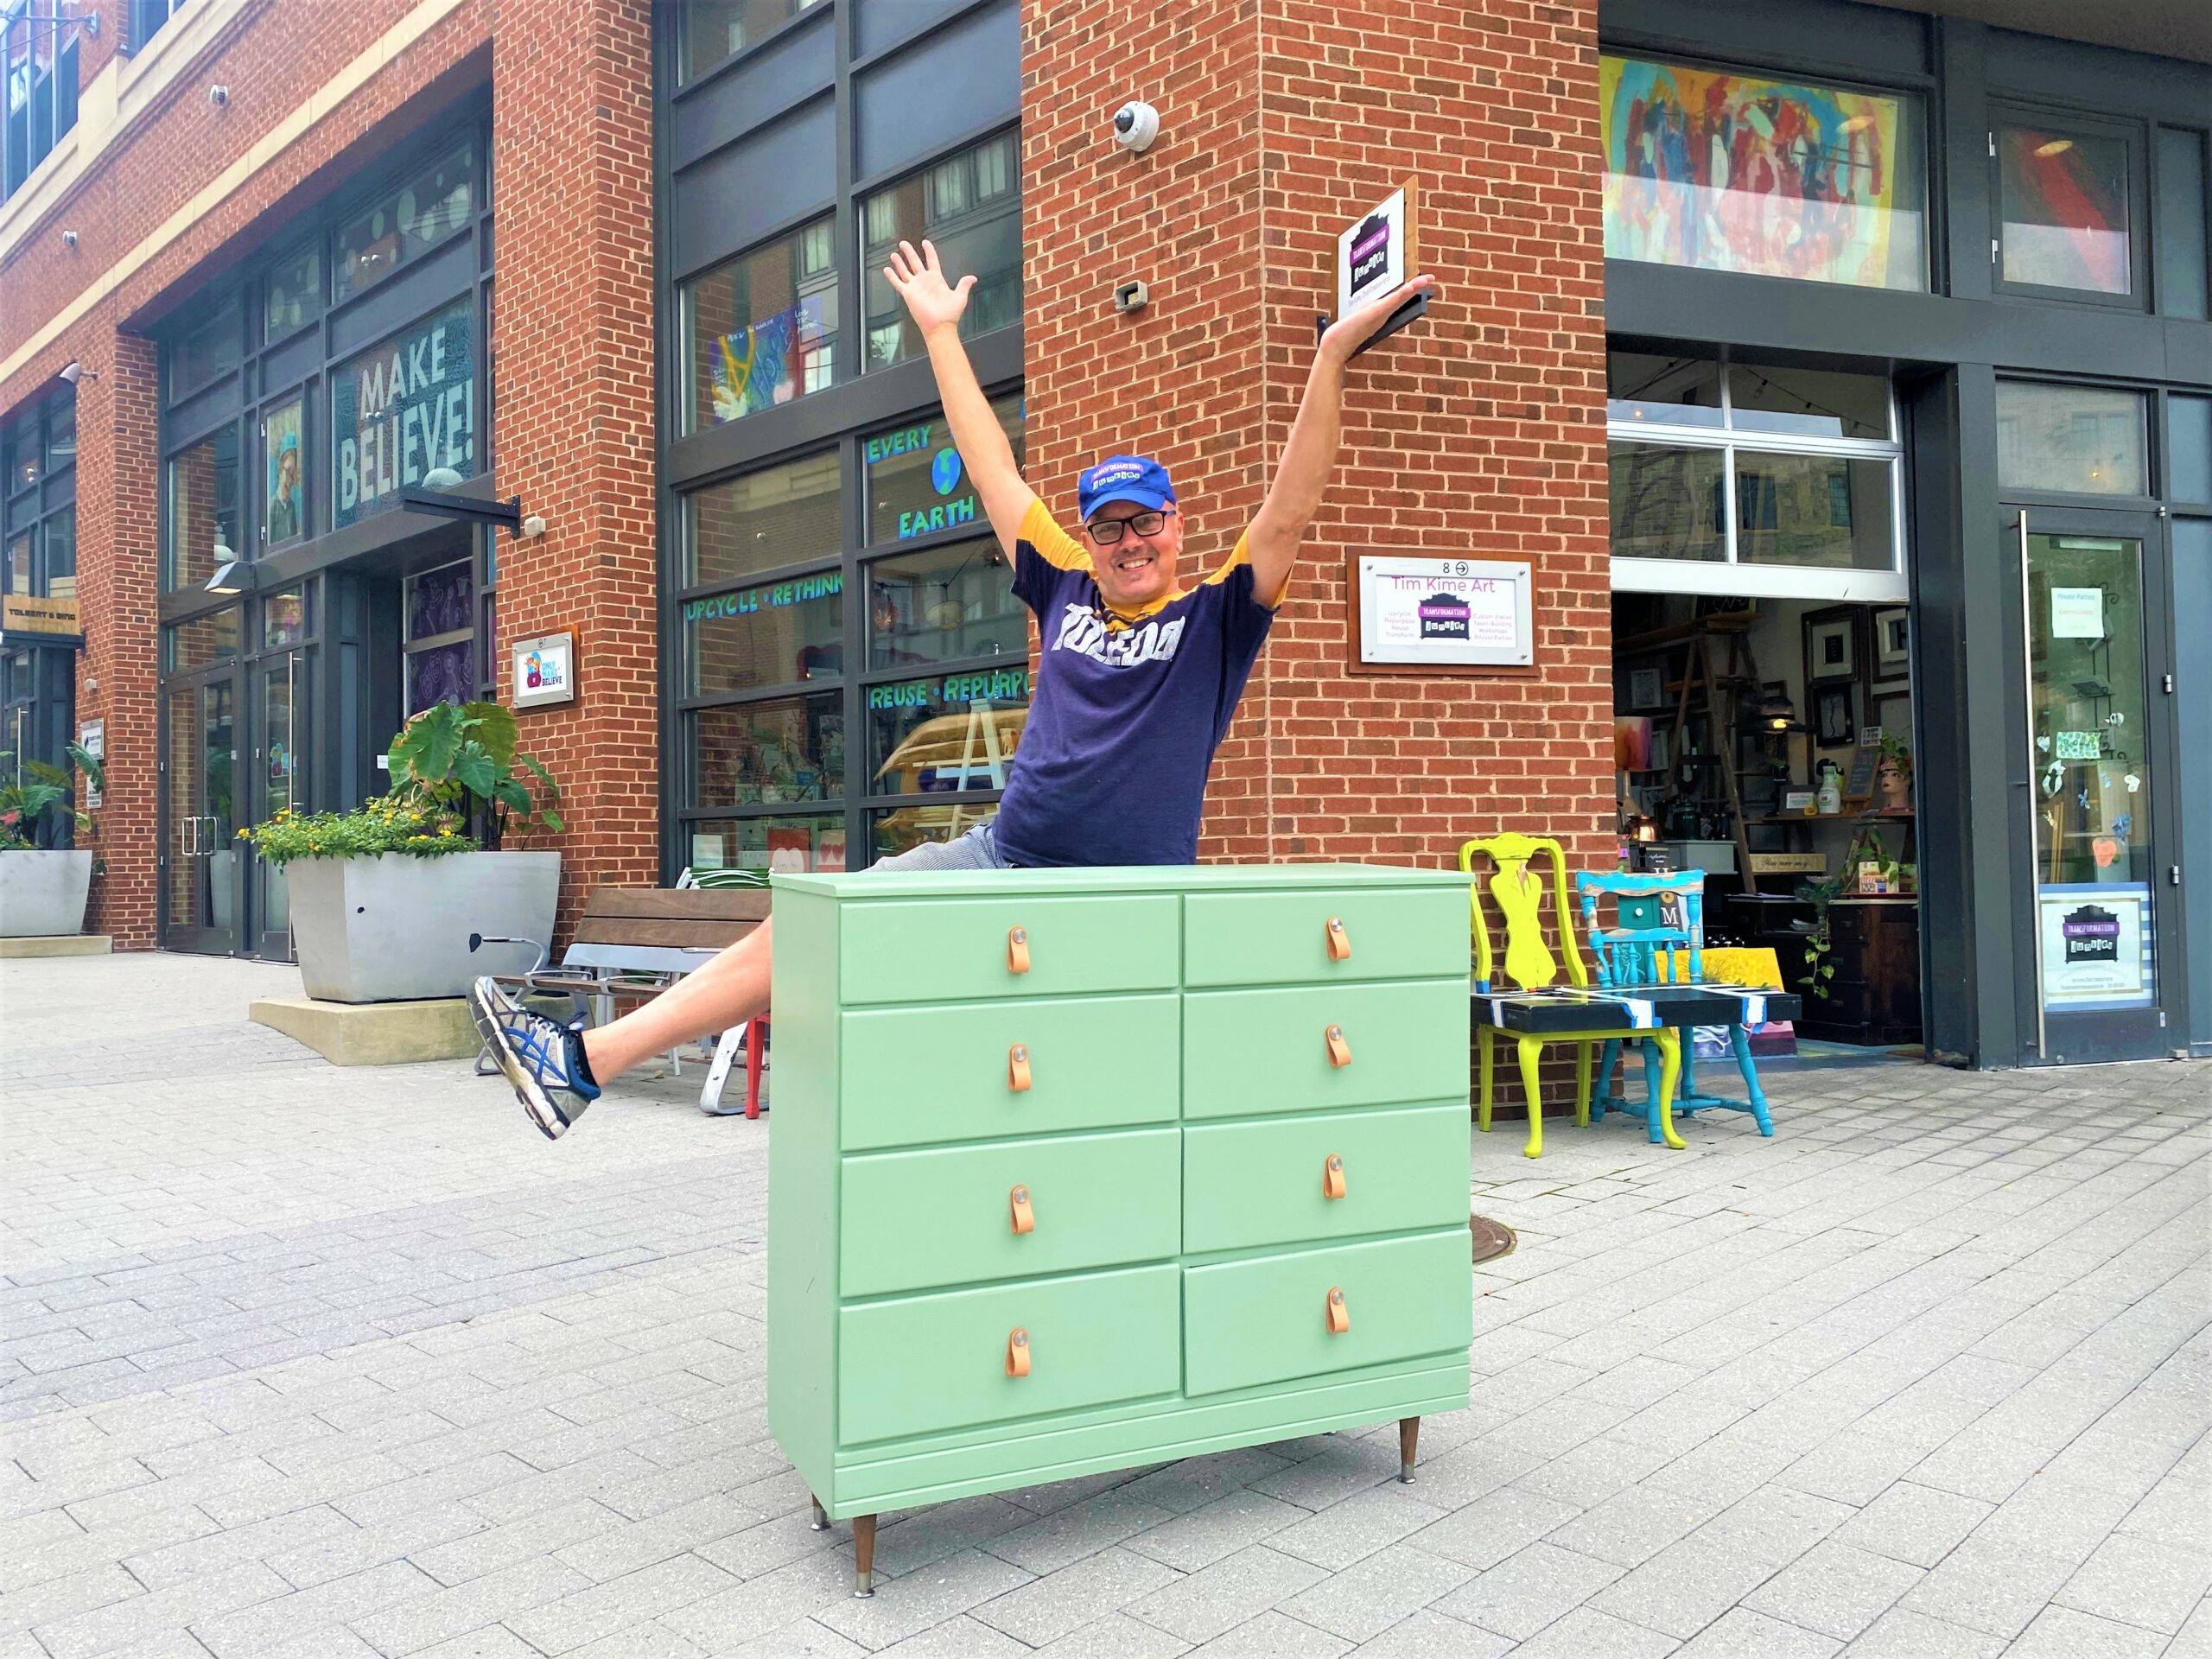
Your dresser now has more stature thanks to its new height! You will say, “Hallelujah!” too!

Expert Idea:
The sleek legs used for this project were actually salvaged from another piece! When I am out and about, I often see pieces set curbside or placed in the trash room at my studio waiting for someone to take them away. I stop and remove any handles, knobs and legs to keep in my stash for future projects! Store a screwdriver and small pliers in your car’s glove box so you will be ready when you come across a piece with these parts!
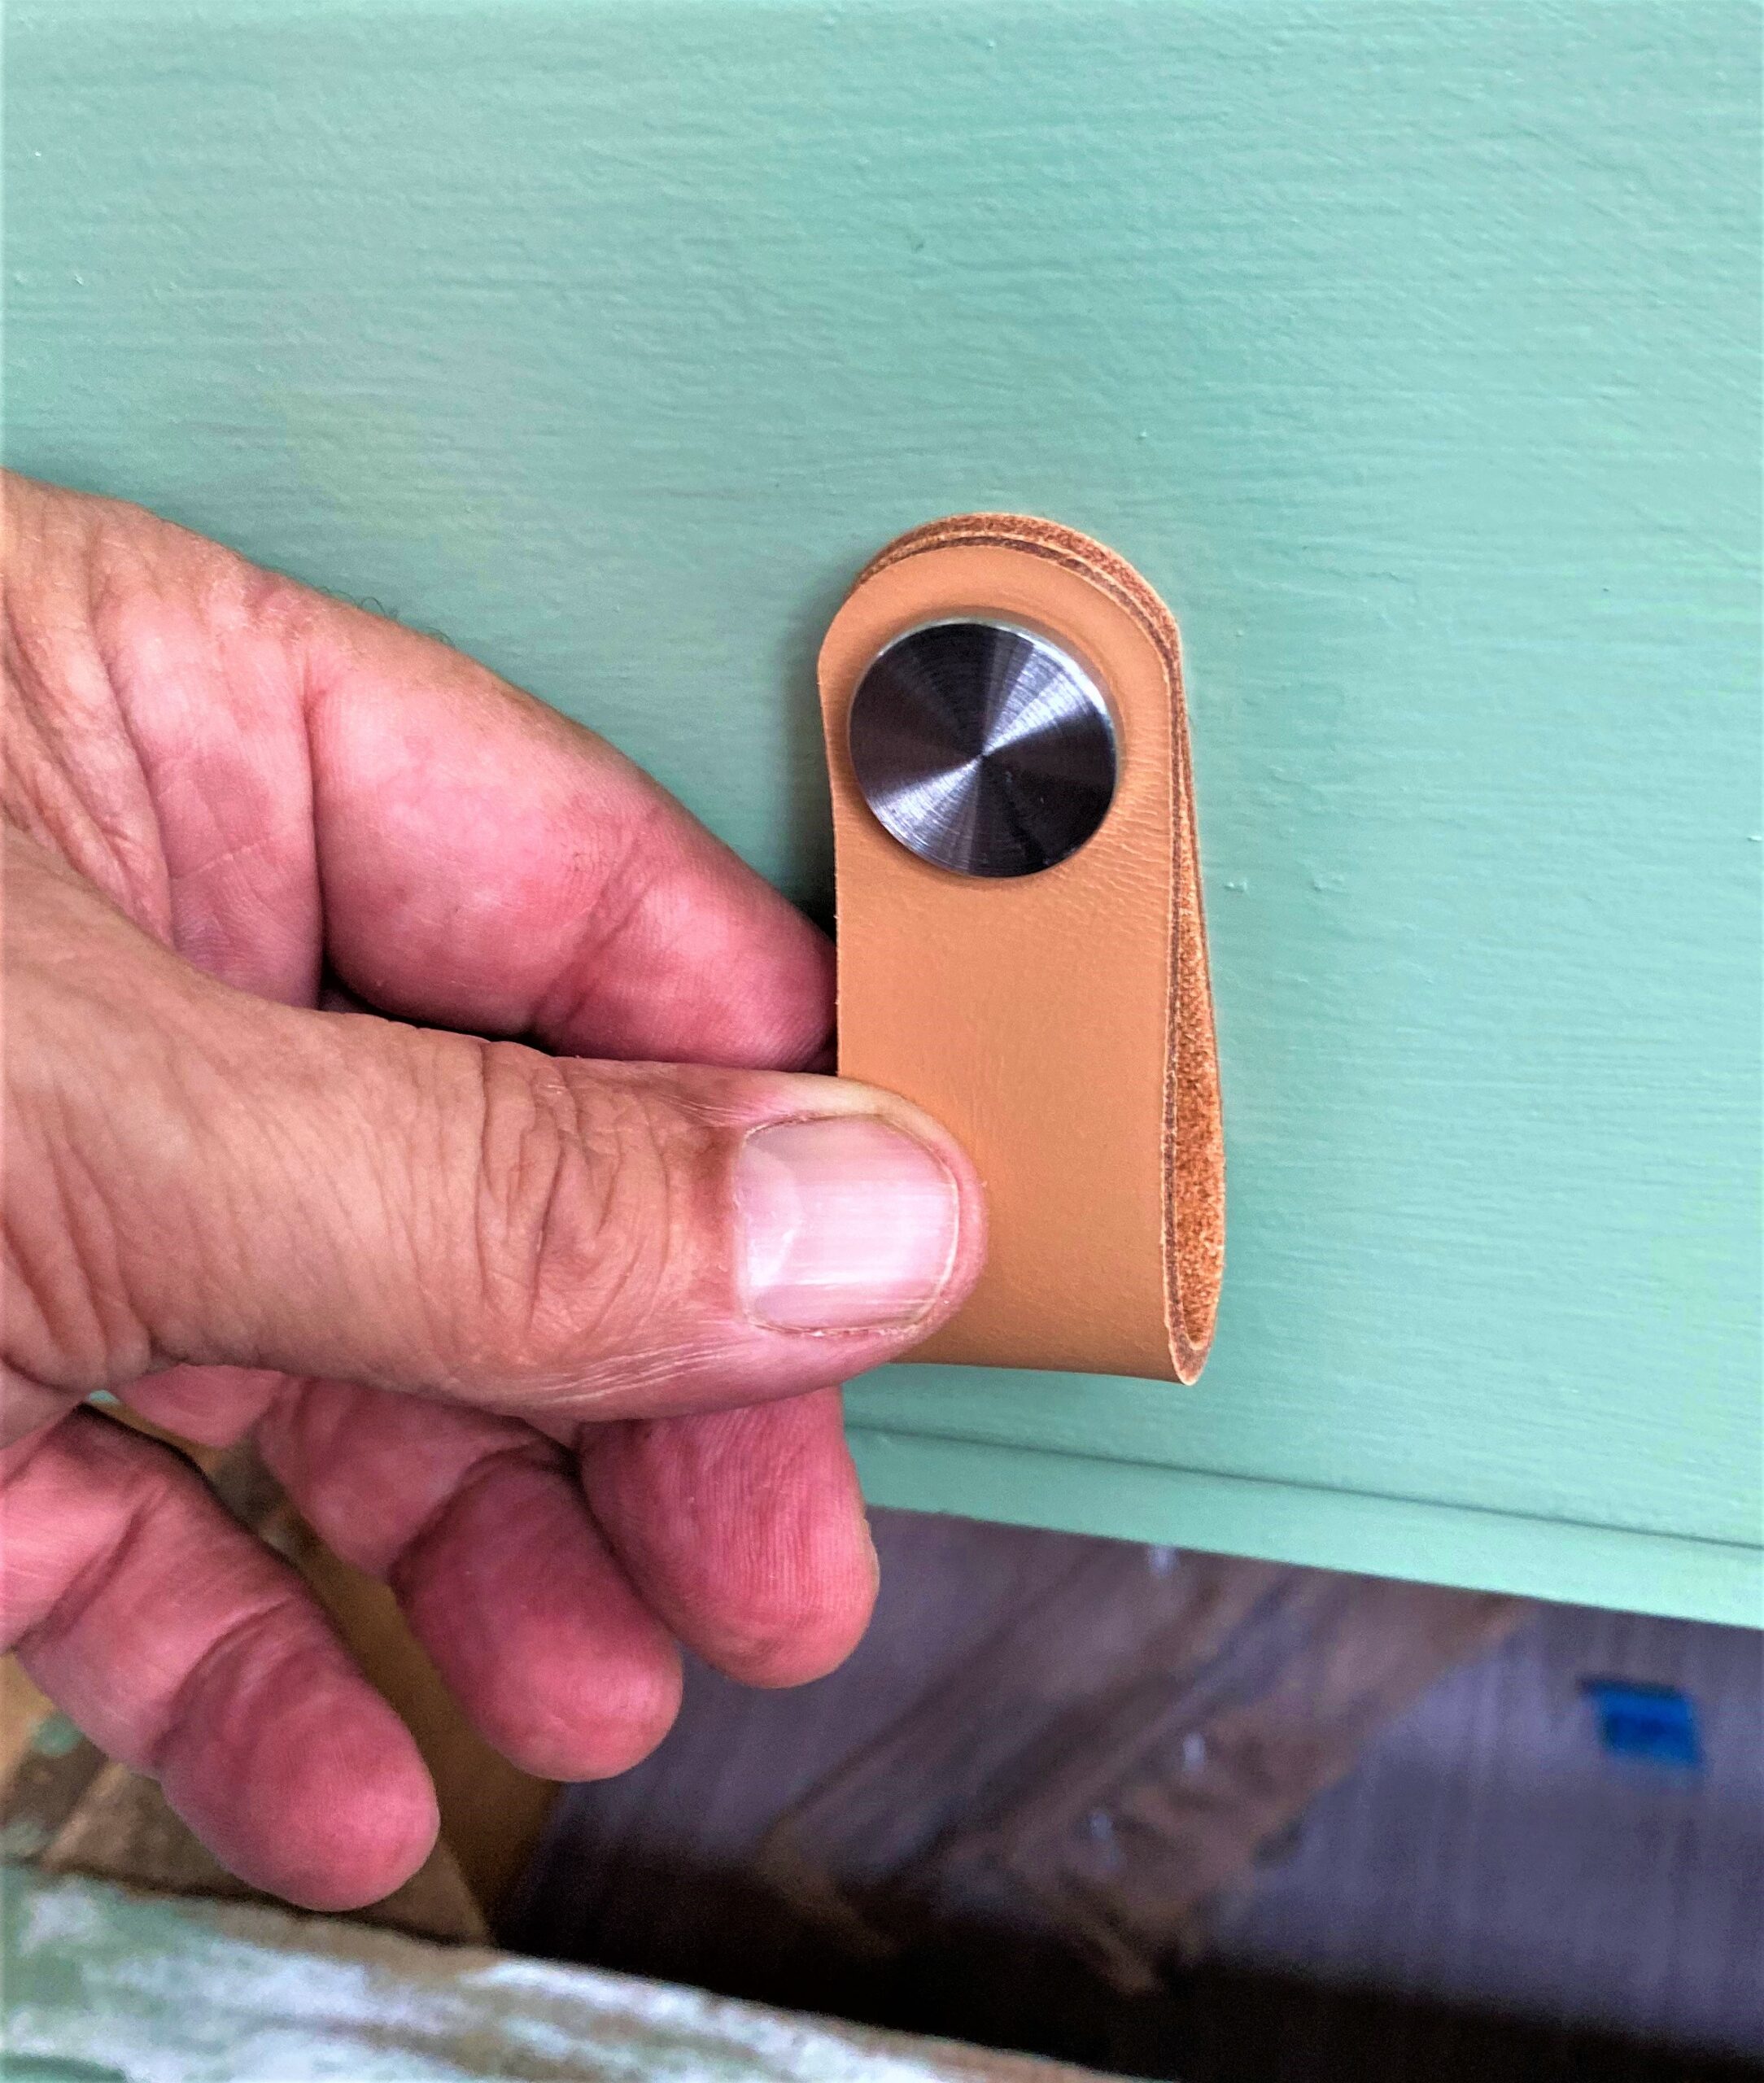
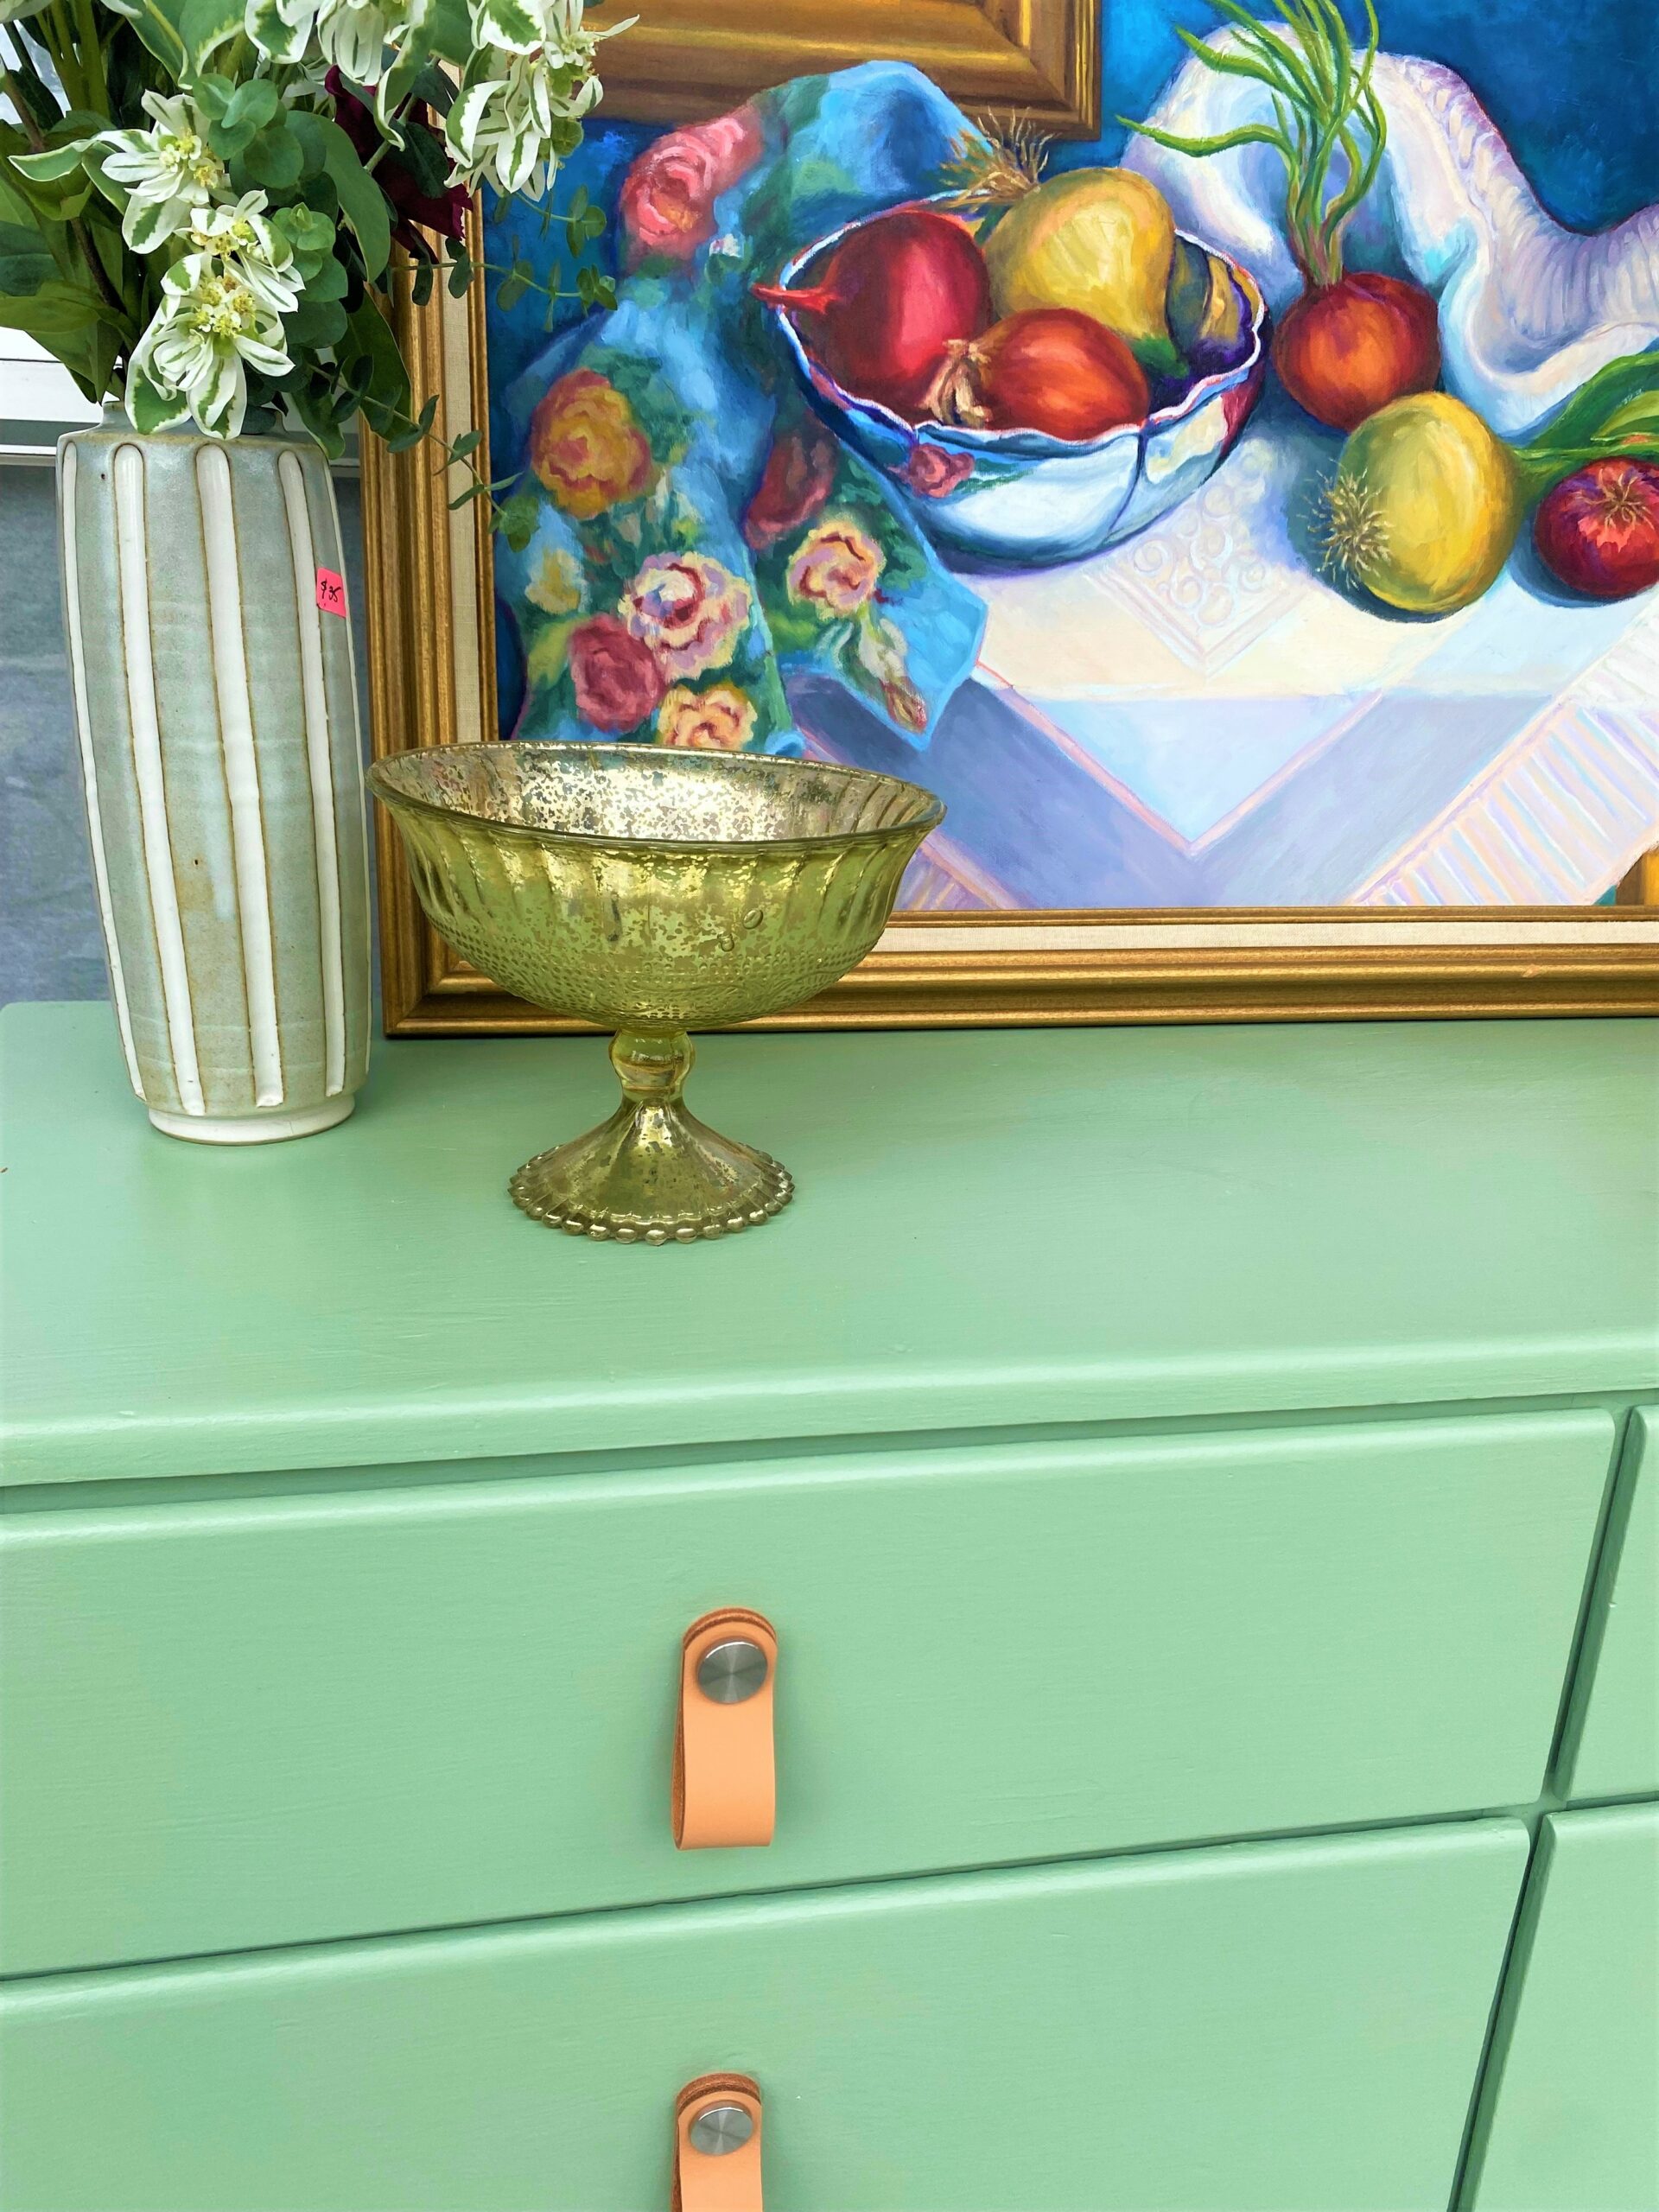
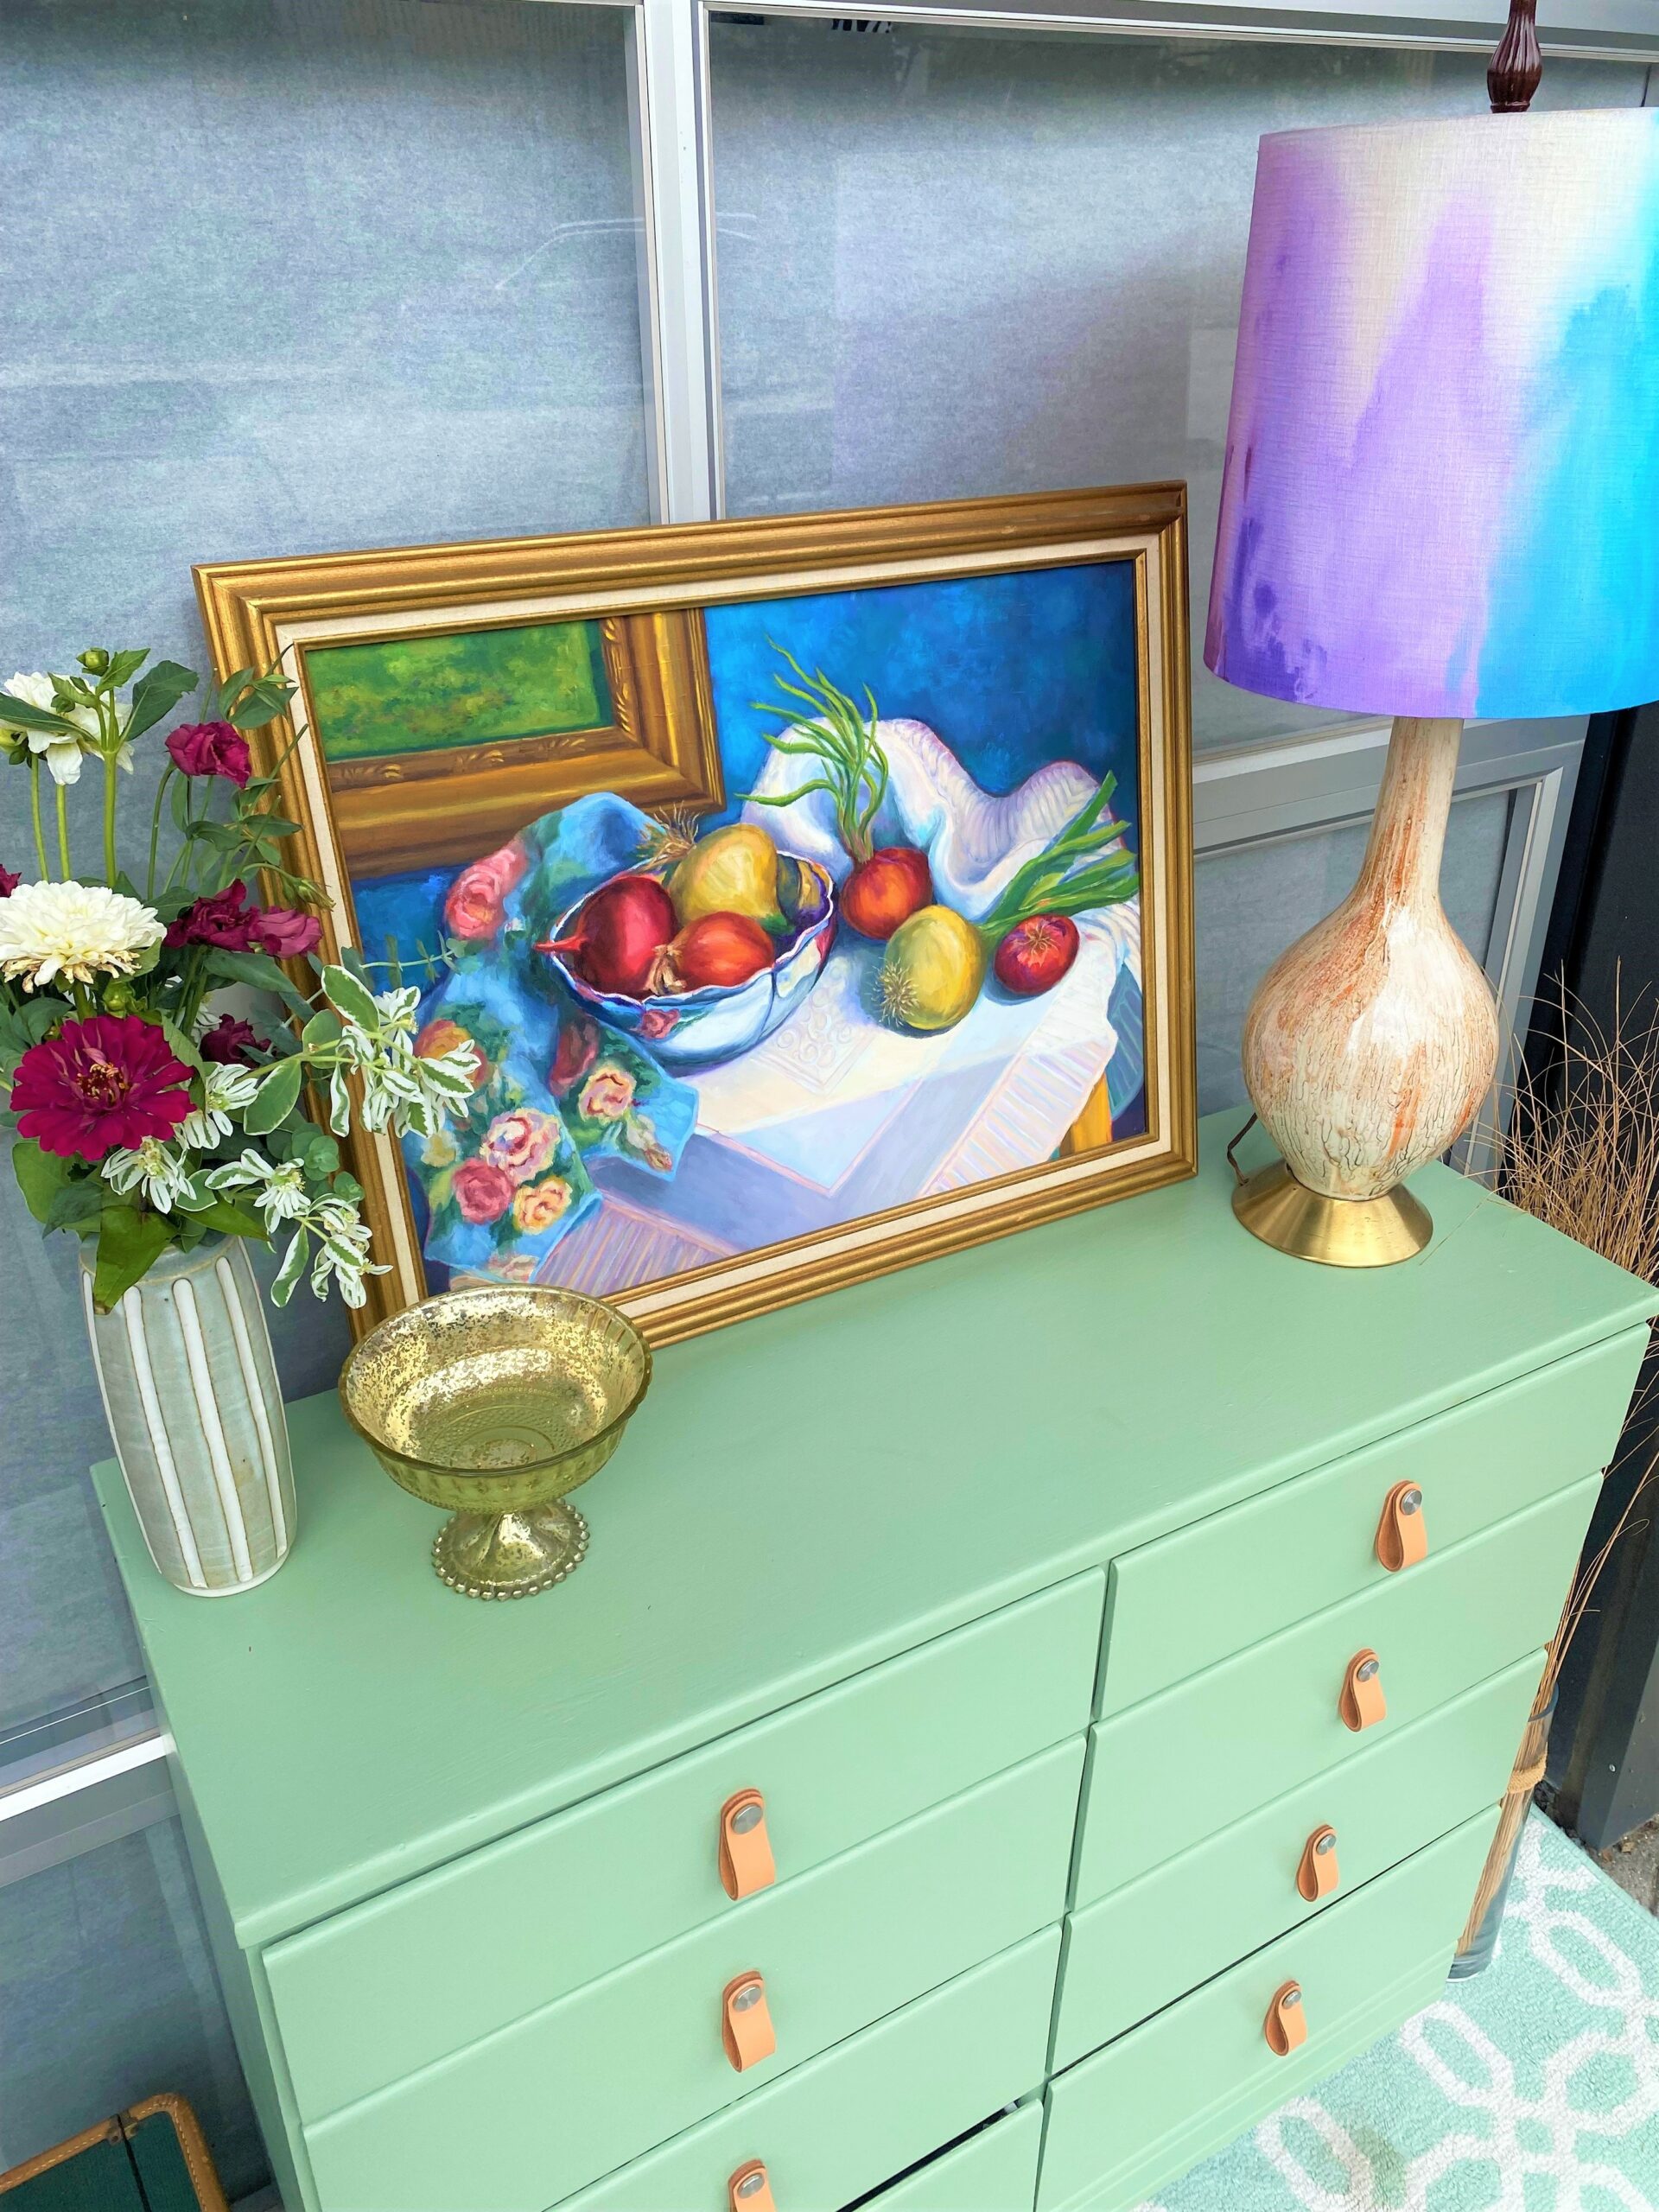
5. Hang on your handles
The silver metal and brown wood of the legs coordinate perfectly with the metal and leather loop of the new handles. All it took was a screwdriver to add them to make an immediate hit and home run!
6. Add poly to protect
Brush on a couple of light layers of satin or semi-gloss polyurethane to protect your paint layers and allow for easy clean up.
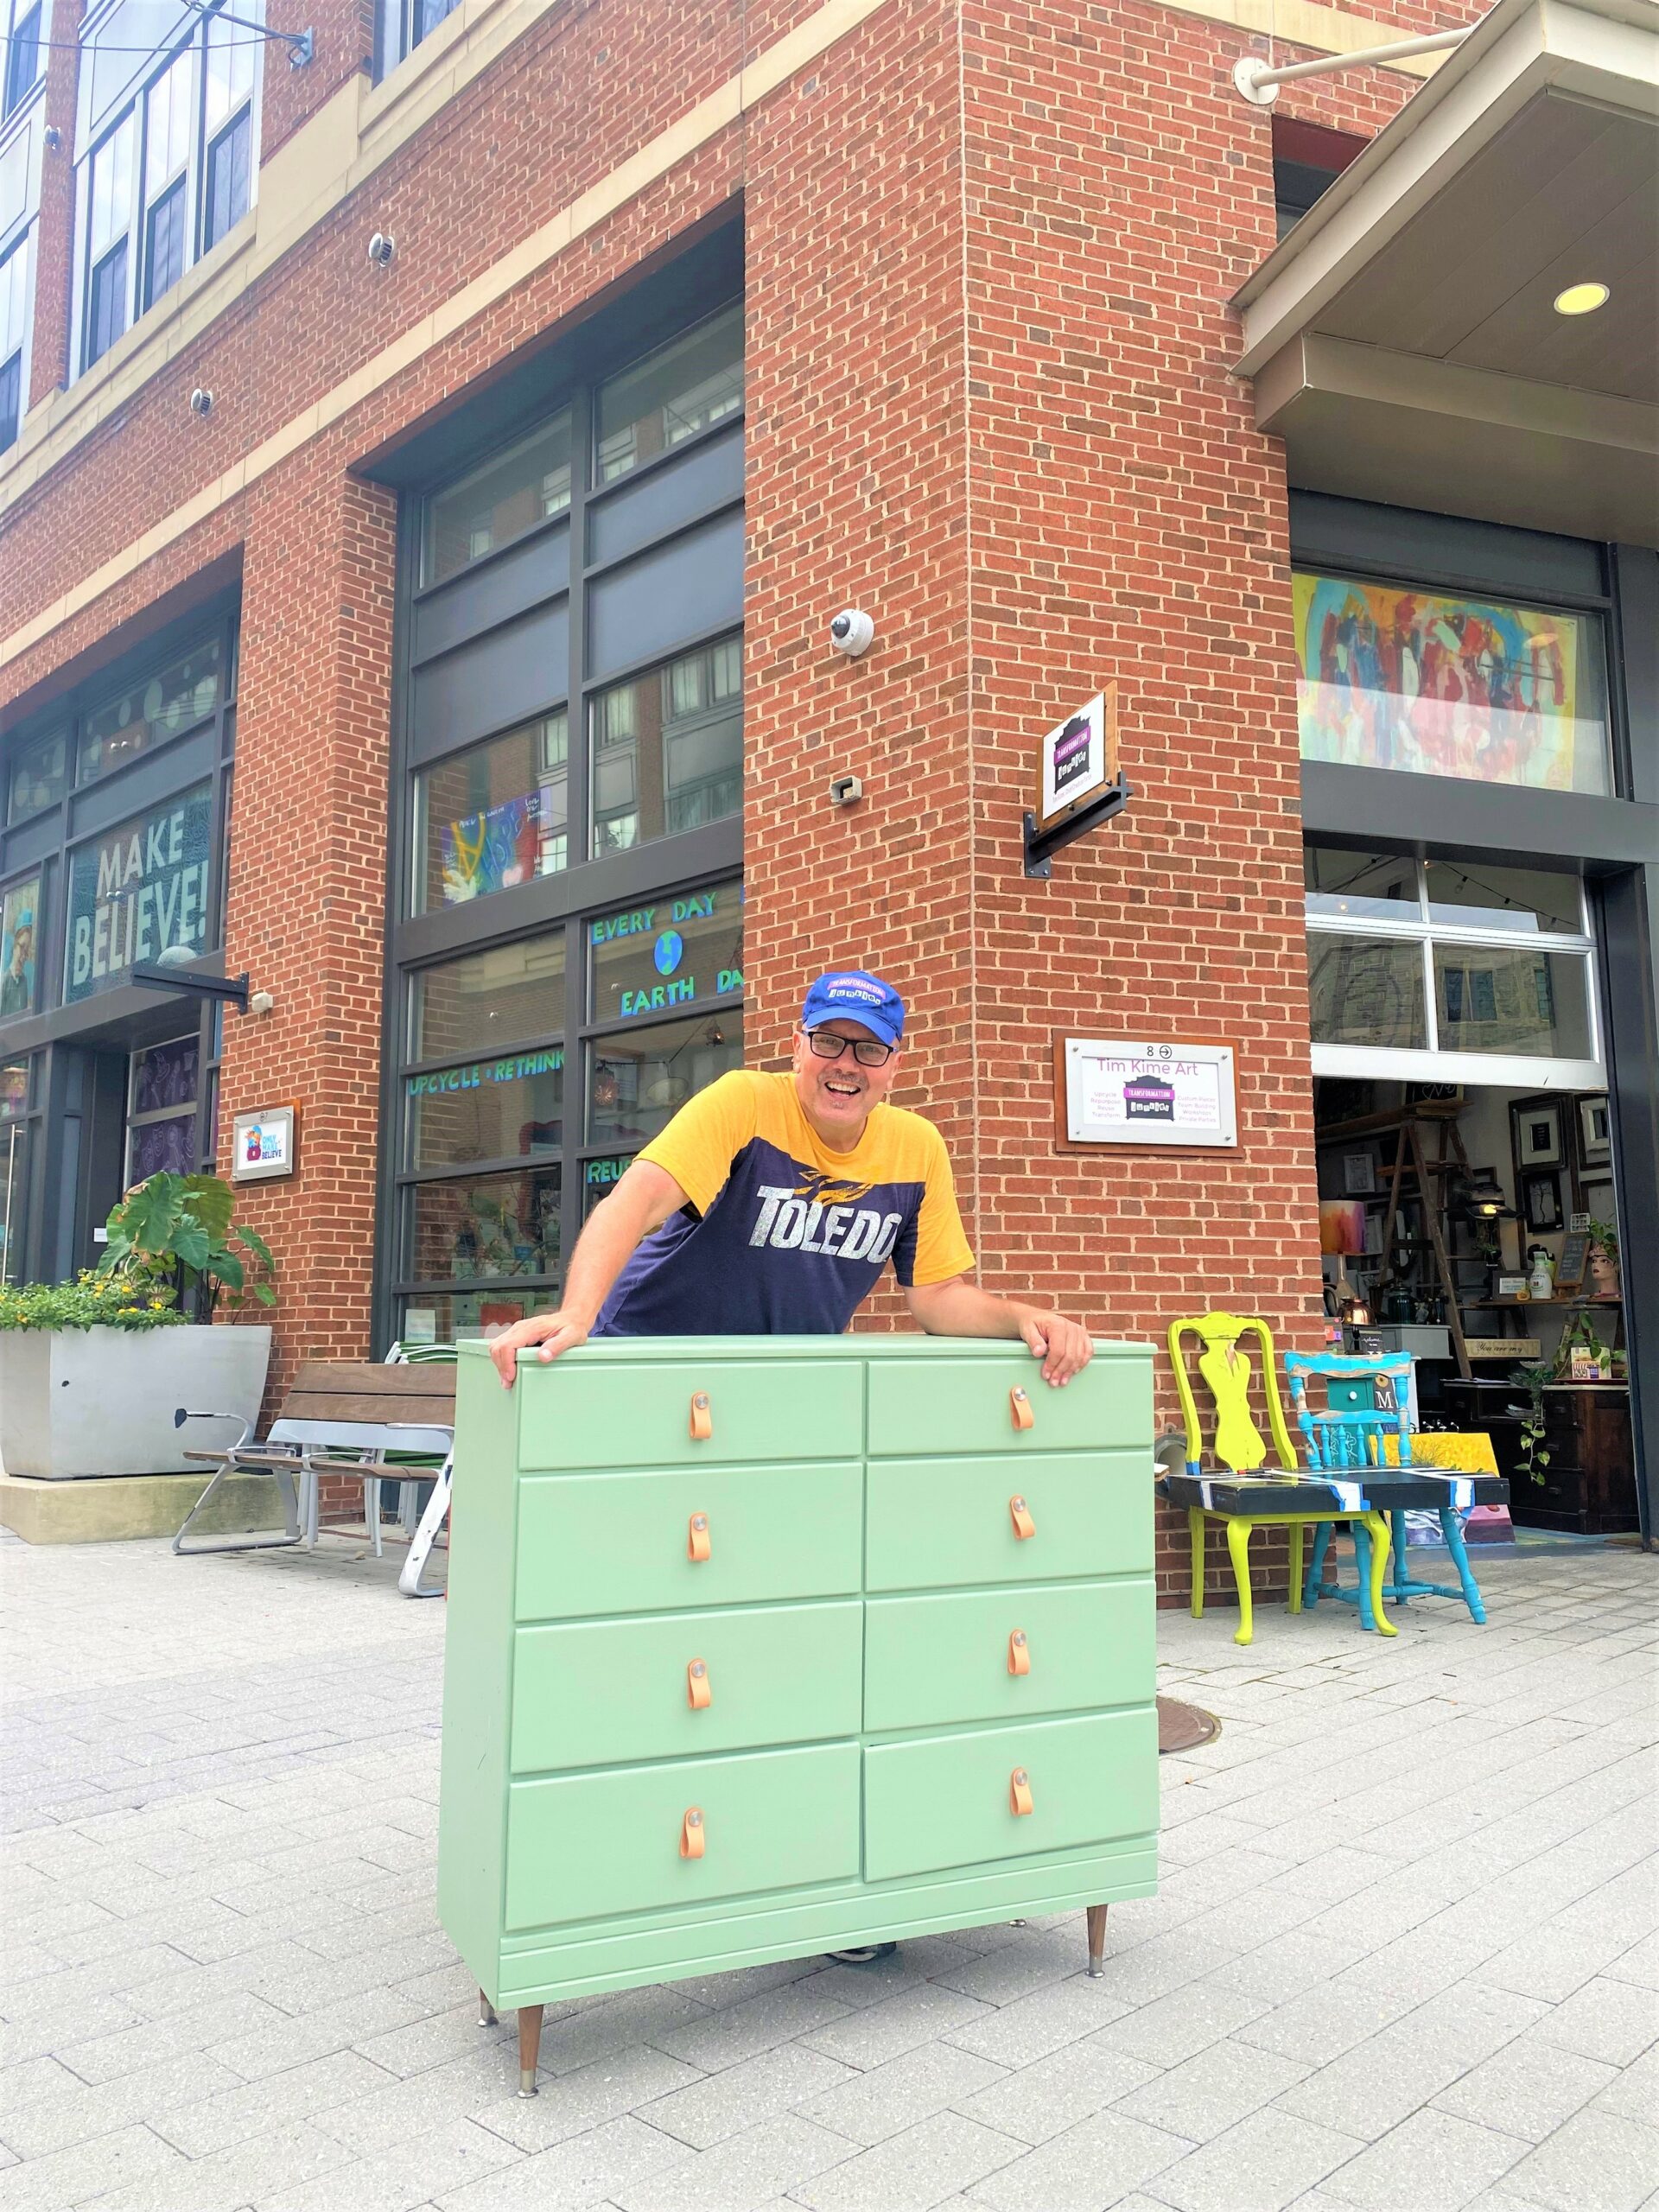
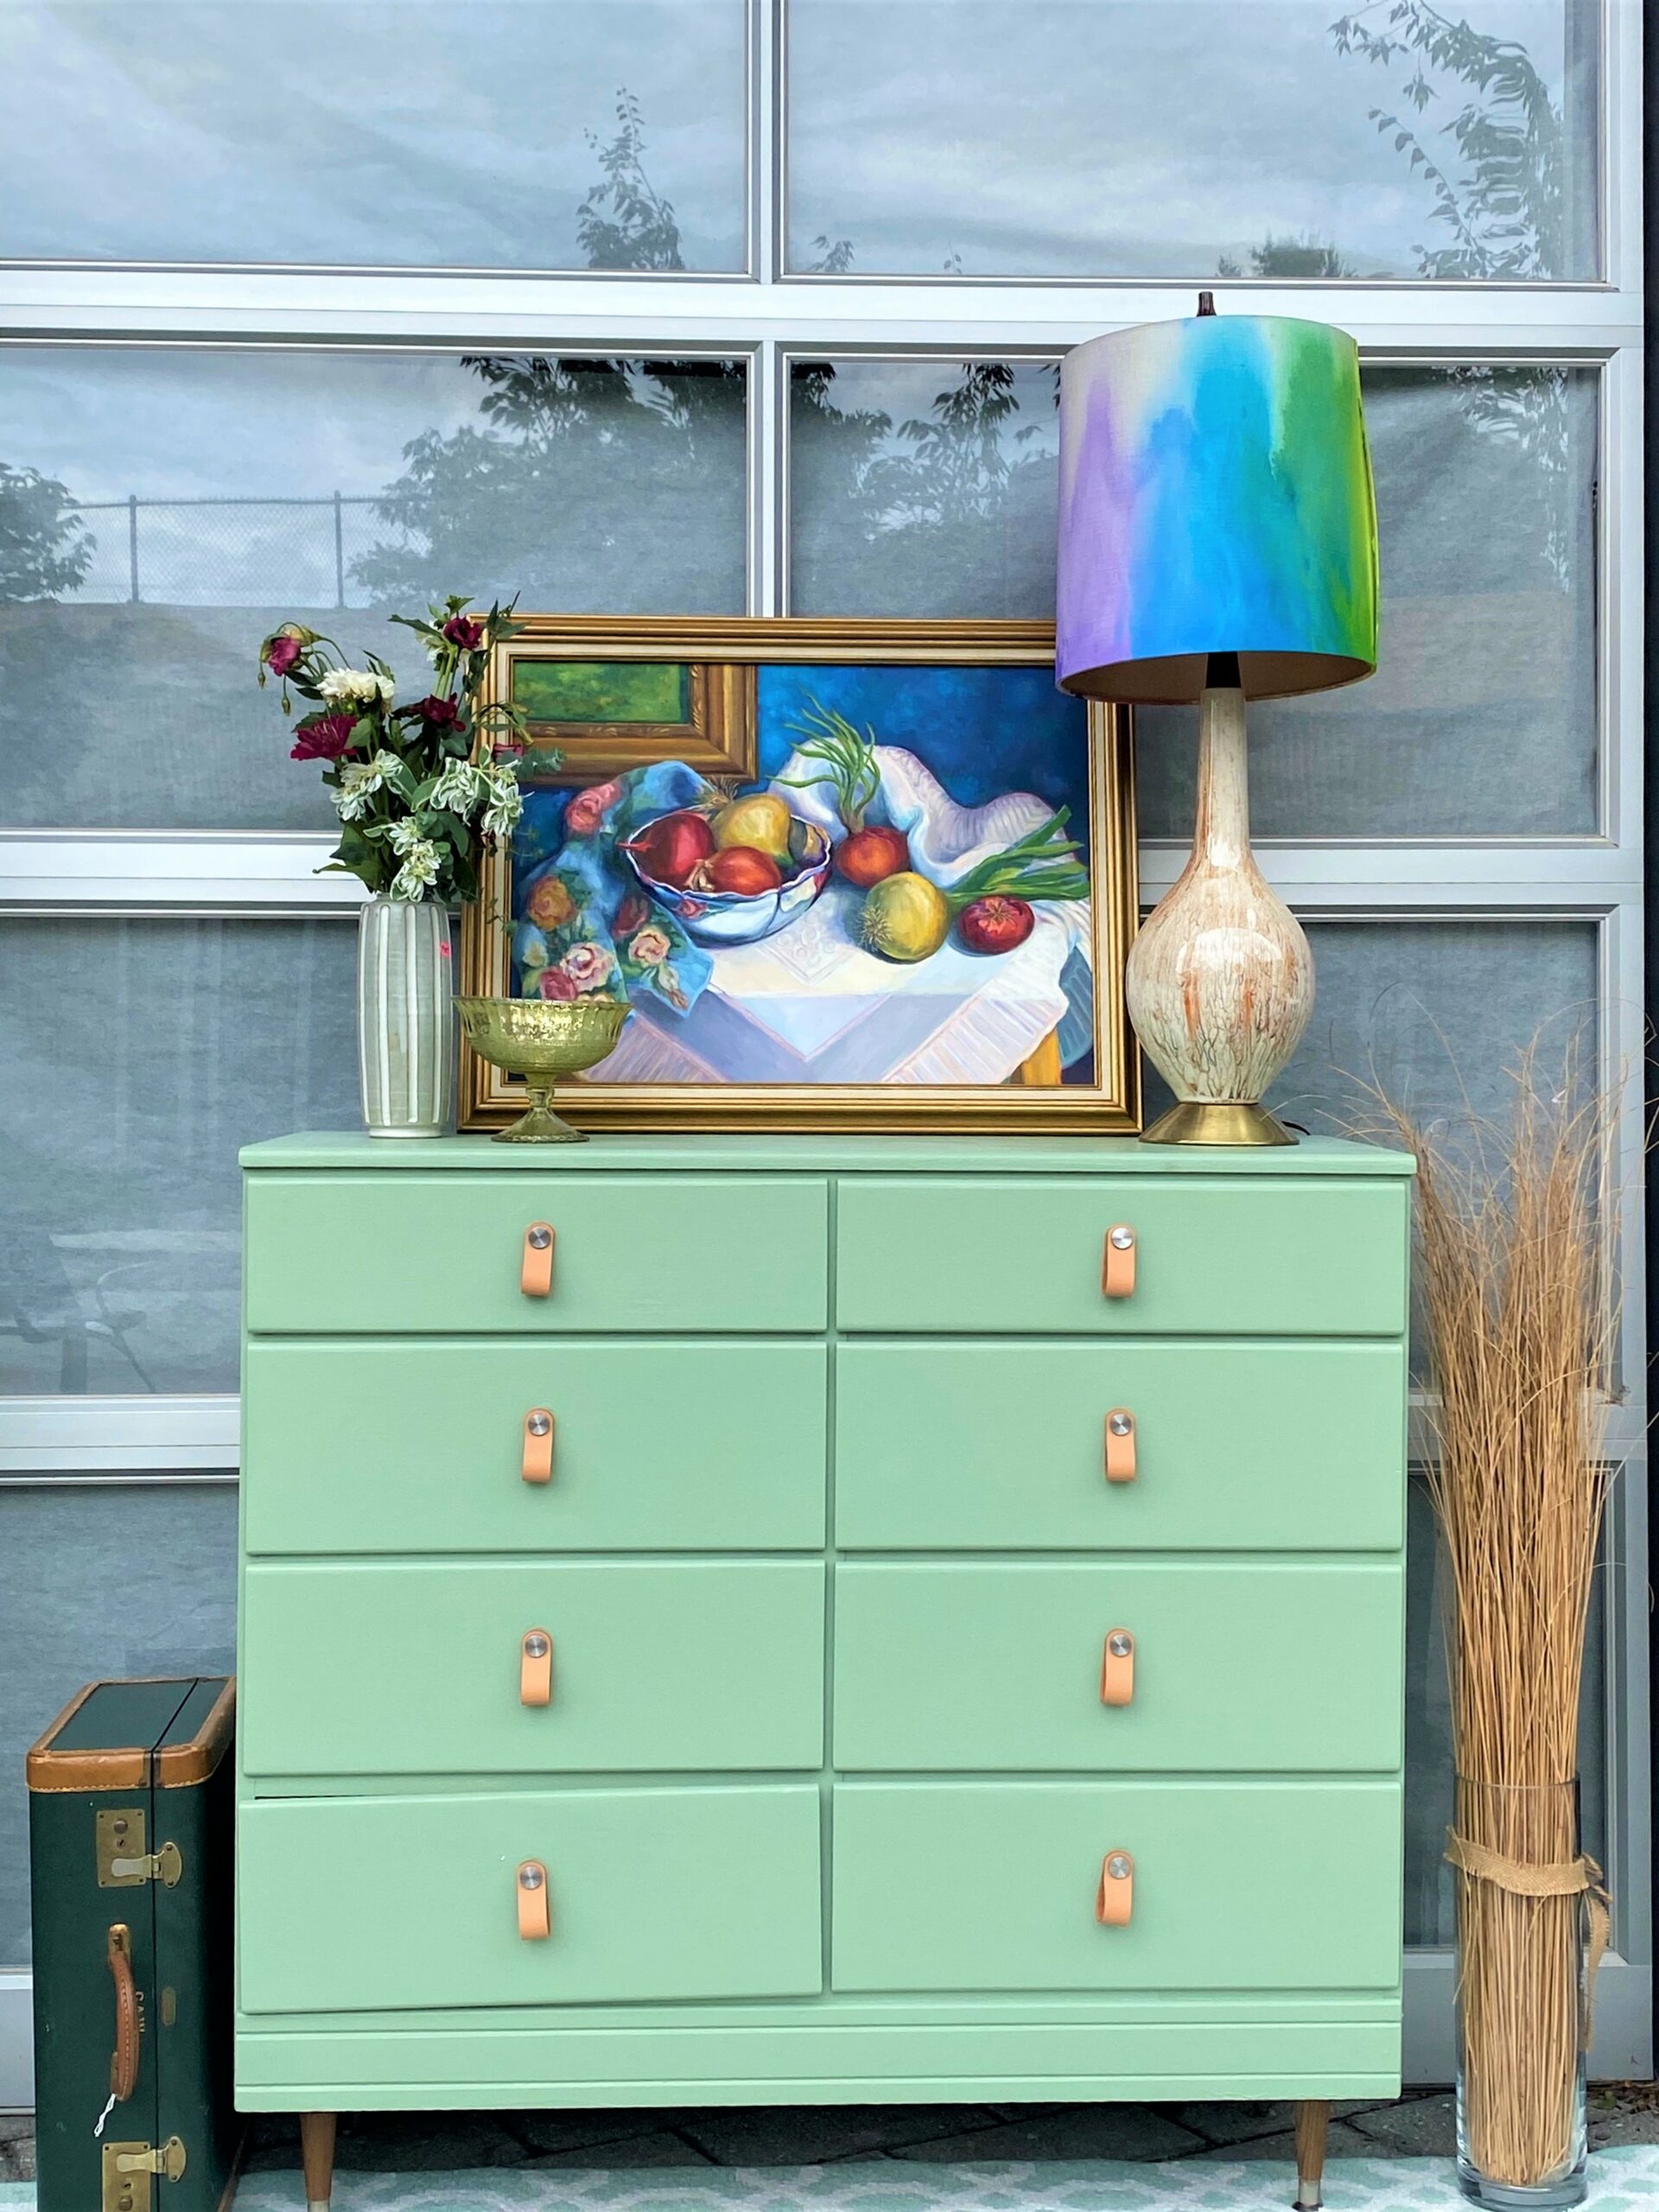
7. Place and accessorize
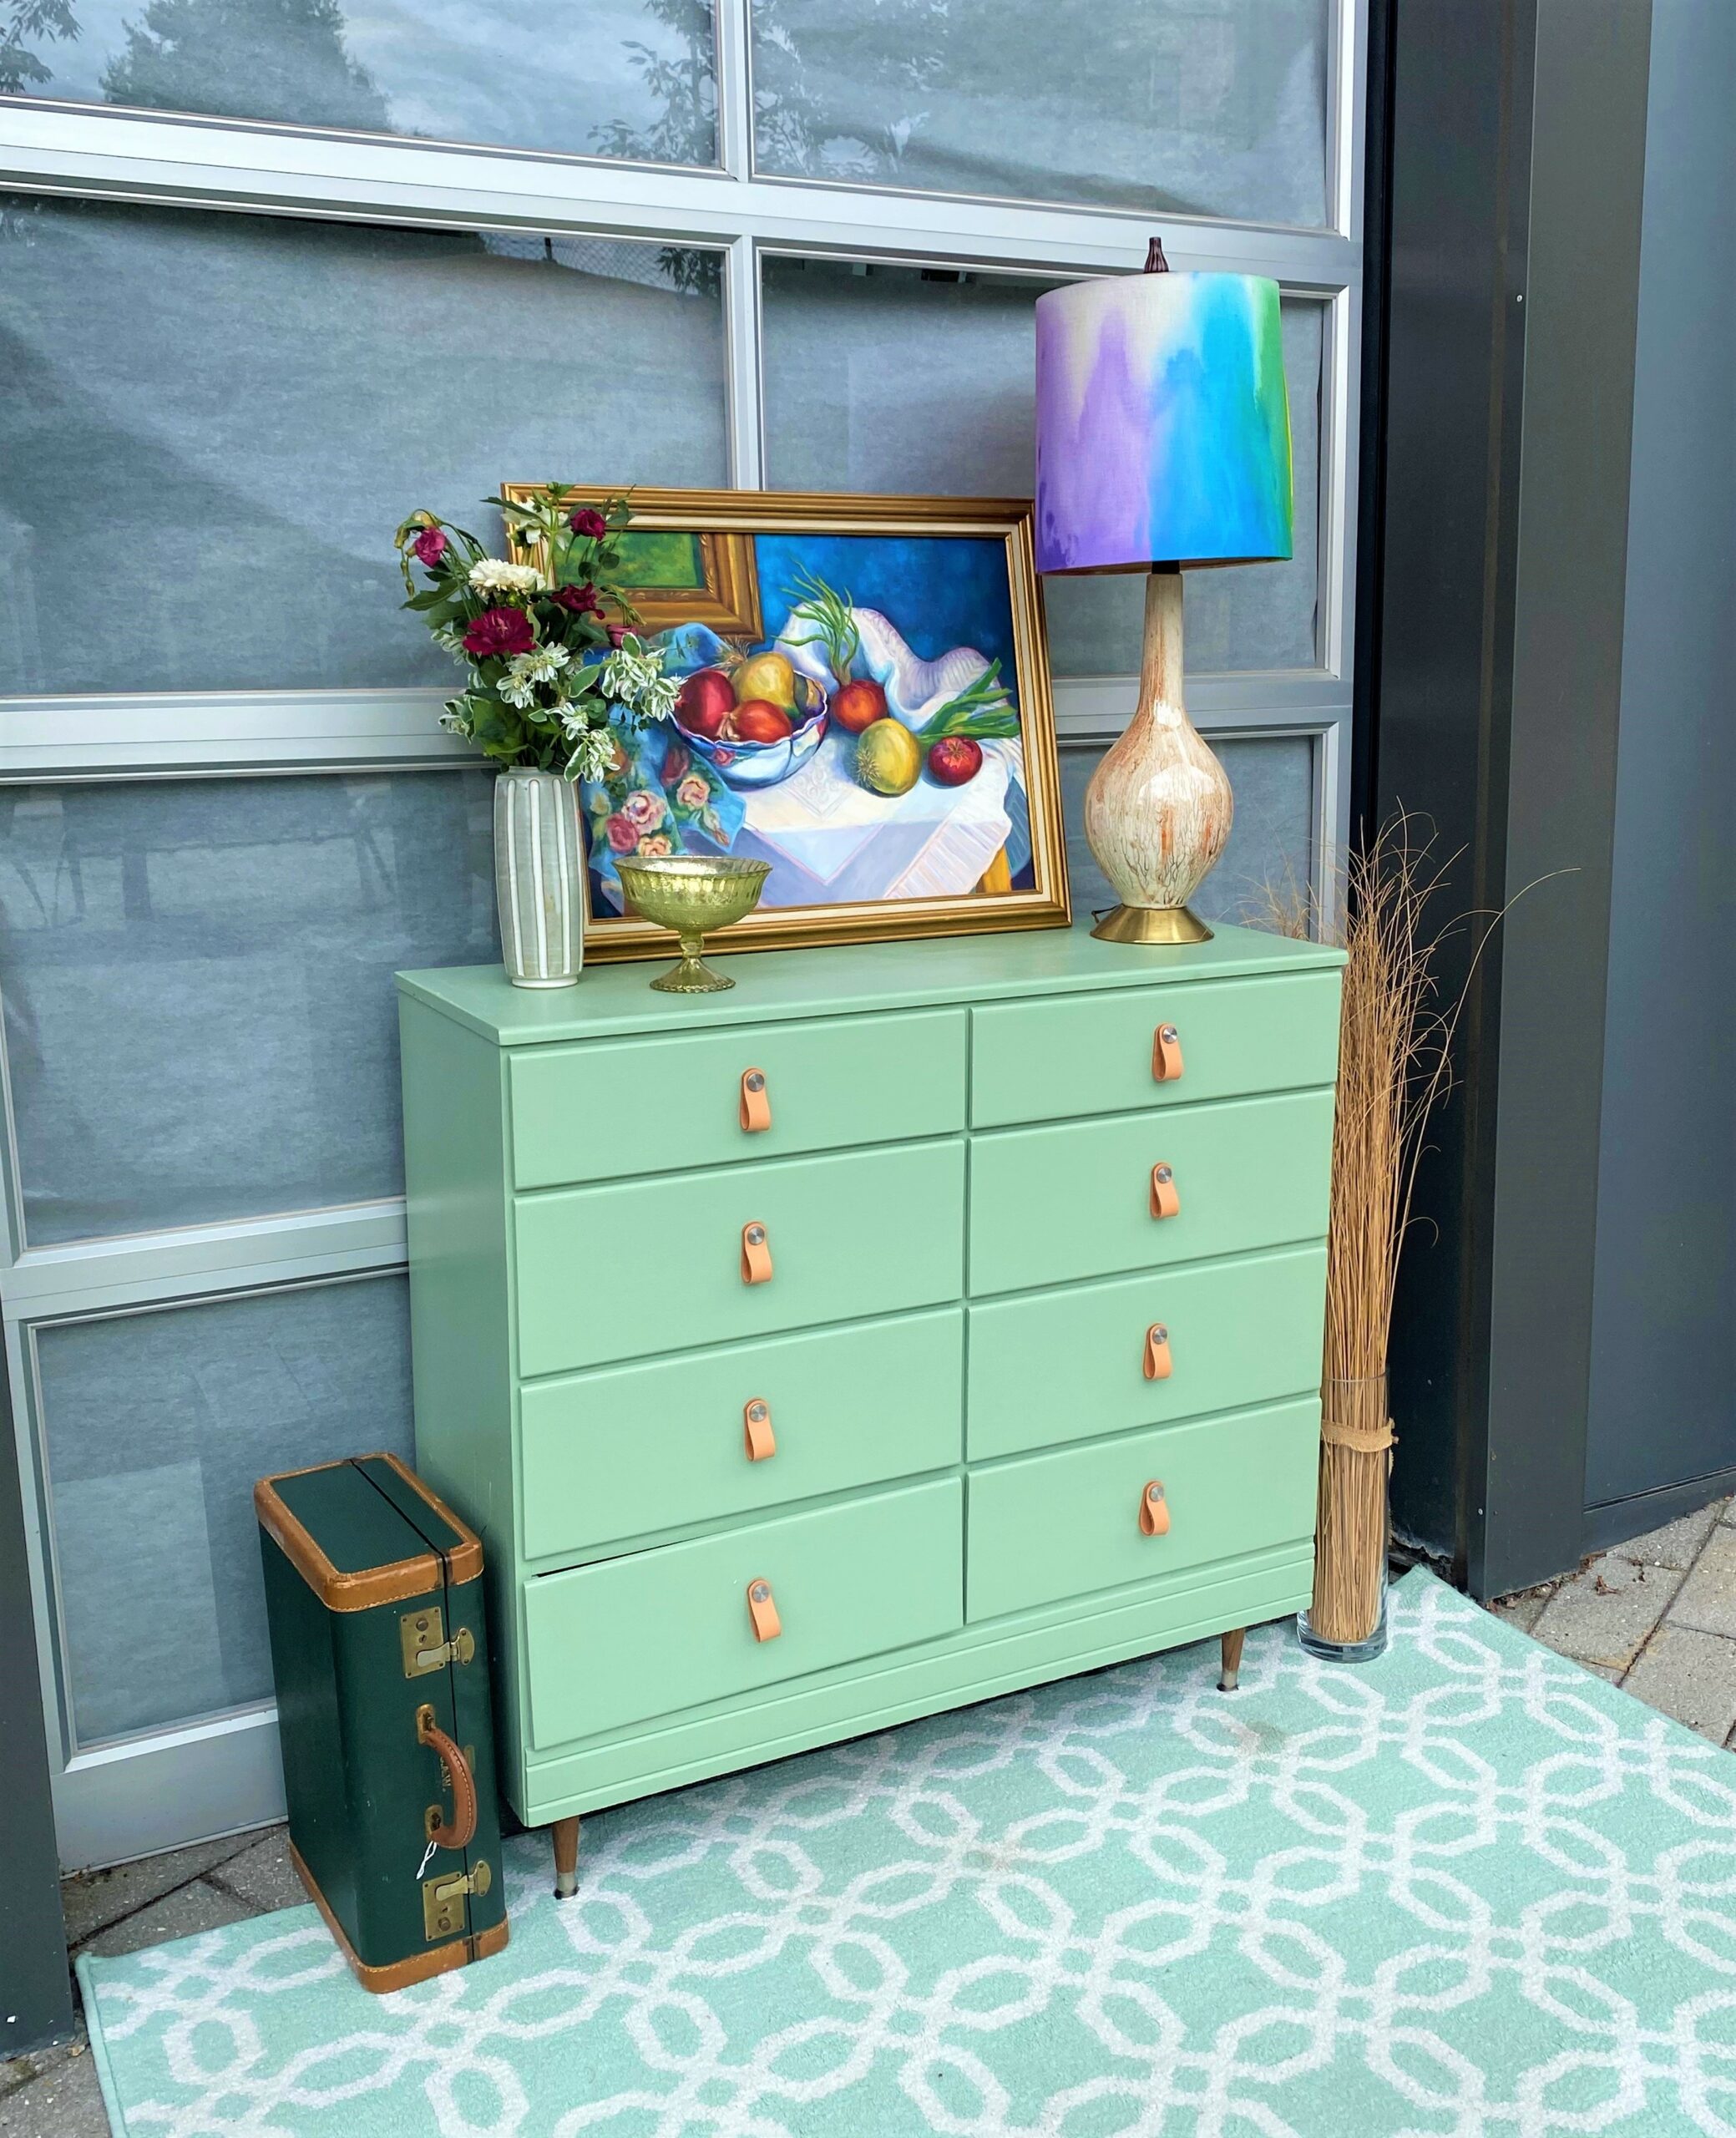
Put your upcycled and very chic dresser in your bedroom and add a unique lamp on top. Position it with artwork and eye-catching accessories. A small suitcase was set next to it for some personality and whimsy. All these items may be found at Goodwill, too, for amazingly low prices. Cha-ching!
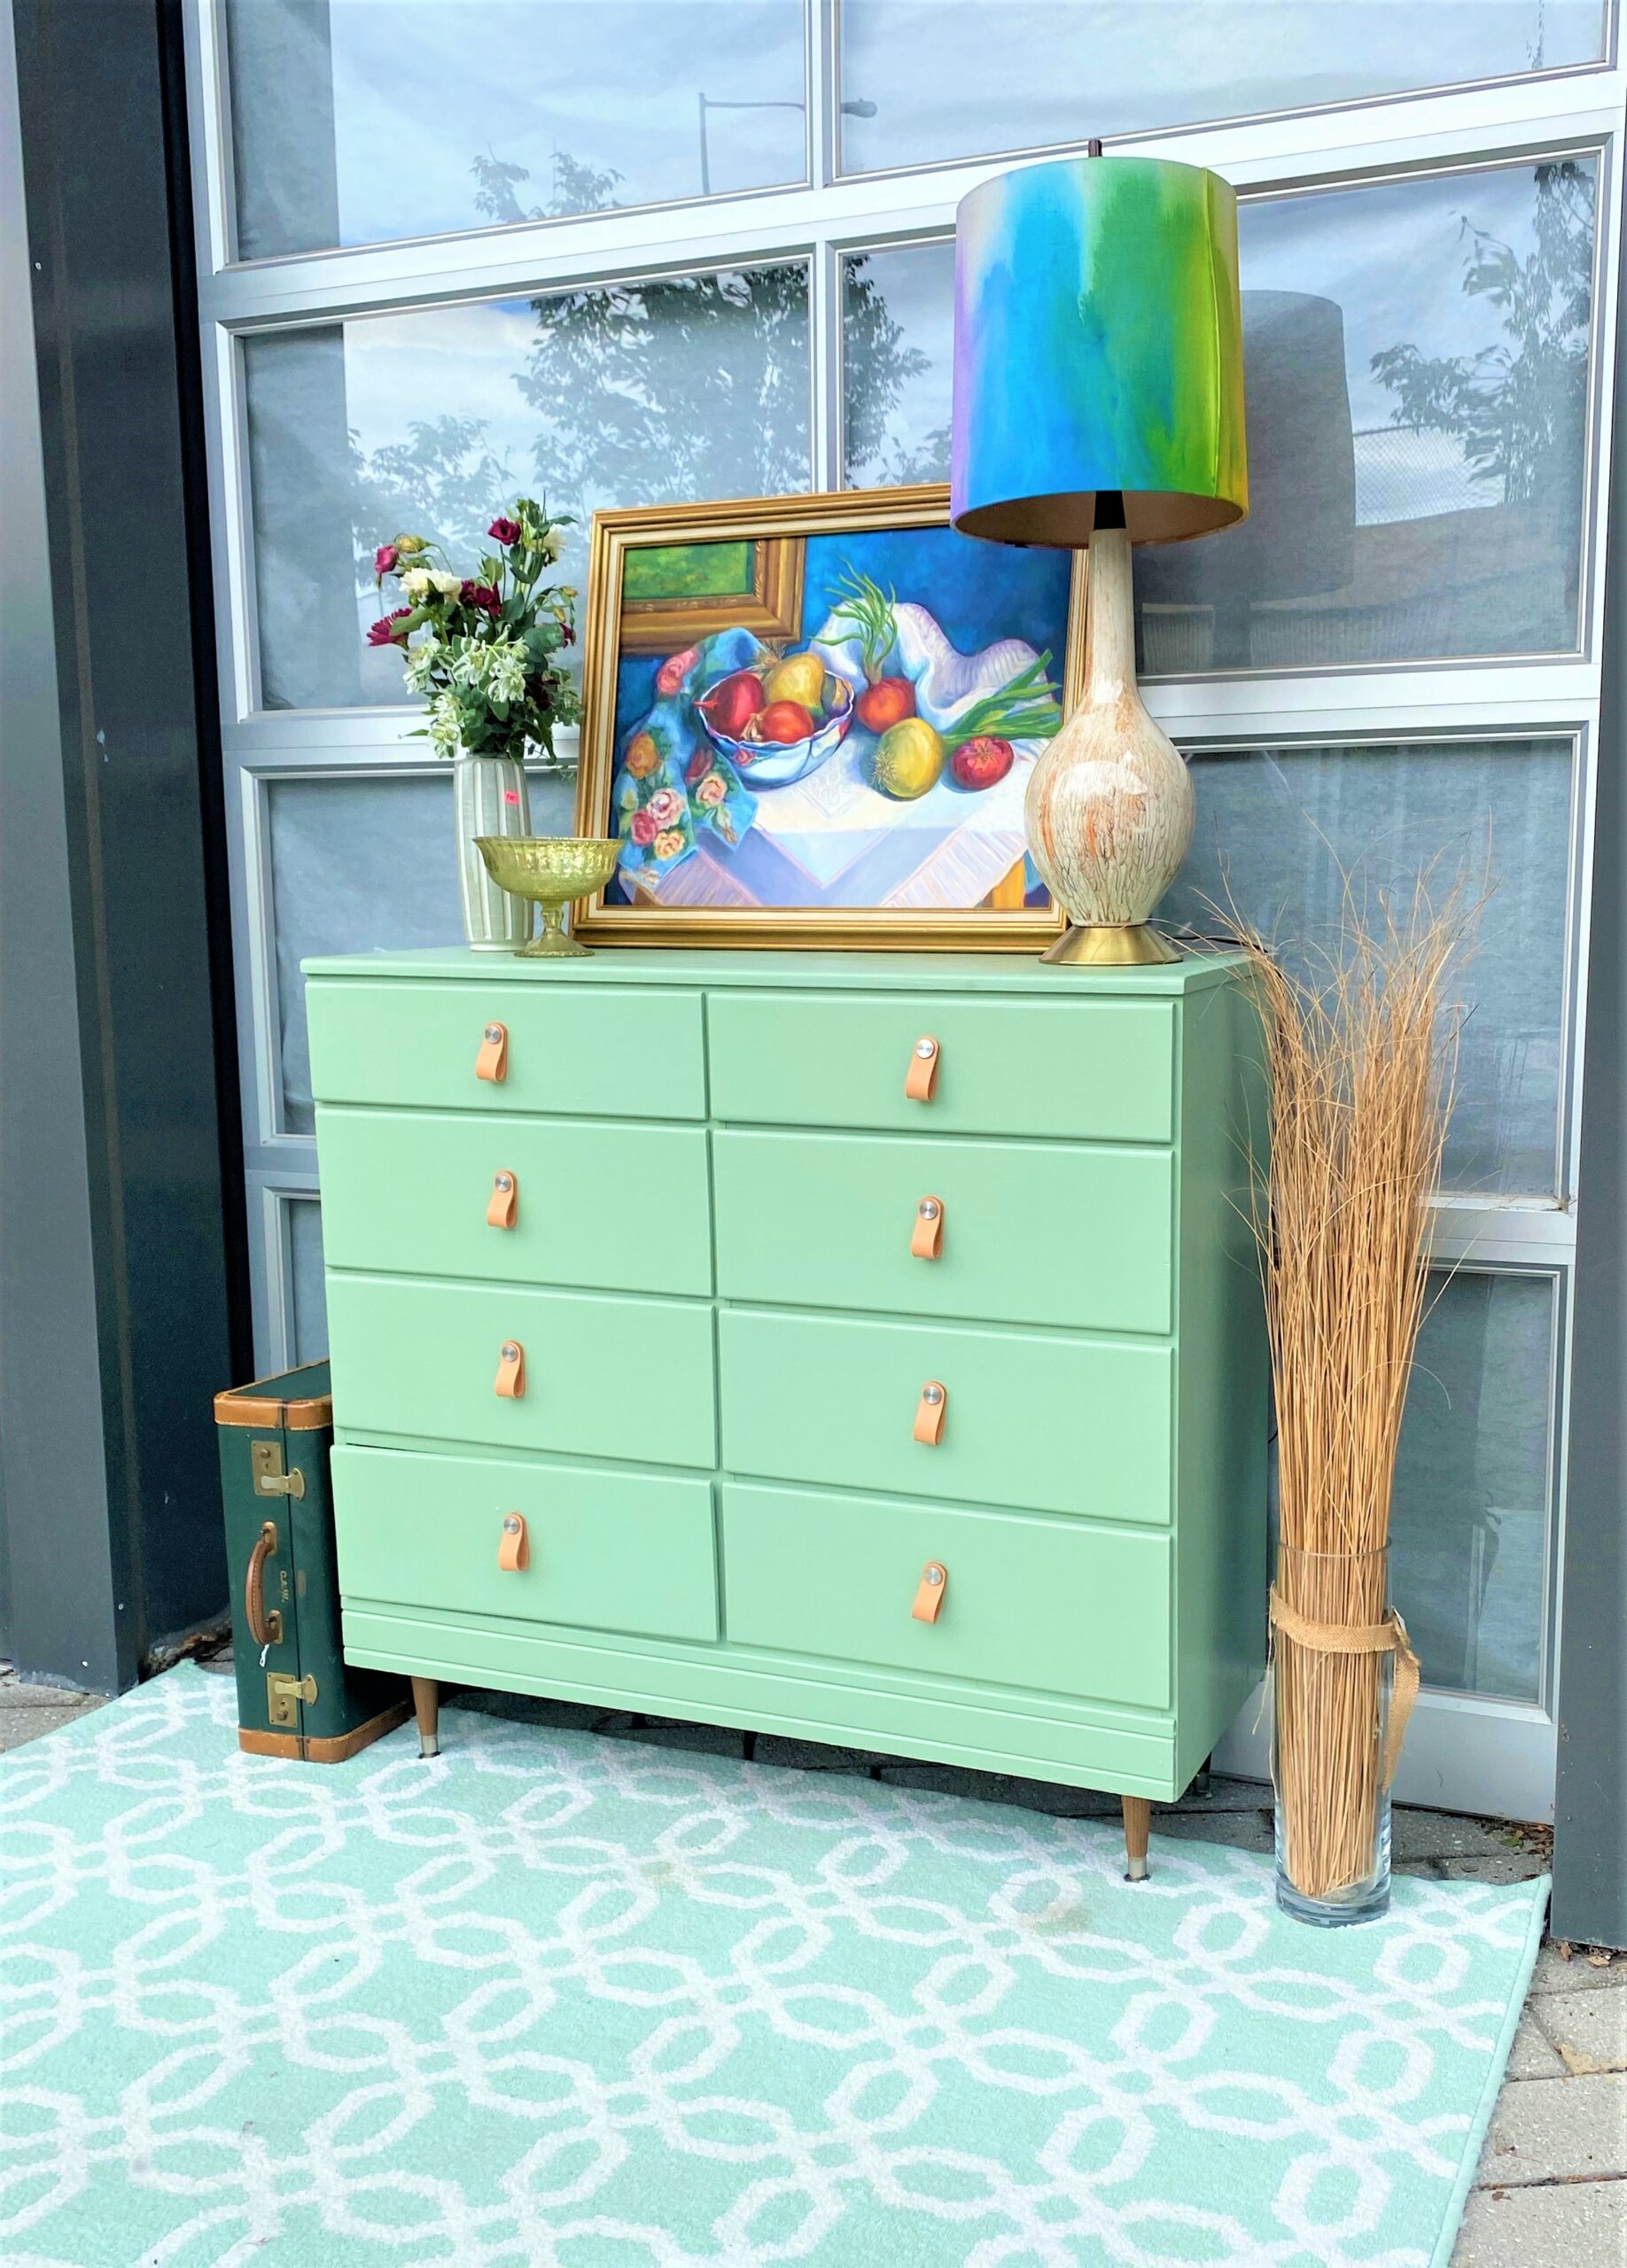
When you use these 3-H’s of upcycling—Hue, Handles & Height—you’ll be sure to feel Happy, Hopeful and Heavenly with the results and final look of your DIY projects!

Tim Kime
Artist, Motivational Speaker, Life Coach