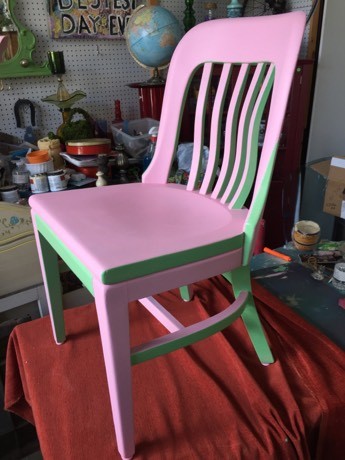
Keep it simple, sweetie: Use just two colors for a big impact!
Using paint to upcycle furniture pieces always provides a fresh and immediate new look. Here’s a design idea: for a big impact, keep things simple with two colors repeated on your piece. With this approach, you can draw attention to unique details and highlight them with color.
Age level: Older teens and adults
Ability level: Moderate; some painting experience always helps
Items needed:
1. Wooden furniture piece
2. Two colors of paint (ideally with primer mixed in already)
3. Paint brushes including small ones for detail work
4. Painter’s tape
5. Polyurethane
Time requirement: 2 to 4 hours per piece
Cost: $25
- $5 to $10 for wooden furniture piece
- $15 per can of paint (with oodles left over for more DIY projects)
- $5 for polyurethane (again, lots remaining for the next transformation)
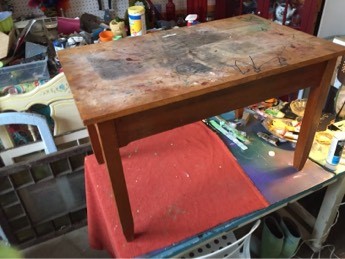
1. Finding your good wood at Goodwill
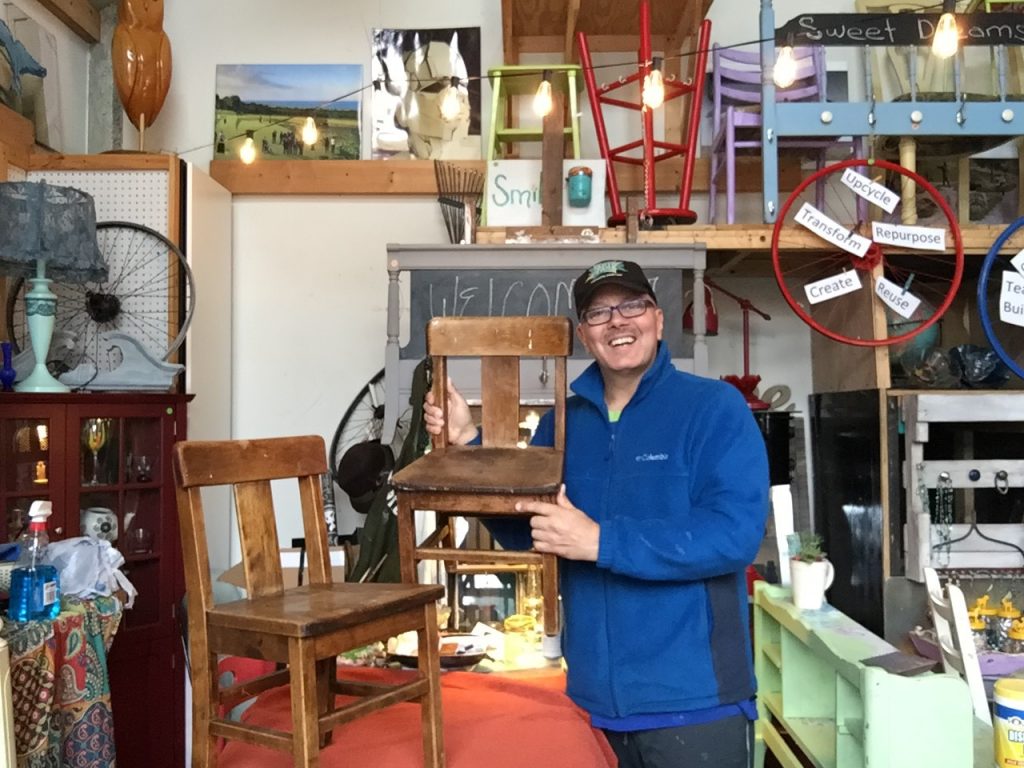
There are always furniture gems waiting for you at your nearby Goodwill. Priced to move quickly, you are sure to find a great piece of wooden furniture for just a few dollars.
Be on the lookout for solid wooden pieces; many newer items are made with particle board or are “veneer,” which is many very thin wooden layers pressed and glue together with a nicer layer of wood on top. While they look fine, there is something strong and sturdy about a piece of furniture constructed from solid, real wood pieces.
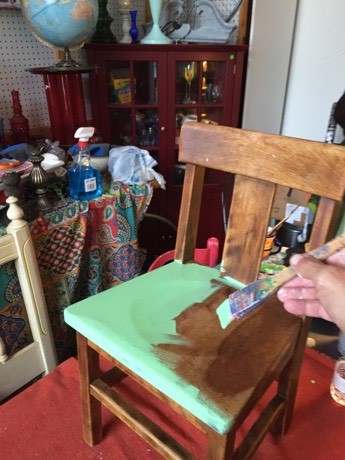
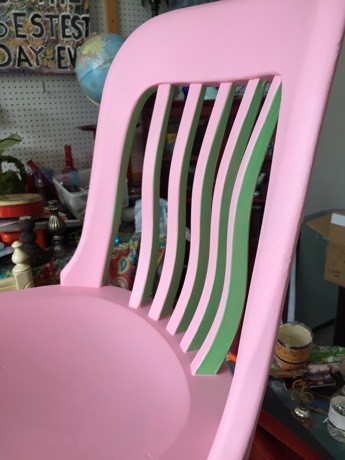
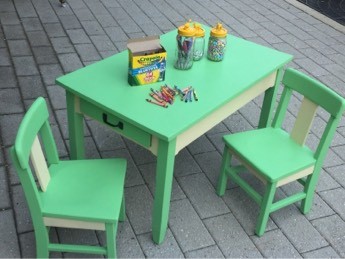
For this DIY project, I am transforming a child’s chair and table set as well as an old library chair. Both have a history and soul to them. Fun, fun, fun!
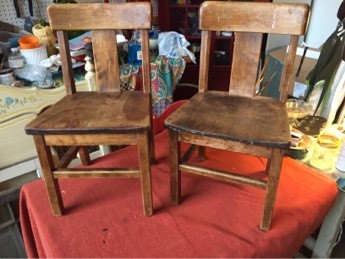
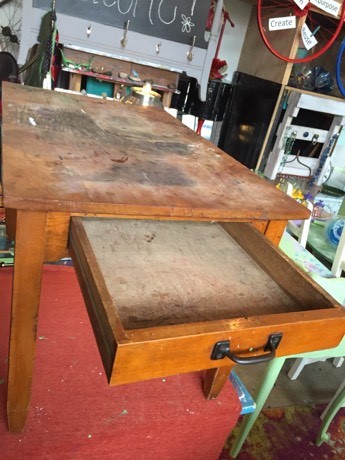
2. Prep your piece
- Remove any hardware and put aside.
- Lightly sand all sides and edges of your piece to buff up the finish and make it more adherable for the coats of paint.
- Once done then wipe down with a damp rag to ensure a clear and clean surface.
3. Color Tone 1: Paint on layers
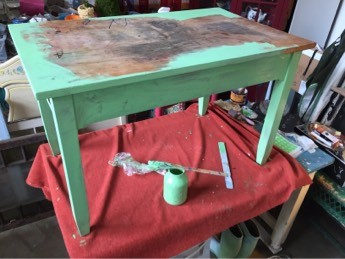
- Using the first color, paint your entire piece with a thin layer.
- Work to get every edge covered. Don’t worry about a perfect coat; if the wood tone or previous paint color shows through, no problem. Additional layers will ensure solid coverage.
- After the first coat, let your piece dry overnight if possible.
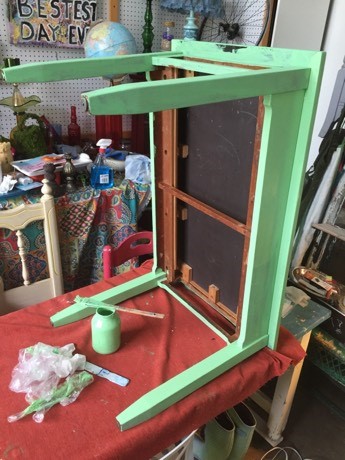
- When you return to paint, place the piece on its side so you are able to spot parts not yet covered.
- Again, let dry, then repeat this step several times, carefully placing the piece on its back or even upside down. This part takes time AND you will be glad that it is covered from every angle. (I learned this the hard way when I placed a finished piece in the living room only to see an entire part was missed! Oops!)
Expert tip: To save water and time, wrap your paint brush—in between coats—in a plastic bag so there is no air. When you return to the next layer, simply remove the plastic and your brush should still be moist, flexible and ready to use. When all layers are on the piece, then wash it thoroughly.
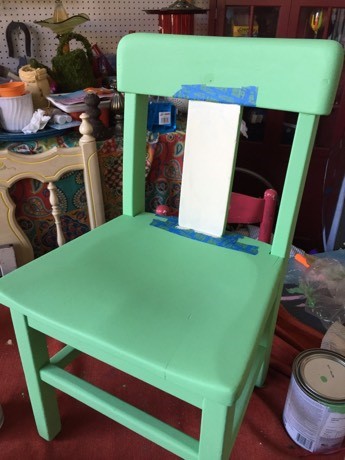
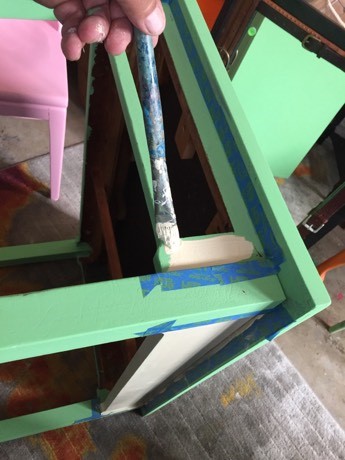
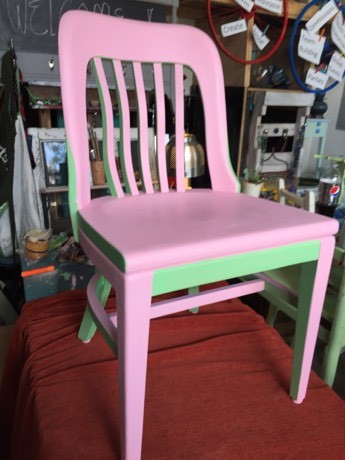
4. Color Tone 2: Highlight details

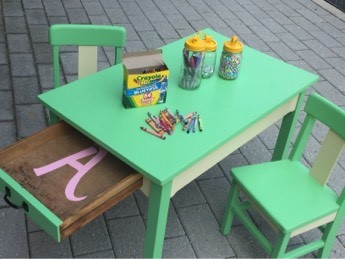
- With a smaller, detail brush, paint on your second color in strategically selected spots. For the child’s table set, I picked the back and sides of each chair to receive the second color and selected the sides of the table. While the pieces came as a set, you could paint different pieces the same two tones to immediately connect them and make them their own special set.
- Similar to the above, you may have to add several coats of the second paint tone to ensure the color is solid and sharp.
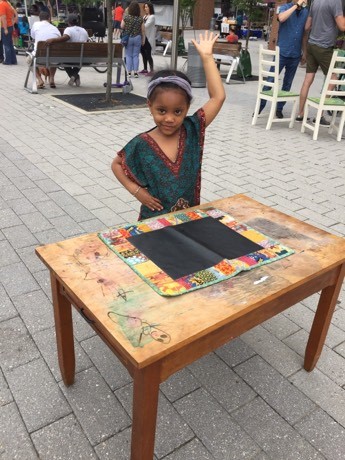
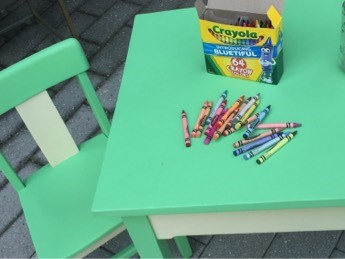
Design idea: for the child’s table, I added a coat of clear chalk board paint to give it another degree of fun and functionality. Most hardware stores sell chalk board paint in a variety of colors including the “traditional” black. However, the shade of green used for the piece was so inviting that a clear coat seemed like the only option! Follow the instructions on the side of the can; it is likely that you will need to be brushing on several layers, too, then letting it dry in-between coats.
5. Paint your hardware, too
Based on the wooden piece you select for this project, it might come with hardware—which provides more transformative fun! While your piece is drying, spray paint the hardware for a freshened-up look. Let it dry, too, then add it back to your piece.
6. Poly your piece
To protect your two-toned transformed piece from fingerprints and dirt, you’ll want to finish it with a coat of poly.
Polyurethane comes in two forms: spray or brush-on. Both options work fine, though I prefer the brush-on kind because you can put on a thicker layer. It will take more time and I think it’s worth it so that the piece will withstand the test of time. Add several layers, allowing time to dry.
7. Enjoy!
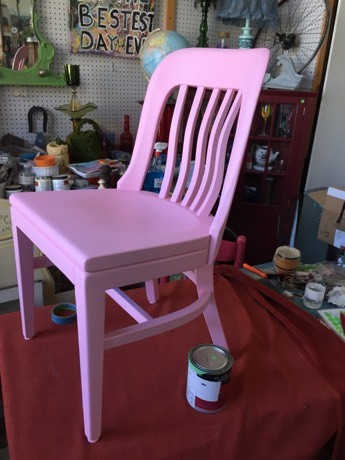
Your transformed, two toned piece will be sure to attract attention!
And its timeless shape and solid construction means you will be able to savor the fruits of your painting labor for many years to come!


