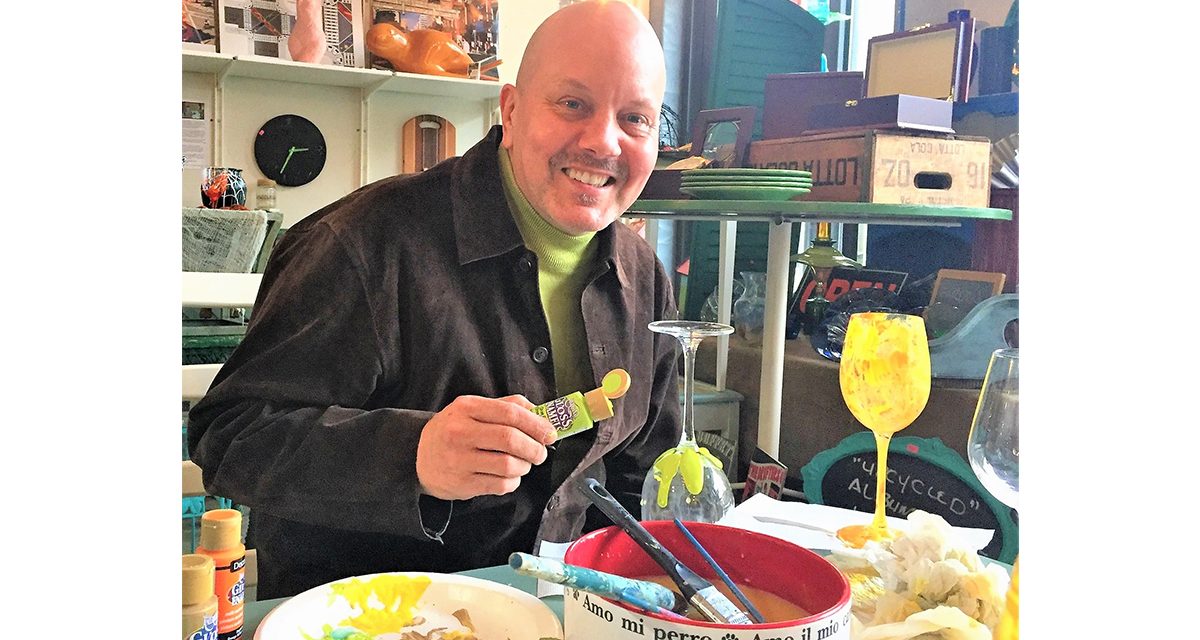
Here’s another way to make your upcoming Thanksgiving celebration memorable — one of a kind, color-coordinated glassware! There is something special about the moment you take a sip of from a painted glass. Maybe it is knowing that someone added his or her creativity and energy to it? This easy project is even more fun when done as a group, with a friend or even by yourself. No matter who is involved, you’re all sure to say “Cheers!”
Age Level: Older kids, teens, and adults
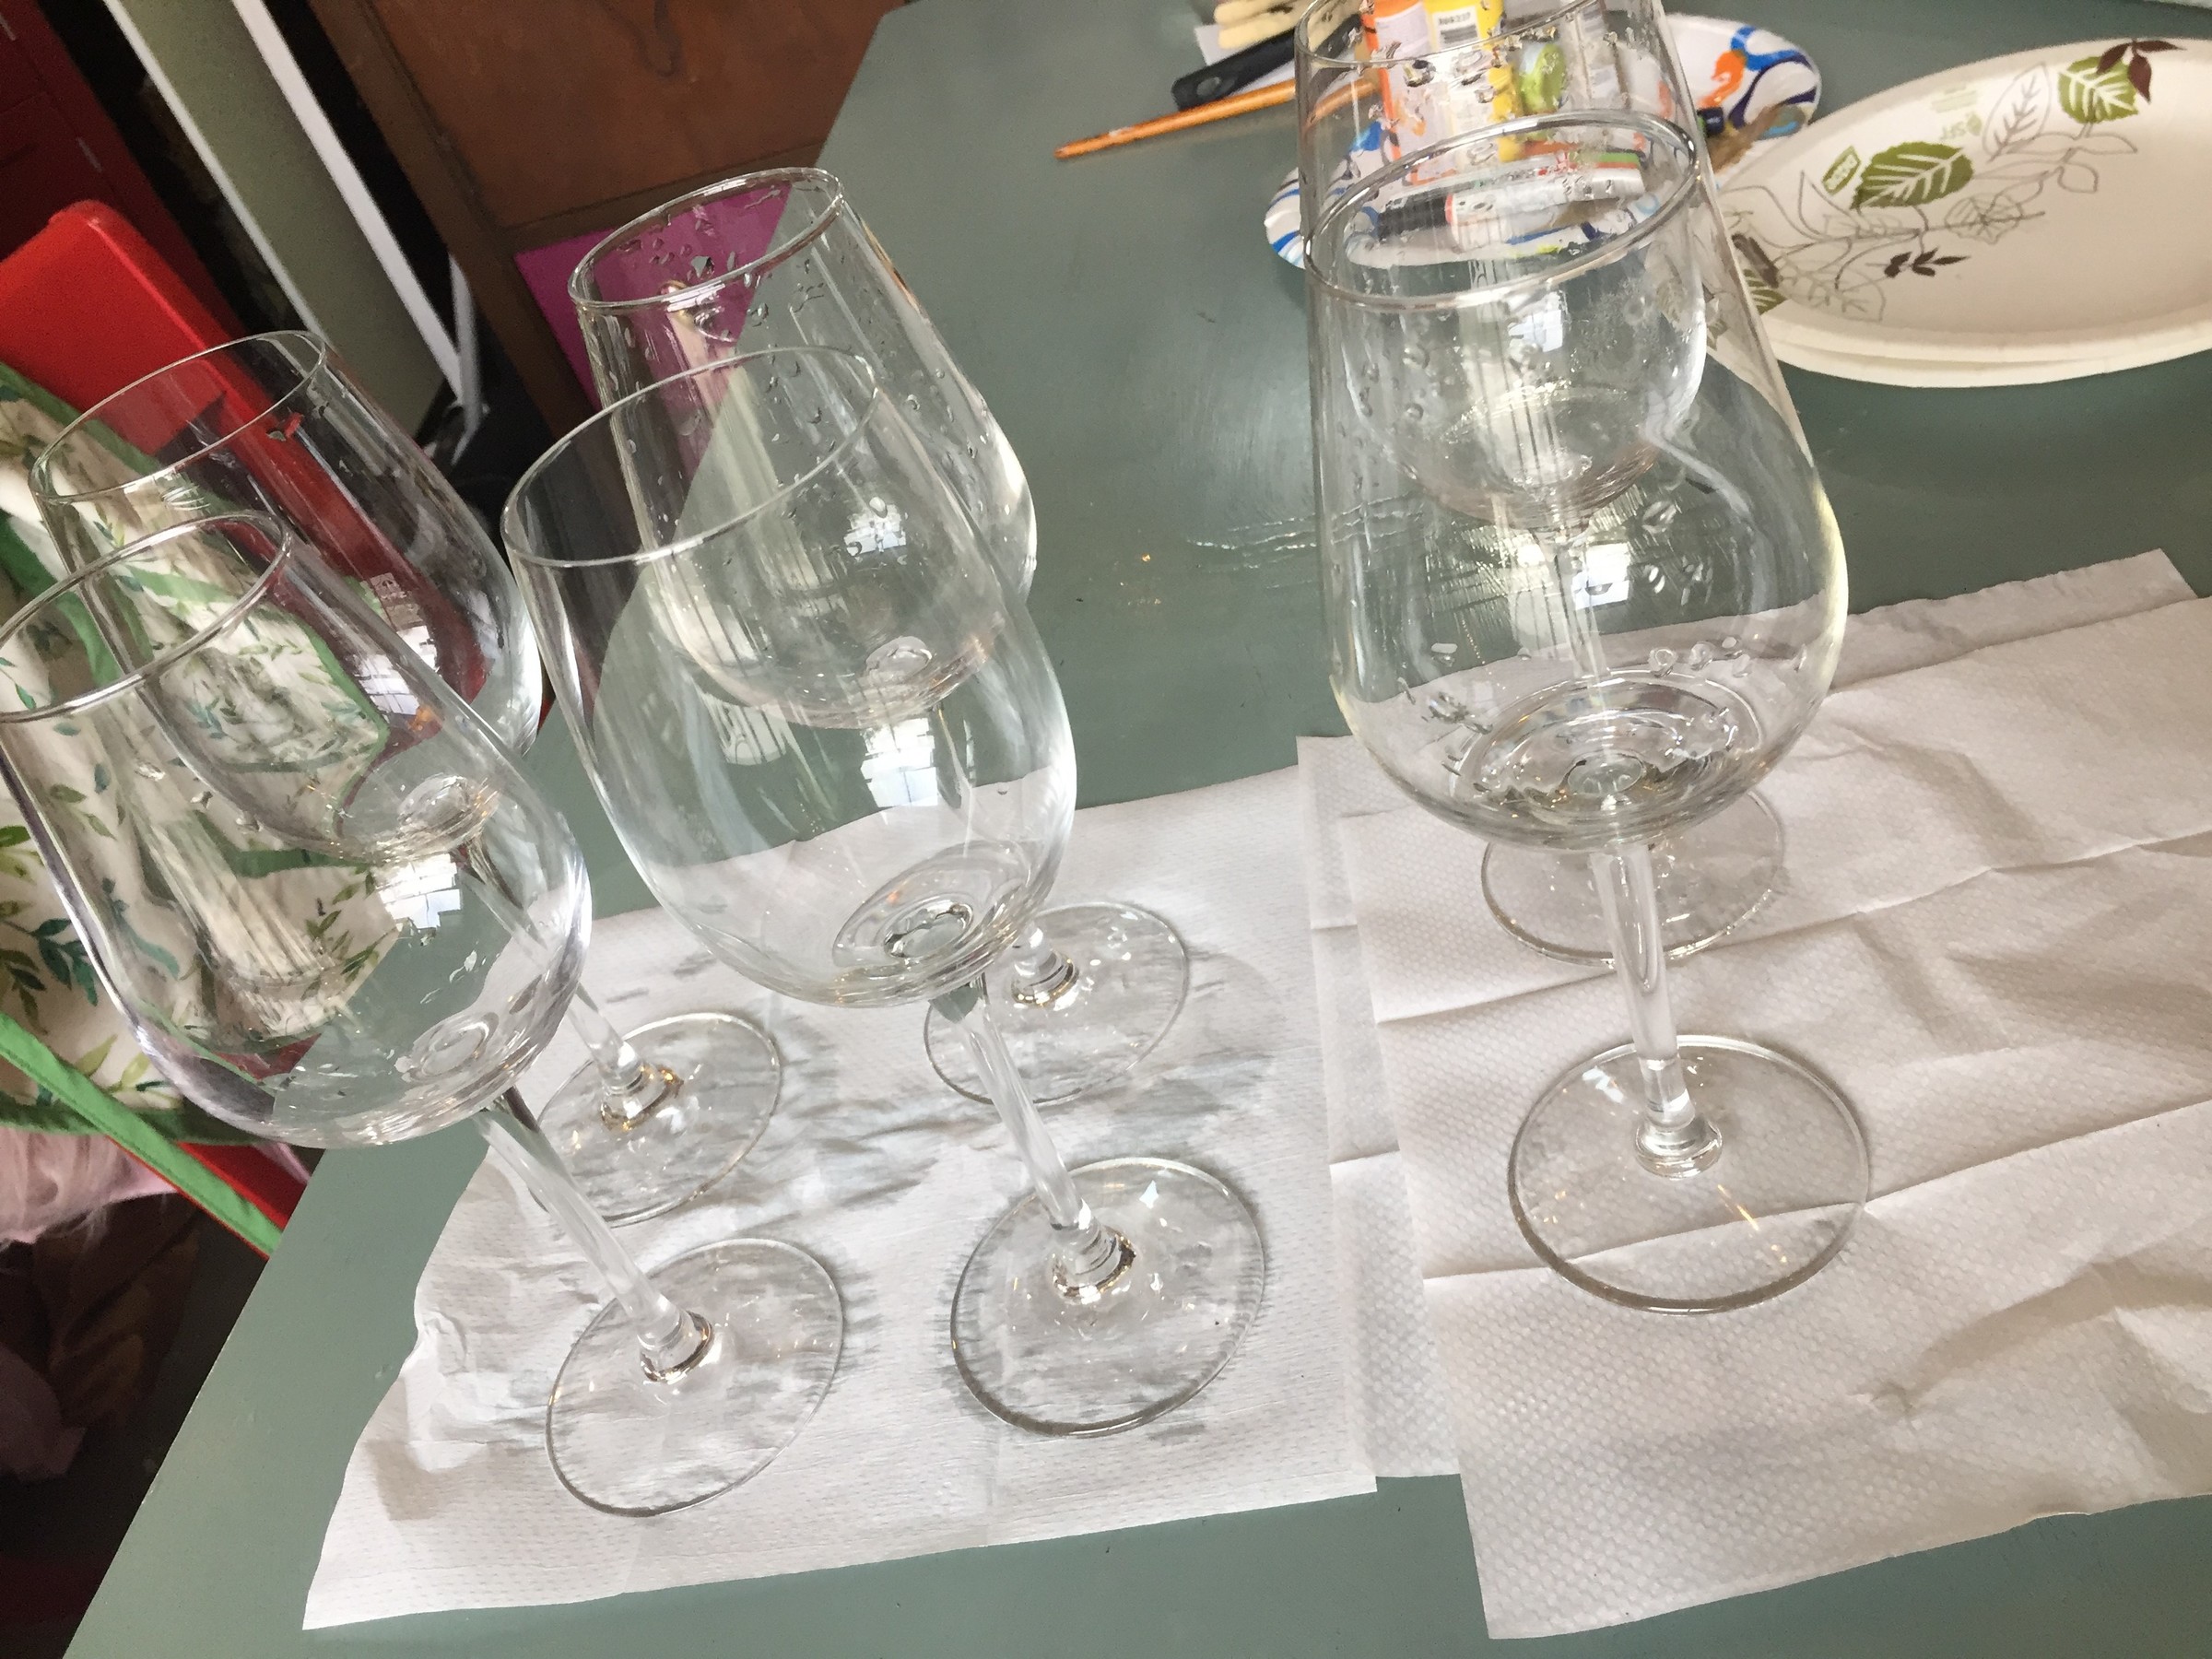
Items needed:
- A set of wine glasses (note: they don’t have to be the same)
- Small containers of glass/ceramic paints
- Glass/ceramic paint markers
- Paintbrushes
- Oven
Time requirement: 1 hour (not including paint drying time and baking time)
Cost:Approximately $3 per wine glass
- $1 to $2 per glass
- $4 per container of glass/ceramic paint
- $5 for glass/ceramic paint markers

Step 1: Time to make a toast
Every Goodwill retail store, no matter where you are located, has shelves of wine glasses perfect for this project. While a matching set always looks great, mismatched or different glasses will add whimsy to your table or party. You could also use taller drinking glasses or shorter ones for juice. And Goodwill always has so many great choices.
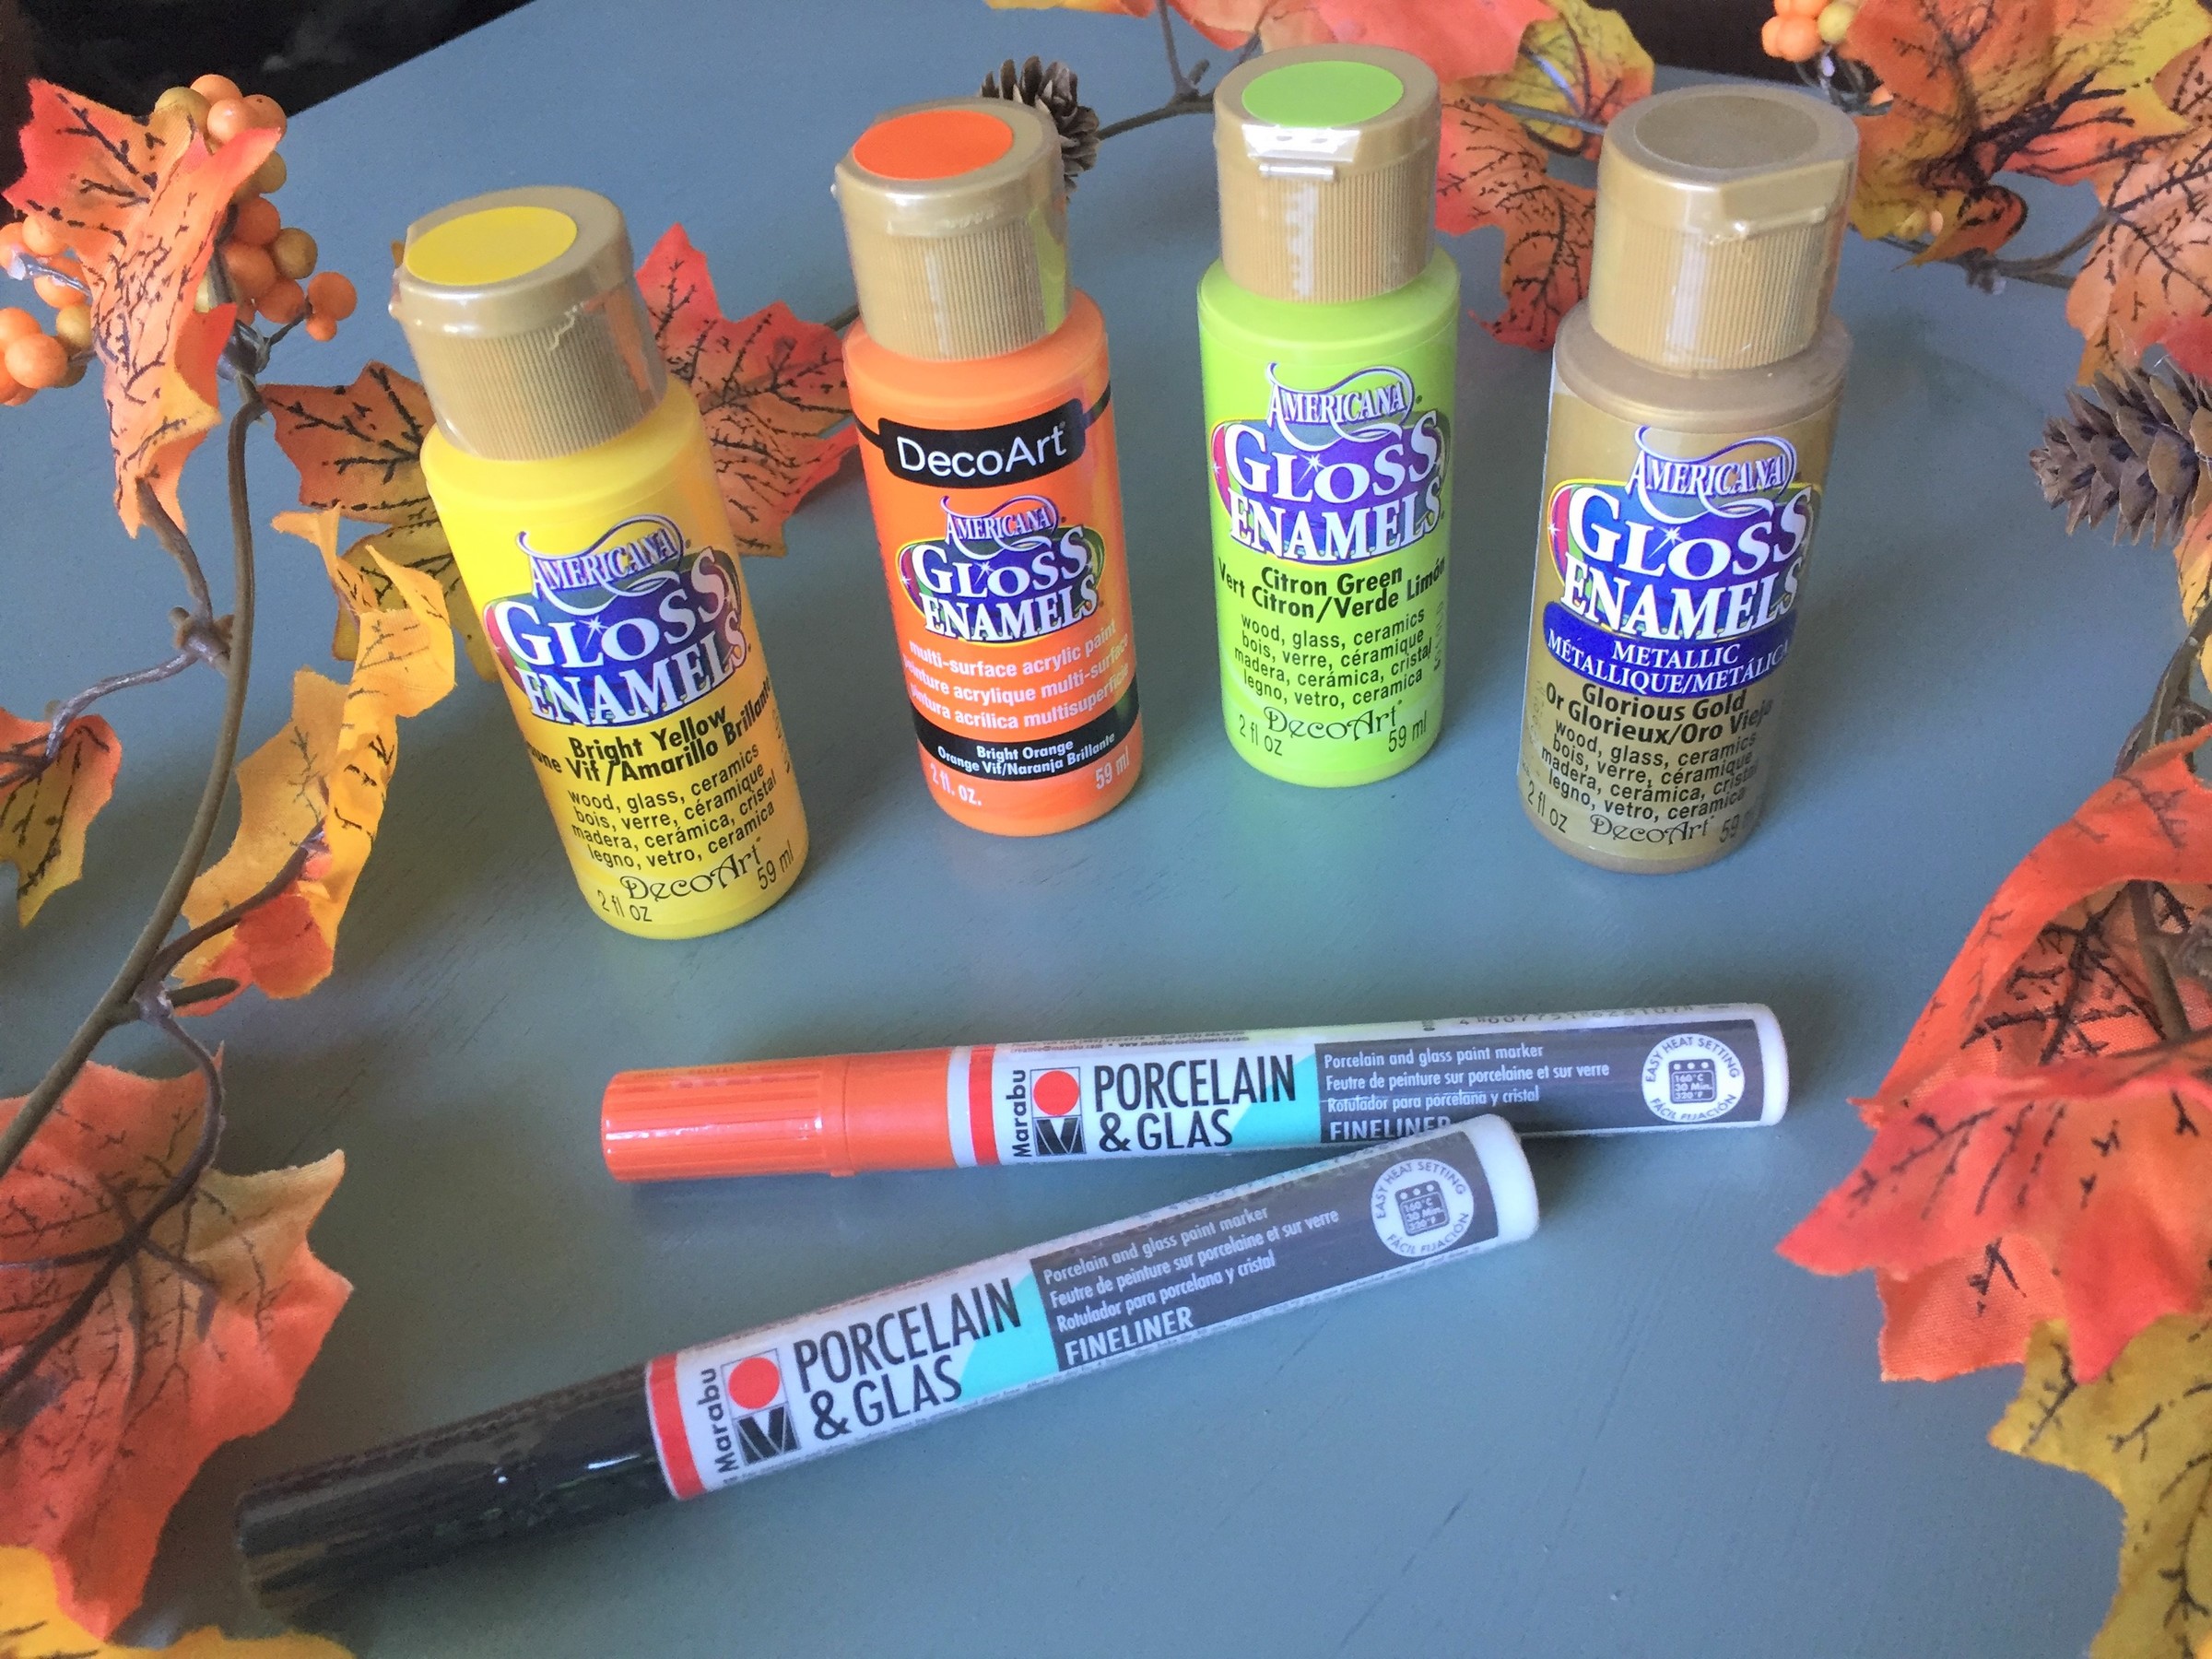
Step 2: Paint on personality
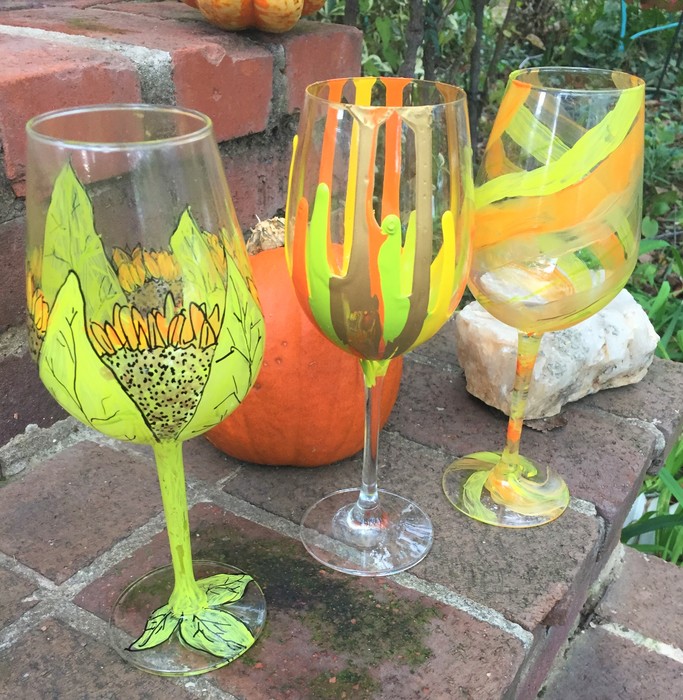
Pick up special glass/ceramic paint at your local arts and crafts store to let your transformation begin. Carefully read directions on your paint; some are okay for use with beverages; others are not so your glasses will be just for decorative use. There are so many ways to go with this project; see the six ways my glasses were turned from typical to terrific? By design, each of the glasses for this project were painted in their own unique way. (This makes it easy for a guest to remember which glass her or she is using.) However, you could paint them all the same way or do so in pairs. Two of my painted glasses have a Claude Monet feel, the dripped painted one feels modern and funky while the sunflower one makes me smile. Paint on stripes, dots, words, leaves, and other images — the sky is the limit!
Here are my designs and how to replicate them:
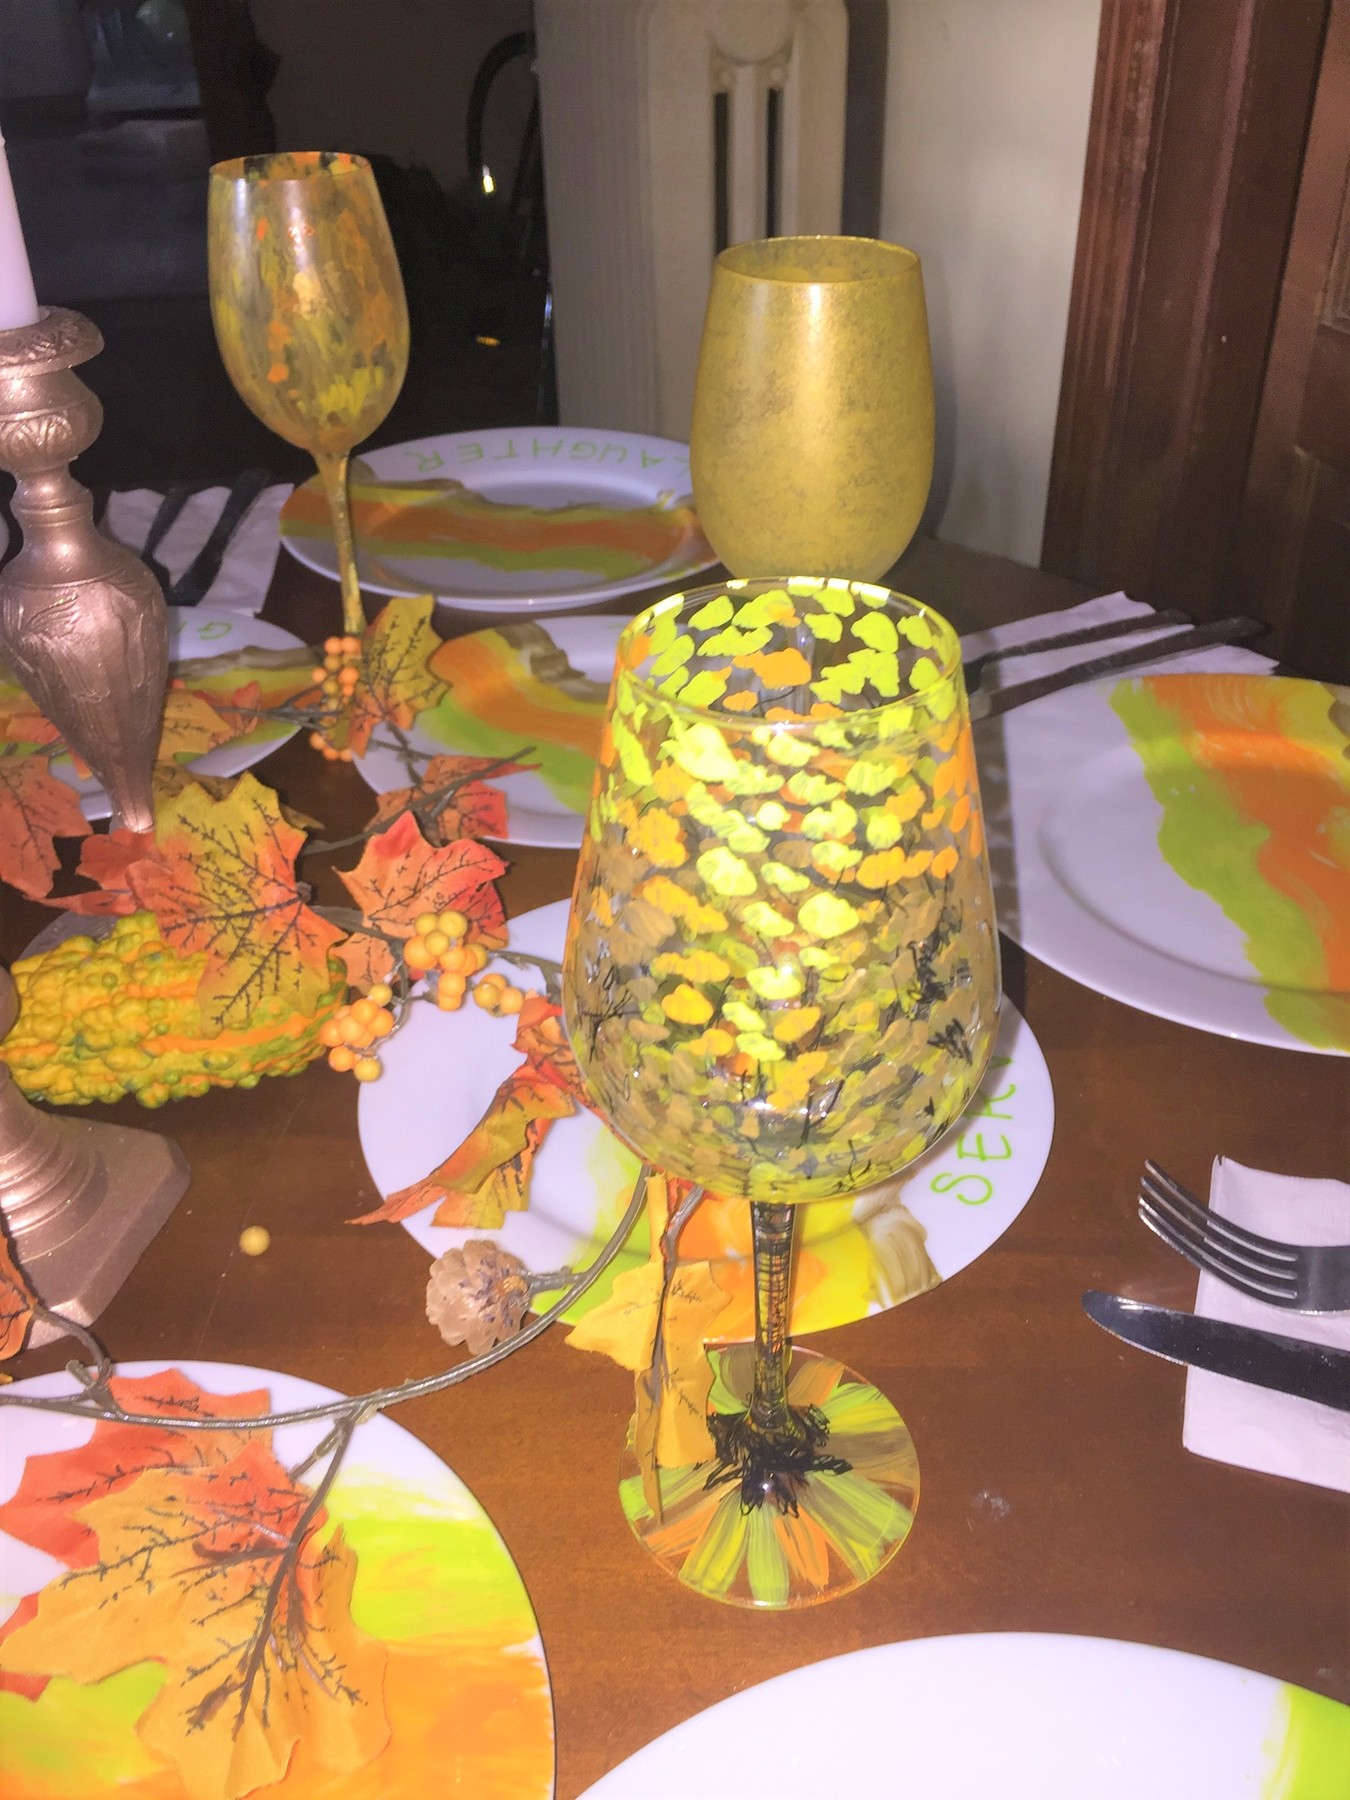
Golden Globe: Brush on yellow paint over the entire top part of the glass. With a tissue or paper towel, lightly blot off the paint. Add a layer of gold paint and repeat the step. To add some bling, use a small, detail paint brush to add gold dots on the base of the glass.
Monet’s Fall Garden: With a brush that is an inch wide, brush on varies shades of paint while each color is wet. Allow your strokes to cover the entire glass, including the stem and base, brushing lightly so the colors overlap. Think bold strokes placed on gently. You want your piece to feel like an impressionist painting.
Drip Me Down: Turn your wine glass upside down and place carefully on a surface. Where the stem connects to the upper part of the glass (flute), squirt on some paint directly to the glass. Add squirts of each of the colors. Let the paint run down the side of the glass. It will take some time, so set your glass aside and let gravity do the work.
Autumn Swirl: Add paint starting at the top of the glass and gently rotate the class as you move your paint brush downward. This should add a strip of color that wraps around the glass. Repeat in various colors. Consider several stripes in the same color and painting them in various widths. Do the same for the glass’s base. However, for the stem, paint on horizontal stripes. The horizontal strip allowed the color to pop out and look sharper.
Smiling Sunflowers: With your green paint and a small brush, add leaves along the bottom of the glass’s upper part. Let it dry, then paint the stem green and add leaves to the base. Let this dry, too. With gold paint, add dots between the leaves and in a semi-circle; this will be the sunflower’s center. When the gold dries then paint on small dashes of yellow and then orange to resemble petals. Let this dry, too. With your black glass/ceramic marker, outline the leaves then add veins to make them look alive. Next, outline the dashes of yellow and orange so they look like petals. Lastly, add black dots to the gold to mimic the look of a sunflower’s center.
Fall Tree: Add dots of each color in clusters on the top part of the glass. Add strokes of each color to the base. Let dry. With your black glass/ceramic marker, add black “branches” by drawing in lines between the dots, focusing on the bottom part of the globe. Cover the entire stem in black so it will serve as the tree’s trunk. On the base, add black lines coming out from the stem to give the appearance of roots. Done!
Place your painted glasses aside and let them dry overnight.
Expert tip: if you paint on a design that you don’t love, you can easily wipe it off, before it dries, with a damp rag then start again. You have lots of flexibility until Step 4: Oven time.
Step 3: Draw on details
If your design lends itself to adding details, grab your glass/ceramic paint marker after your piece has had time to dry so you don’t smear it. Black was used to outline and add dimension.
Step 4: Open your oven
Turn your oven one to 325 degrees and carefully place your glasses inside for 30 minutes. This process will cure the paint so it permanently adheres to the glass. After the time is up, cool with the oven door open before removing. Keep in mind whether your paint is food/drink-safe!
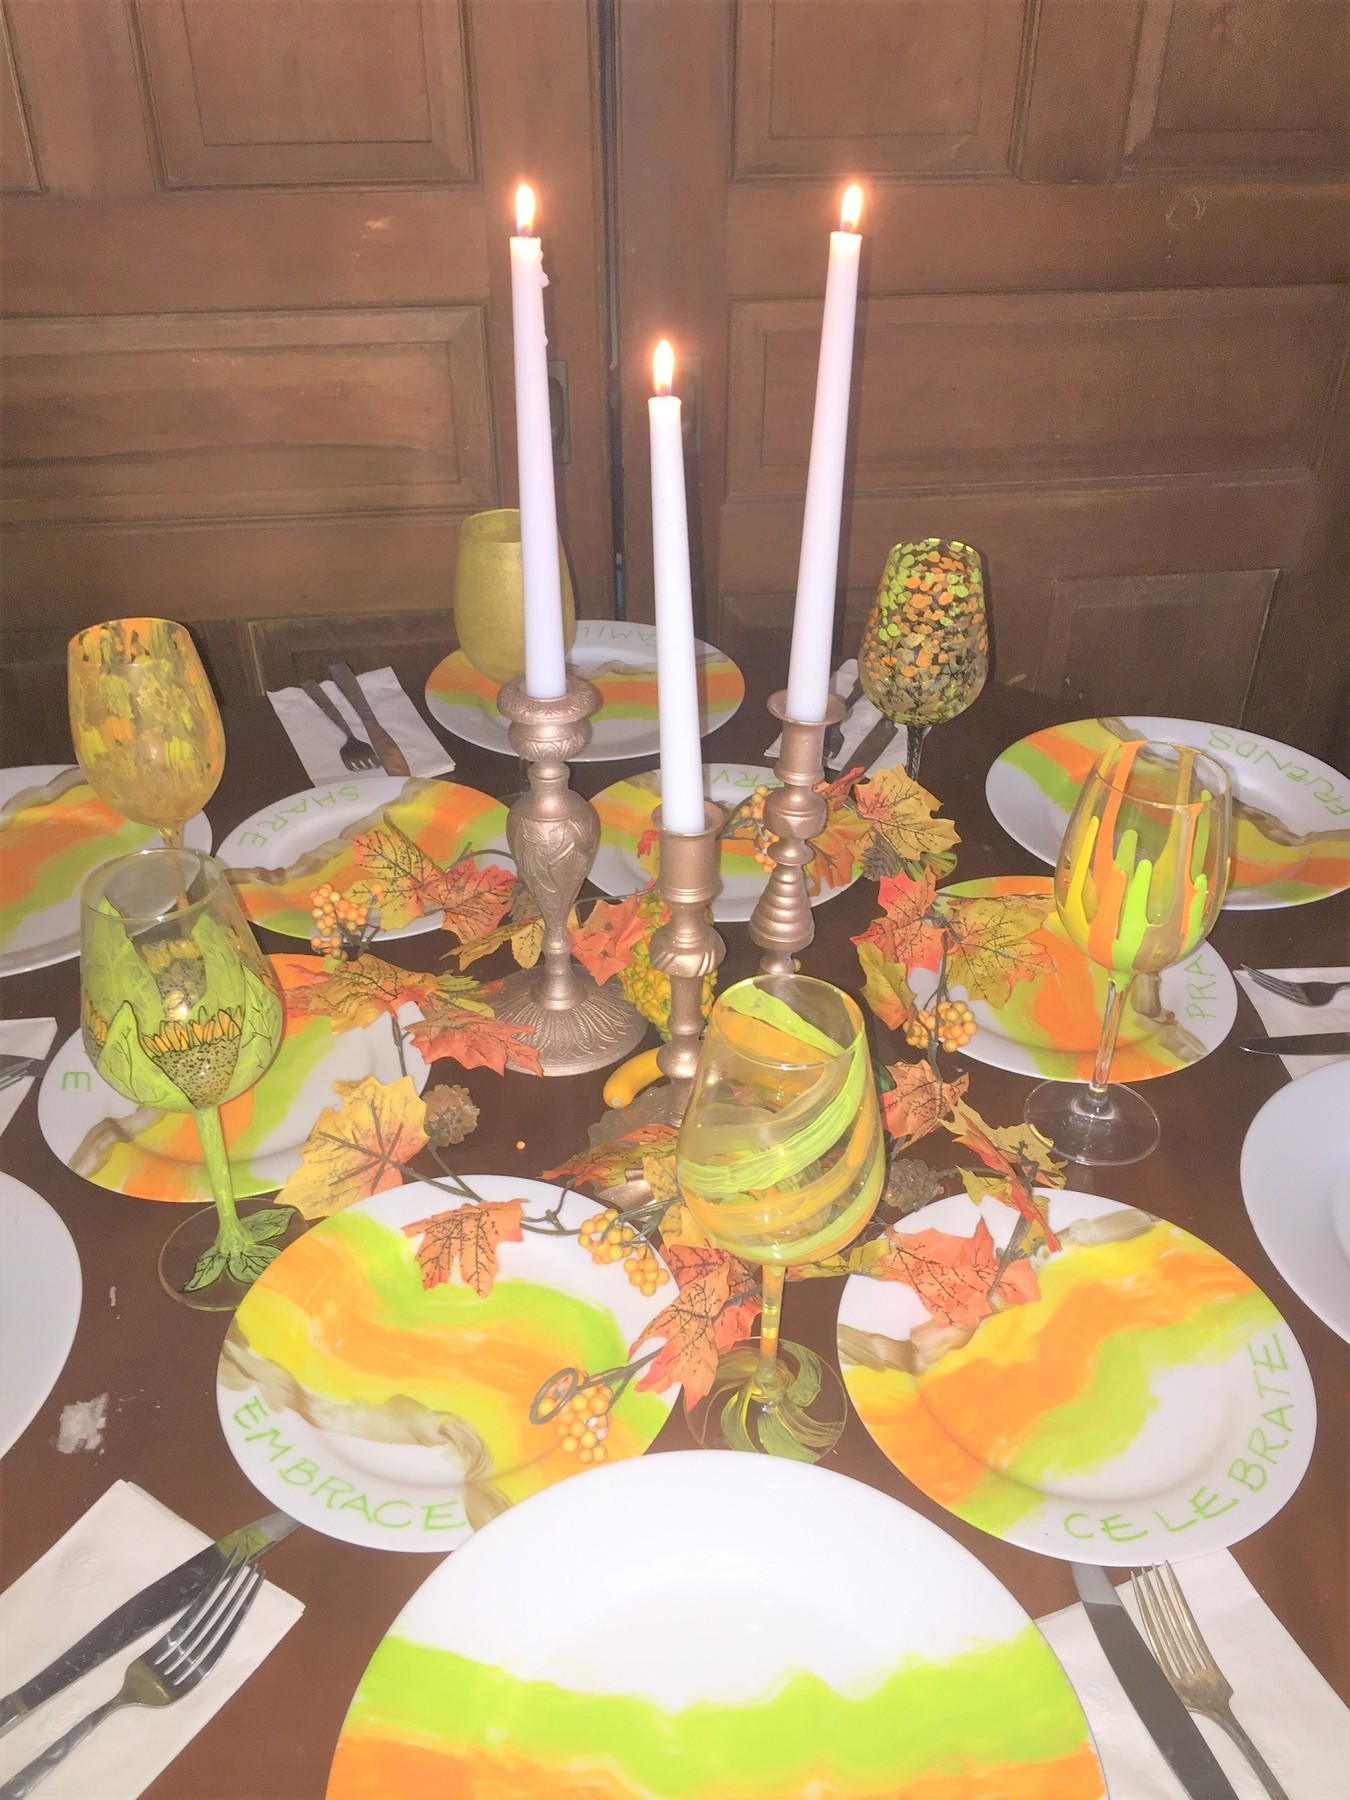
Step 5: Place, pour, applaud
Add your painted wine glasses to your holiday table, bar, or drink serving station. Add your favorite beverage, pick it up, and make a toast! You and your guests will love their usable work of art!