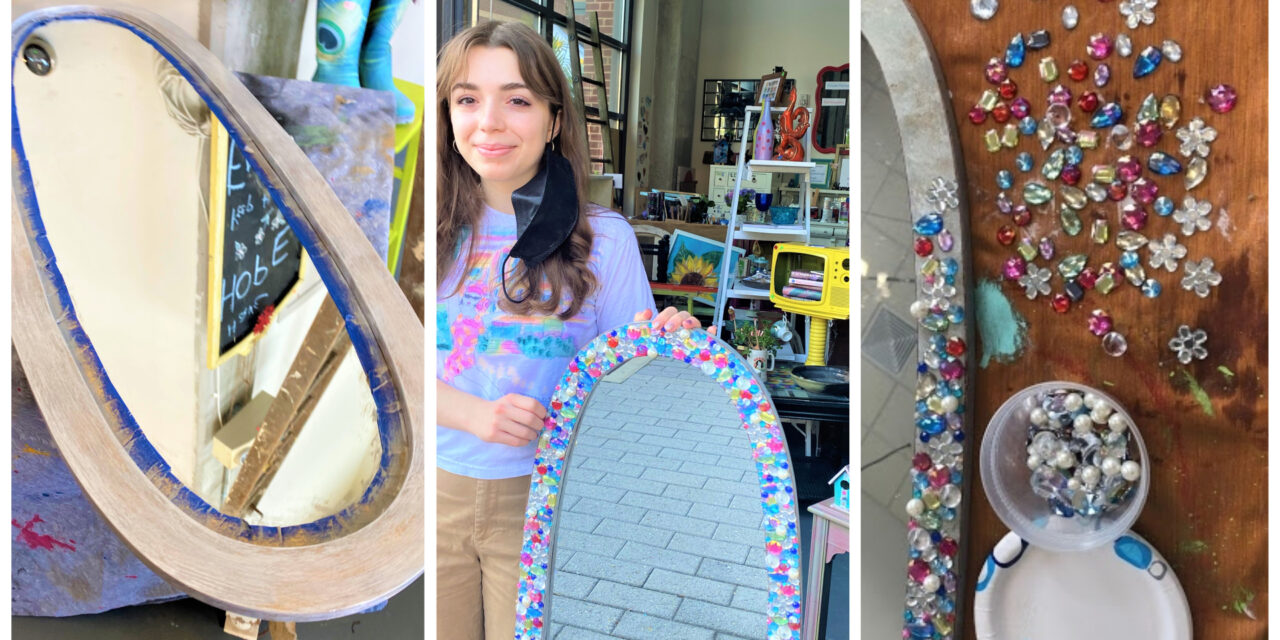
Mirrors are necessary pieces of decor around a home. They serve the important purpose of allowing you to see your appearance and get yourself ready for the day, but mirrors can be more than functional, even dazzling! When decorated with brilliance (both figuratively and literally), a mirror can also add a fun, even sparkling touch to a room and be a dazzling addition to your wall. Bring some extra pizazz into your room by adorning your mirror with bright and fun jewels through this easy DIY. You could even create an impressive, made-with-love gift for a teenager or young adult that has a love for all things shiny. With this simple project, your mirror can shine brighter than a diamond!
Supplies
- Mirror with a flat, decently-sized (2 or 3 inches wide) wooden or metal frame
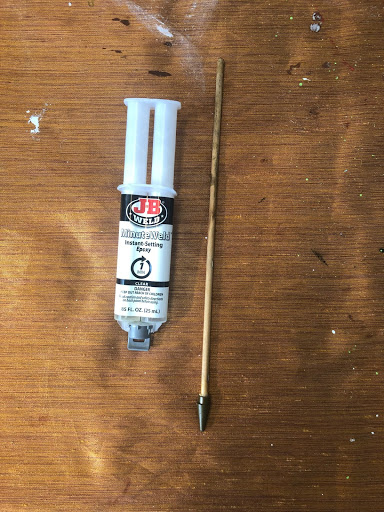
- Epoxy glue (clear and fast-drying)
- Thin paintbrush or short wooden stick (that you don’t mind using to apply glue)
- Variety of plastic jewels fit for bedazzling
- Paper plate or some sort of disposable palette
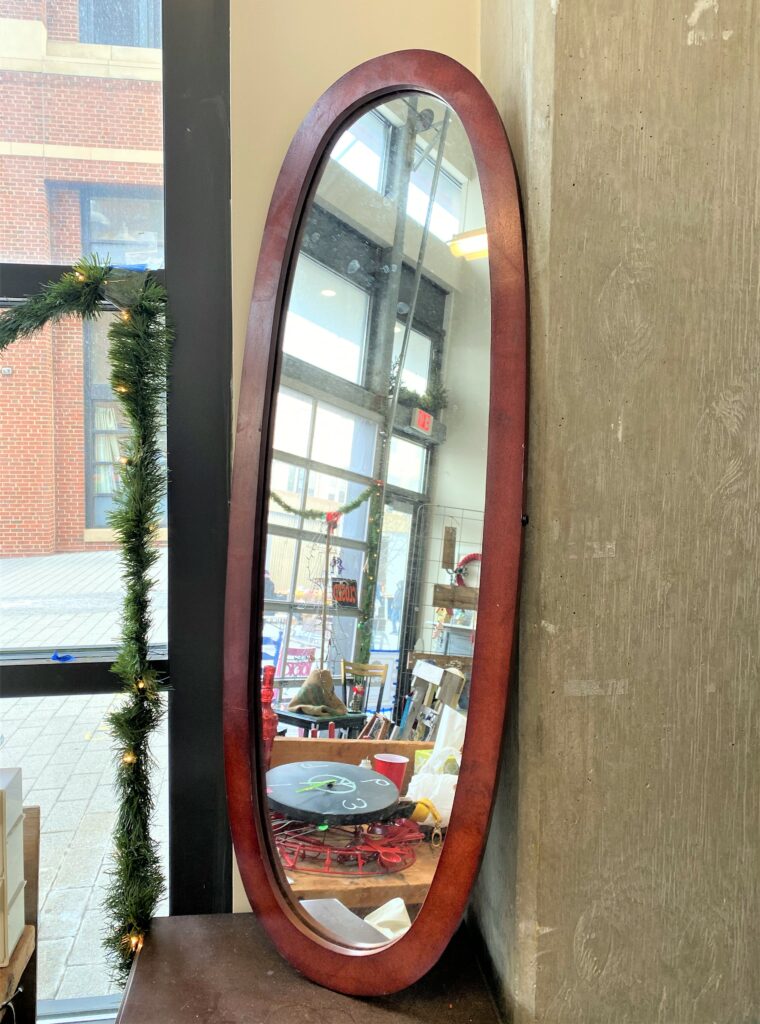
- Pick up a mirror in need of getting blinged-up
Head over to your local Goodwill’s wall decor section and find the ideal mirror for the job, likely one with a flat and wide frame. Any size or shape will work so long as it’s a convenient size for you and you are up to the task of covering it in jewels. Considering that you may need to approach the mirror from multiple angles in order to effectively place and glue on jewels, a lightweight, easily-maneuverable mirror is recommended.
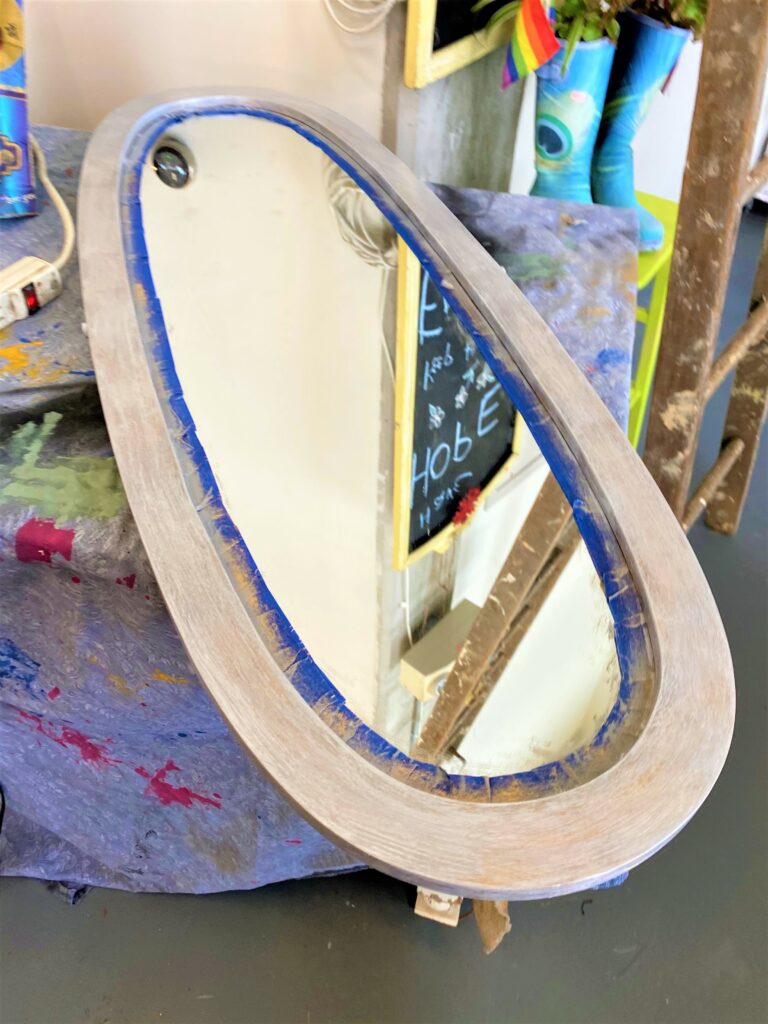
- Paint the frame
Find a nice base color that you don’t mind seeing hints of between the gems or along the sides of the frame. If you want to form a pattern with specific gems, a contrasting color may be a nice accent on the frame, but if you’re planning to go for a more ‘organized chaos’ look with your variation of jewels, a more neutral shade such as white may make the best background.
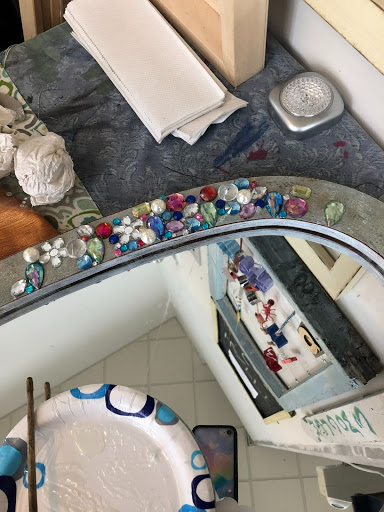
- Prepare to get gluing
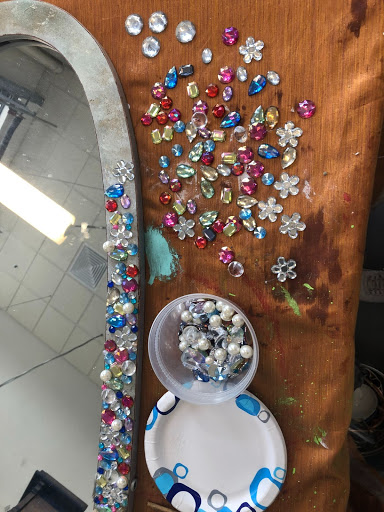
Make sure to have a drop cloth or some old newspaper under your setup and mirror to ensure that the epoxy doesn’t get on whatever surface you’re working over. In addition, make sure to understand the epoxy mixing and use process. I recommend finding a clear epoxy at your local hardware store to get the job done, but these are often quick-drying, so be mindful of the limited time you may have to place and glue on jewels in a position you like before the epoxy dries out. You may also want to organize the gems in an easy-to-reach fashion so that as you place and glue them onto the mirror’s frame no searching is necessary to find the particular shape or color gem you want. See pictures for an example of organizing/laying out the jewels.
- Get those gems glued on
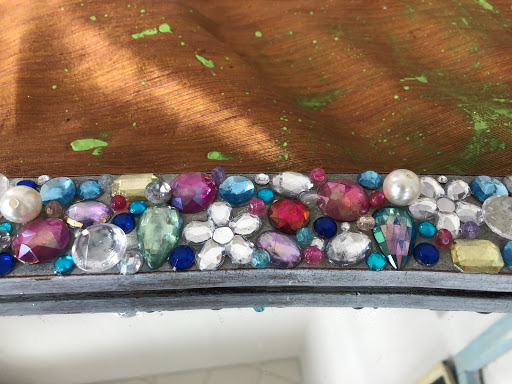
Now it’s time to start gluing! Your wooden tool or paintbrush will definitely come in handy, as one end will be perfect for mixing the epoxy and placing the sealant on the flat back of your gems, while the other may be used to position a jewel if your fingers are too gluey or aren’t precise enough to do the trick.

Your exact process as you glue largely depends on your own preferences or how you feel you will work more efficiently; you could lay out sections at a time of the jewels in a certain order, or simply gluing on jewels as you pick them up may be more your style.
Also, you may want to have gems of various sizes on hand, as spaces left between larger gems may be the perfect spot to place something tinier. These spaces will be easiest to spot and cover after you’ve finished gluing on a section of larger gems, or you may prefer to switch up the sizes of jewels randomly as you go. Either way, get that mirror bedazzled, and try not to get blinded by all that sparkle!
Tip: Be mindful of getting epoxy on your fingers, as the sealant is pretty strong and will not be the easiest to get off. This is why using a wooden tool for maneuvering the epoxy is most convenient. Still, if getting epoxy on your hands is unavoidable, try to wash it off frequently as opposed to letting it build up, as that will be more difficult to remove.
- Make sure everything is properly set
A day or two after you have blinged up your mirror to your heart’s content, make sure that all the gems are truly secured to the frame. Some pieces may not be bonded as solidly as necessary, and after the epoxy has had the time to fully dry you may have to go in and re-glue a few loose gems. You may also want to add gems to new areas of the frame as you take another look and see that there is room for more bling.
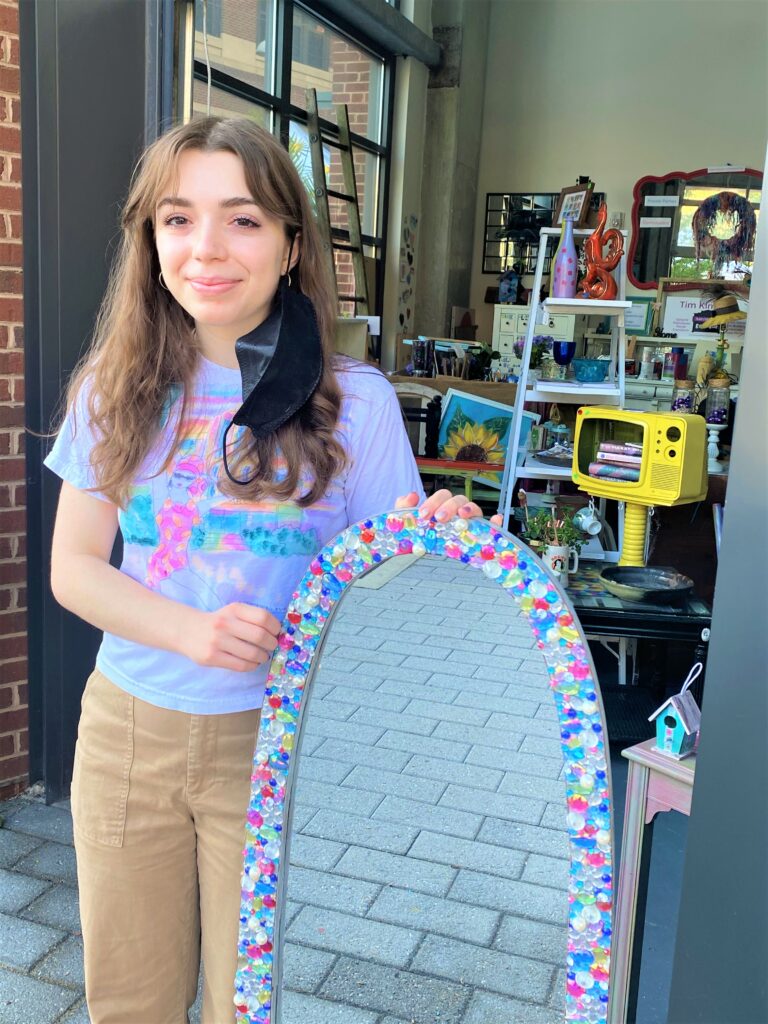

Though this project can be time-consuming, particularly if you’re invested in carefully crafting a pattern with your gems, it is generally uncomplicated and can be a simple way to add some flair to your room. The eye-catching nature of the end product will undeniably make it the star of a room, all the better to frame you!
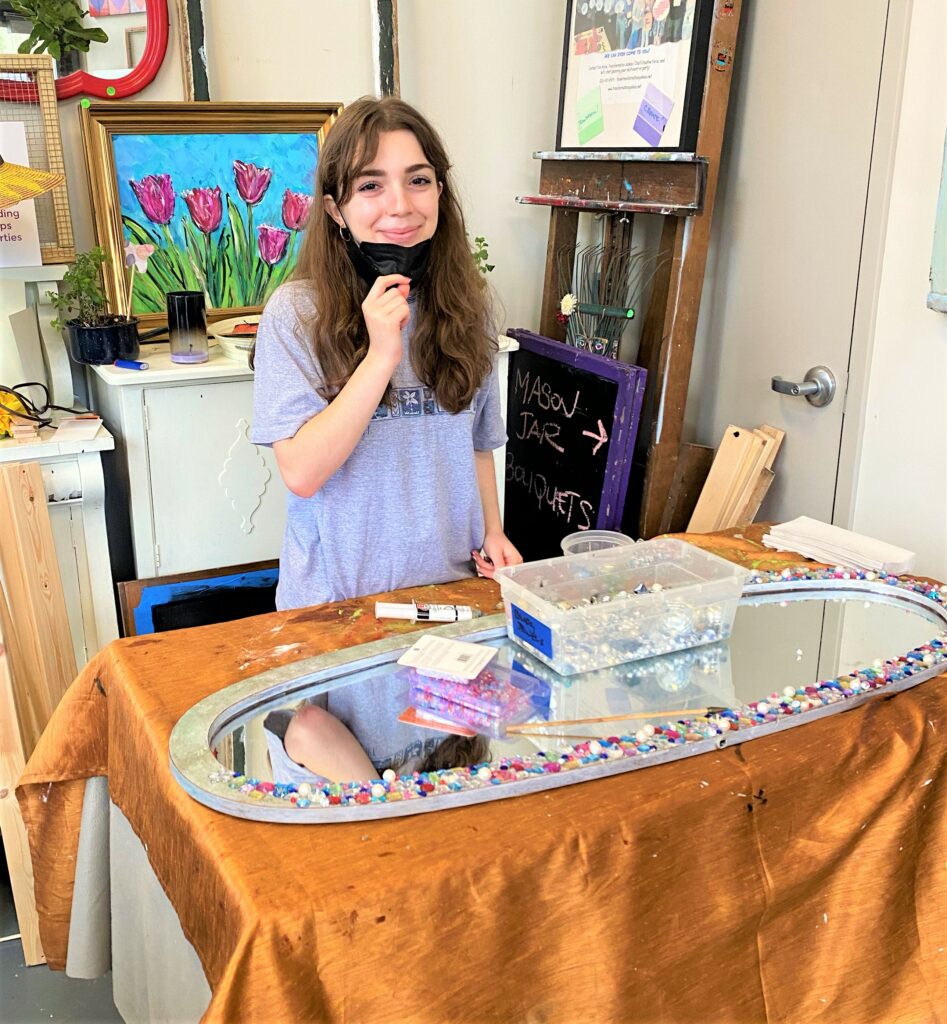
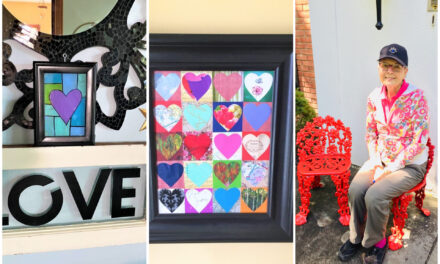
Allie Gibbs, the guest writer of this post, is a soon-to-be graduate of T.C. Williams High School in Alexandria, VA. She will be attending the College of William and Mary this fall and was lucky enough to work with Tim recently through her high school’s Senior Experience program. Allie has been passionate about the arts from a young age and is incredibly grateful for the experience and being able to complete this sparkling and fun project herself. Allie’s time upcycling at Transformation Junkies has definitely inspired her to continue these creative endeavors in the future. She hopes that others can also find inspiration in these posts!
