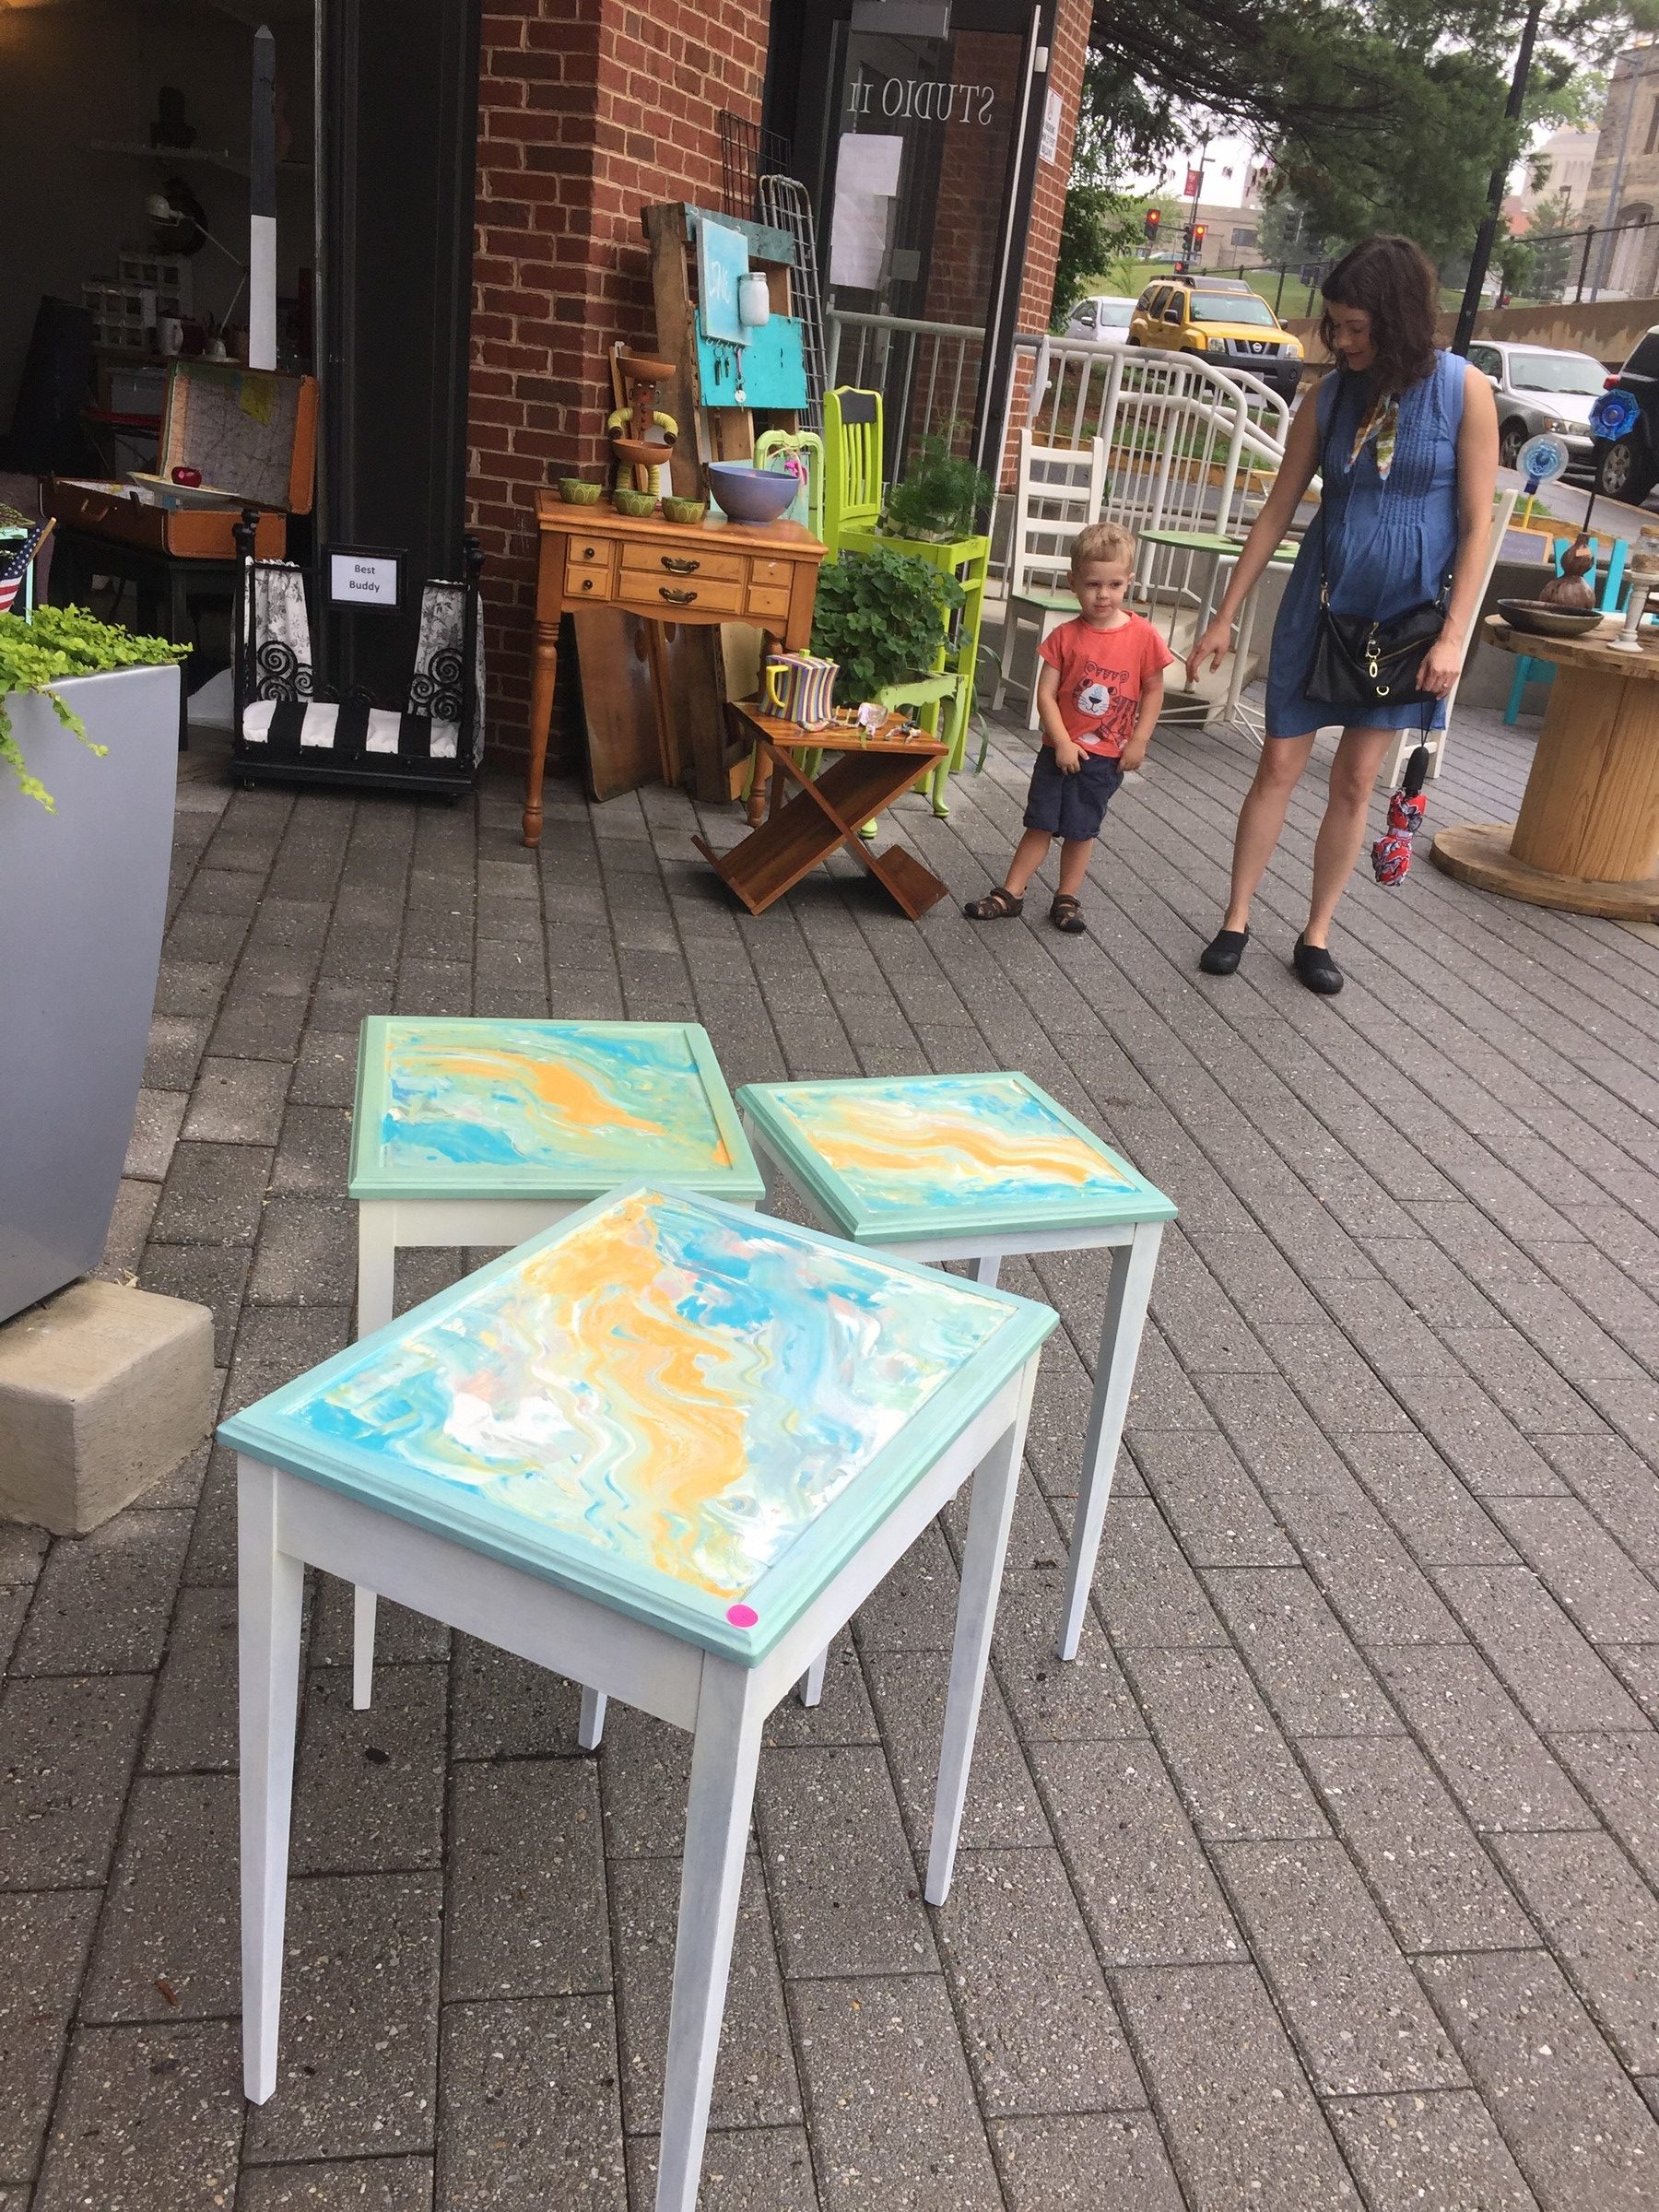
By using this easy and unusual technique, you can transform surfaces and create masterpieces just by pouring on paint. Think of this project as finger painting for adults! See how much fun it can be to give old furniture a fresh and beautiful look that resembles waves, the sky or even one of Monet’s famous works of art.
Ability level: Easy
Age Level: Teens and adults
Items needed:
- Furniture piece (tables, dressers, mirrors)
- Four complementary shades of paint
- Paintbrushes
- Painter’s tape
- Sandpaper (fine) or sanding block
- Polyurethane
Time requirement: 1 hour based on the size of your piece; for dressers, plan 2 to 3 hours. This does not include paint drying time.
Cost: Approximately $15-$35
- $10 for mirror or end tables
- $20 for dresser
- $14 for paint samples
- $5 for painter’s tape
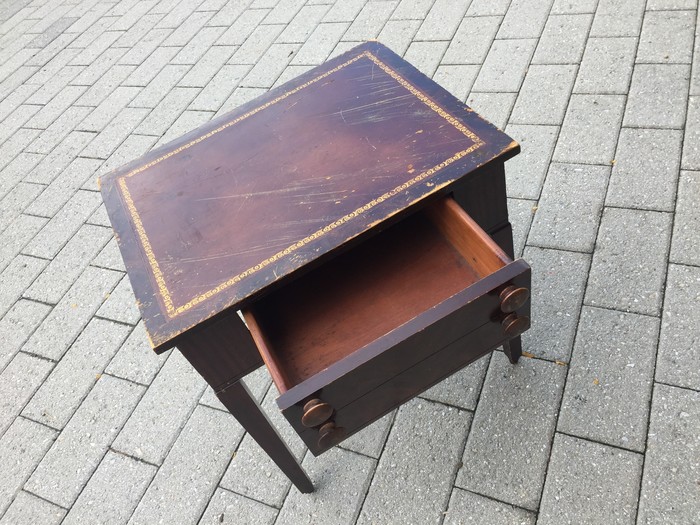
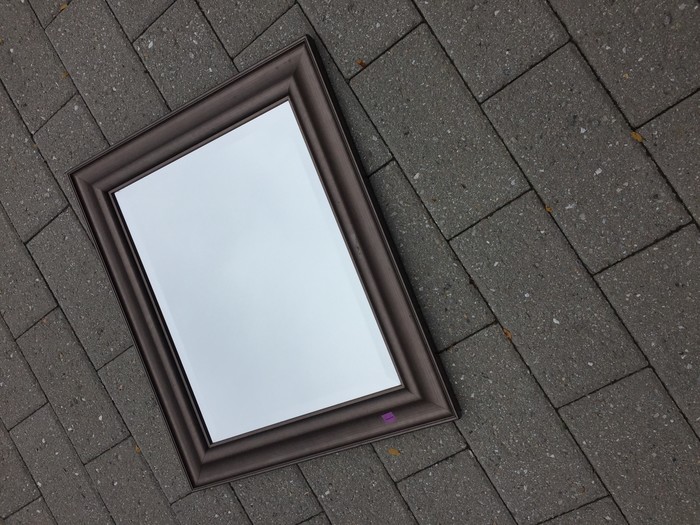
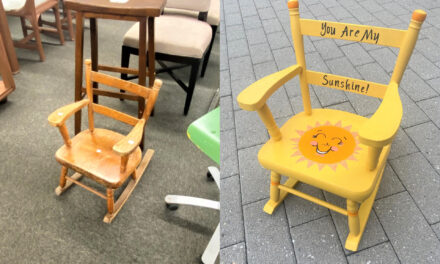
Step 1: Get your “canvas” from Goodwill
Head over to your friendly local Goodwill retail store and check out the furniture section for pieces to transform. Any item with a flat surface is great for this project. Dressers, end tables, mirror frames, and other similar items will make the perfect canvas. Skip wooden chairs and lamps as they are angled or have surfaces of which the paint may run off.
Step 2: Prep for paint
Once you have your item, get its surface primed and ready for painting. Do so by lightly sanding the entire piece. Don’t worry about removing its entire current coat of paint or varnish; you are simply making the smooth surface more porous to hold the paint. Wipe off dust created by sanding using a damp rag. Place your item on a drop cloth.
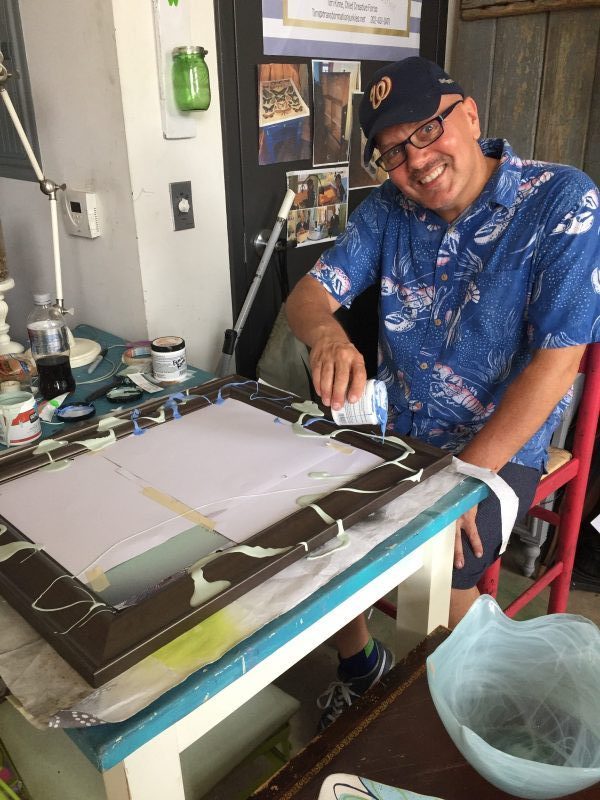
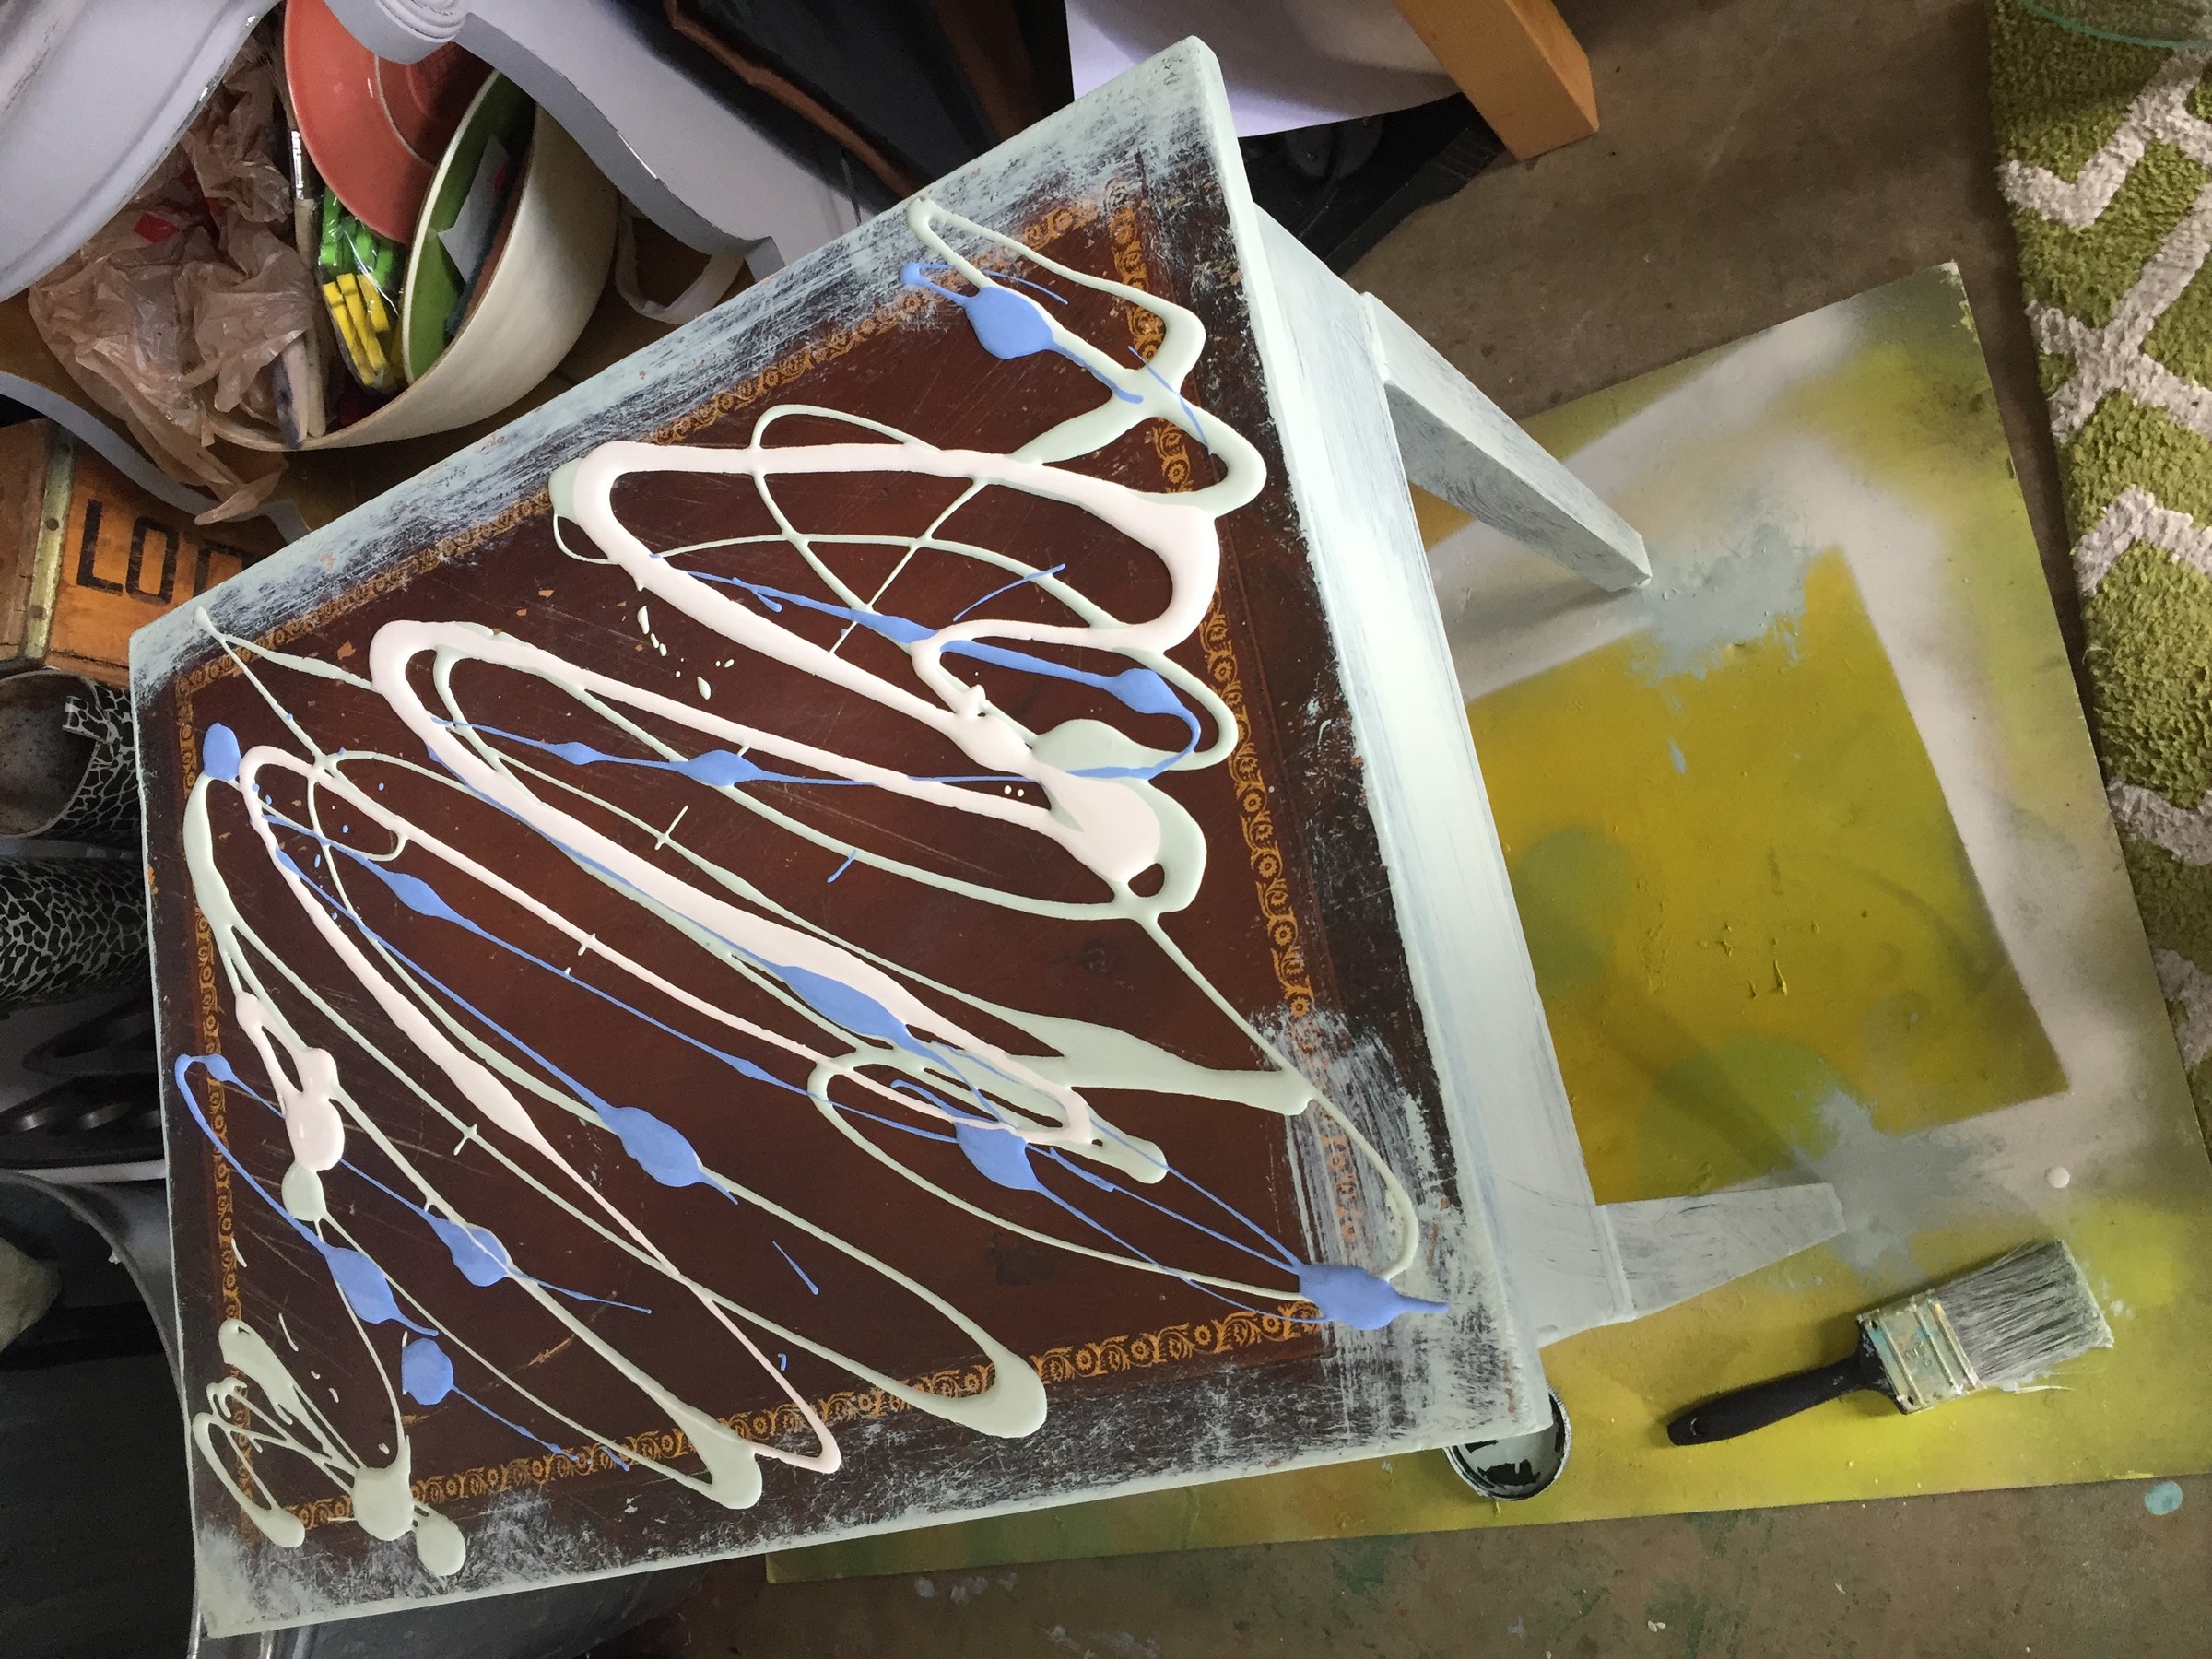
Step 3: Pour it on
Ideally, you will have three or four paint choices in colors that complement one another. On the top surface of your piece, lightly drizzle a thin line of paint back and forth over it. Repeat this process with each color.
Step 4: Move the paint to cover the entire surface
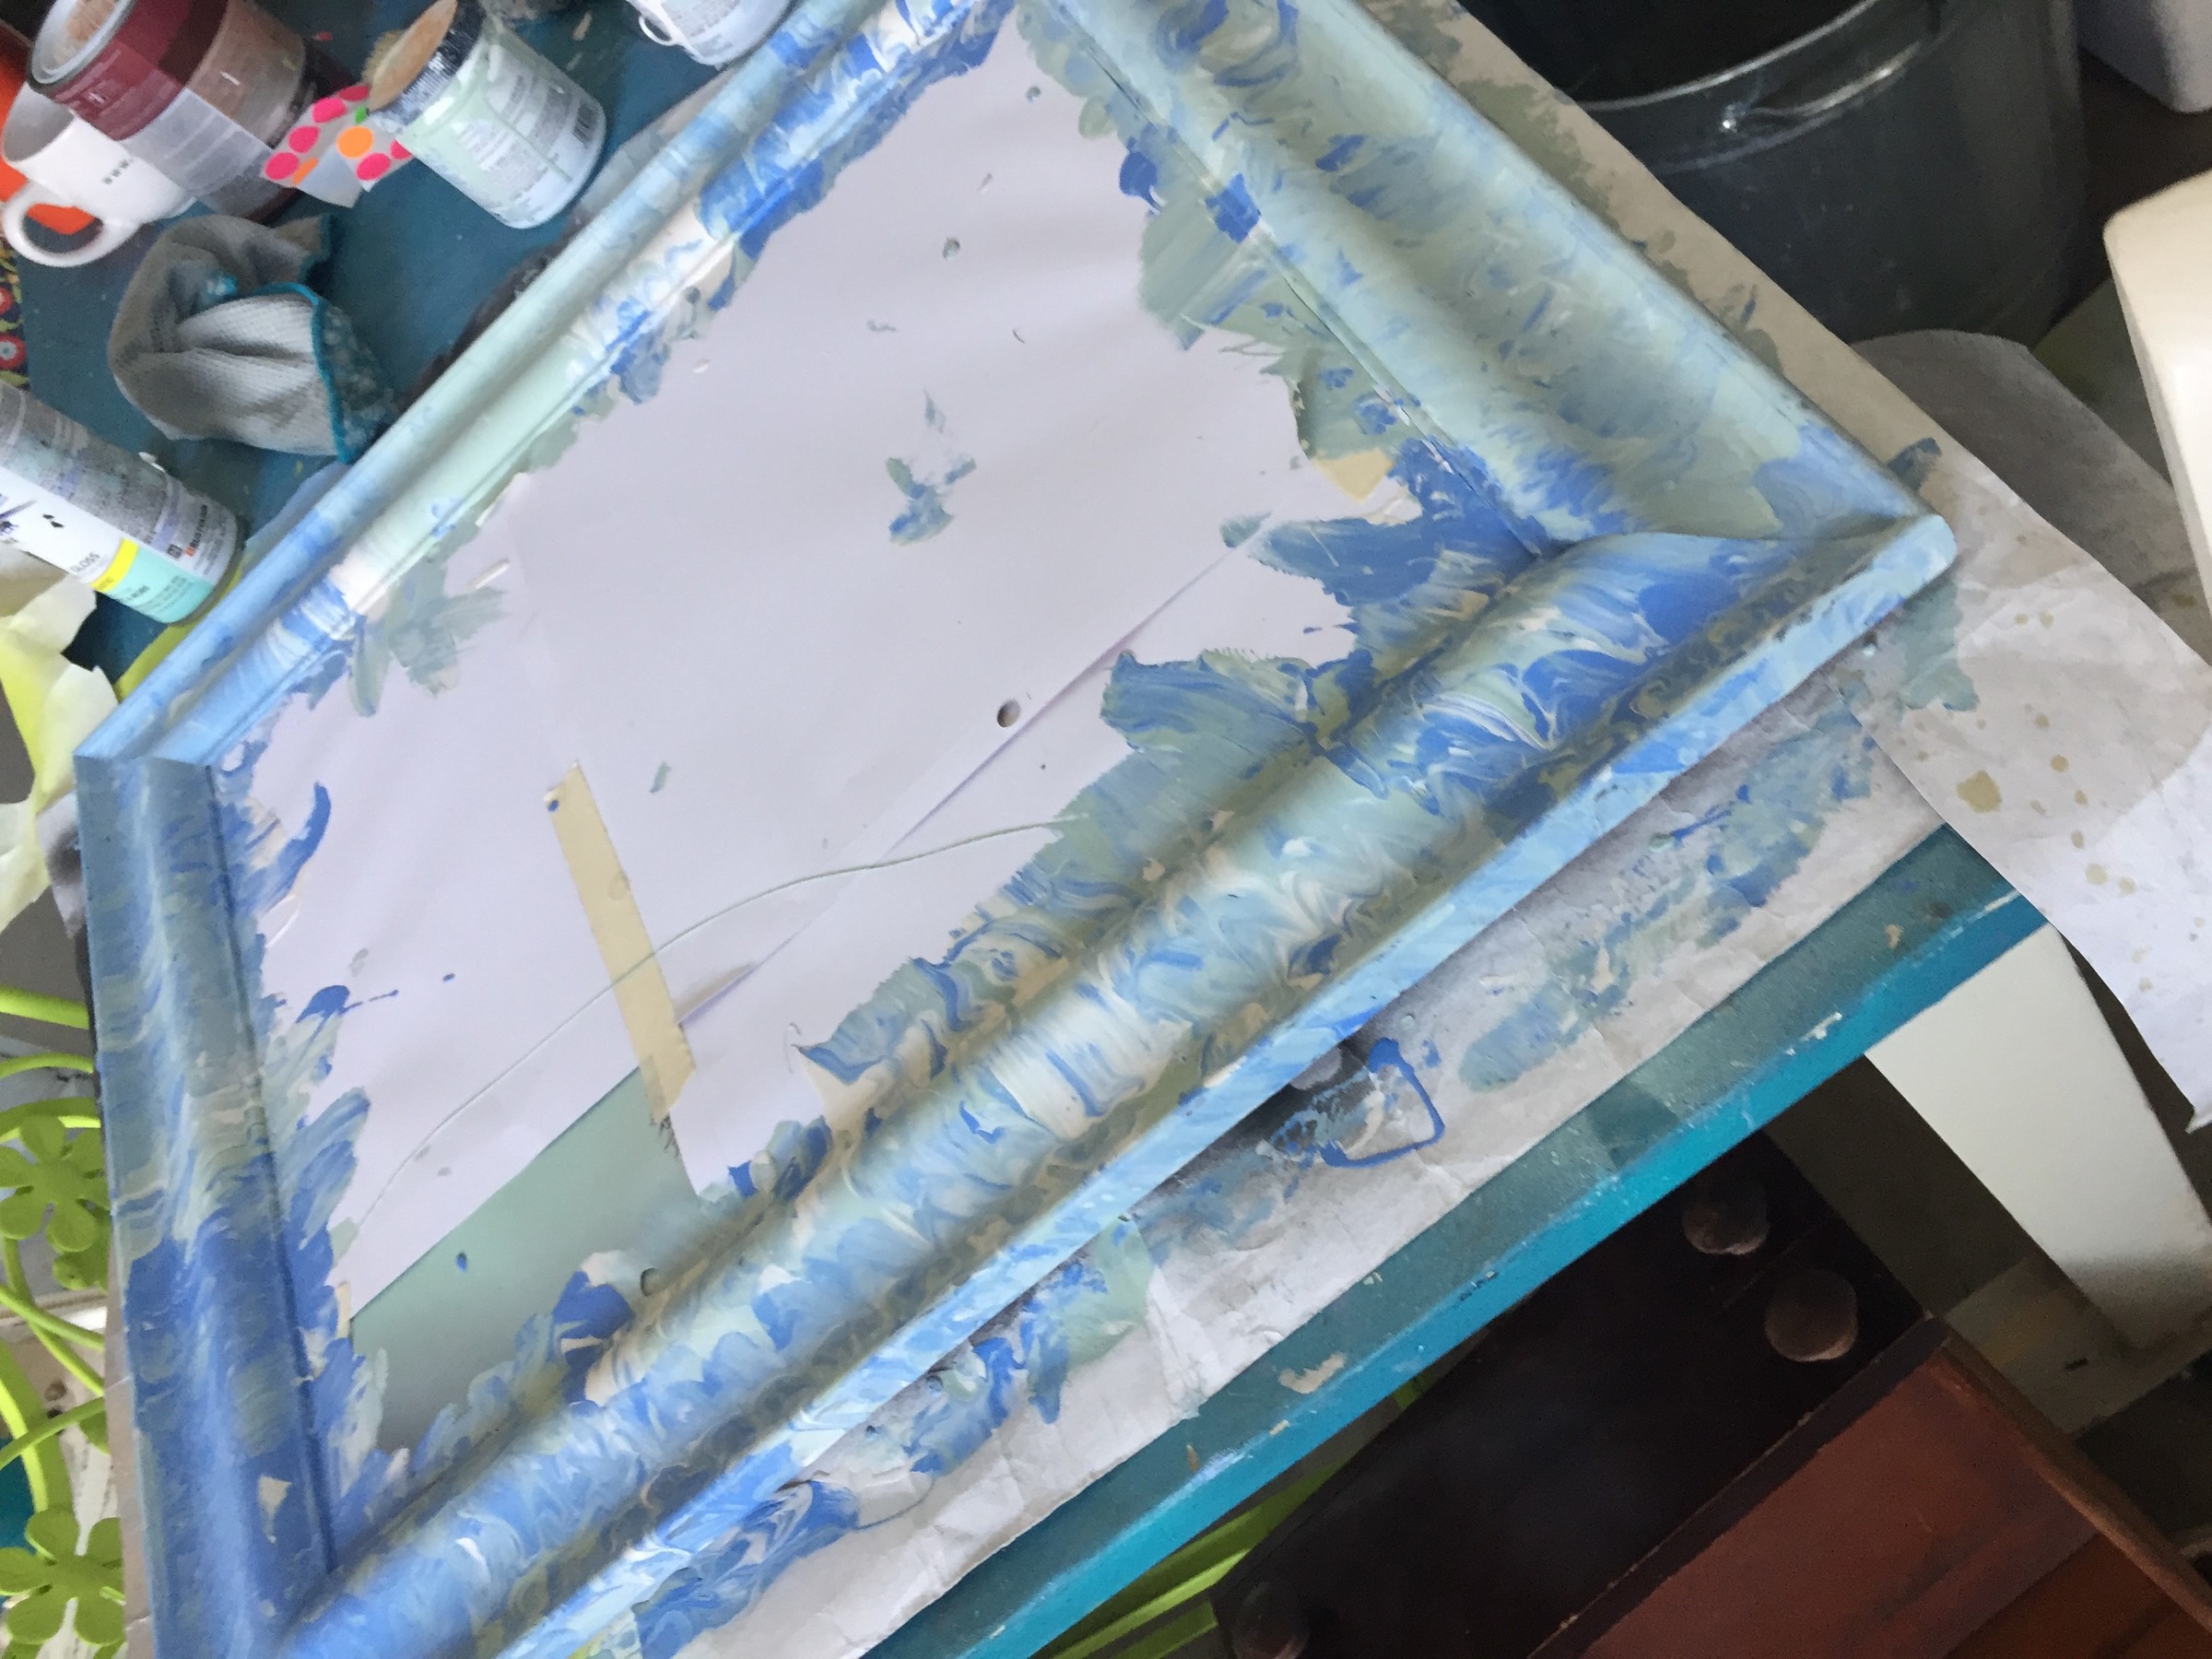
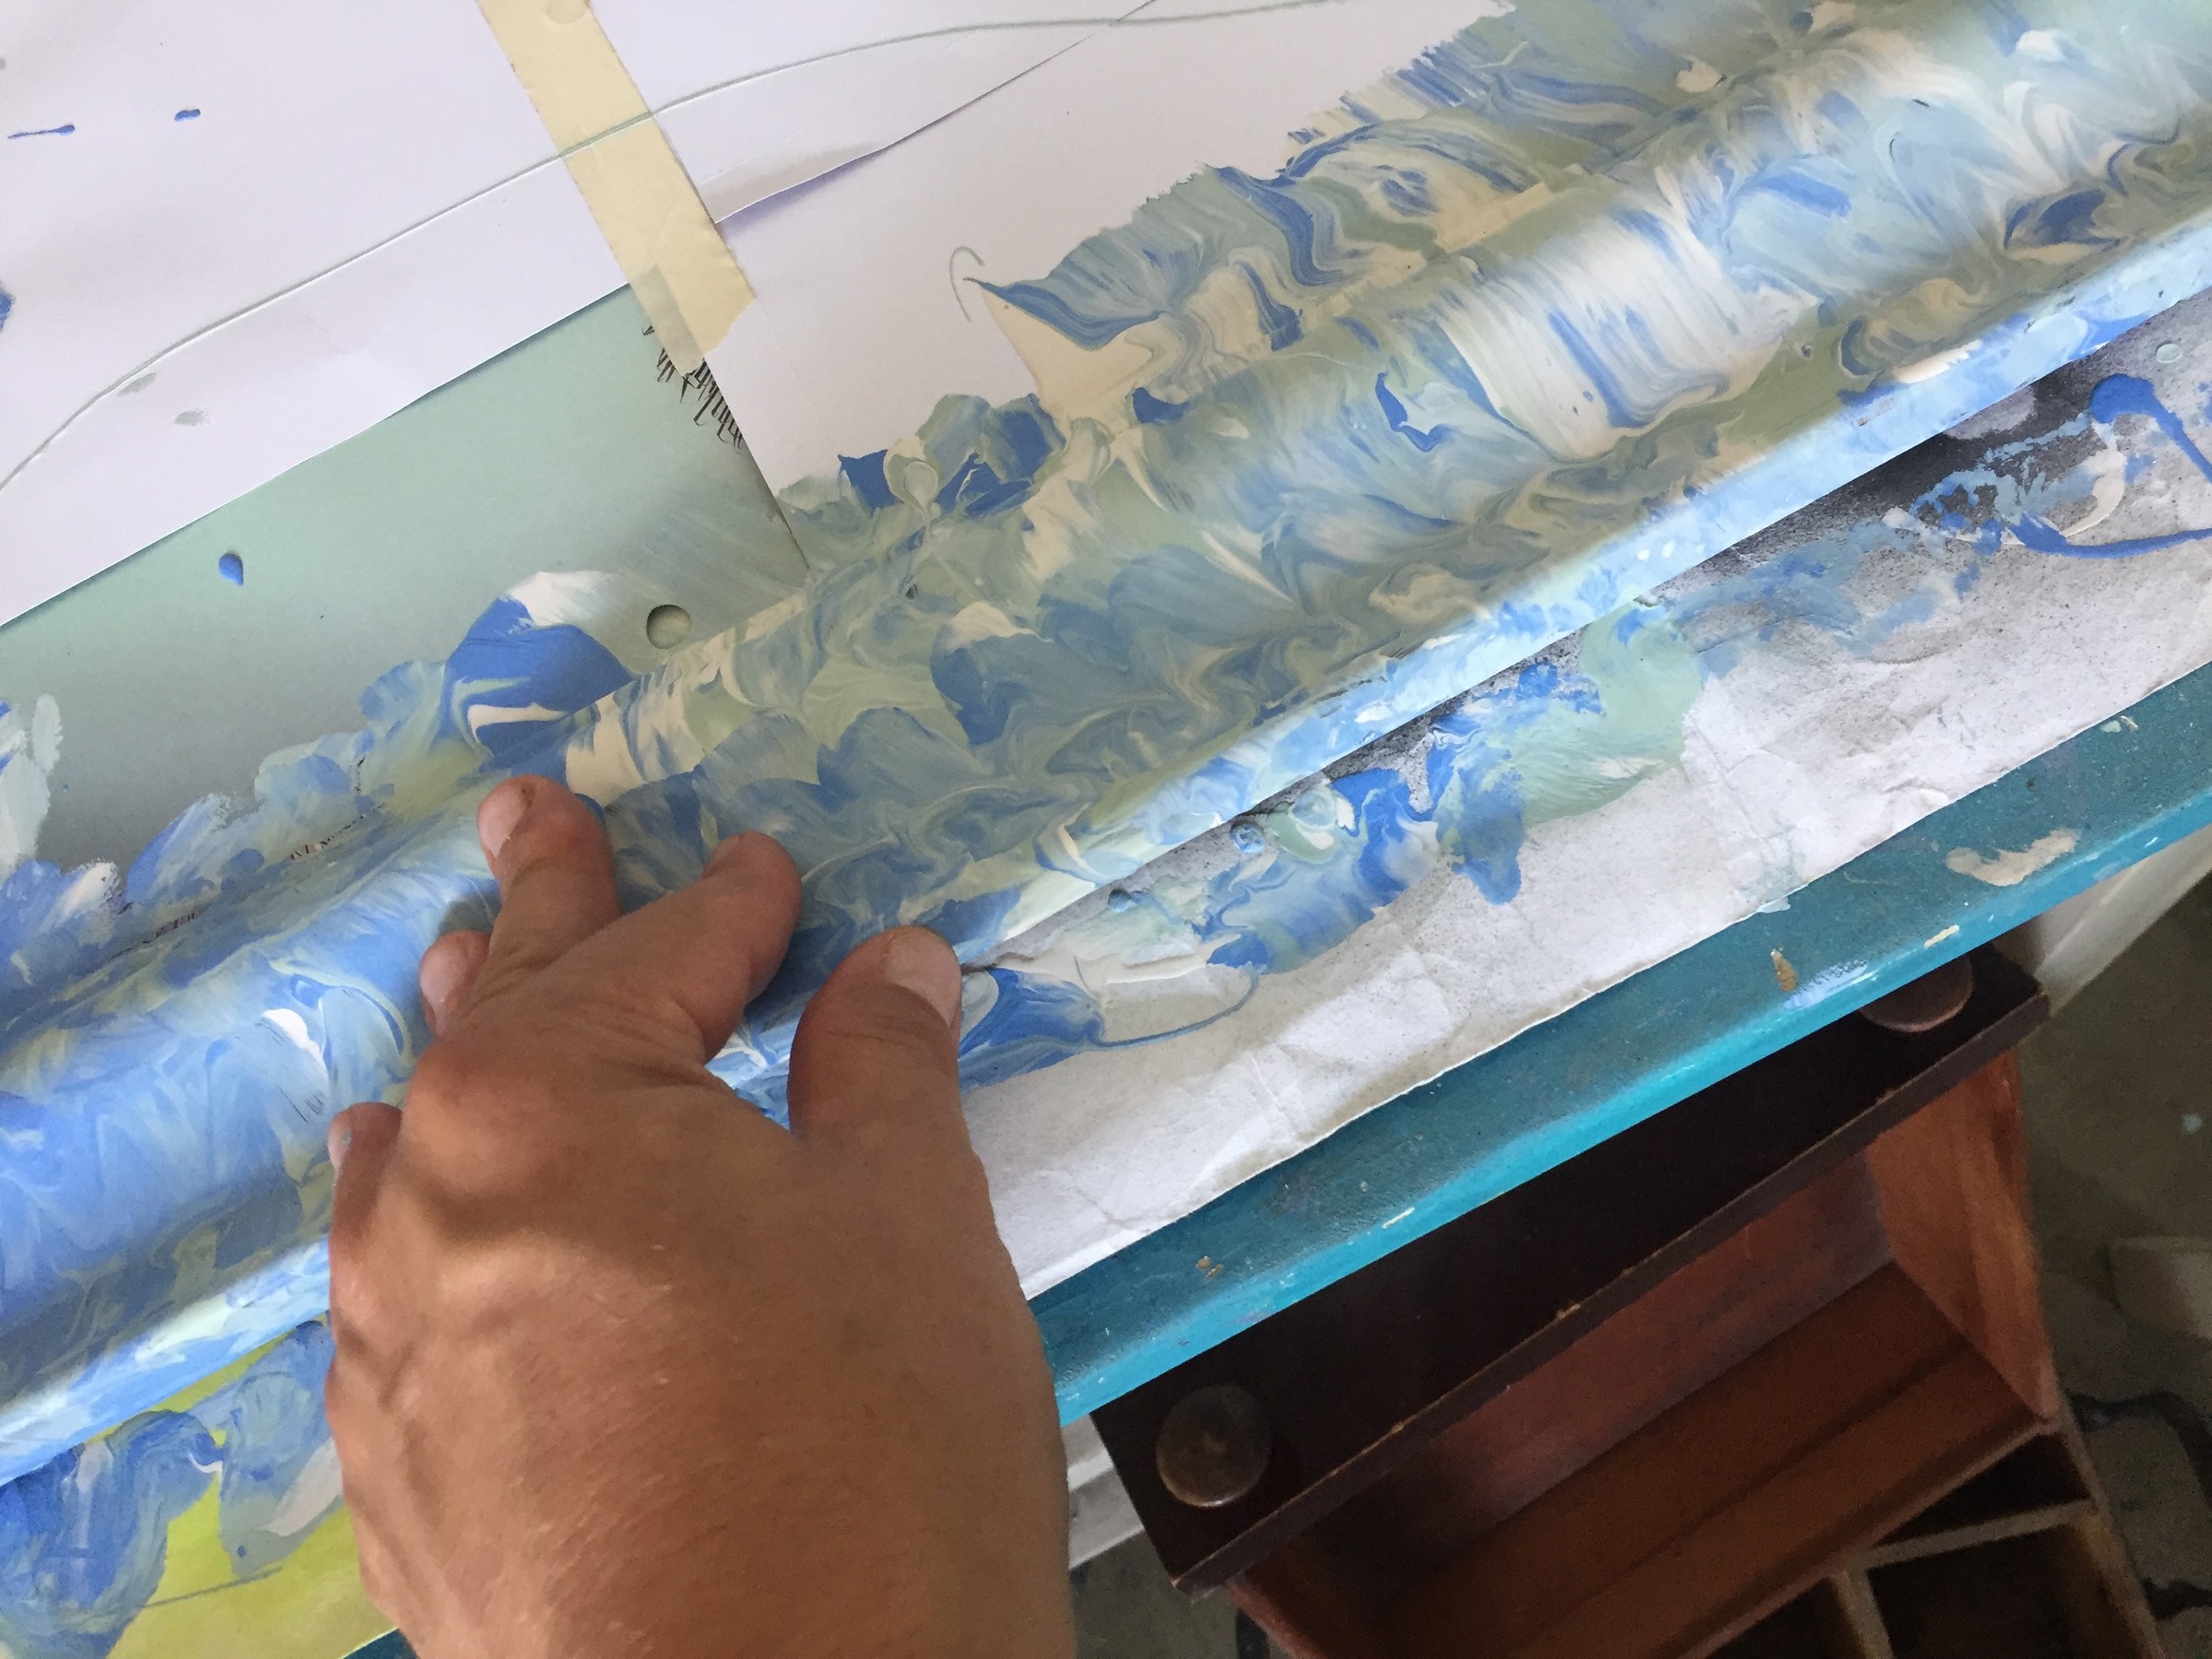
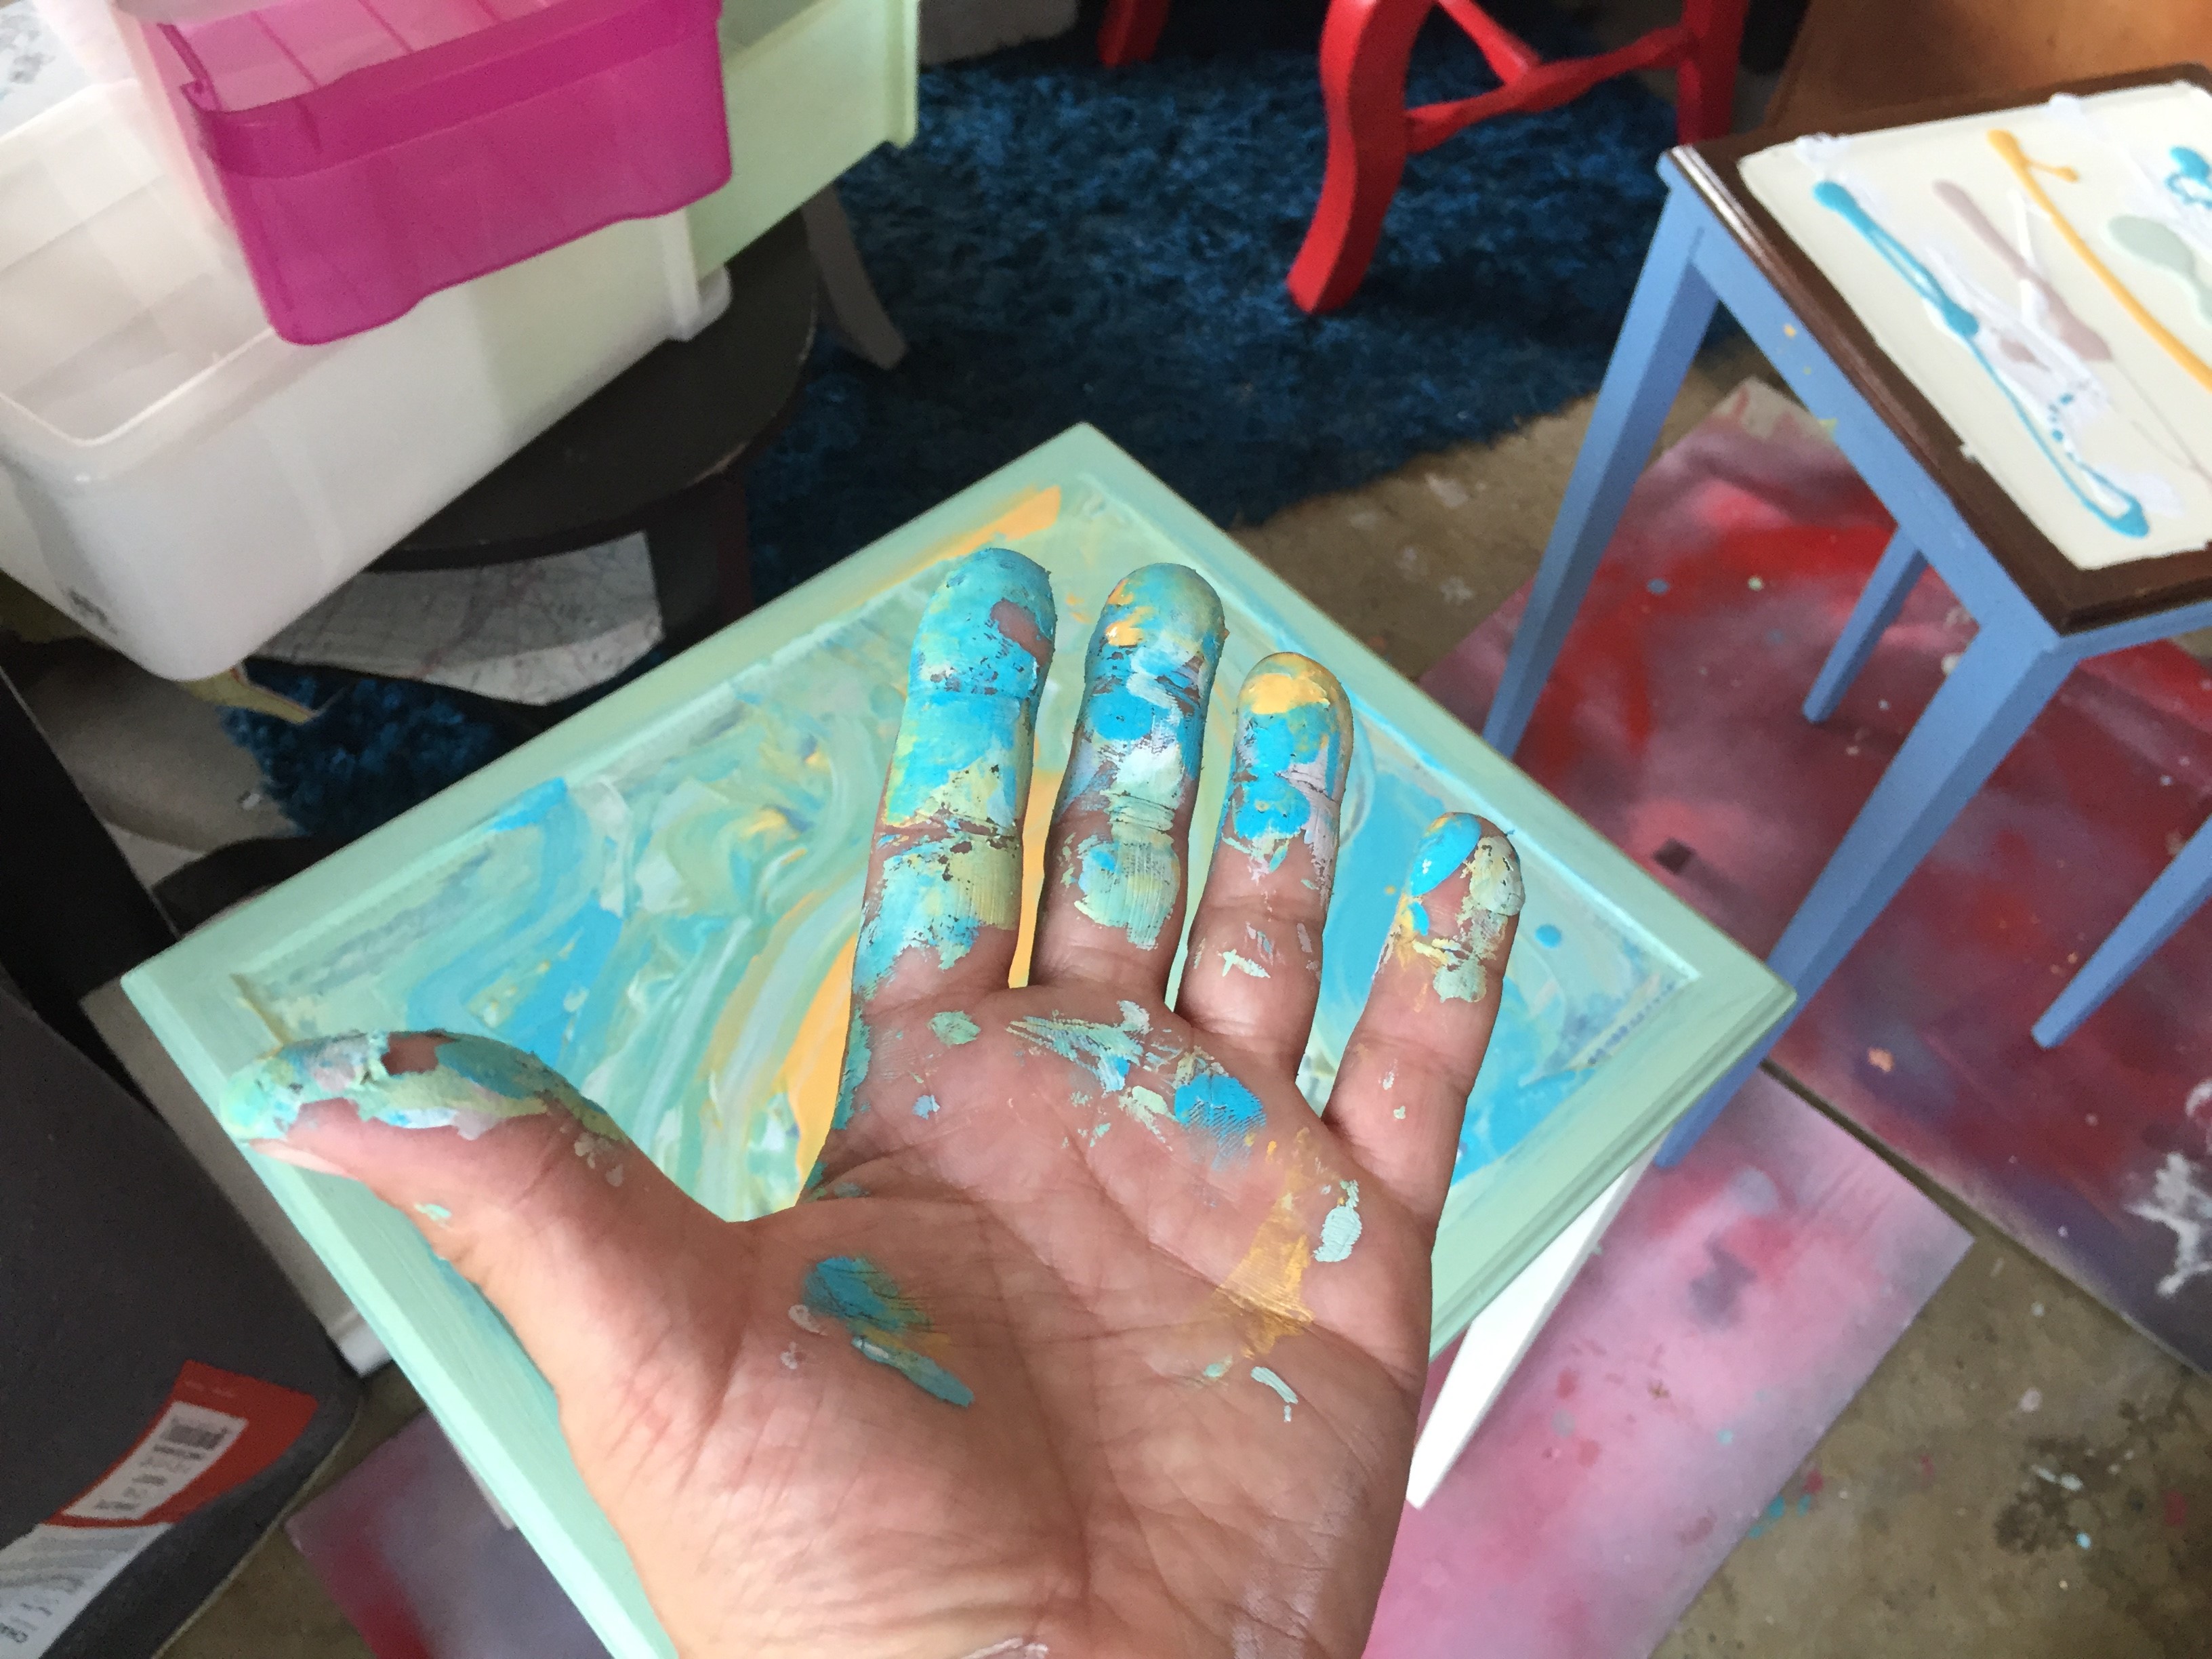
This is when the fun begins! As you get into this project, remember it can get messy. With that said, using a flat surface like the edge of a postcard/notecard or envelope or folded piece of paper, start along one side and move the paint, using the paper as a wedge and push the paint along. Move it from one side to the opposite edge, using one solid motion but flicking your wrist or hand as you go to make it look like waves. Repeat again starting at the same edge and moving the paint in the same direction. You may need to use several postcards/notecards and pieces of paper to ensure the various colors show. Keep going through this process until the entire surface is covered.
As you do so, your paint will run off the top and drip along the edges. Your tarp will collect these drips. When the top is covered, grab your paintbrush and use it along the edges to blend in the drips. You may see some of the surface below peaking through so use your fingers to move the paint around to hide it.
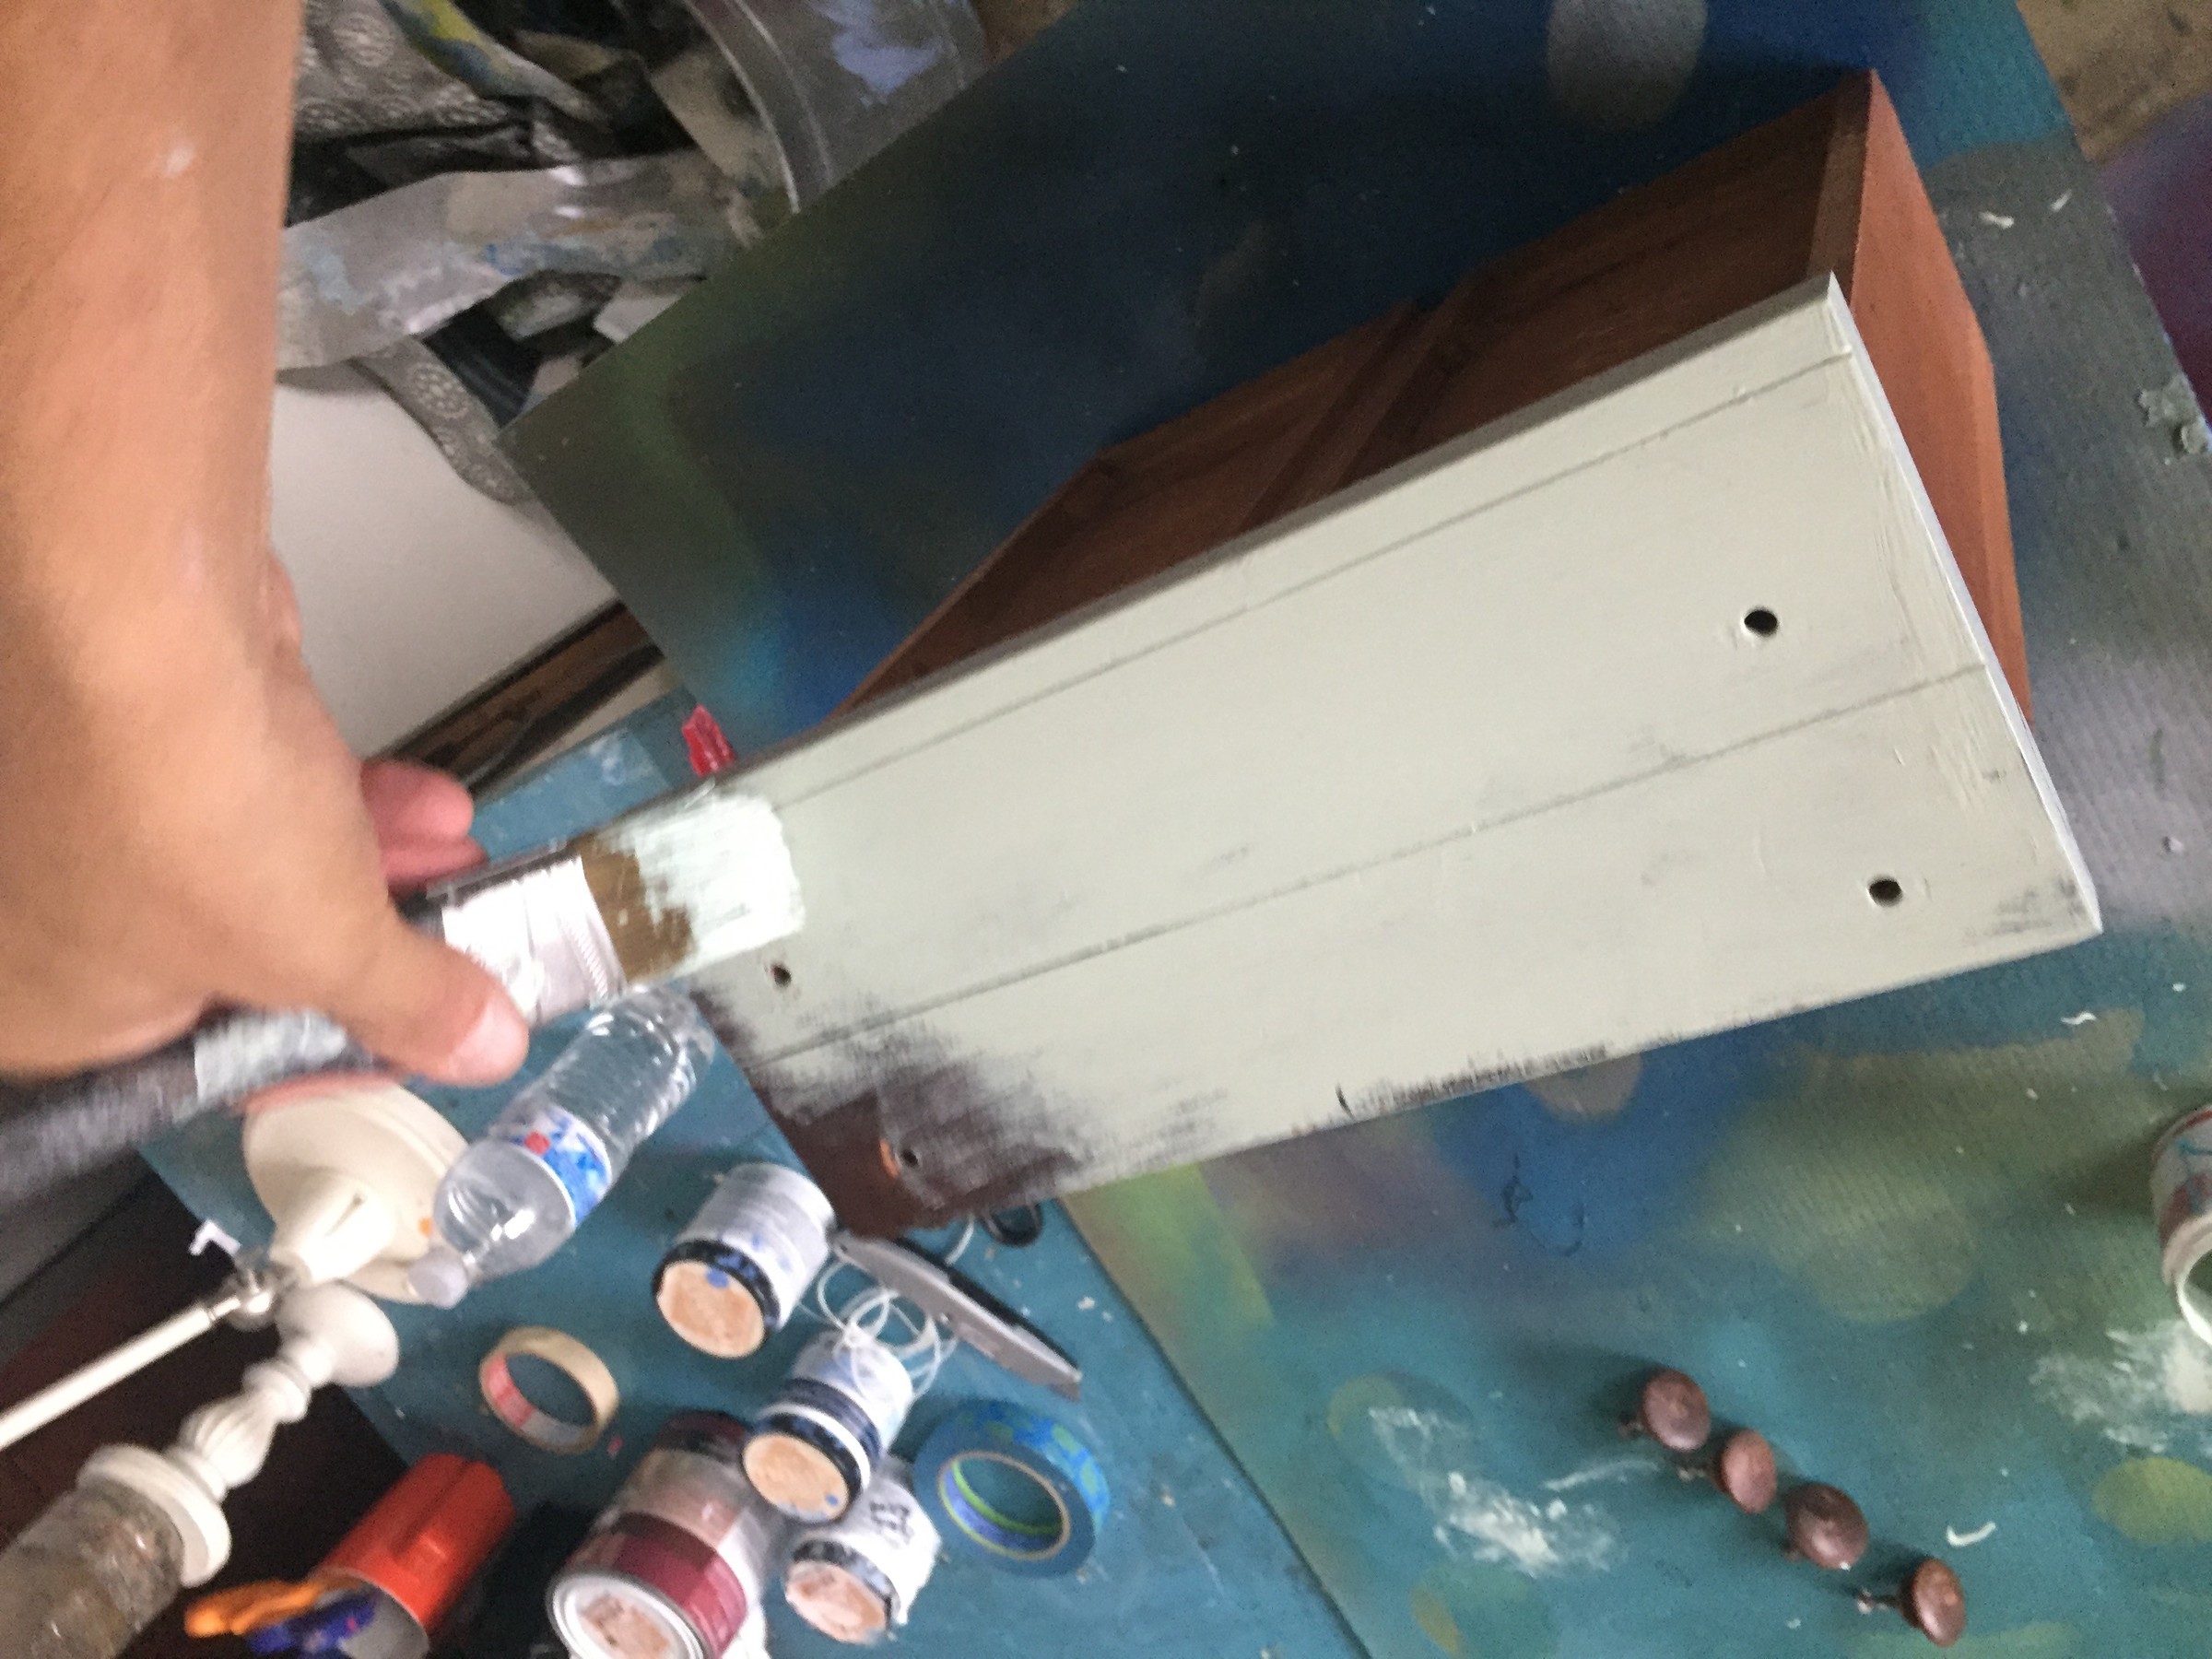
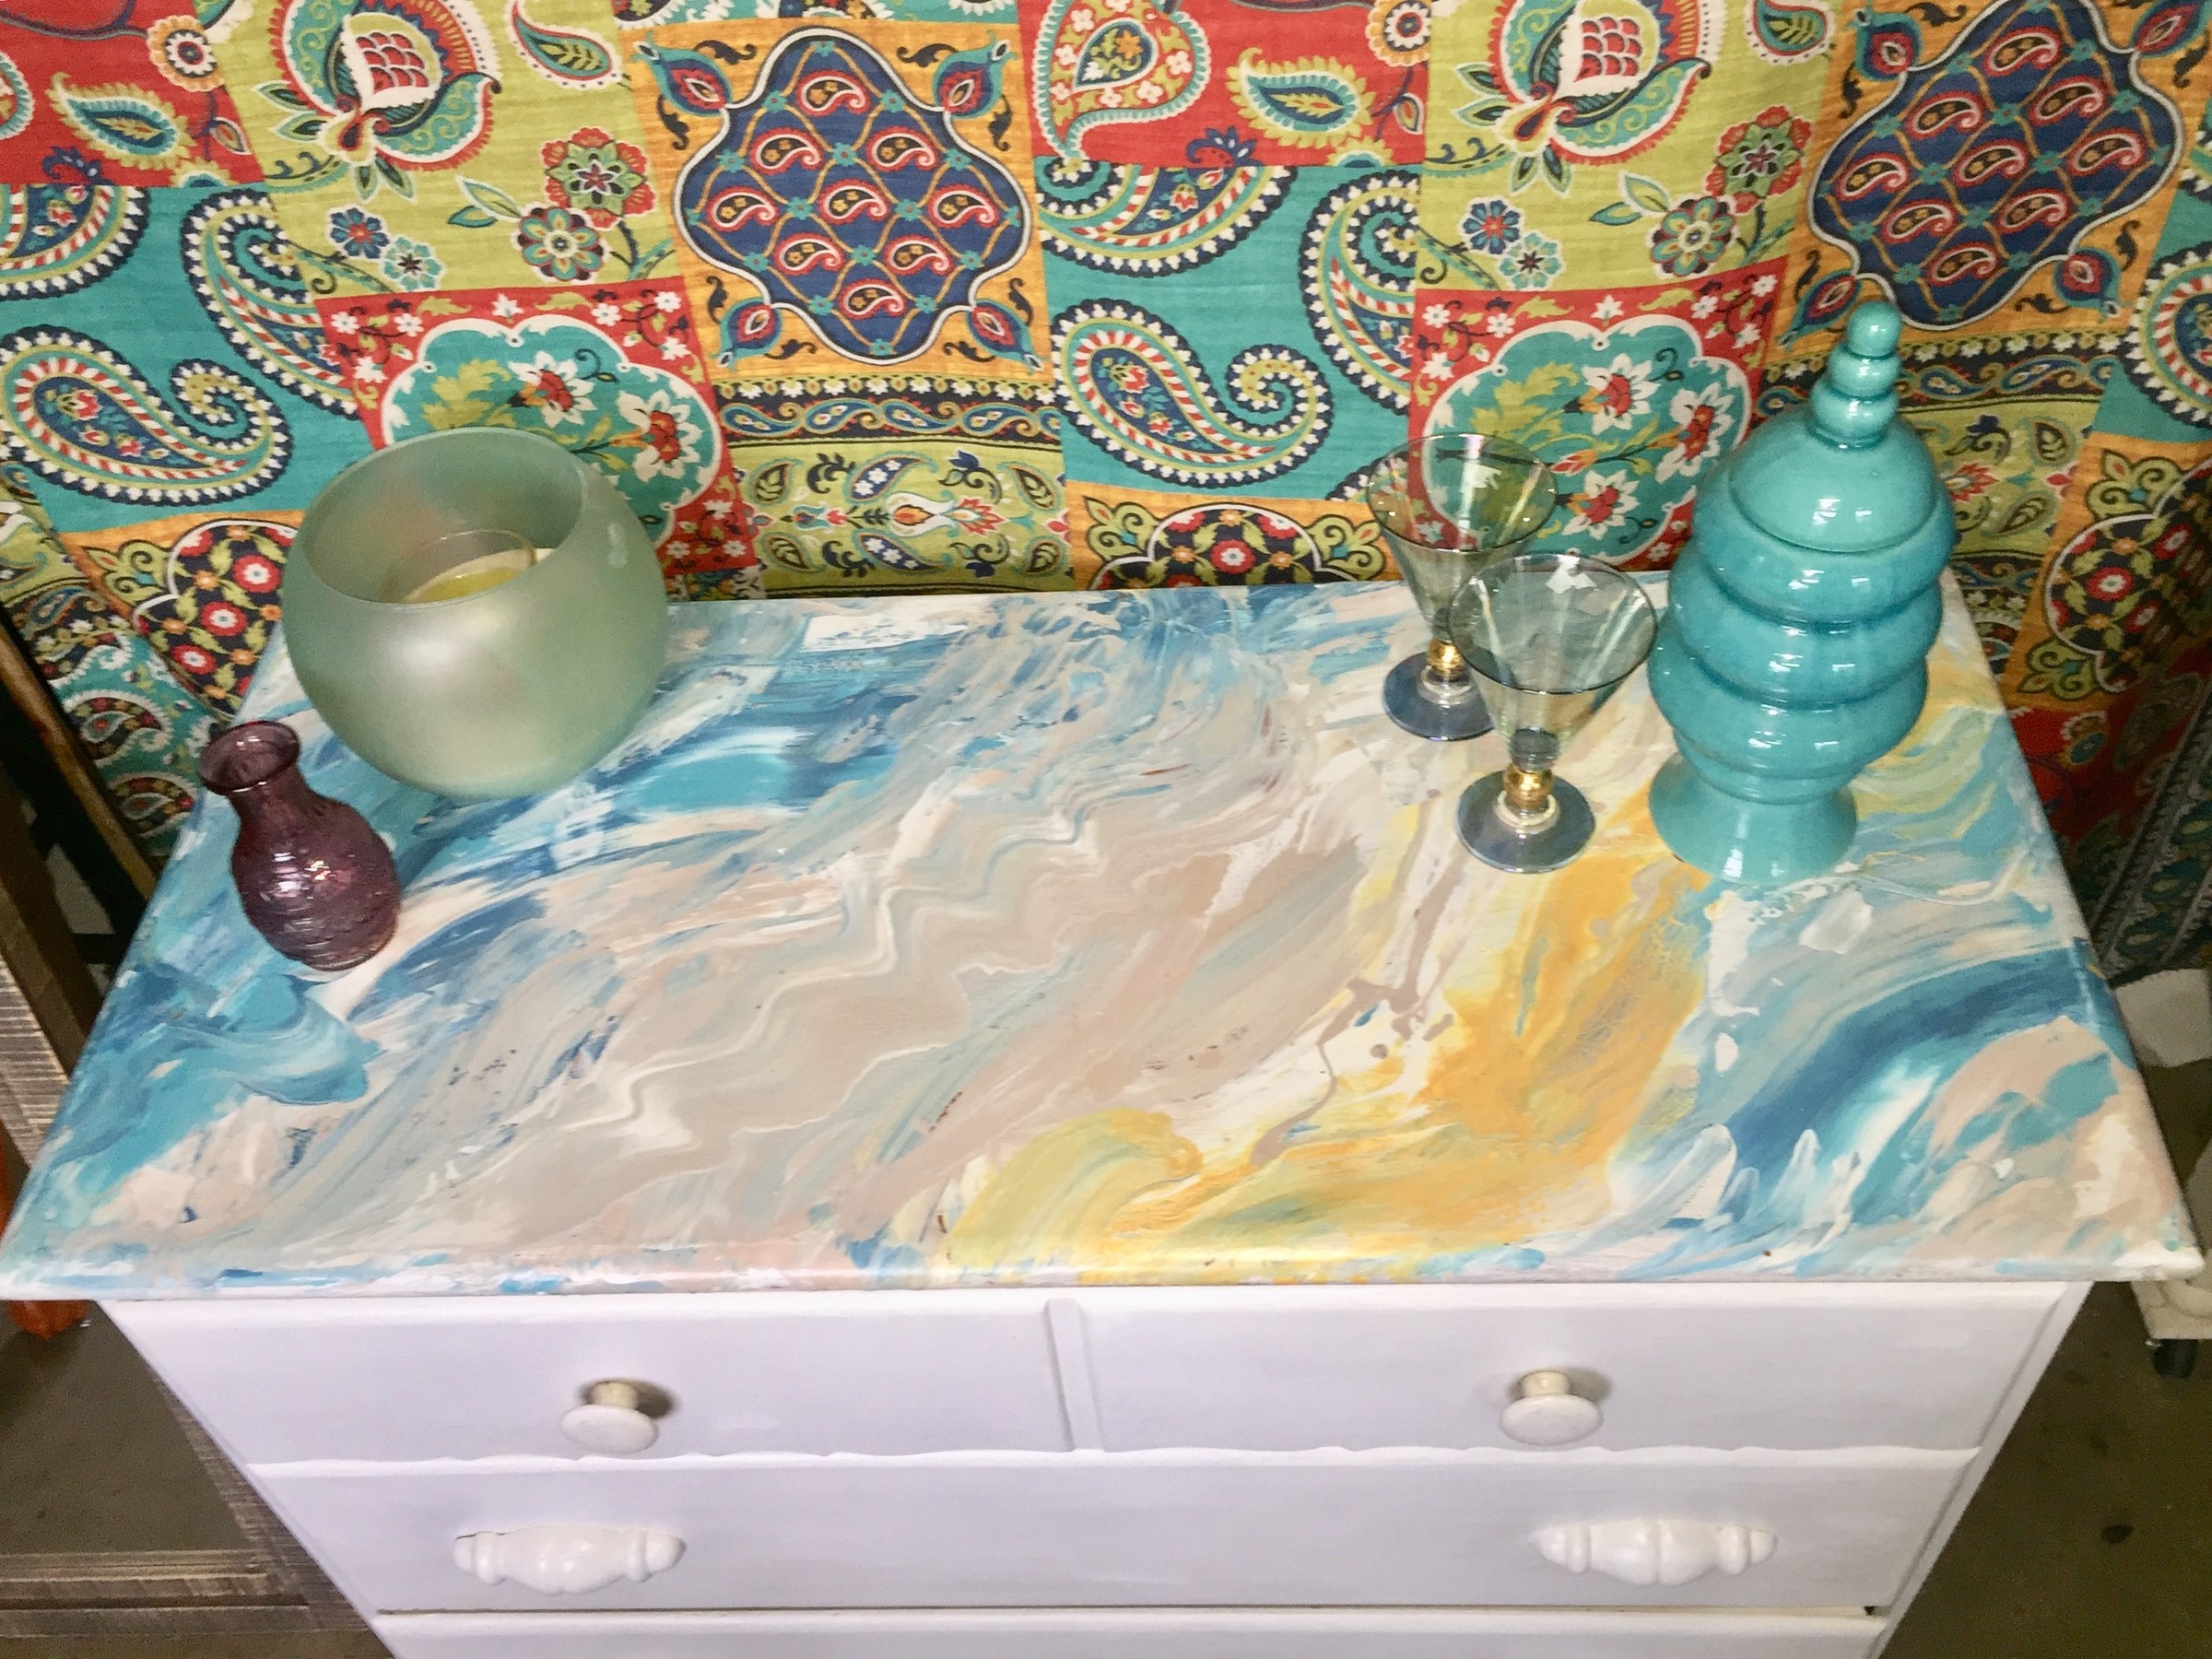
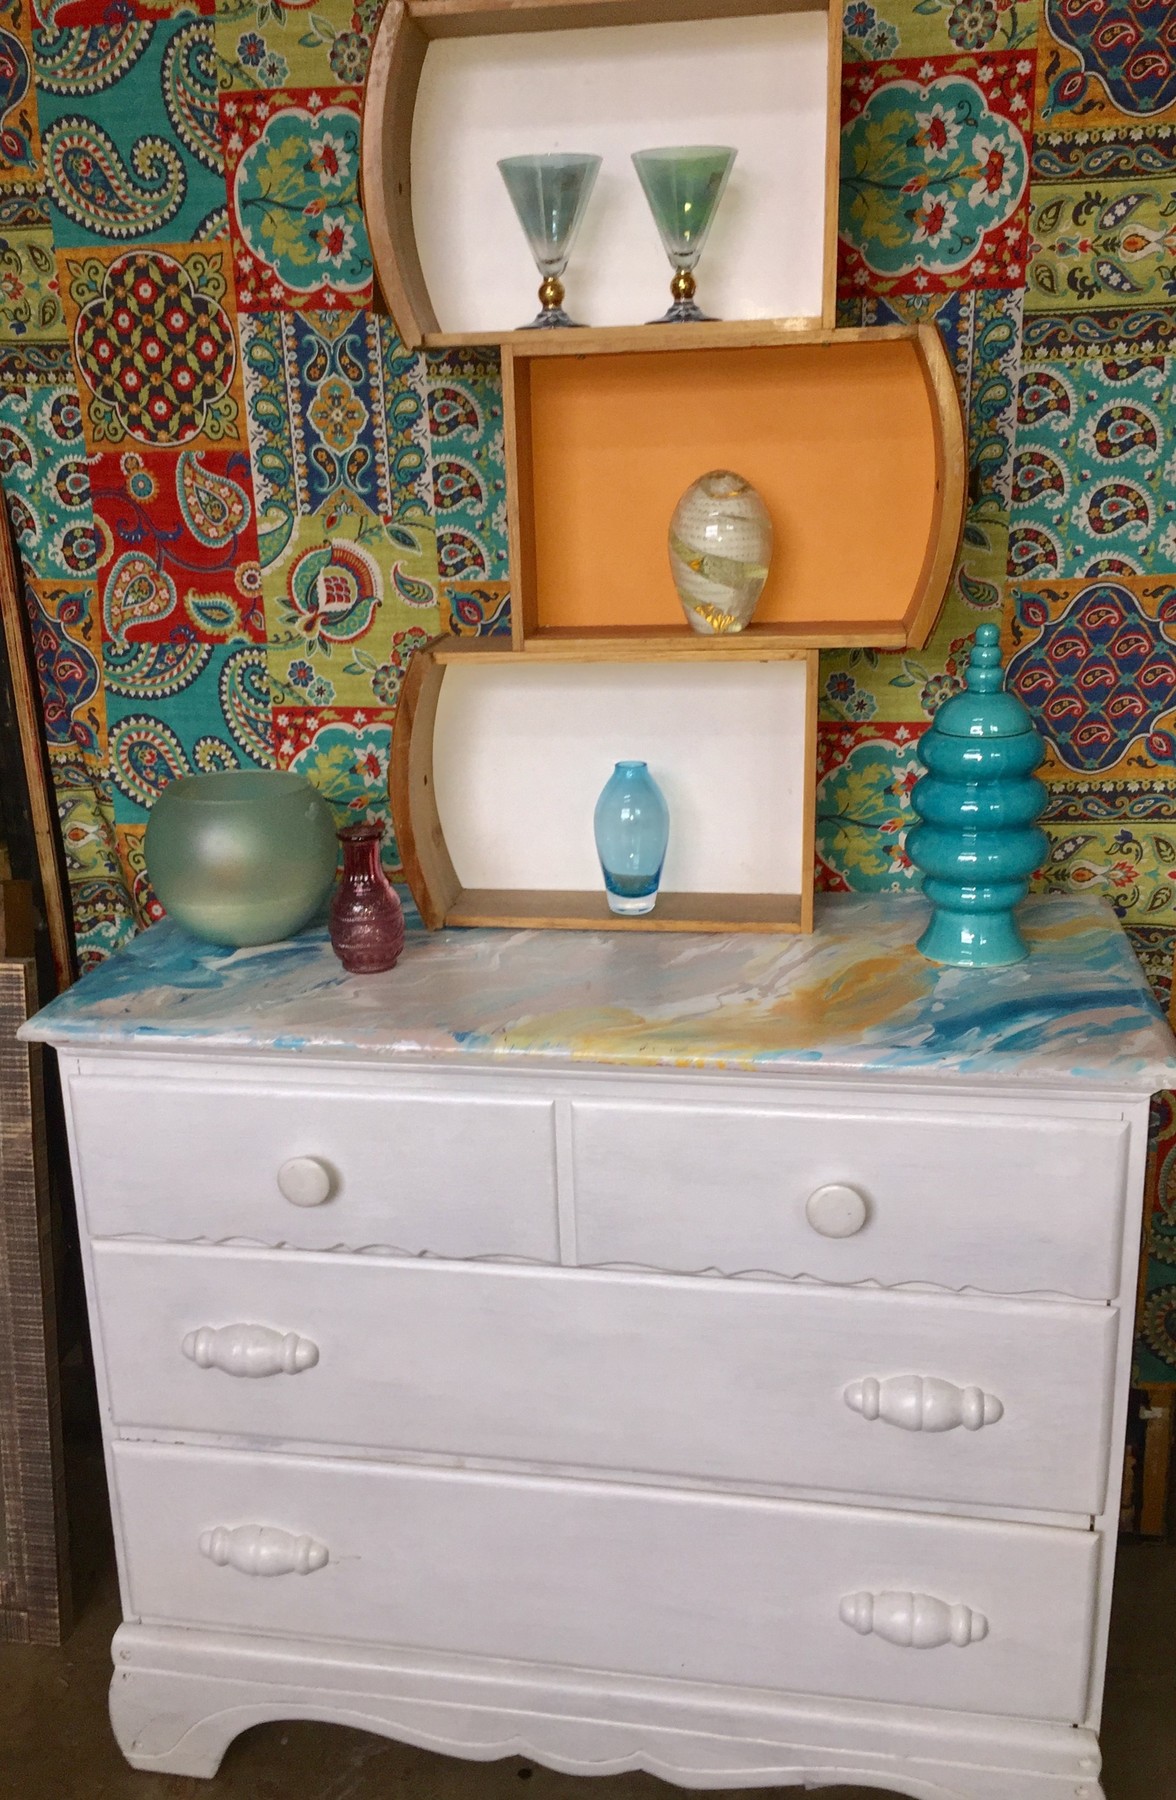
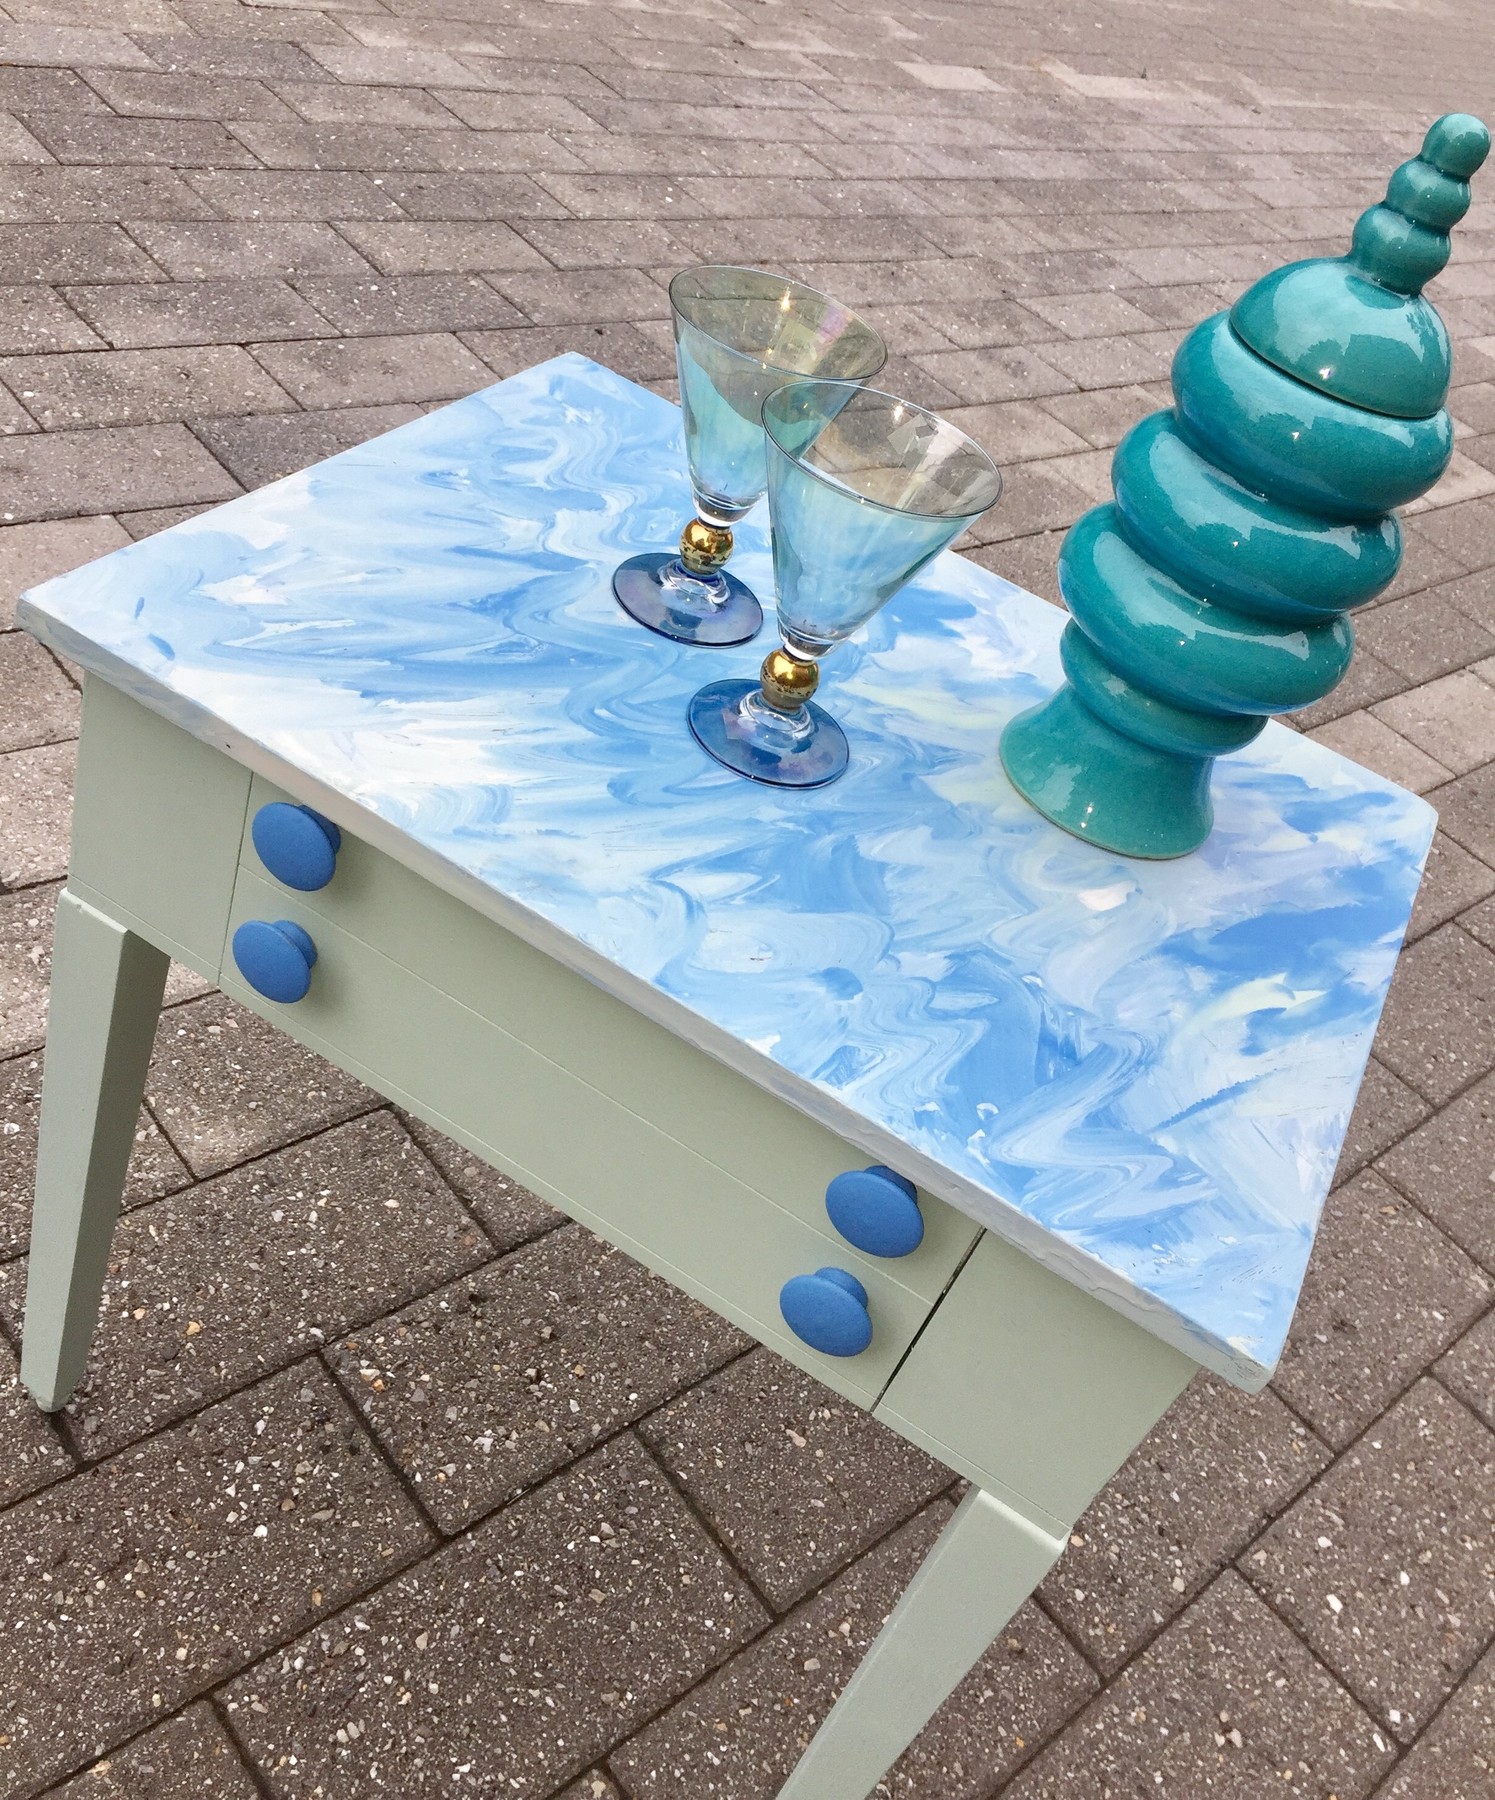
Step 5: Paint on a solid color
To highlight the wave look you just created, use one of the colors to paint over all sides and parts of the pieces. If you have a table, paint the legs and any edges with a light layer of your solid paint color, knowing you will come back to give it a second coat. For a dresser, paint the drawers and sides the same color. You want your top surface to be the eye-catching area of your masterpiece.
Let your piece dry overnight. Based on how heavy you paint on your coats, you might want to leave it dry a second night. Expert tip: Based on your item, you may want to paint the legs and sides first and then begin your pouring painting process. Ideally, you will give time for your top surface to dry completely before moving it.
Step 6: Touch it up
Once your piece is completely dry, you may need to paint the legs and sides with a second coat. Or if you have transformed a mirror, you may need to use a small brush or your fingers to touch up any spots not covered during the waving technique. If you have a dresser or side table with a drawer with wooden knobs, consider painting them in a complementary color (one of your original three or four choices), but different from the legs or sides. This will help to call attention to them, adding visual interest and give it another pop of color.
Step 7: Protect with poly
One your piece is completely painted and has dried properly, then finish it off with a coat of polyurethane to protect your artwork.
Step 8: Admire your creation!
No matter what room or where you place this upcycled item, it will attract attention because of its unique and colorful transformation. It truly will be a one-of-a-kind piece! Have fun creating!
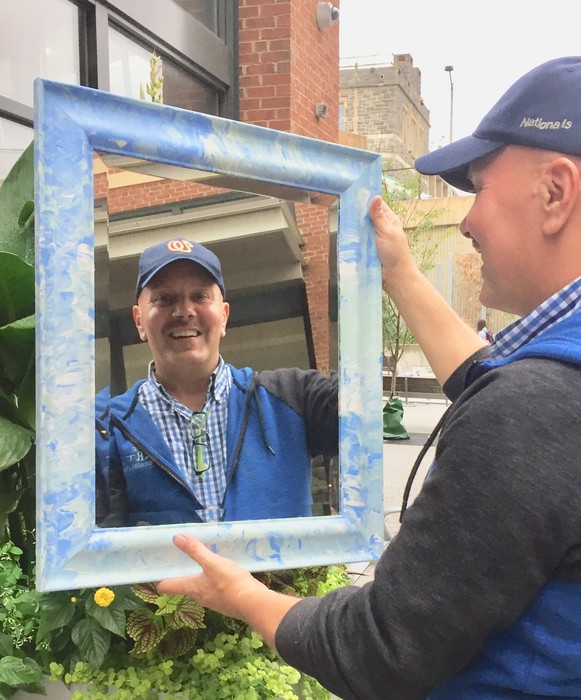
Tim Kime is an artist, life coach, connector. He is President of Kime Leadership Associates offering executive coaching, meeting facilitating and motivational speaking. He is also Chief Creative Force of Transformation Junkies which upcycles furniture and other household items into functional works of art. He combined his two passions—unleashing the potential in people and transforming items with the launch of the Art of Possibilities Workshops. These workshops are part upcycling, part dreaming, part goal setting.


