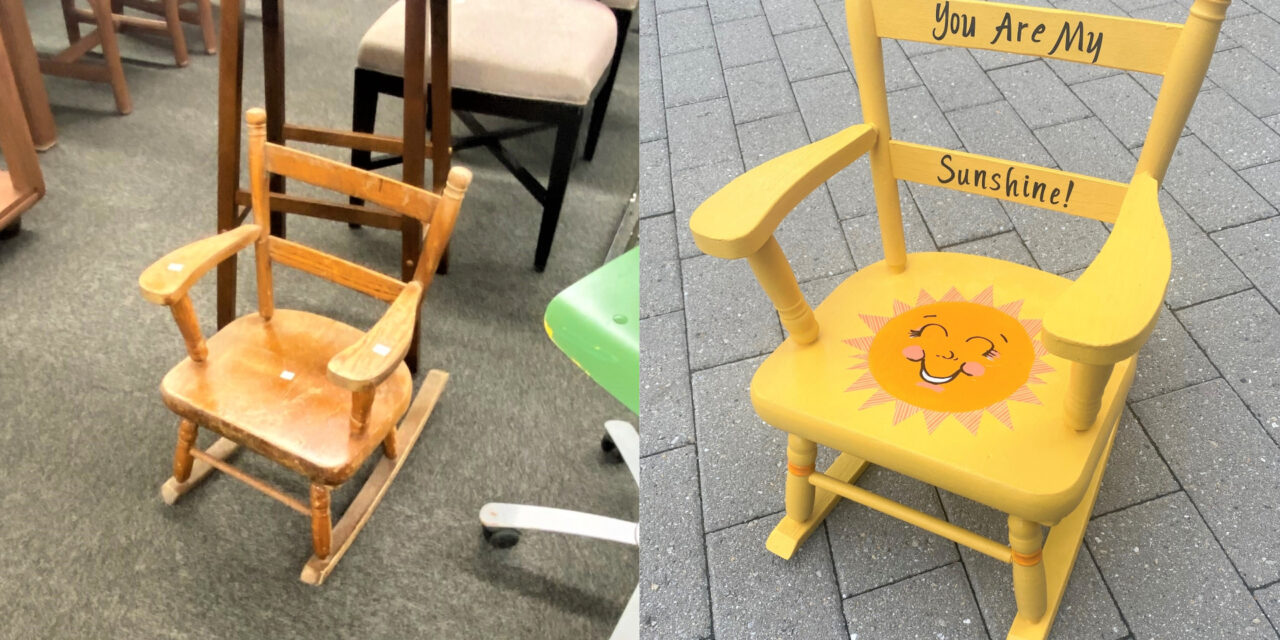
Here’s a DIY project that is always in style, no matter the age. Give a worn-out child’s rocking chair some love—and paint—to make it an heirloom to be loved by current and future generations. This sunny transformation is a gift for a newborn that I predict will stay in the family for a while. You, too, can easily create a gift that will be loved by those big and small ones, following super simple steps.
Supplies Needed:
1. Wooden child’s rocking chair
2. Yellow latex paint with primer
3. Orange craft paint
4. Brushes, various sizes
5. Sanding block or sandpaper, medium grain
6. Peel and stick lettering
7. Colorful craft paper in orange tones
8. Scissors
9. Black Sharpie
10. School glue or Mod Podge
11. A cute kid to enjoy it!
Step 1: Shopping at Goodwill is great for all ages
You can easily start a family tradition by shopping together for your good at Goodwill. How fun is it to see what treasures await you there while sharing the experience with your kids or cousins?
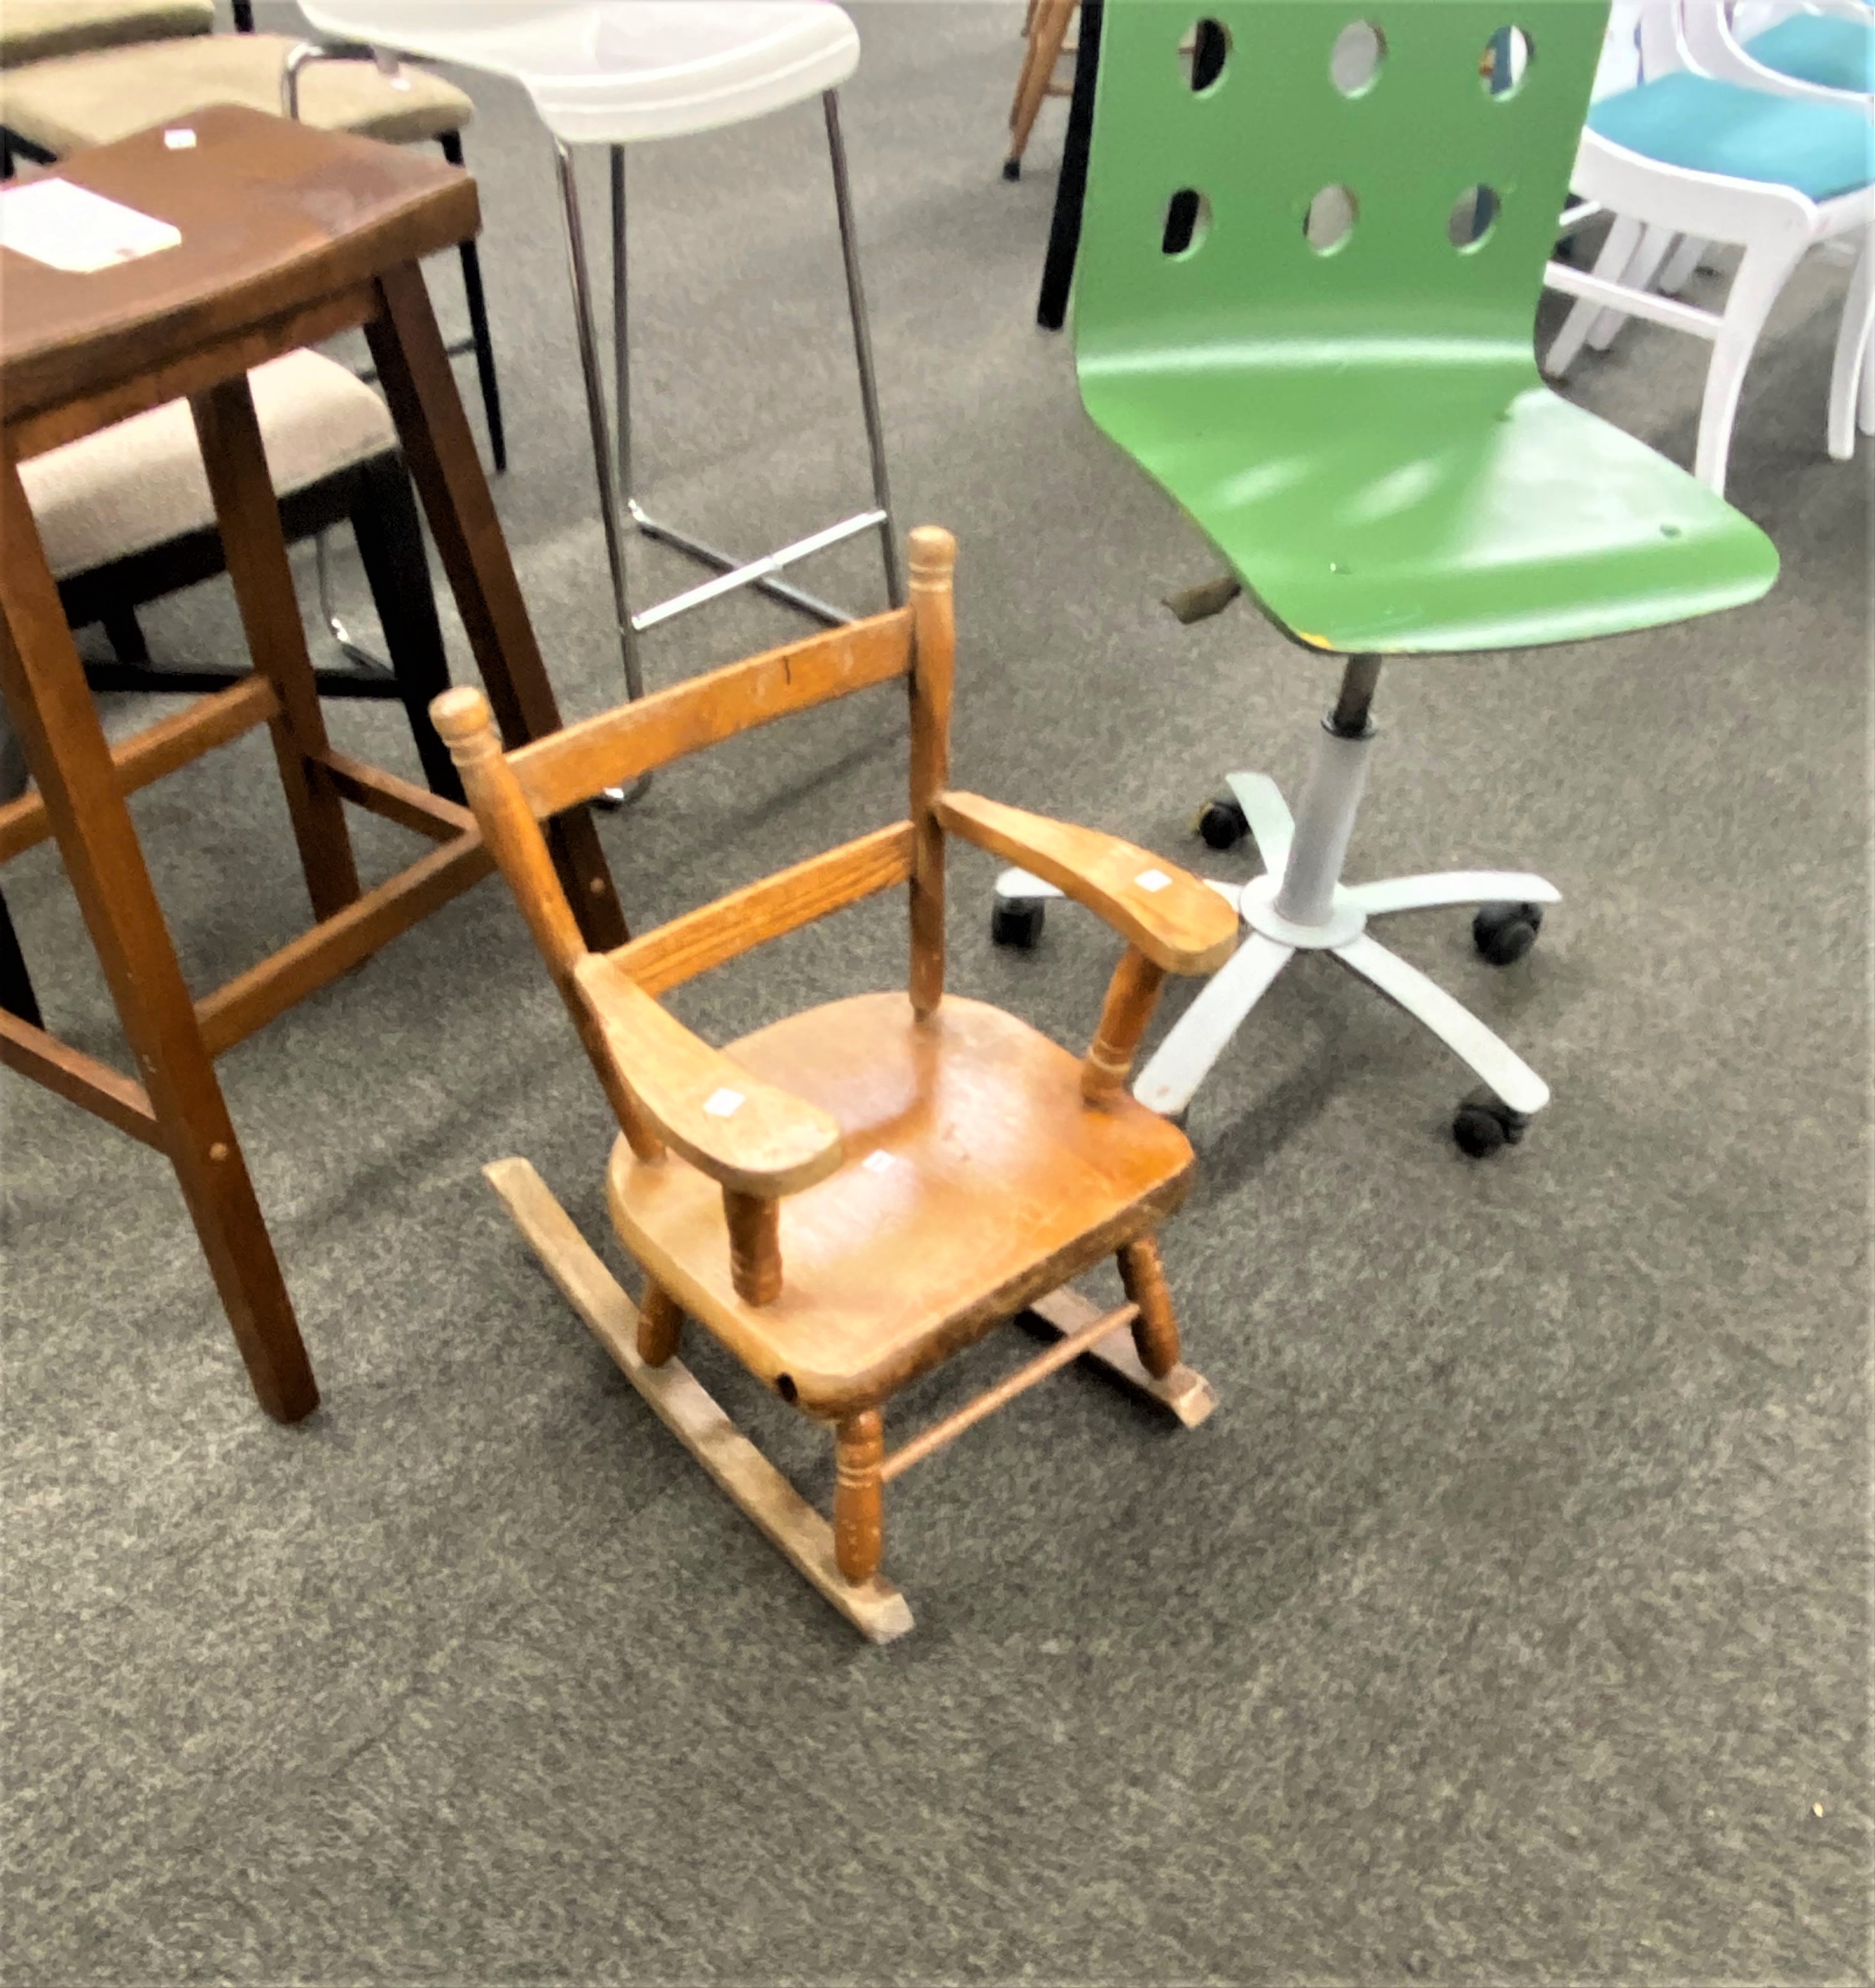

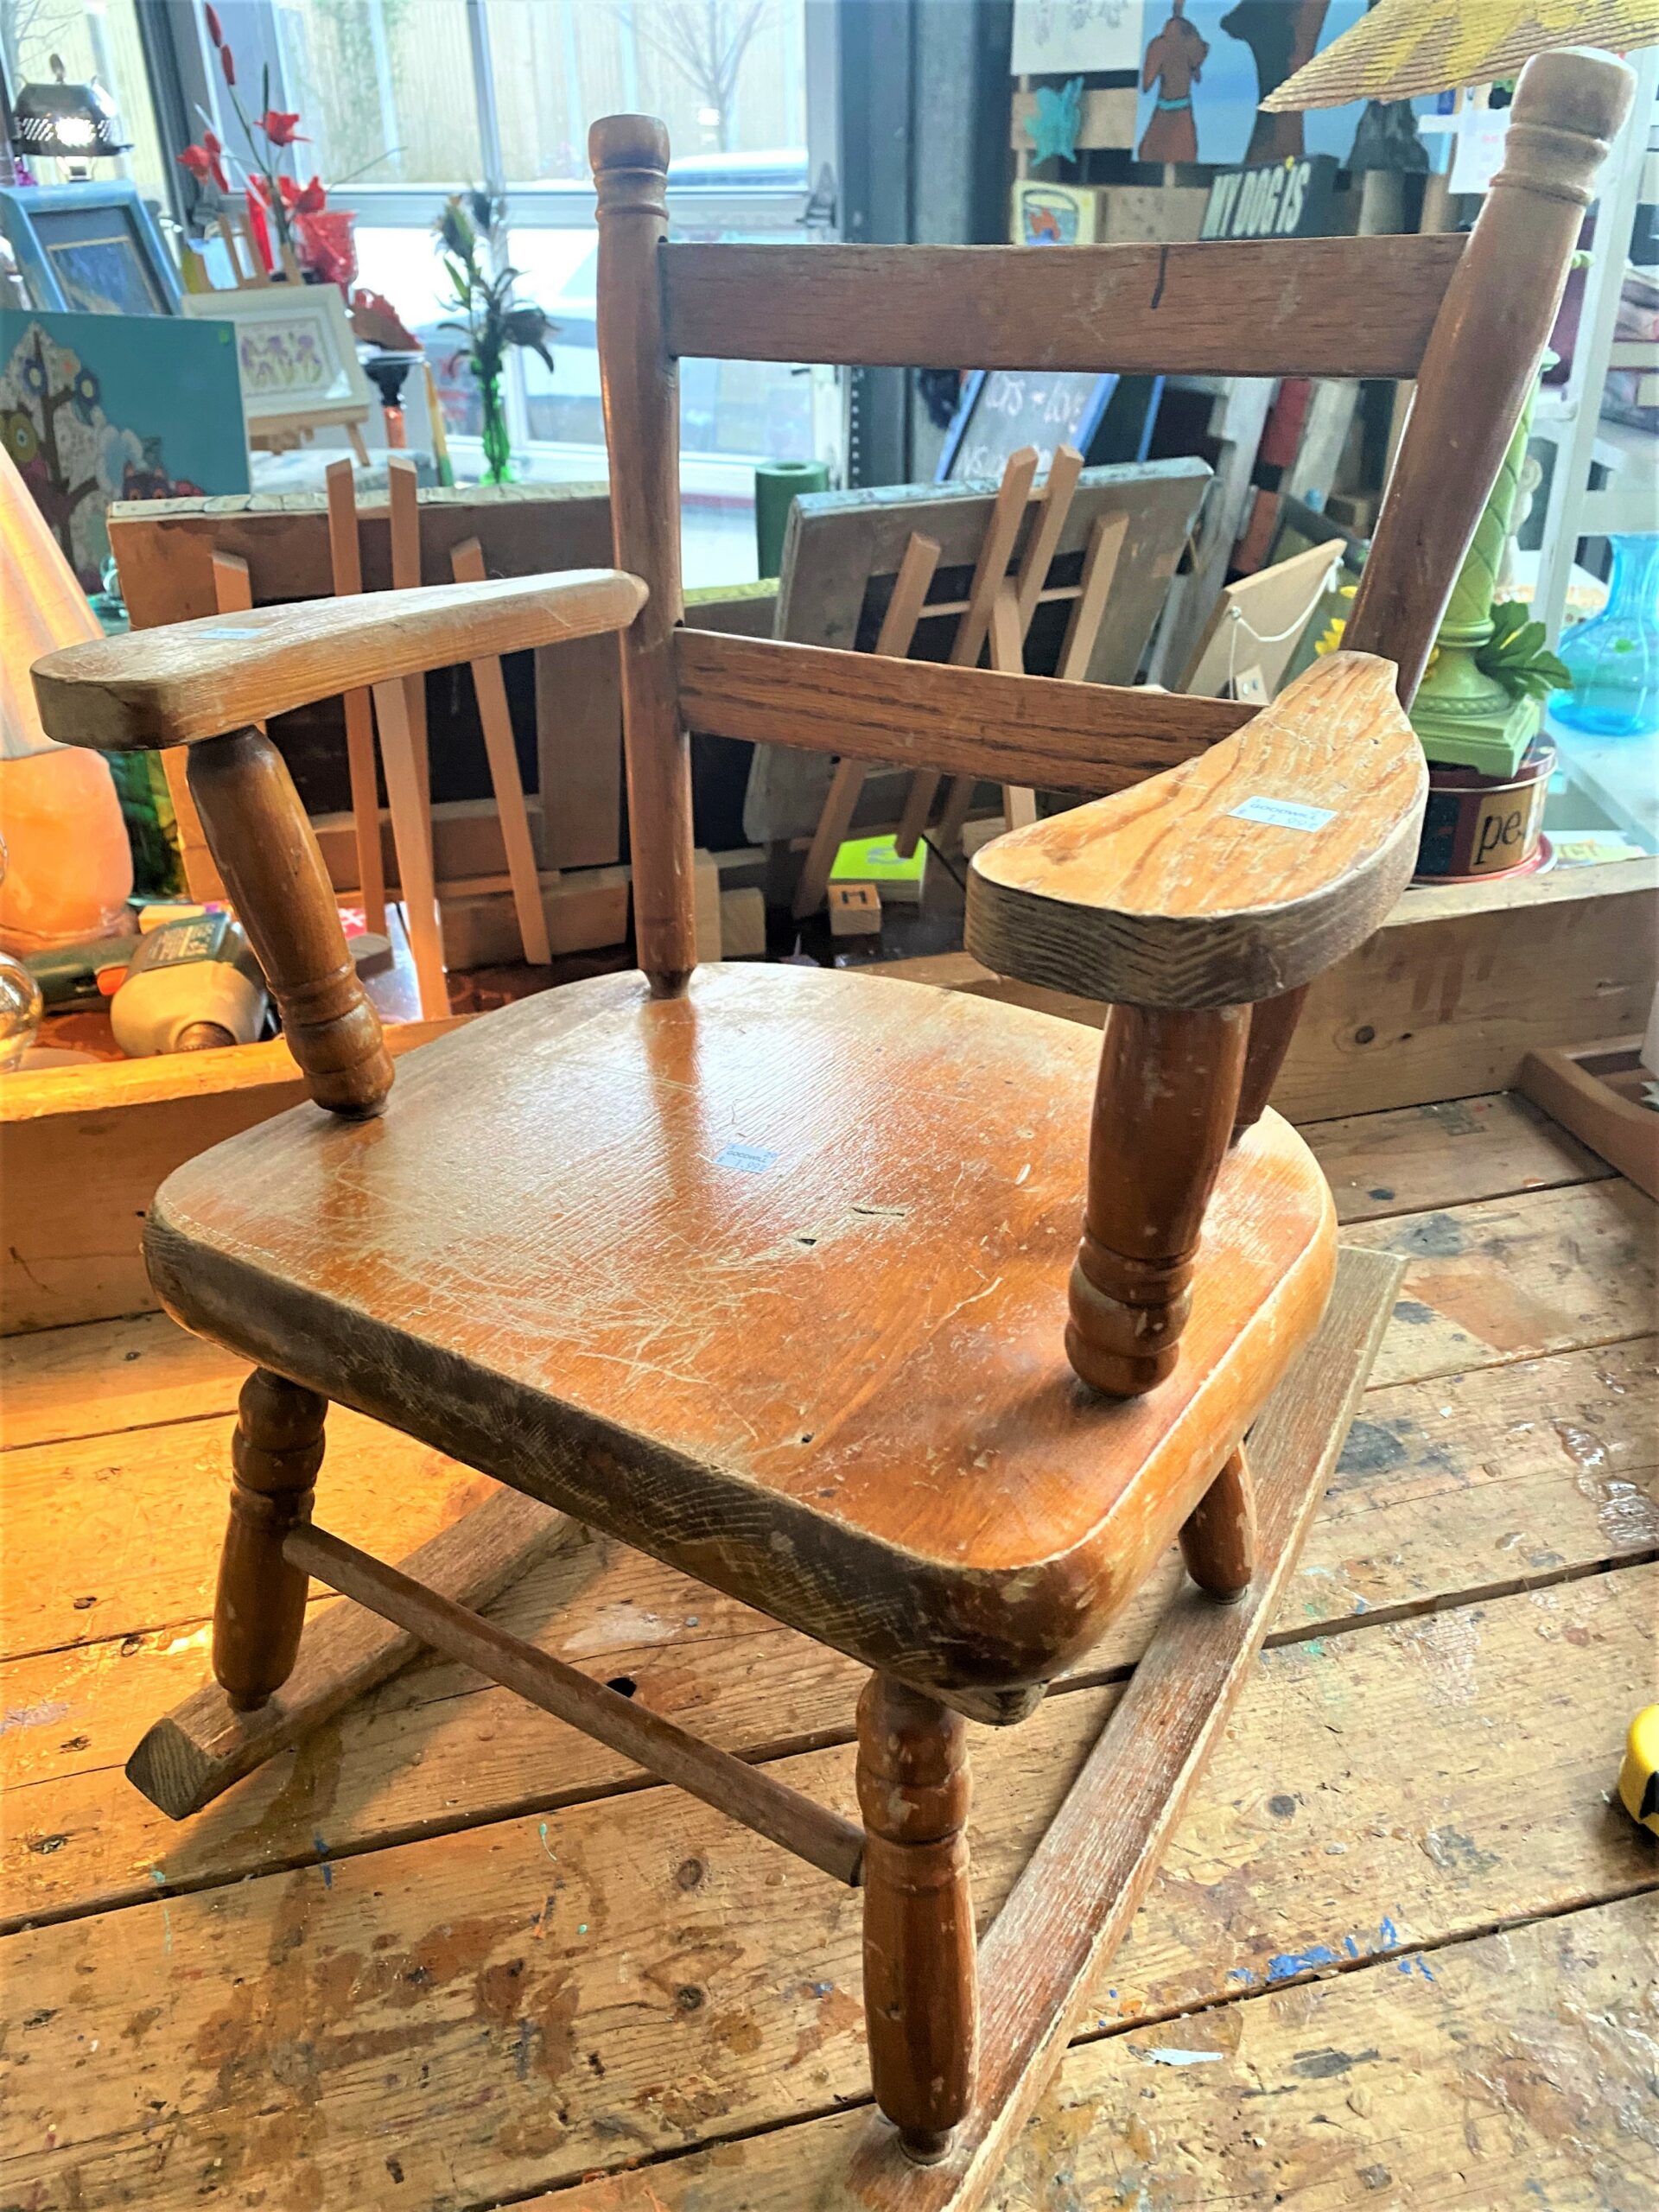
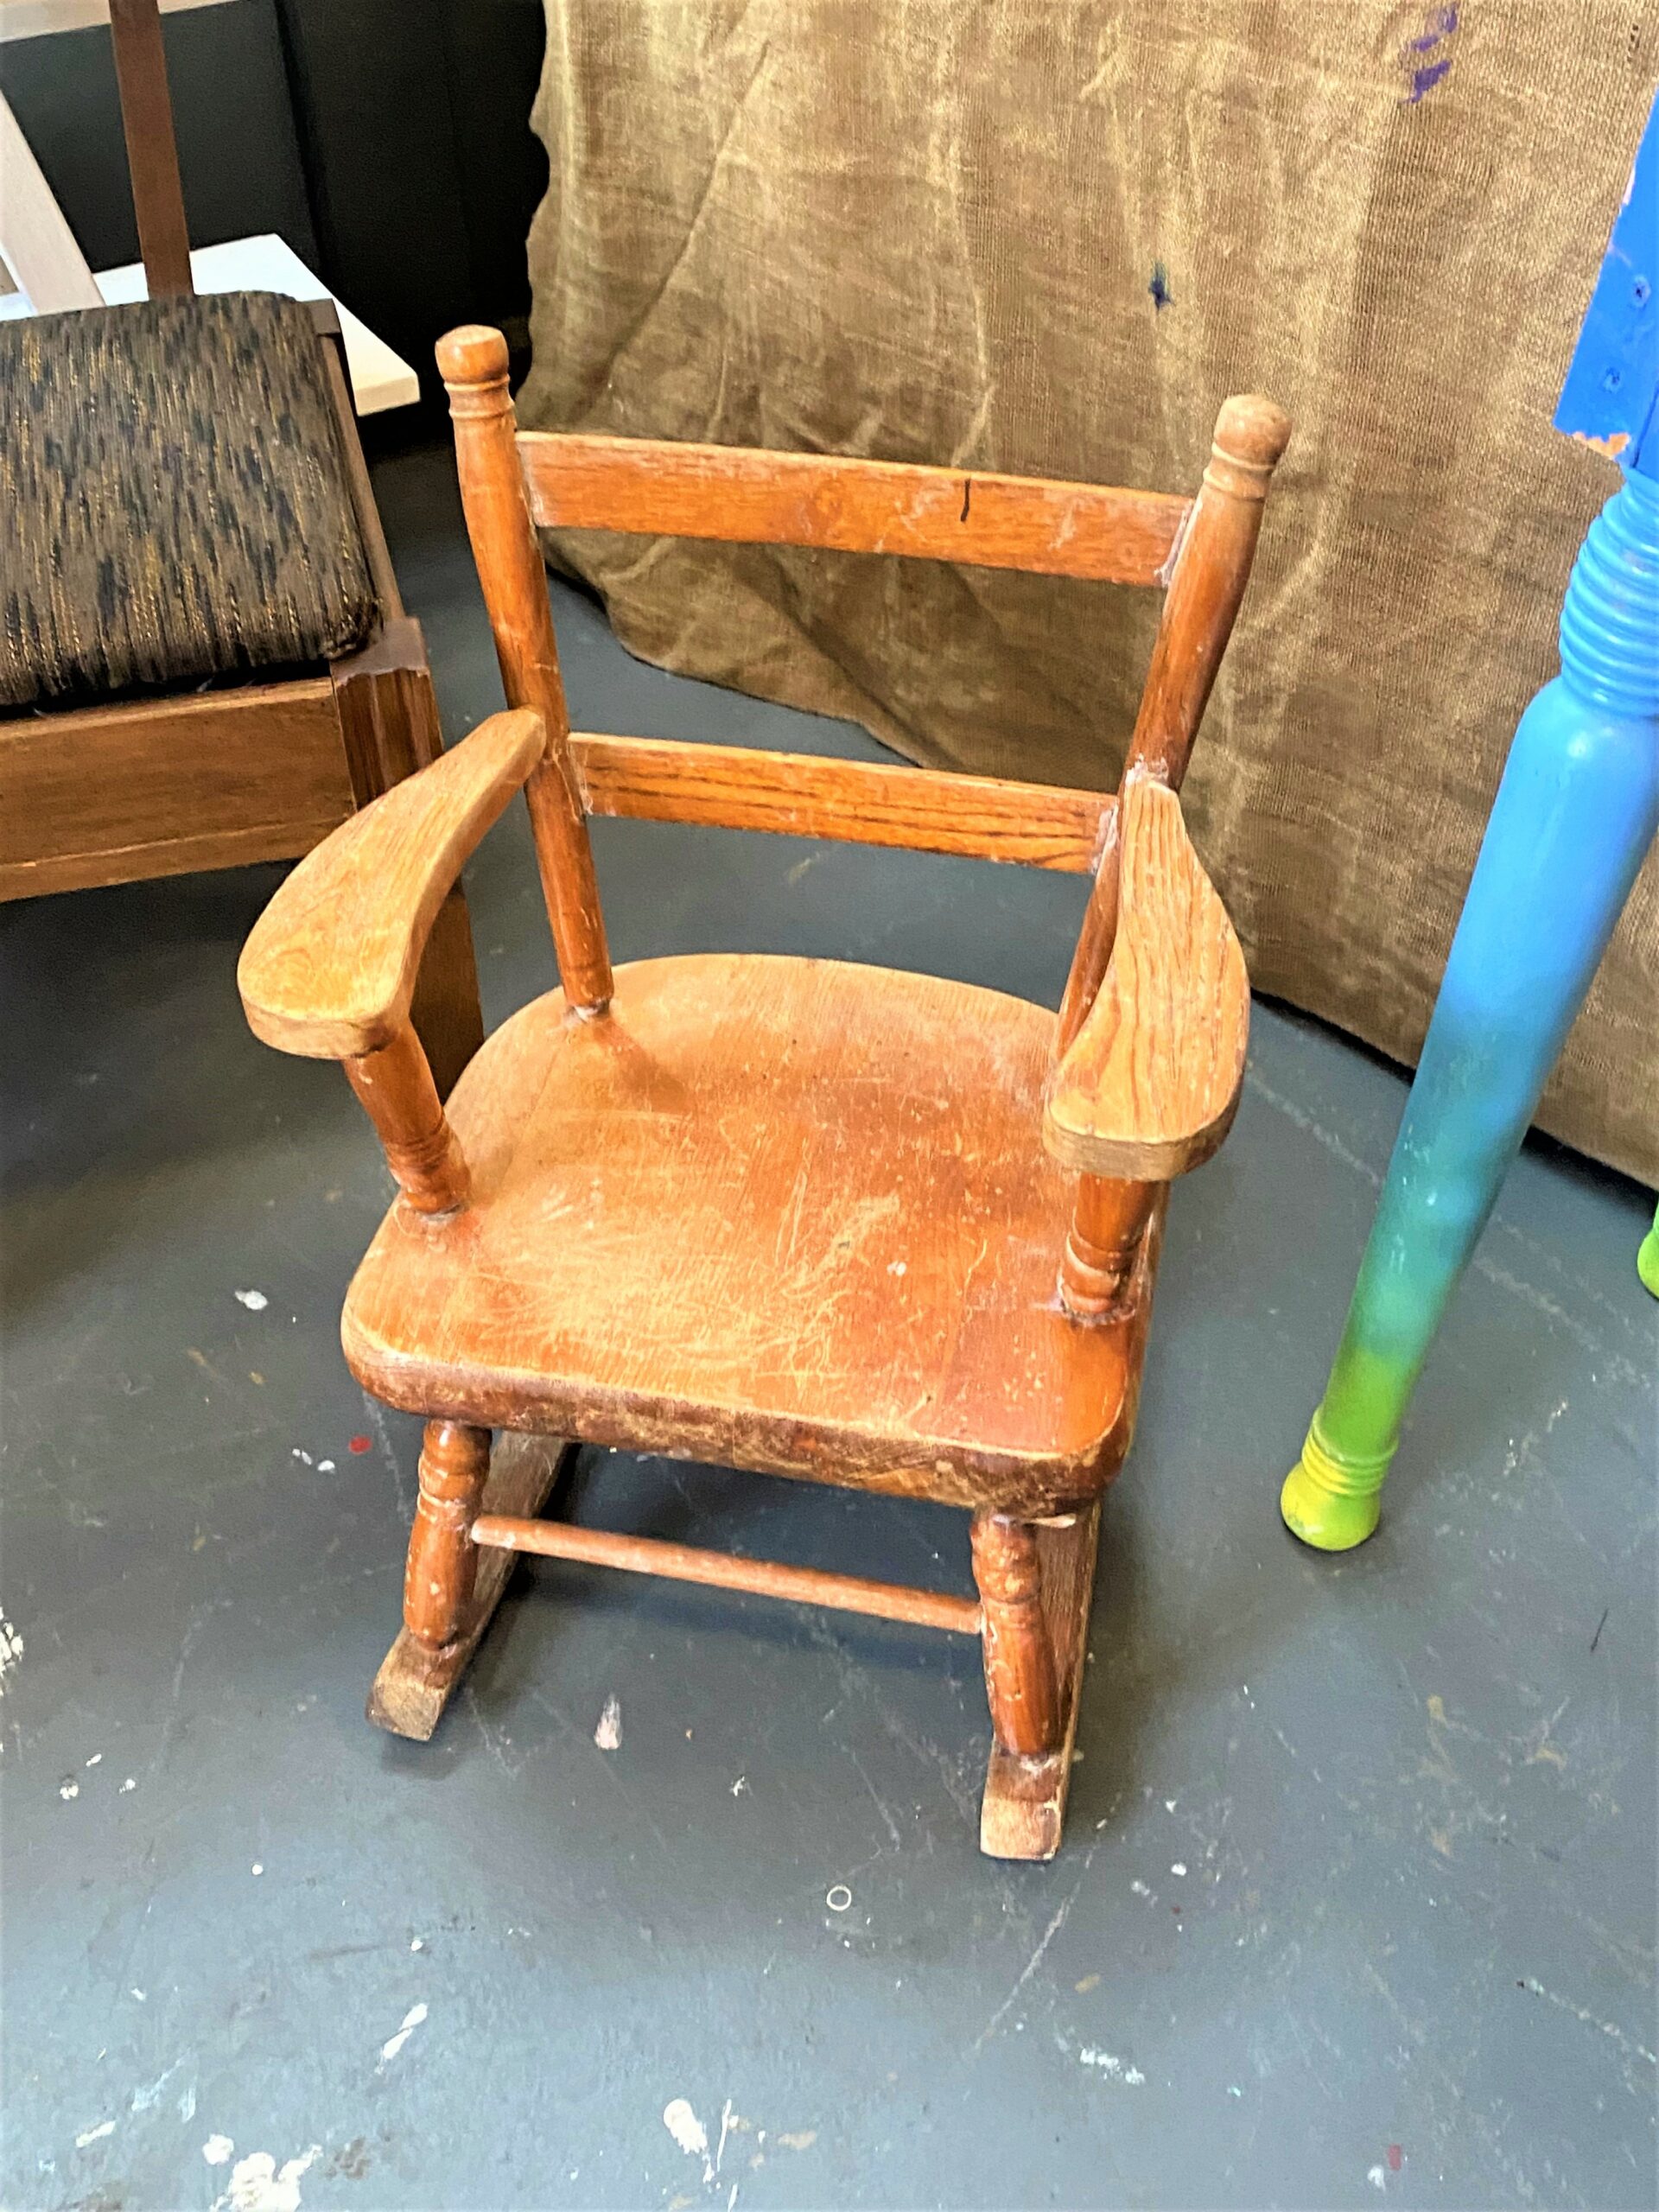
During a recent adventure, I came across an adorable (and slightly weathered) child’s rocking chair. Solid wood pieces with charming lines made it a must-have. On my list of items to take home whenever I come across them while at Goodwill include children’s chairs, especially ones from wood. There is always a little one around who will appreciate having a seat that is all their own.
Step 2: Prep this petite piece with pride
All this piece needed was some tightening of screws and a little wood glue to make it strong and solid for kids to enjoy.
- To get it ready for its transformation, a good rub down using medium grain sanding paper was all it took. The finish was nearly worn away, so the sanding job was to make it more paint-friendly.
- On your piece, take a little bit of time to get all edges and sides ready for painting. Don’t worry about removing every part of its current finish, just get it buffed up a bit.
- With a damp cloth, remove all the dust created from sanding and any dirt from little fingers and feet.
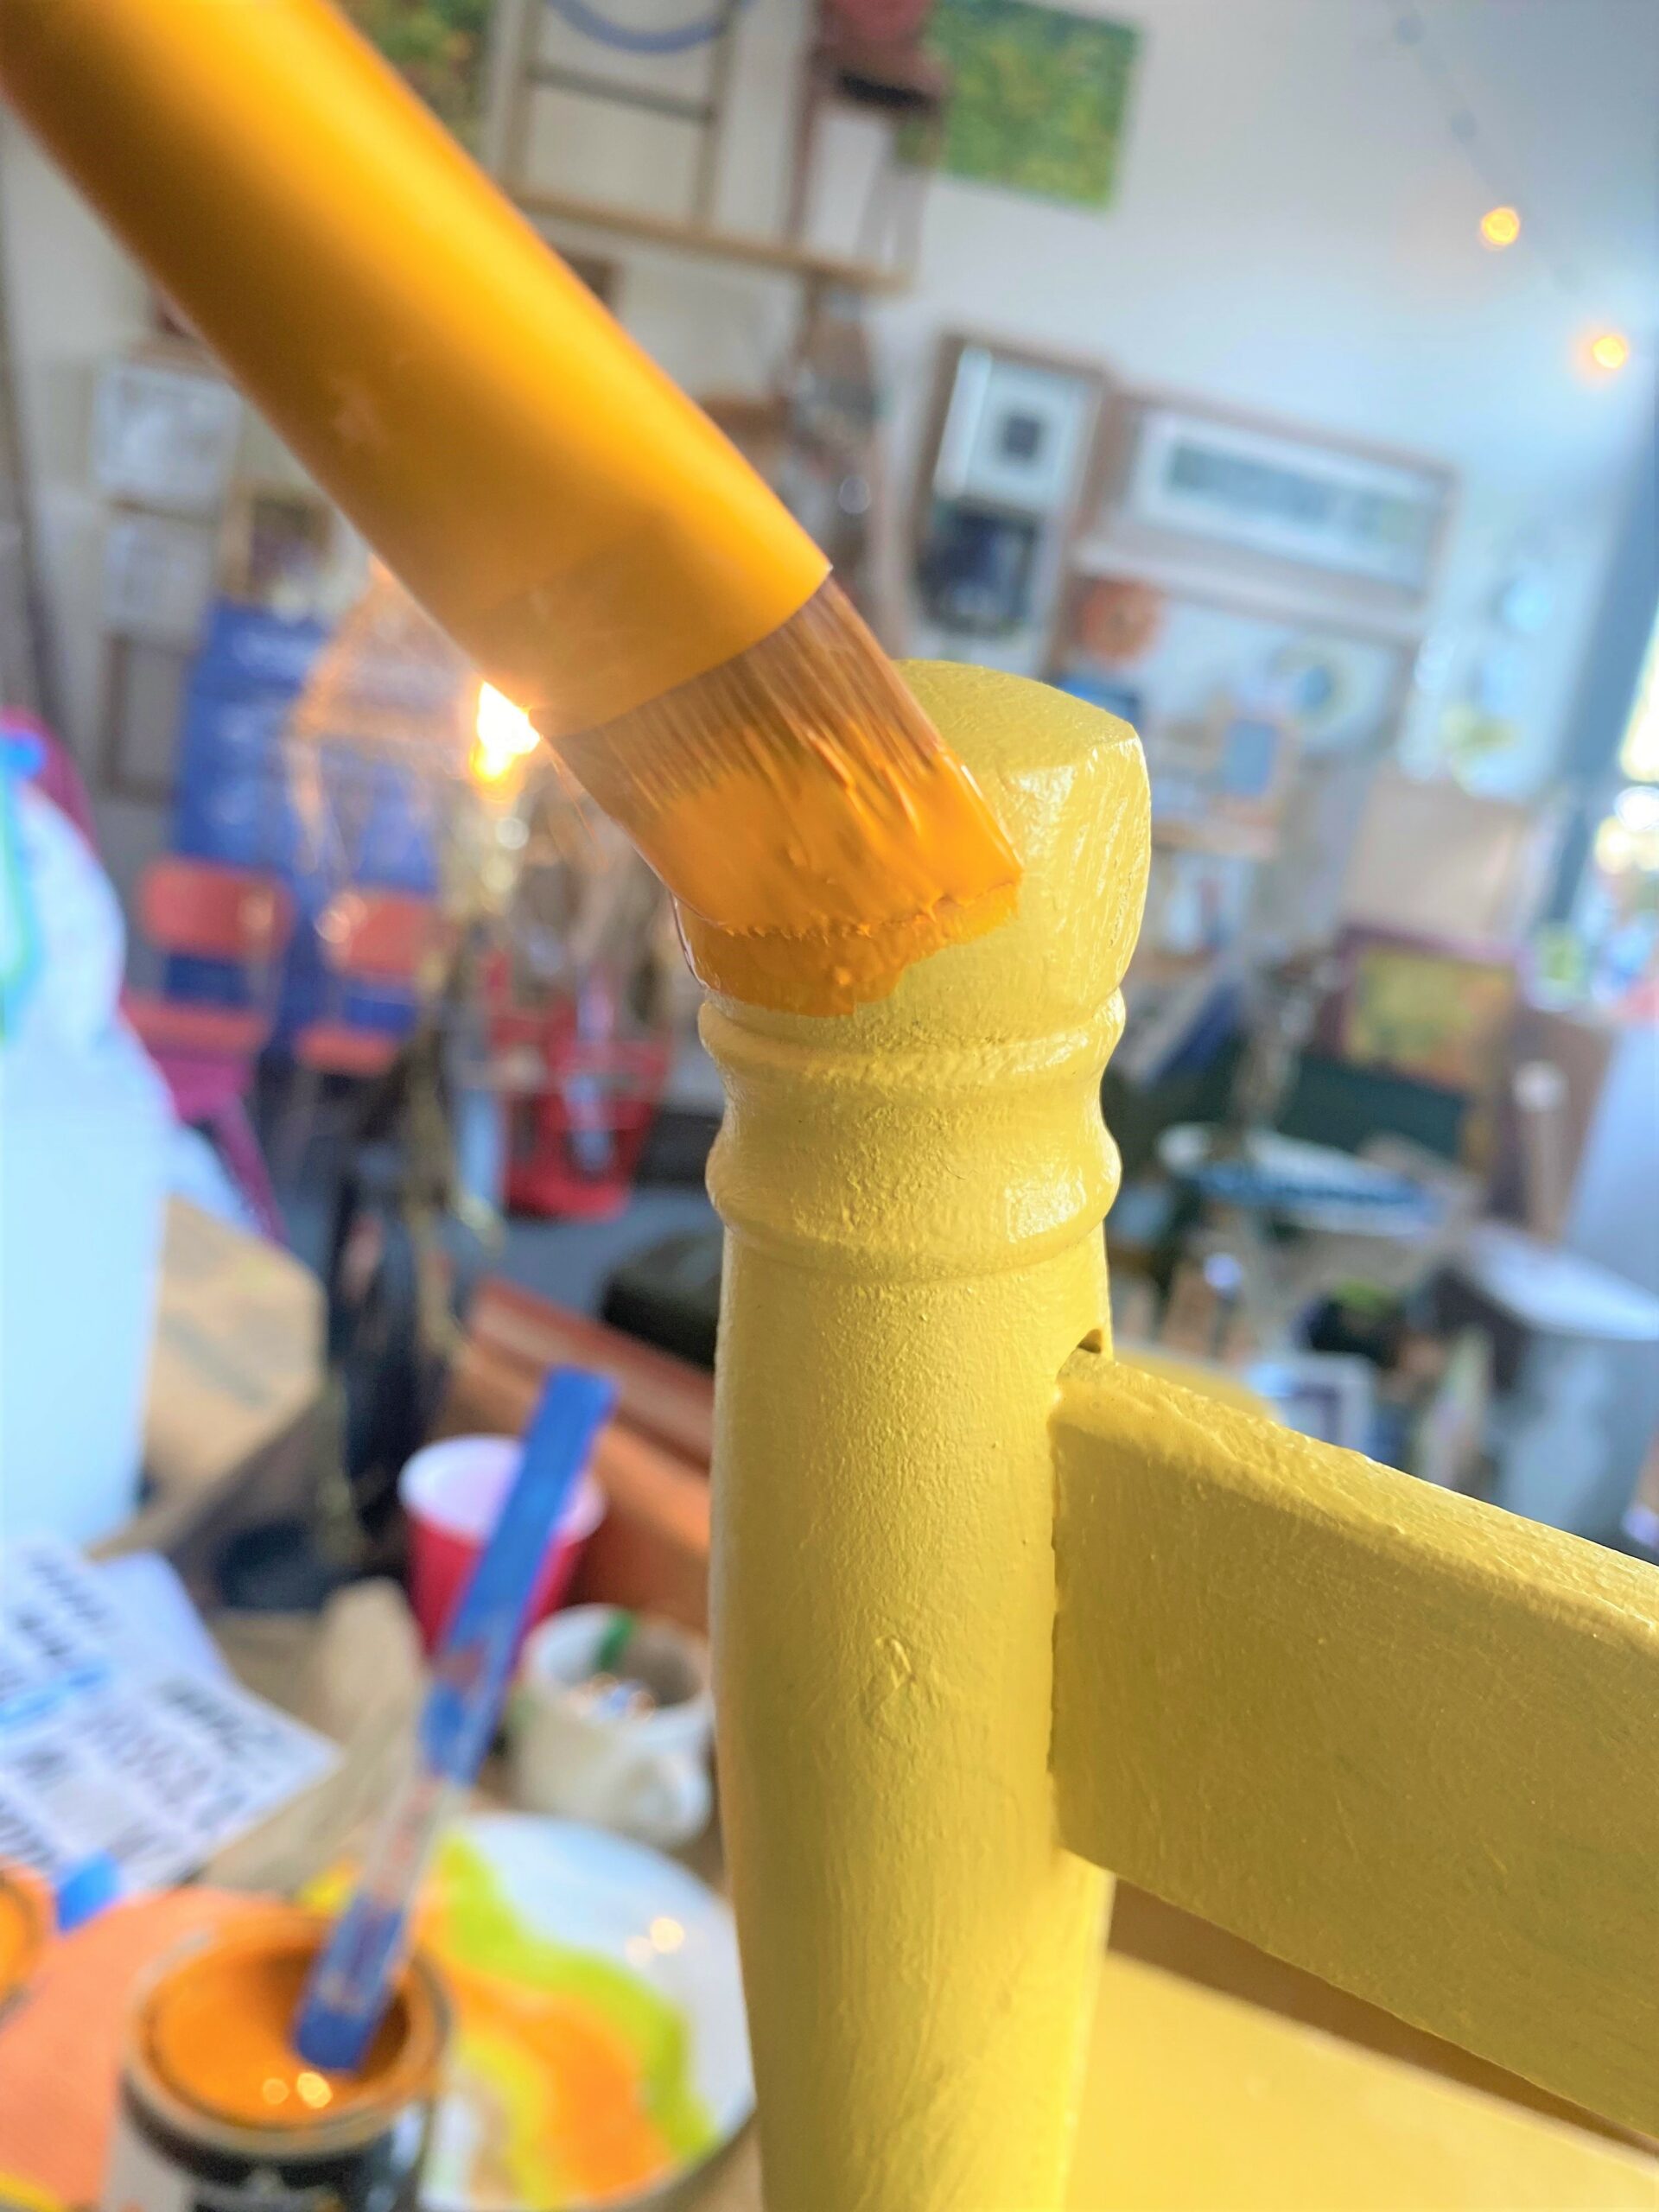
Step 3: Brush on a bright beginning
The wonderful thing about doing a project like this for a child is that you can select any bright color and it will be perfect. No need to worry about the other decorations in the room or the style of the home. Kid’s items get their own look and feel, so have fun selecting colors.
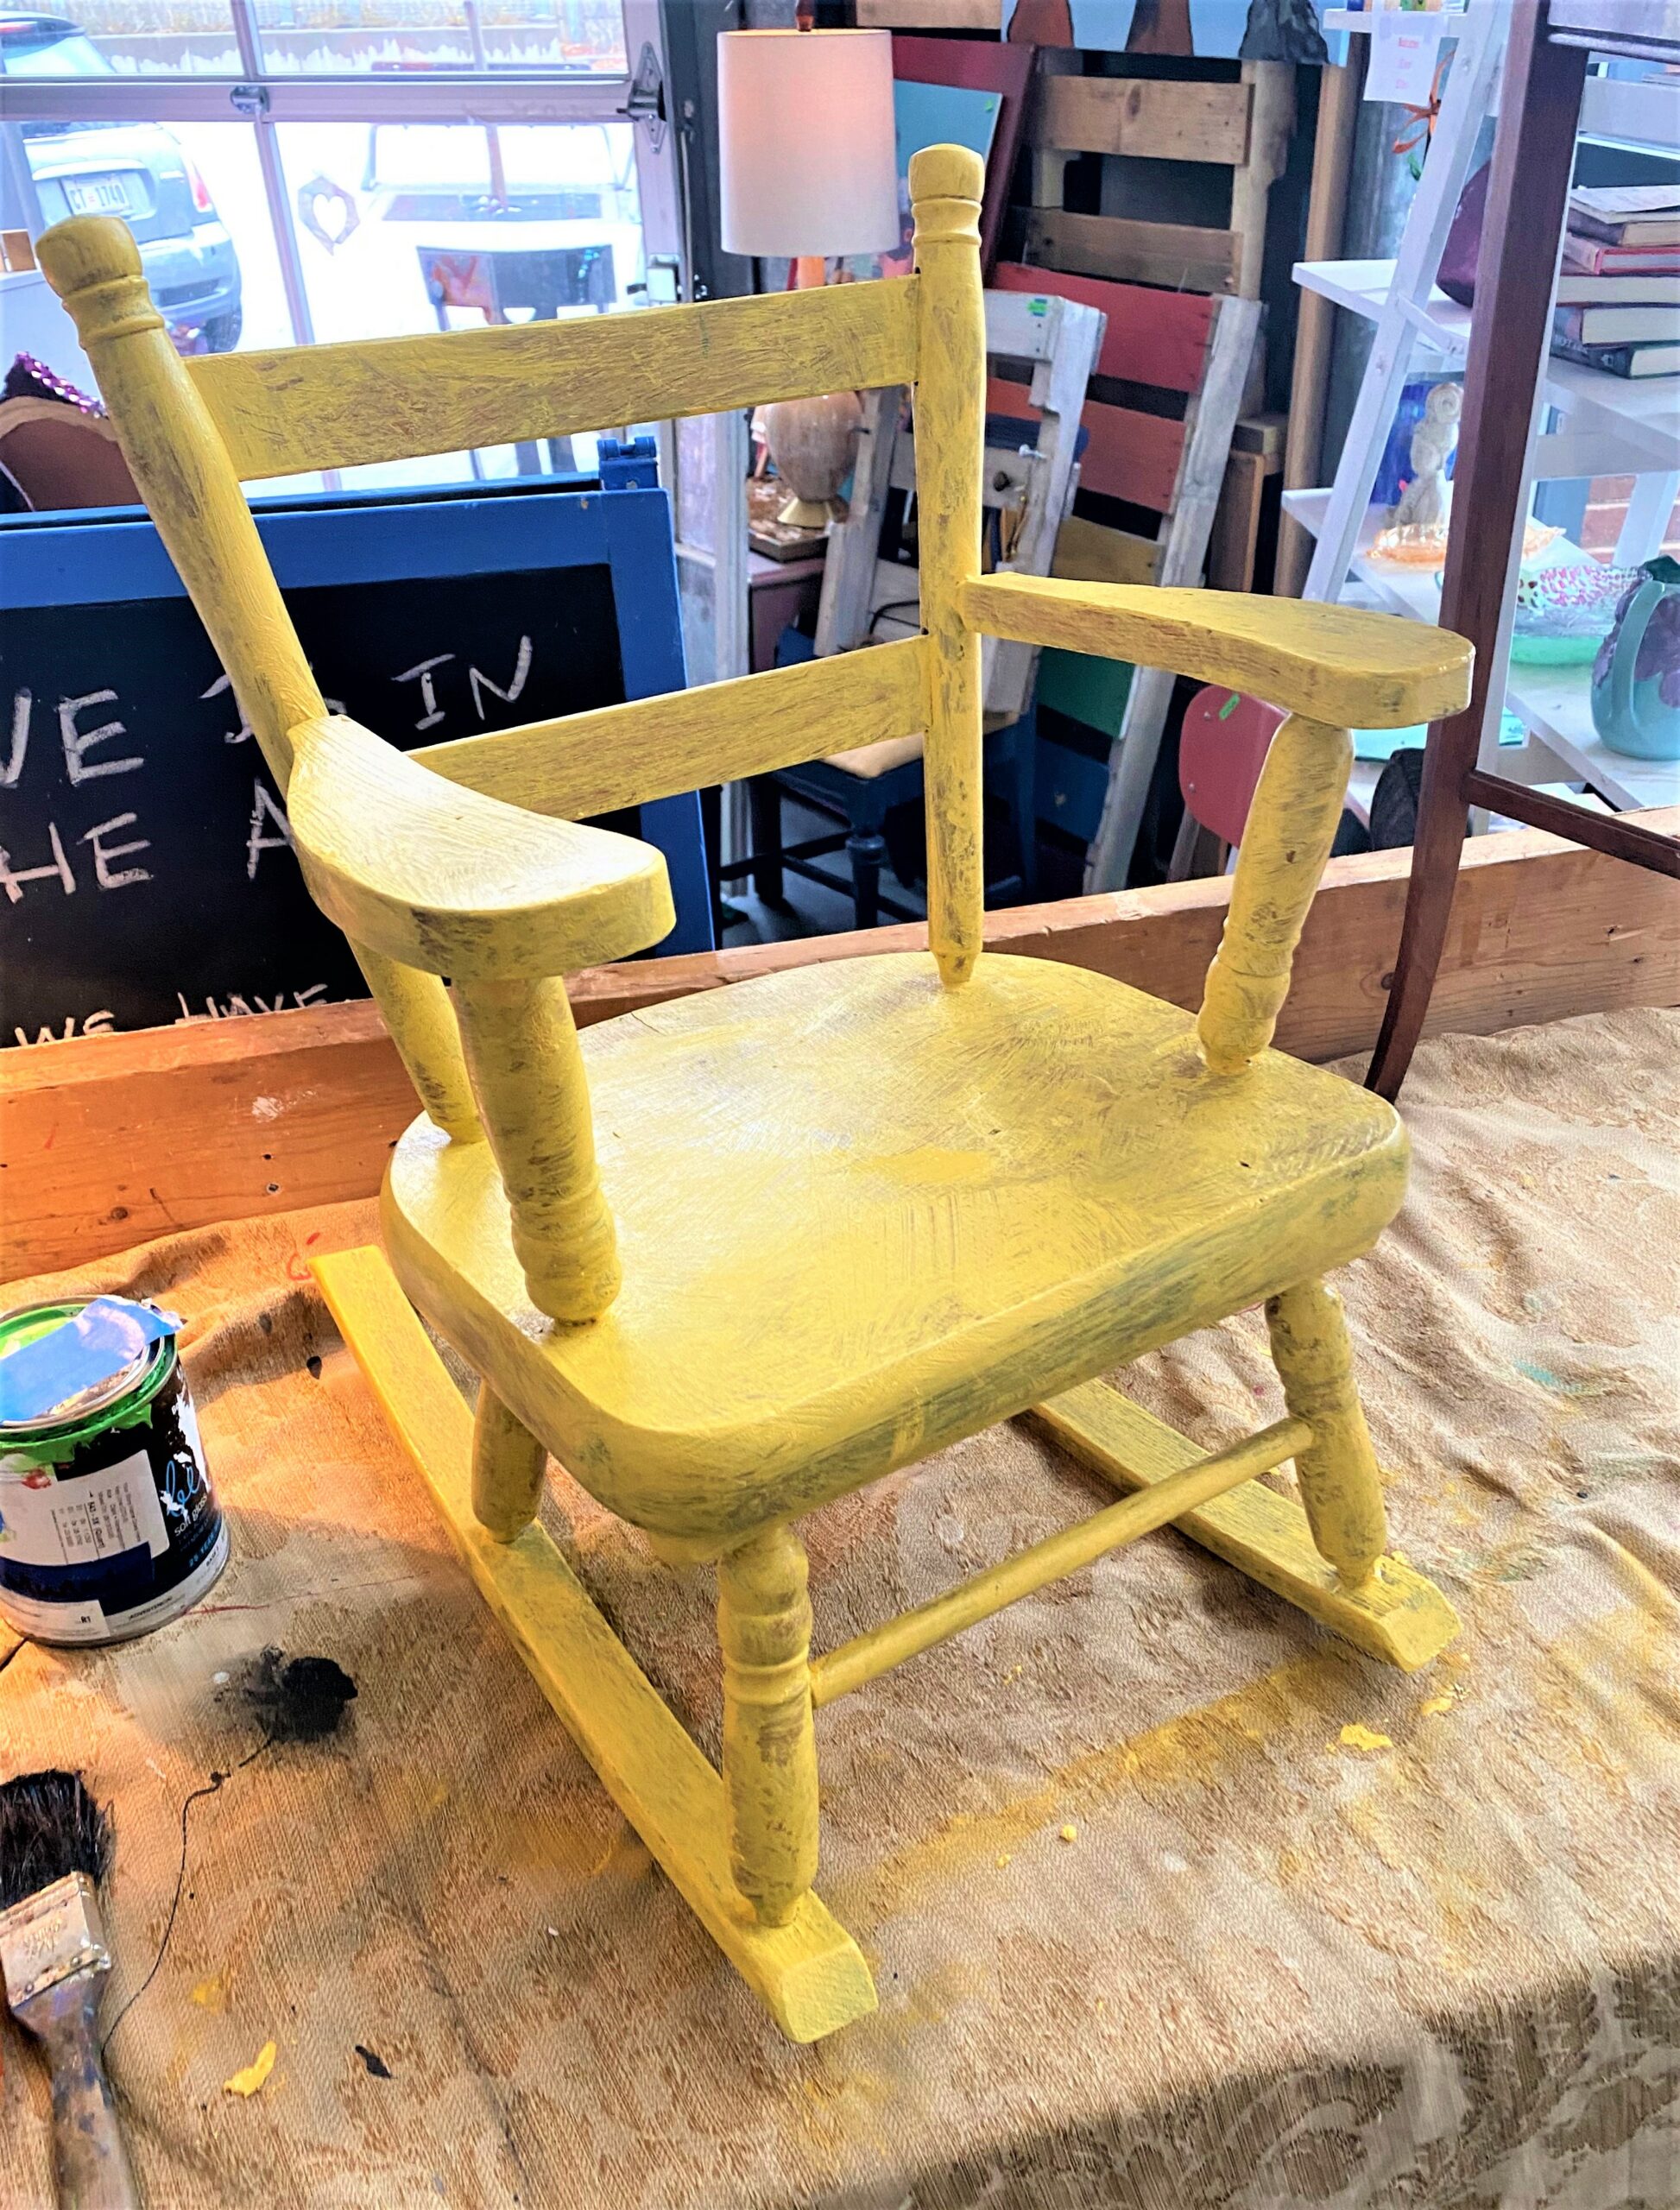
Yellow is always a cheerful choice.
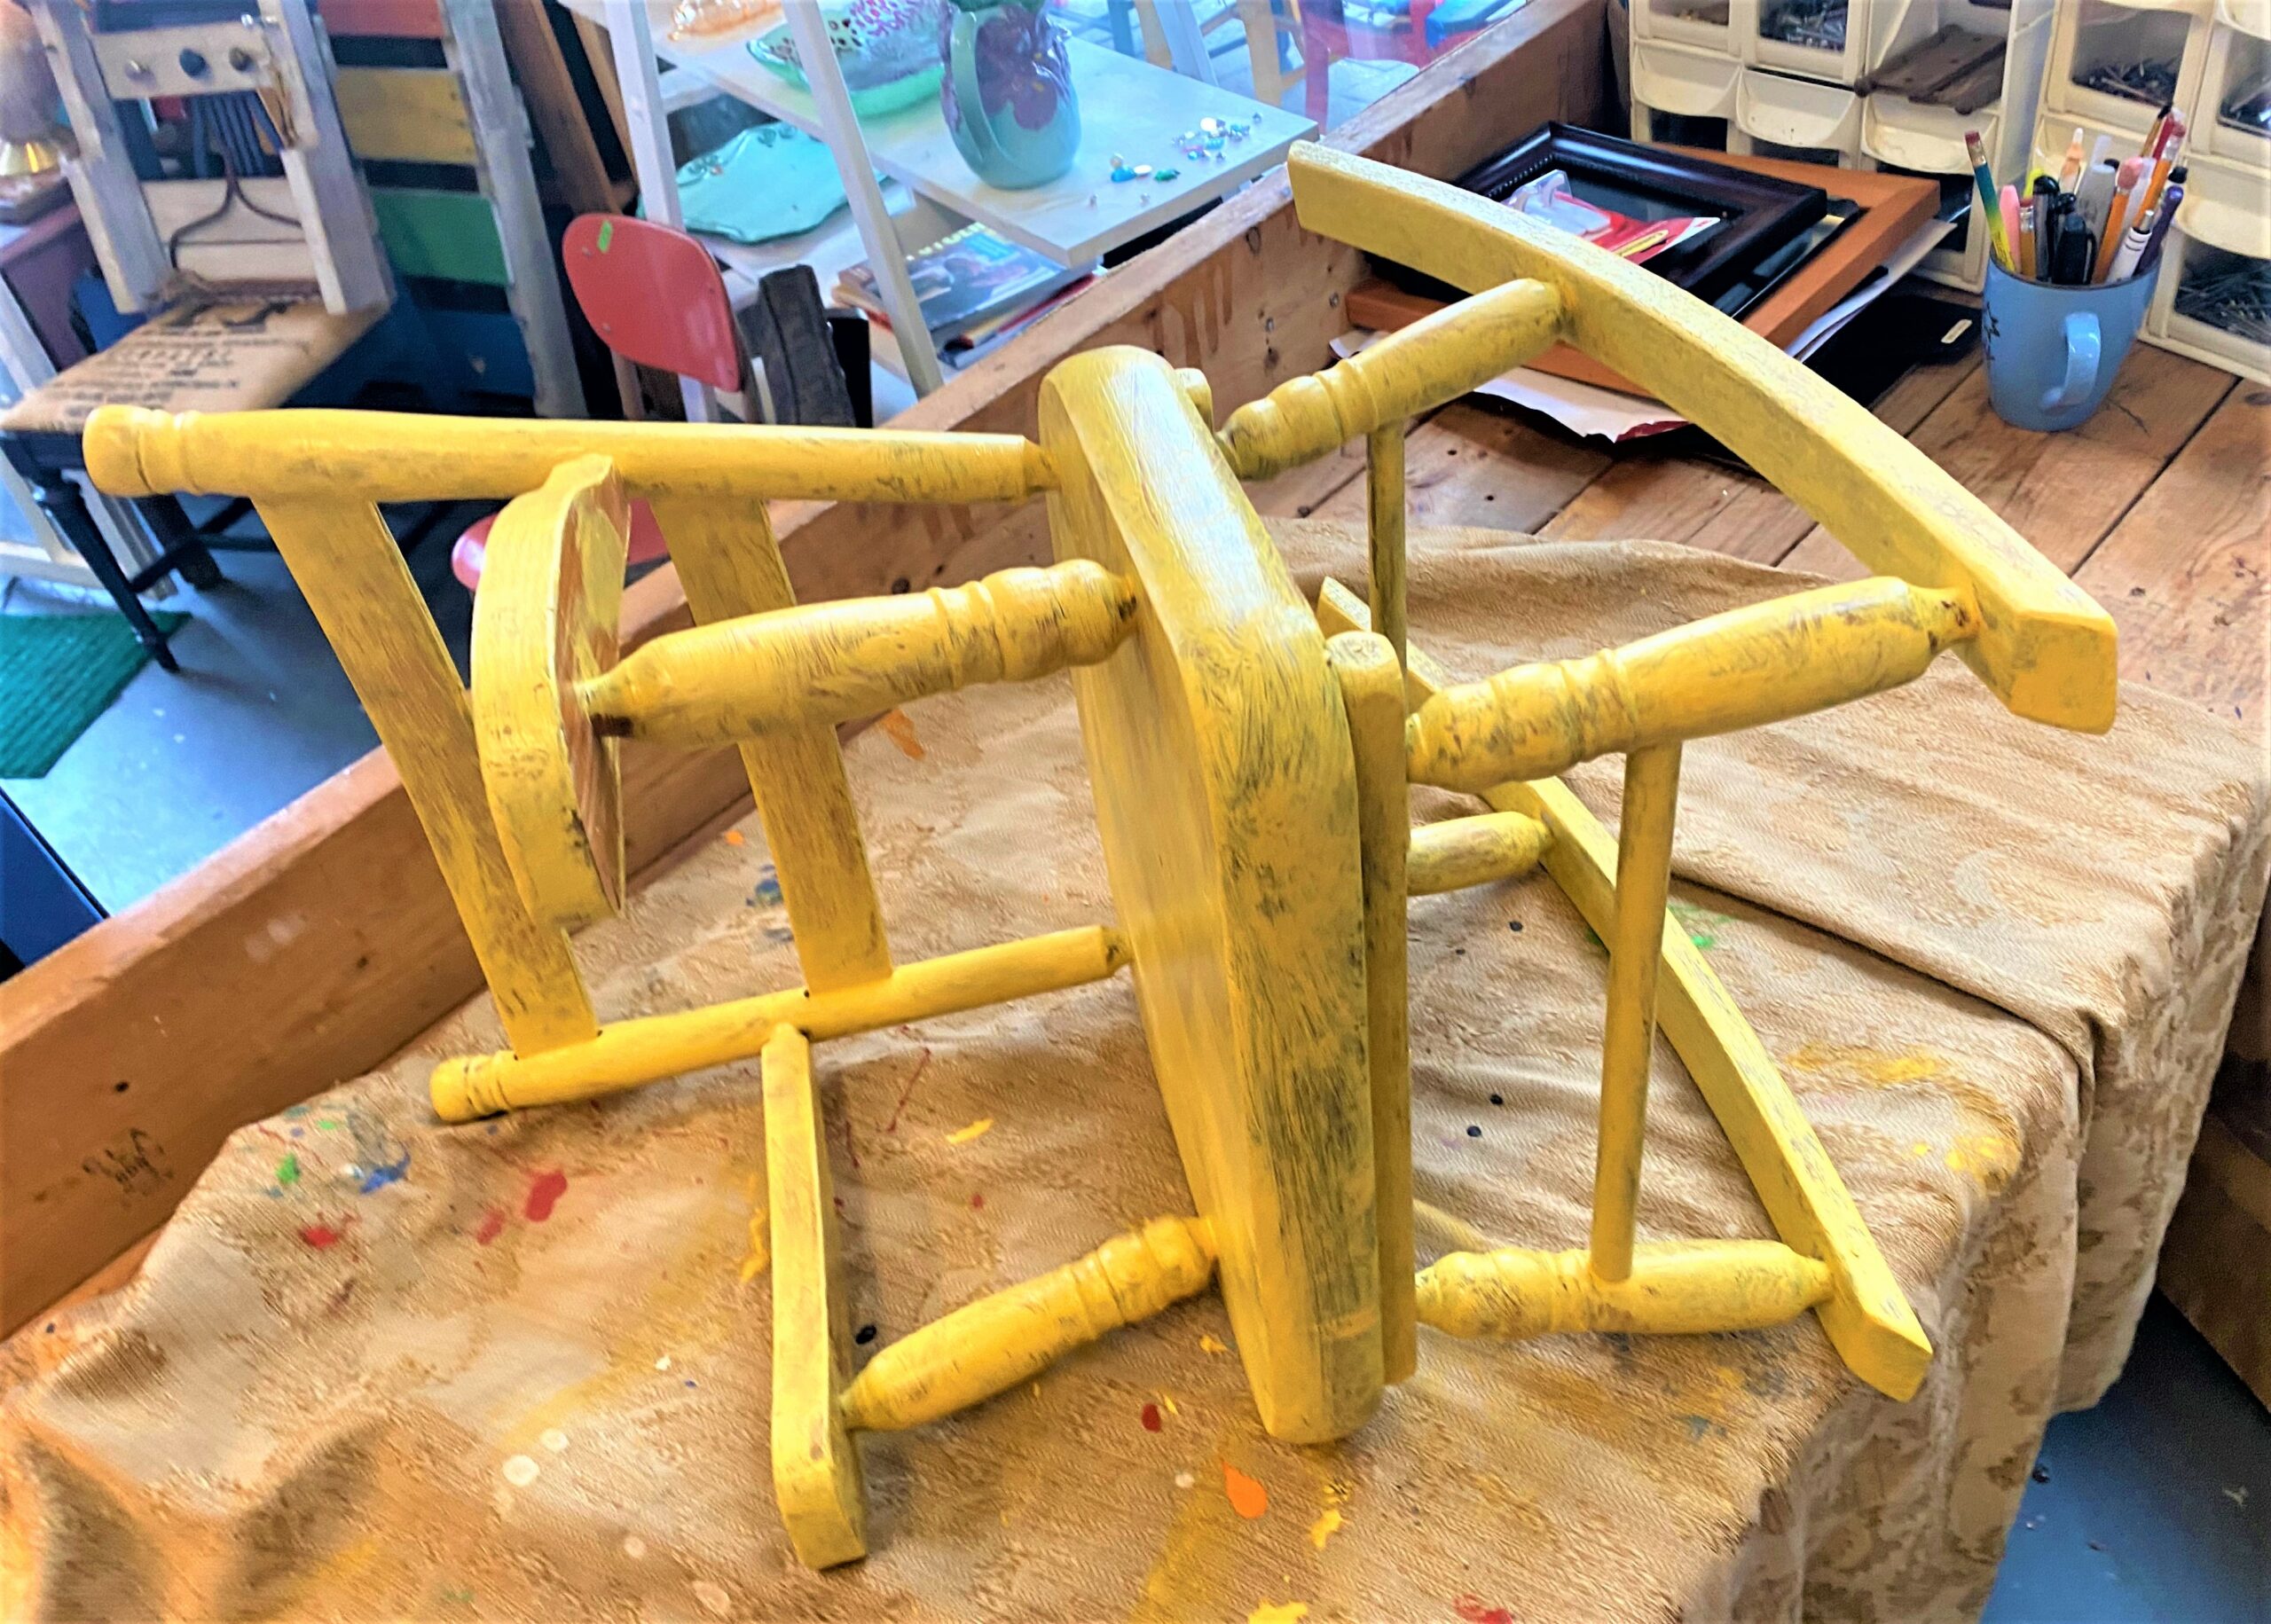
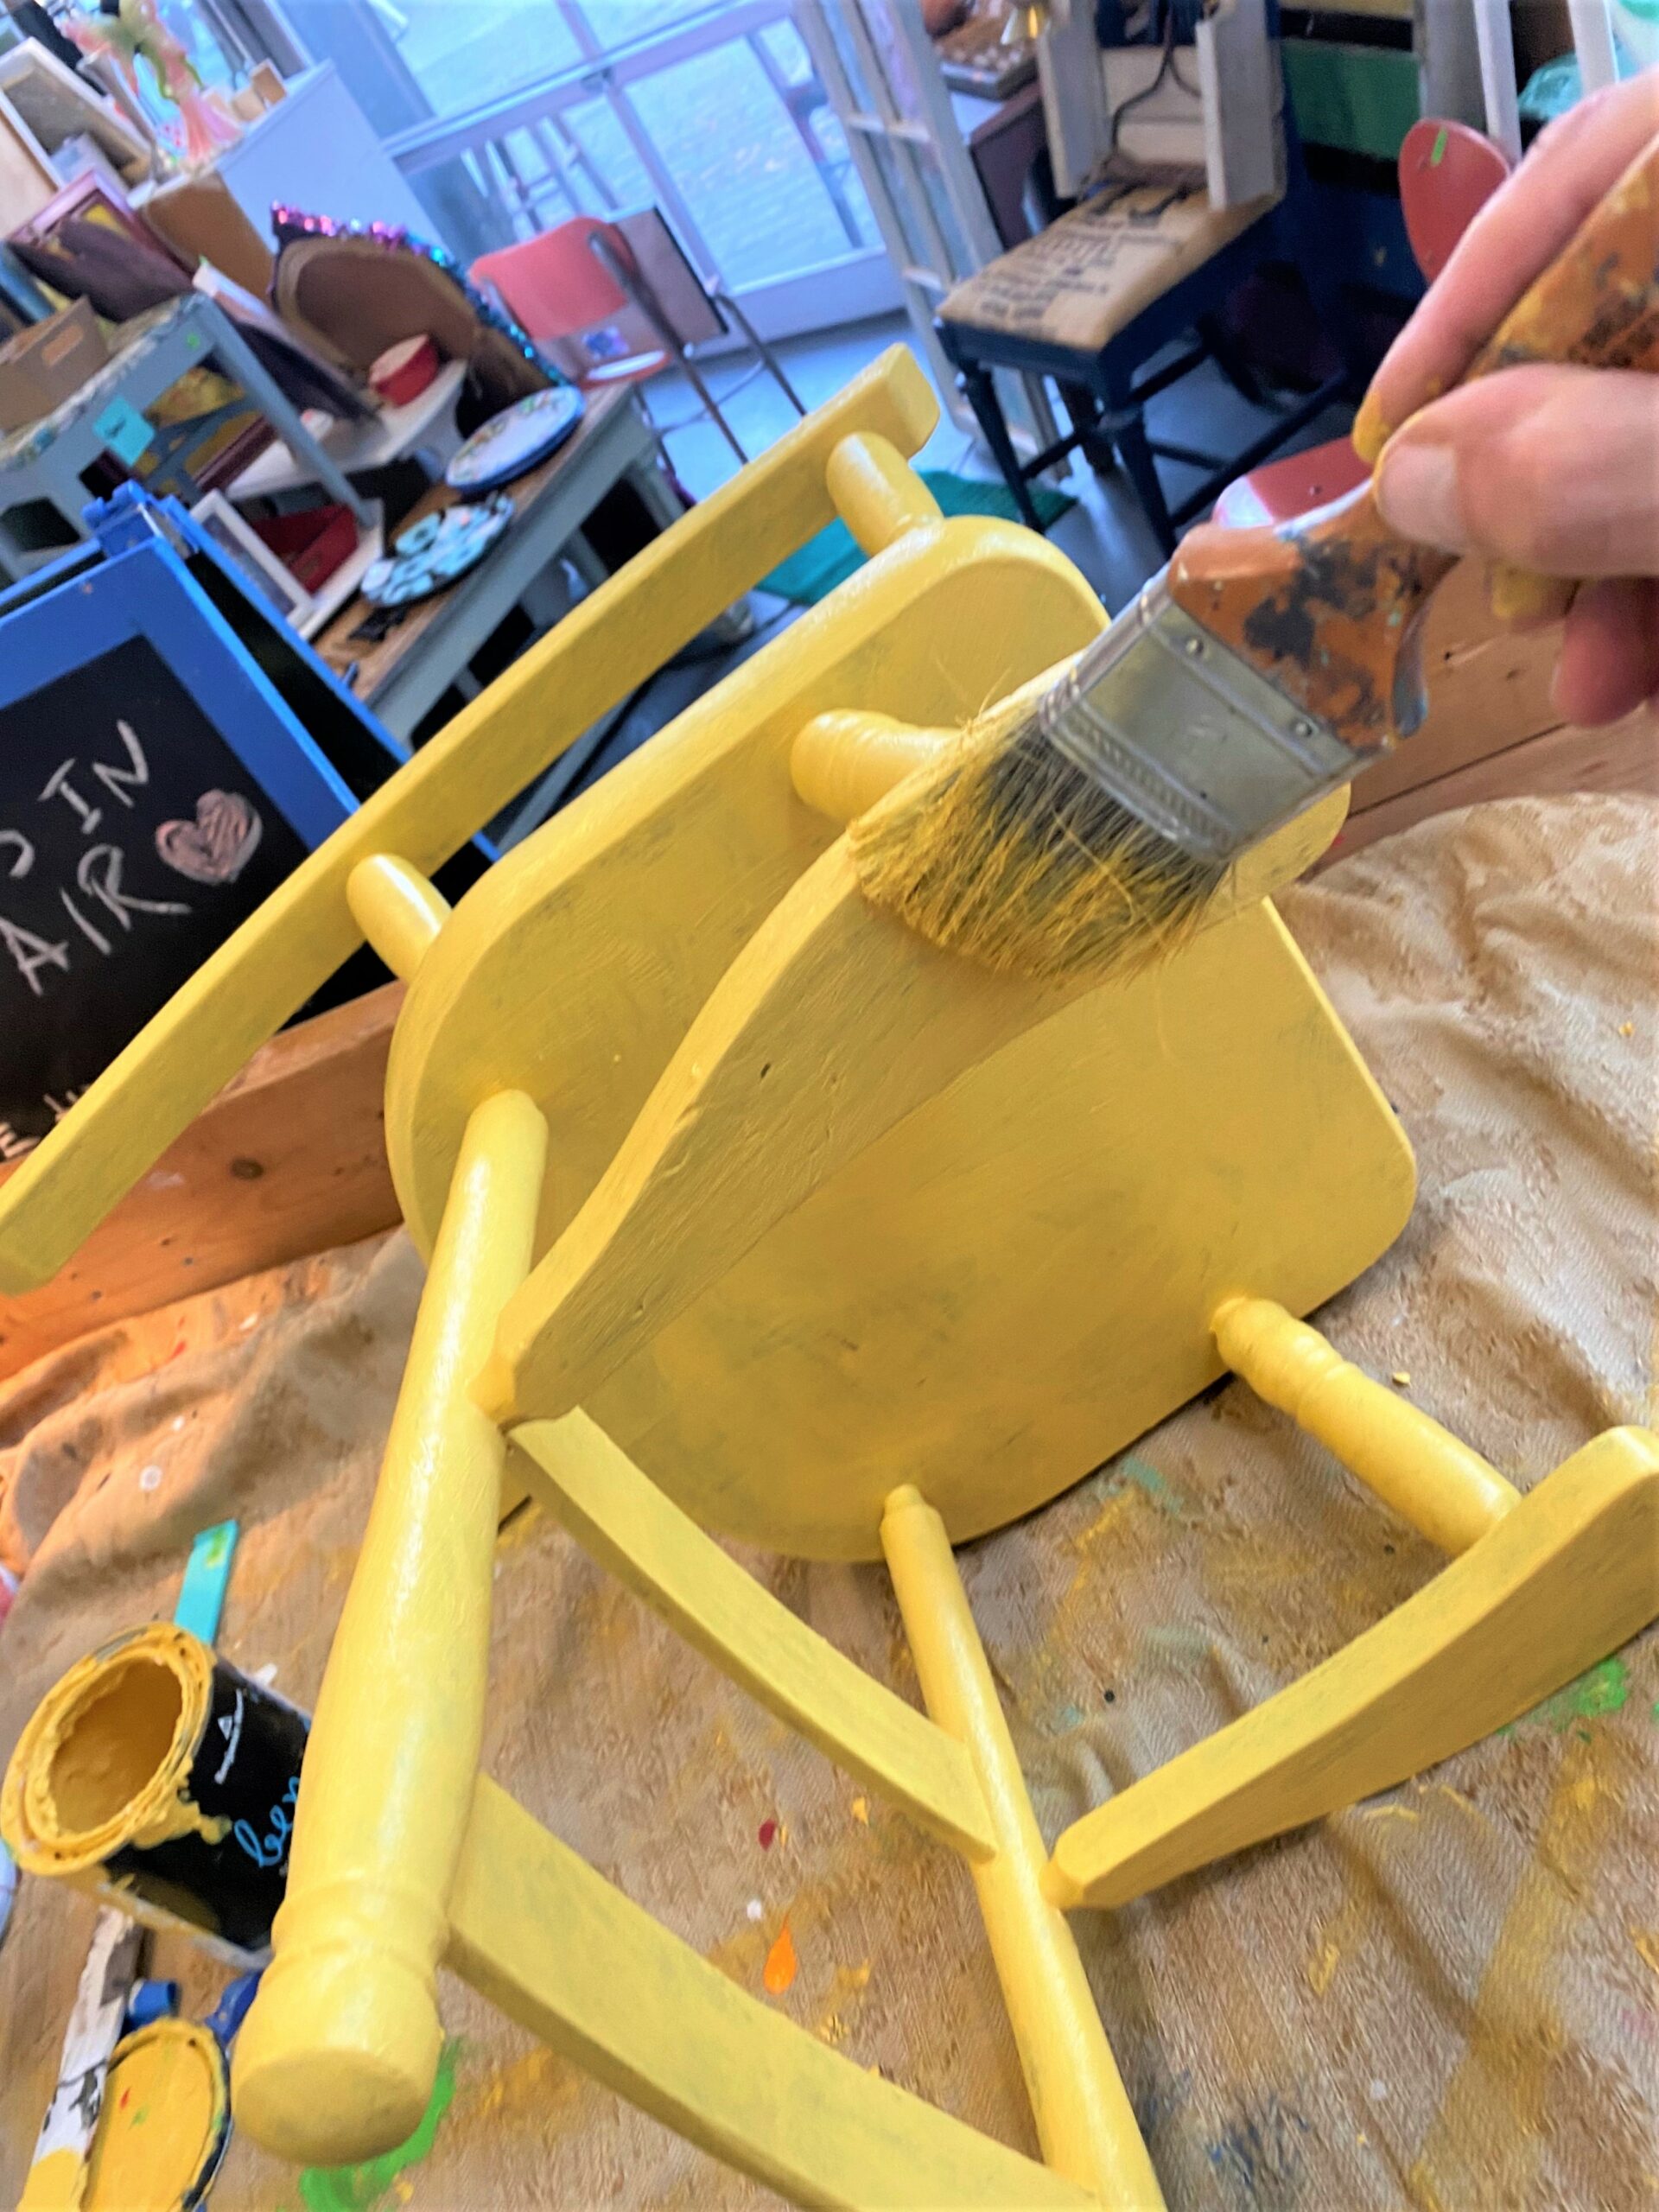
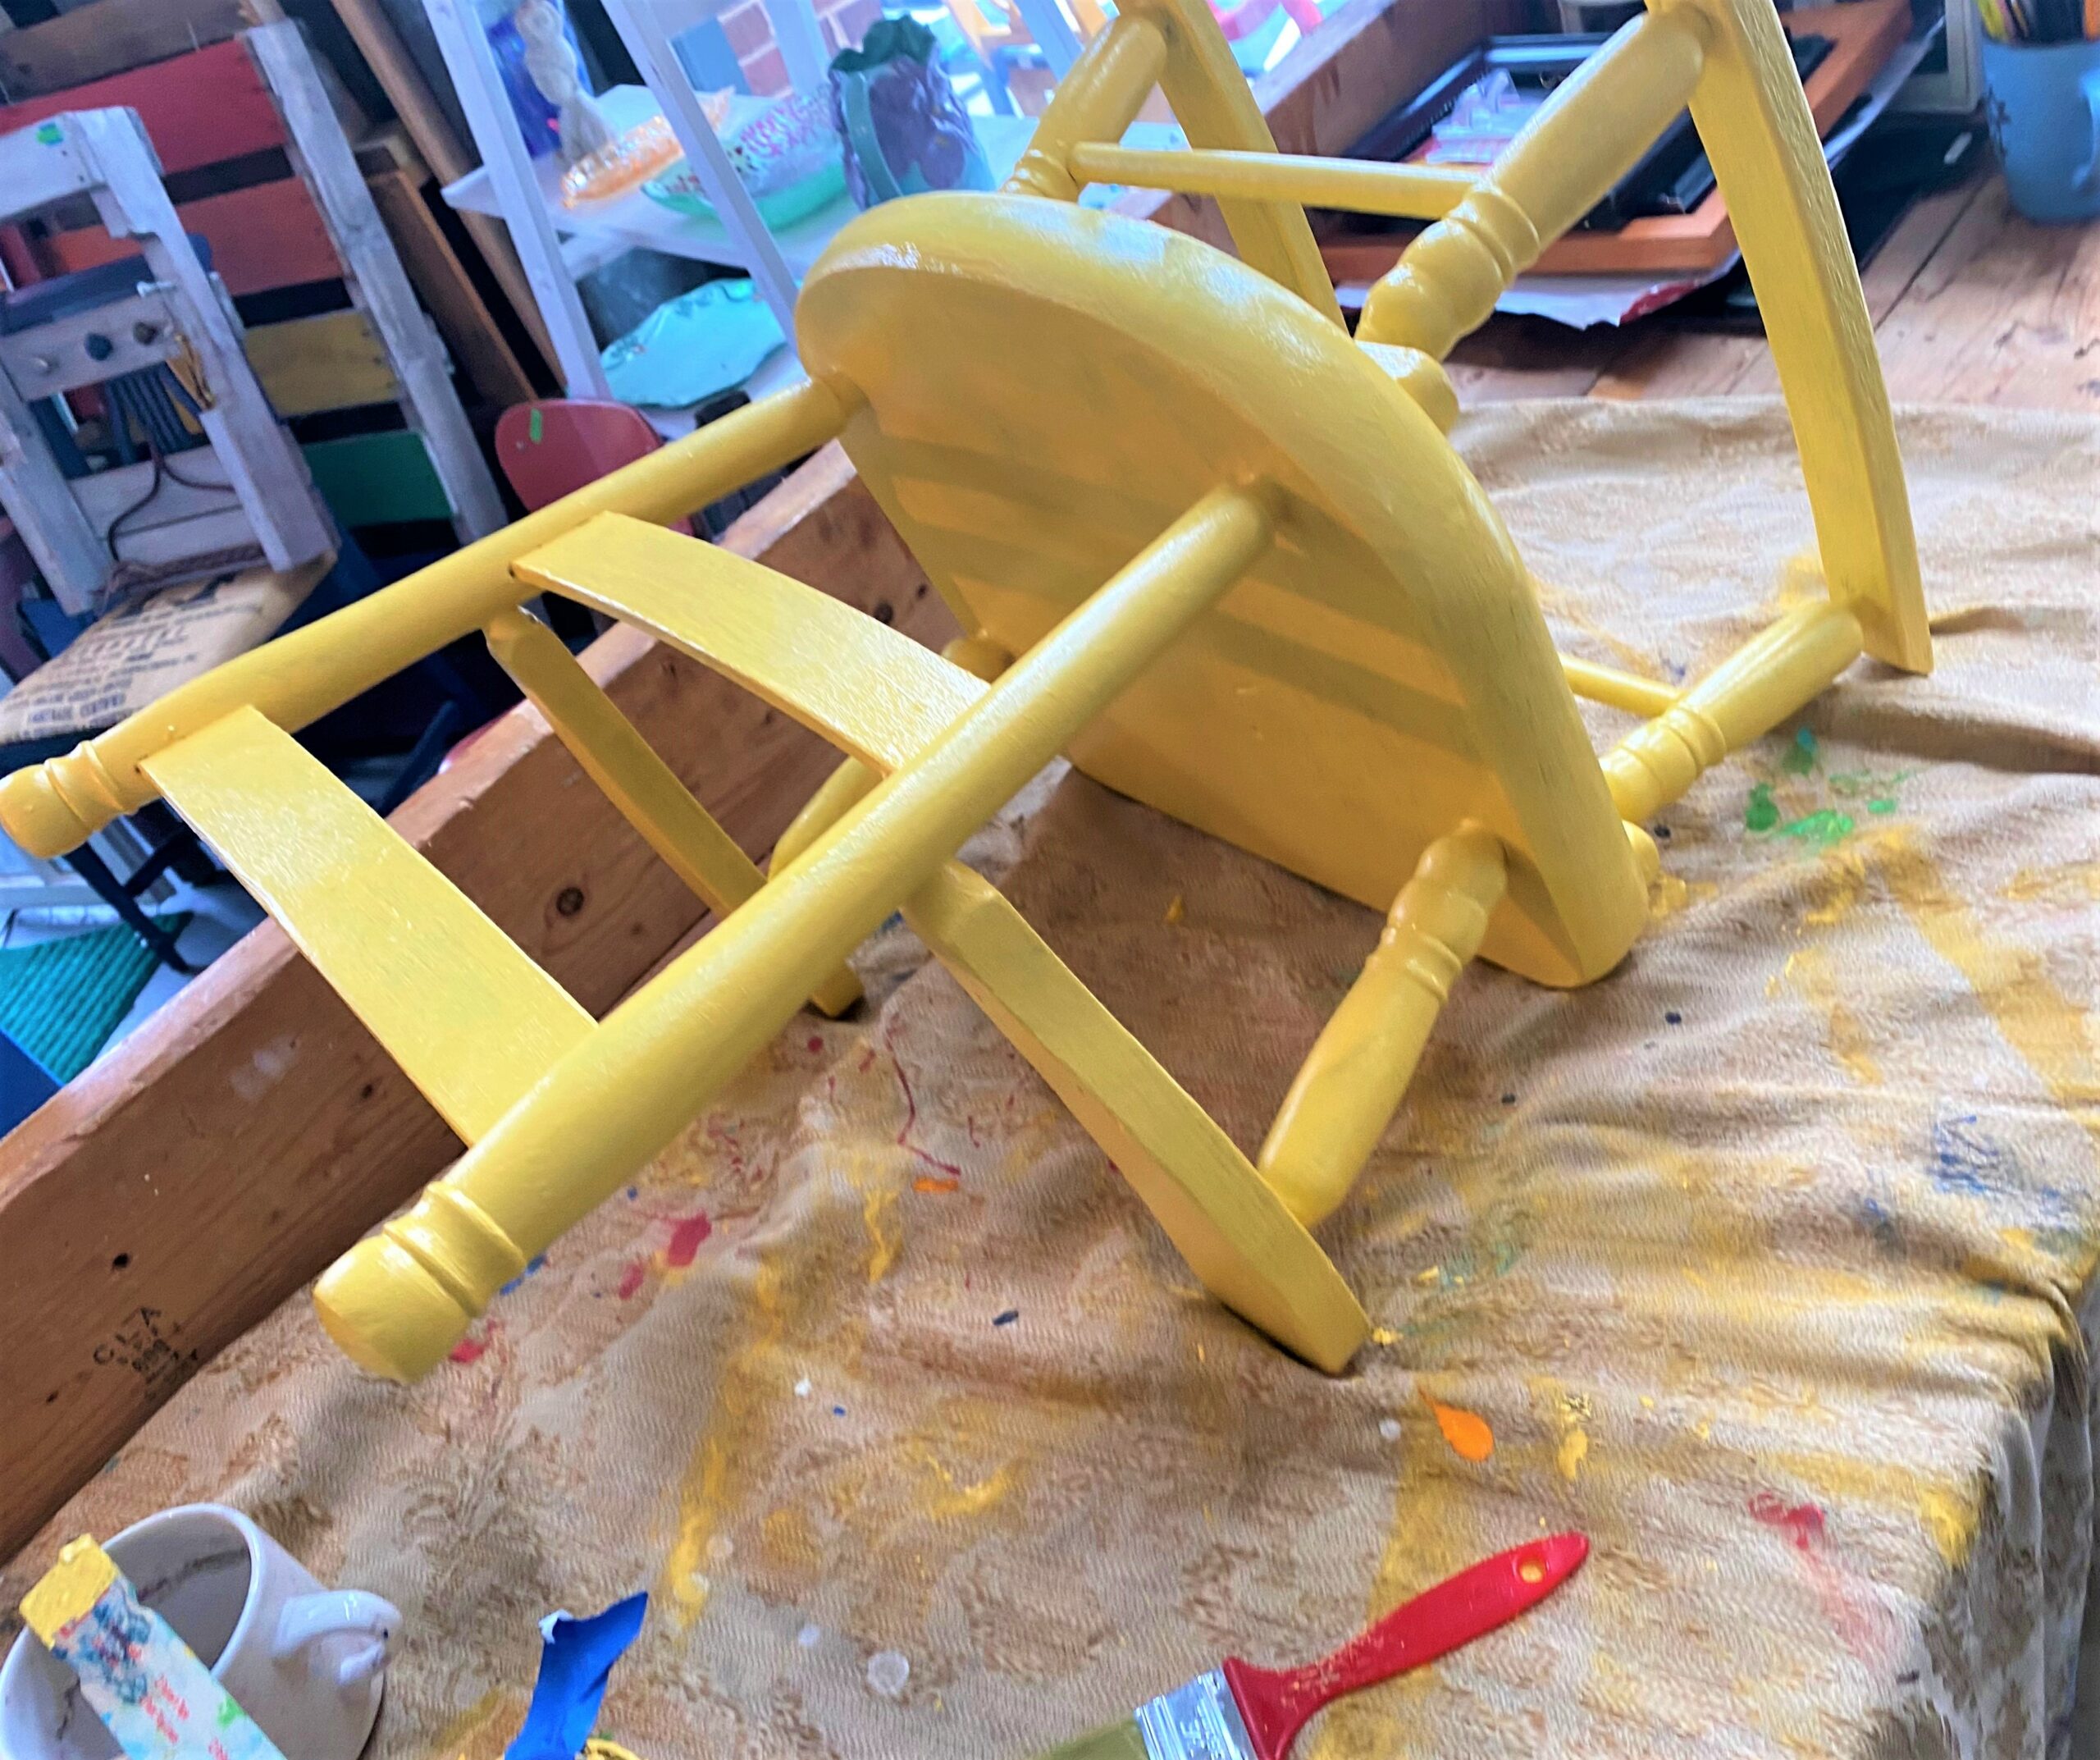
- Brush on your paint with a brush adding light layer upon light layer.
- As you go, turn your little rocking chair on its side and back to allow you to get all parts, edges, sides covered with paint.
This chair needed three to four layers to erase the years of wear and tear and it was totally worth it!
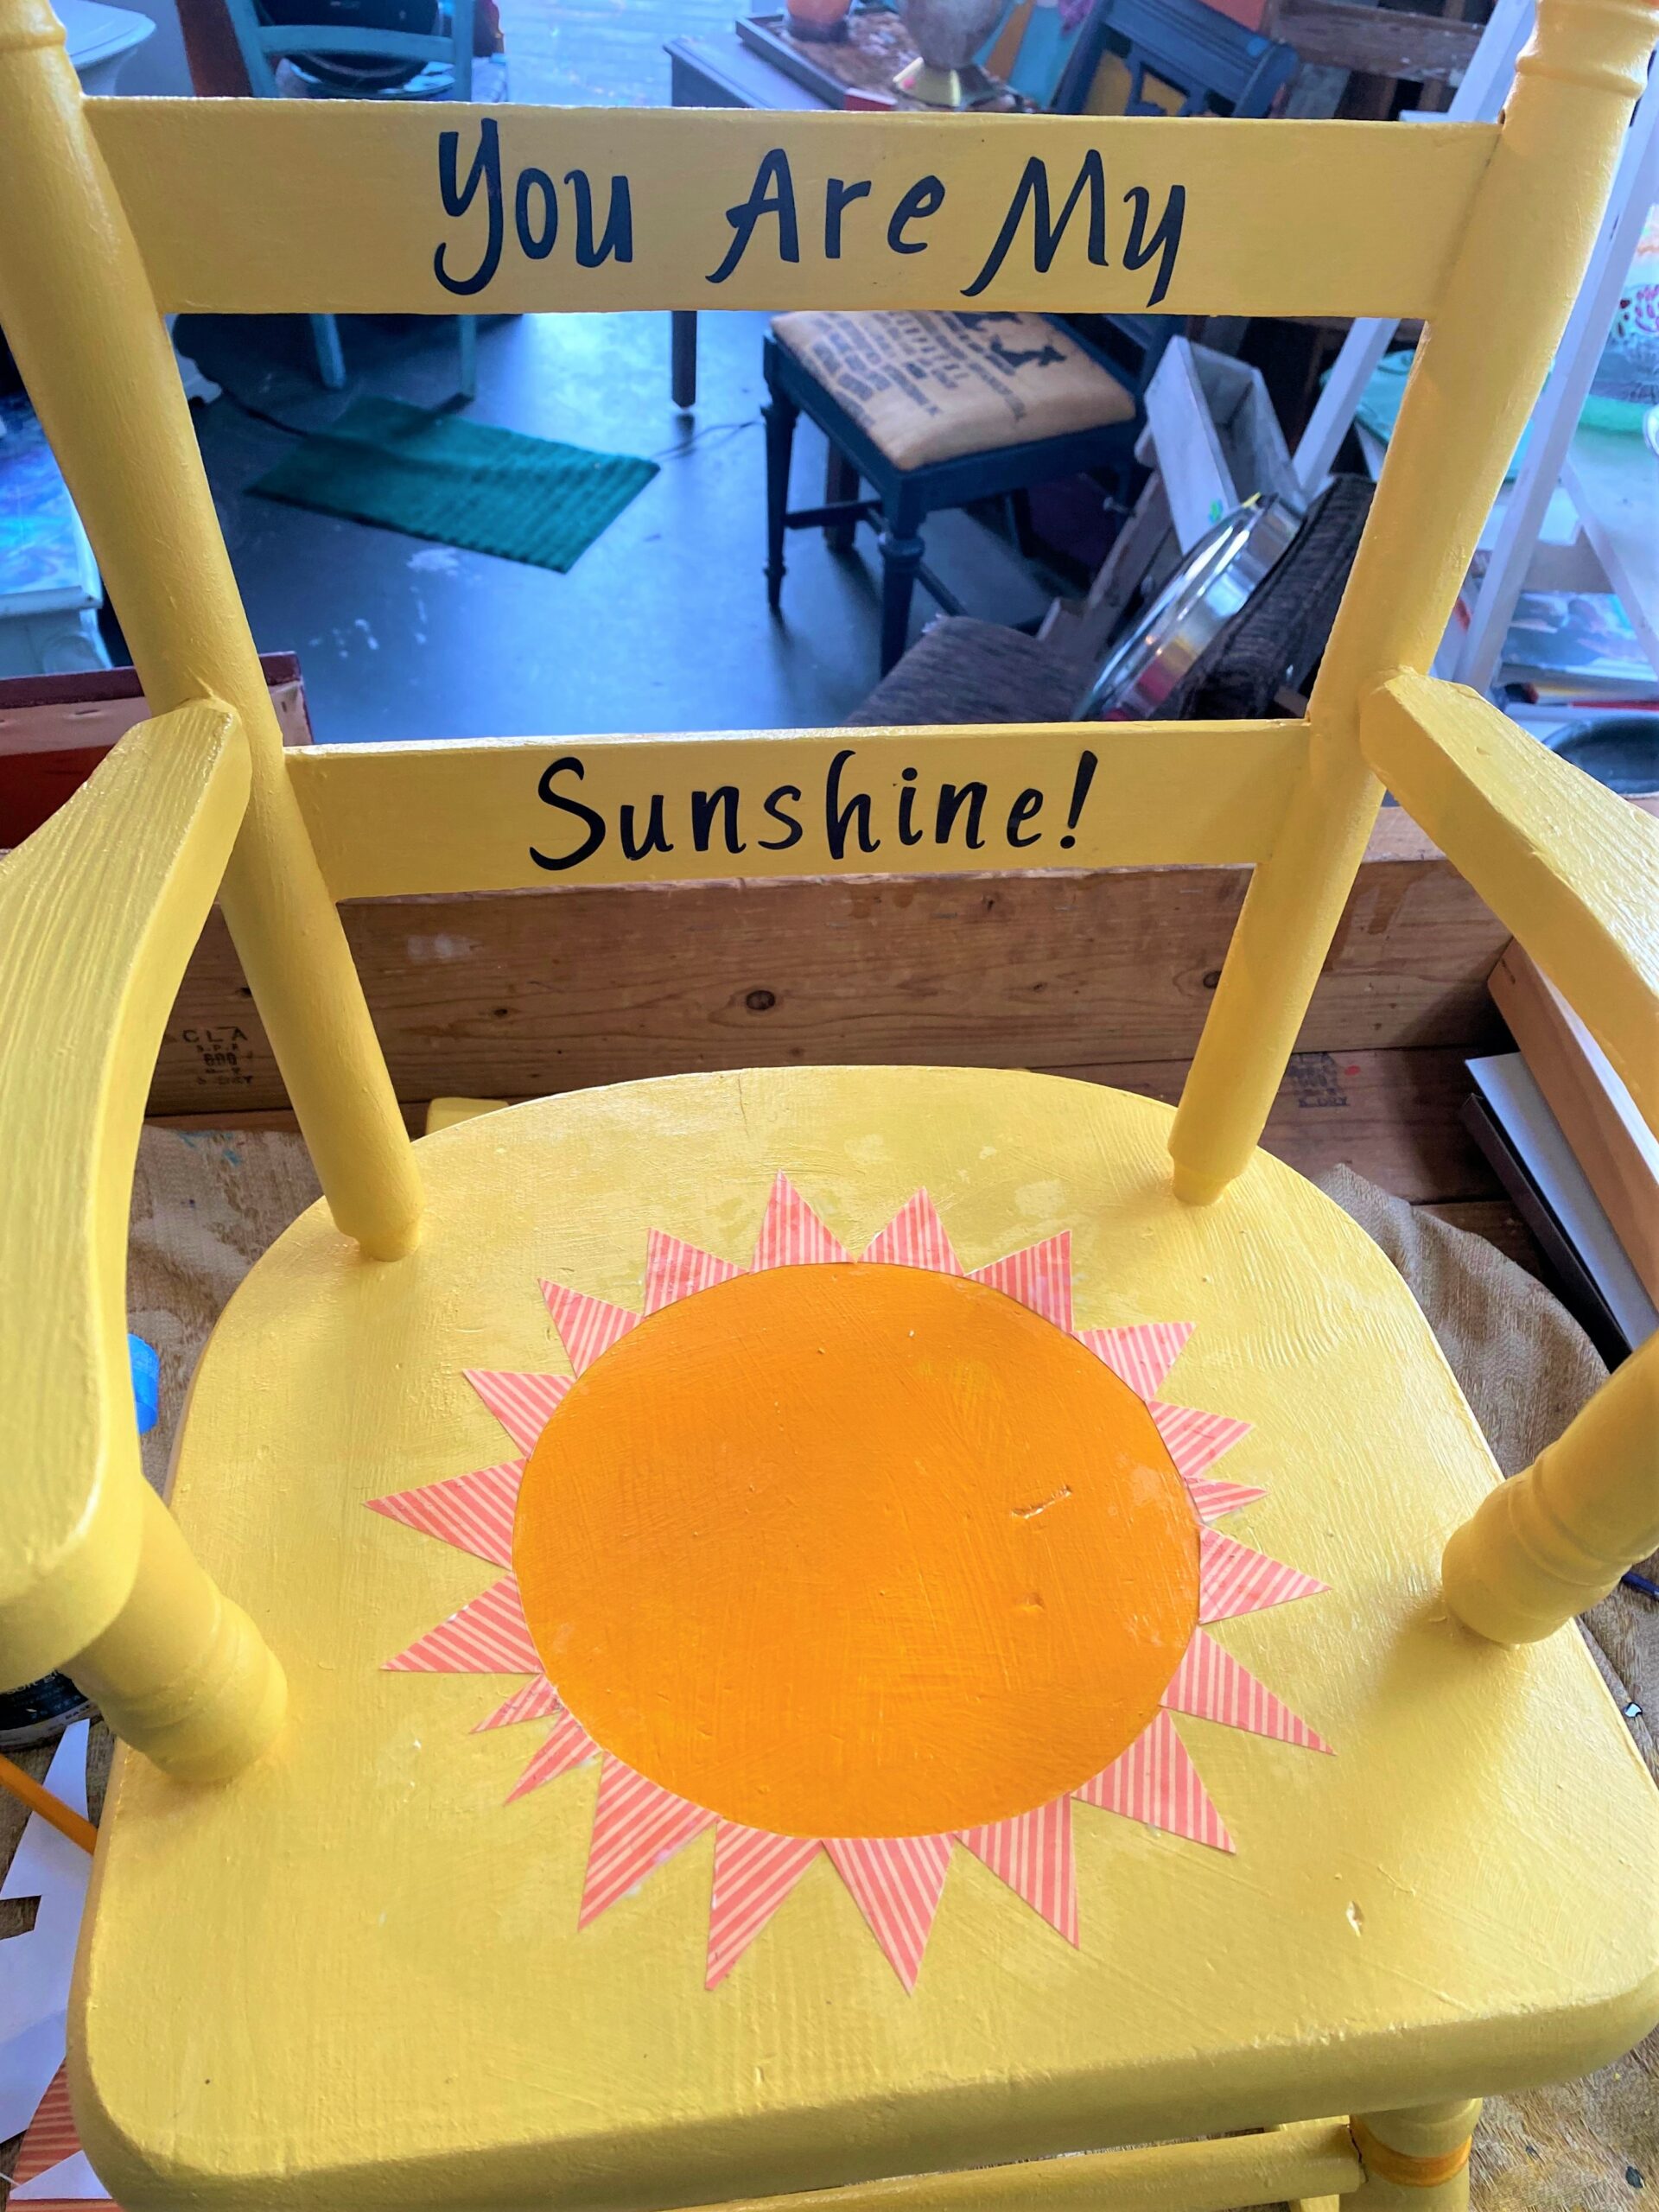
Step 4: Add a message to make it meaningful
While you could stop the project after giving it a bright paint job (click here to see a previous blog featuring a family’s red rocking chair), it’s always joyful to take a piece to the next level and make it personal.
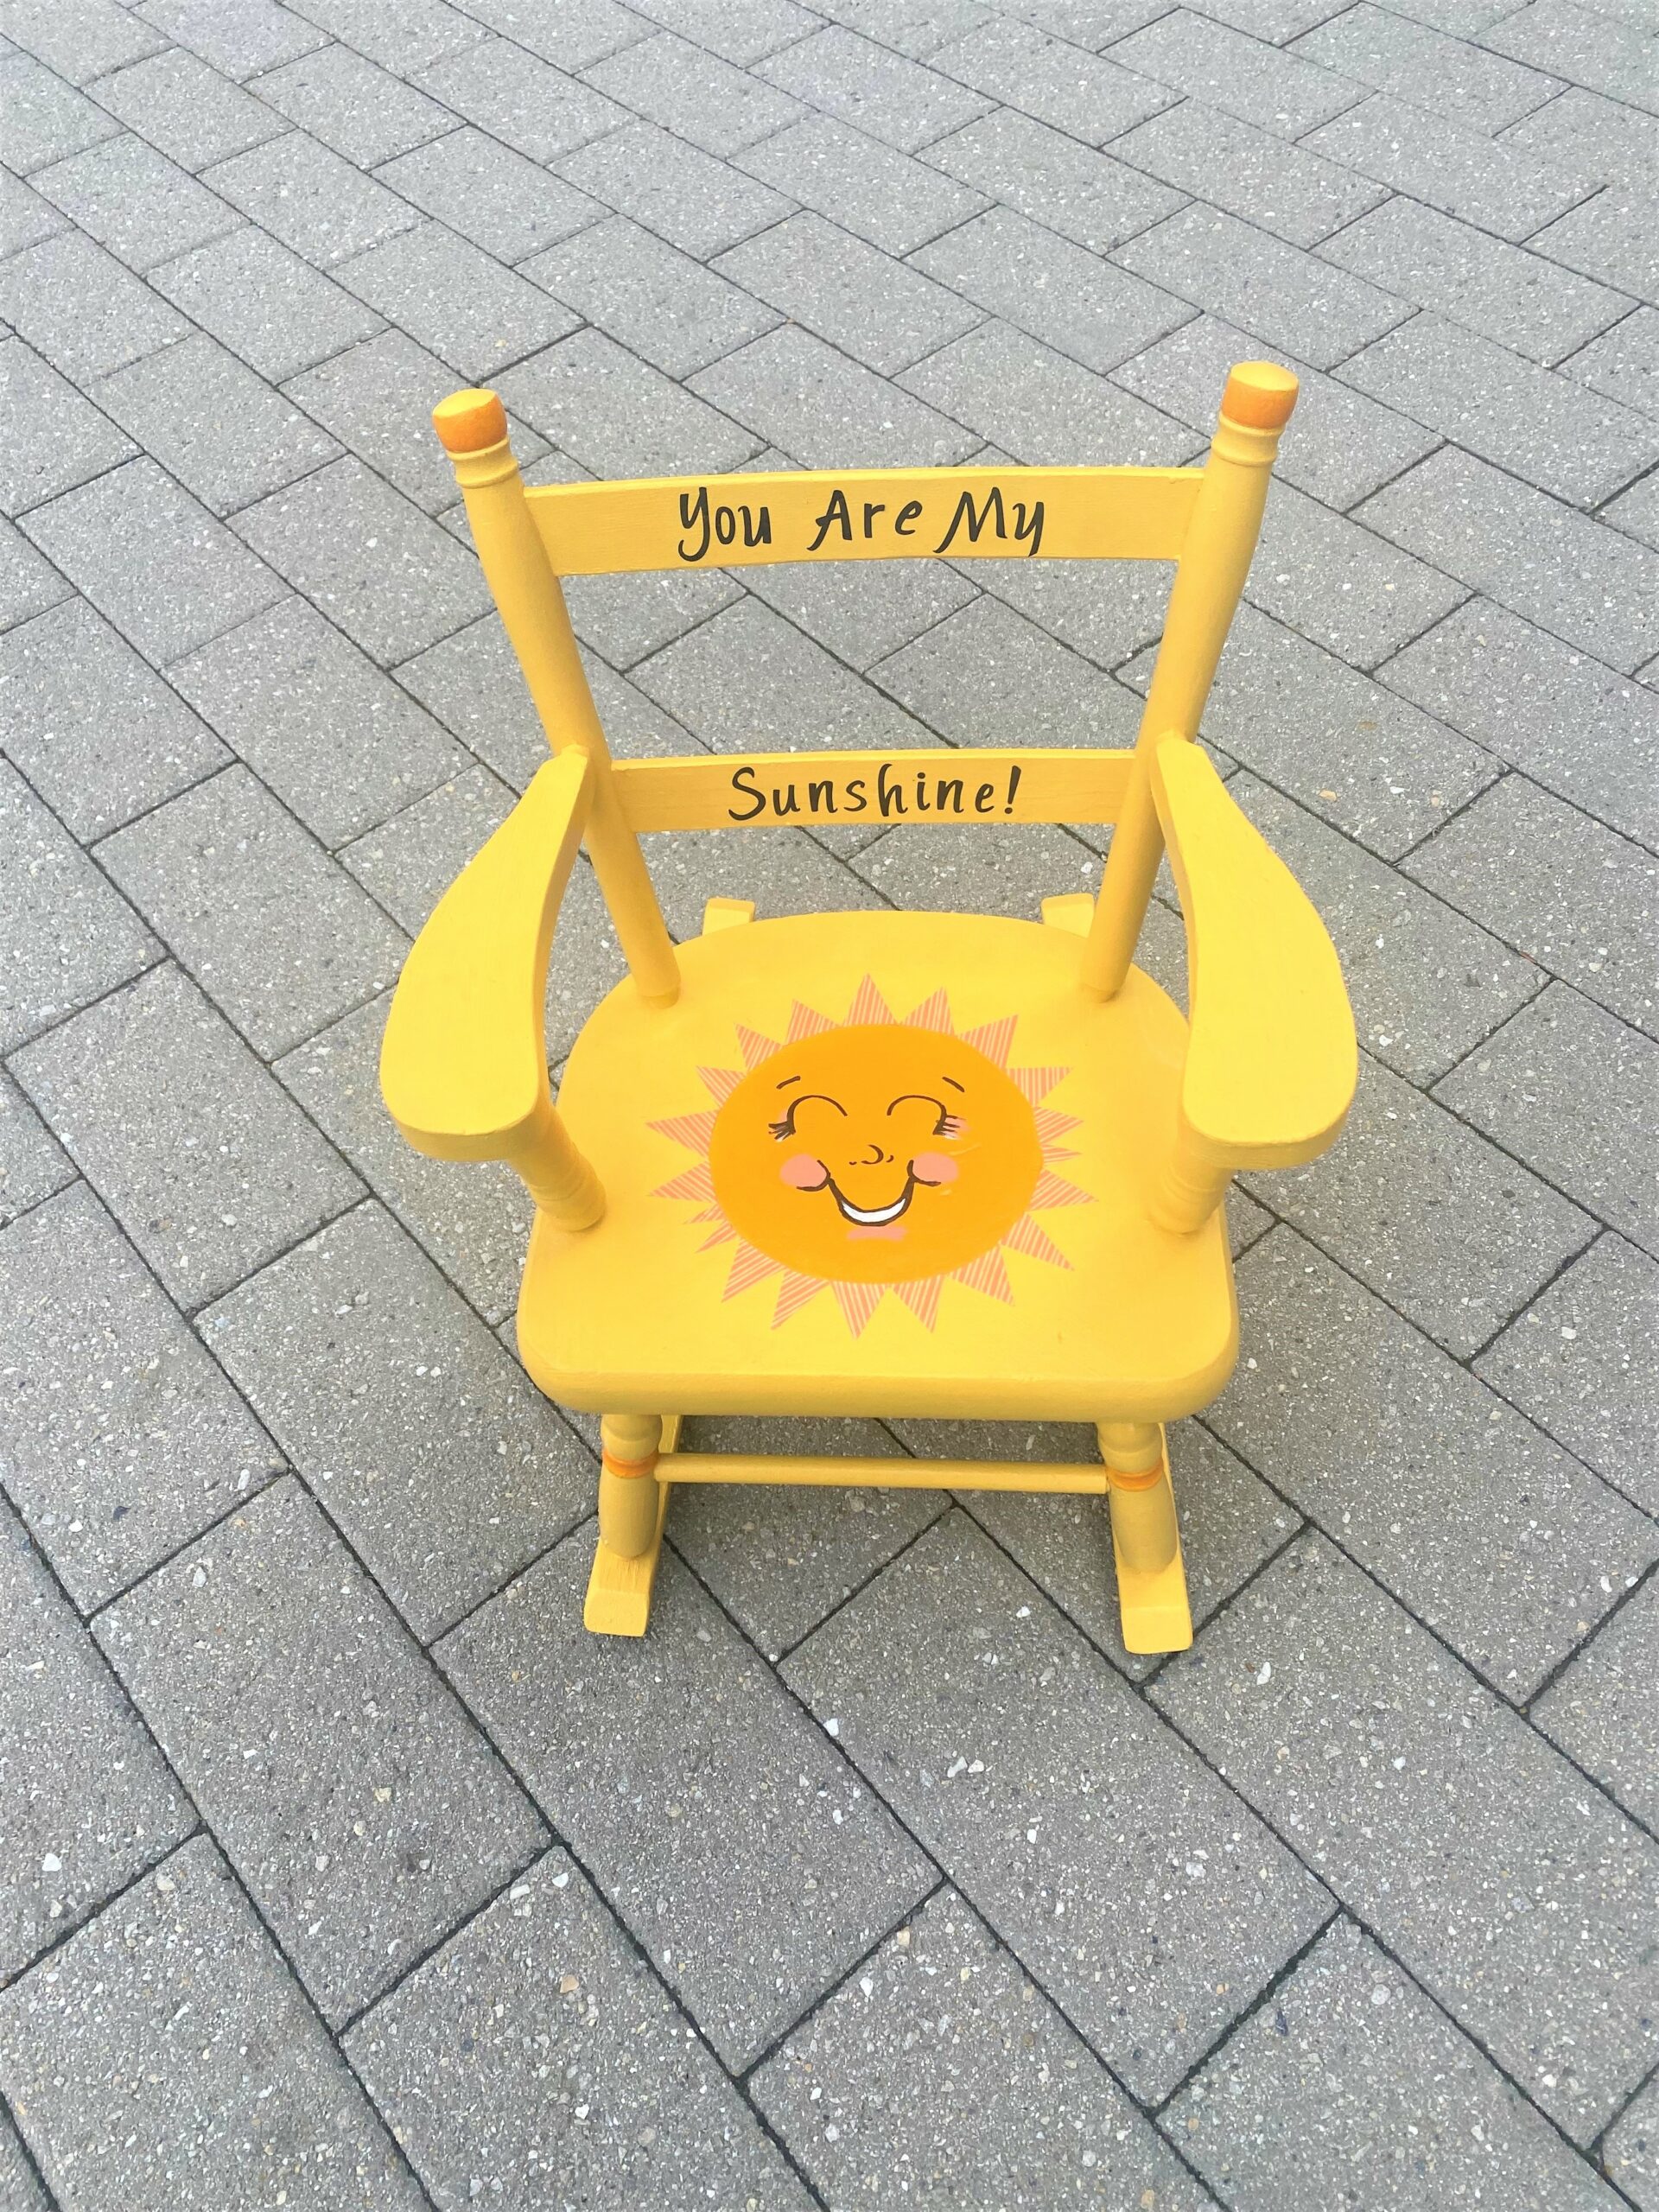
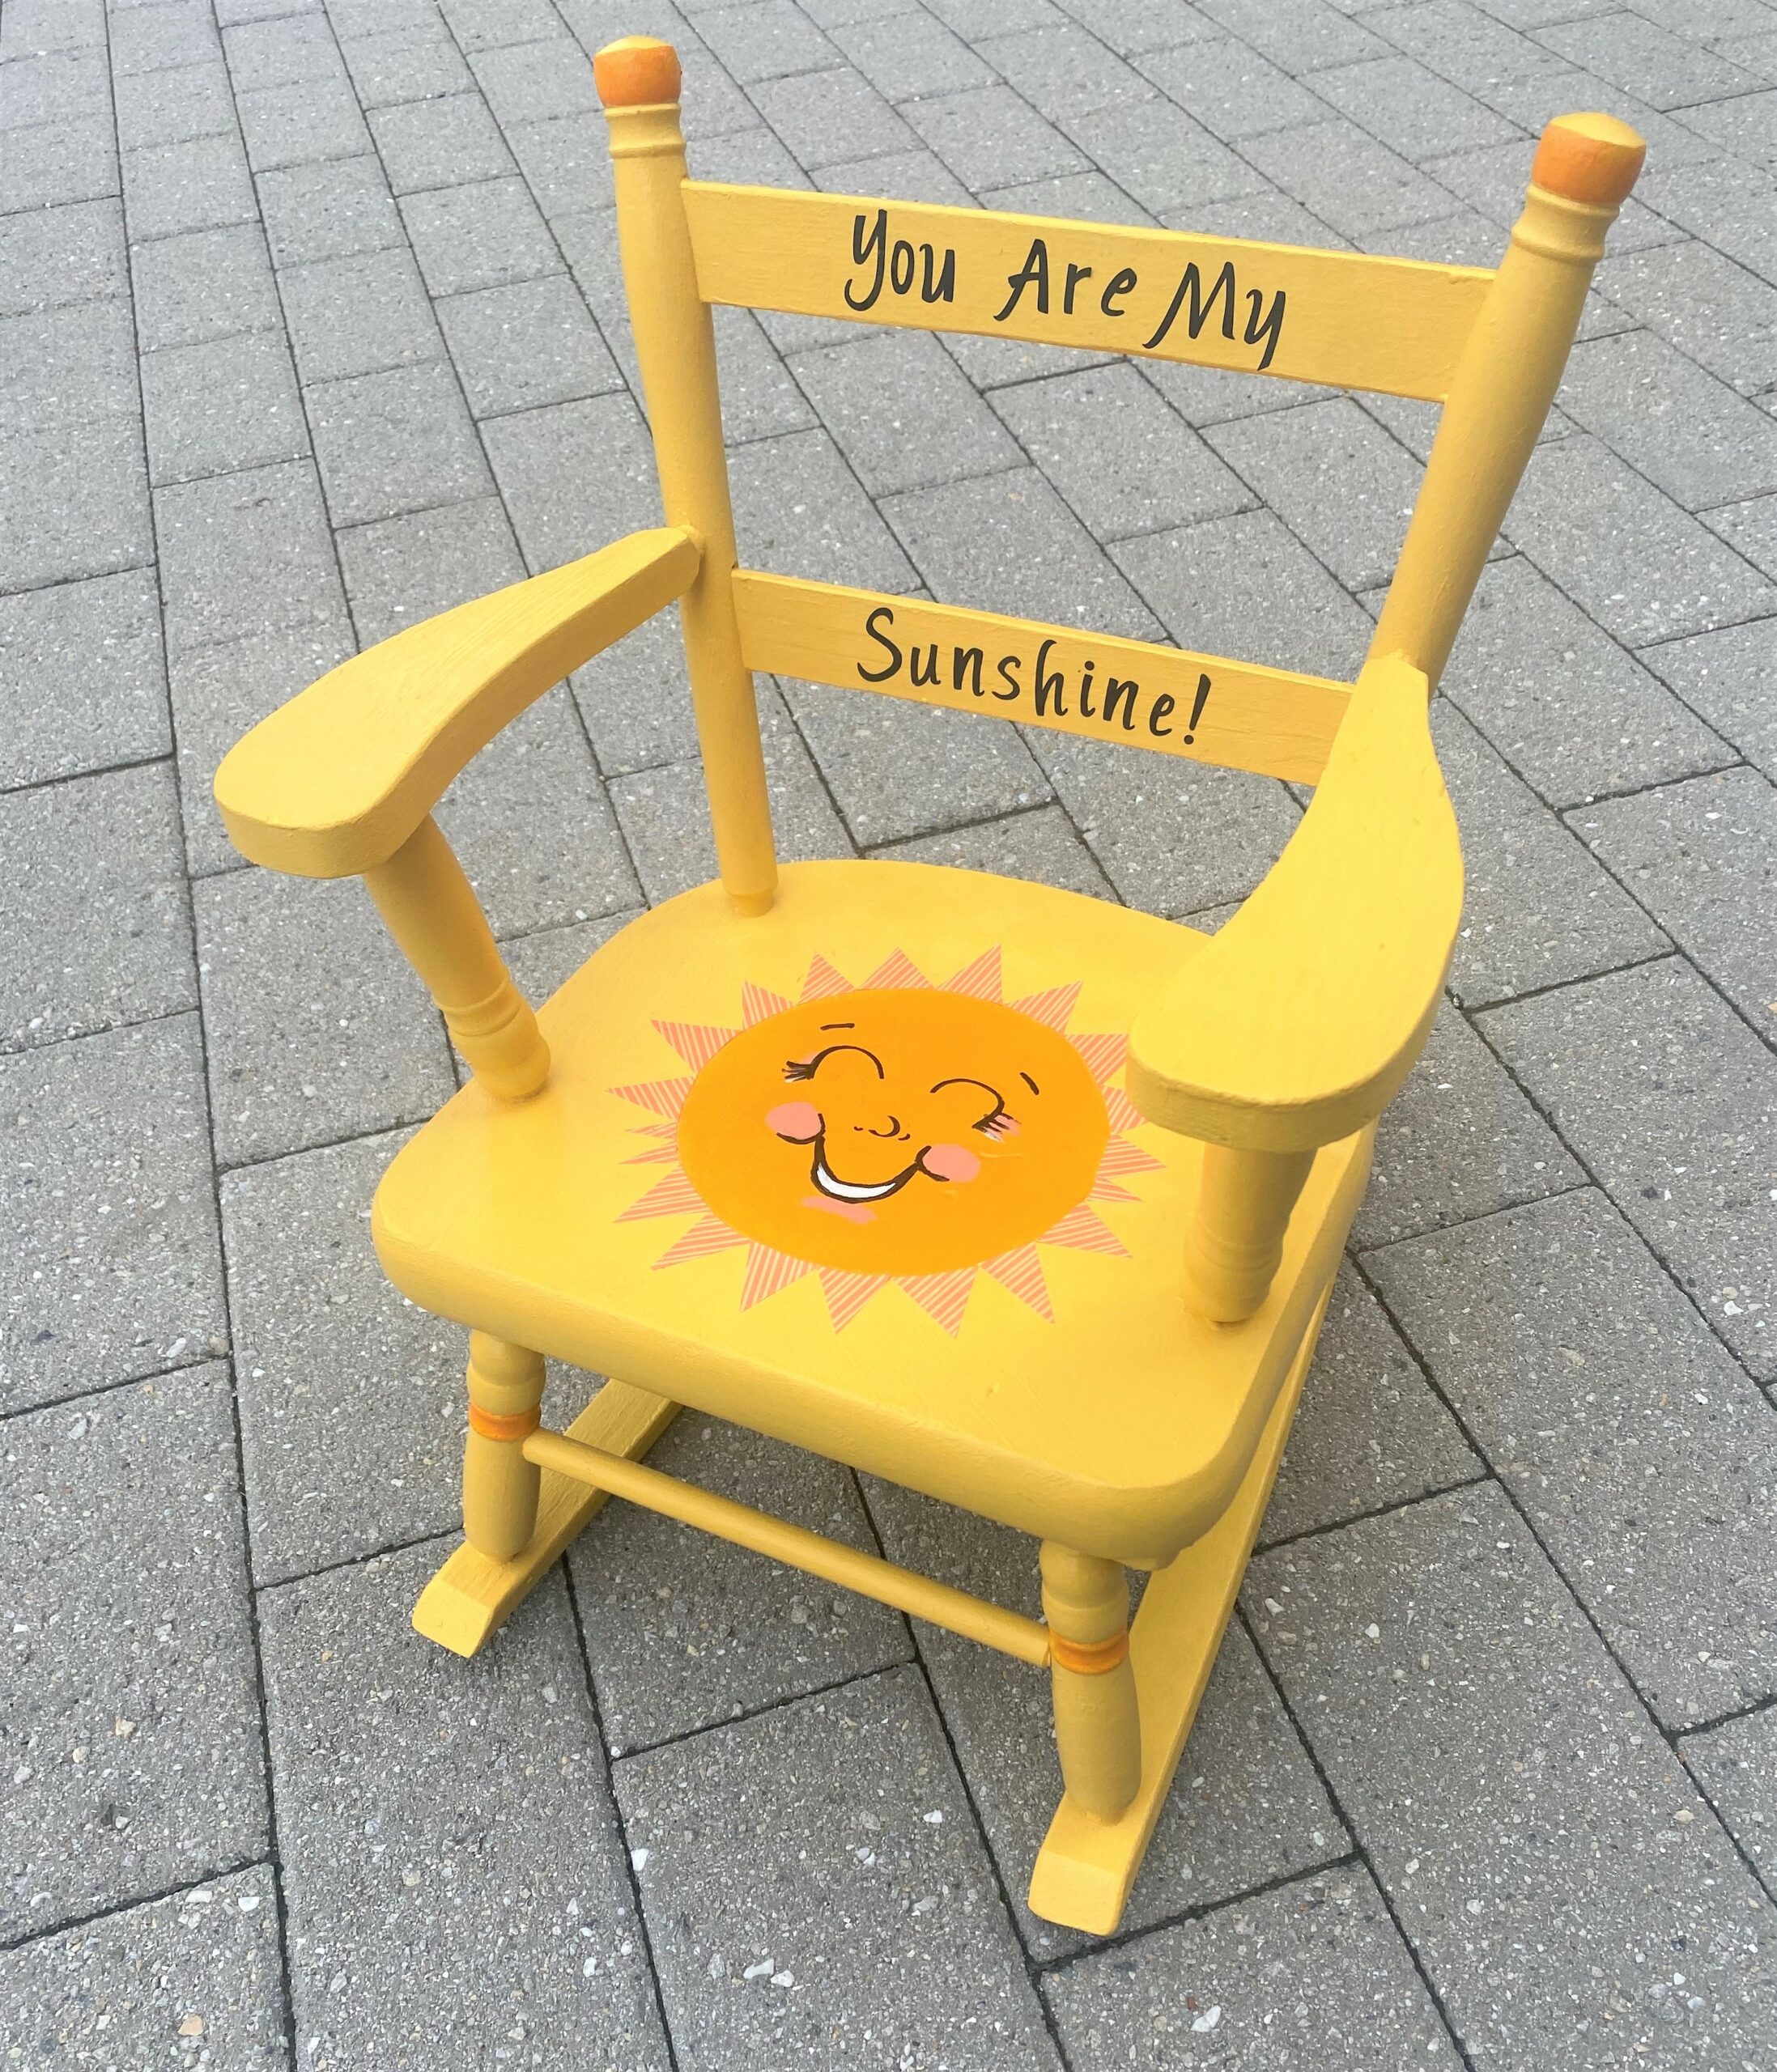
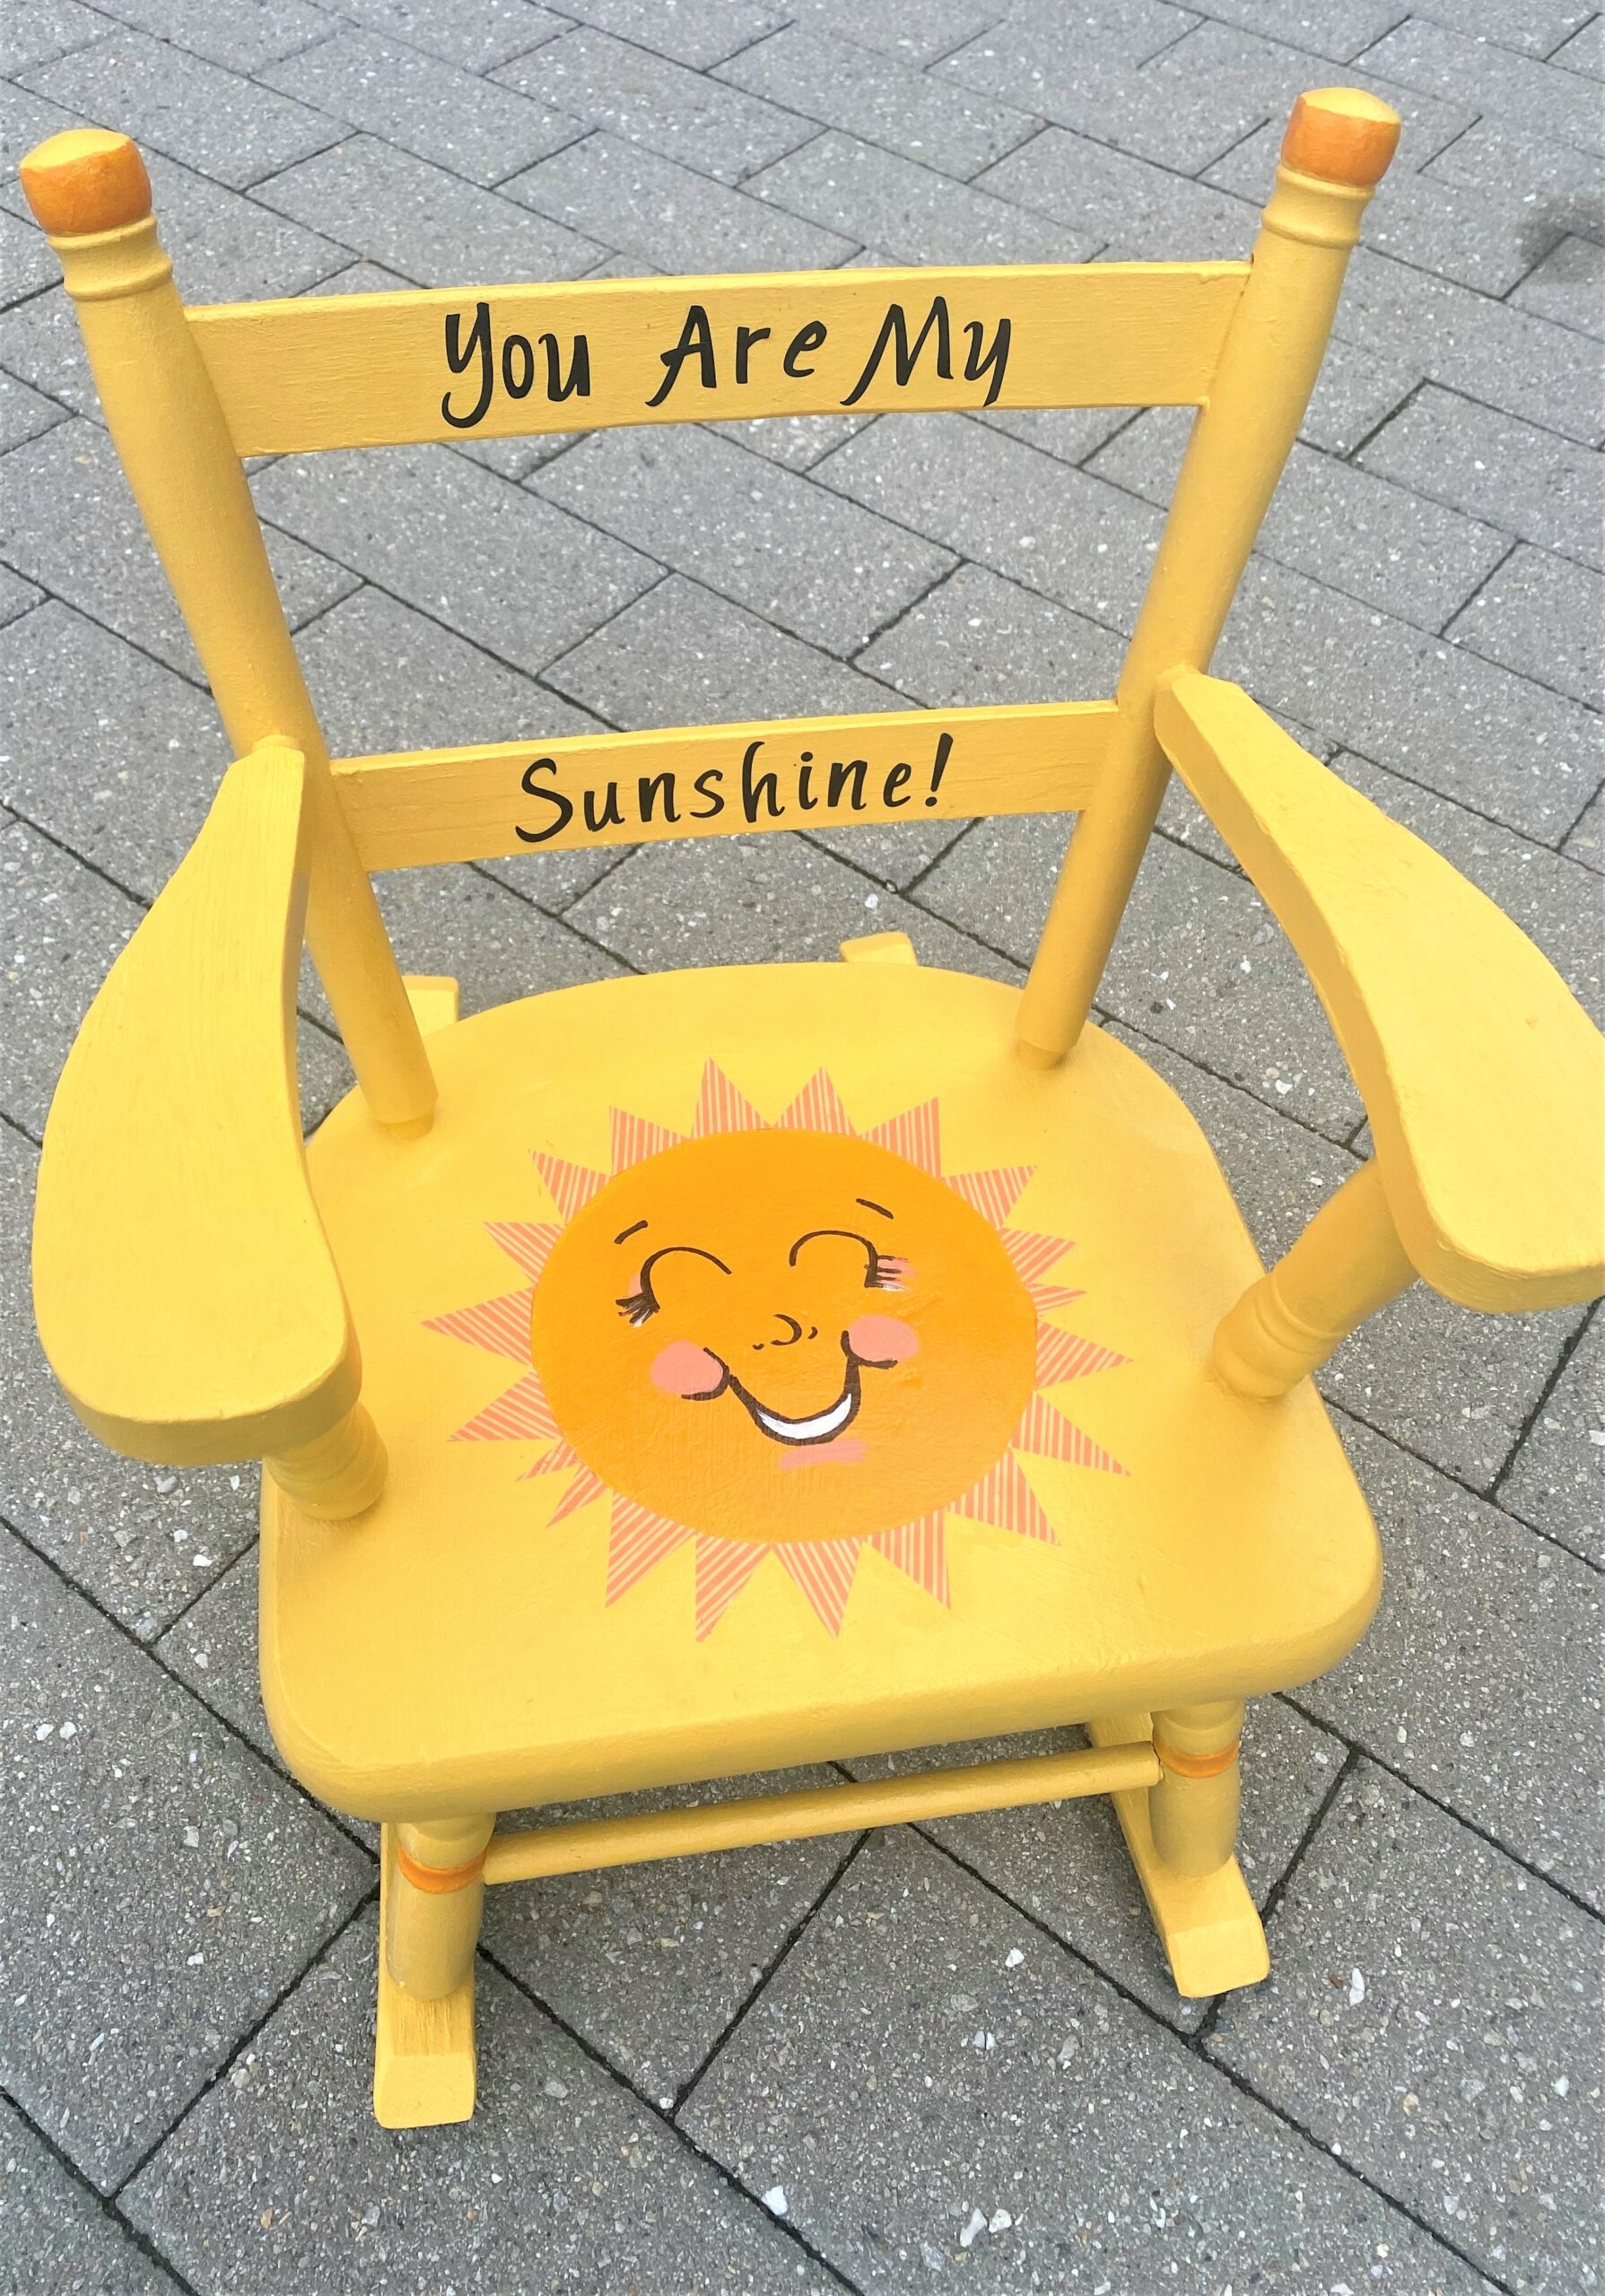
There are so many children’s songs, poems, and stories that have happy sayings so why not pick one to add to your piece? One of my favorites is, “You are my sunshine,” so this was an easy choice. What phrase has meaning to you? What song lyric would be special to add? We would love to hear so share, share, share!
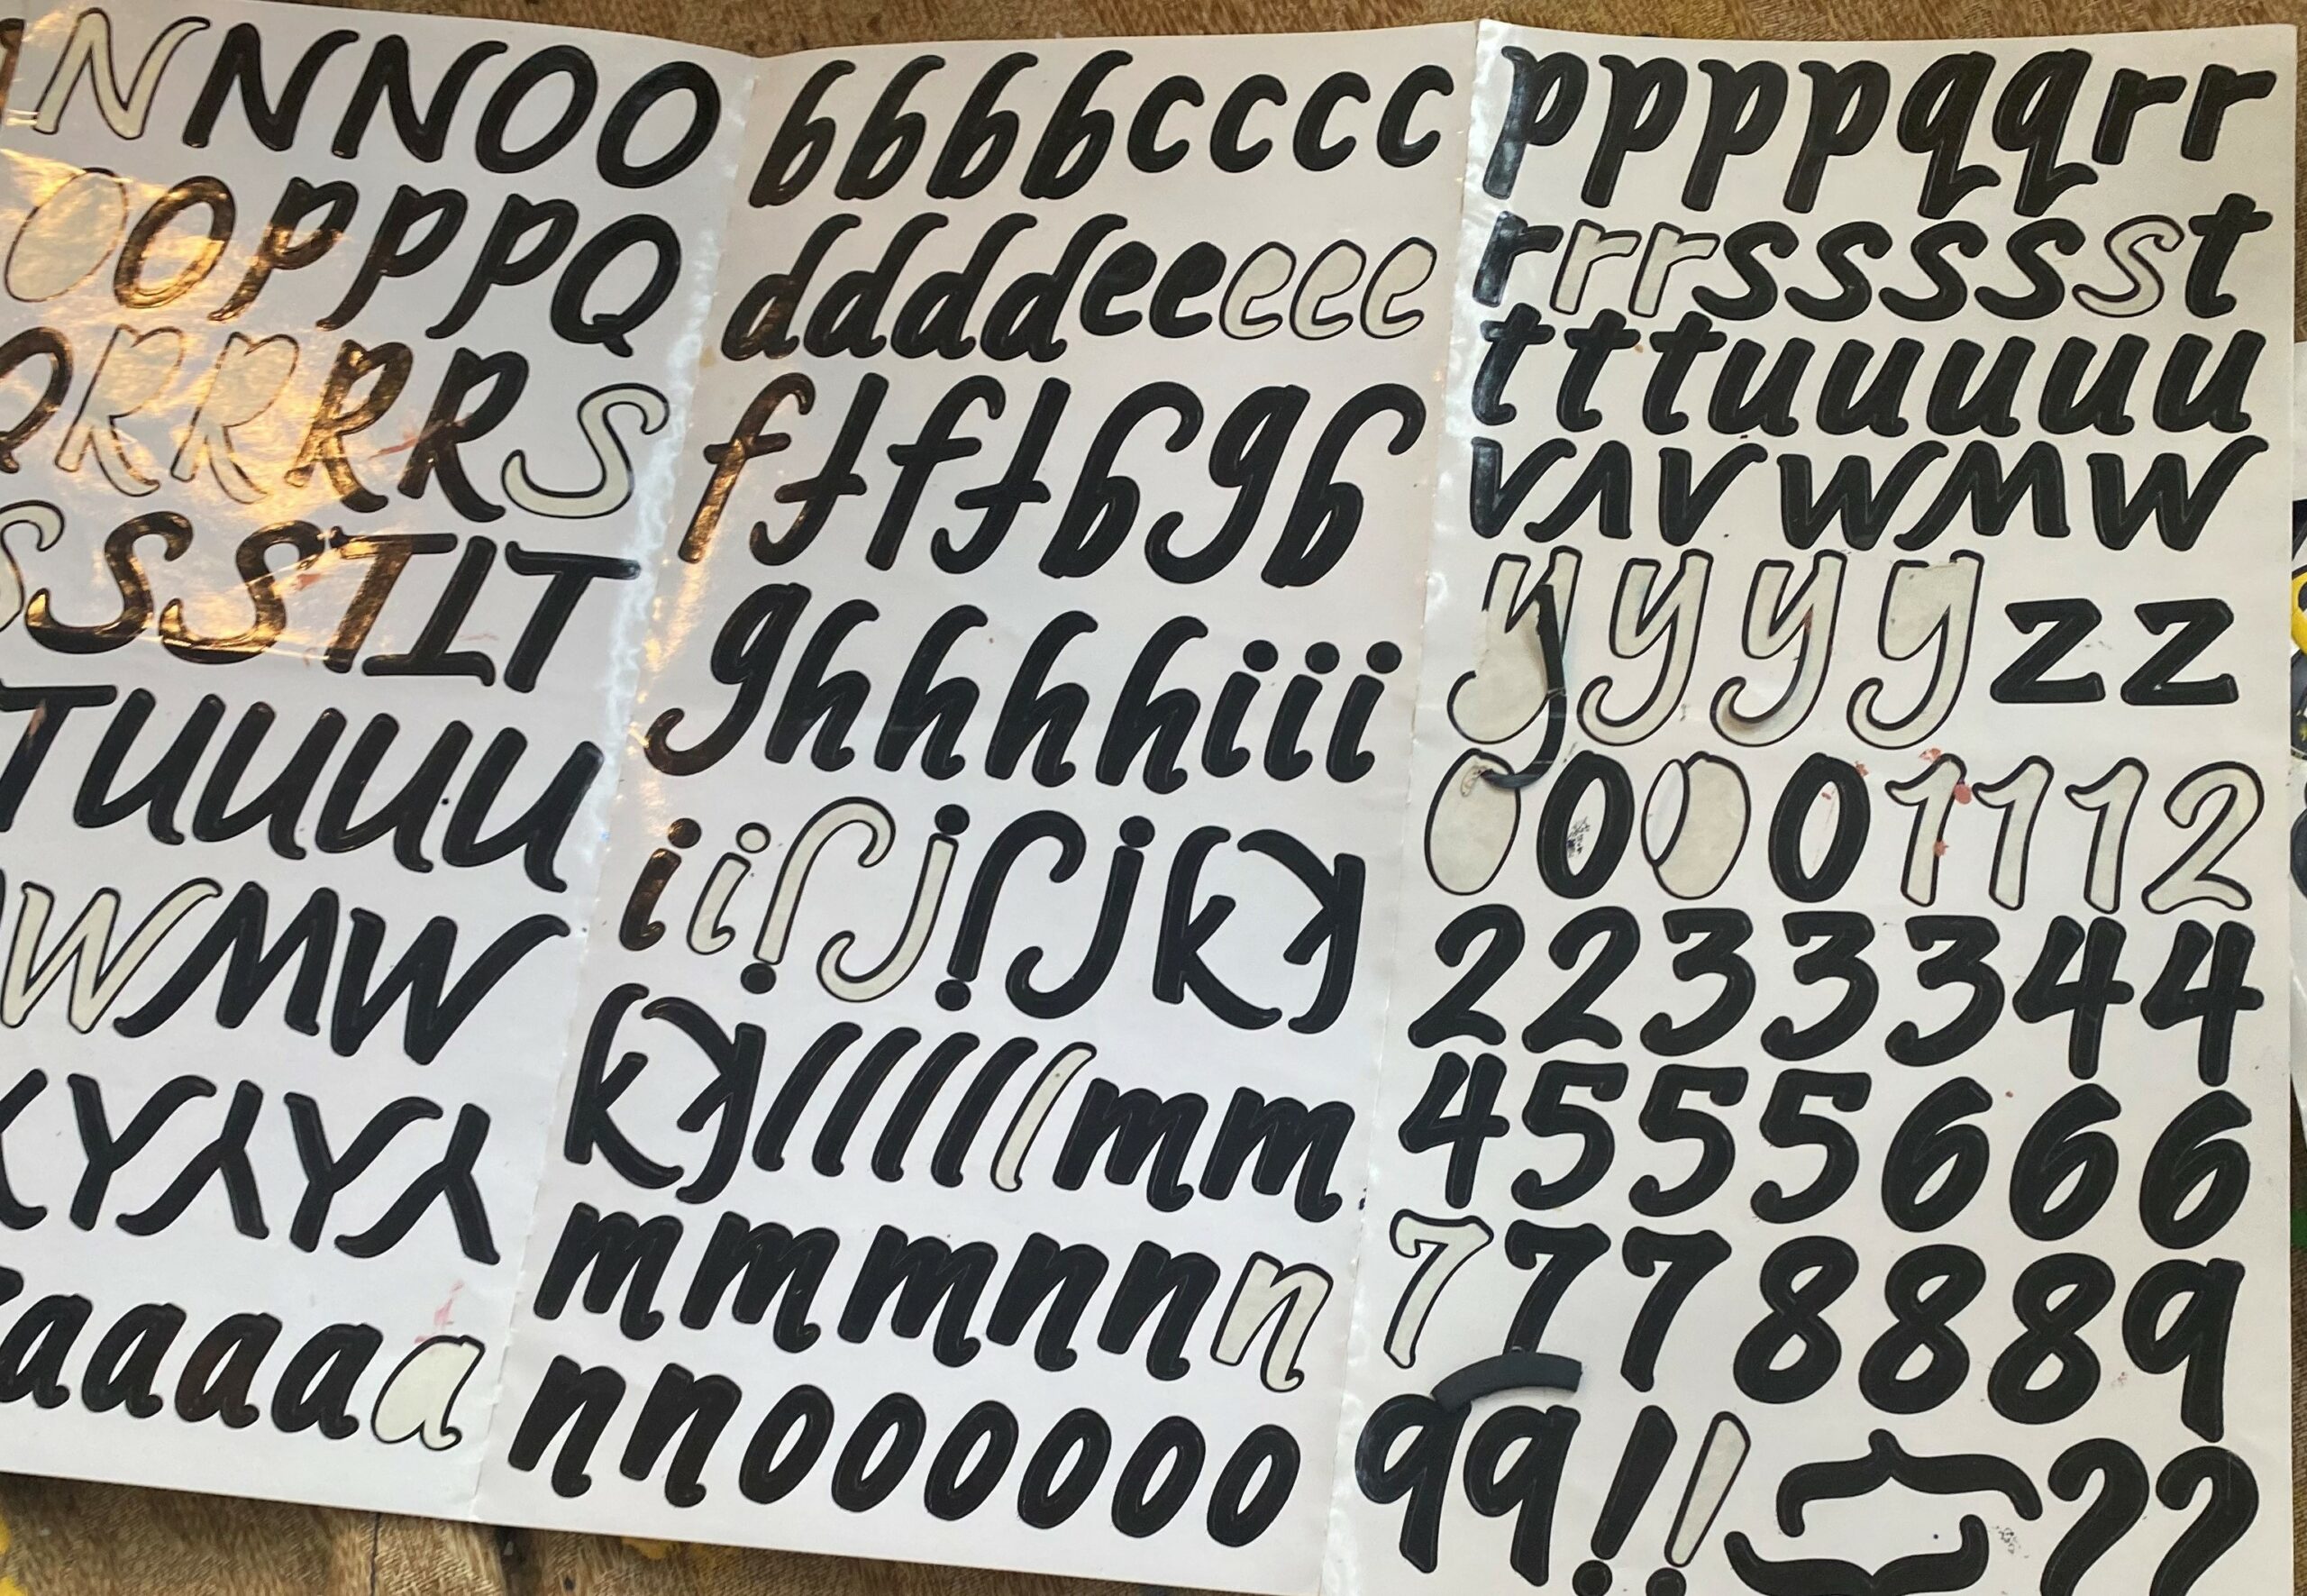
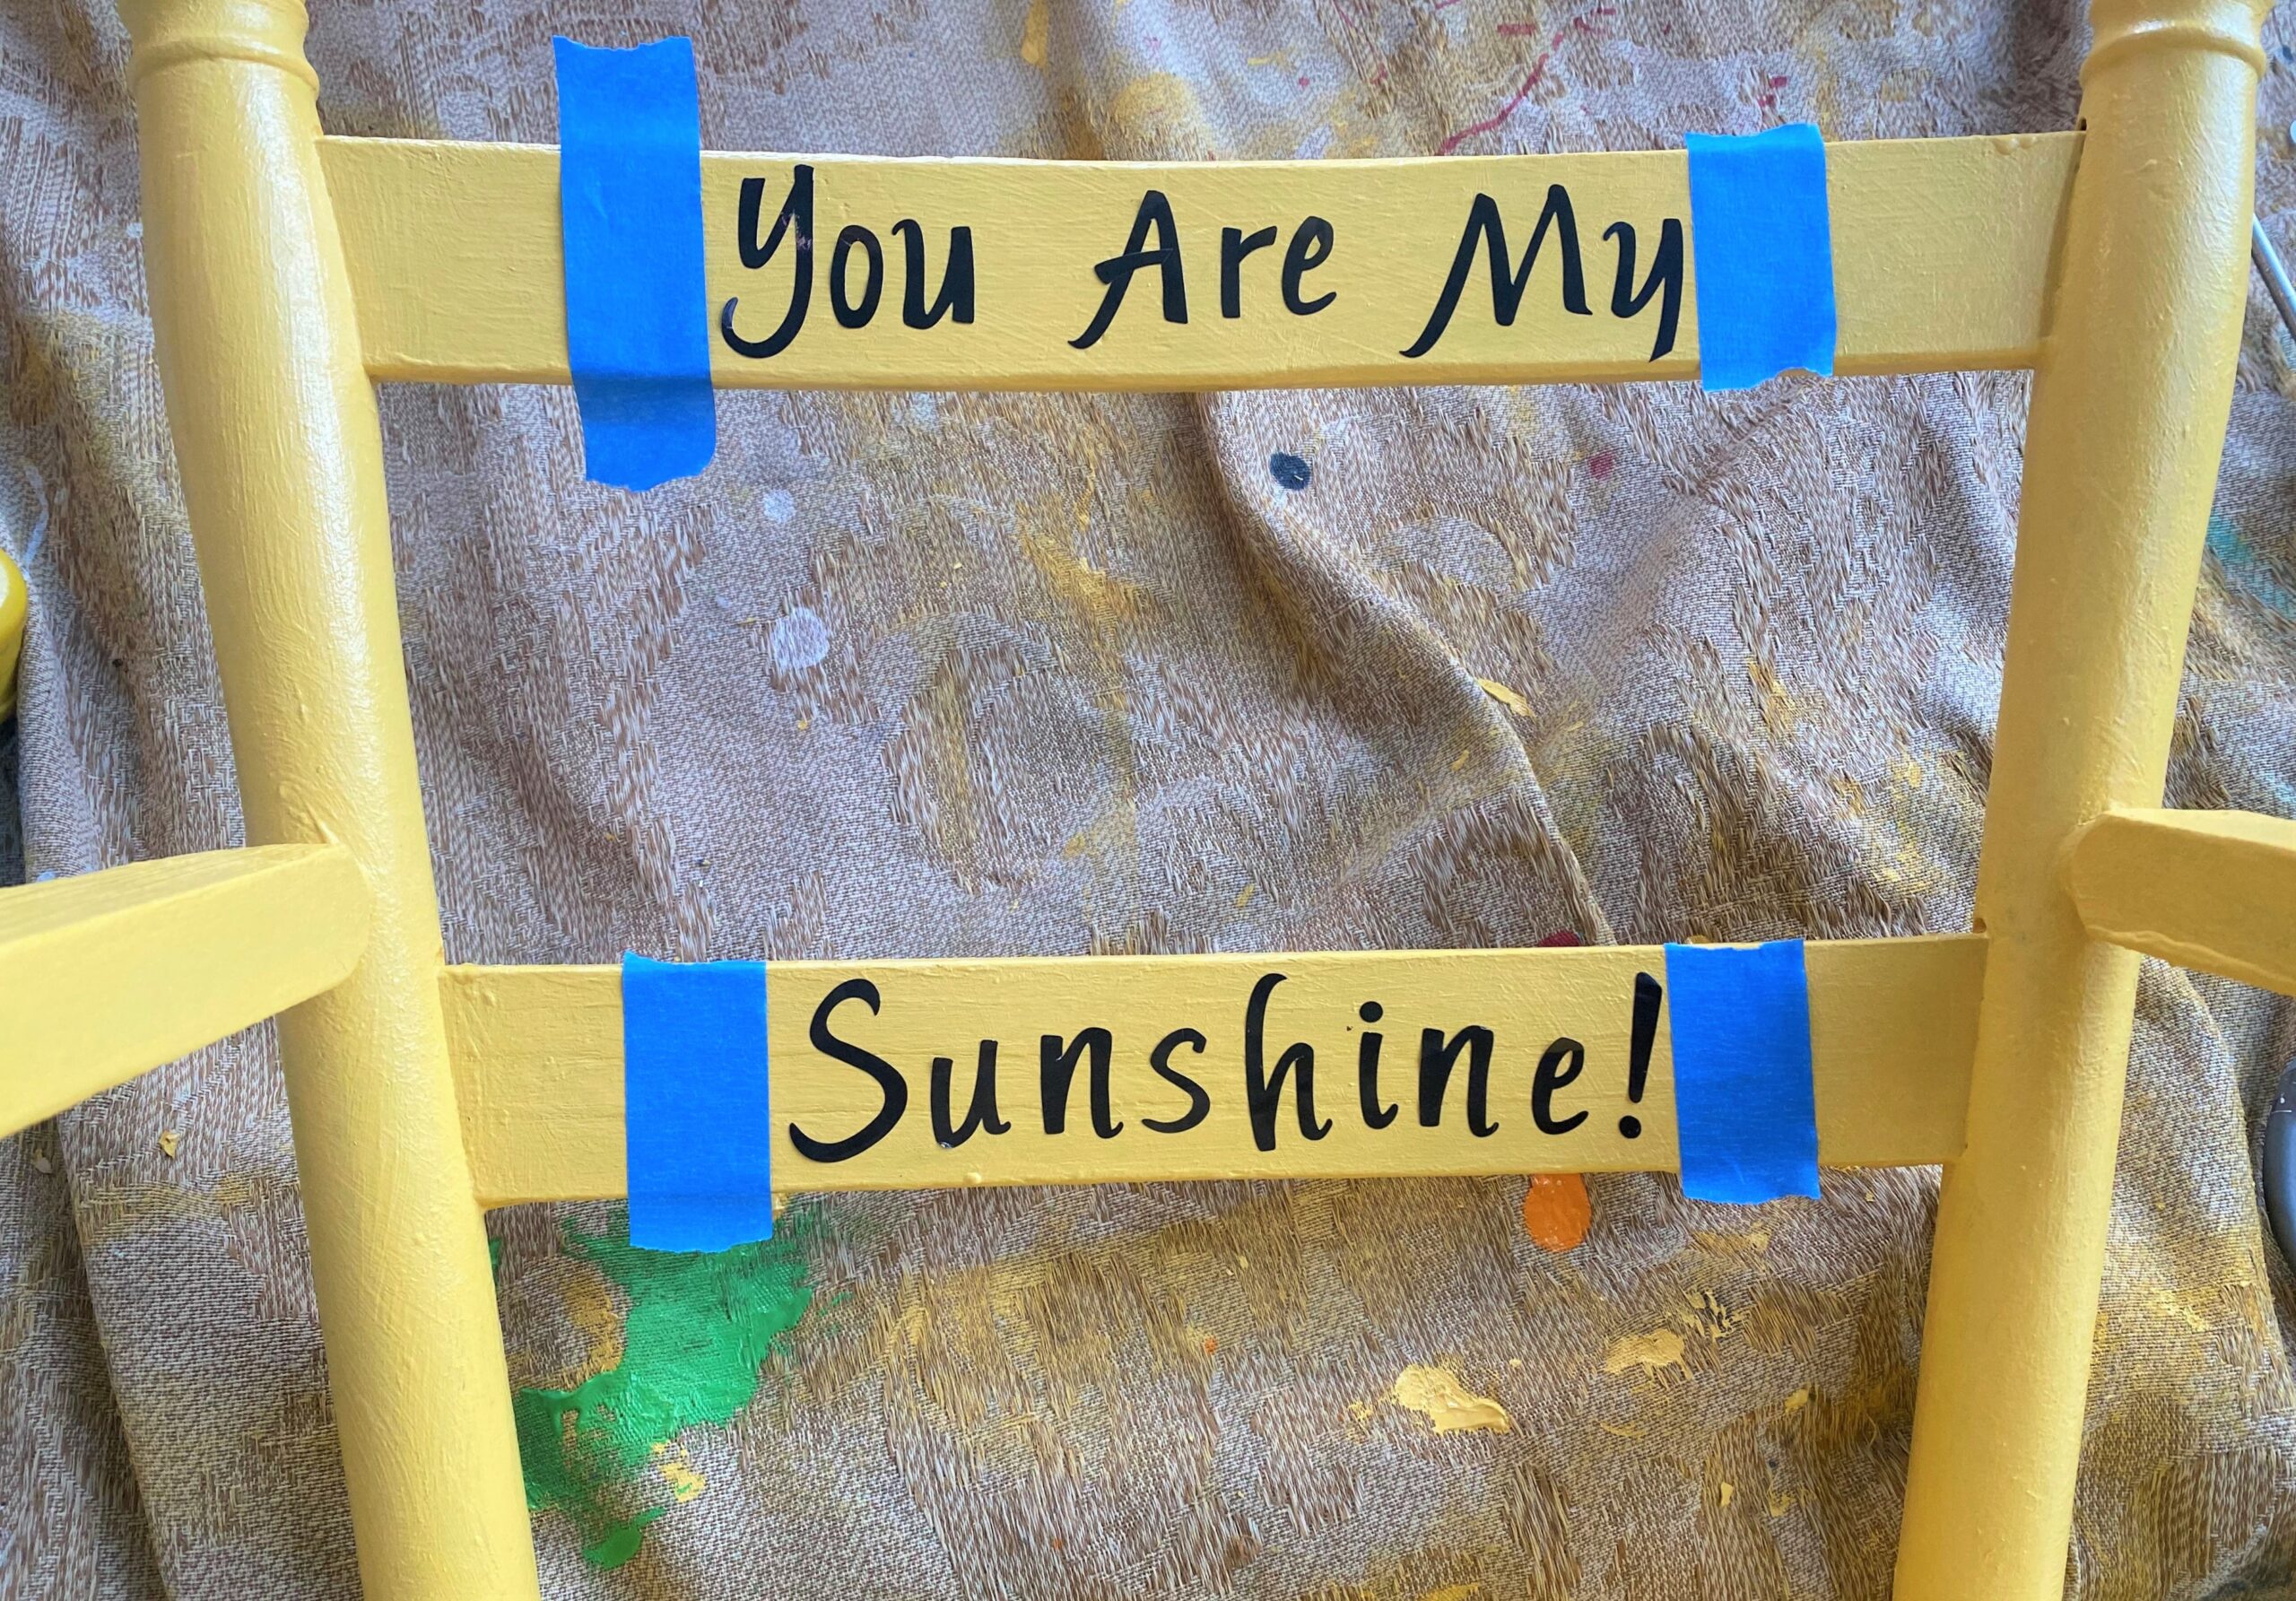
Based on your chair’s design, a great place to add a message is on the chair’s back. If you have nice printing or handwriting, you could paint it on with a contrasting tone to make it stand out. My writing is not the prettiest so a solution I used might work for you, too: Press on letters. These are picked up at most craft stores for a few dollars; sometimes big-box discount stores or even the dollar store have them, too.
Space out your letters; I used a measuring tape to ensure they were centered. Carefully apply them; once in place, you may have to return to tweak them so they are balanced and feel right. After they are in the place you want them to stay, brush on school glue or Mod Podge to help keep them secure for years to come.
Step 5: Create an image to make you (and the little one) smile
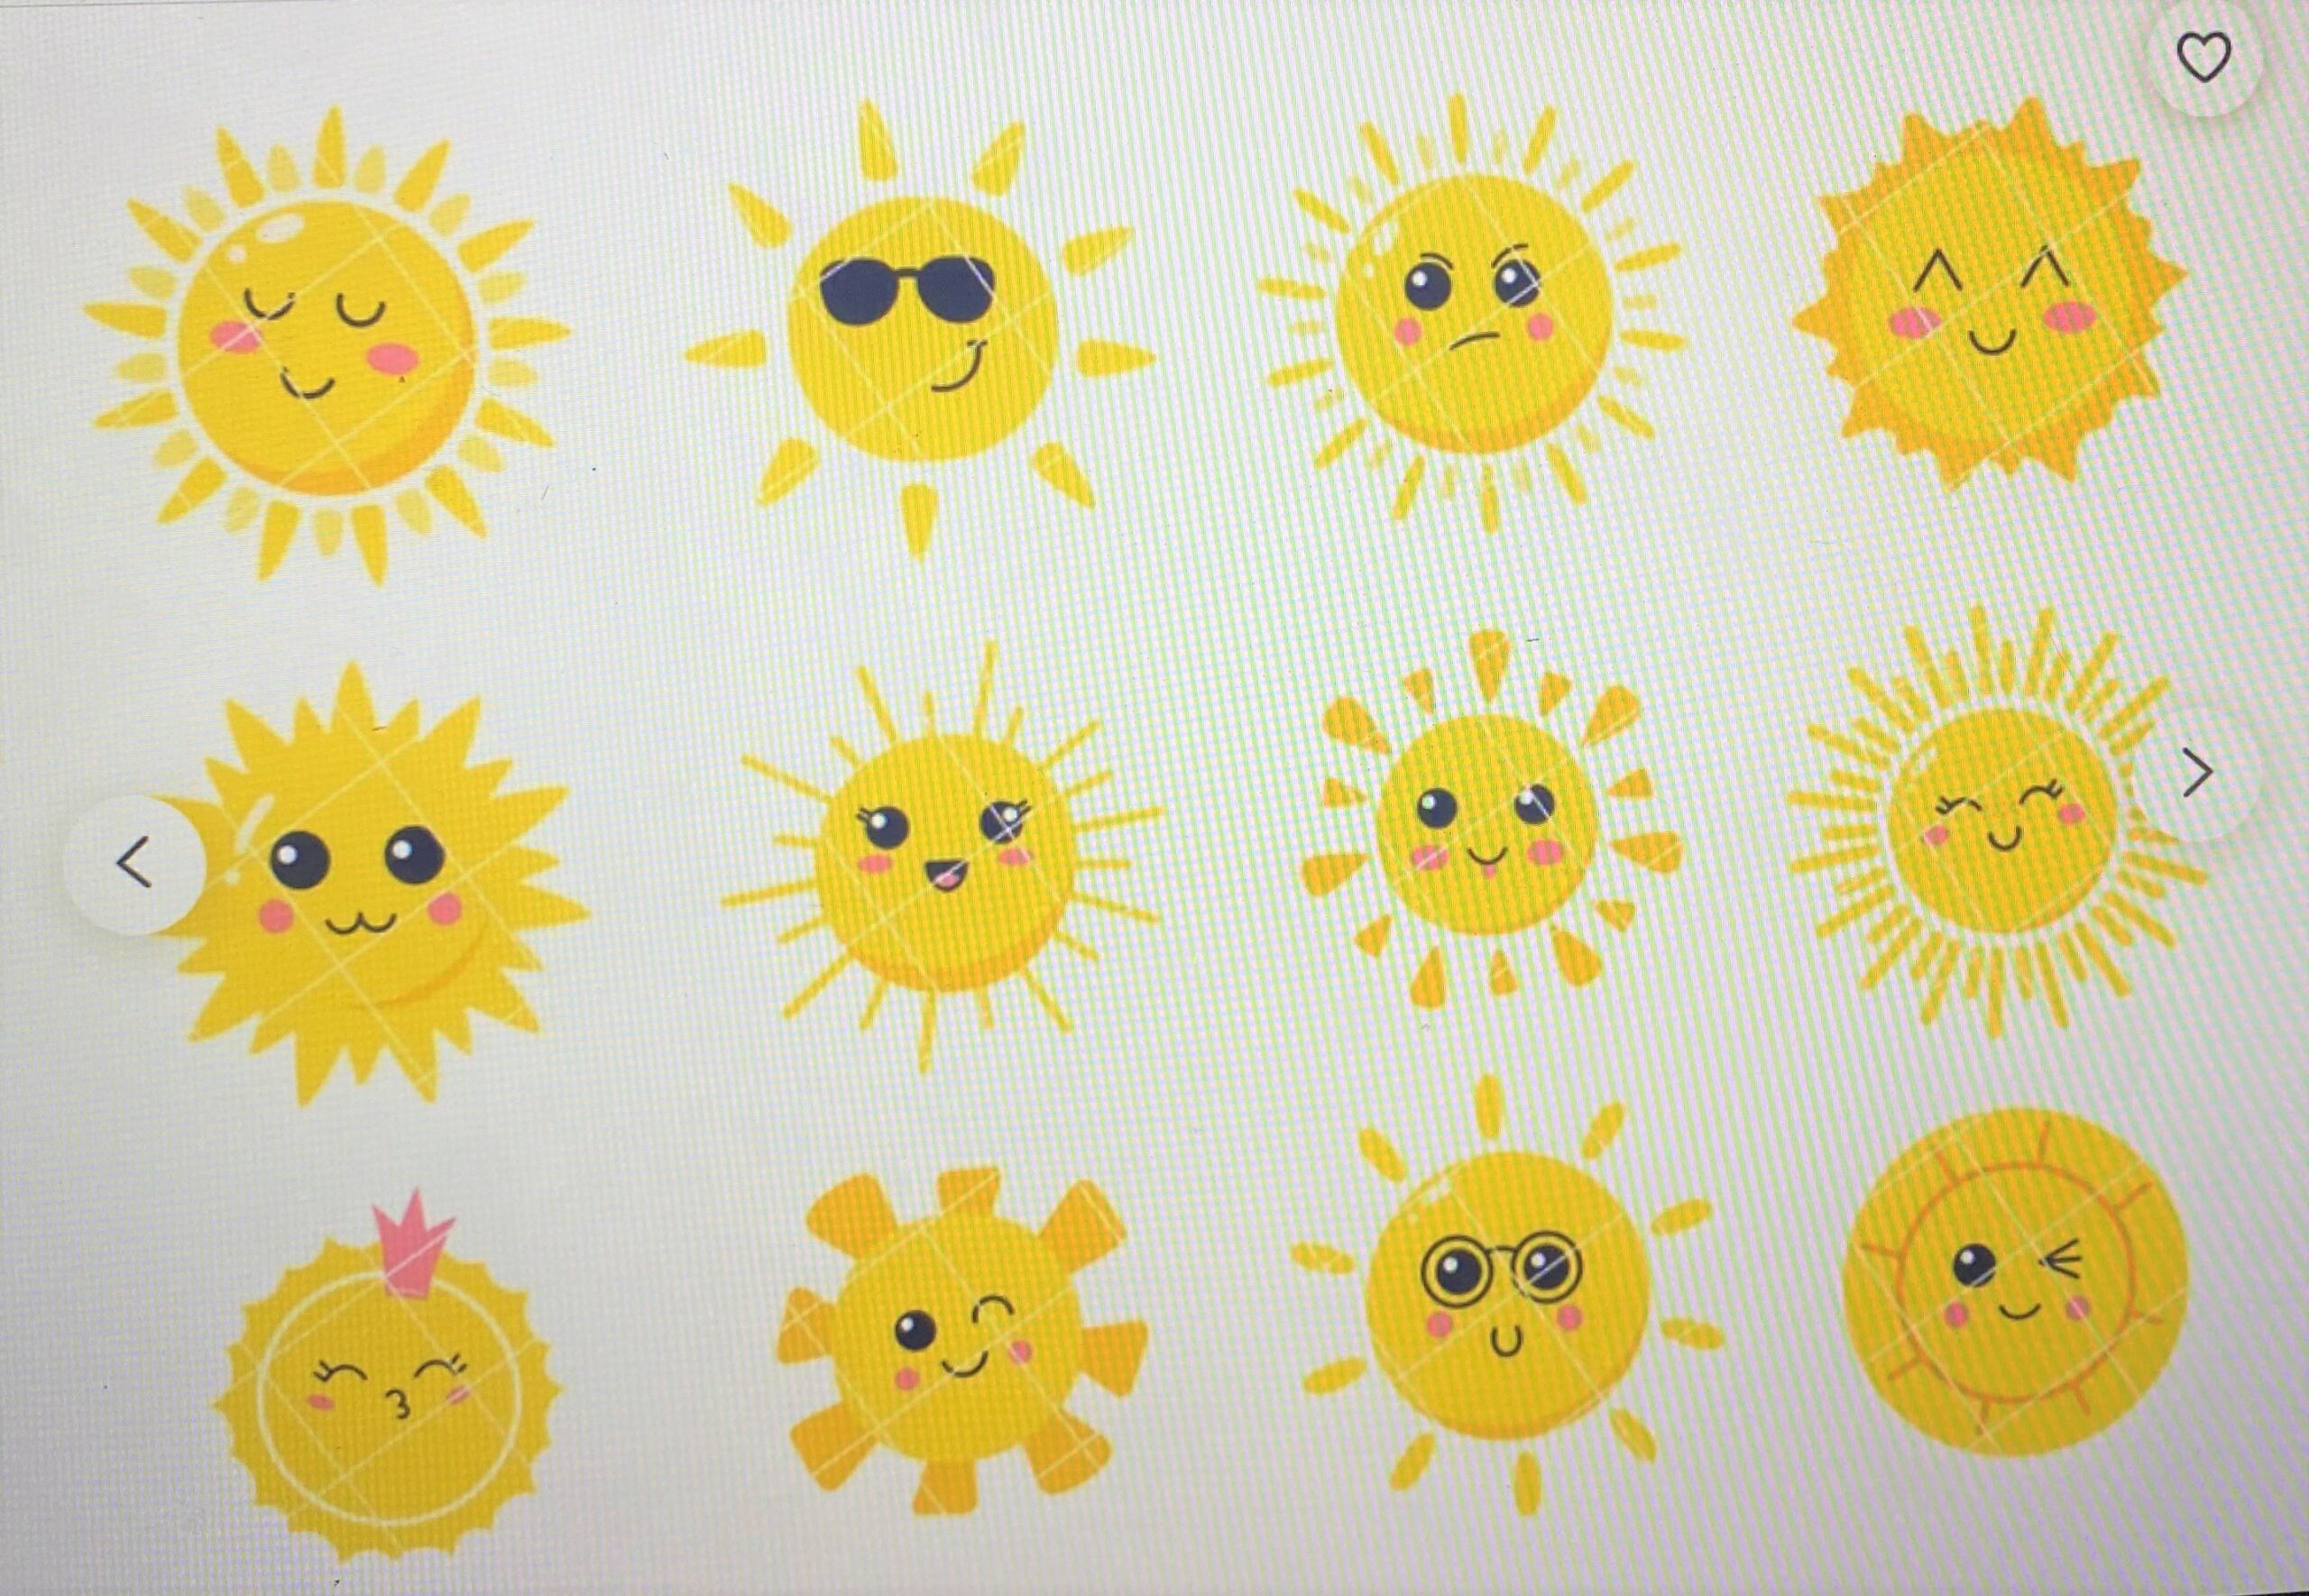
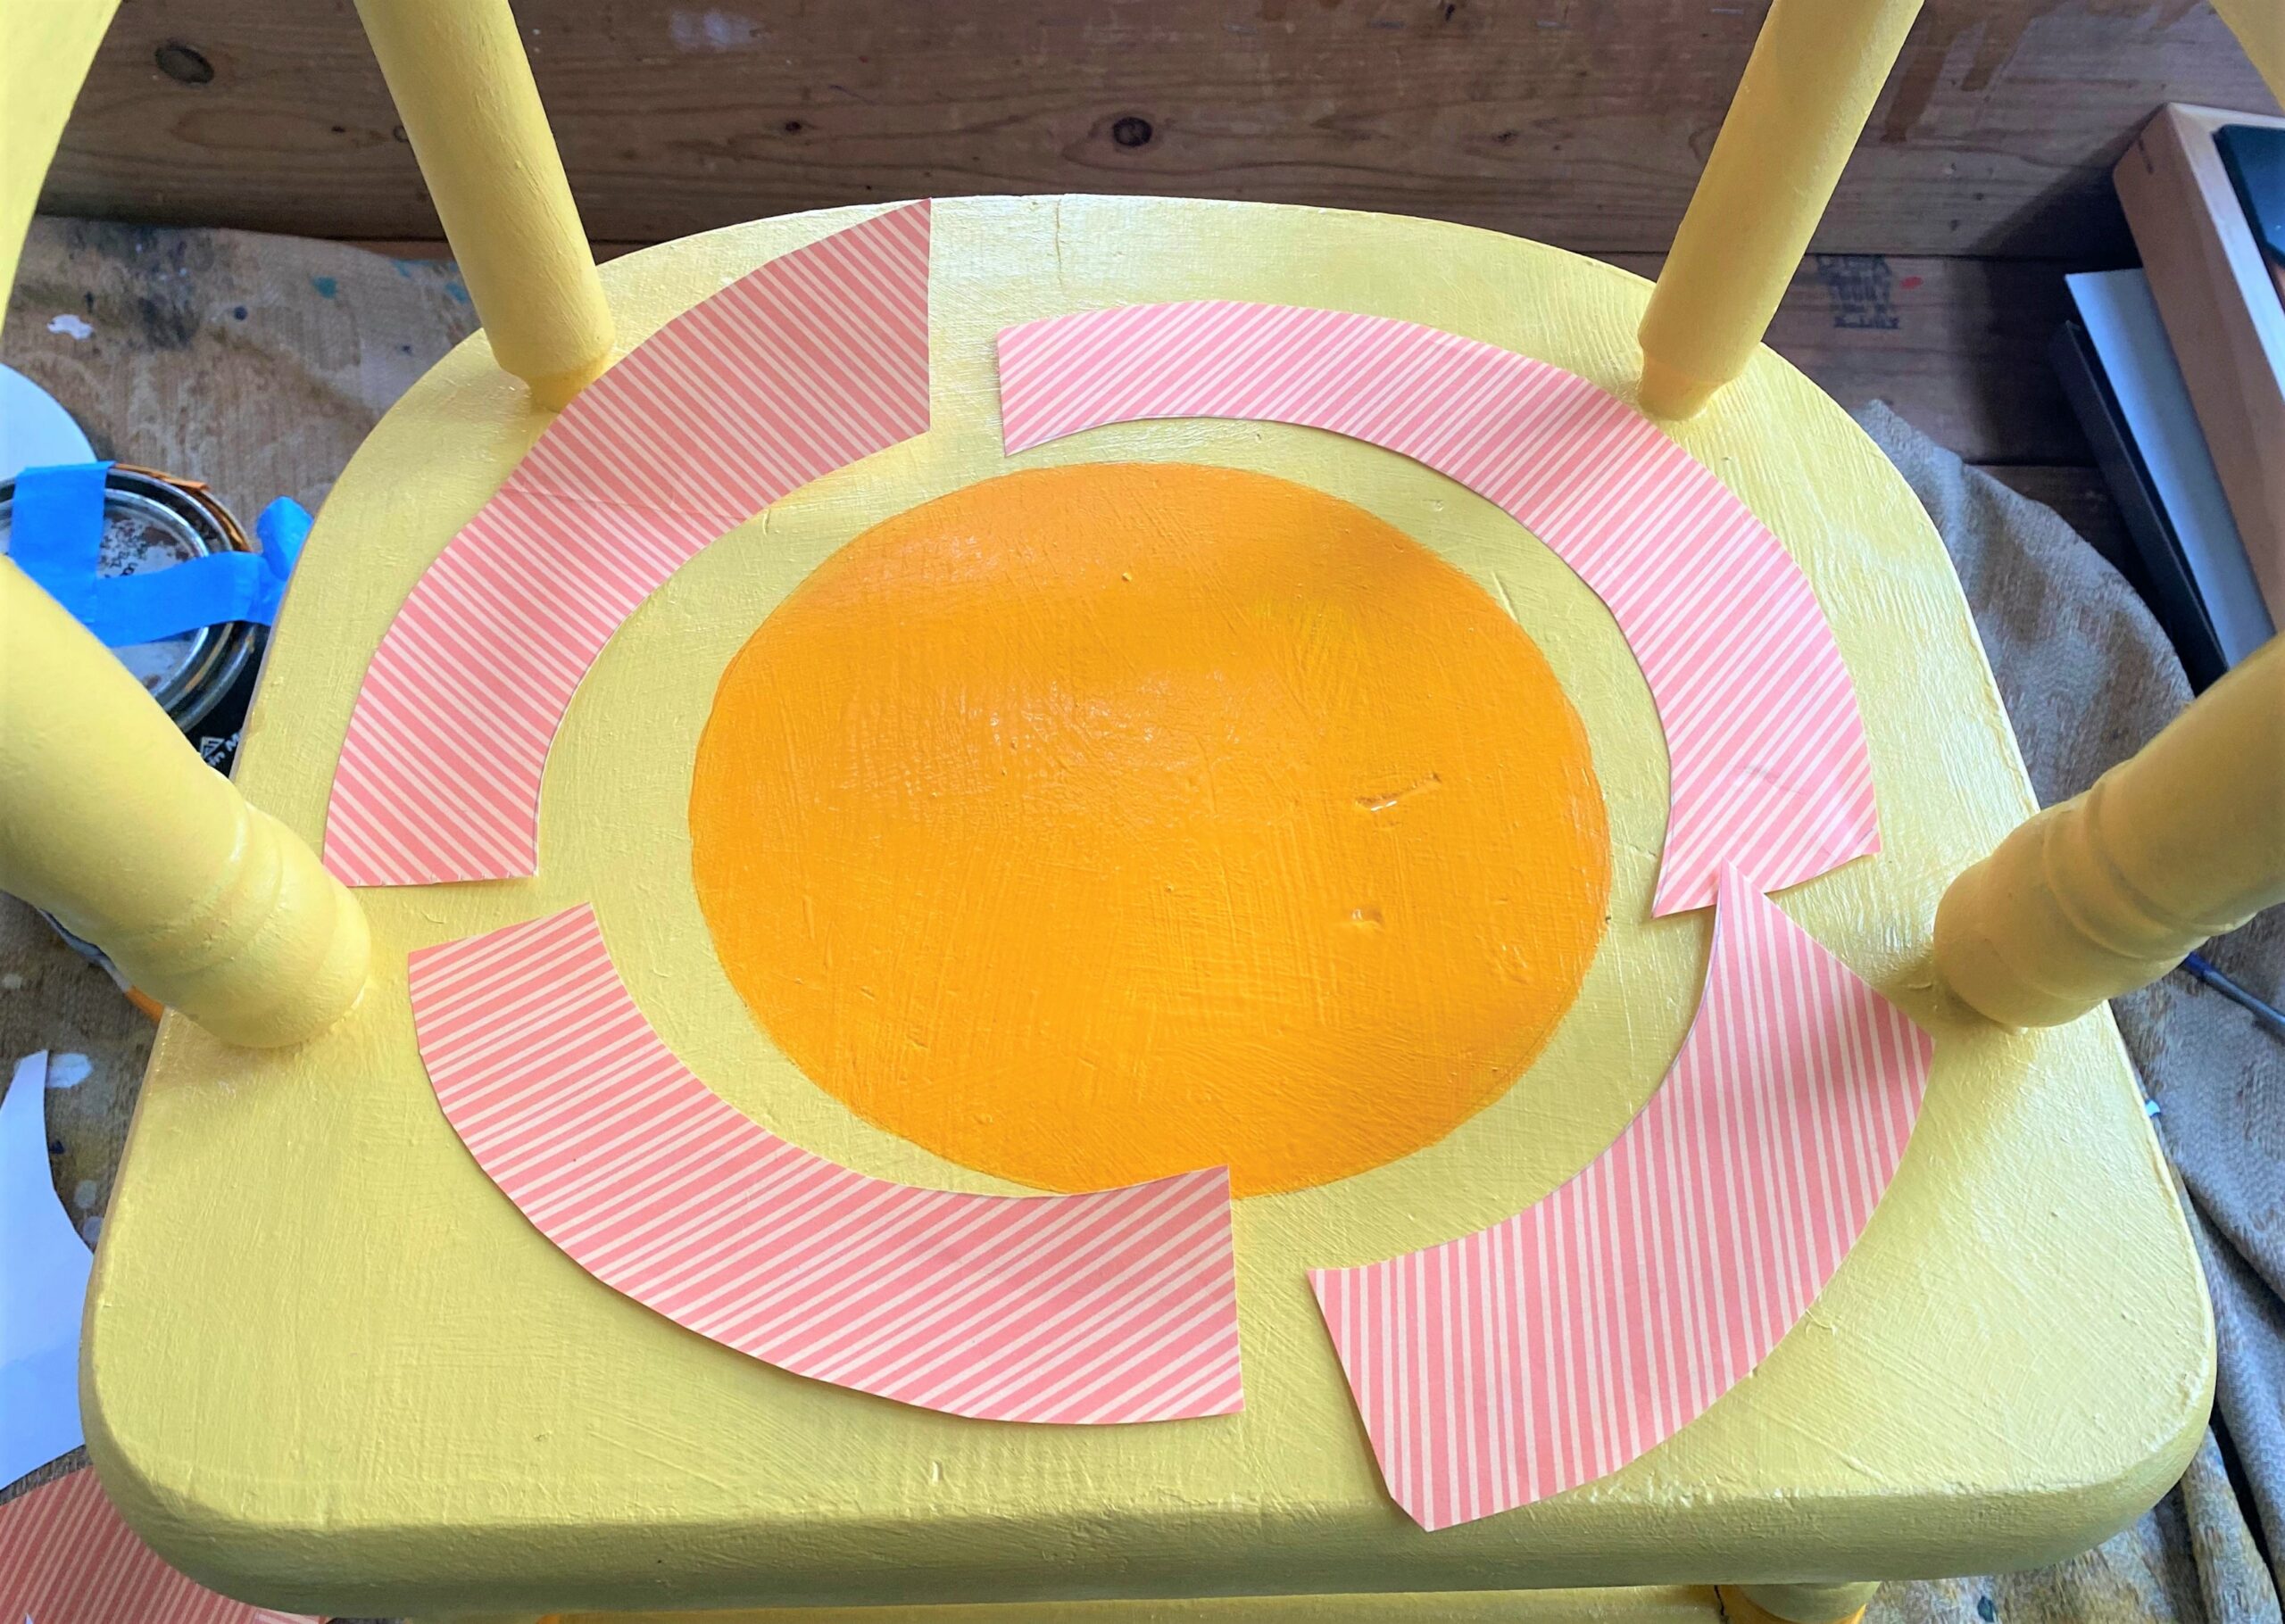
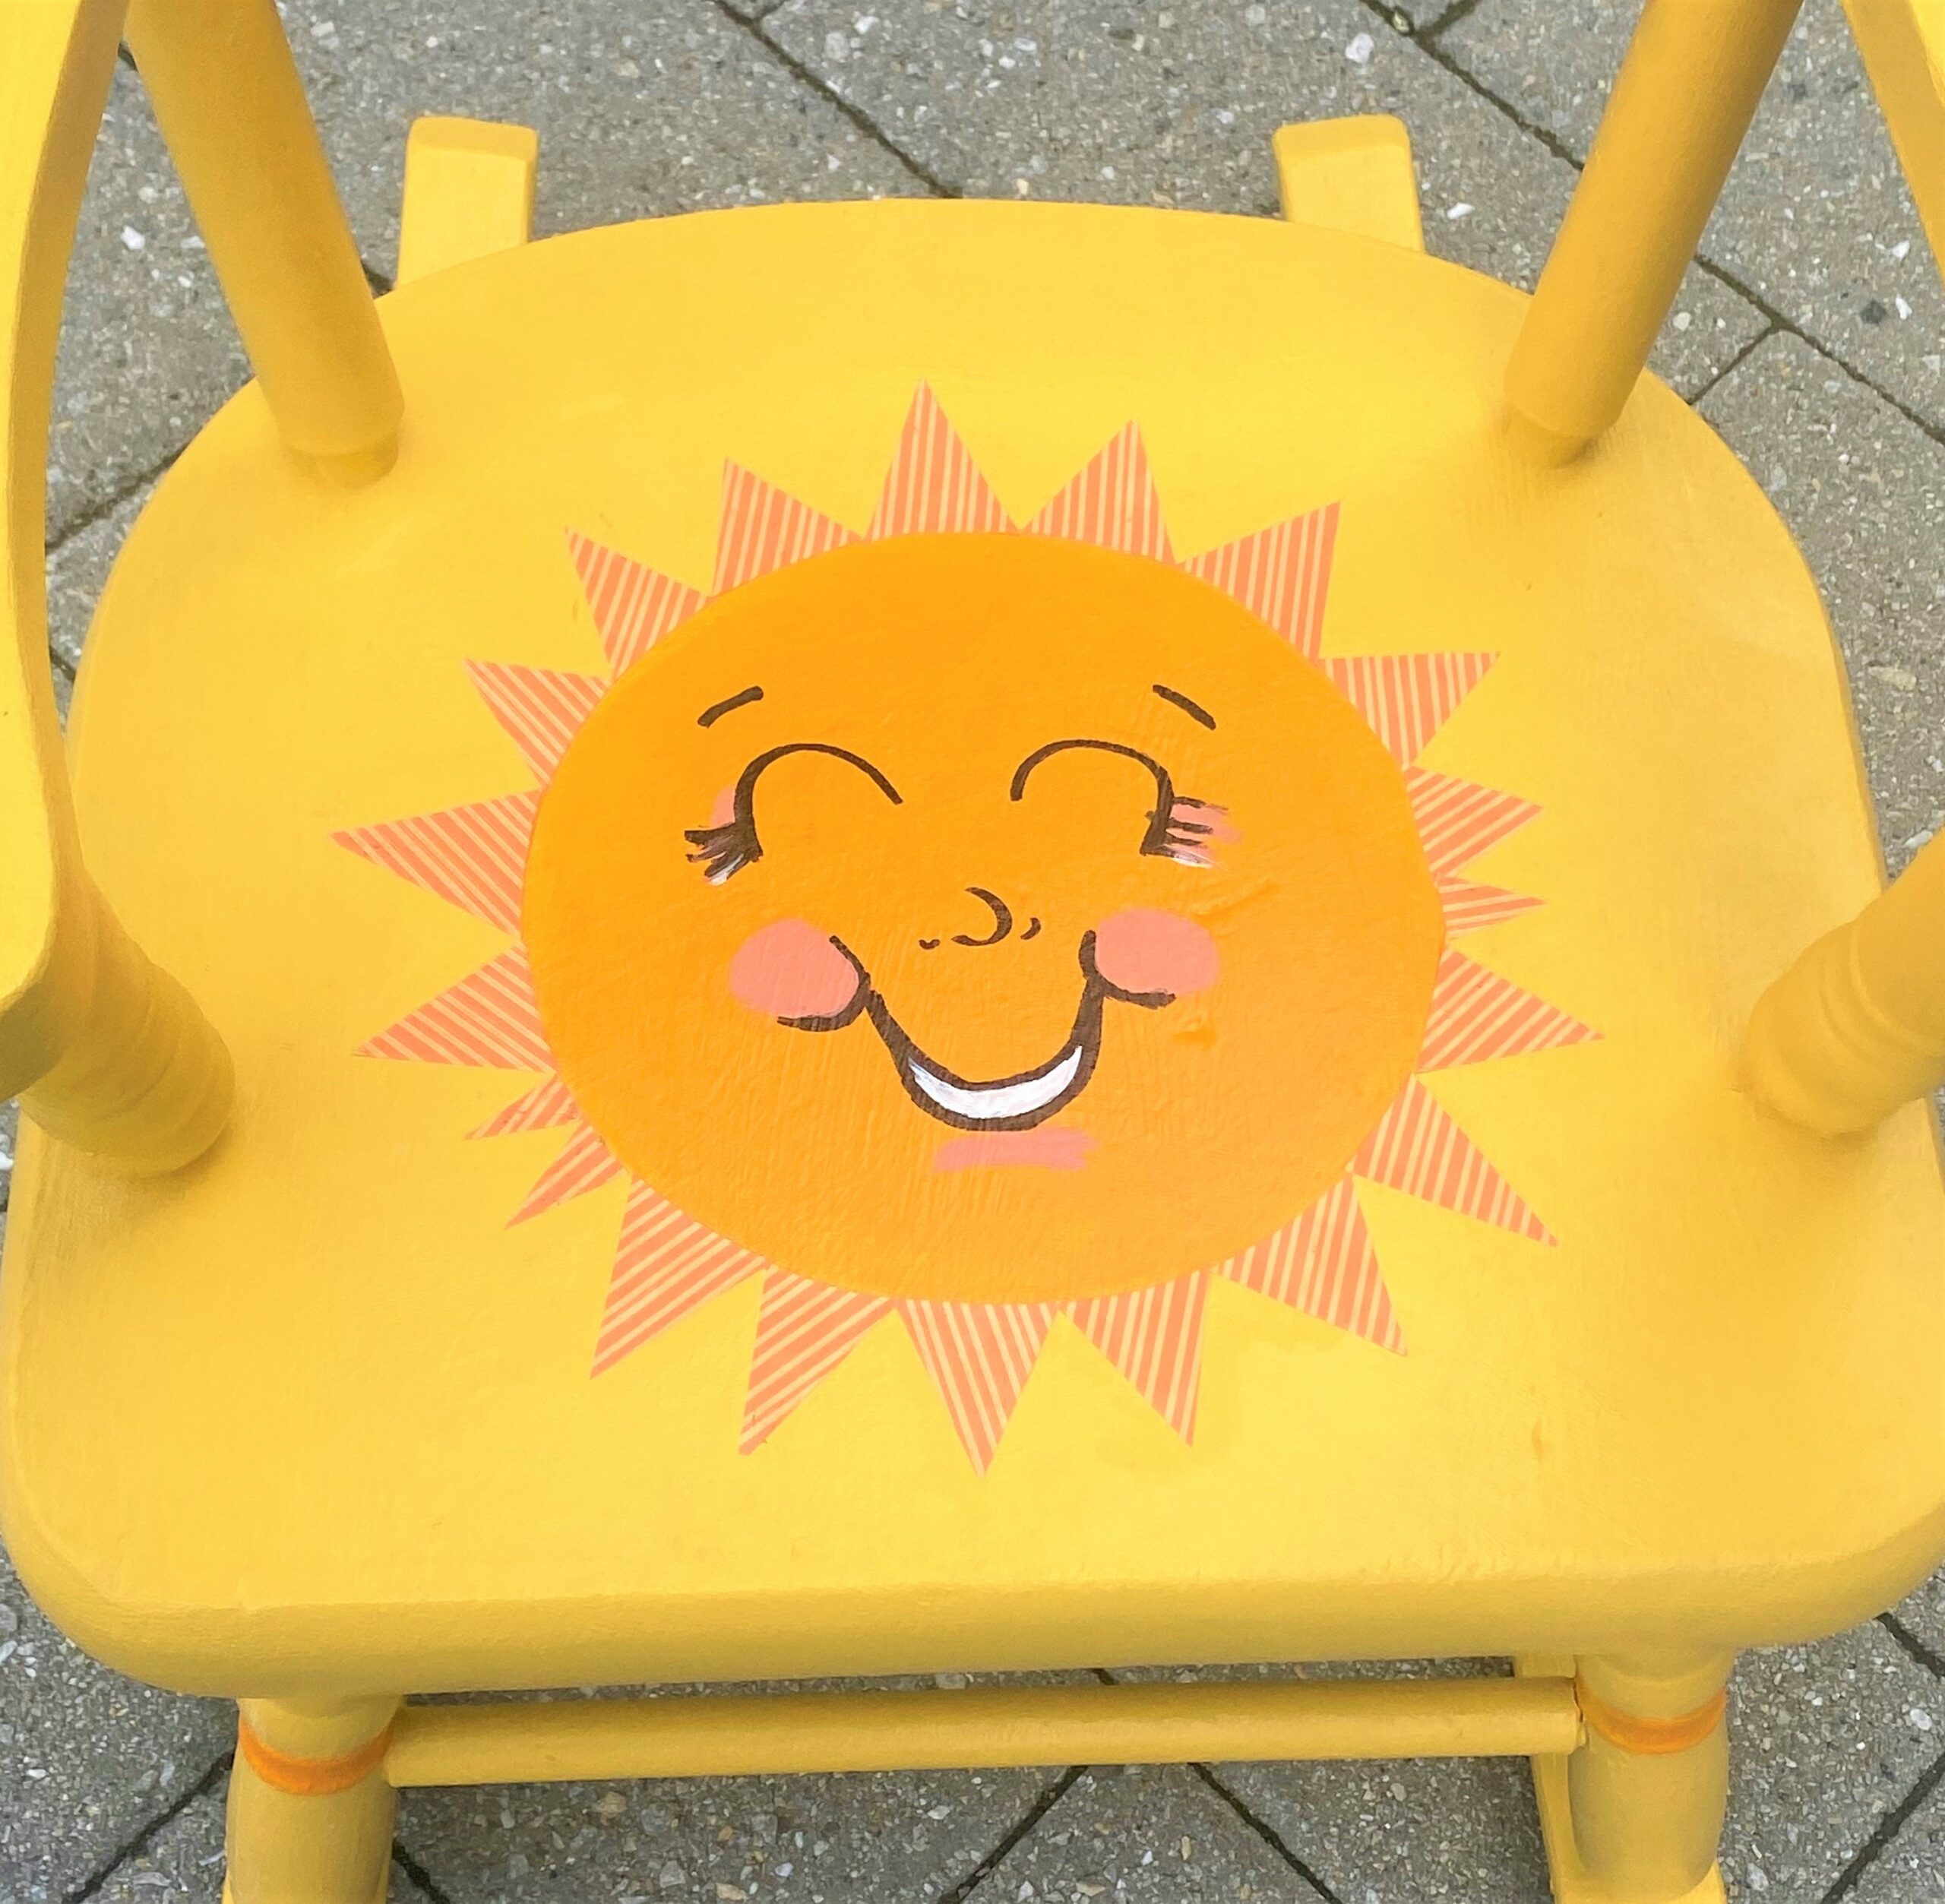
To accompany your message, consider adding a visual image that matches and adds to the charm of the piece. A smiling sun was the ideal image to go with the message. Hearts, stars, the earth, and animals are all excellent choices to add to the seat of the chair if they connect with the message you selected.
For the sun face shown here, I traced a circle using a small dish as my guide. A yummy orange paint was used to fill in the circle which was drawn with a pencil. To add visual interest and to connect the orange tone with the rest of the rocking chair, the orange paint was added to a small detail on the front legs and part of the chair’s back. Love how they all compliment each other!

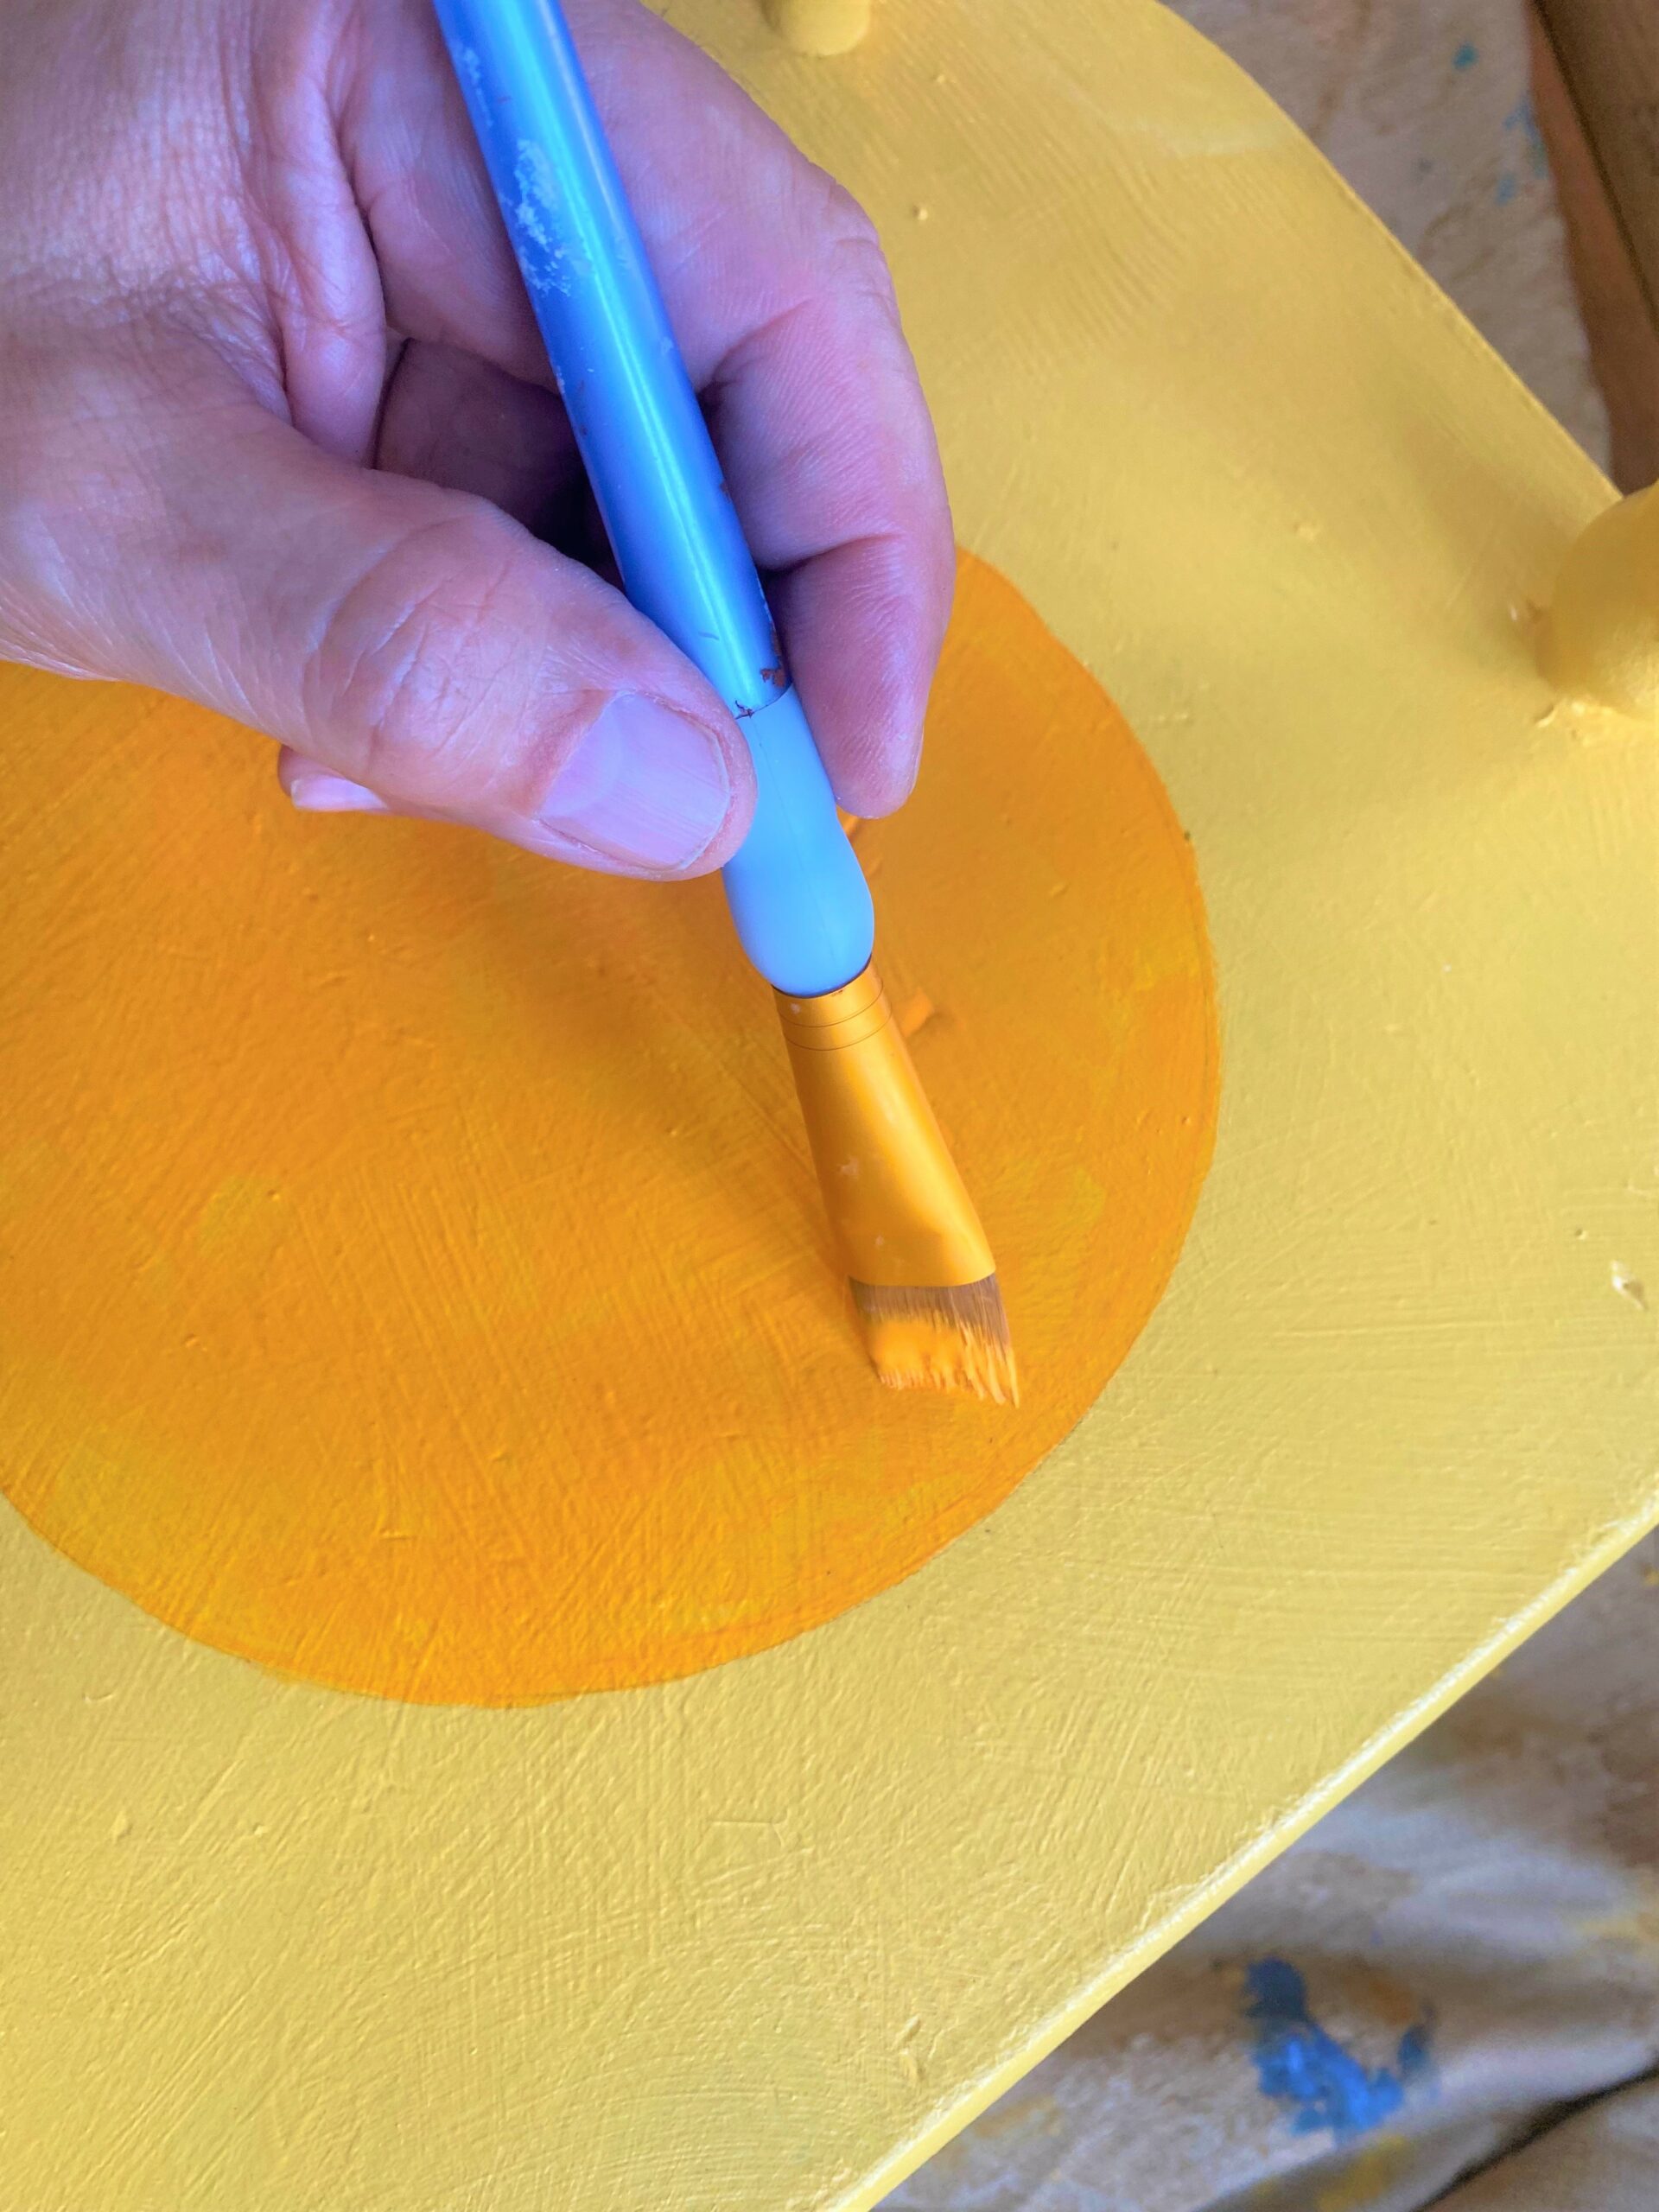
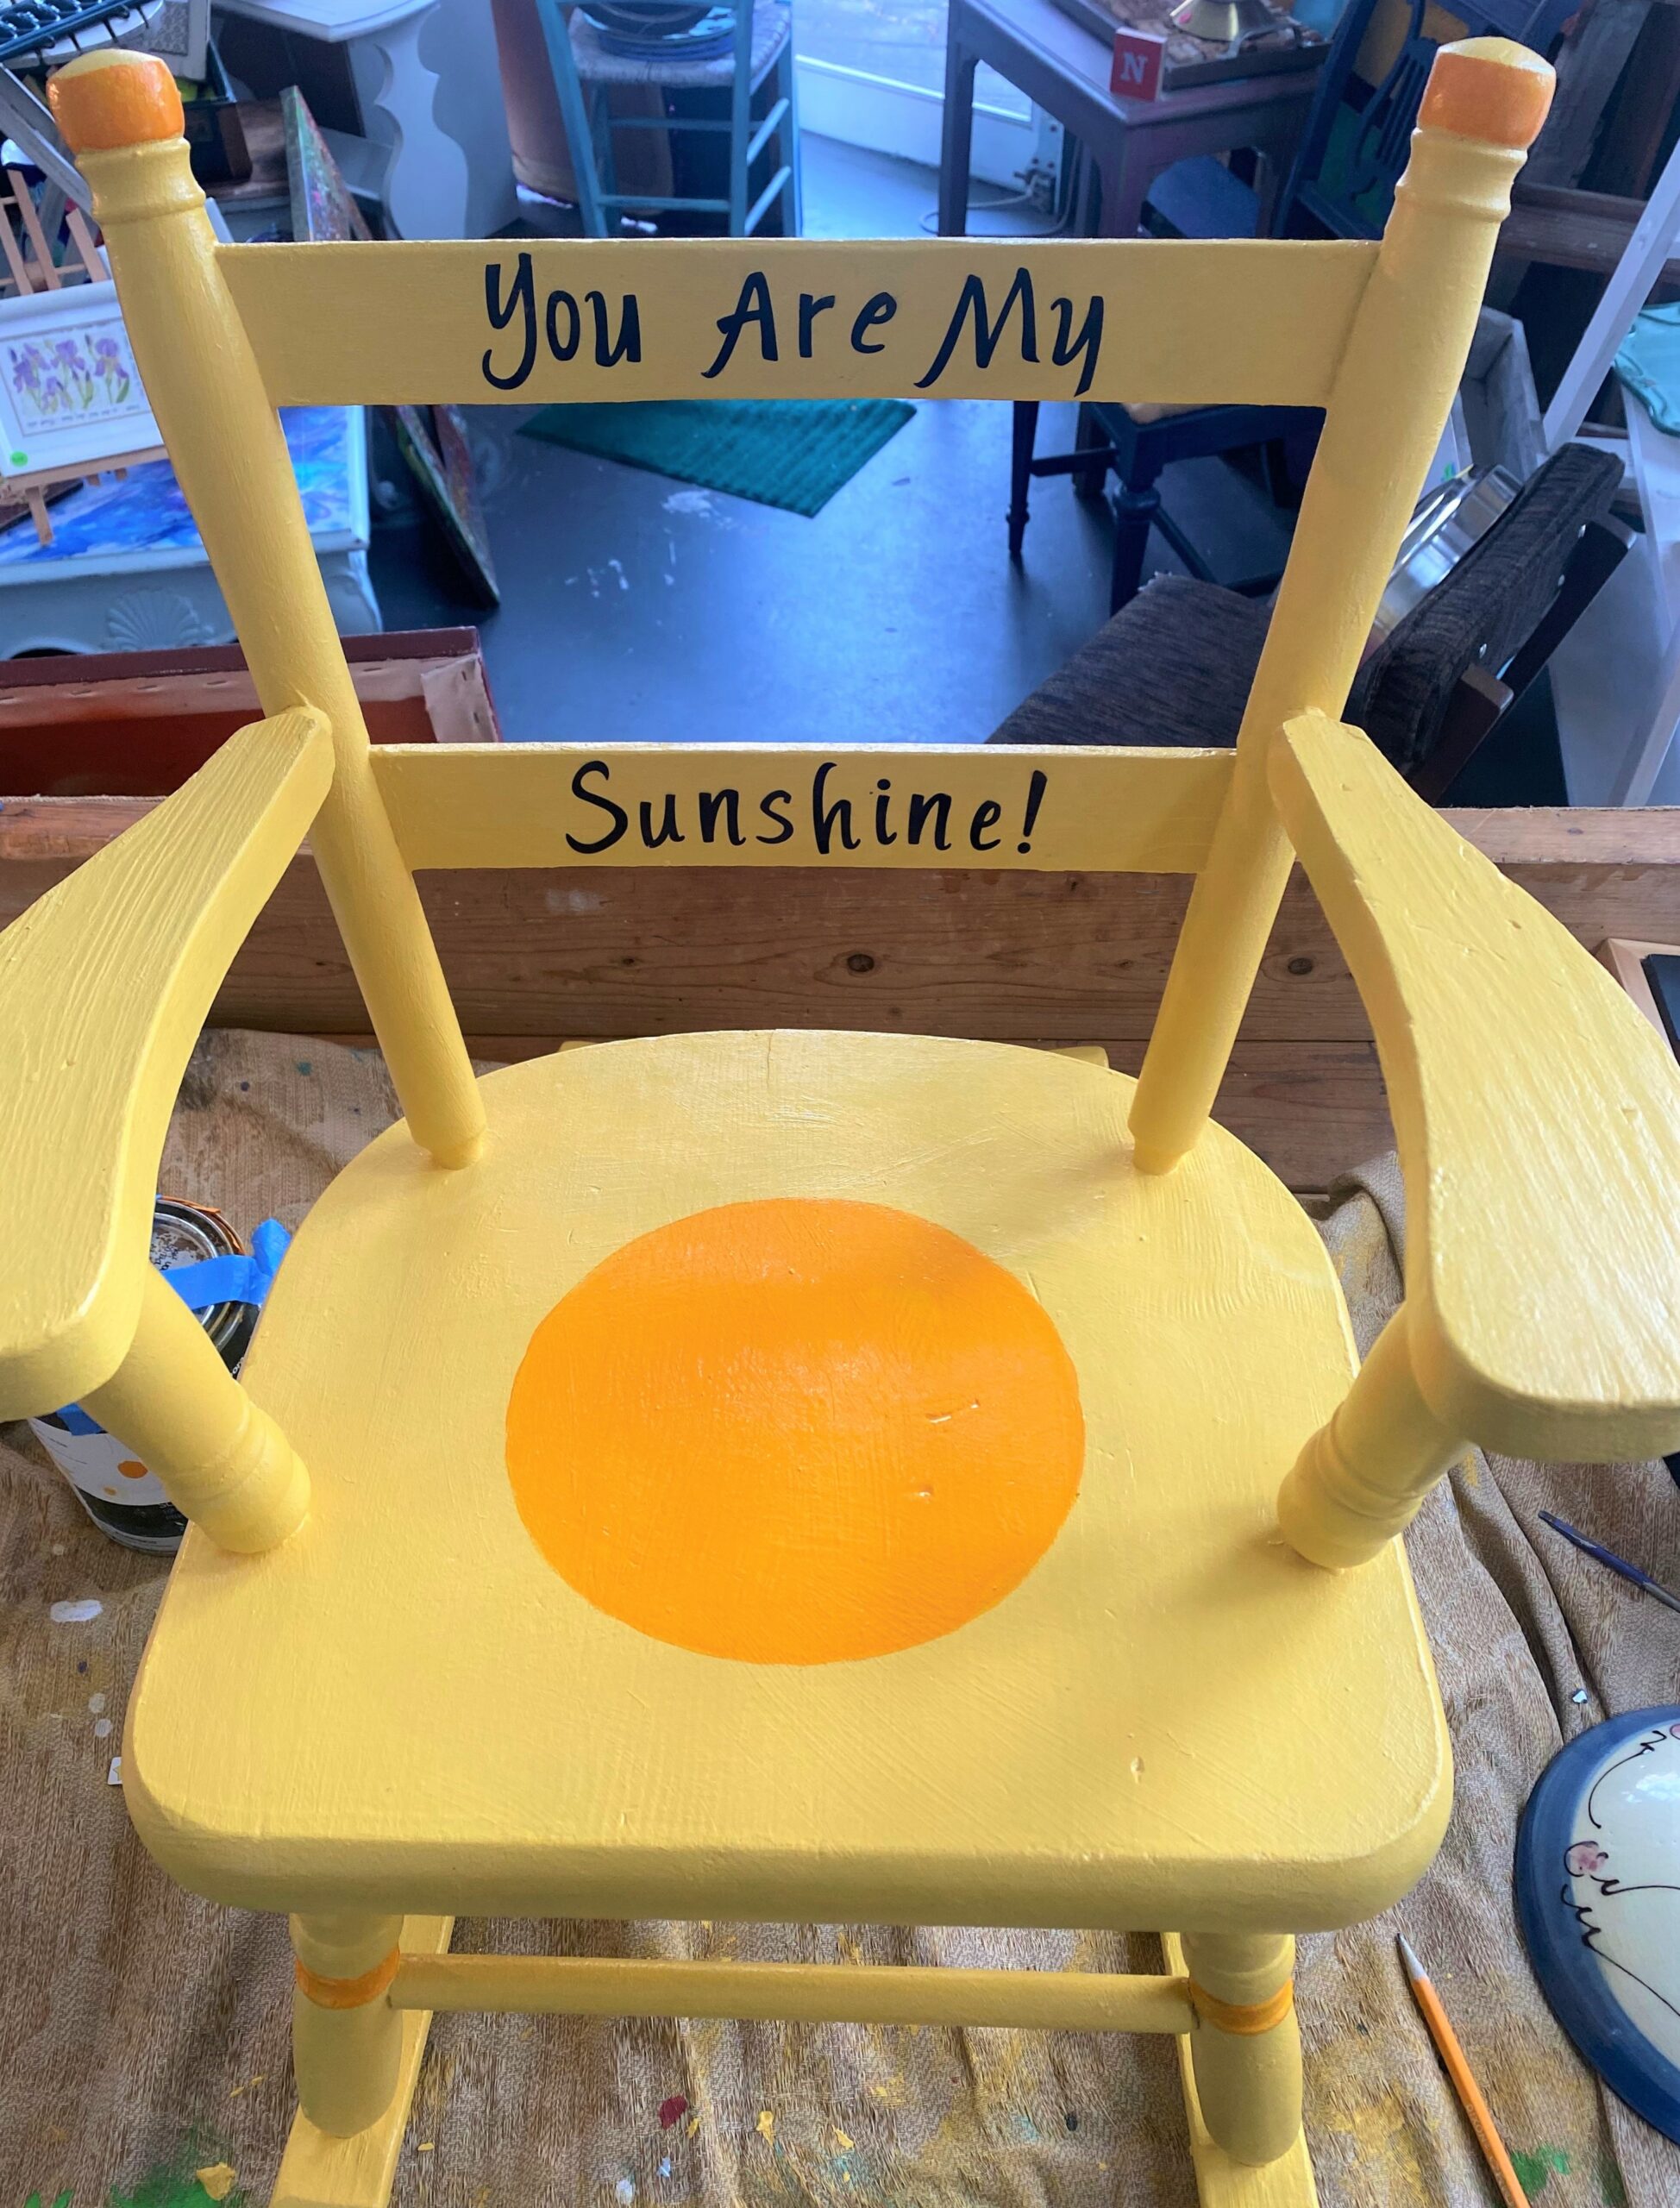
To make the sun’s rays, striped craft paper was cut into small triangles then glued in place around the orange circle. A smile, dimple, nose, and expressive eyelids, as well as eyelashes and brows, were sketched in. A black Sharpie was used to make them bolder (which also matched the letter’s black color); white craft paint was added to the smile and pink paint was used for cheeks.


Step 8: Protect with poly
- You will want to give your sunny rocking chair some additional love—and protection from little hands— by adding several layers of polyurethane. This will add a protective layer to make it easy to remove dirt and fingerprints.
- A satin or semi-gloss finish always looks nice. Brush on several layers to help keep your message and design safe, too.
Step 10: Give away or keep in your place for little peeps
A colorful and happy child’s rocking chair is a welcome gift when the little one arrives. If you are a grandparent or have a small one in your world, you could keep this in your home so they have a special seat whenever they visit.
For me, this was such a joyful project to complete and I can hardly wait to give it to my friends and their new daughter. I look forward to sharing pictures with you of them, their little one, and this gift!

Tim Kime
Artist, Motivational Speaker, Life Coach

