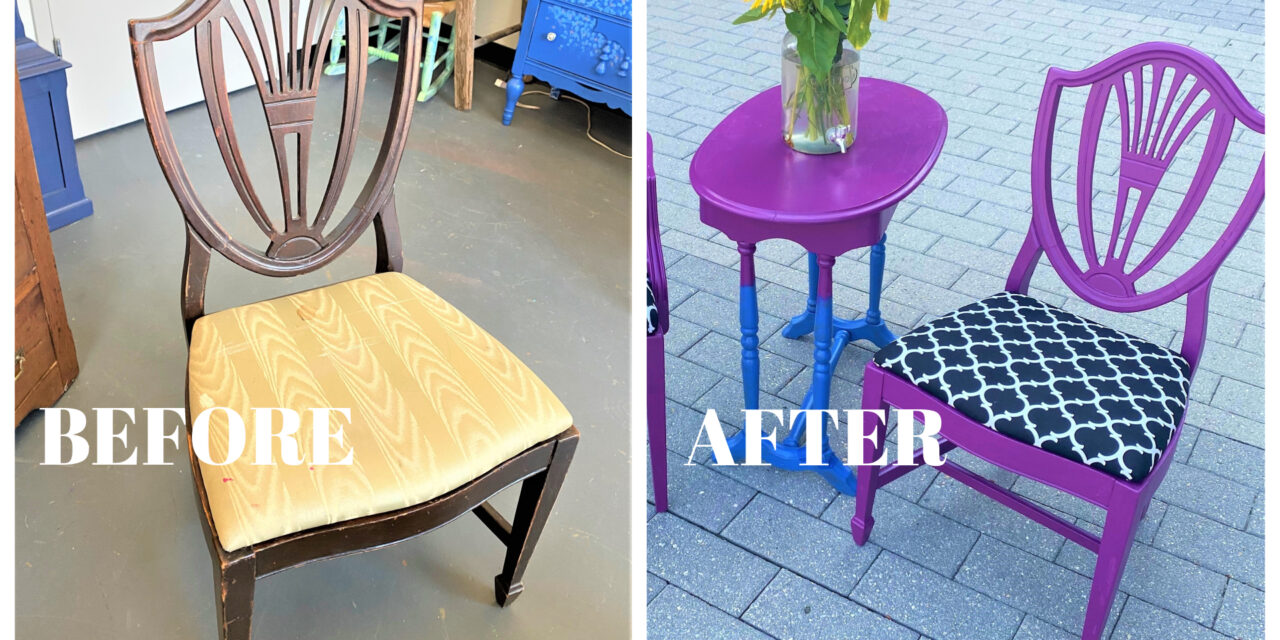
Upcycle a pair of chairs using bright paint and bold fabric for lots of pizzazz! Take them from predictable and plain, to passionate and pulsating, with a little vision and elbow grease. Pop a pair with purple paint and pretty patterns. Hmmm, how many “P’s” can we use during this project’s blog? Plenty, I presume!
Items needed:
- Wooden chairs with cushioned seats
- Paint
- Paintbrushes
- Fabric
- Staple gun & lots of staples
- Scissors
- Screwdriver
- Sandpaper
1. Pick up a pair for pennies
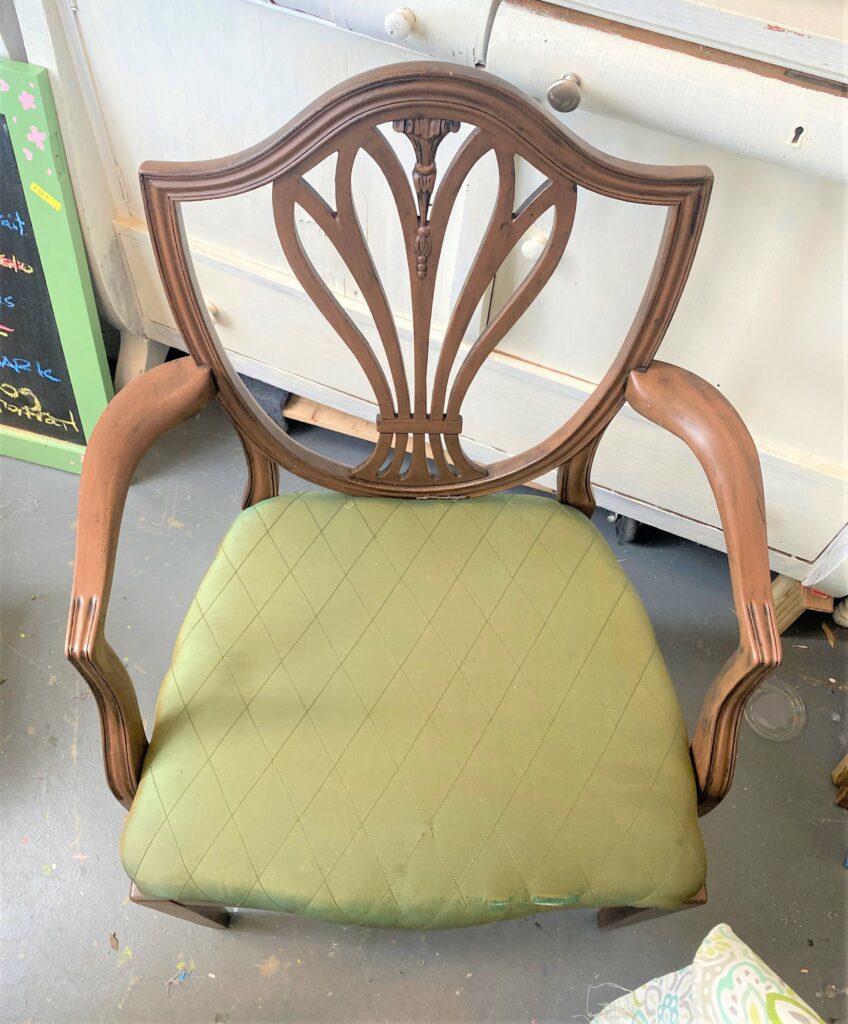
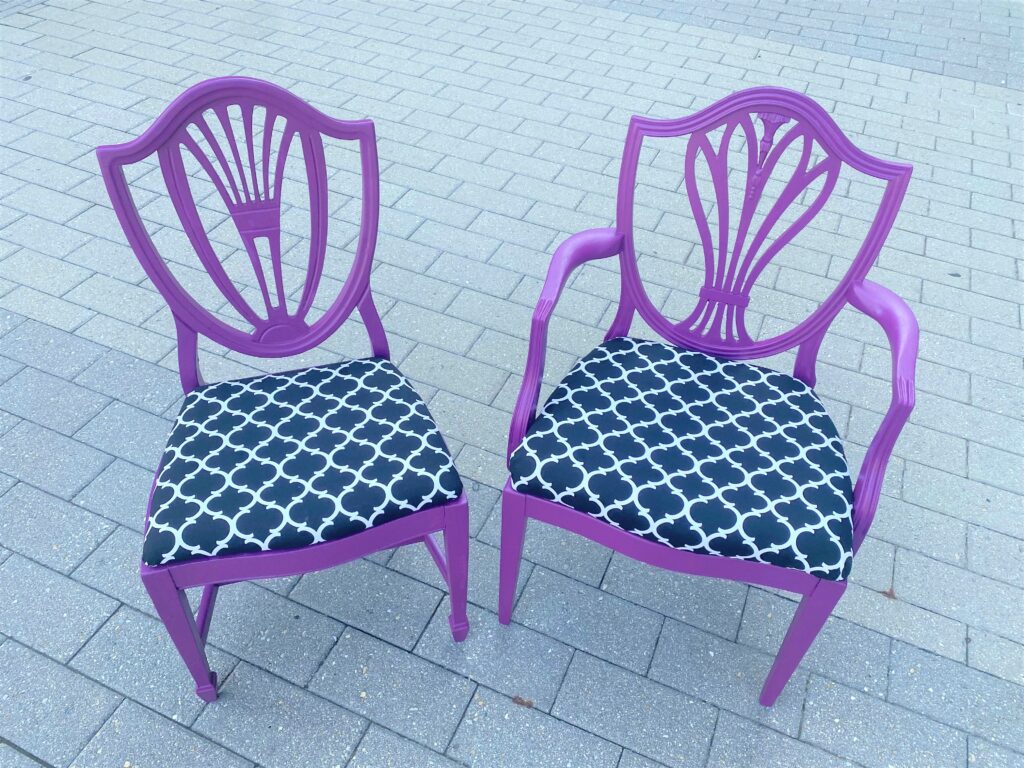
Goodwill is the place for finding your good and for coming across great items at ridiculously low prices. These chairs spoke to me because of their elegantly carved seatbacks that looked like shields and had other lovely details. Based on research, these are of the “Hepplewhite” style, named after designer George Hepplewhite and popular since the 1780s! If you look closely, these chairs are not from the same set but favor each other with their back shapes.
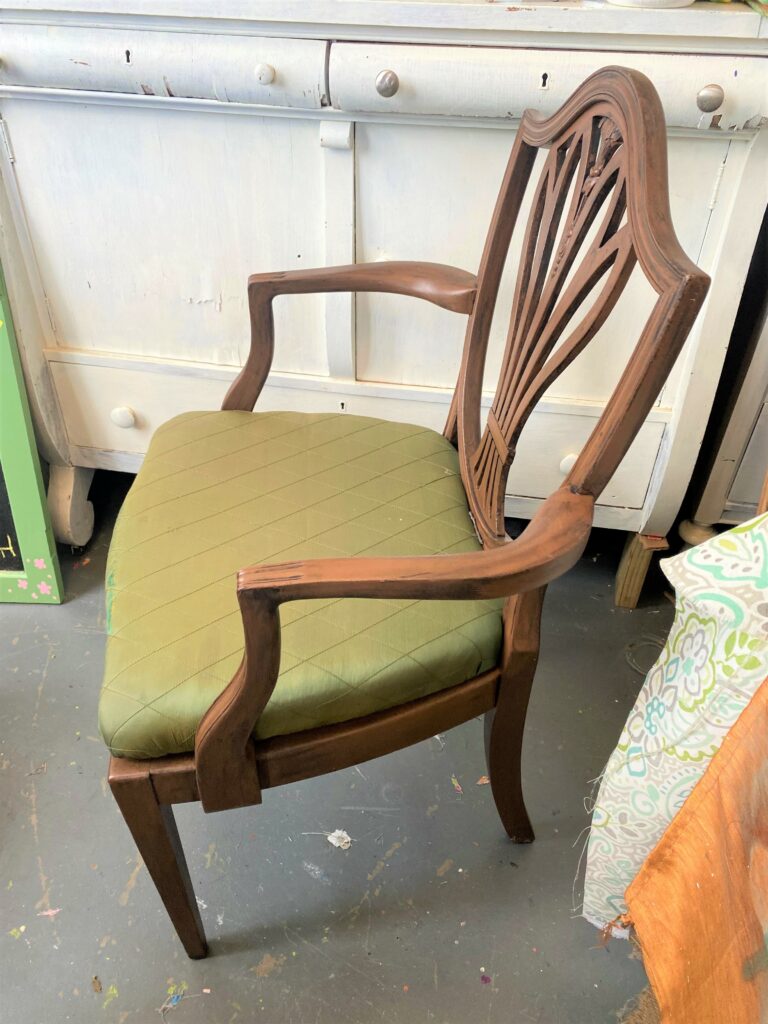

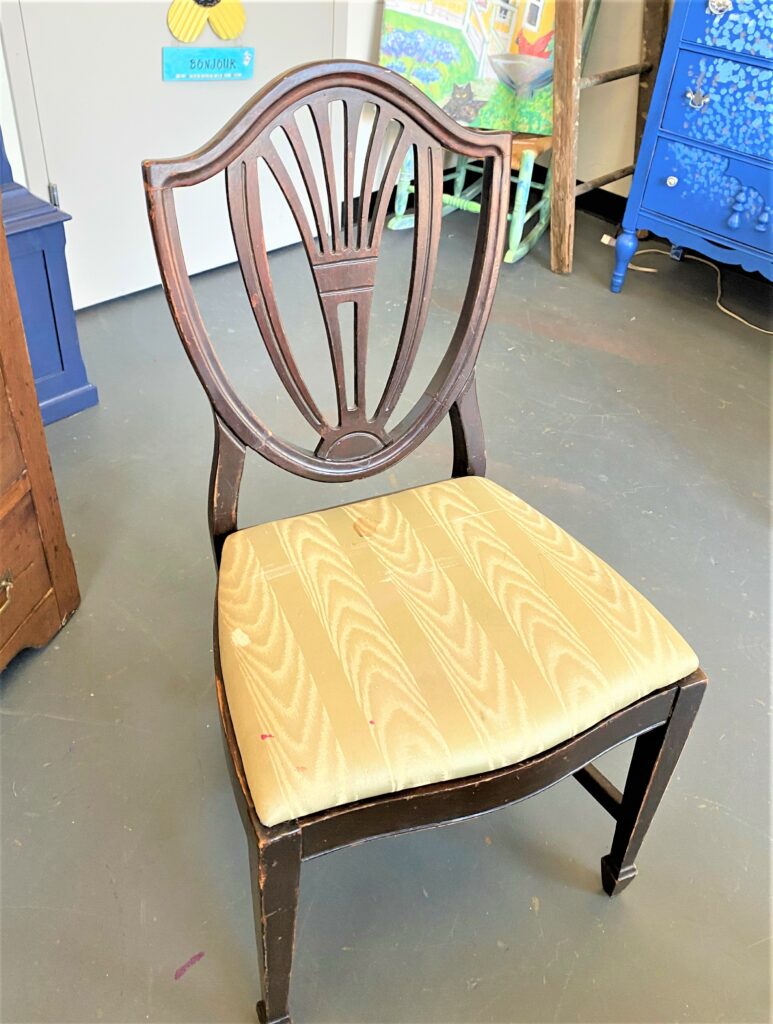
Candidly, I found these chairs at different times and in different places along the curb! Thankfully, folks were happy to let them go for free and I came across them at the right time to redo them. And rather than being carted off to a landfill, they will now grace someone’s home and be enjoyed for many years to come, maybe into the 2080s and beyond!
2. Prep for painting
- Remove the chair cushions with your handy-dandy screwdriver and keep the screws in a safe spot.
- With your sanding block or sandpaper in a medium grade, lightly buff up your chair from top to bottom, right to left, side to side. Don’t worry about removing all of the current finish; you just want to rough up the smooth surface and give a better way for the paint to hang on to, so to speak.
- Once done, use a damp cloth and wipe down every part to provide a clean slate for painting.
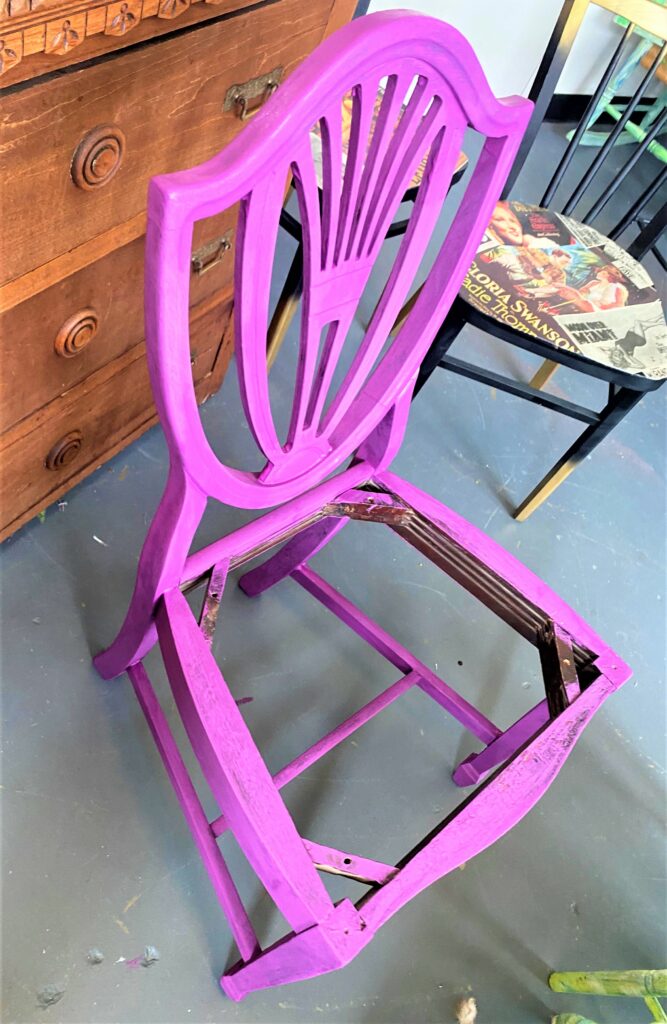
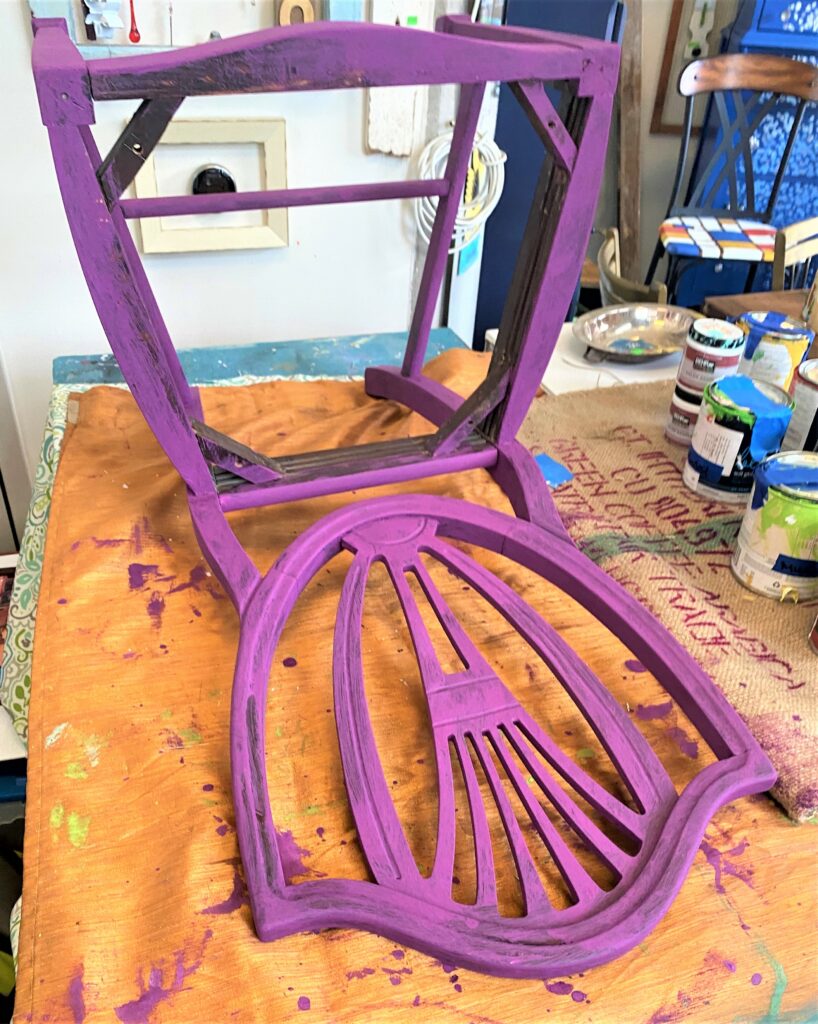
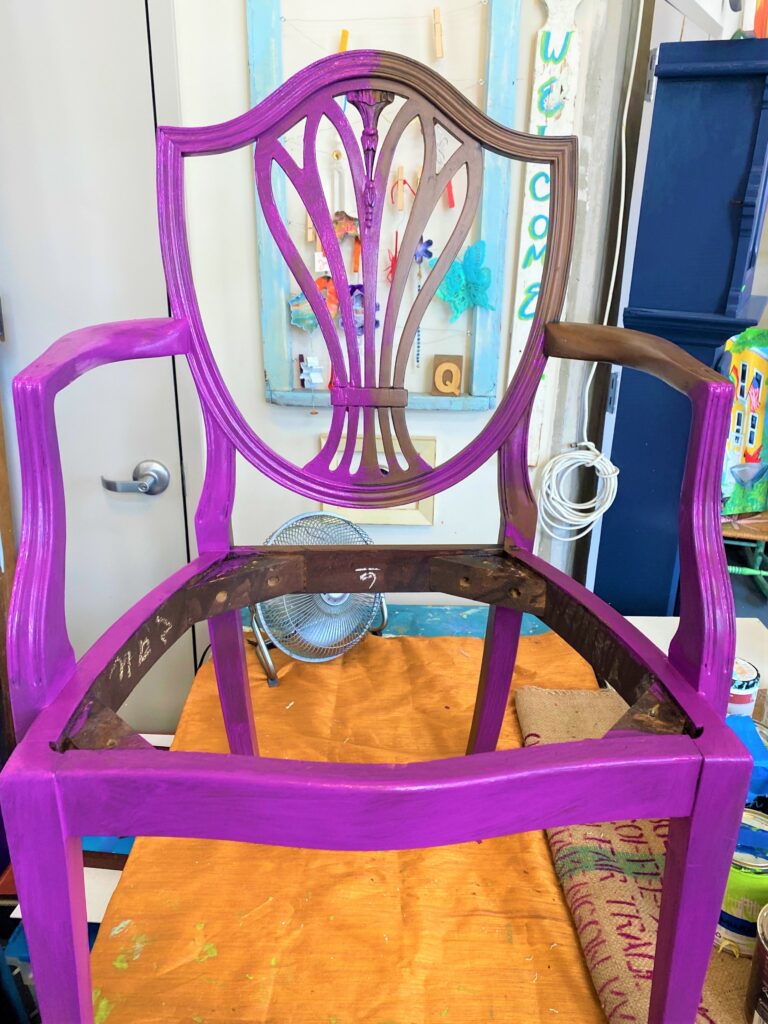
3. Punch it up with plum purple
There is something about the shade of plum purple that makes my heart pound. I think it is the warm tone that makes it friendly and inviting. If you, too, are passionate about it, then pick up a quart from your local hardware store. Most of today’s paints have primer mixed right in to save a step and some time. Go with either a semi-gloss or satin finish.

- Brush on a light layer on your chair frame, keeping an eye out for drips and runs.
- Once this first layer is dry, place your chair on its back or side and continue the process so you get every surface. Given the intricate chair backs, you will have to be patient as it might take extra time…but it’s well worth it.
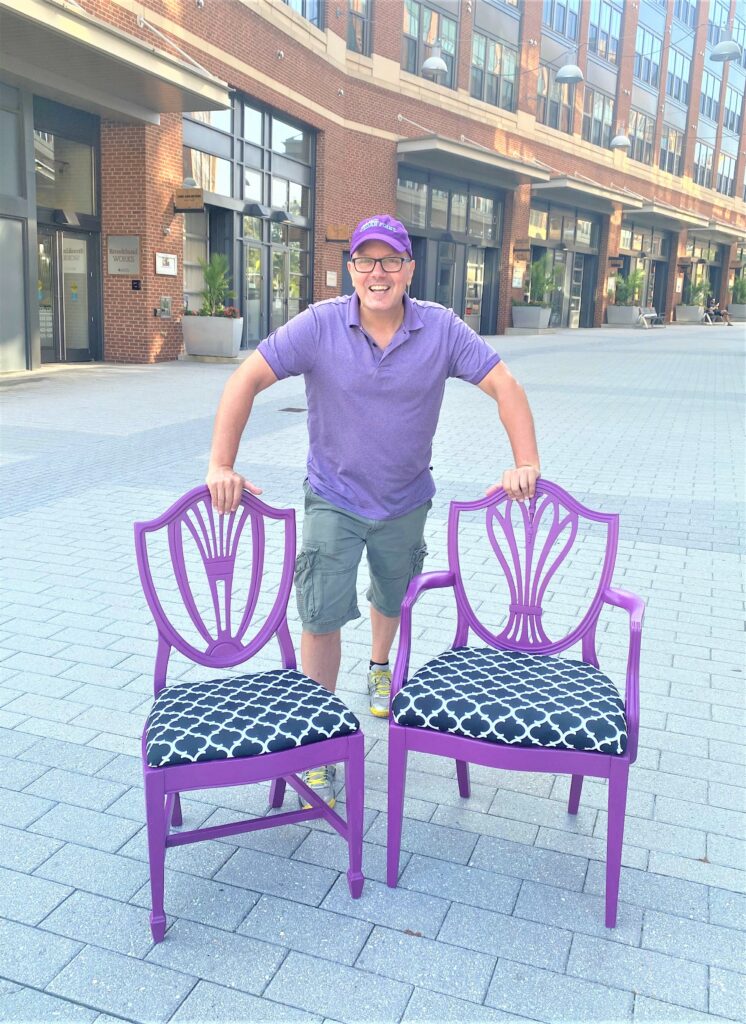
- Keep repositioning your chair until it is solidly covered. For the chairs featured here, it took four coats and as you are able to see, my patience paid off! (Hey more, P’s there, too!)
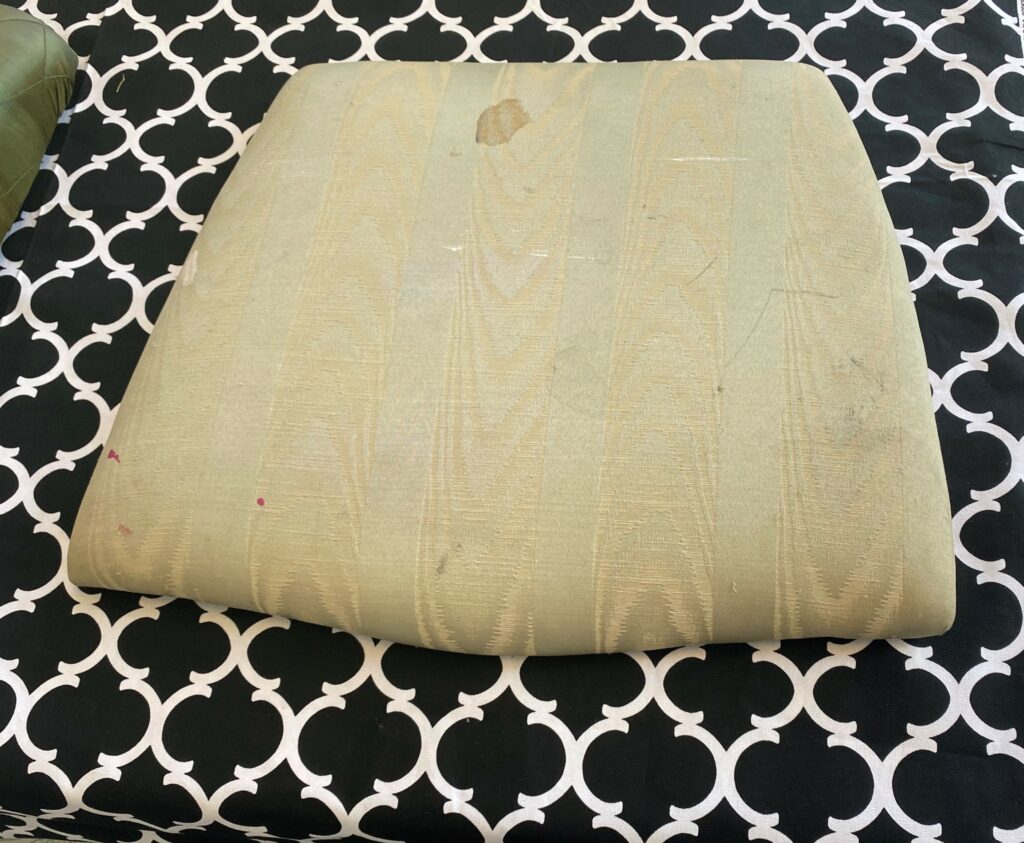
4. Prints provide pop
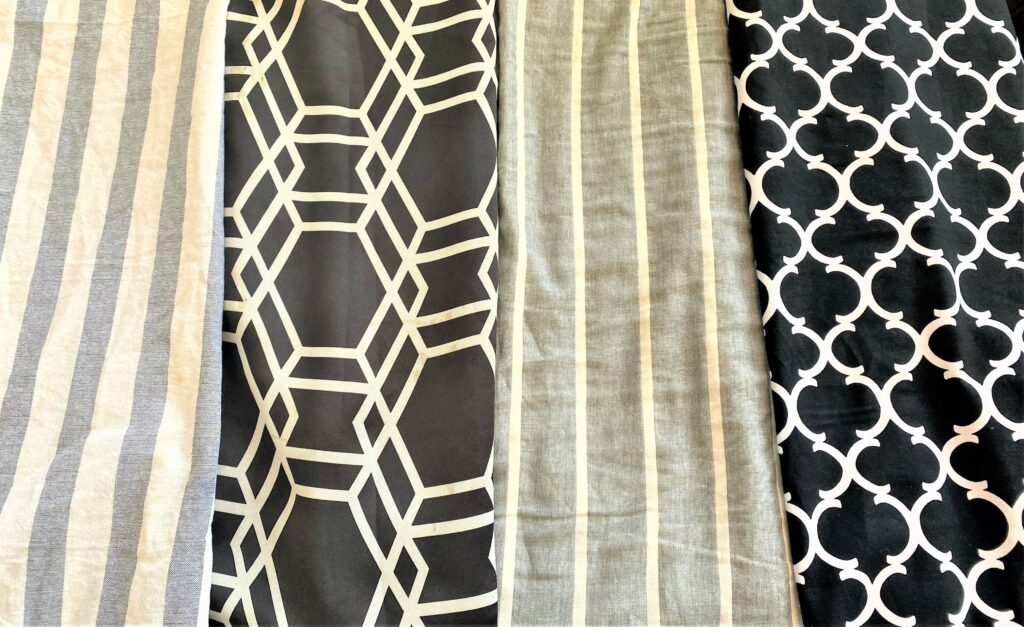
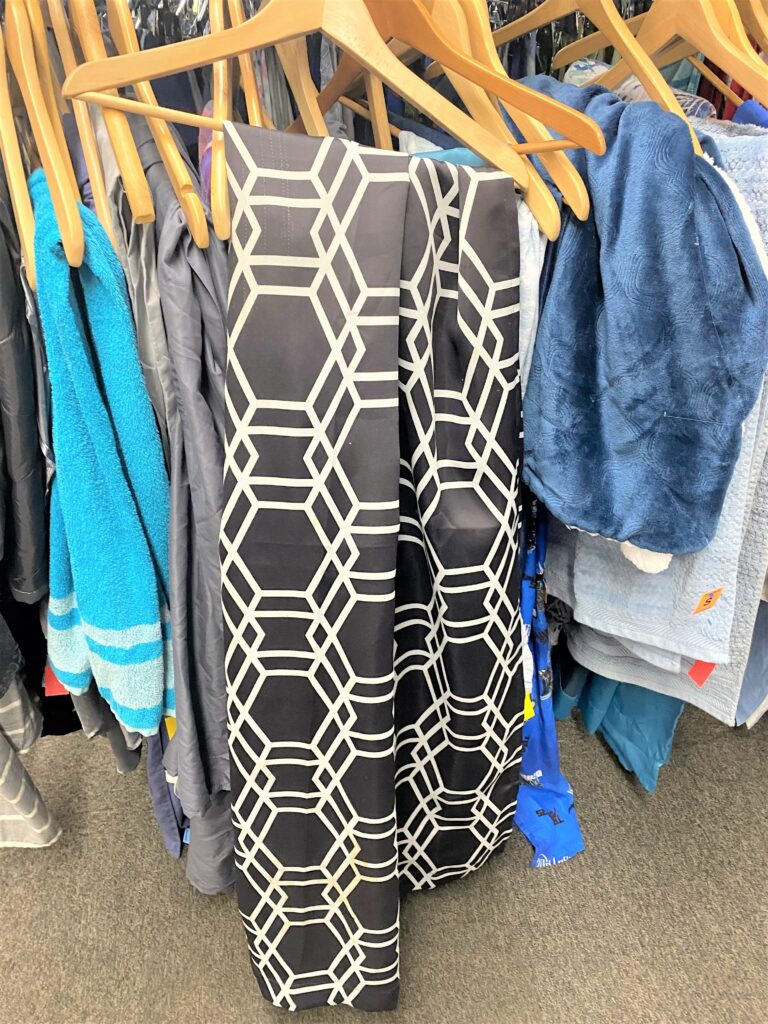
While your chair is drying, turn your attention to covering the cushion. Think outside the box and with fresh eyes while shopping at Goodwill to see if there are donated/available curtains, sheets, or clothes that have a big, bold pattern on them and can be used to recover the seats. Several different options were chosen and only cost a few dollars, so I took them with me. Once back at my studio, they were not quite what I had in mind, so I did go to a fabric store and got a remnant. And of course, there were only two yards of the fabric left—exactly what I needed for this project! (Don’t worry, the others will be used for future projects!)
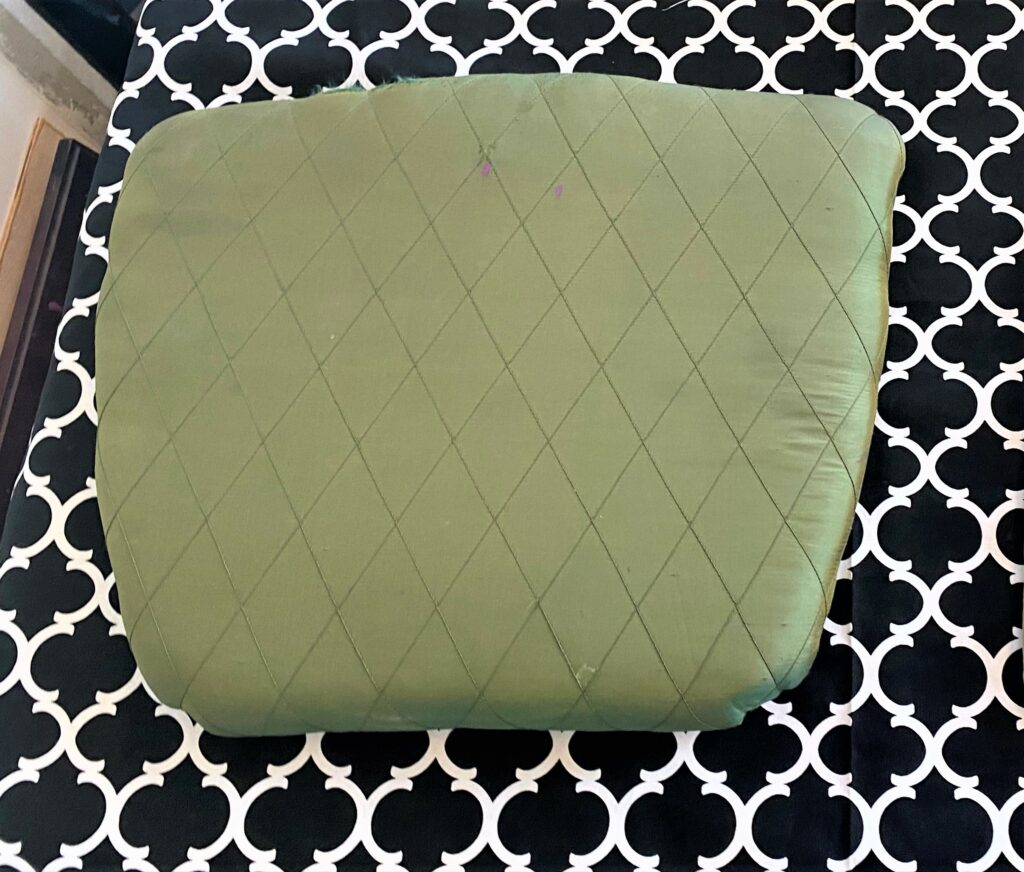
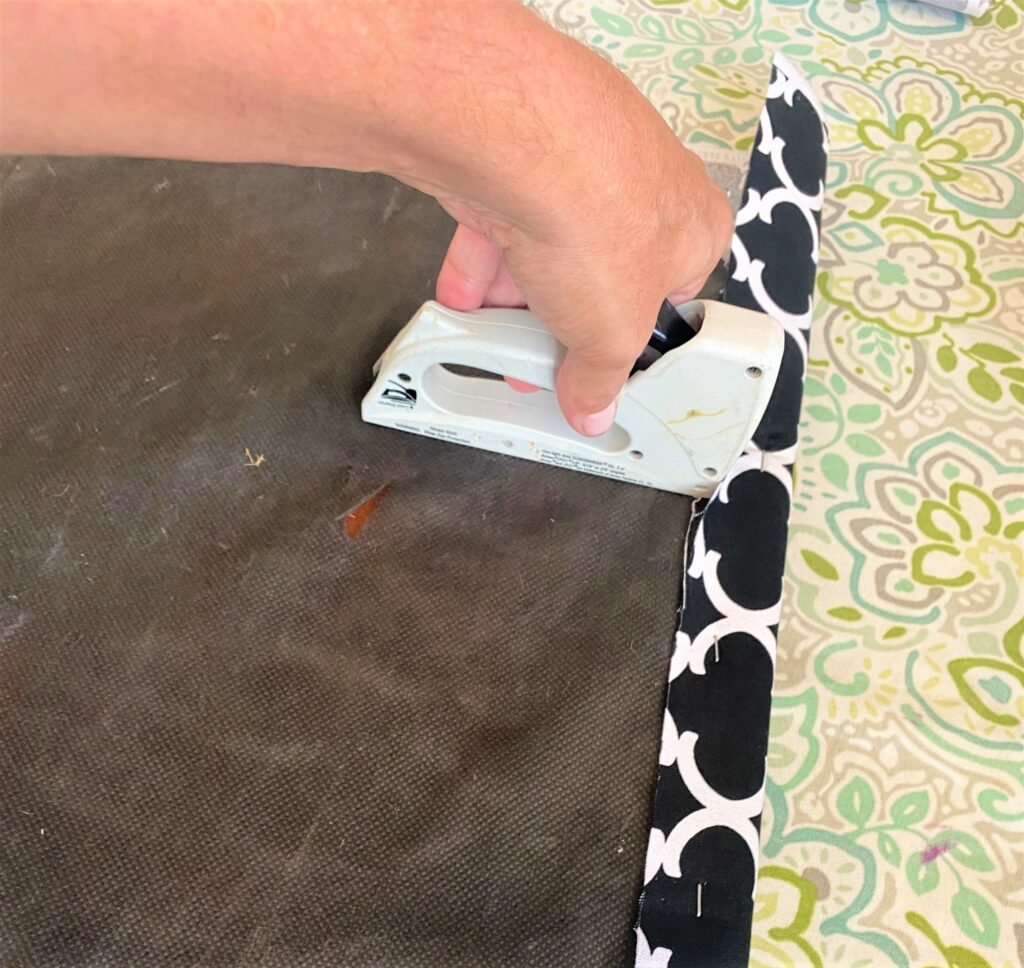
- Place your cushion on your fabric and, based on its design, carefully line it up so the material appears straight.
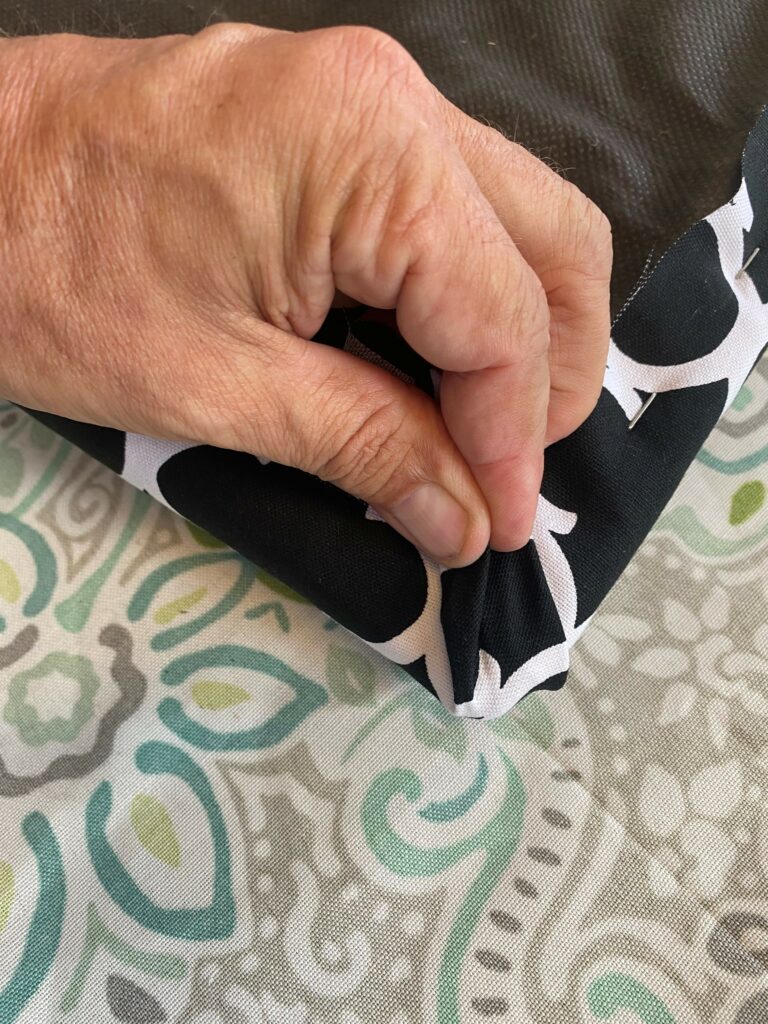
- Cut the fabric leaving enough to fold it over to staple it in place.
- With your staple gun, secure one side with a couple of staples, go to the opposite end and do the same, pulling the fabric gently but tightly.
- Repeat this with the remaining to edges; it will hold the fabric in place where you want it.
- Now add lots of staples to secure it well, pulling it as you go.
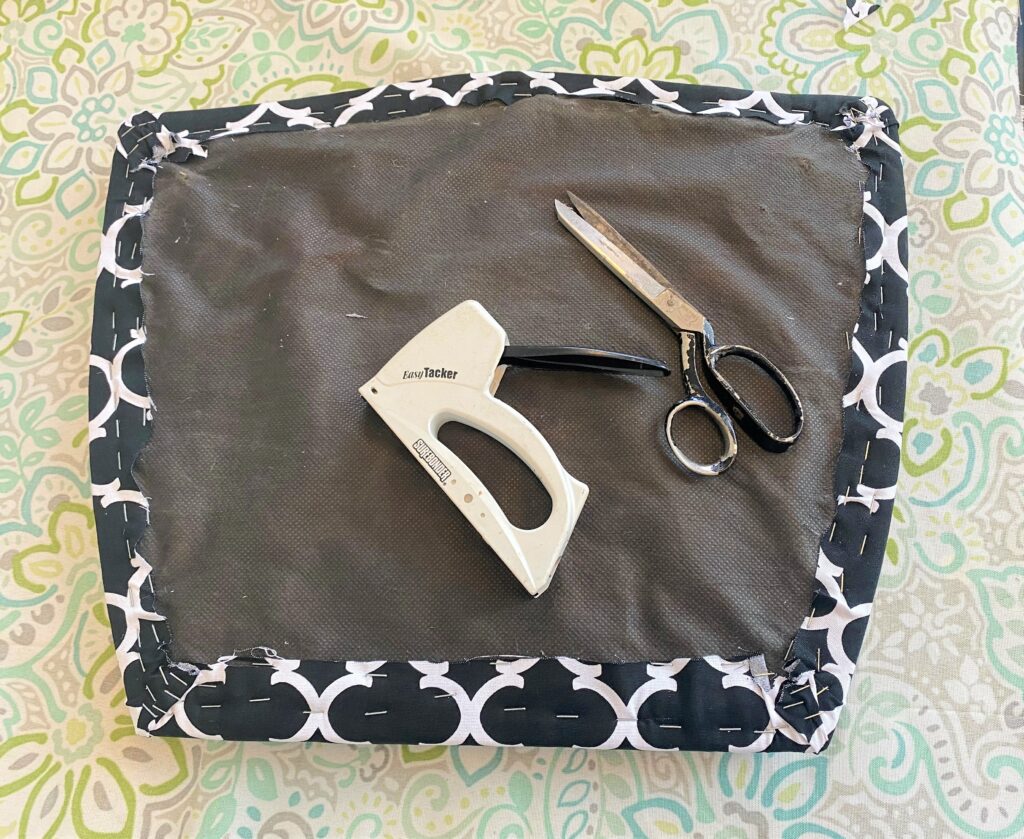
- Cut away access fabric and you are ready to reassemble by re-screwing the cushion to the chair frame.
5. Place, praise, and applaud!
Given the look and style of this pretty pair, these chairs will look perfect in your living space and will proudly welcome guests and family.
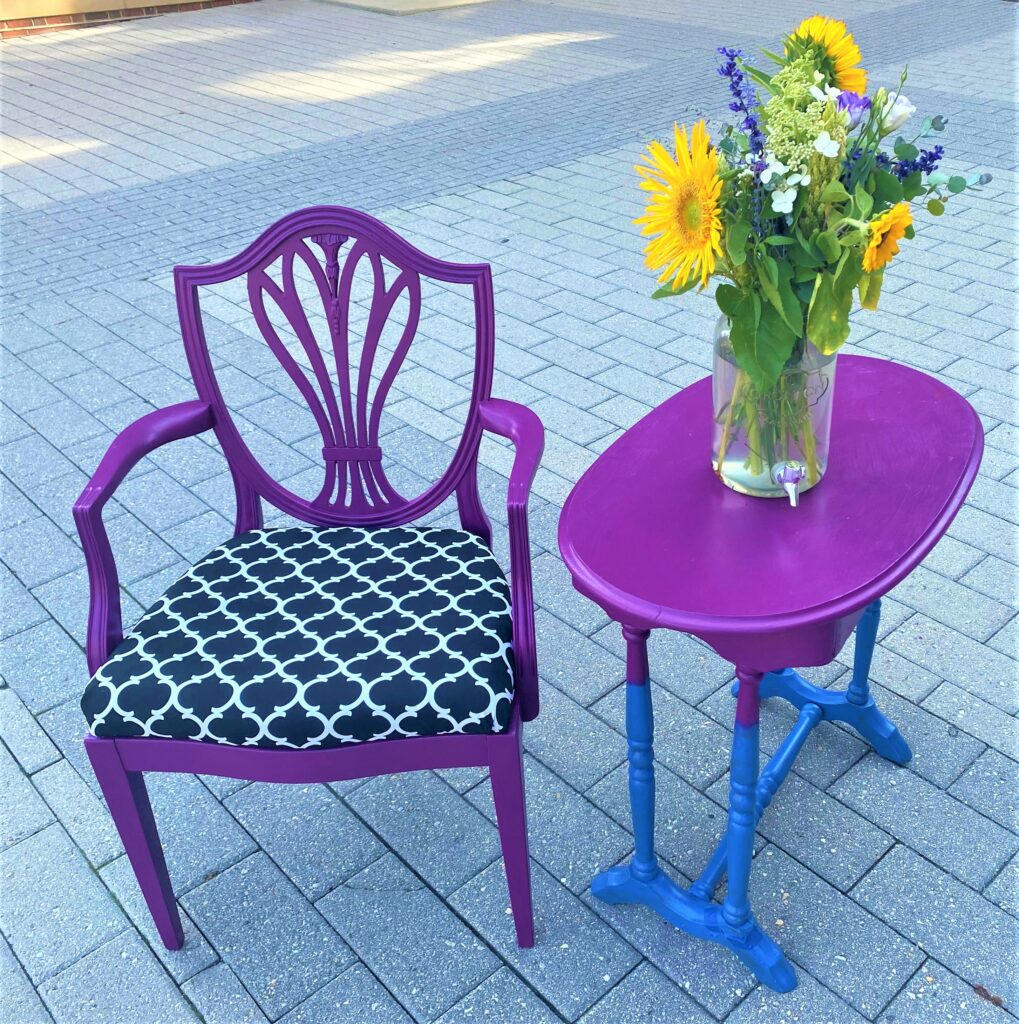
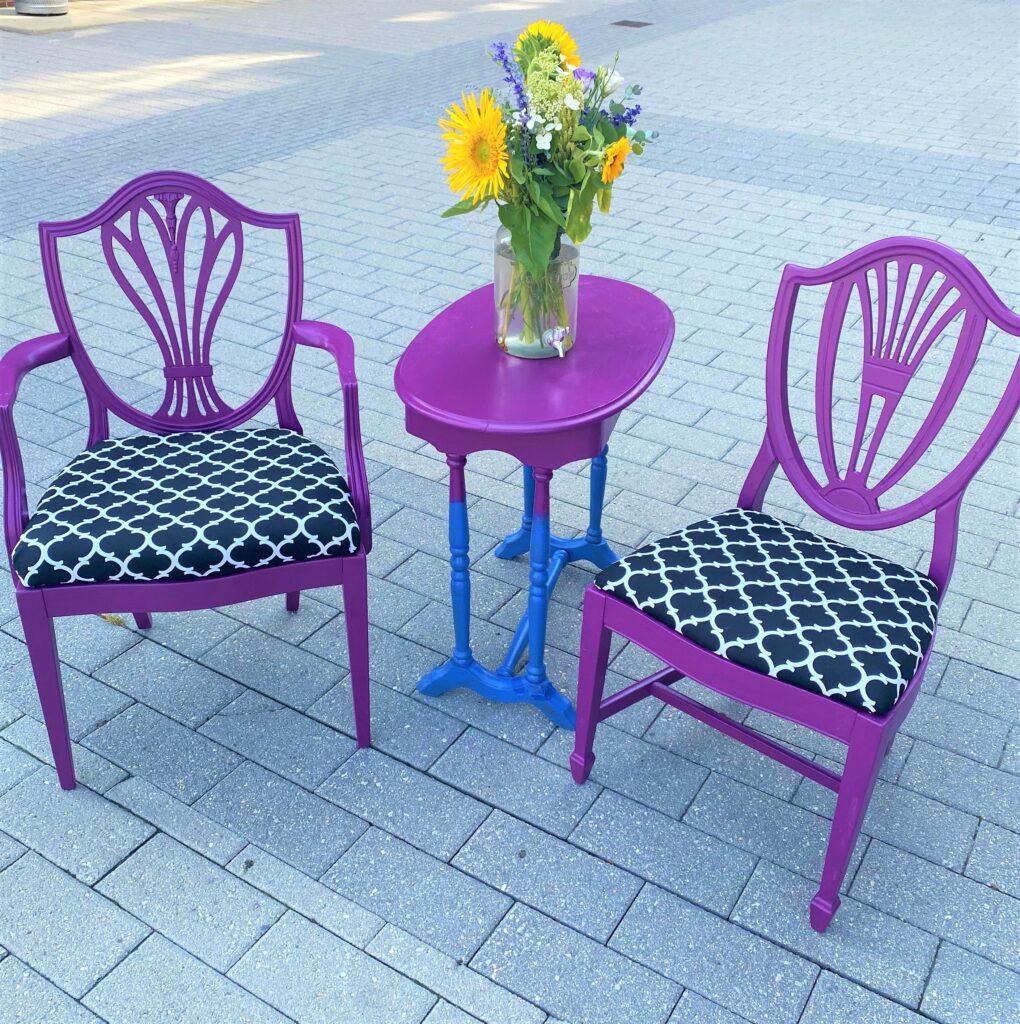
Position them with a small table for a cozy conversation area.
Pair them with others around a table or separate them using one as a desk chair. Since they are so cool to look at and so easy to carry, you might move them from place to place any time you want a pop of purple passion!

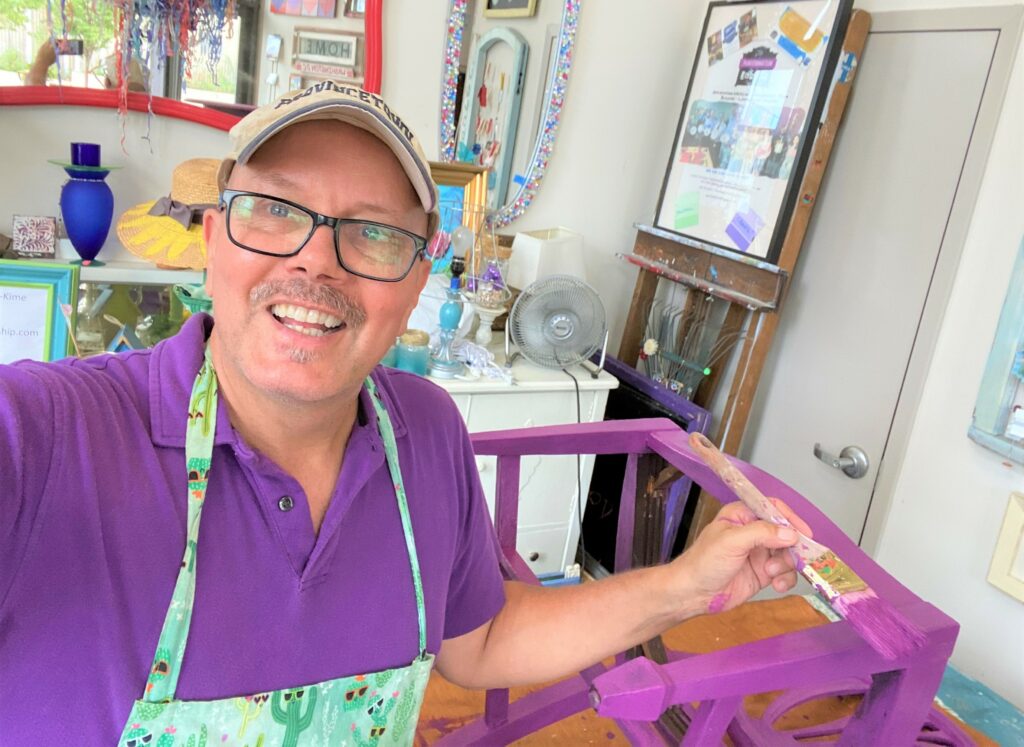
Tim Kime
Artist, Motivational Speaker, Life Coach
