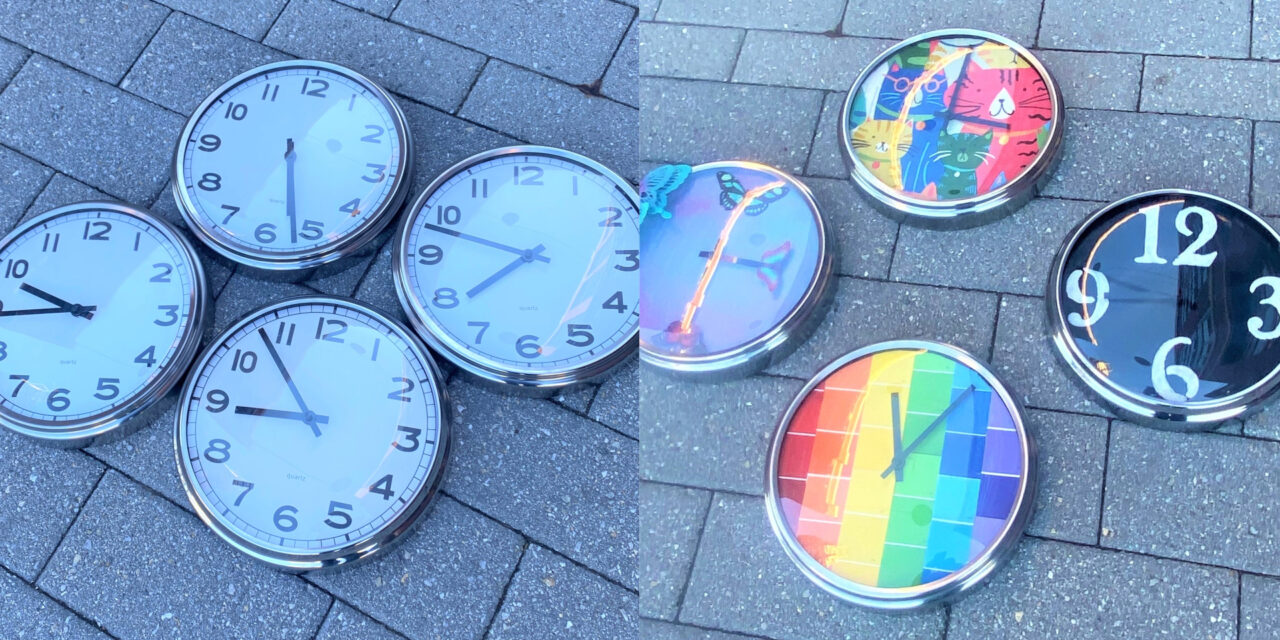
A DIY Project, Always Right on Time: 4 Cool Clocks Ideas
Here’s an easy DIY project that is both timeless and universal. Transform a thrift store clock into a truly one-of-a-kind timepiece that will have you joyfully counting the hours and minutes. This project features the same clock style with four different results to inspire your out-of-the-block (or out-of-the-clock!) ideas.
And it must be noted that today is a very special day. It is February 22, 2022, or 2-22-22 and it’s a Tuesday, too! Transformation Tuesday is always meaningful and this “palindrome” day adds to the excitement!
Supplies Needed:
1. Wall clocks
2. School glue
3. Glue gun
4. Scissors
5. Sharpie
6. Shopping bag
7. Paint chip strips
8. Stencil & stencil paint applicator
9. Spray paints
10. Painter’s tape
11. Butterfly accessories
It’s always a good time to shop at Goodwill
Part of the fun of shopping at Goodwill is that you never know what cool, funky, and interesting items await you. The only change you might see if you shop at a big box store is the seasonal look and feel of items. However, at Goodwill, it changes every day so be sure to stop in early and often to find your good there.
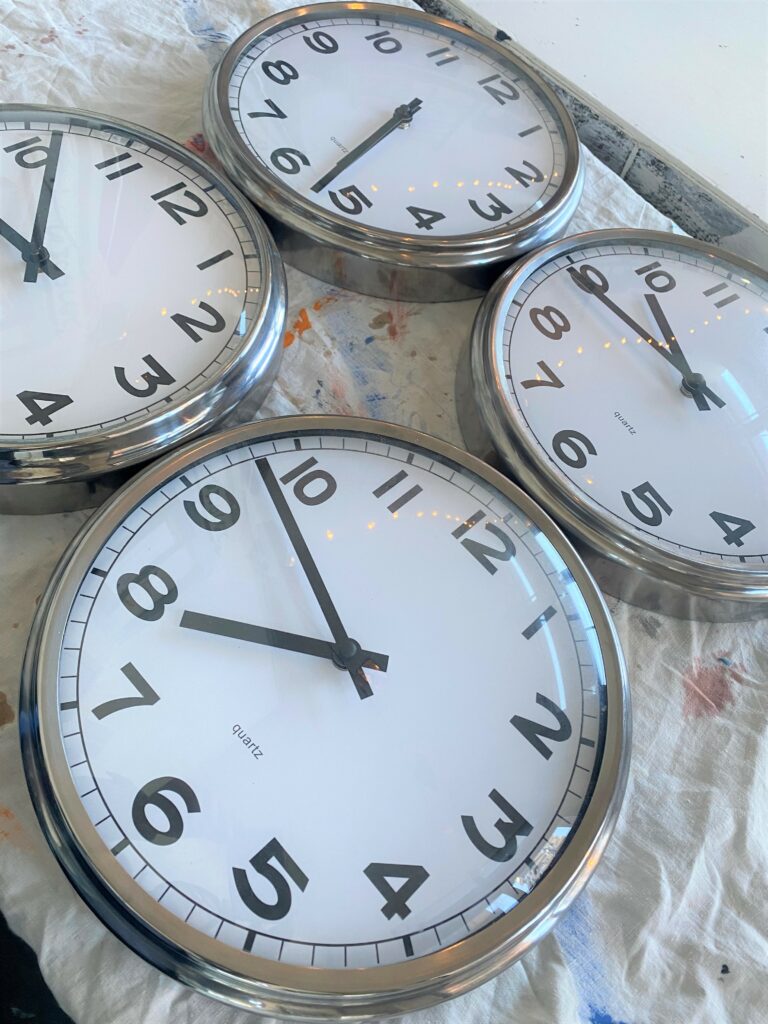
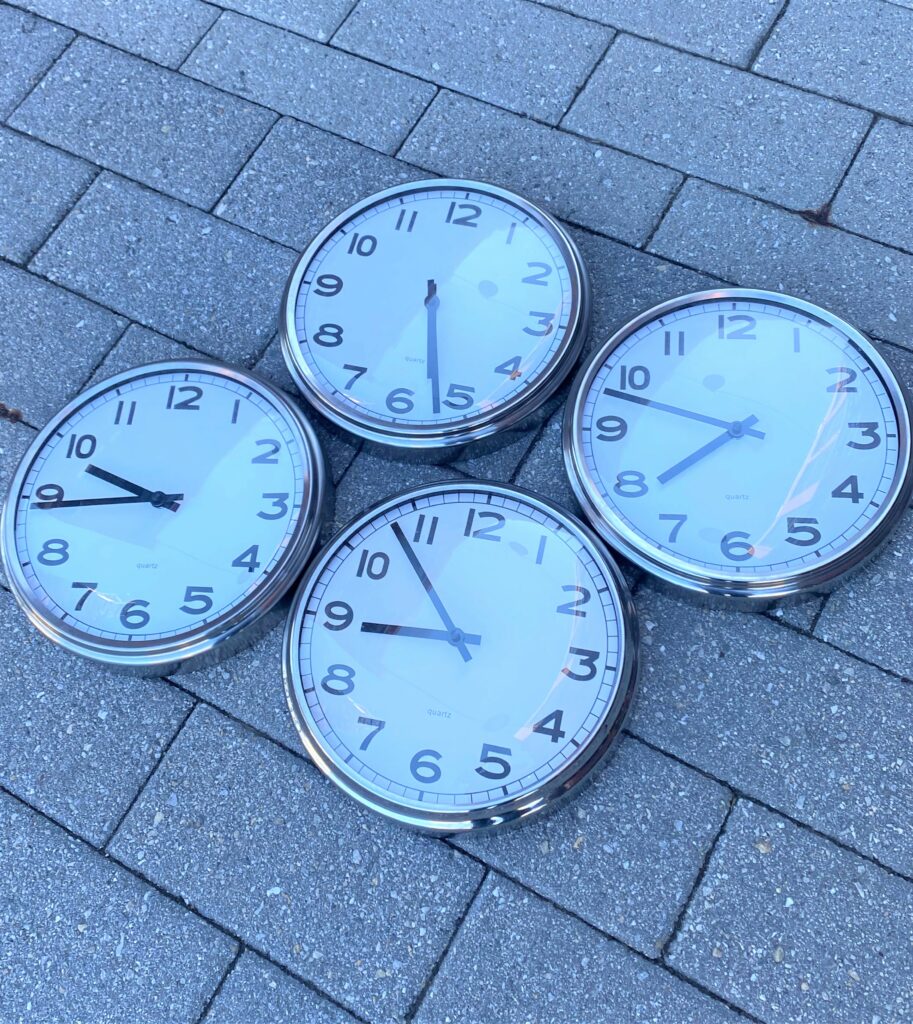
During a recent adventure to Goodwill, I came across four of the same clocks that looked like they may have previously hung in a school’s classrooms. This project helps you to see one item taken four ways; however, you don’t need matching clocks to make this project tick well. Goodwill always has a collection of clocks in various shapes and sizes so do your best to look past their current colors or look because you can easily transform it from tame to ticking.
Being by getting it to your workspace and taking it apart, being careful to keep any clips, screws, or parts together. These clocks had glass covers so extra care was needed handling them (I did cut my thumb in the process!). Set those parts aside and in a safe space where they won’t get damaged or painted. Then, let the magic begin. 5…4…3…2…1!


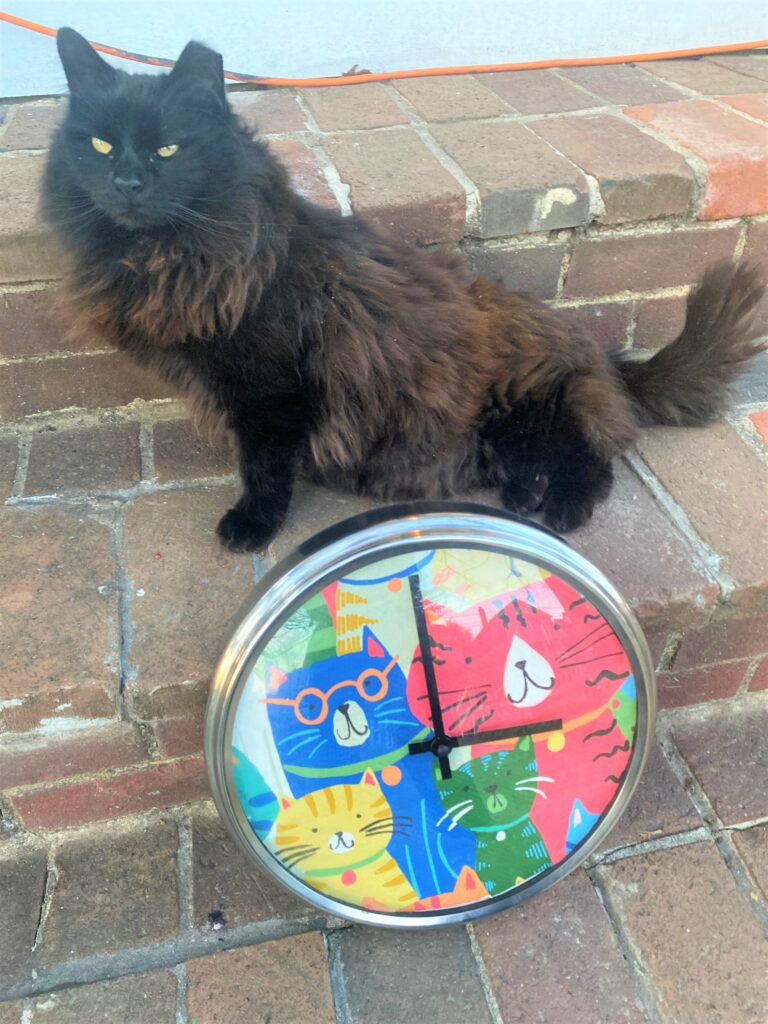
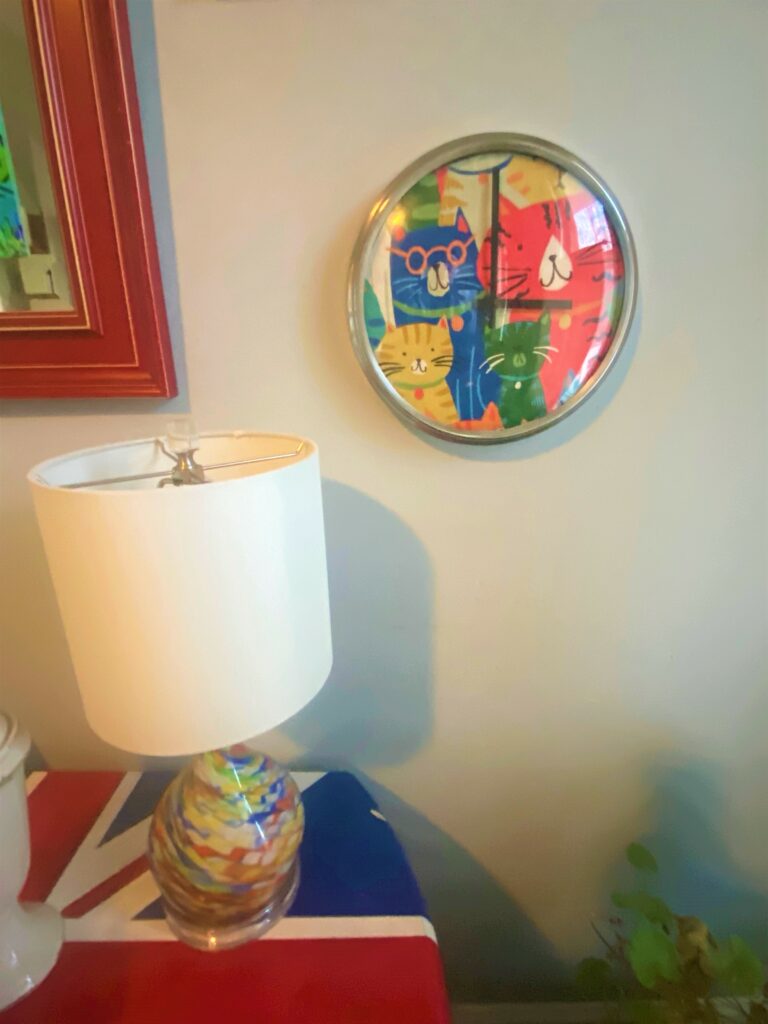
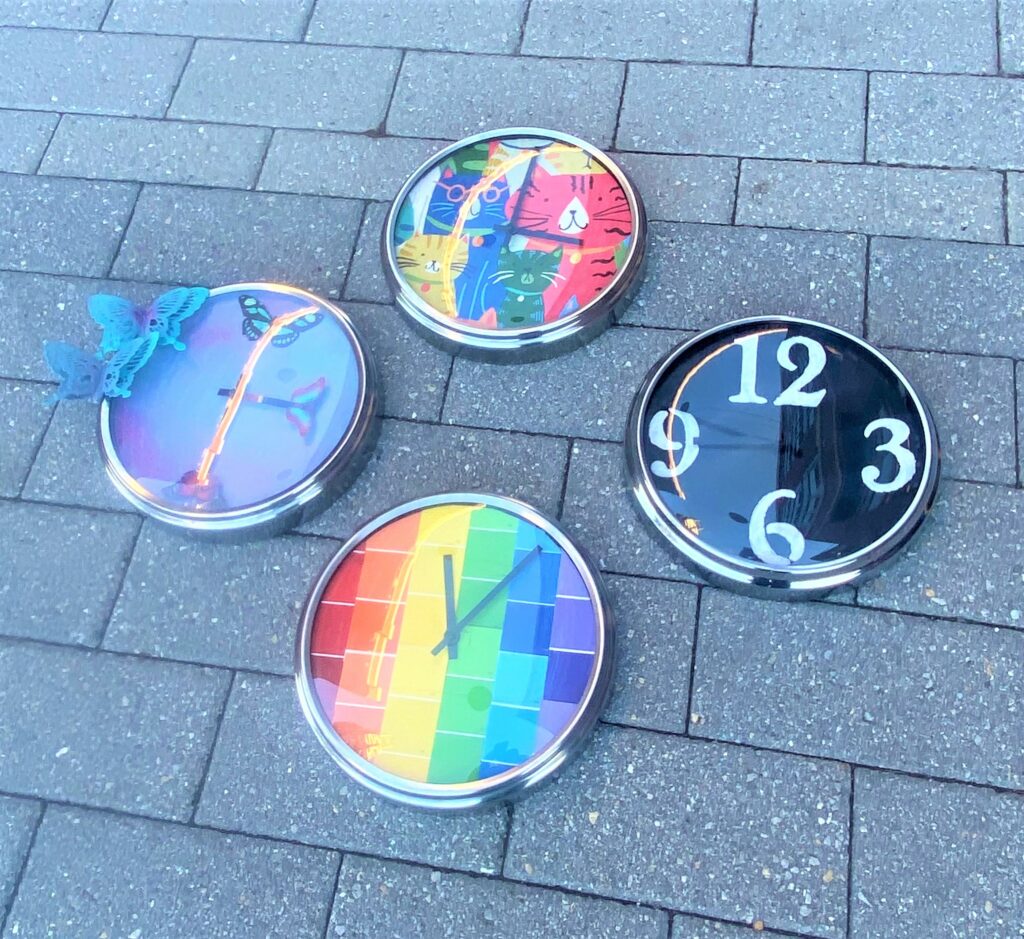
Design Idea 1: Let the cat out of the bag
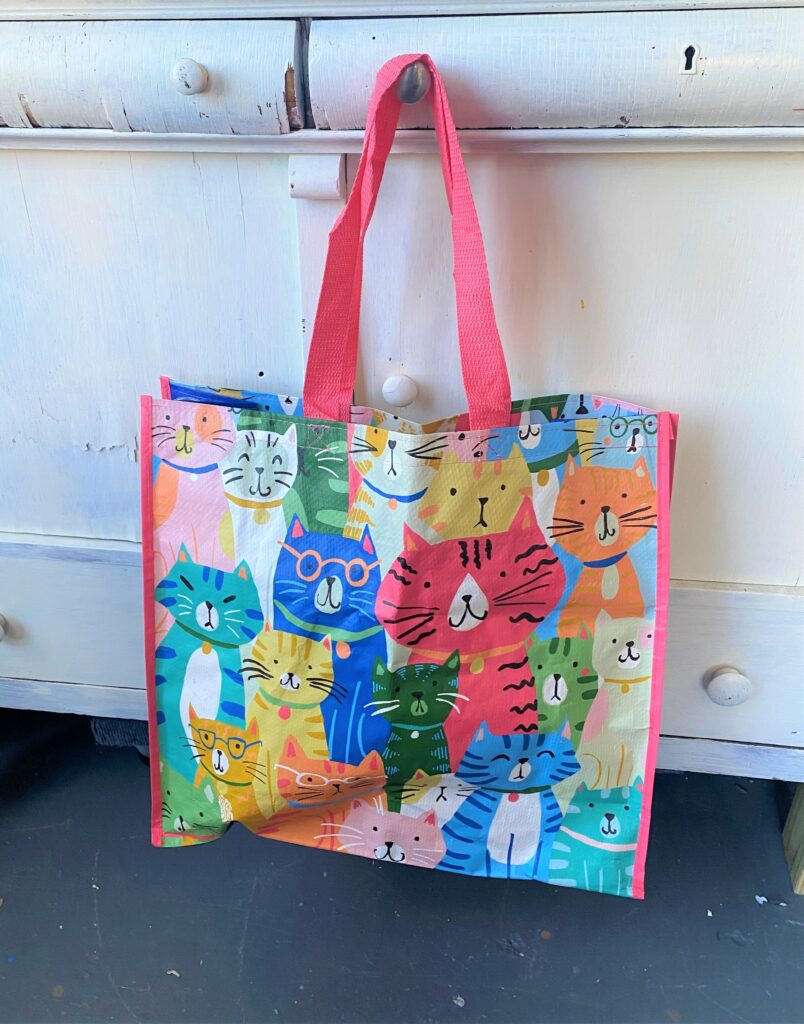
This inspiration for this clock transformation was a whimsical reusable shopping bag from a discount store. It was covered with colorful cats, some wearing glasses. As the son of an eye doctor and as the cat dad to Gypsy (my model featured here), I am always drawn to animals sporting eyewear. Similar bags are usually available at the store’s check-out area and only cost 99 cents!

Here’s how:
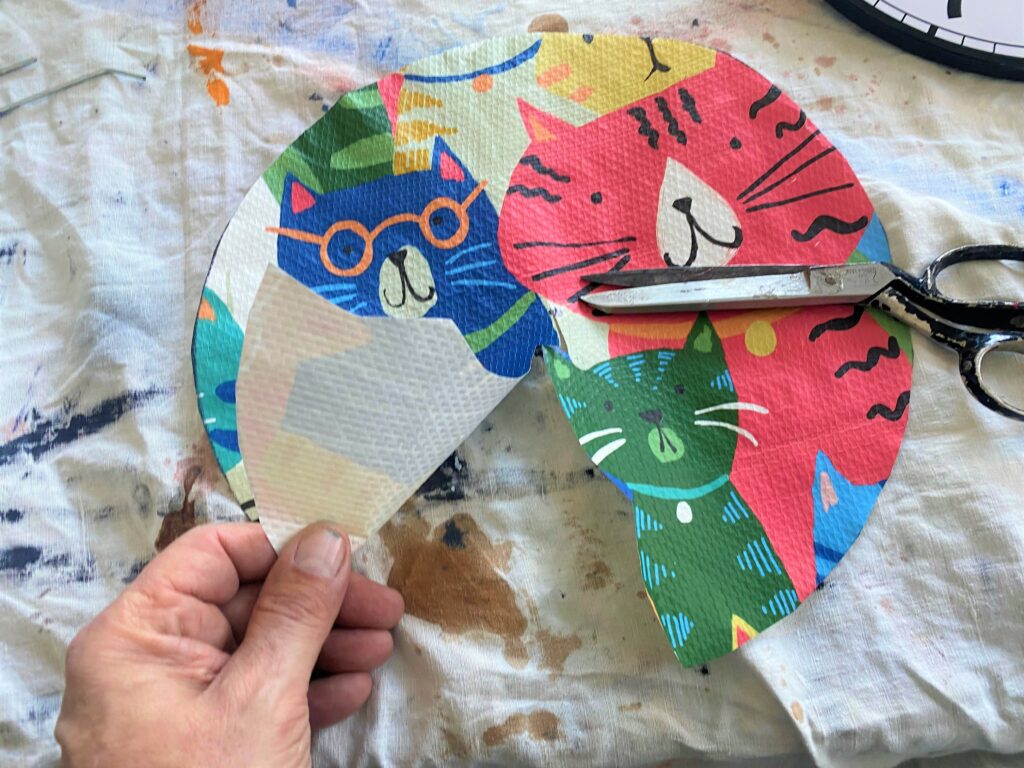
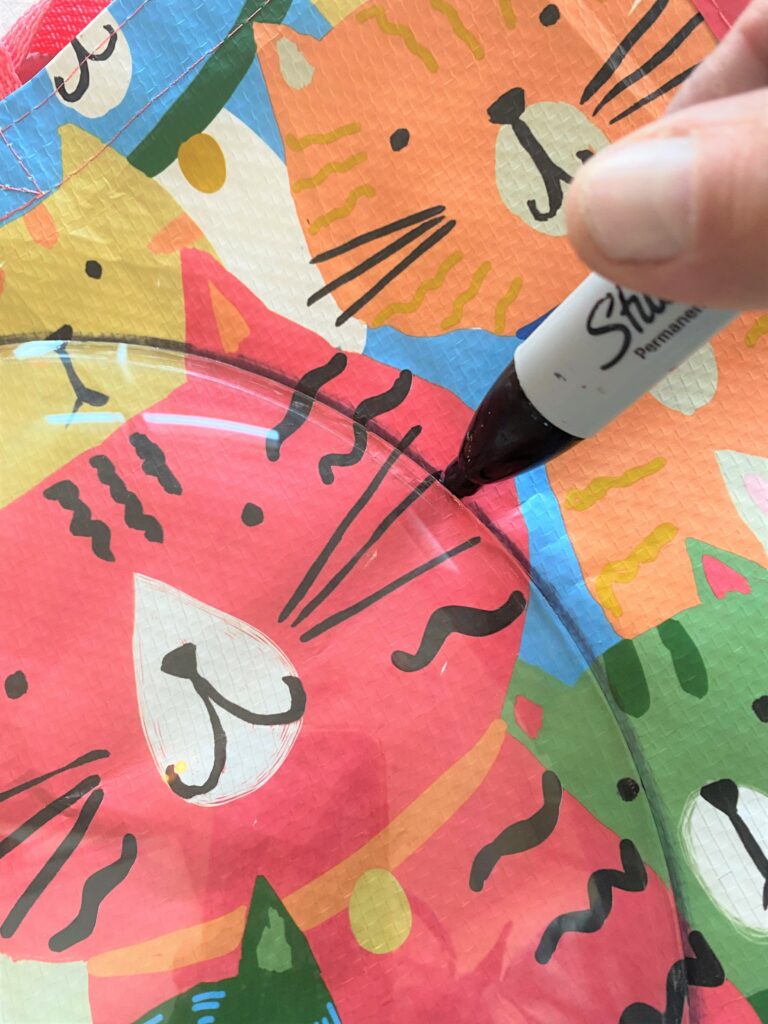
- Cut the bag part and place the piece you want to use on your work surface. Carefully place your clock glass cover on it then trace around it with your Sharpie. Based on your bag’s images, you will want to do your best to keep all the focal point within the clock cover.
- Cut way the excess material.
- Place your circular piece of material on top of your clock face and figure out where the center is and add a small dot with your Sharpie. You will want to cut a line from the outer edge to this line what that you are able to place the material around the clock’s arms and mechanism. Rather than a straight line which would have been fine, I chose to cut along the body or one of the cats featured so that when glued in place, the cut line would not show as much.
- You will want to cut away a little bit of the material around the center dot/center point, too, to allow it to fit easily around the clock arms.
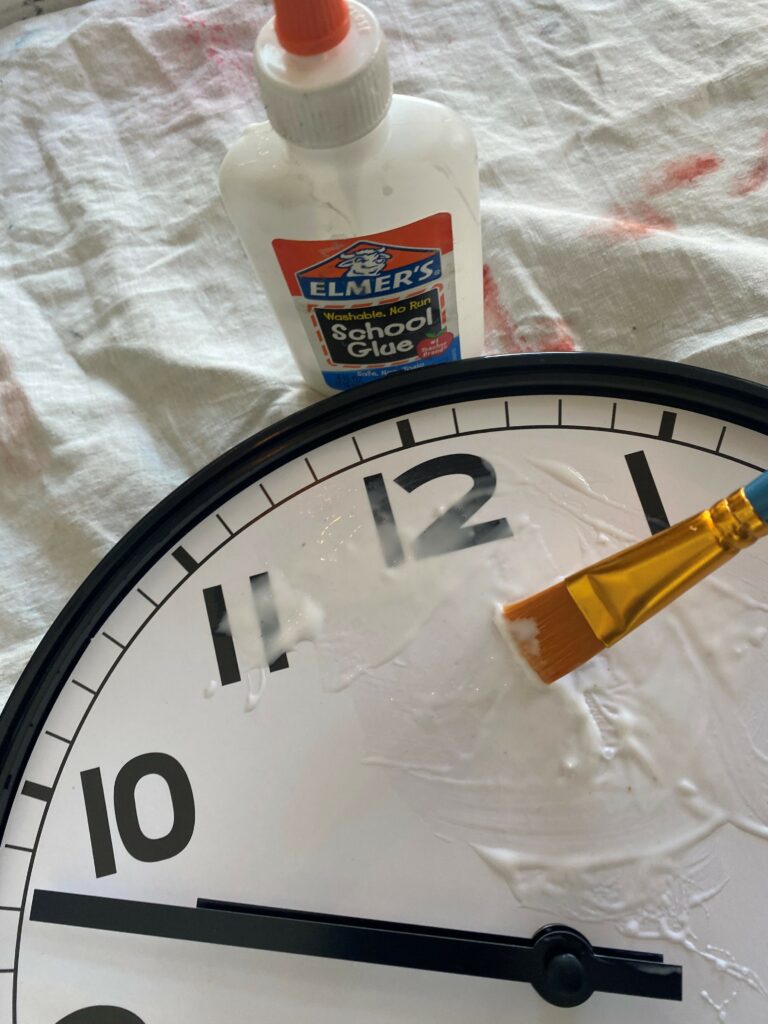
- Apply a good coat of school glue to the entire clock face. Carefully place the cut material circle with its slit on the clock face and around the arms. Be sure to place the top side upright so that when you hang it, the image looks right.
- Apply pressure with your fingers to help the material connect with the glue and ensure a secure fit. If need be, use a small paint brush to add more glue to any spots not glued tightly.
- Return the glass cover on top, secure the frame and you will be purr-fectly happy with your funky feline-faced clock!
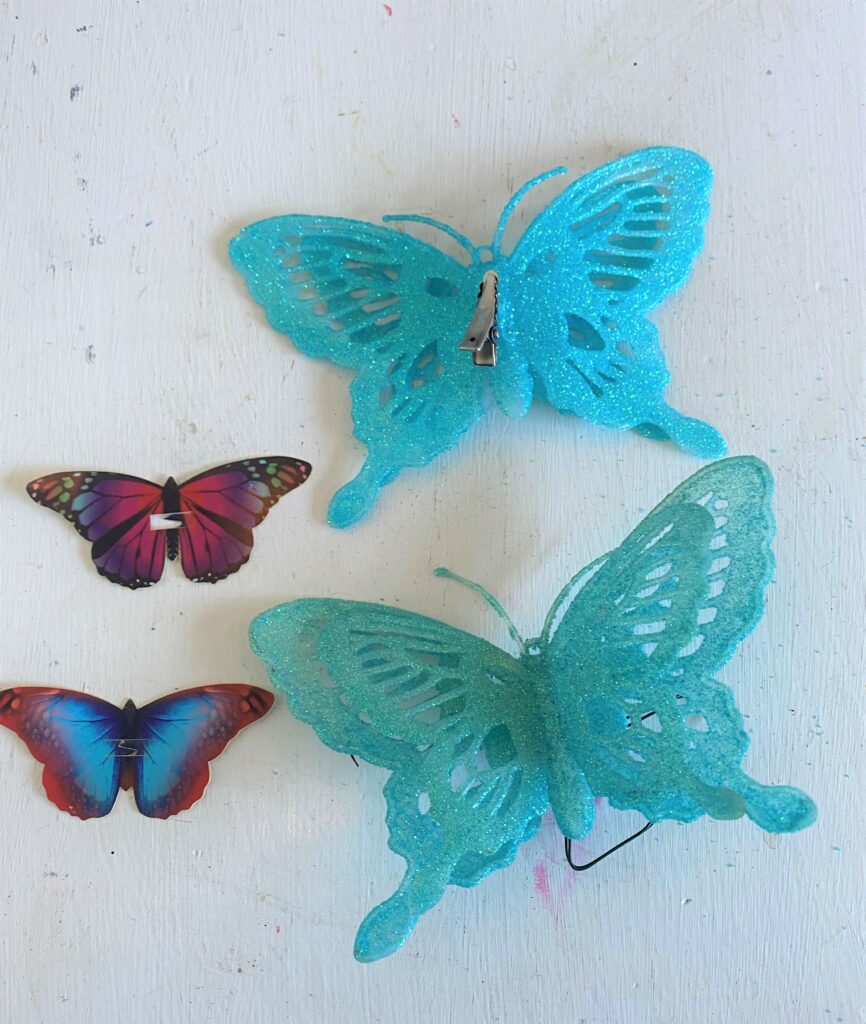
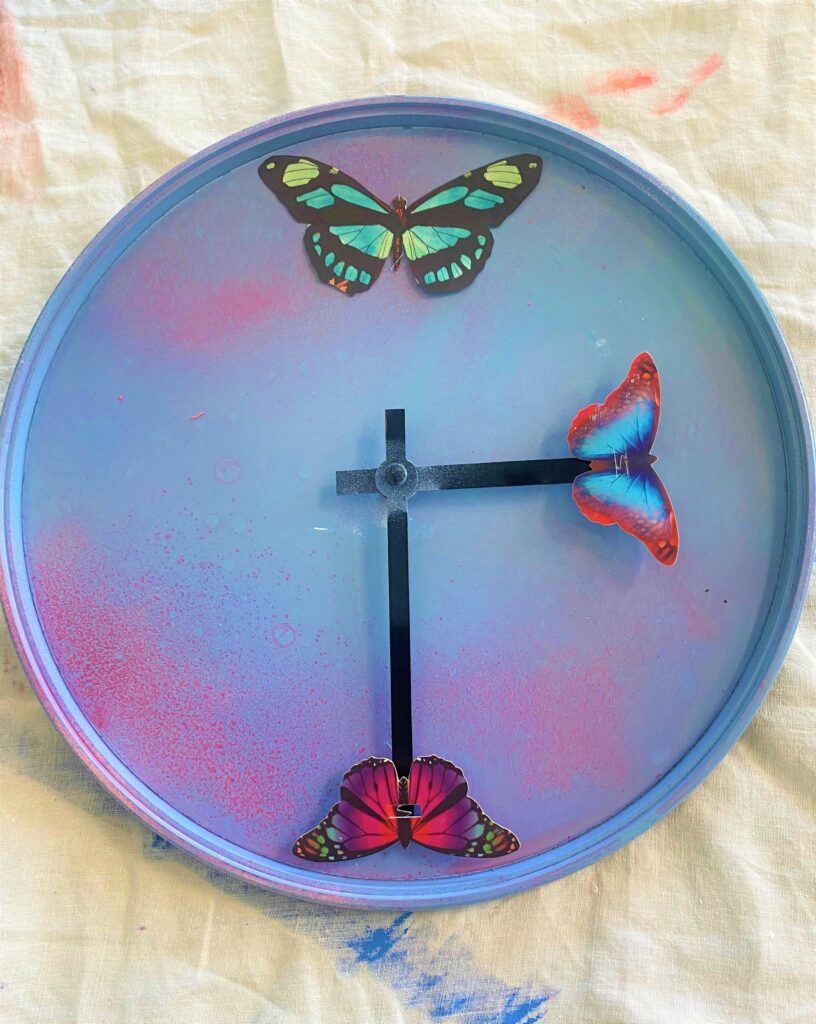
Design Idea 2: Butterflies are free to fly
This project, along with most DIY projects featured in Finding Your Good, is about transformation and nothing says transformation more than a butterfly. Paper butterflies, cut from a gift bag, were paired with butterfly hair clips for this happy clock face.
Here’s How:
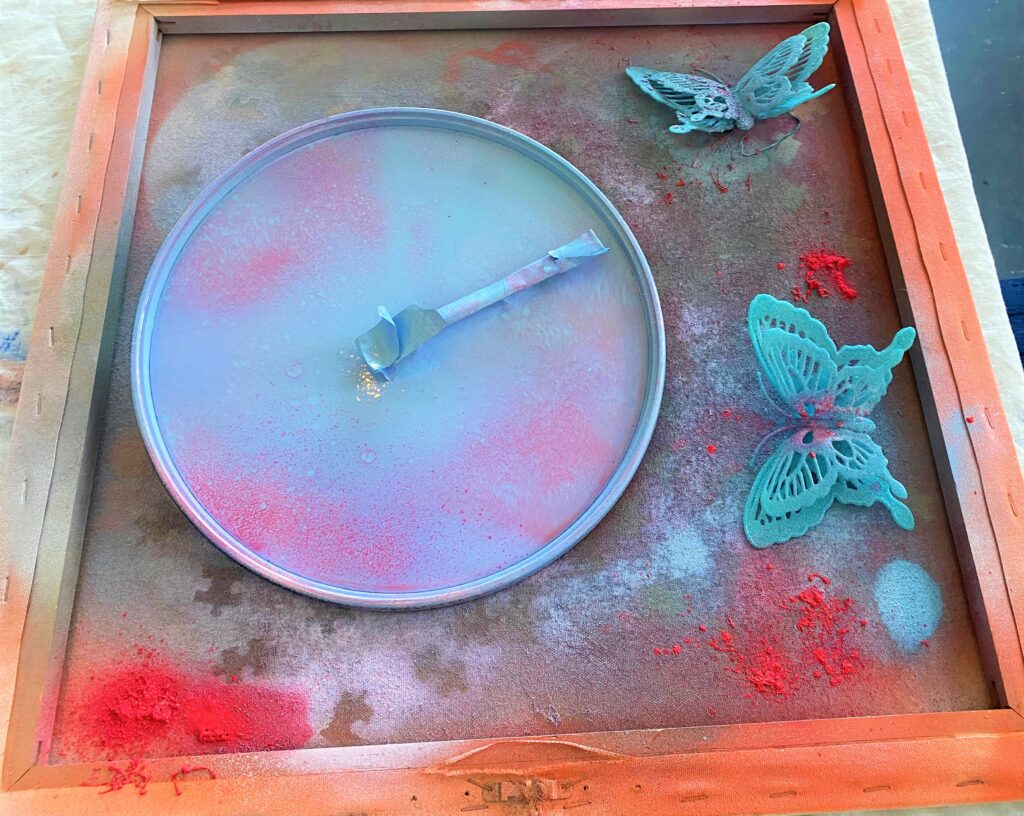
- Place your clock face on a drop cloth.
- Protect the clock hands with painter’s tape.
- Spray on a couple of light layers of blue paint or other colors that match your butterfly accent pieces.
- After the light blue tone was sprayed on, a “spritz” of hot pink was added to give the flat blue surface some dimension and visual interest. Also, the butterfly hair clips got a light spritz of both the blue and the pink so their colors would match the overall look a little better.
- Let the paint dry then remove the painter’s tape.
- With your hot glue gun, secure a small butterfly on the end of each of the clock’s hands to give them the appearance they are flying.
- Add a paper butterfly to the top where the 12 would be. Return the glass covering to its place and reassemble the clock.
- Along the outer edge, secure the plastic hair clip butterflies, again using your hot glue gun. They will look like they have taken a break from flying to make a home on your clock. Will make your heart flutter and soar!
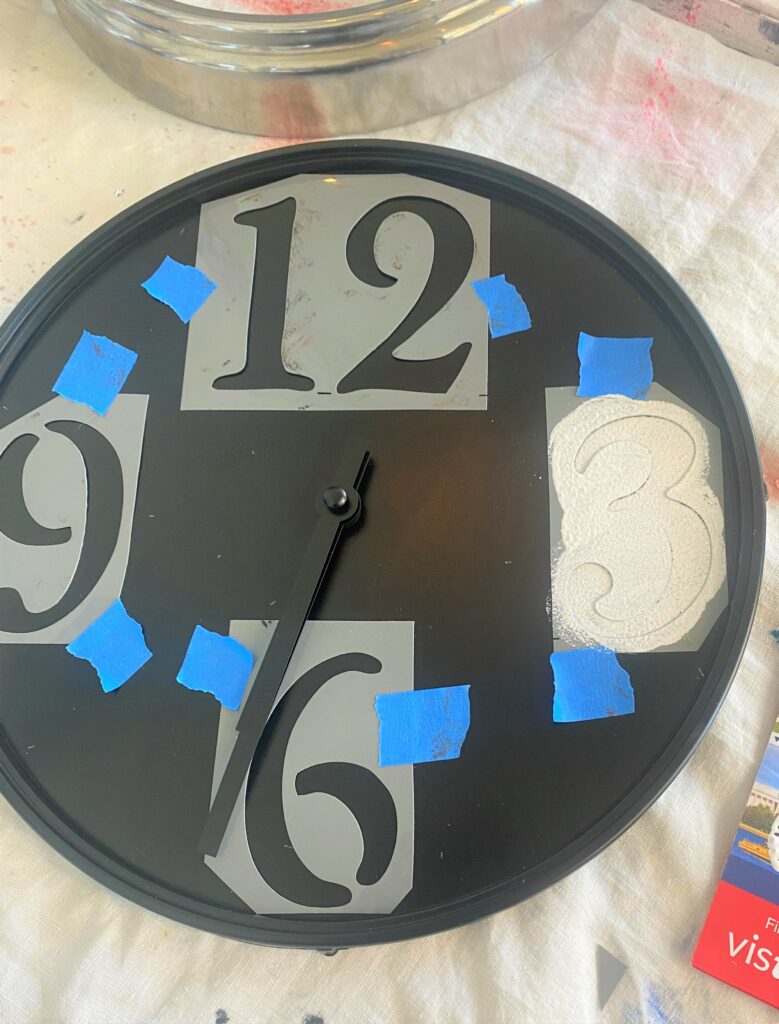
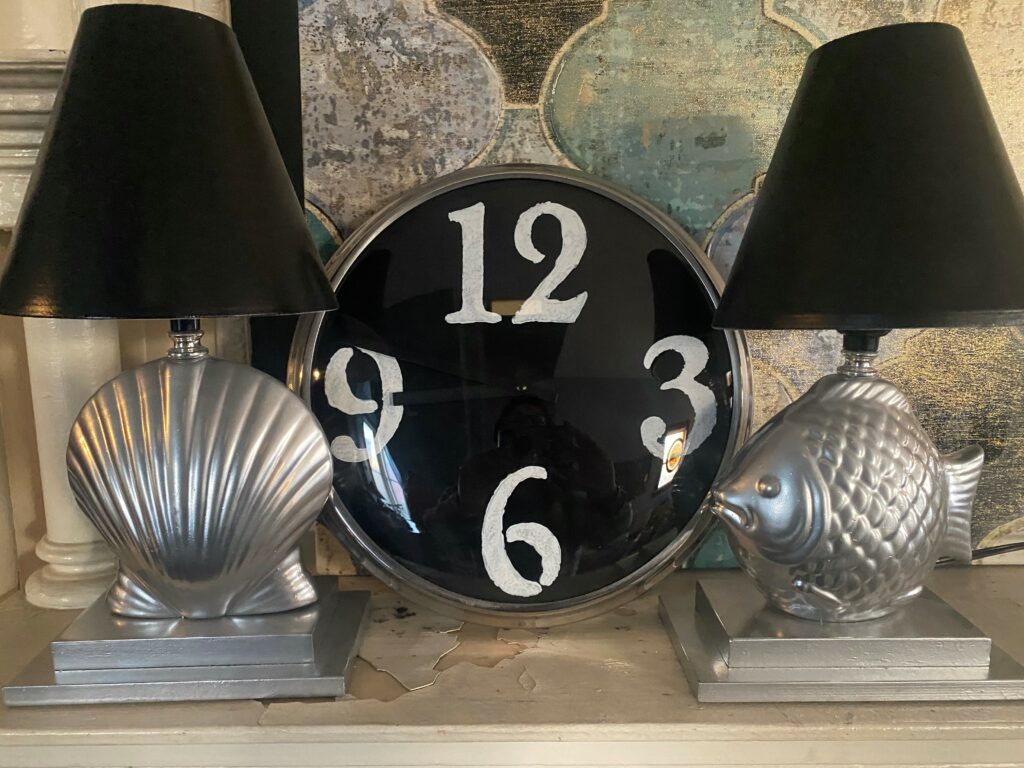
Design Idea 3: Stencil on the symbols
This design idea makes a bold statement with simple black and white tones and big numbers. Sometimes simple speaks loudly.
Here’s How:
- Place your clock face on the drop cloth and add a couple of light layers of black spray paint.
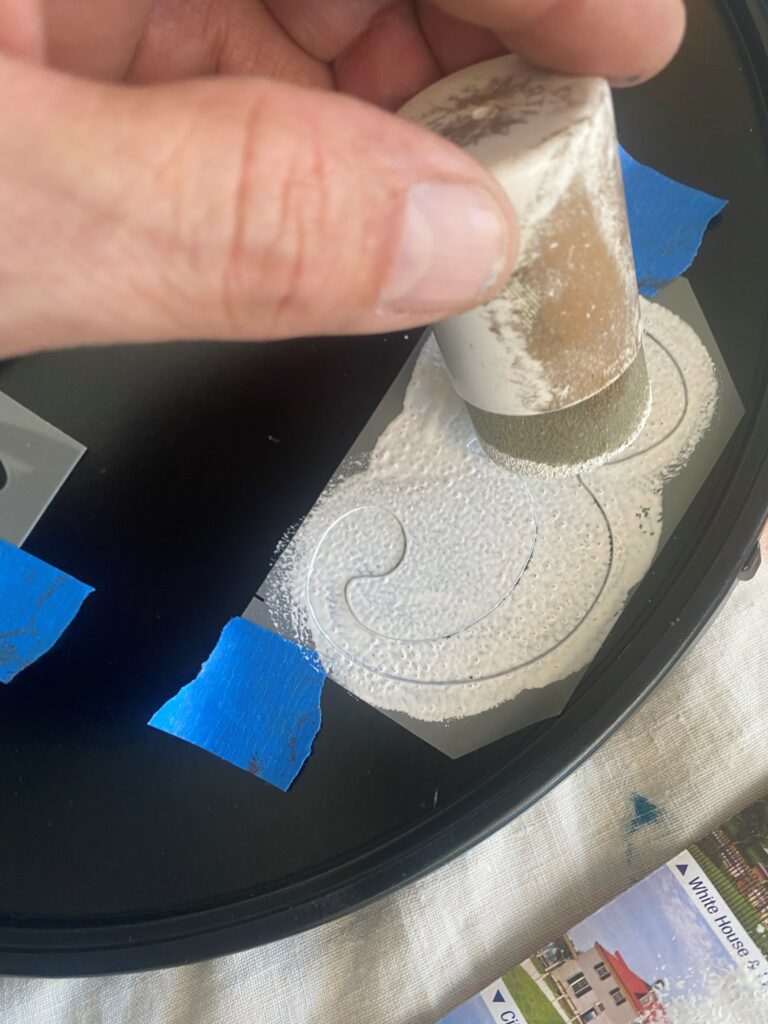
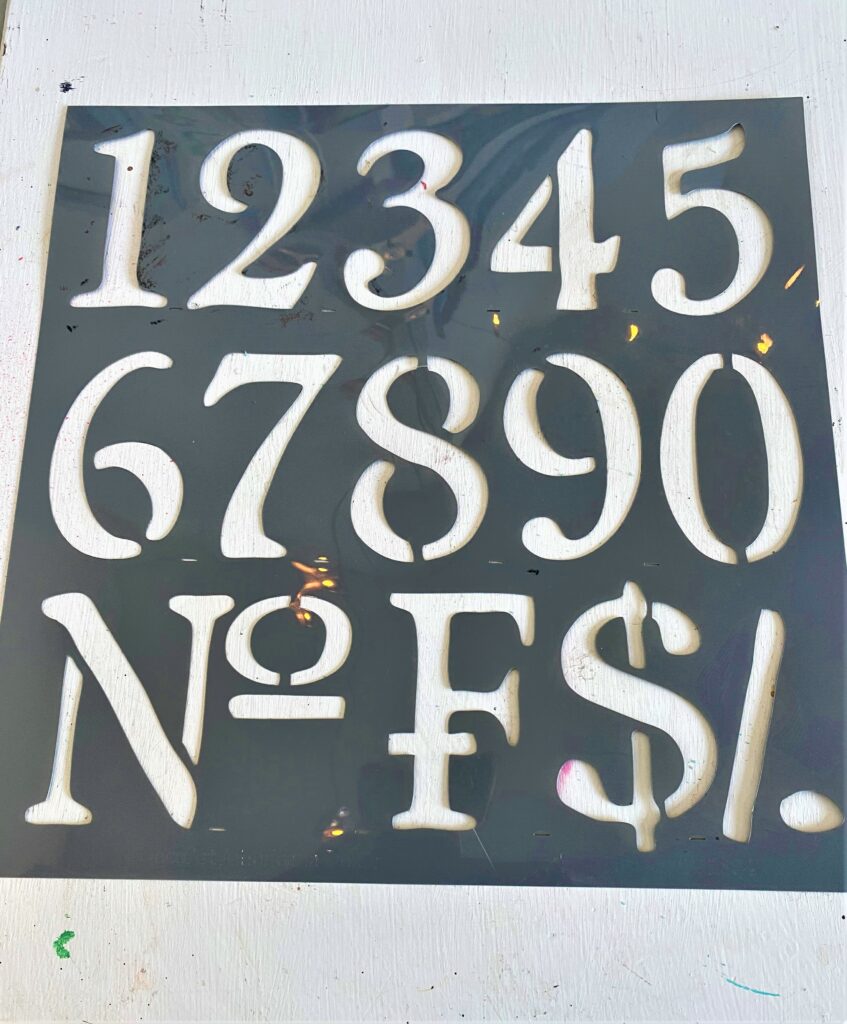
- After it dries, secure stencils featuring the numbers 12, 3, 6 and 9.
- Use painter’s top to hold them in place.
- Apply bright white paint using a foam stencil paint applicator. This is more of a stamping process than a brushing one, so carefully stamp on your white paint ensuring a sharp edge within the number’s cut out part.
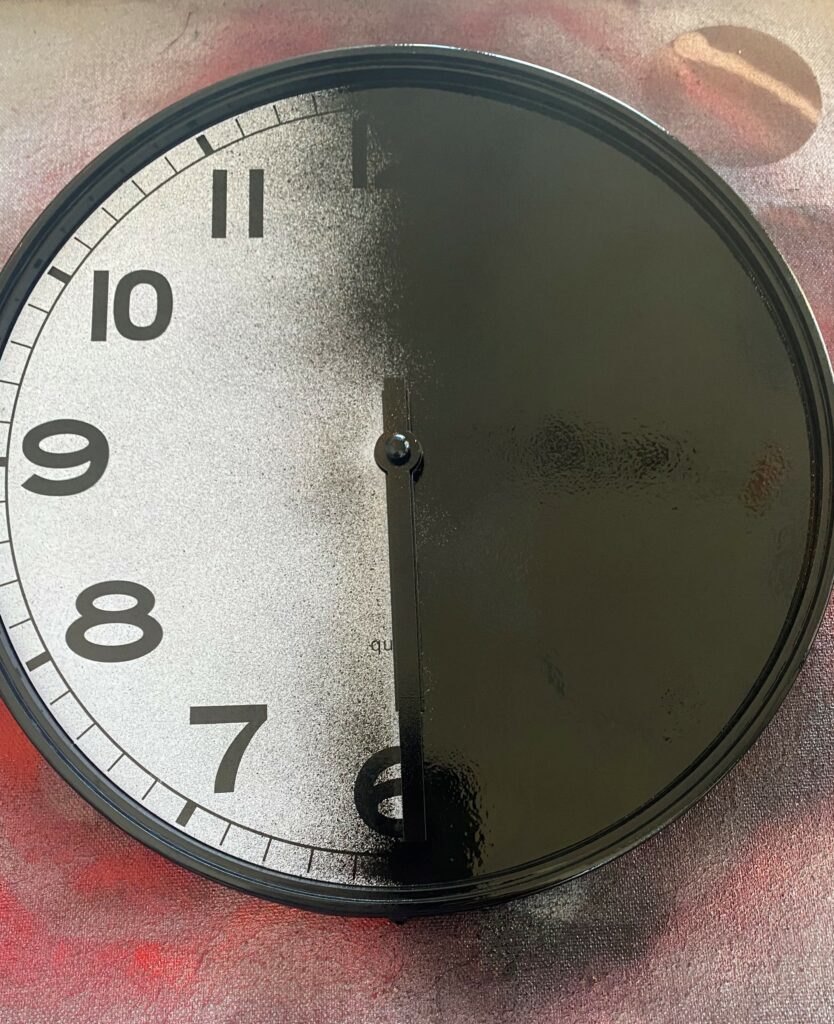
- Carefully remove the stencils and touch up any smudges or fill in any gaps.
- As with the other clock designs, carefully return the cover to its place, put it all back together and you are ready go count down the minutes for your next DIY project.
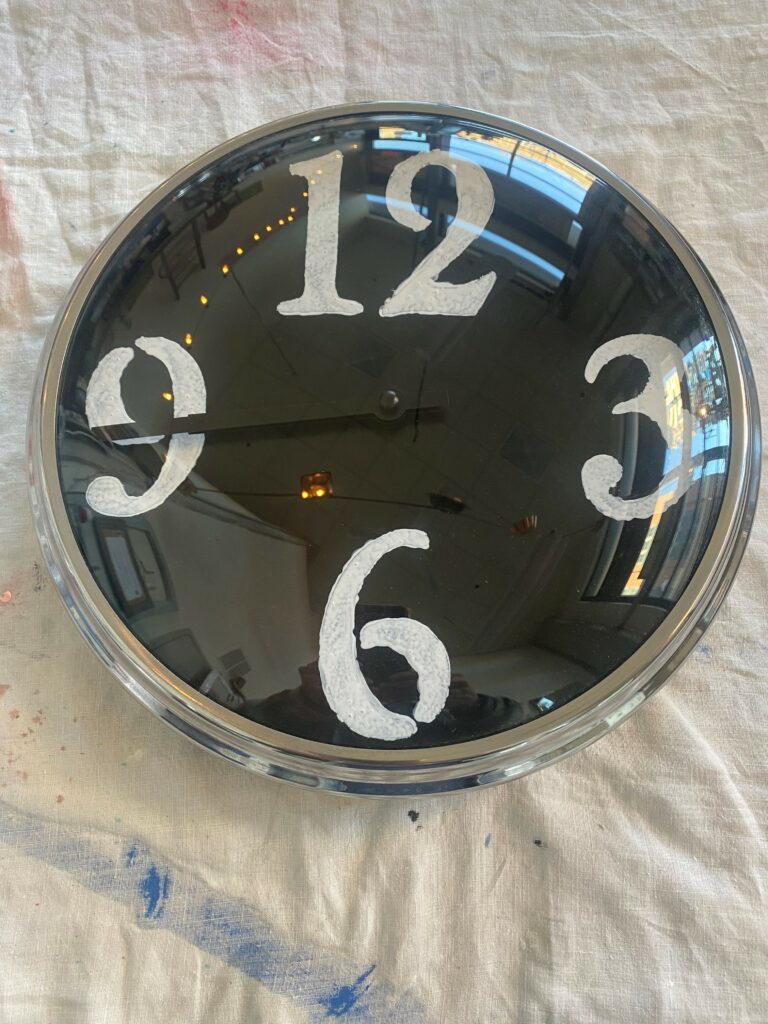
Expert Idea: I debated on whether or not to paint the clock’s black arms white or silver to make them stand out. However, I didn’t want them to compete or take away from the big numbers. While the pictures here might not show it, you can easily see the black arms over the white numbers to tell what time it is. What do you think? A yes or no to painting the clock arms with this design?
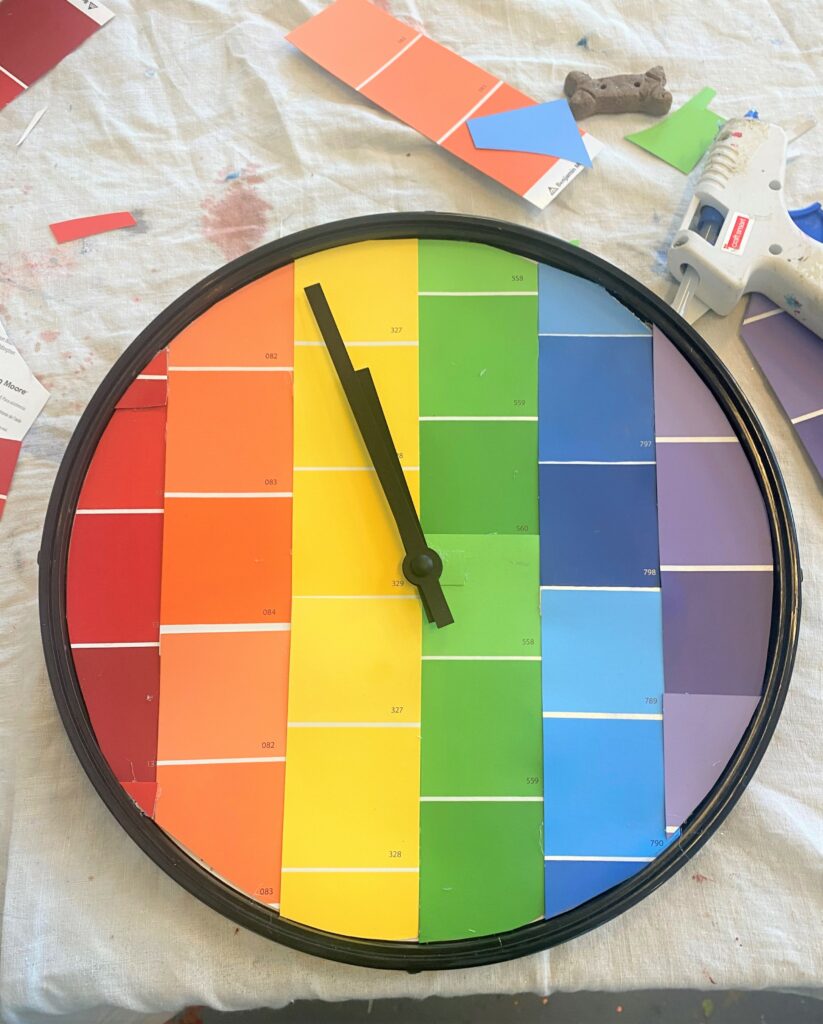
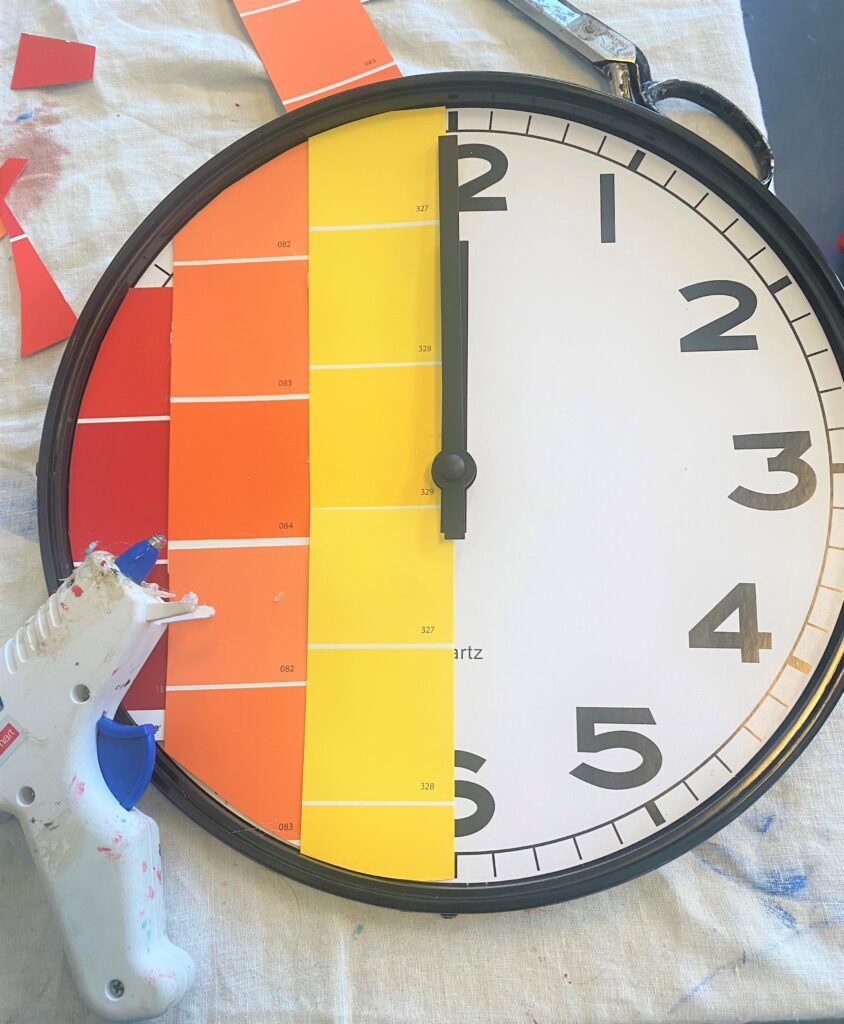
Design Idea 4: A paint chip off the old block
This colorful approach is all about repurposing because it features those paint chip strips you get at the hardware or paint store which shows color options. When positioned in the color of a rainbow, this design idea helps to show pride in a variety of ways, including rethinking an everyday item in a new way.
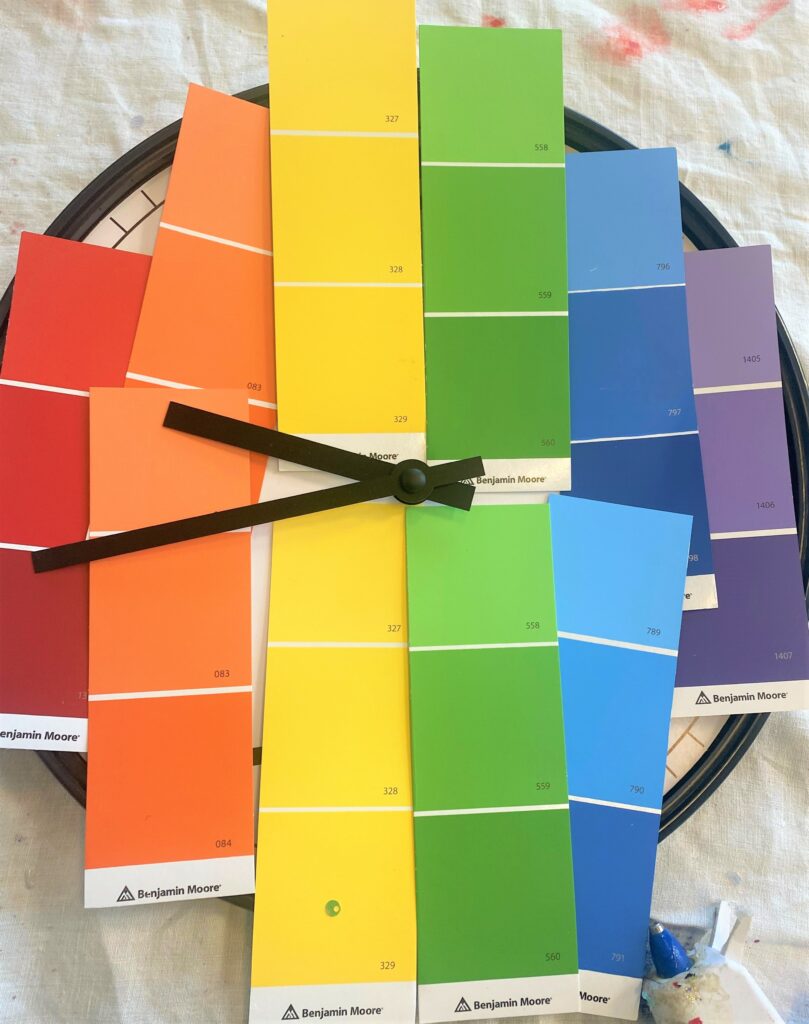
Here’s How:
- To get started, place your clock face on your work surface then place the paint chip strips on top to see how you might position them best. Given that you have a rainbow color selection, you want each strip to be the same width. Thankfully, the size of the clock used here allowed three colors to be on one half of its face and three colors on the other half.
- Beginning at the left, cut your first strip (red) to fit. You may want to use the glass cover and trace your paint strip paper. Another option is to place the paint strip paper in place and use a pencil to indicate the curve of the outer edge and what should be trimmed away.
- Carefully add hot glue to the back of the red piece and put in place.
- Move to orange, cutting then gluing in position.
- Then you get to the center two colors (in this case the yellow and the green), you may need to also cut your paint strip where it touches the center of the clock in order to make space for the clock arms and to allow the paper to fit around it. Continue with the blue and violet/purple paper pieces.
- Reassemble and hang to show your pride and to celebrate your upcycling talents!
There are many ways you can easily and joyfully transform a thrift store clock into a well-loved timepiece/masterpiece. How fun would be adding dominos, playing cards, or other game pieces to one? You could add buttons or small spools of thread to create a gift for the person who loves to sew. Stamps and postcards would be super charming, too. How about painting small dog biscuits in bright colors and placing them where the numbers would go? Your dog’s best friend will love it!
Share and show your ideas for taking a regular clock into a functional and fun work of art! We will count down the minutes until we hear from you!

Tim Kime
Artist, Motivational Speaker, Life Coach


