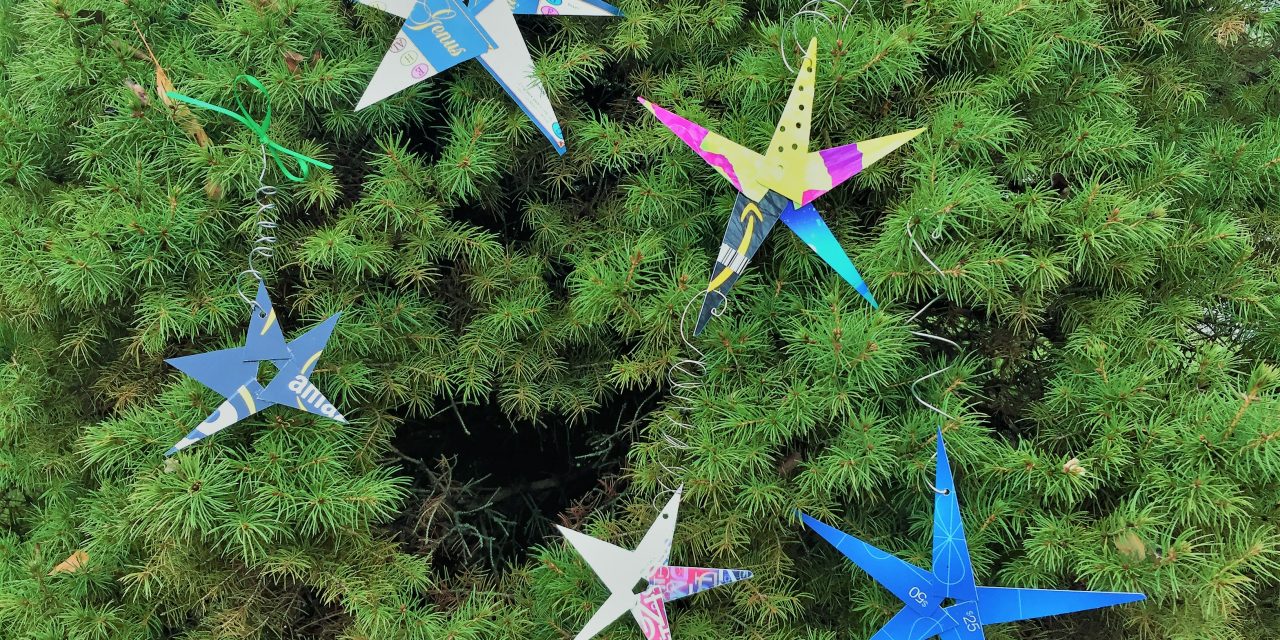
A cosmically great gift idea: Star ornaments upcycled from gift & playing cards!
Here’s an out of this world and an out of the box DIY project, just in time for the holidays, that is sure to be remembered and appreciated long after the presents are unwrapped. Many of us give gift cards this year and have board games with cards in them, too. Use these to create one-of-a-kind, whimsical star ornaments that are so fun you truly could hang them up all year long!
Thanks to my super creative brother Todd for this great super cool idea which inspired this blog and for spending time together making them. I am seeing stars for sure because I love this project so much—and so will you, too!
Ability level: Easy
Age level: Younger kids with some adult supervision
Items Needed:
1. Old/used gift cards, playing cards or board game cards
2. Jewelry wire, 22 gauge
3. Wire cutters
4. Scissors
5. Glue gun & sticks
6. Needle-nose or small pliers
7. Ribbon (optional)
Cost: $1 per ornament
- $2 for board game
- $1 for a deck of playing cards
- $0 for old/used gift cards
1. You’ll see the stars, too, when shopping for deals at Goodwill
In the aisle of your friendly neighborhood Goodwill store where games, puzzles and toys are available for sale at scratch-your-head low prices, hunt for board games which have cards as part of their competitive challenge.
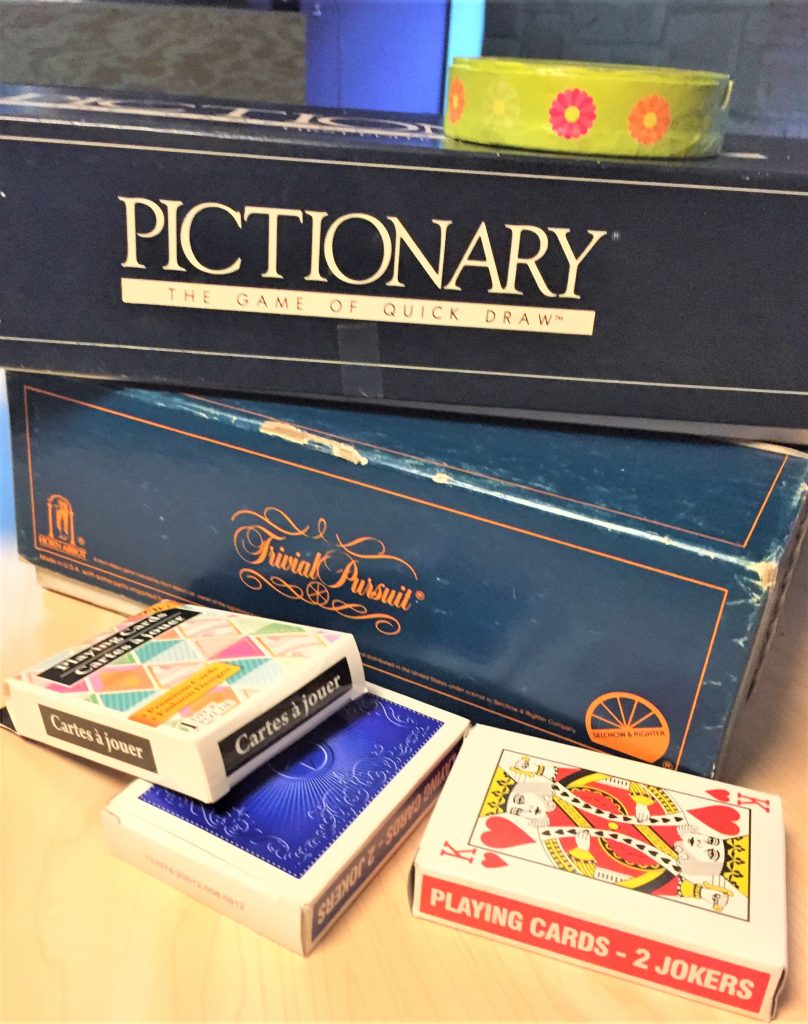
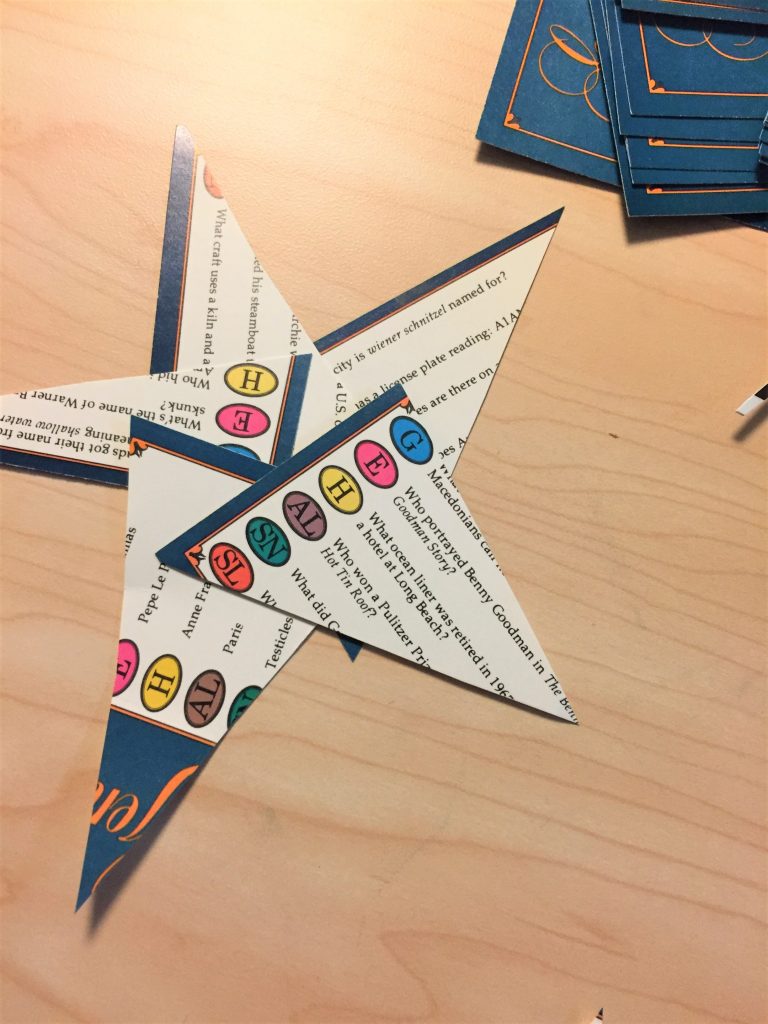
Pictionary, Trivia Pursuit and others have stacks of cards perfect for this oh-so-easy, oh-so-inventive DIY project. In the same area, you are sure to find “traditional” playing cards so grab a deck to take home, too.
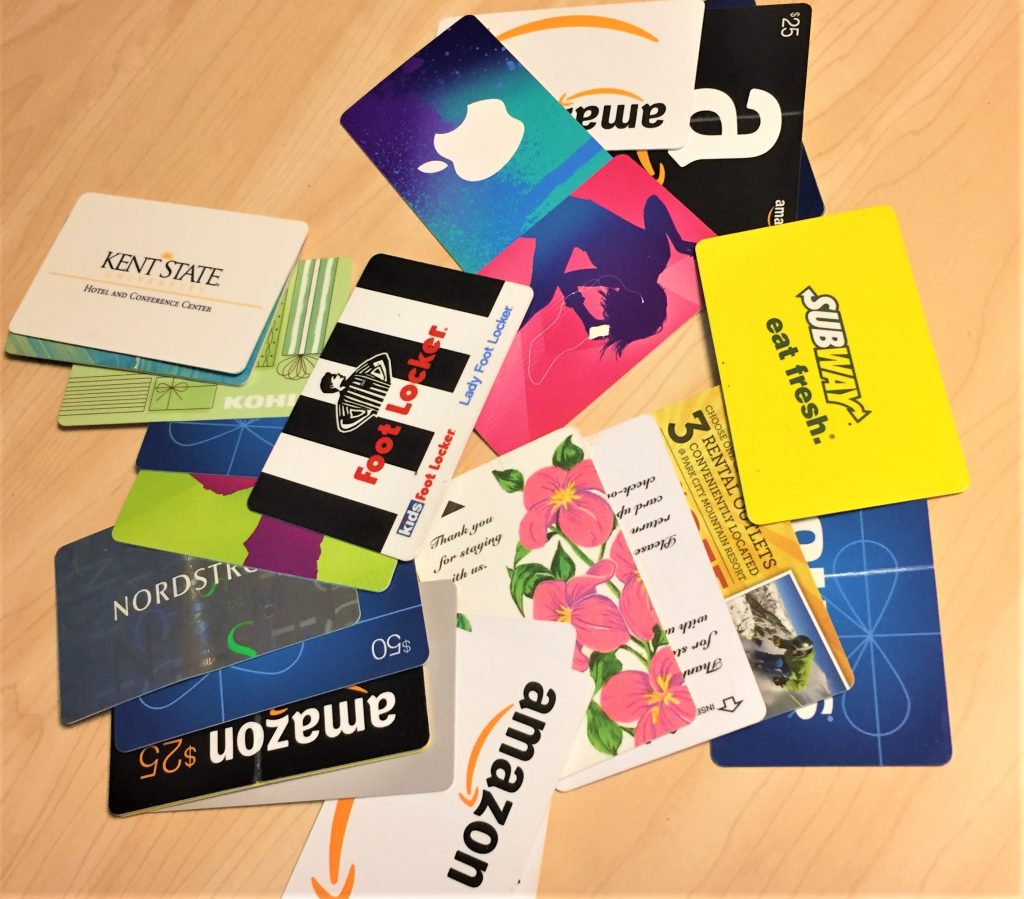
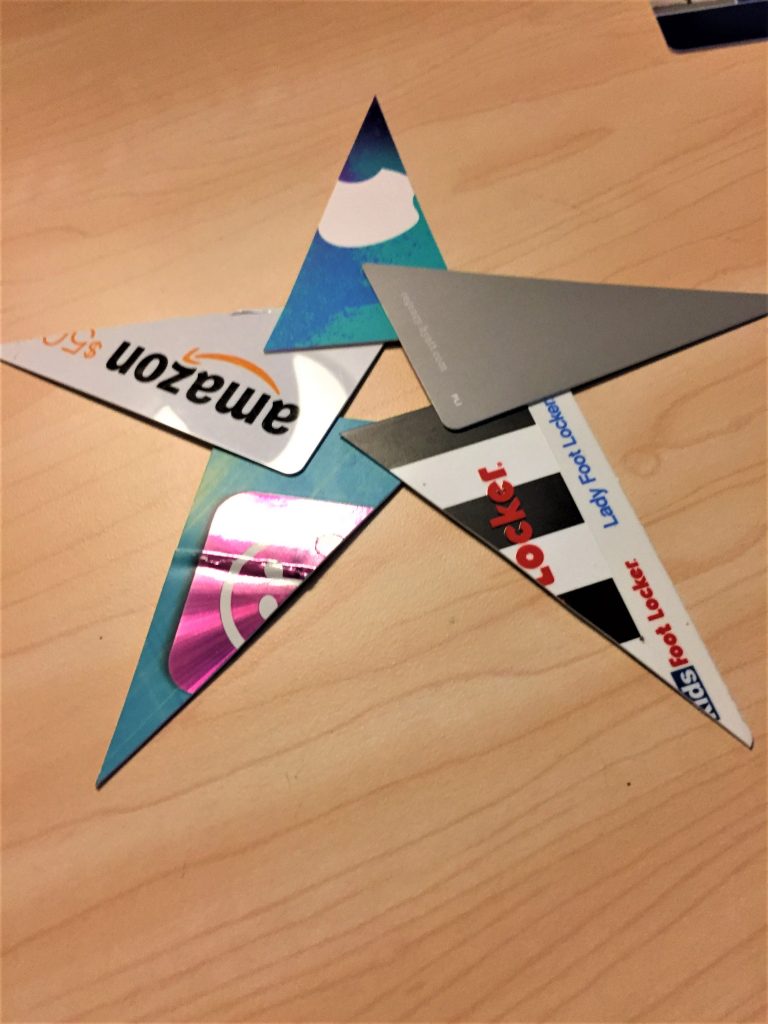
Keeping with the transformed card idea, you could use old gift cards (after the funds have been used from them), too. They provide colorful material to enlist for this project.
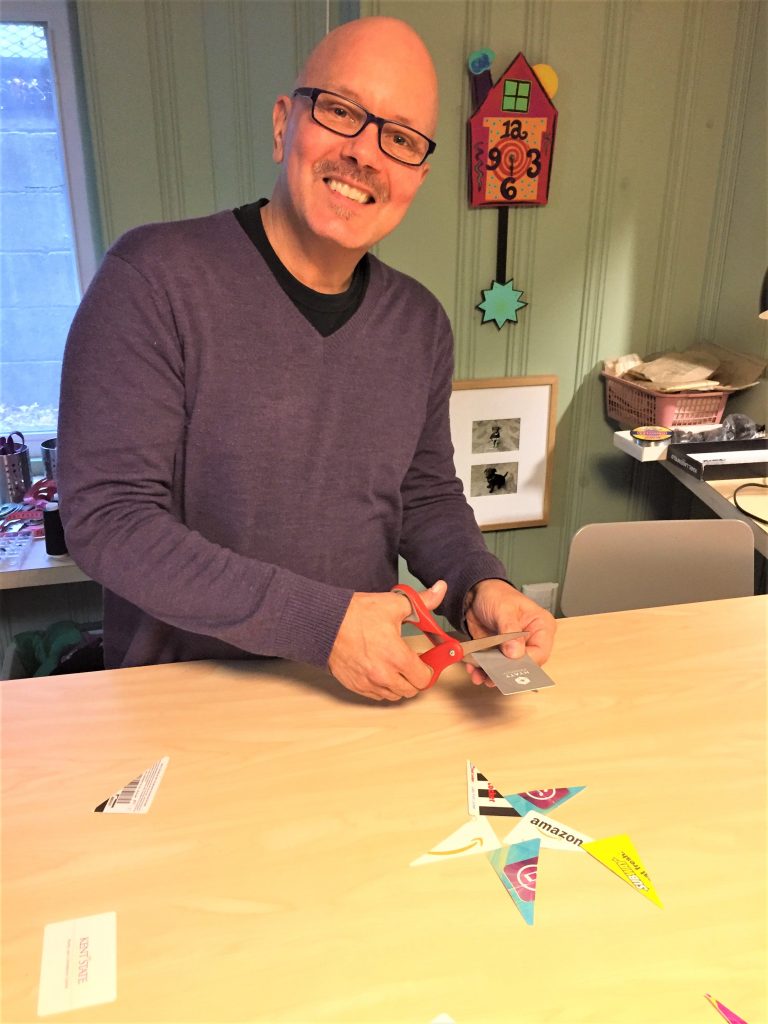
2. Cut your cards
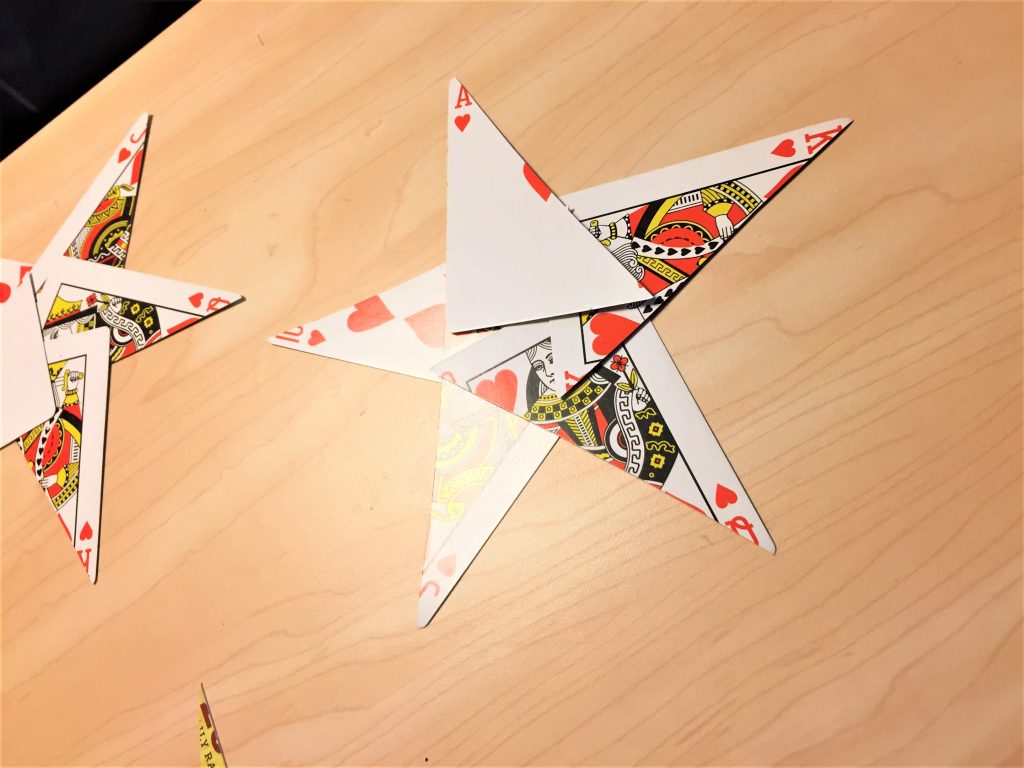
- Using your scissors, cut each card in half diagonally so its rectangular shape is now two triangles.
- You could also cut each card into thirds, so you are cutting out a triangle from the center with the two other pieces ending up triangle shaped as well. These will not be perfectly shaped stars which is part of unique whimsy of this project. Some pieces will be a little longer or a little thicker than others—no worries, have fun with it!
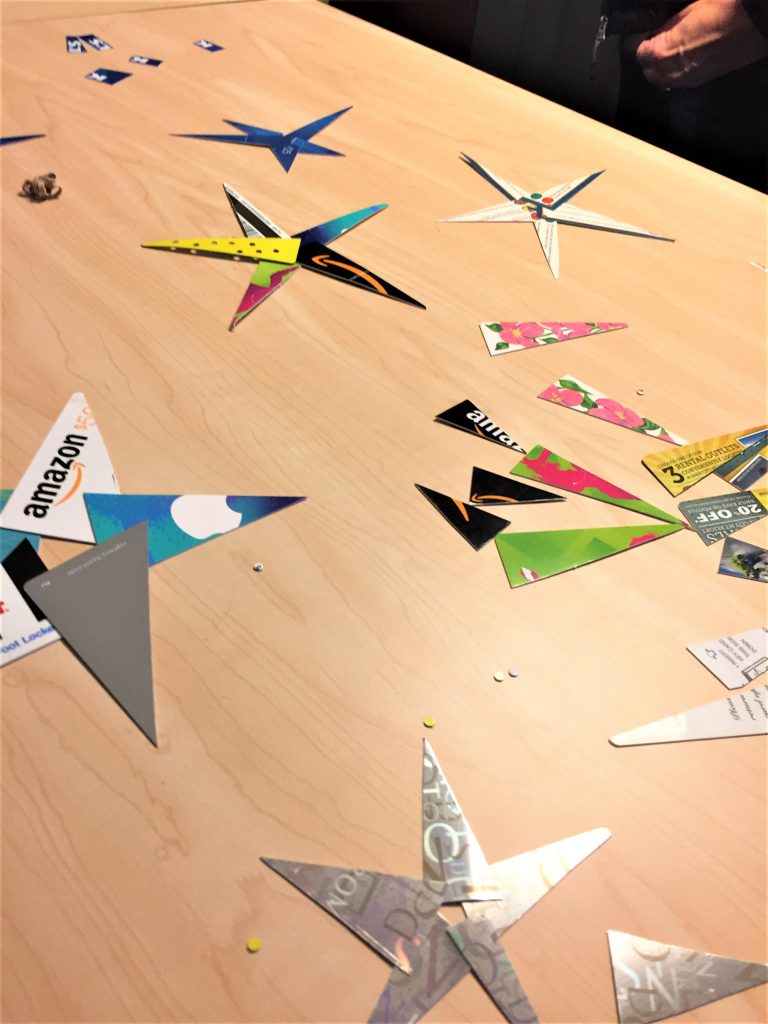
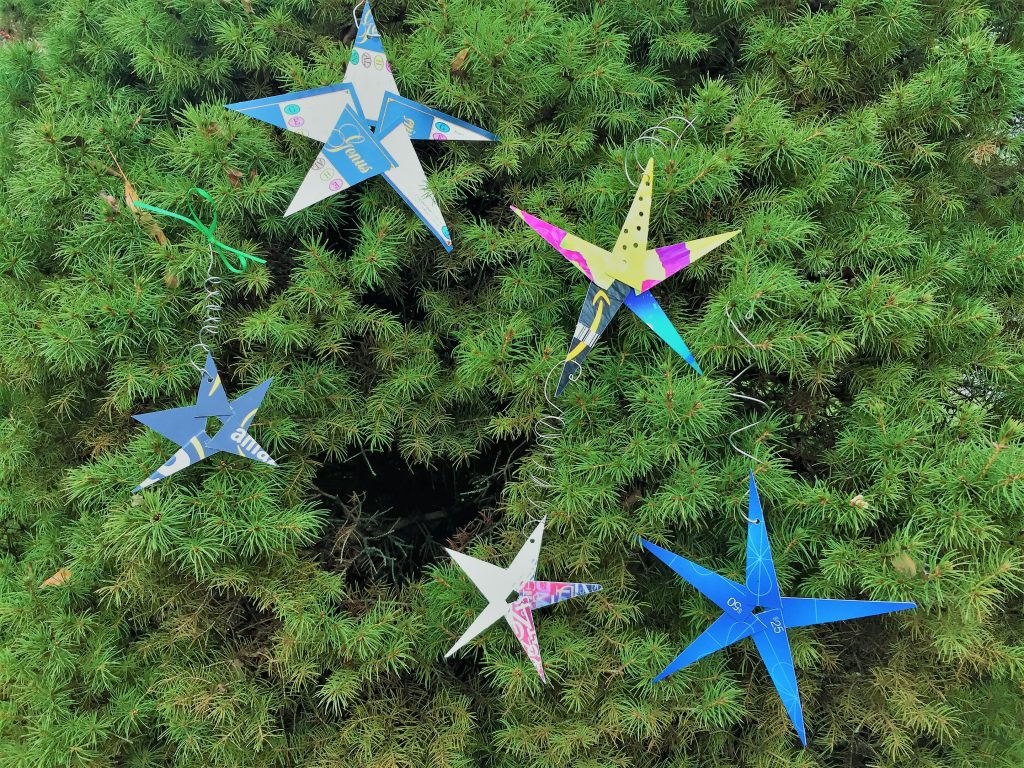
3. Layout your look
To play up the upcycled funkiness of this project, consider creating each star from similar kinds of cards.
For example, make one from the triangle shaped pieces of the gift cards. Make another using the cut-up playing cards.
Create one from pieces of the Trivial Pursuit cards.
Also, consider flipping the parts over so you see the bar codes or magnetic strips of the gift cards.
Given the low-to-no cost of the cards, you really can’t deal a band hand or make a wrong move!
Place your pieces together to form a star trying pieces in different ways until you get a look that makes you give a thumbs up.
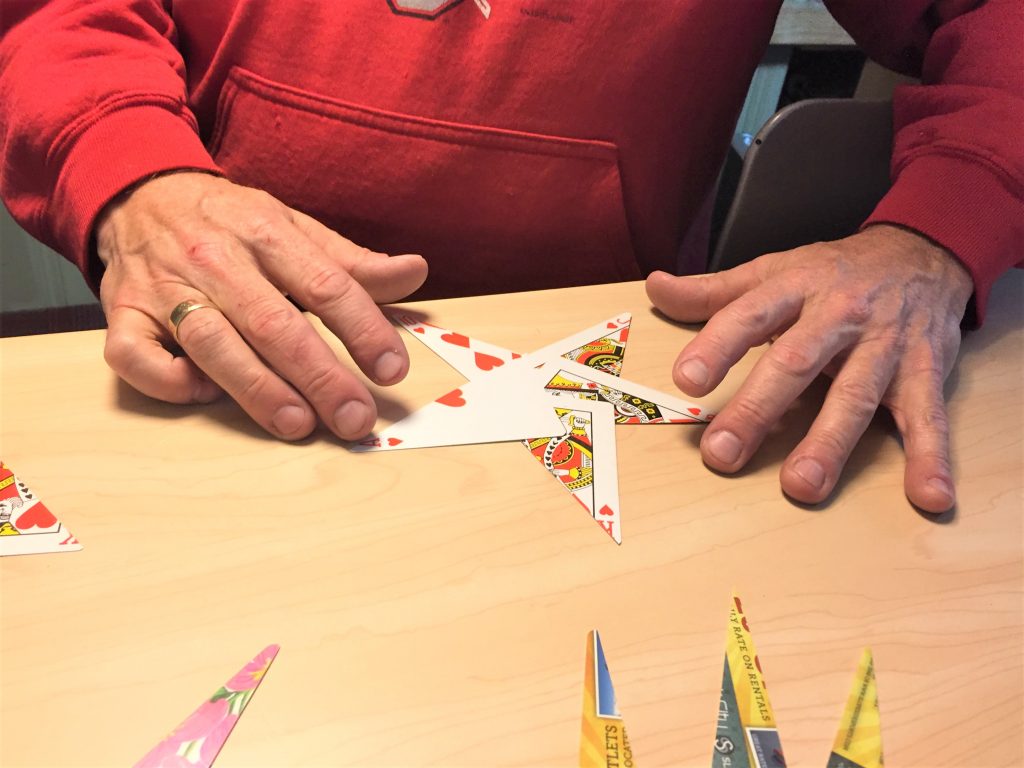
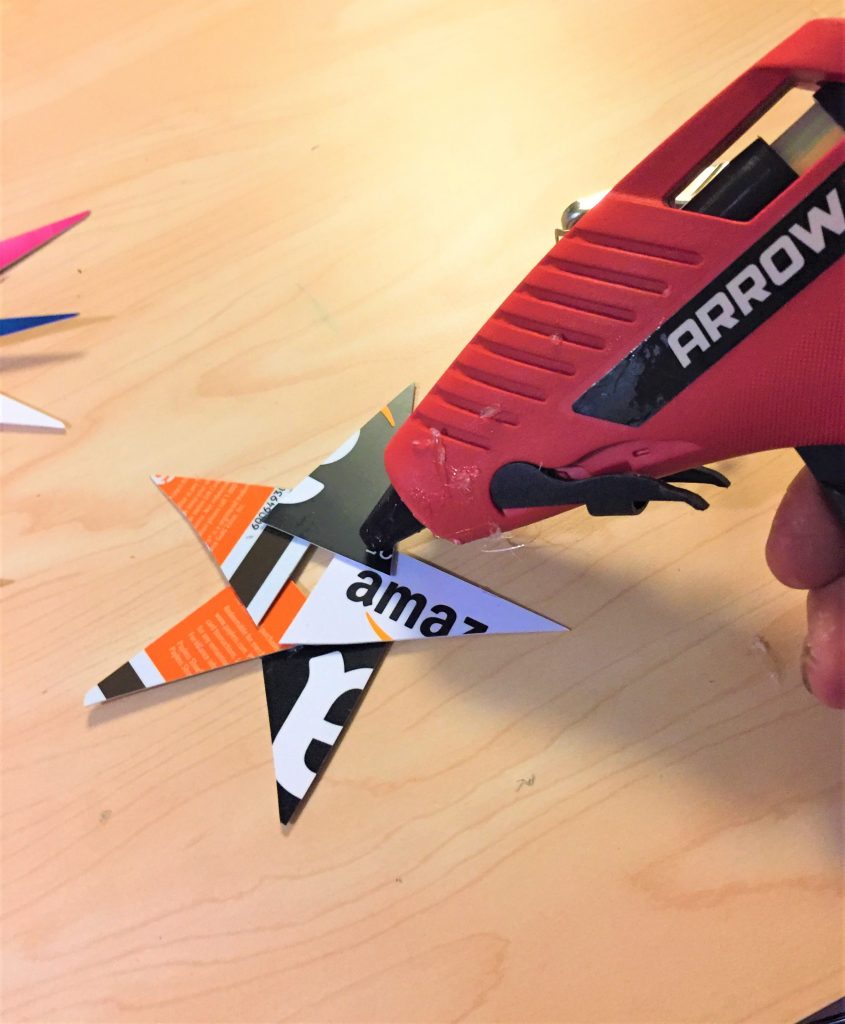
4. Annie get your gun and glue it
- After laying out one of the stars, place a dot of hot glue on one of the corners that will become the center of the star.
- Place another piece on top, ensuring you position it well so it looks like one of the stars “arms.”
- Repeat this step so each triangle is attached in a circle thus making the star shape.
- The gift cards will be thicker than the playing cards, so you might have to place one piece on top with no overlapping or layering. T
- he glue from the gun will try very quickly; you won’t be able to move the piece once in place so do you best to position it where you want it to go before placing the glue on it.
As always, be careful with the glue gun because the glue can be very hot! Therefore, if younger ones are helping, you will want to glue their stars pieces together for them.
- Once the glue has tried, you may need to remove any excess glue beads or strings created by using the glue gun.
- Its removal should be pretty easy once its dried and hardened.
- Toss those glue pieces away.
- Set your complete “star” aside and move on to the next one. They really do come together very easily and quickly.
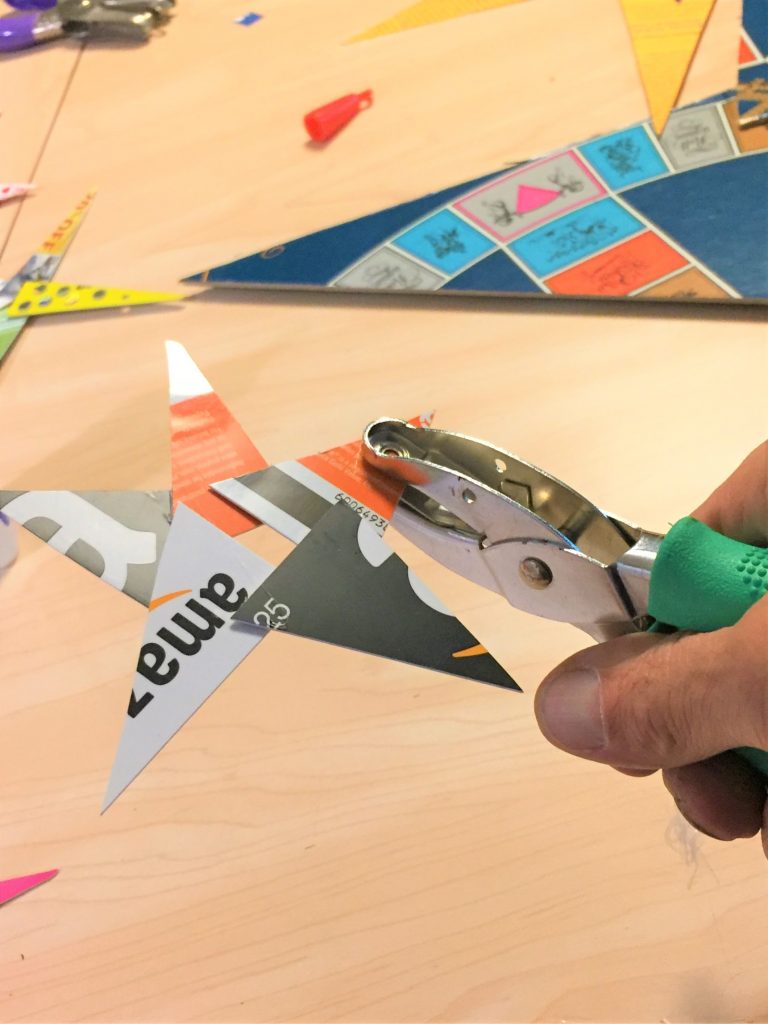
5. Hole punch hangers
- On one of your star’s arms, punch a hole in it with your hole puncher. This will be used to hang your wire hook/holder.
- Before doing so, hold up your star to determine which is the top of it; I like that you can see the face of the king/queen/joker right side up or that you can read some of the wording on the card so you can rotate it until you determine which end is up.
6. To embellish or not to embellish, that is the question
As you look at your star ornament, it might shine brightly and look perfect just as it is. However, you may add additional visual interest by cutting out words or letters from other pieces to add to it.
For example, you could cut out a heart to add to the center of your playing card star. Or you could cut out a letter or word from your gift card.
One gift card we used had a crease on it so to hide it, we cut a piece of the bar code from another and glue gunned it on. That was the just the touch it needed.
Your game also might come with parts of it to add your star, too. Trivial Pursuit comes with tiny plastic triangles that are easily added. You could add a poker chip to your playing card star’s center or hang it from one of its lower arms.
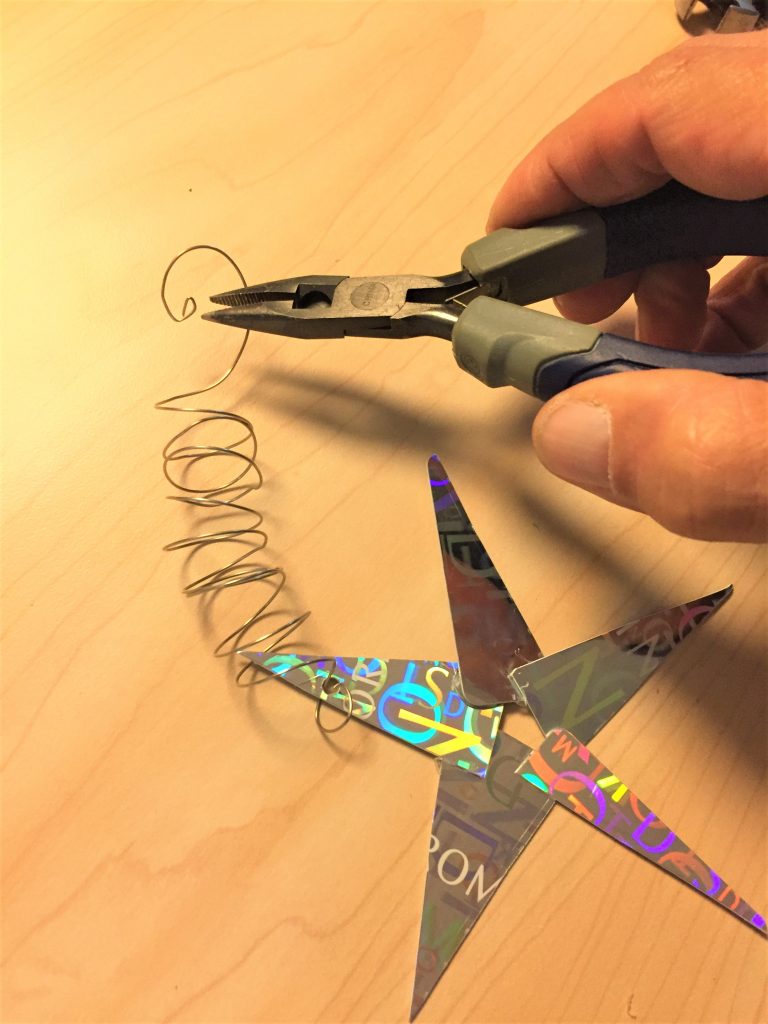
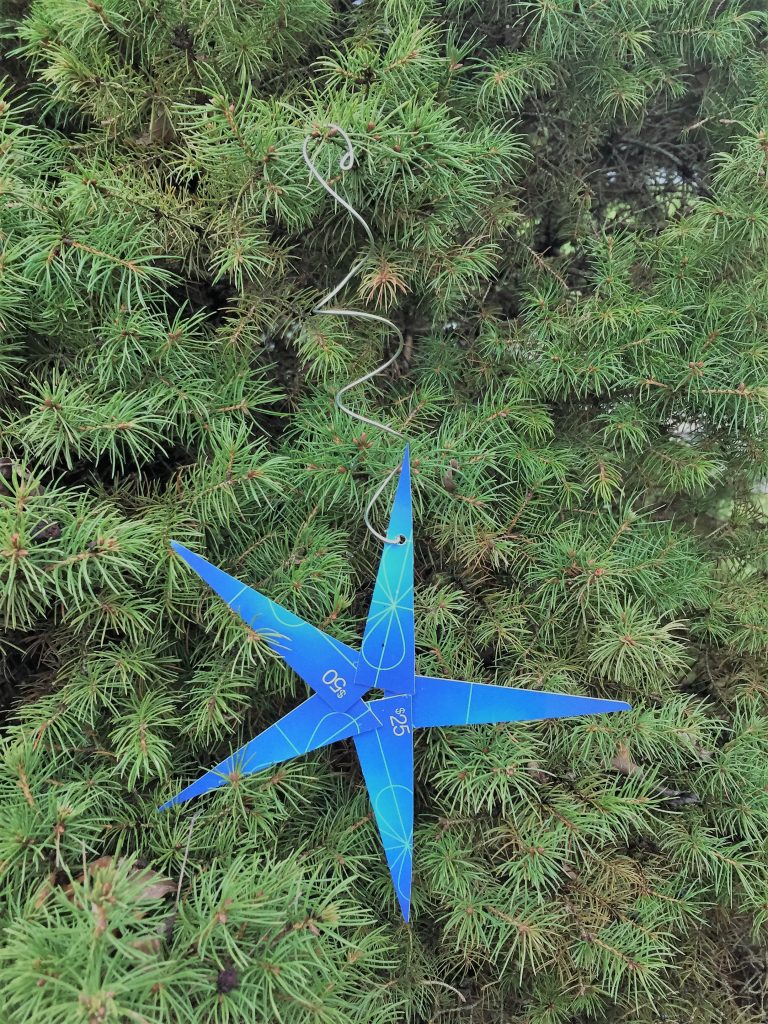
7. Curly-Q the wires
- Cut a piece of wire, four to six inches long.
- Thread one end into the hole you punched into the star.
- With your small pliers, twist and loop it so it is secure to the star.
- Take the other end and wrap it around a pencil or marker then remove it so it looks like a spring is shooting up from your star.
- At the other end not attached to the star, take your pliers and twist it again to make a loop with a little curl in it. This will become the hook on which your star will hang onto your tree, front door or wherever it will find itself.
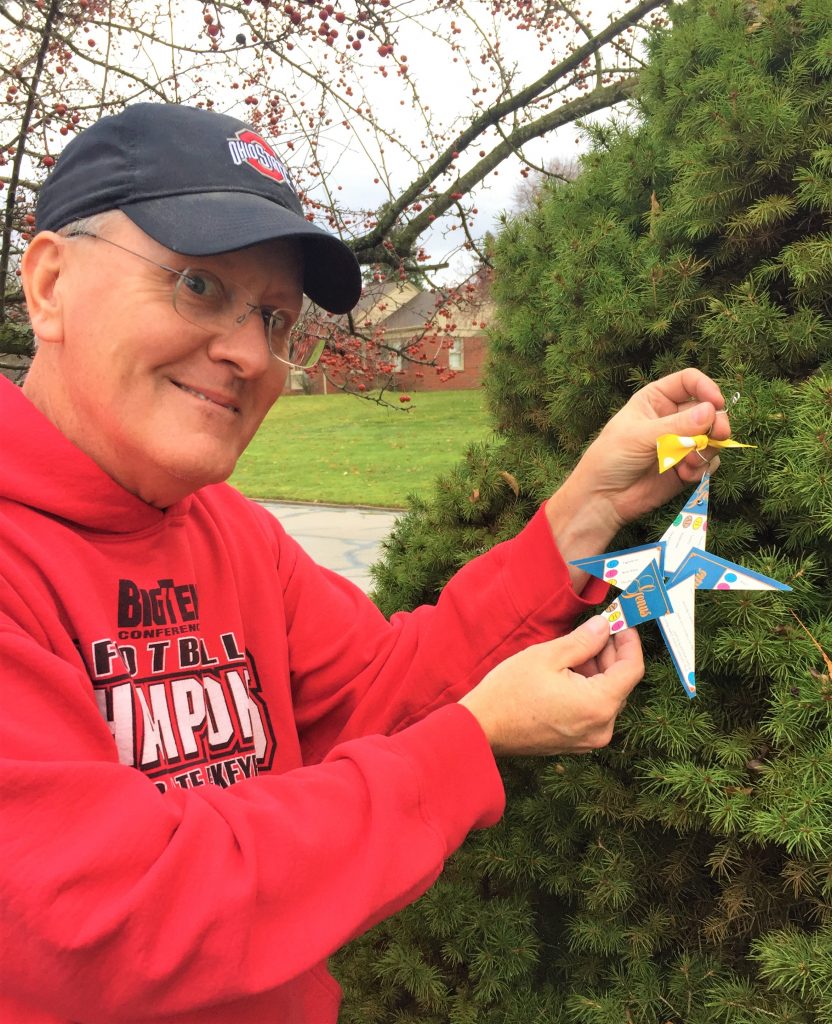
Design idea: consider tying a piece of festive, colorful ribbon to the end of your hook. This will add another eye-catching element that can be personalized to match your holiday décor and then removed, if you like, to keep your card star displayed throughout the year.
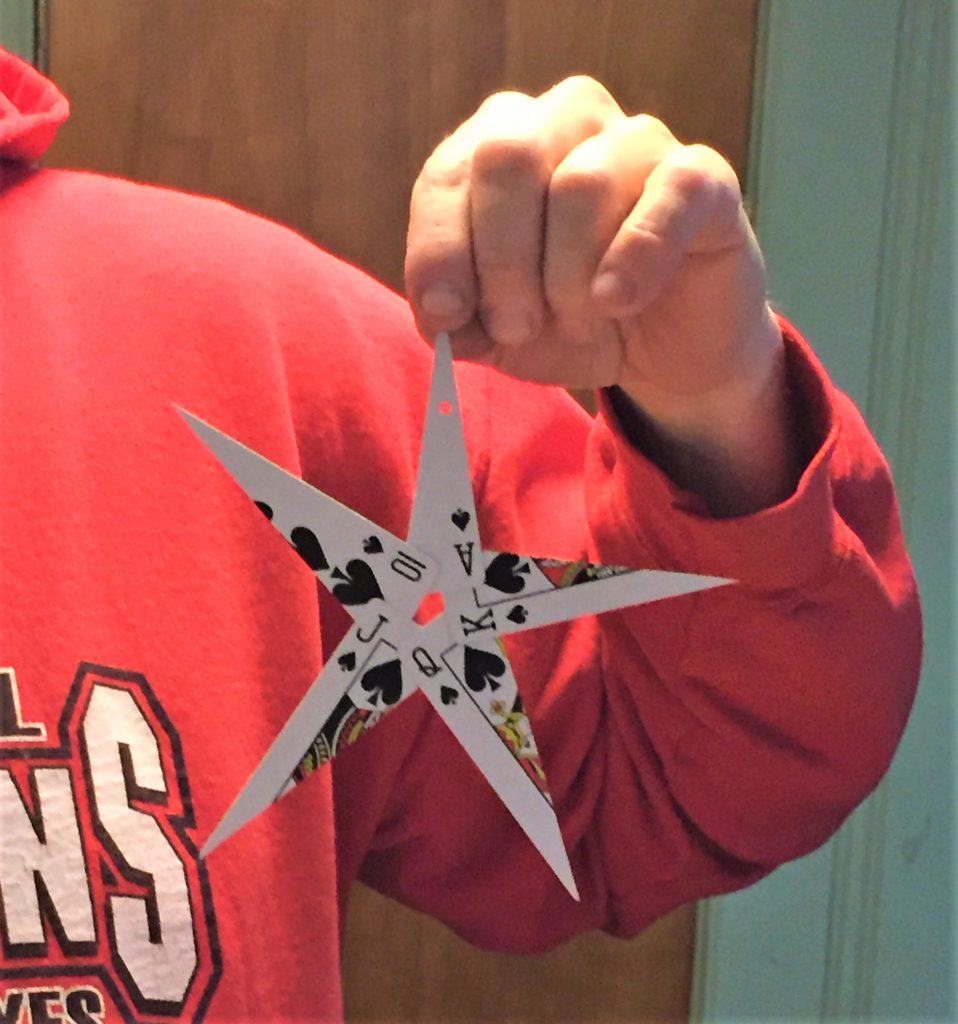
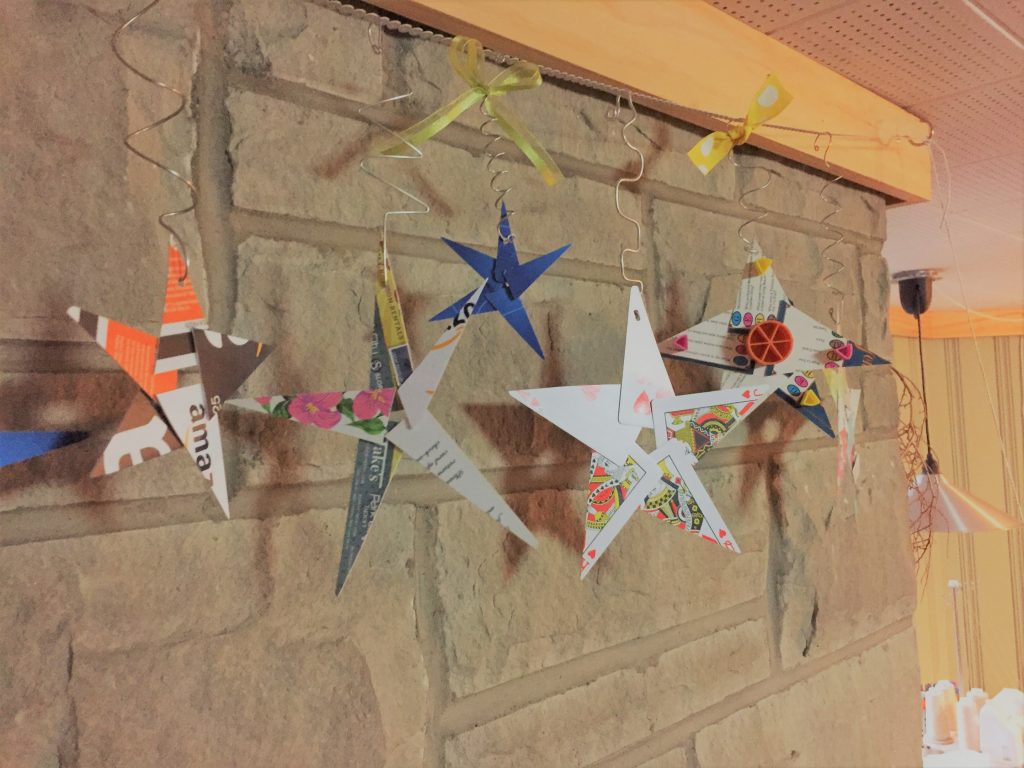
8. Hang and high-five
Place your card star high up on your Christmas tree for all to see.
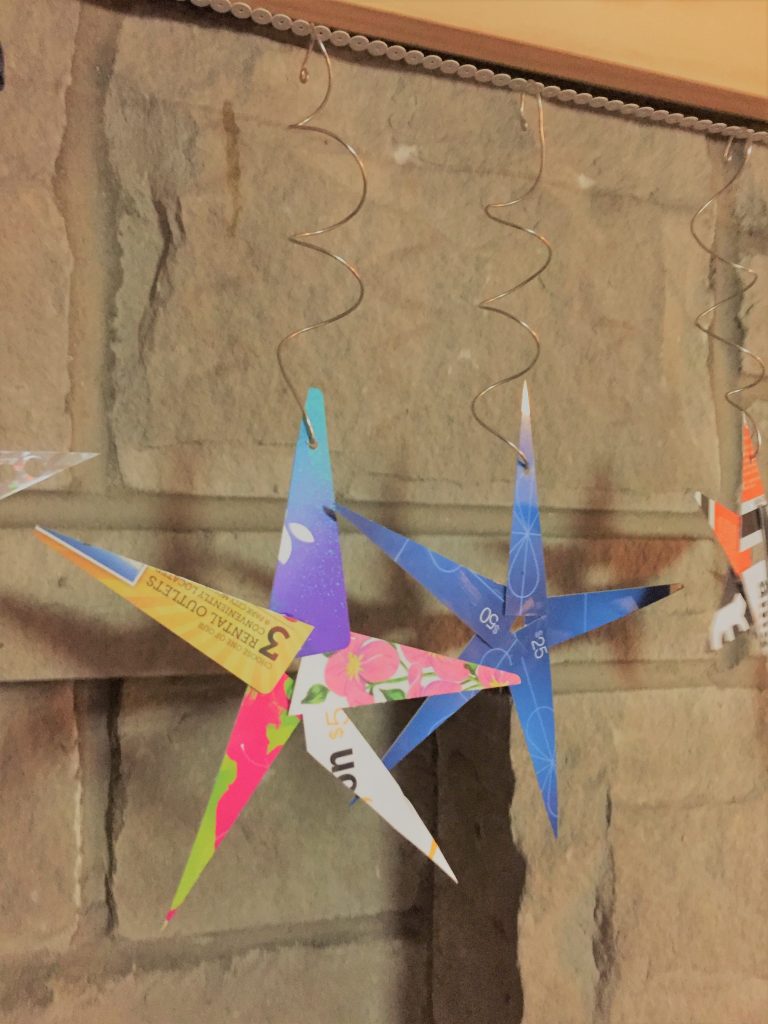
Hang group from your mantel to draw attention to there.
Cluster a group to hang from your chandelier or ceiling fan.
Display a larger one, cut from pieces of the game board, on your front door instead of an oh-so traditional, oh-so expected round wreath.

These card stars will be sure to shoot right into the hearts of all who receive them from you!

