You’ll See the Light with a Christmas Tree from Old Lamp Shades!
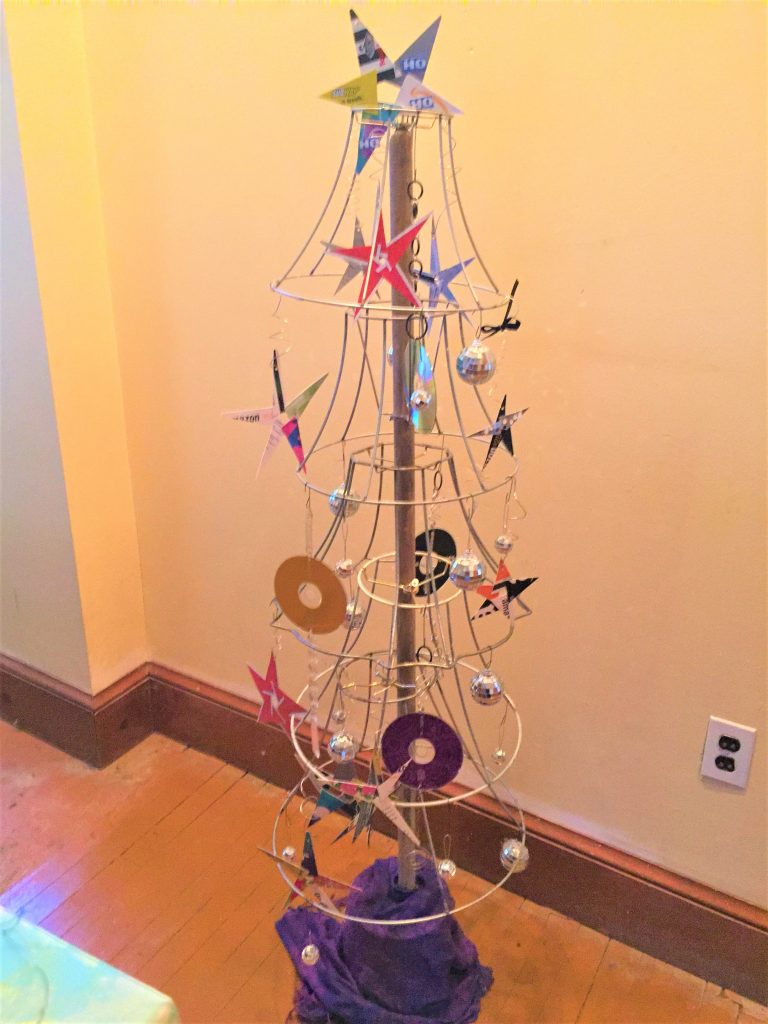
Create holiday magic when you transform old lamp shades into a very cool, very hip Christmas tree. No mess or fuss or pine needs to clean up, just an eye-catching, funky decoration that have you rocking ‘round and dancing ‘round the Christmas tree!
Ability level: Easy
Items:
1. 5 lamp shades, bell shaped/curved sides
2. Wooden broom or rake handle
3. Empty paint can
4. Wood screws, various sizes
5. Rocks
6. Drill
7. Screwdriver
8. Scissors
9. Ornaments
Cost: $15
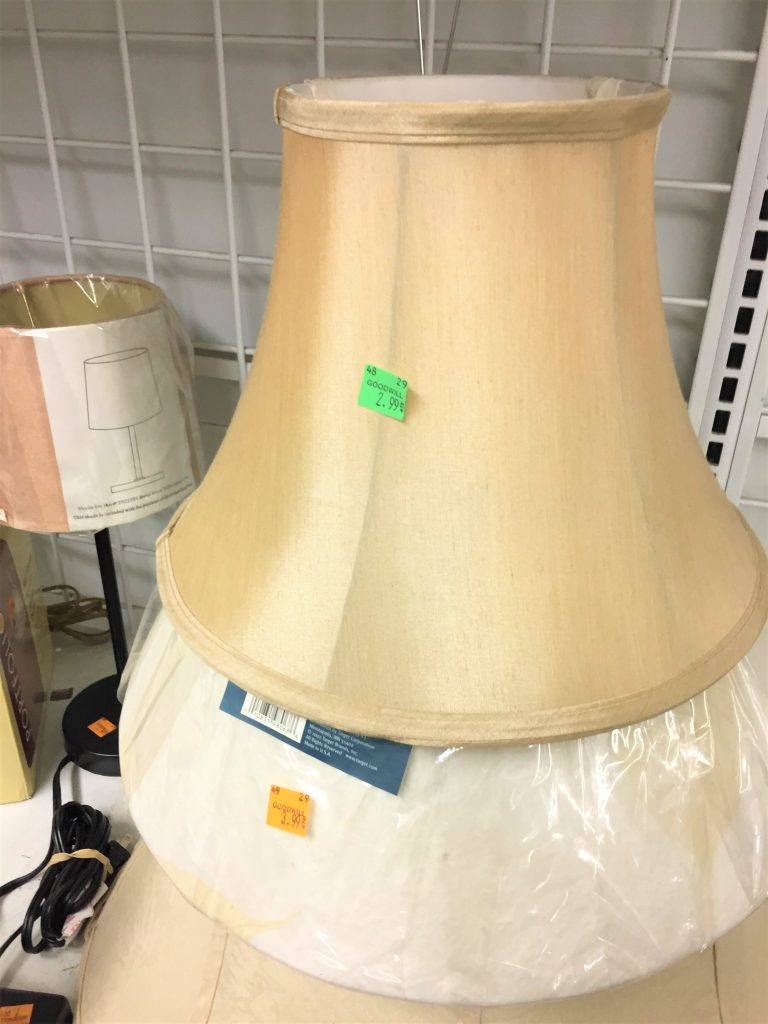
- $3 per lamp shade
- $0 for rocks
- $0 for wooden handle
1. See the light & find your good at your local Goodwill store
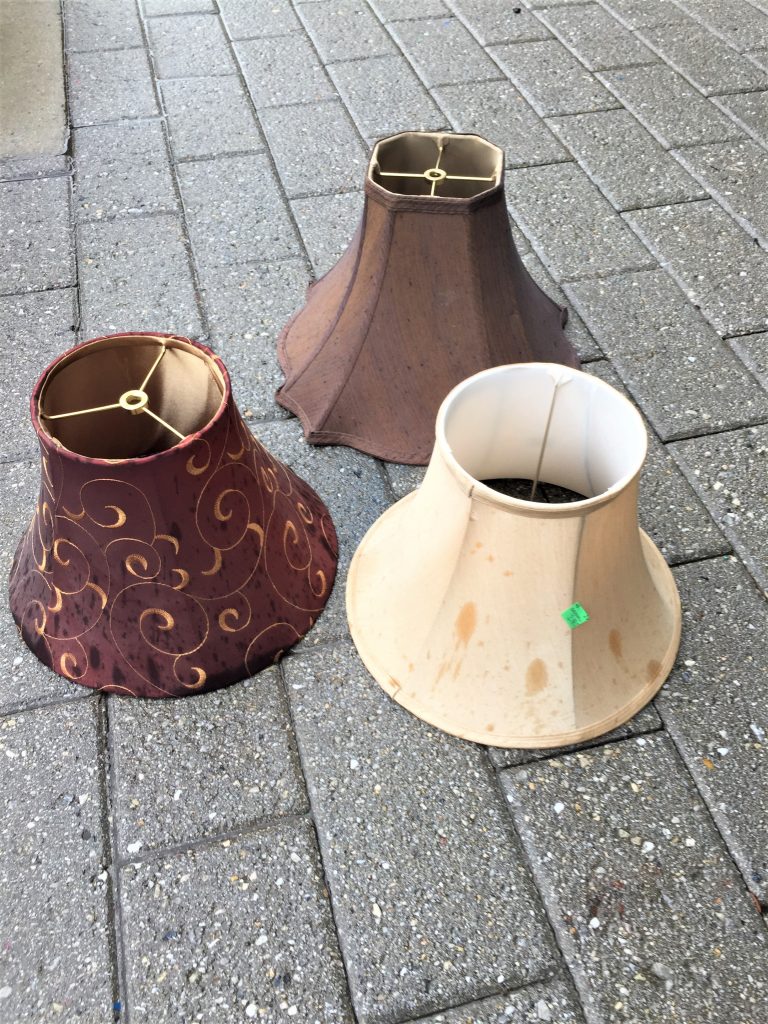
While the items you come across at Goodwill stores will vary from place to place (which is part of the fun of hunting there), each store has an electronics section where lamps and lights reside, waiting to go home with a lucky shopper. Also in this area, you will find lamp shades by themselves for just a few dollars each.
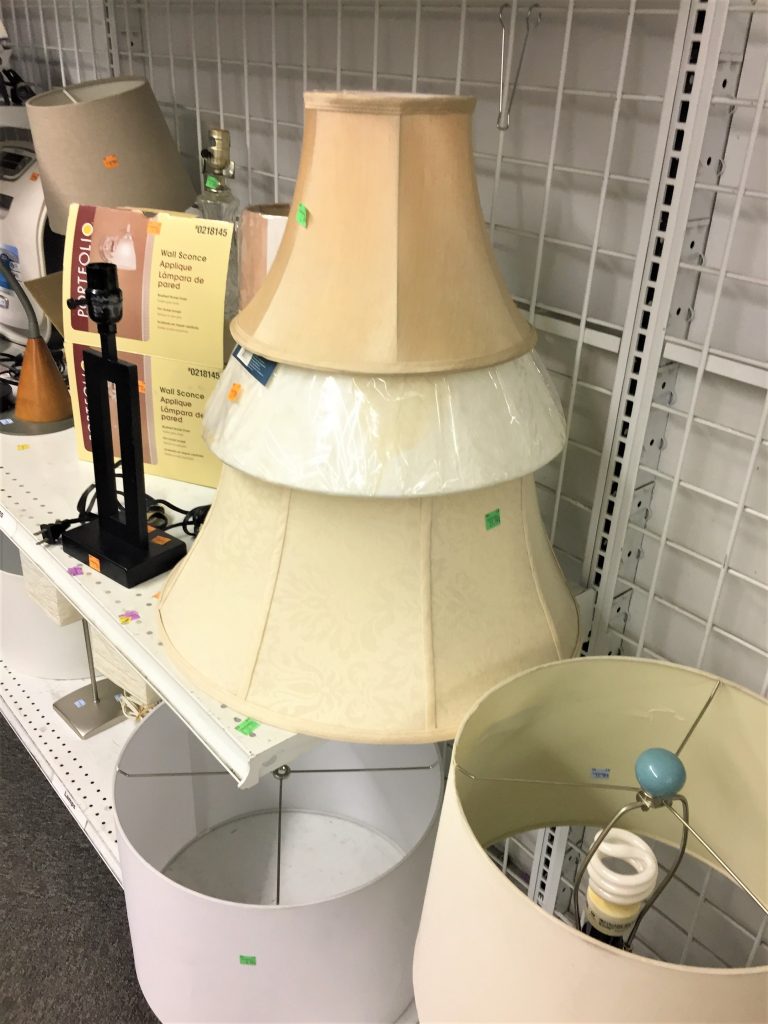
Look for those that are bell-shaped where the side edges gently curve from top to bottom. The bell-shaped ones look organic and free-flowing, especially when grouped. Ideally, purchase five in various sizes so when placed together, they will be smaller at top like a pine tree.
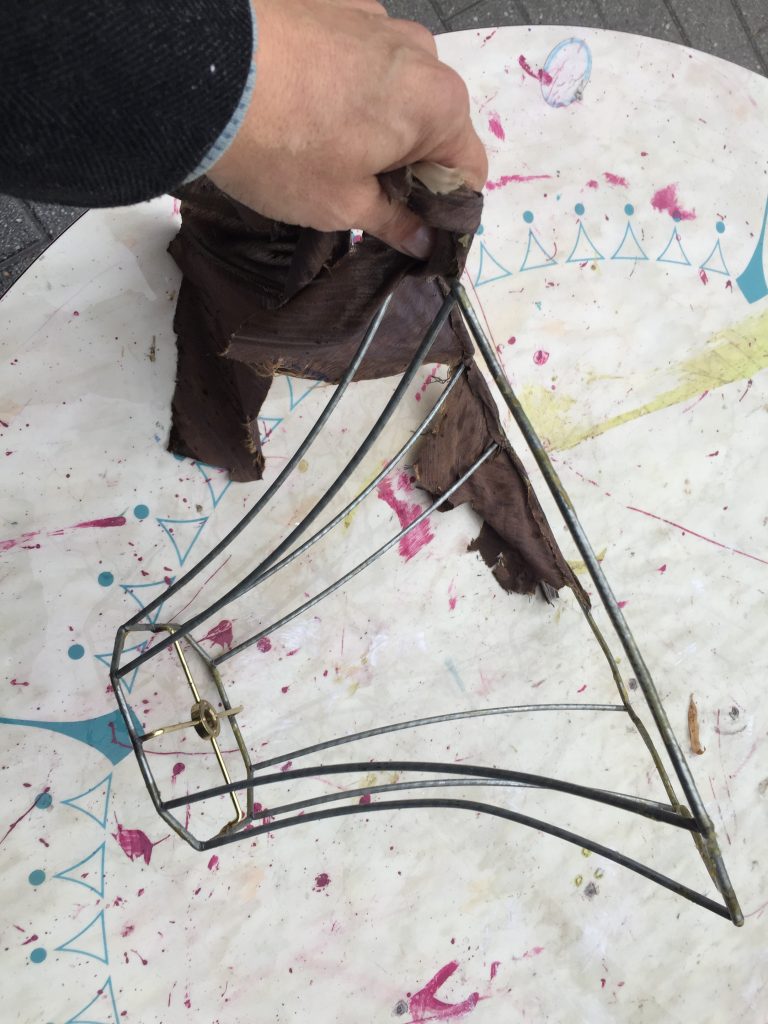
2. Rip ‘em apart
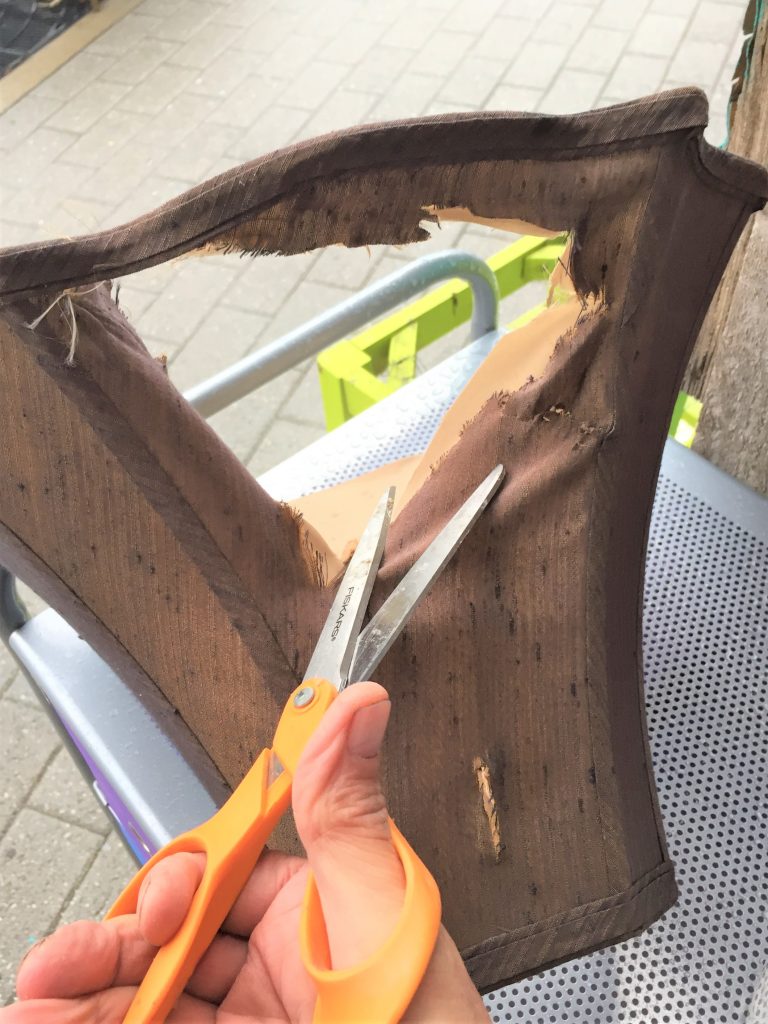
- Since you only want the frames for this festive DIY project, remove the fabric from each shade.
- Use your scissors to cut them open then pull and rip the fabric away from the wire structure.
- Don’t be afraid to use some muscle as the glue that holds the material in place along the top and bottom might be strong. Remove all pieces and discard them.
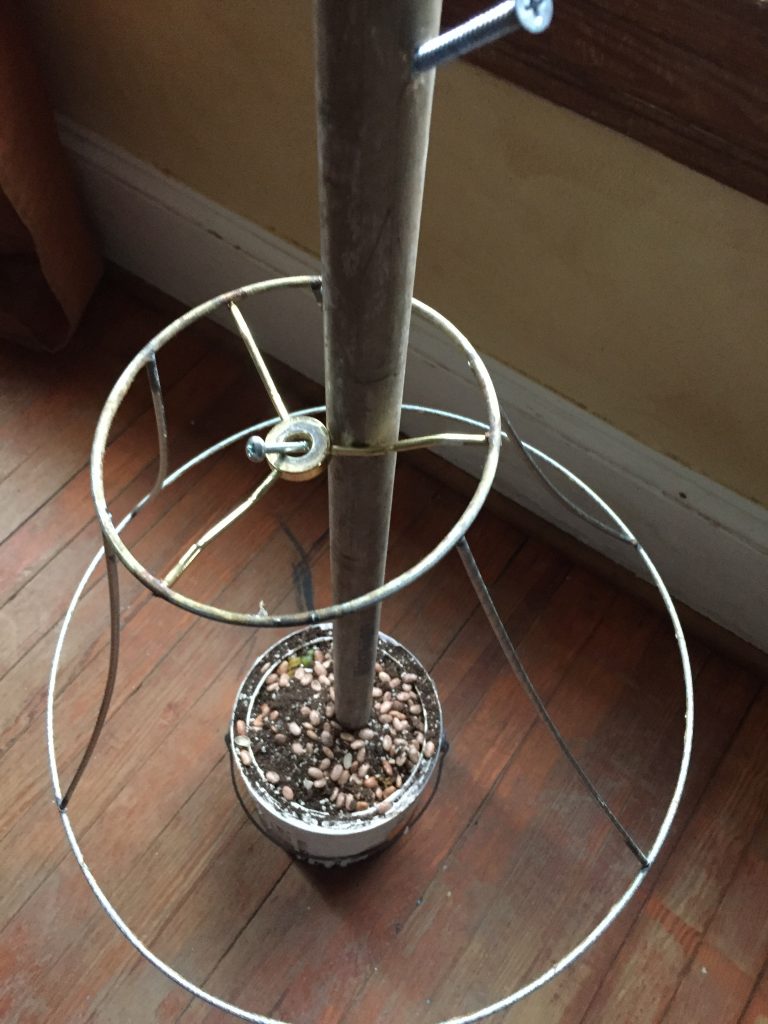
3. Plant your tree trunk
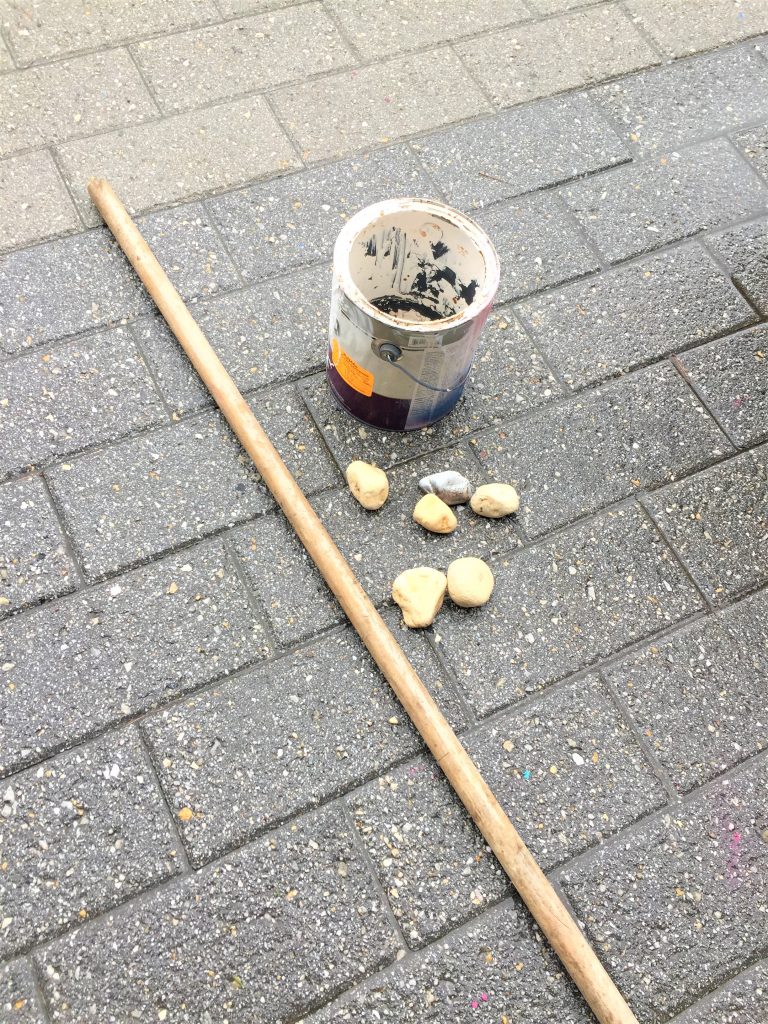
- Place your wooden rake or broom handle (minus the broom or rake part of it, of course!) in the center of your old paint bucket (you could enlist a big flowerpot, small trash can or bucket as your base, too).
- Place small rocks and pebbles around it until your entire container is filled. If you have it handy, you could also add some potting soil or sand on top now for a really tight fit.
- Given that the base lamp shade frames and ornaments are fairly light in weight, the rocks and peddles should keep the handle upright and secure. This handle/pole will serve as your tree’s trunk.
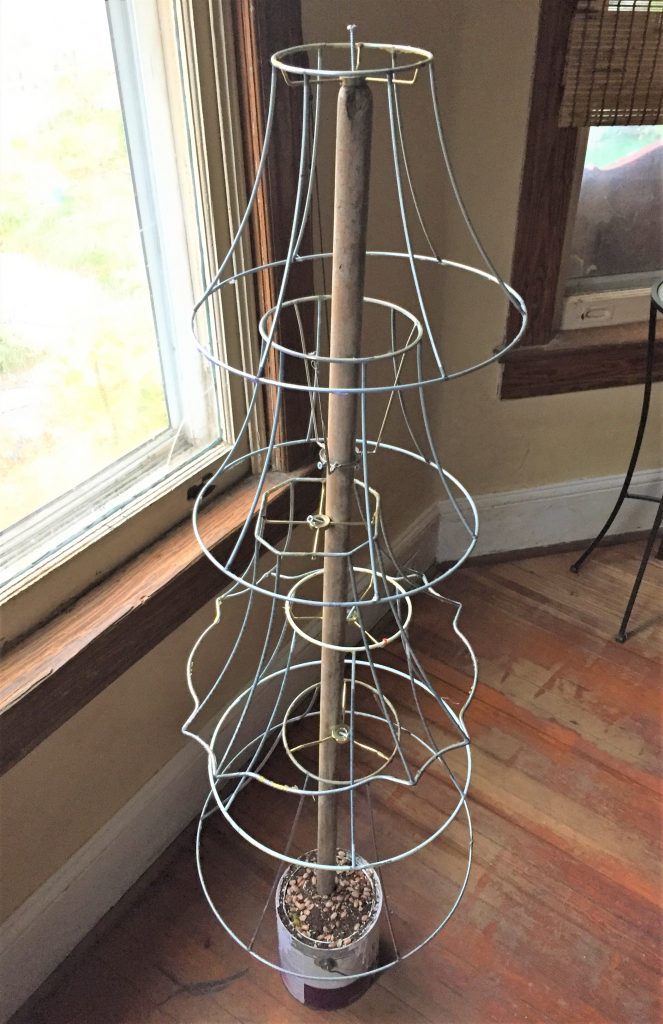
4. Thread the trunk through the shade frames & drill in place
- So that you know where to secure each lamp shade on the pole, place the largest of the shades over the pole then let it slide down to sit on the floor around the paint can.
- Repeat until all shades—which will become the trees branches—have been placed on top of each other again with the smallest shade on top.
- With your drill, make a hole in the top, upright end of the pole. S
- crew in one wood screw so it sticks out a little bit above the end. Move the top shade from the floor, up the pole then place its center holder (the place that you would have secured it to the lamp base) over the screw.
- Move to the second lamp shade, your next row of branches from the top, and determine where you want it to go on the pole so that the top of lamp shade number 2 is slightly inside the bottom of lamp shade number 1.
- Based on the shade’s design, you will want to screw in a wood screw into the side of the pole and at an angle. Place shade number 2 so its center goes over the angled screw.
- Repeat this step each time so that each shade frame overlaps the one below it. Drill a staring hold, secure a screw and place the lamp on it.
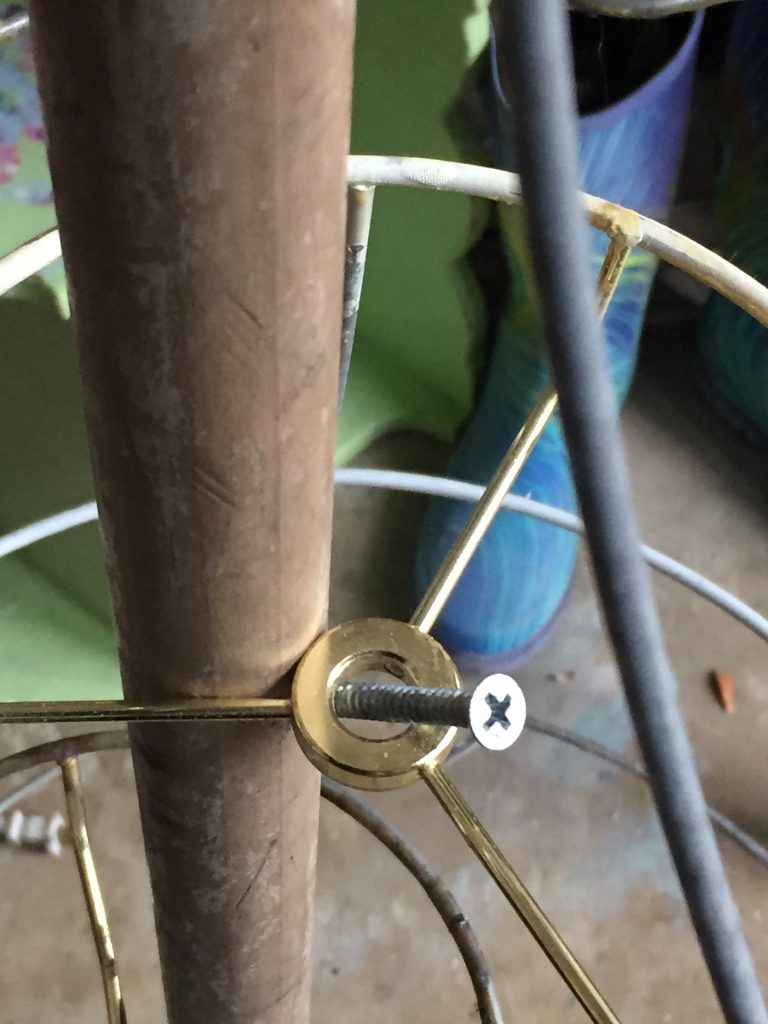
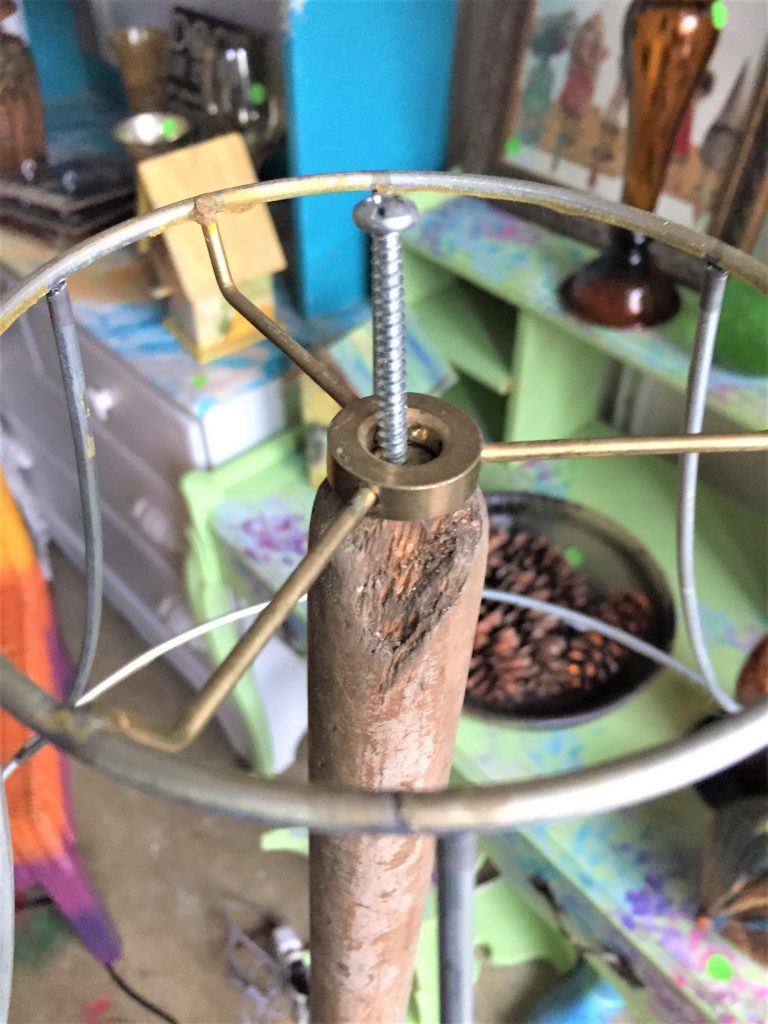
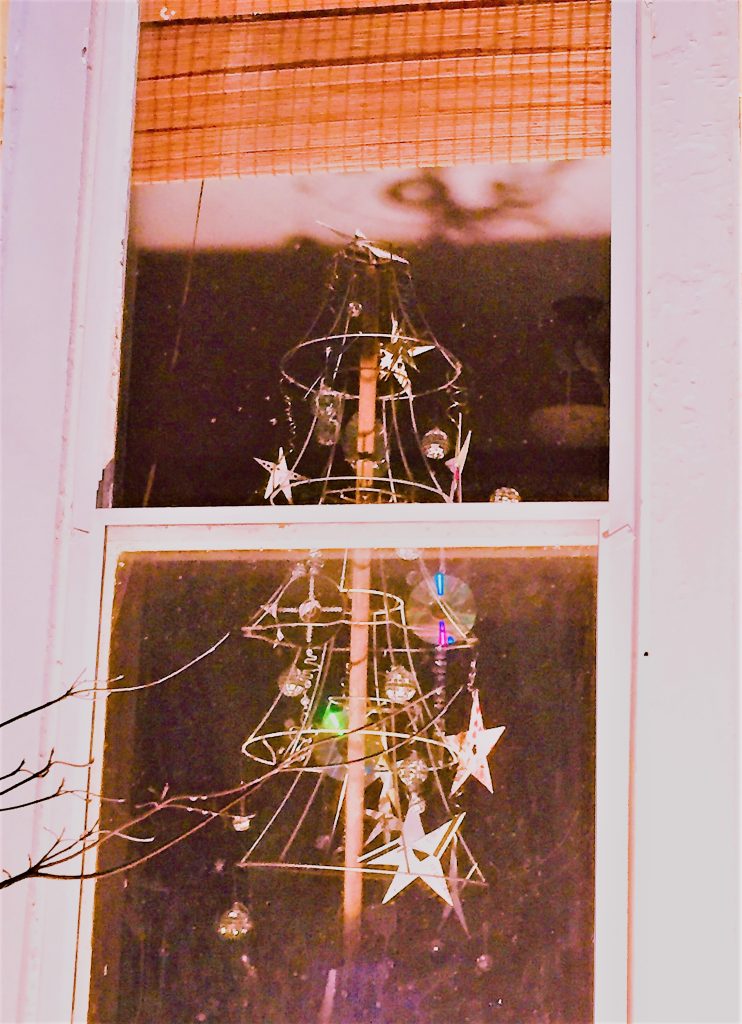
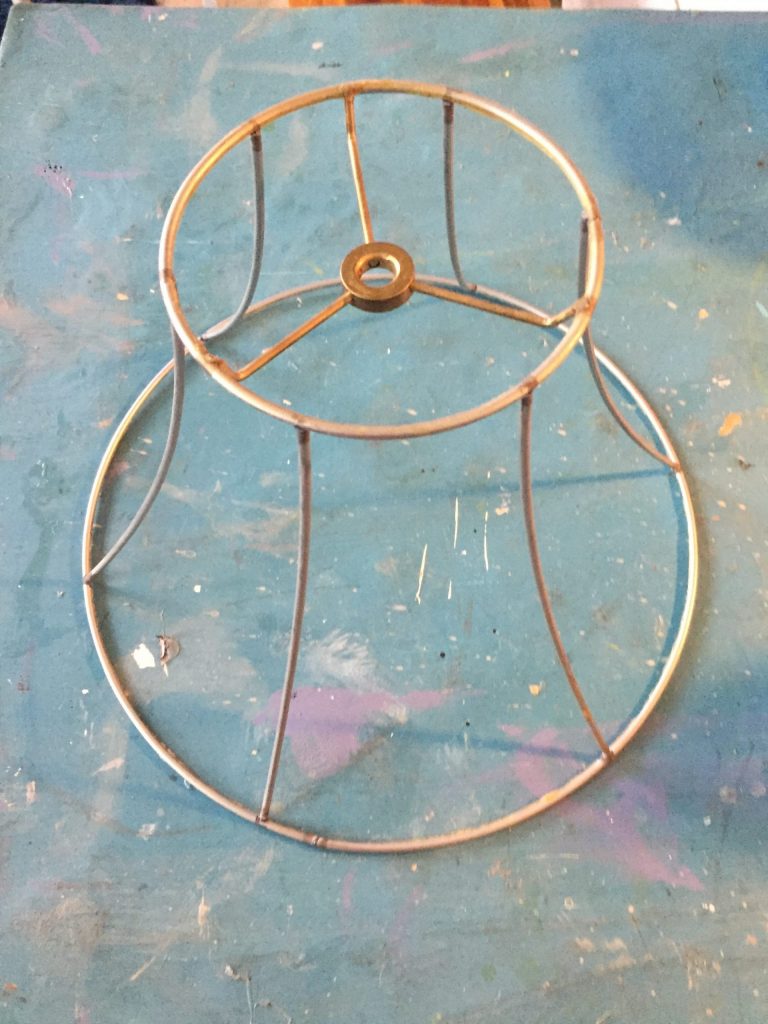
Expert Insight: the wire lamp shade frames will hang from the sides of the pole, secured by the screws. Since the pole used for this tree was too wide to go through the small hole in the center of each shade, each stacked shade will be slightly off center which adds to the overall whimsical look of the final tree.
5. Give your tree a skirt
- To add some color and to make your tree look more finished, cover the paint can with a piece of fabric.
- This “tree skirt” could be created from upcycled material, too. The tree skirt featured in this blog was a scarf, purchased at Goodwill for another project, and draped over the can.
6. Hang your ornaments on it and sing some carols

Place your favorite ornaments on the lamp shade frame’s various horizontal wires.
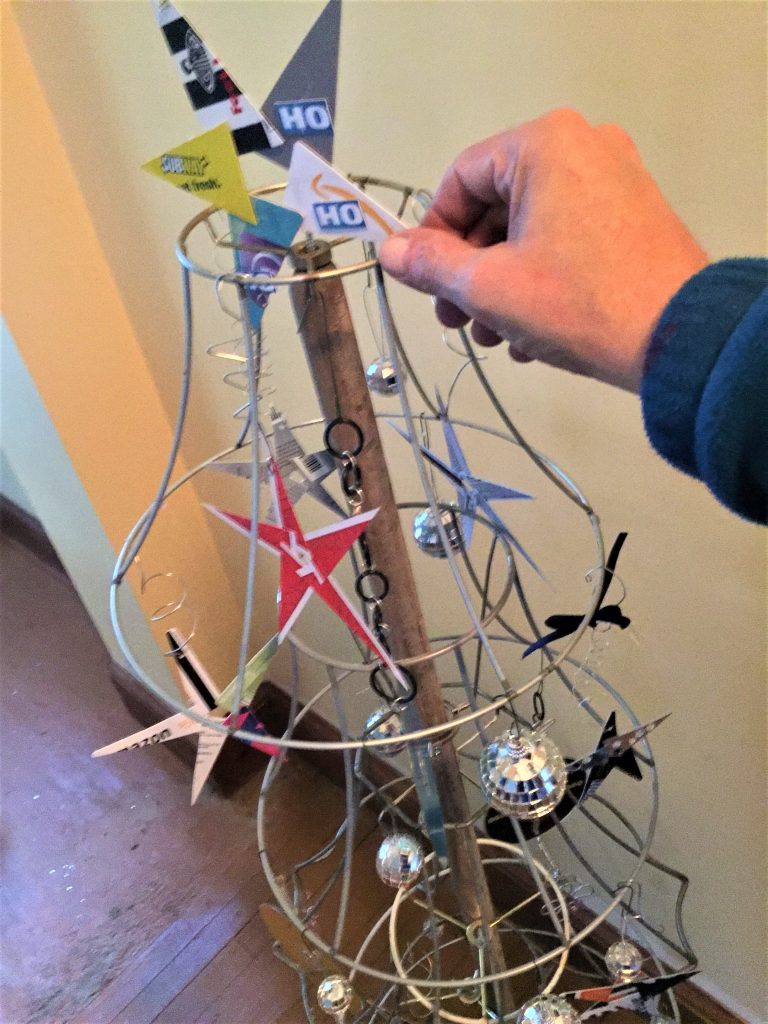
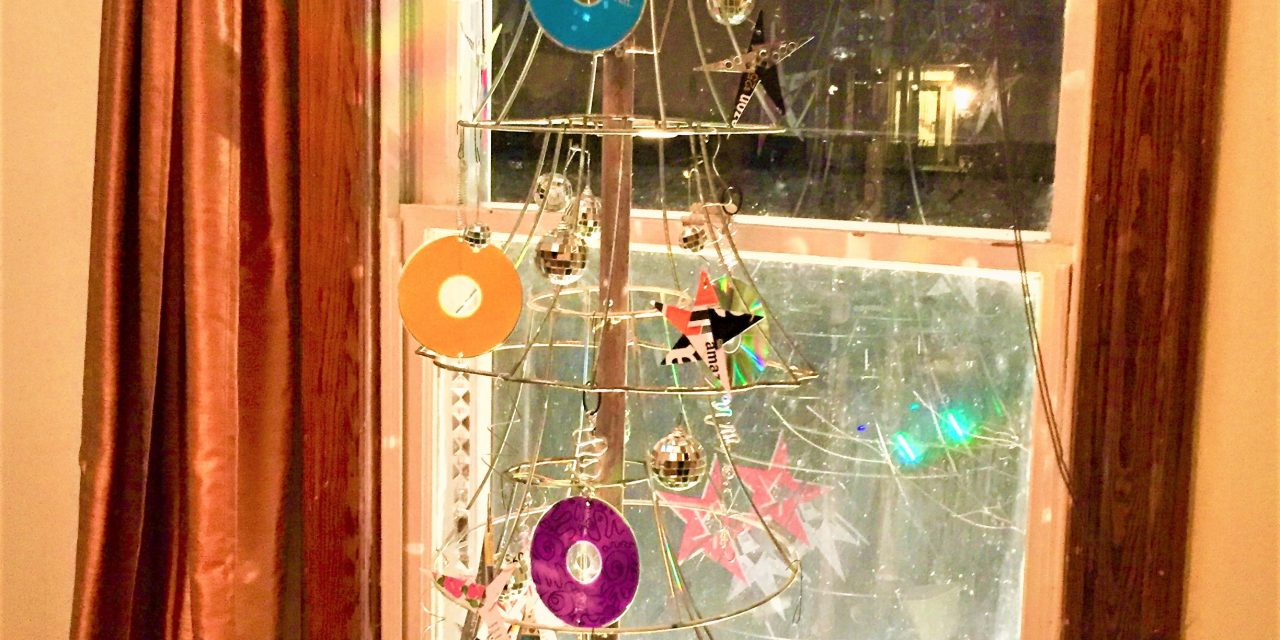
I love that I could use the star ornaments created from gift and playing cards (and featured in last week’s Finding Your Good blog post), along with ones created from old CDs and played up the whole upcycled/reuse theme of this tree.
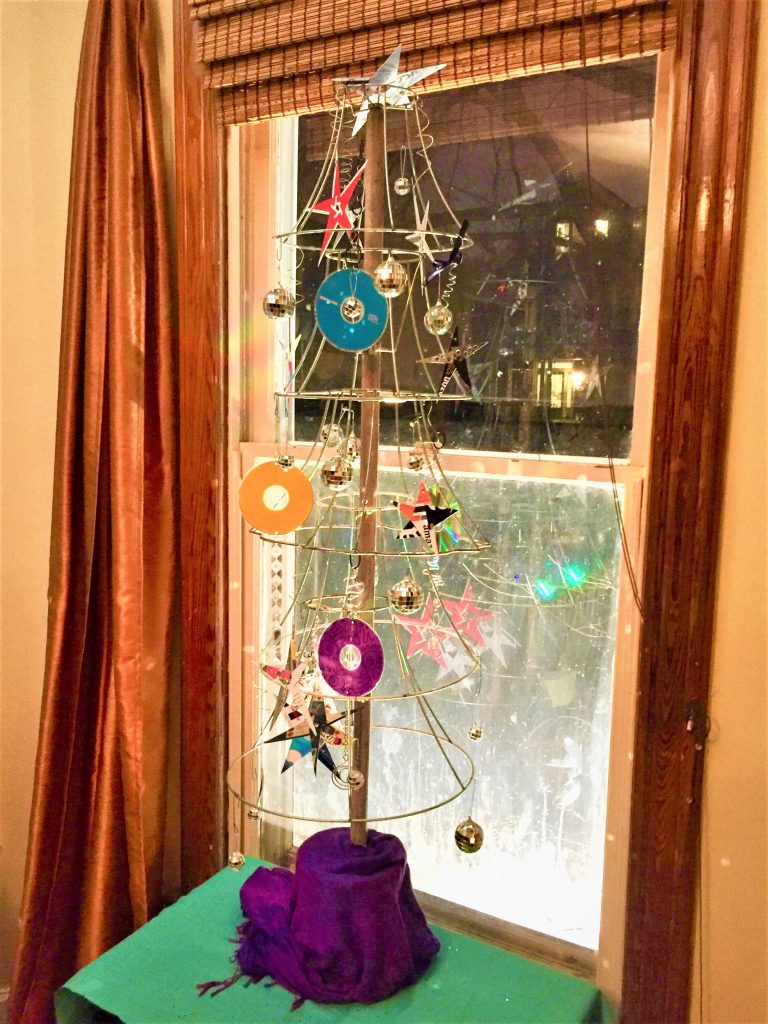
Place it in your favorite spot so this so funky and adorable tree welcomes all and greets the holiday season with transformational, festive flair!


