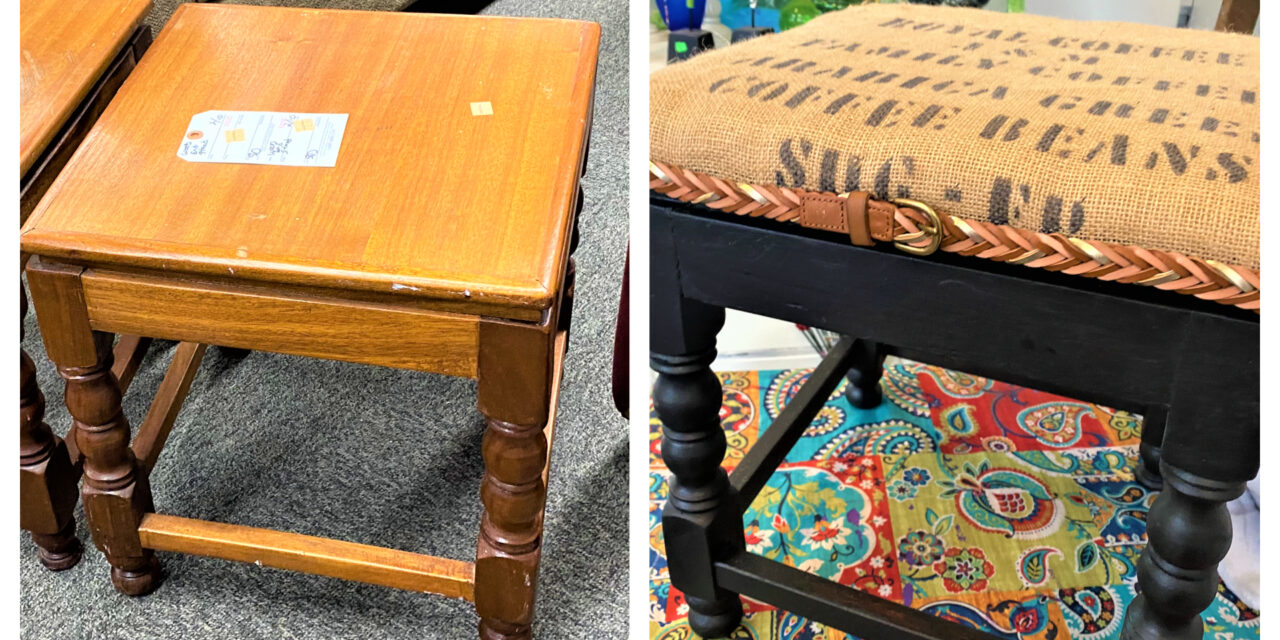
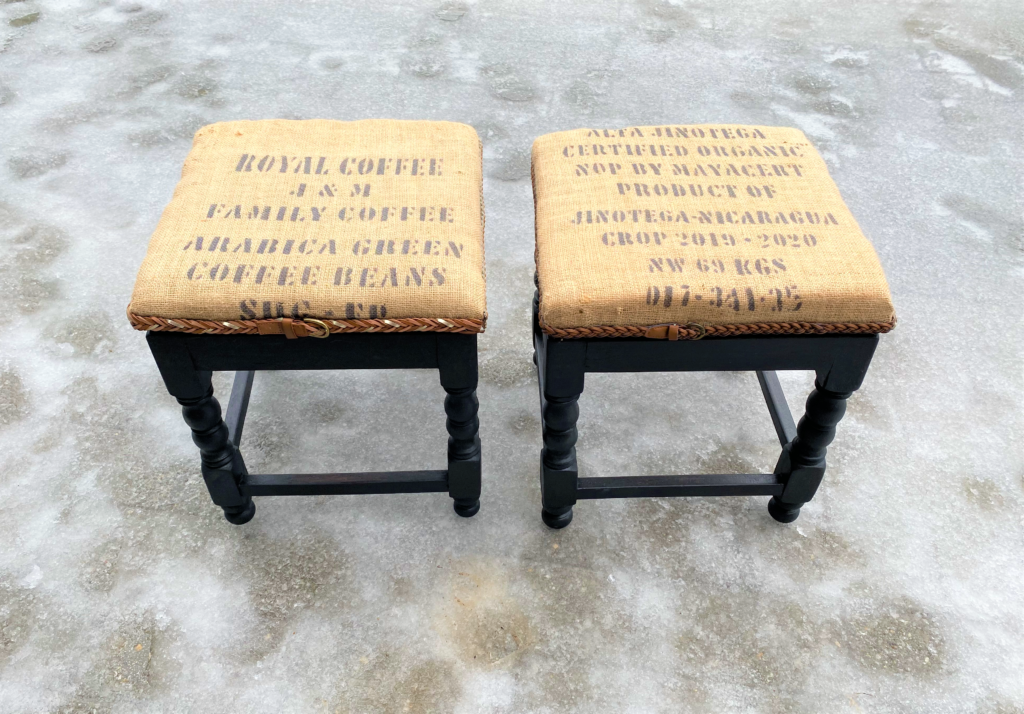
Transform dated-looking wooden end tables into hip and hot benches. Reuse burlap coffee sacks to cover them and enlist belts to add a finished look!
We always can use extra seating that is easy to move. Place them side by side in front of your sofa as they make a great place to rest your feet or set your cuppa Joe.
Thanks to Zeke’s Coffee, based in DC, for the burlap coffee sacks featured here. And thanks to its team for coming to the Farmer’s Market at the Arts Walk, where my studio is located, all-winter long!
Supplies:
1. Wooden end tables
2. Woven leather belts
3. Burlap coffee bean sacks
4. Foam padding
5. Black paint
6. Paint brush
7. Staple gun
8. Scissors
9. Epoxy glue
10. Polyurethane
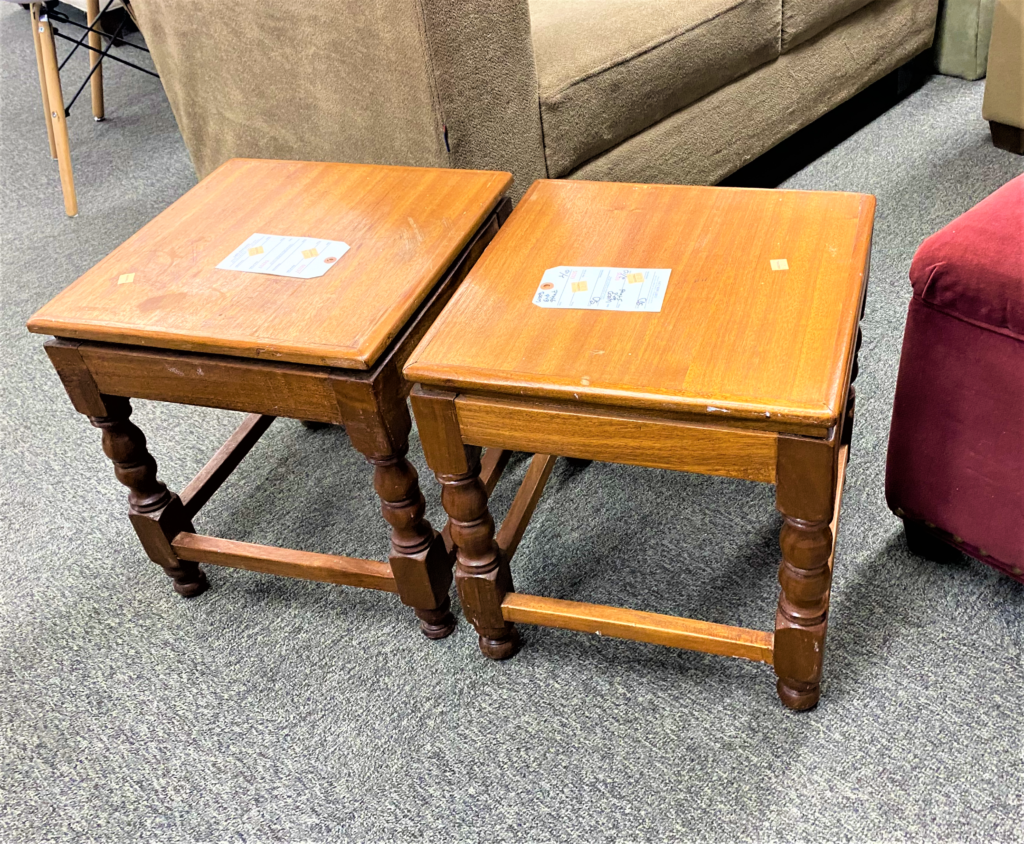
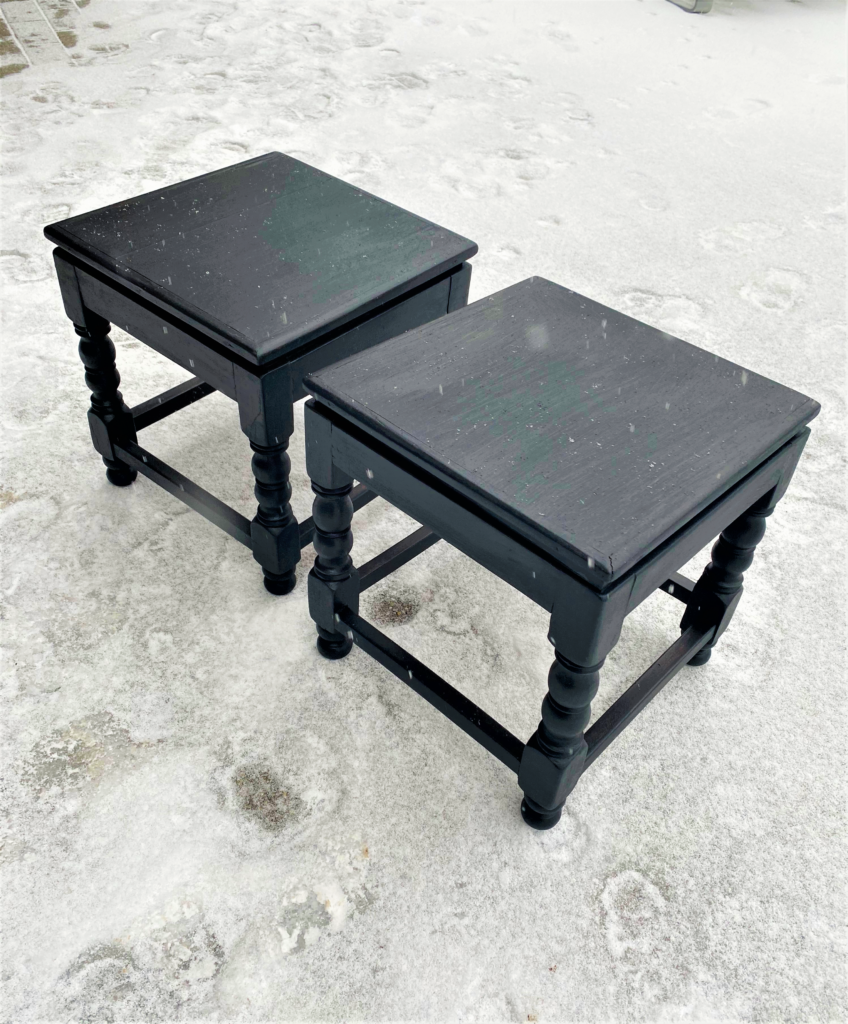
1. Find great treasures at Goodwill
There are always interesting and unusual items at Goodwill, so you’re very likely to strike gold while there.
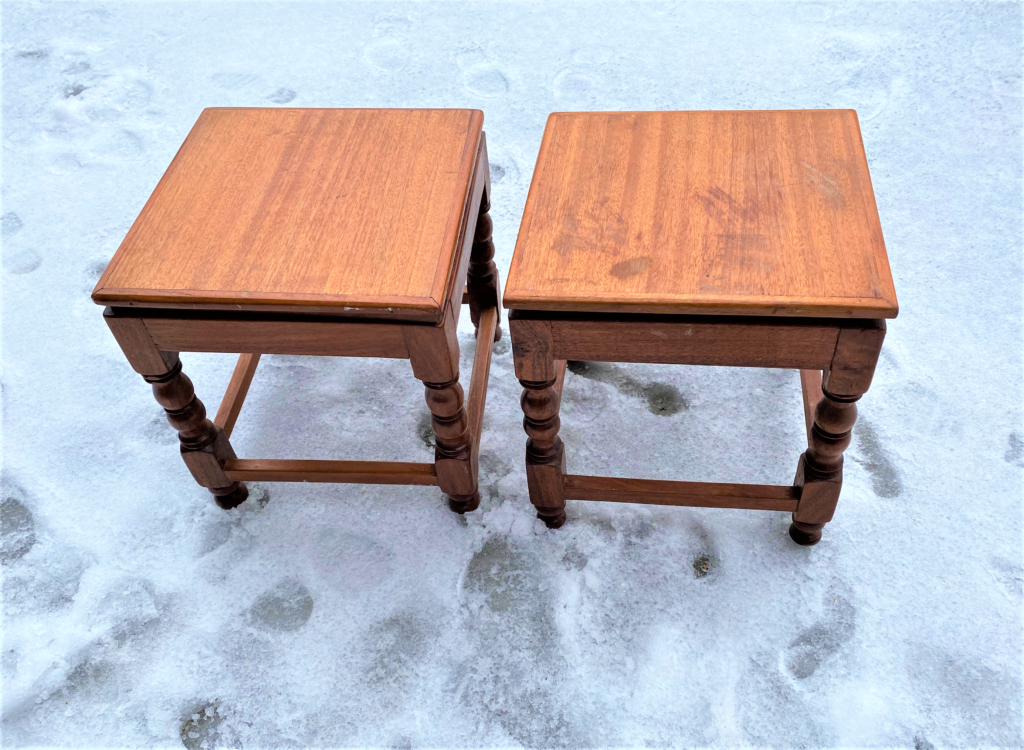
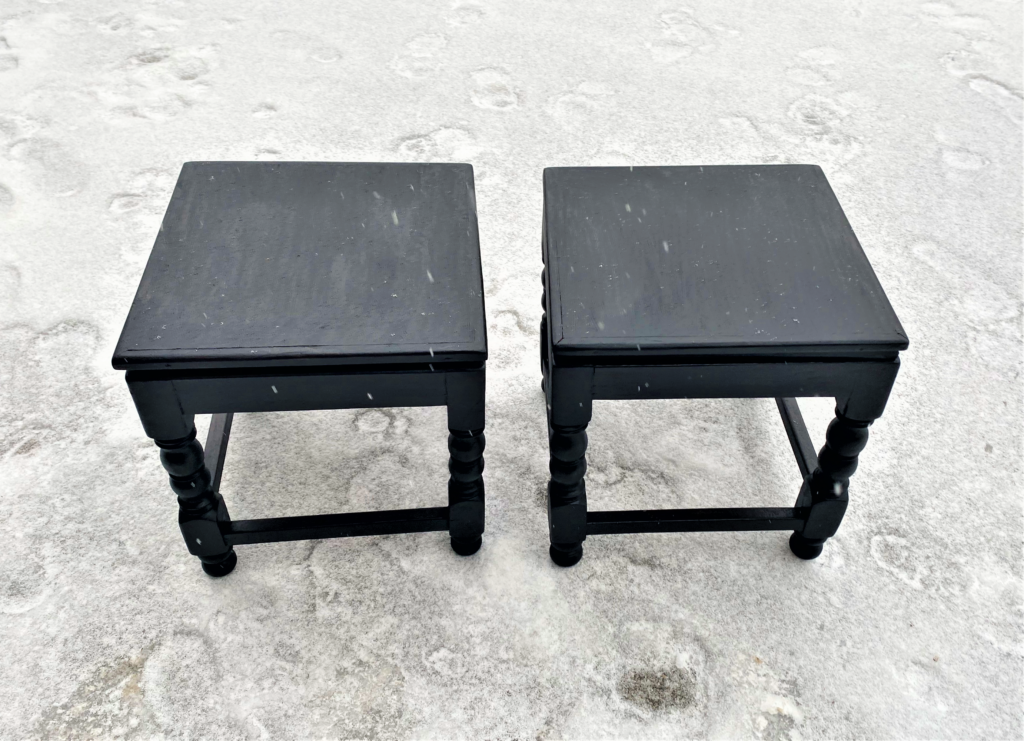
Two wooden end tables that were dated and dreary only had each other for company so I scooped them up and home we went. Their carved, knobby and solid construction were assets. Also, the idea of turning two small end tables into benches was very appealing.
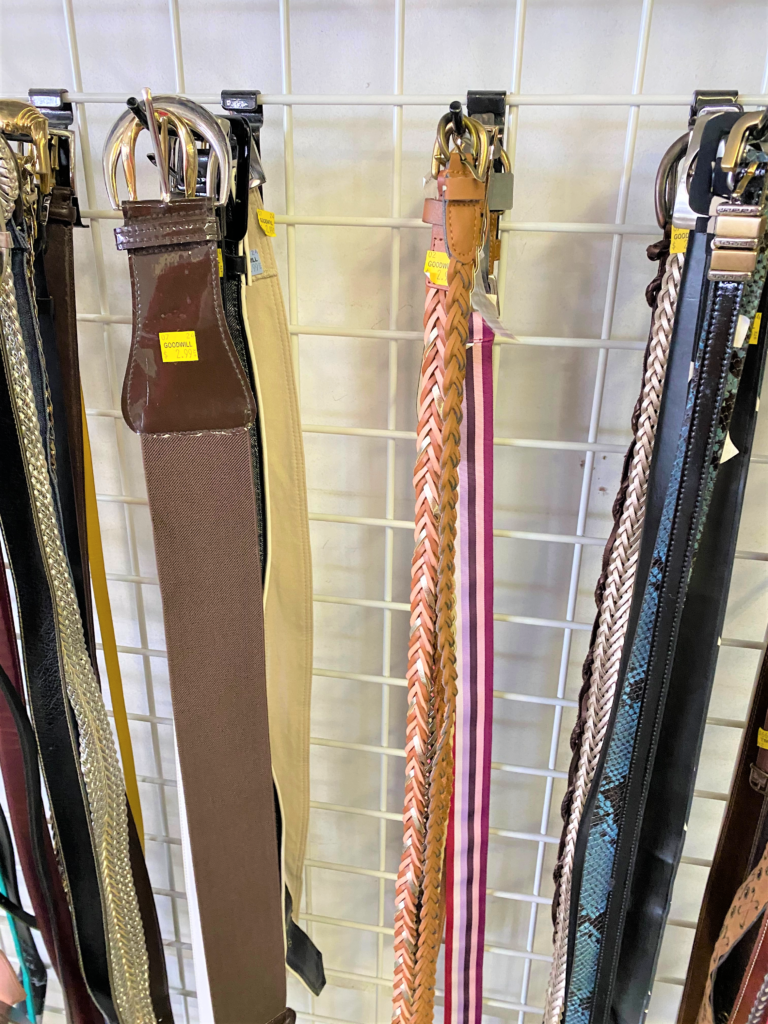
There were lots of great braided leather belts available in the Women’s Attire area, so a small collection also went home with me.
What treasures have you found on your latest adventure to Goodwill?
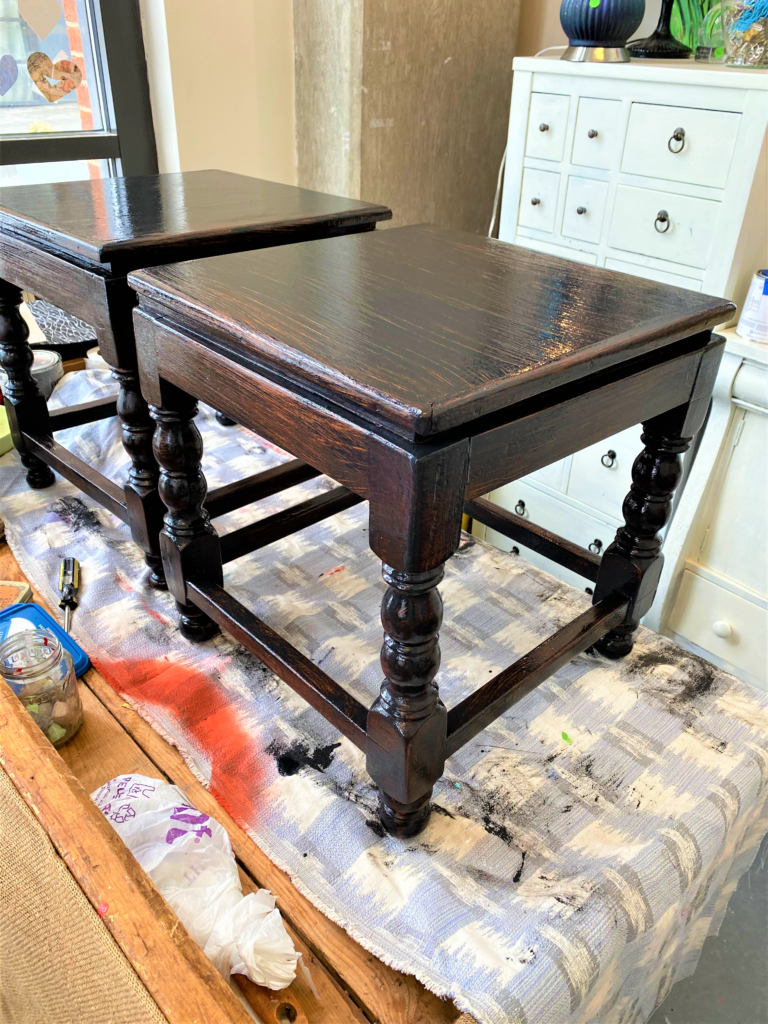
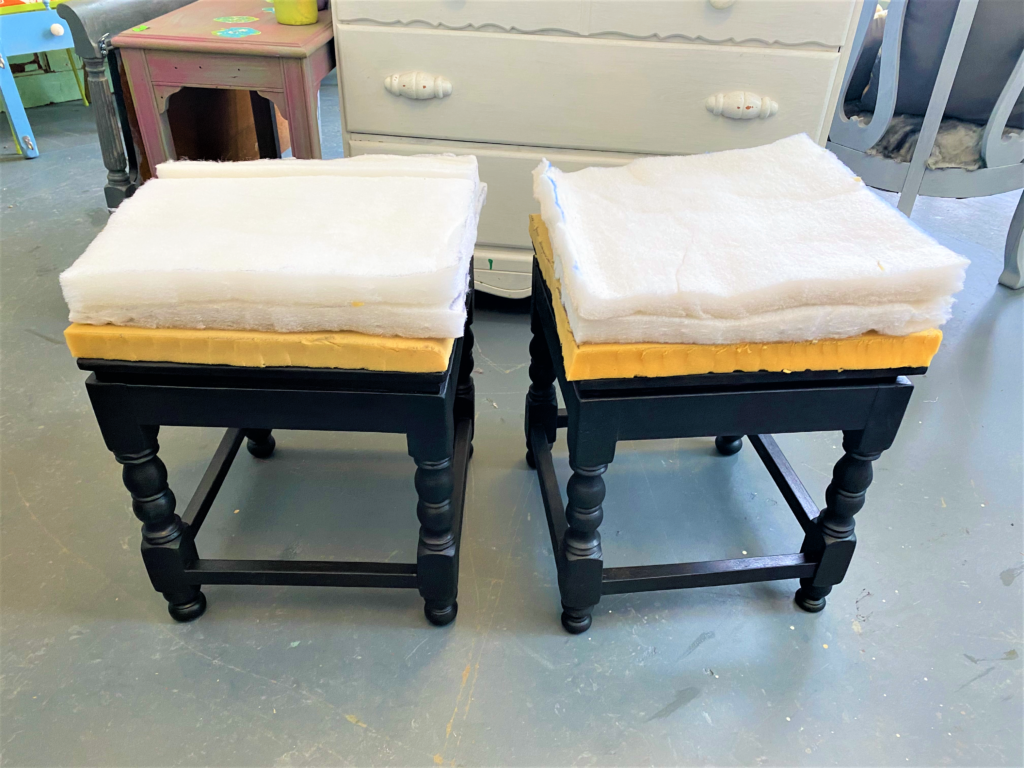
2. Brush on a color transformation
Many of my upcycled/repurposed pieces featured in the Finding Your Good blog or in my studio are bright colorful after I give them the “Tim Treatment.” However, I knew a coal-black hue would make this old pair look contemporary and urban-cool, so it that was the easy choice.
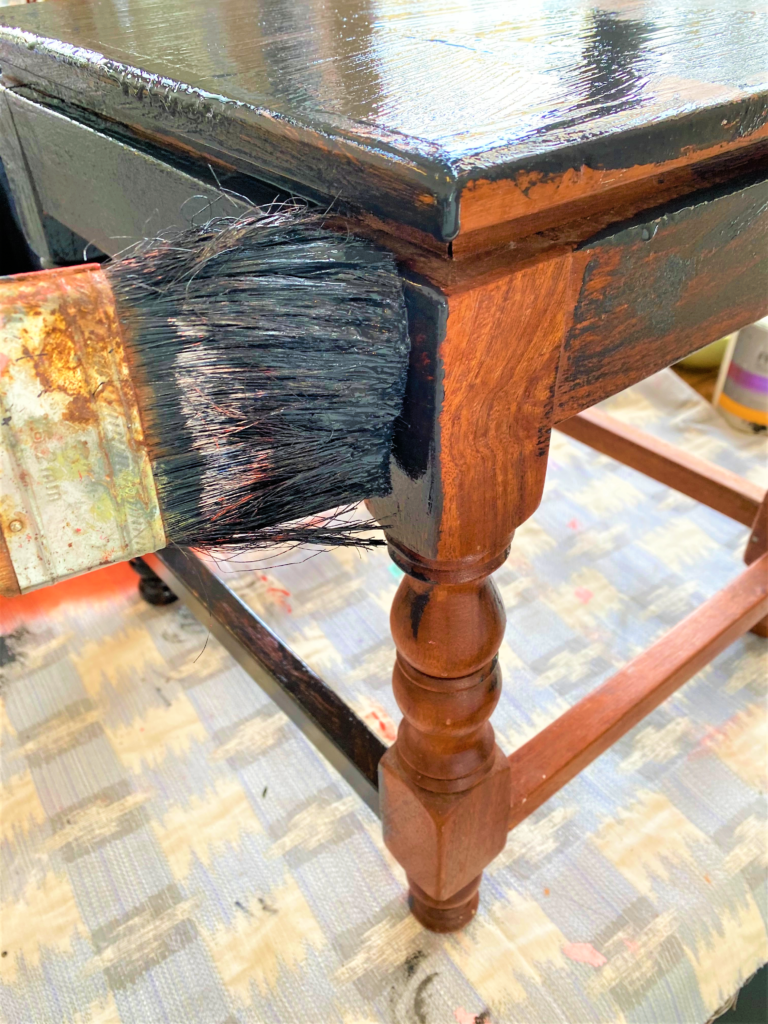

As with any wooden piece you are going to paint, take time to:
- a. Sand it all over with mid to coarse sandpaper
- b. Wipe it down to remove dust and debris
- c. Paint on light coats
- d. Flip your piece as you go to get every edge
3. Place your padding
Foam padding, if bought new, can be very expensive so ask yourself – what do you have on hand or could you pick up at Goodwill?
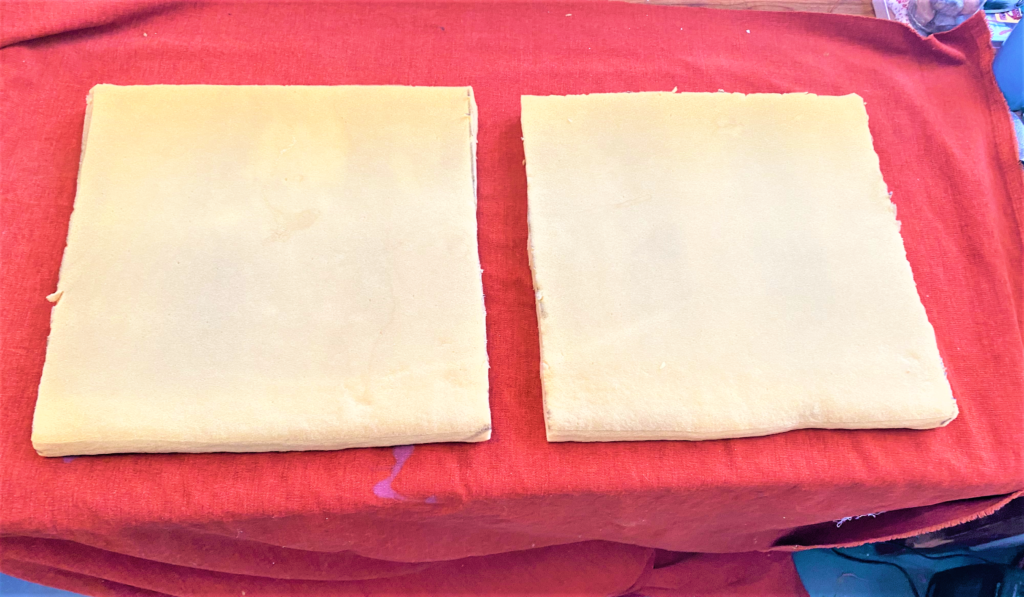
I had a covered seat cushion from an outdoor love seat that was no longer being used.
- I removed the cover, took out the foam and padding and traced around the tables.
- Sharp scissors made cutting the padding easy.
- The inside of throw pillows, part of a couch, piece of bedding all would have worked well too.
- After trimmed to fit, some wood glue was added to the tables’ tops to secure the padding in place.
4. Measure your material

Burlap coffee sacks are a funky option to use when doing simple upholstery like covering a chair or bench seat. The graphic of the words or design adds another visual interest to the final piece.
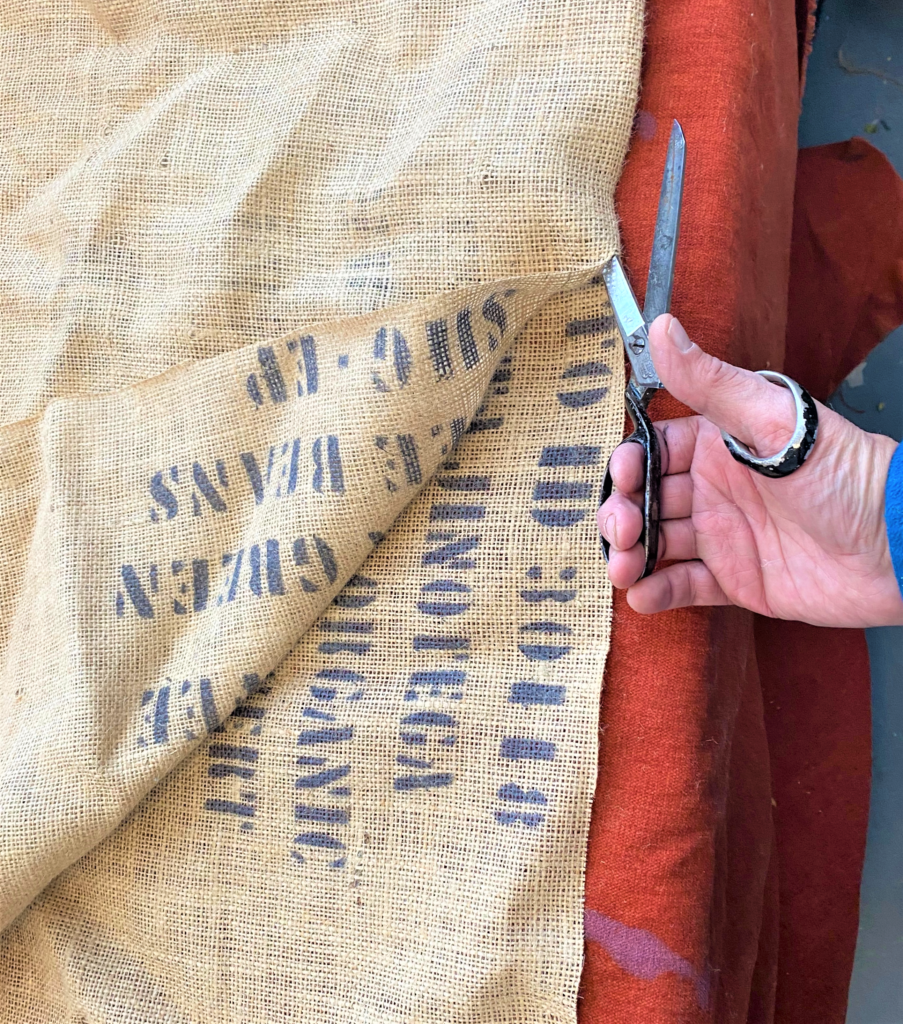
- Measure your material to allow extra along the edges.
- Also, you will want to do your best to line up the lettering or graphics in the center of your piece.
- With your scissors, carefully cut the burlap.
5. Get staple happy
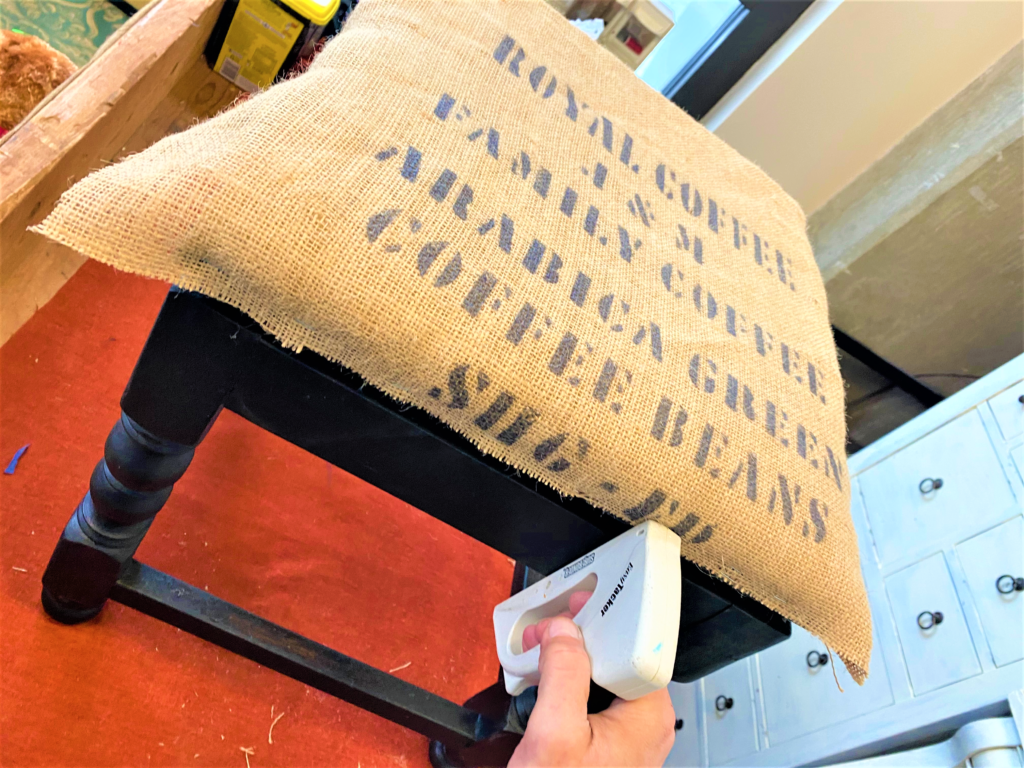
- Along one side, secure your fabric with two or three staples.
- Go to the opposite side, pull the material snuggly, then a couple of staples.
- Repeat this step on the remaining two sides. This will hold the burlap coffee sack material in place.
- Fill in the spaces along the edges with more staples, all in a line, to ensure a tight and solid fit all the way around.
- For each corner, fold the fabric so it has a nice clean angle, then staple that too.
- Trim away any extra material from below the line of staples created.
6. Embellish with a belt or two
- To hide the staples and rough/raw edge of the material, use several woven leather belts.
- Given that an individual belt was not long enough to go around the entire bench, I chose to use two belts for each bench and cut them so that a belt piece would cover two sides.
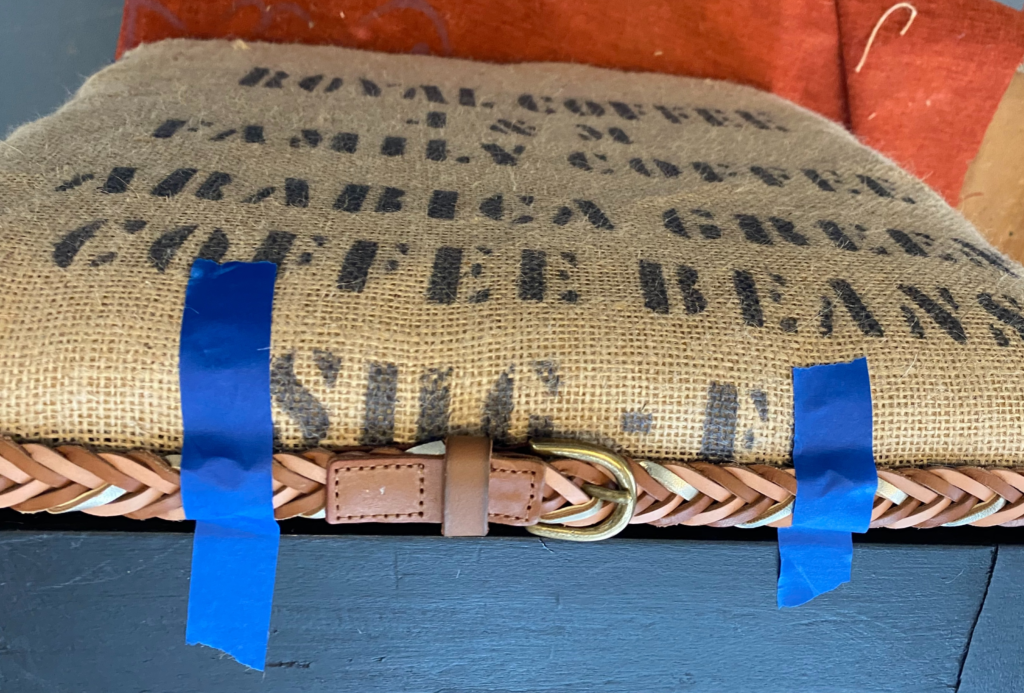
- Measure as you go and use painter’s tape to hold in place.
- Using five-minute dry time epoxy glue, brush on a line of glue then place the belt on top.
- Allow time to dry and return with a small detail brush to add glue to secure any places where there were gaps.
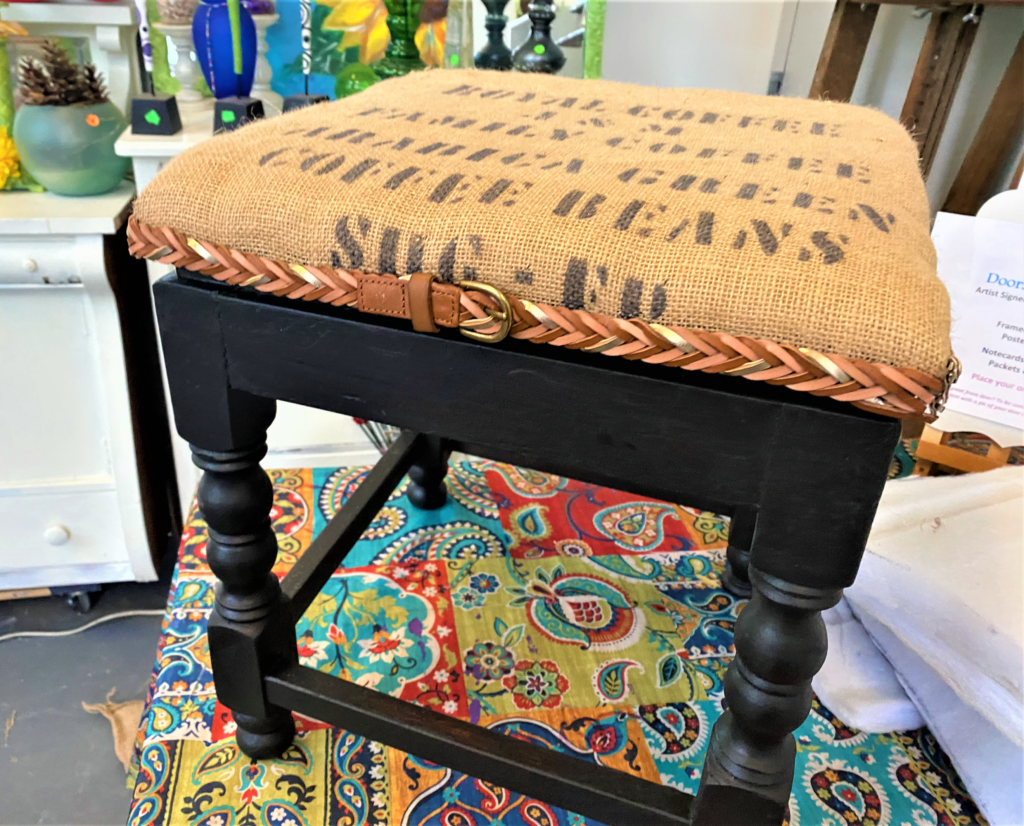
- To highlight the repurposed look and appeal of the now benches, I positioned a belt buckle on one side so there was no doubt about their function in their previous life.

Tim Kime
Artist, Motivational Speaker, Life Coach

