Think outside the box: rather than using a canvas to express your artistic talents or practice your painting skills, consider using a table top to unleash your creativity while making a truly unique piece at the same time.
Ability level: Easy
Age Level: Kids (with some supervision) and adults
Items needed:
- Wooden coffee or end table
- Spray paint
- Craft paint or leftover paint
- Sandpaper or sanding block
- Painter’s tape
- Several paint brushes
- Drop cloth
- Polyurethane
Time requirement: 2 hours (not including paint drying time)
Cost: Approximately $18
- $8 for a table
- $5 for a can of spray paint
- $5 for craft paint or other paint
- $5 for Painter’s tape*
- $5 for spray can of polyurethane
*There will be lots of left over for your next transformation
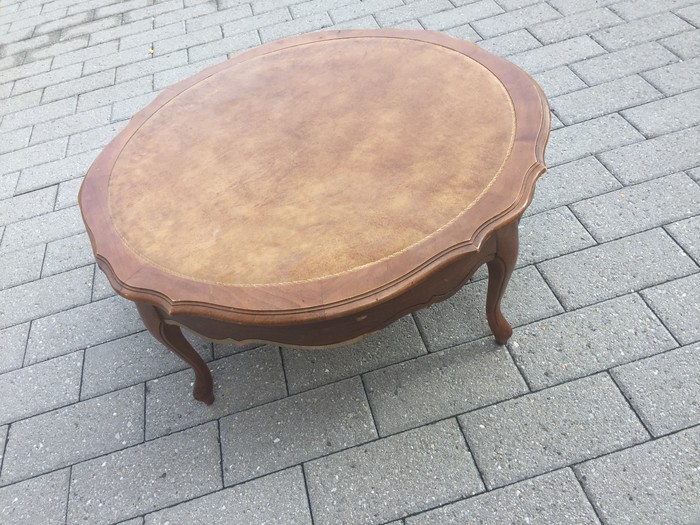
Step 1: On the Hunt for Flat Surfaces
Head on over to your favorite Goodwill Retail Store and visit the furniture section where you will find lots of interesting and inspiring choices for this project. Look for a coffee or end table with a unique shape or style AND with a flat wooden top. Any shape will do; I found a round table with small details that I loved because it felt and looked unique.
Step 2: Getting it Ready for Paint
You might need to tighten screws while holding the legs in place, or remove stickers/adhesive to ensure your table is ready to go. After you do so, use sand paper or a sanding block with a fine grain to gently buff the entire piece, top, sides, legs and all. This will help the paint better adhere to the surface of the table. Use a damp rag and wipe down the piece to remove any dust from the sanding and to ensure a clean surface.
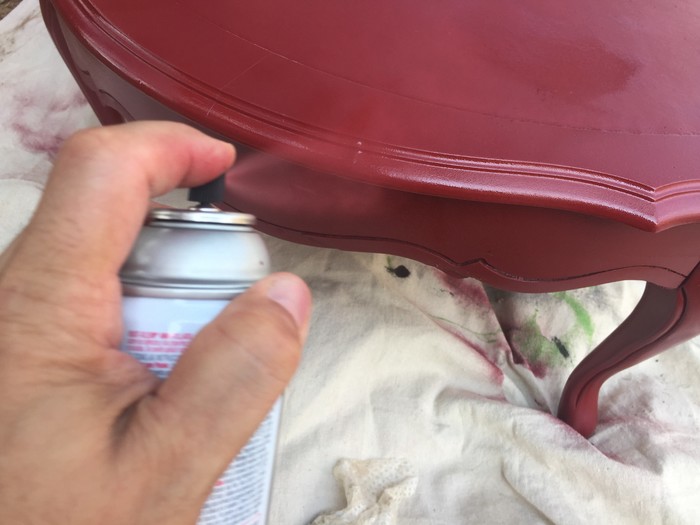
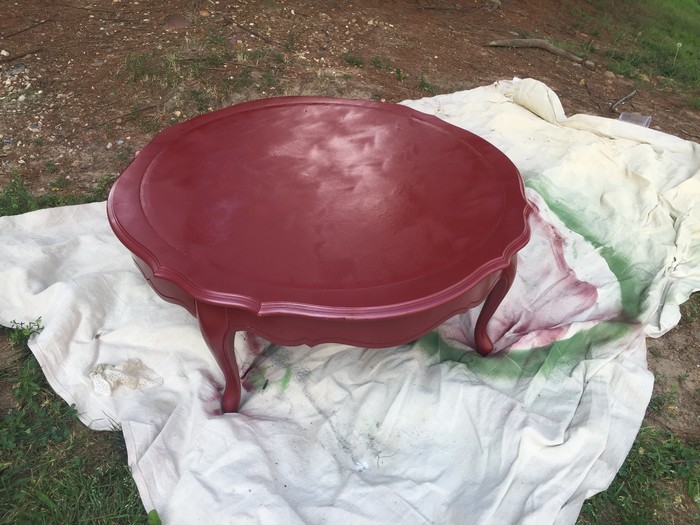
Step 3: Let the Transformation Begin!
Move your table outside and place it on a tarp to protect the ground/grass below. And now one of the most fun parts of this project – using spray paint! This part is so exciting because it is easy to turn an old table into a new piece of art for your home. Carefully spray the entire piece with a light coat; remember you are going to do several coats so this first coat doesn’t need to be perfect. Let your table dry between coats; turn it on its sides to ensure you get every edge and part. After applying several coats (and making sure your piece is covered well), let it dry overnight. However, given the quick drying design of most paints, you could continue this project after three hours of drying time.
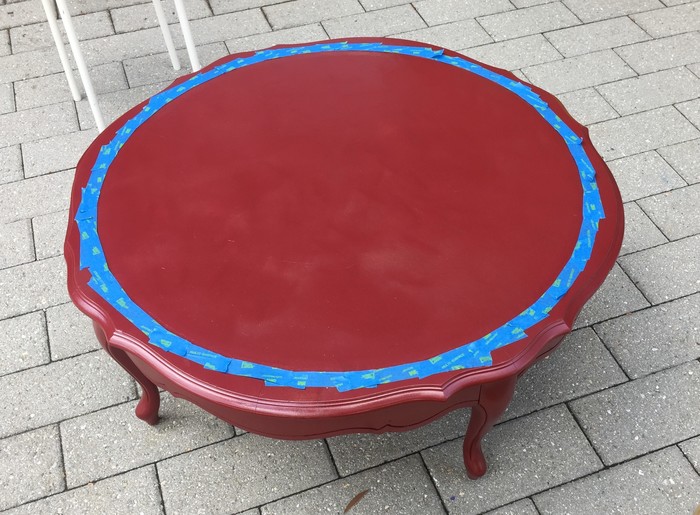
Step 4: Tape Off a Border
Based on the design of your table, you may want to use your painter’s tape to ensure a border of your spray paint color remains and is part of the overall look of the piece. For this project, the table I used had a groove on the top edge which provided a perfect place to place the tape and outline a “canvas” on which to be creative. If your table does not have such a detail, consider taping off the side edges of the table so your hand painted design is just on the top flat surface.
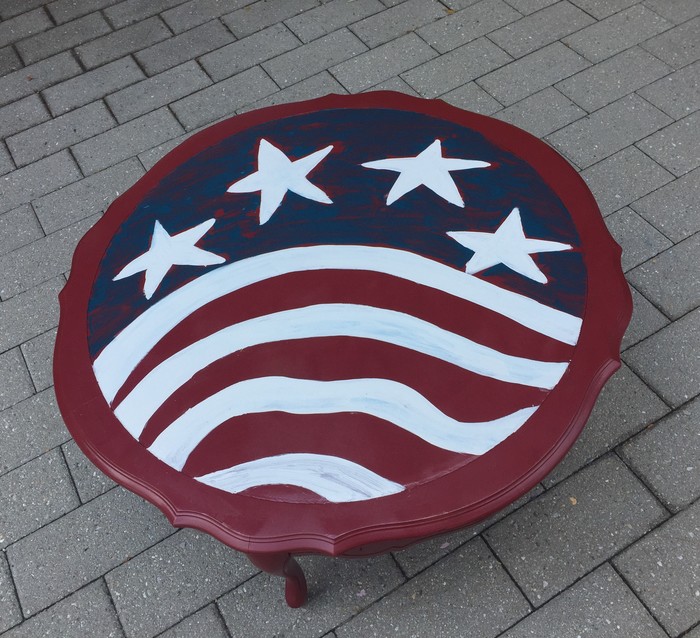
Step 5: Unleash Your Inner Picasso/Monet/Mondrian
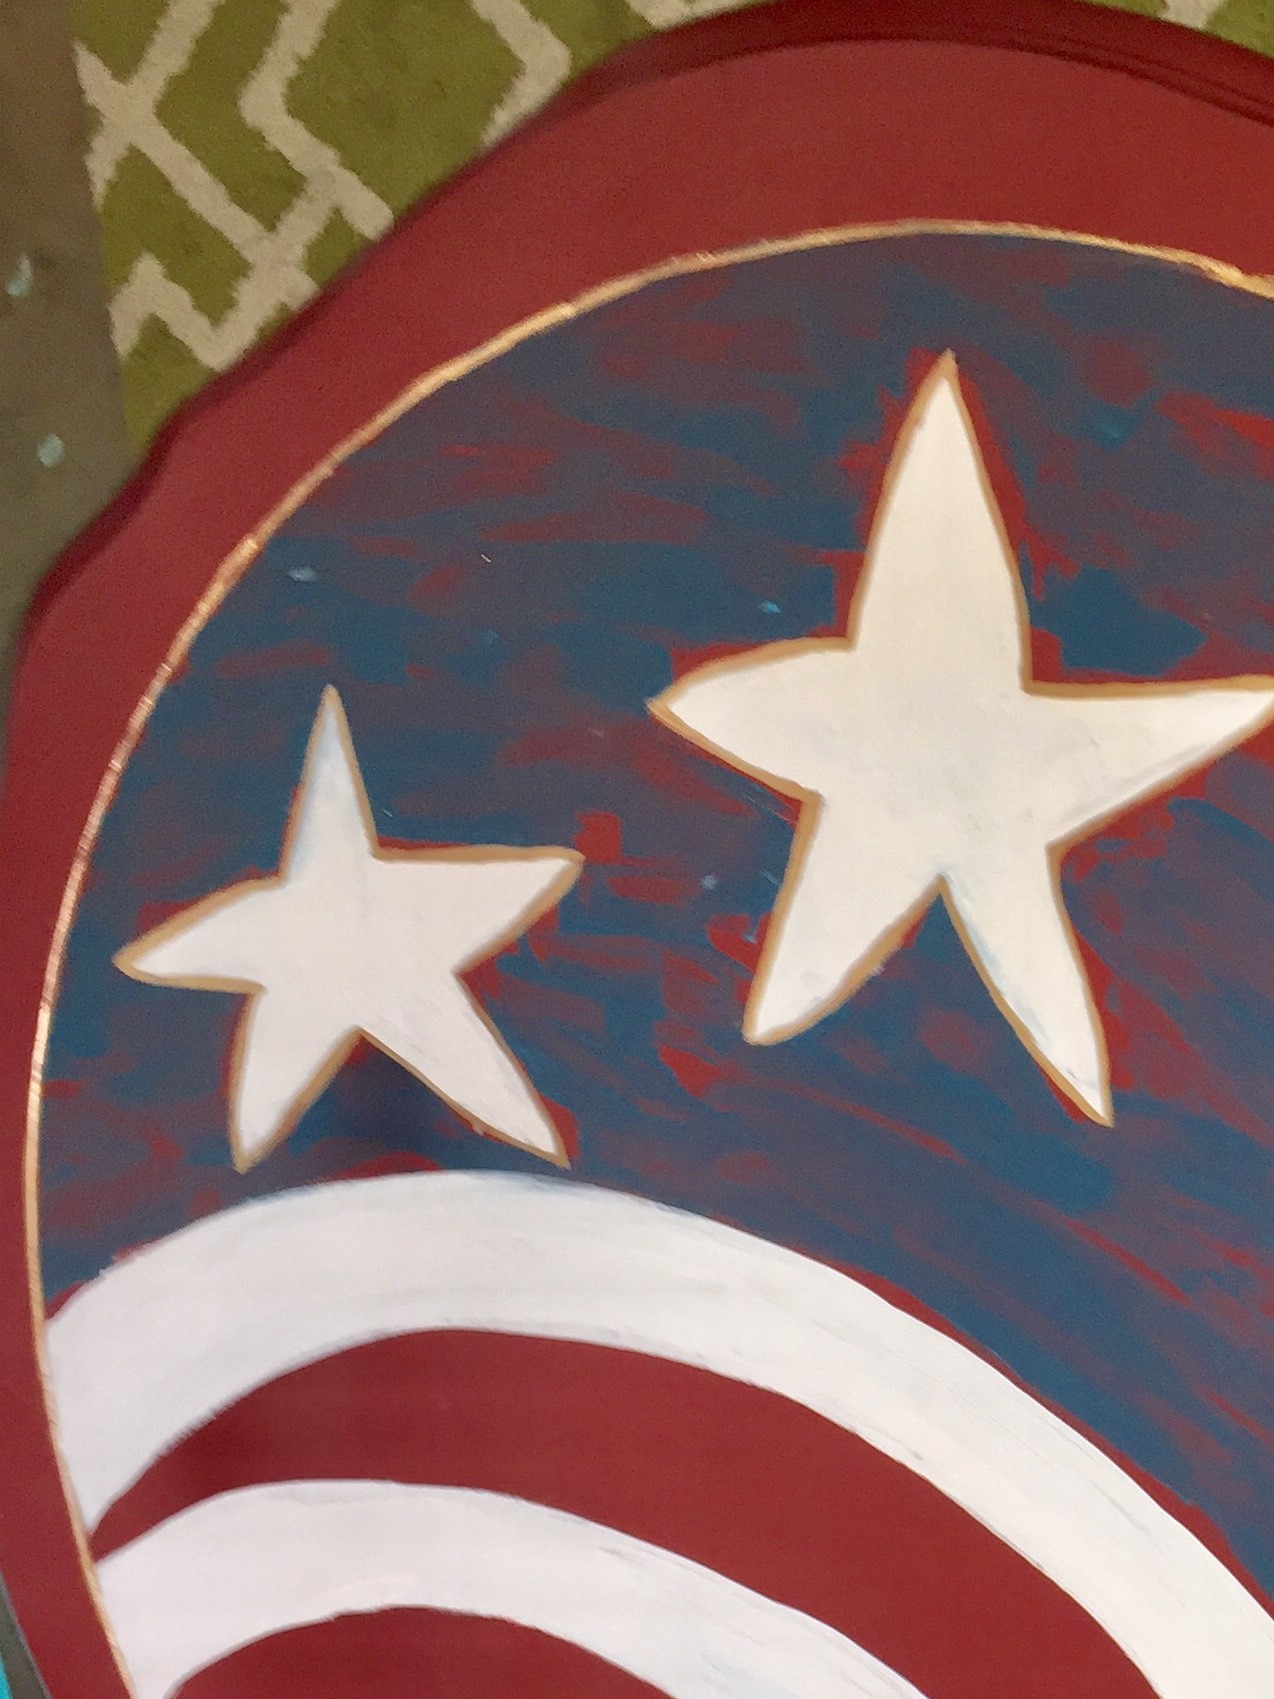
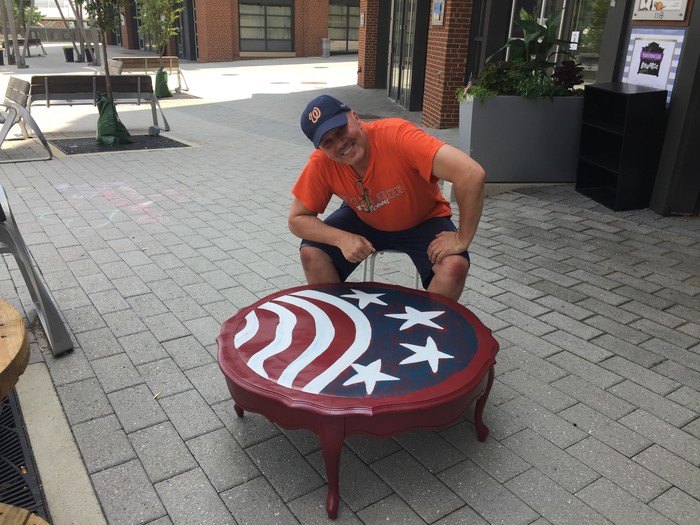
Now is the time take your piece to the next level while using craft paints or leftover latex paints from other projects! Consider a fun and simple design. I was inspired by this past season of patriotic events, so I painted some stars and stripes. Don’t aim for perfection when you are painting, just seek to express yourself. The goal is to have fun! After painting your design, give it time to dry then go back and re-touch where necessary. Truly, you can’t go wrong.
Step 6: Consider Details
After your artwork has dried completely (again ideally overnight), remove the painter’s tape then step back to take a look. Is there an additional detail you want to highlight or make “sing”? On my table, I added gold paint to outline the stars and the outer circle. It was just the finishing touch. Use a small-sized artist paint brush to add some highlights or even write words. Simple is always best!
Step 7: Poly then Place
To protect your wonderful art piece and to allow it to be functional, spray on a coat of poly. A semi-gloss always looks good and will ensure a little bit of shine. And this will allow you to use your one of a kind, table anytime and will allow it to be ready for your next family or friends gathering. You will want to be ready, too – to receive many compliments!
Tim Kime is an artist, life coach, connector. He is President of Kime Leadership Associates offering executive coaching, meeting facilitating and motivational speaking. He is also Chief Creative Force of Transformation Junkies which upcycles furniture and other household items into functional works of art. He combined his two passions—unleashing the potential in people and transforming items with the launch of the Art of Possibilities Workshops. These workshops are part upcycling, part dreaming, part goal setting.