You will make waves of delight when you transform a run of the mill glass vase and bowl with glass spray paint. Turn a clear glass vessel into an eye-catching piece that will make a splash in any setting and help to keep the joy of summer around season after season.
Ability level: Easy
Age Level: Teens and adults


Items needed:
- Glass vases or serving/decorative bowls
- Sea glass spray paint, two colors
- 1 can white or ivory spray paint
- Twine
- Starfish or seashells
- Sand
- Glue gun & glue sticks
- Scissors
- Painter’s tape (optional)
- Accessories like an old frame or small crate
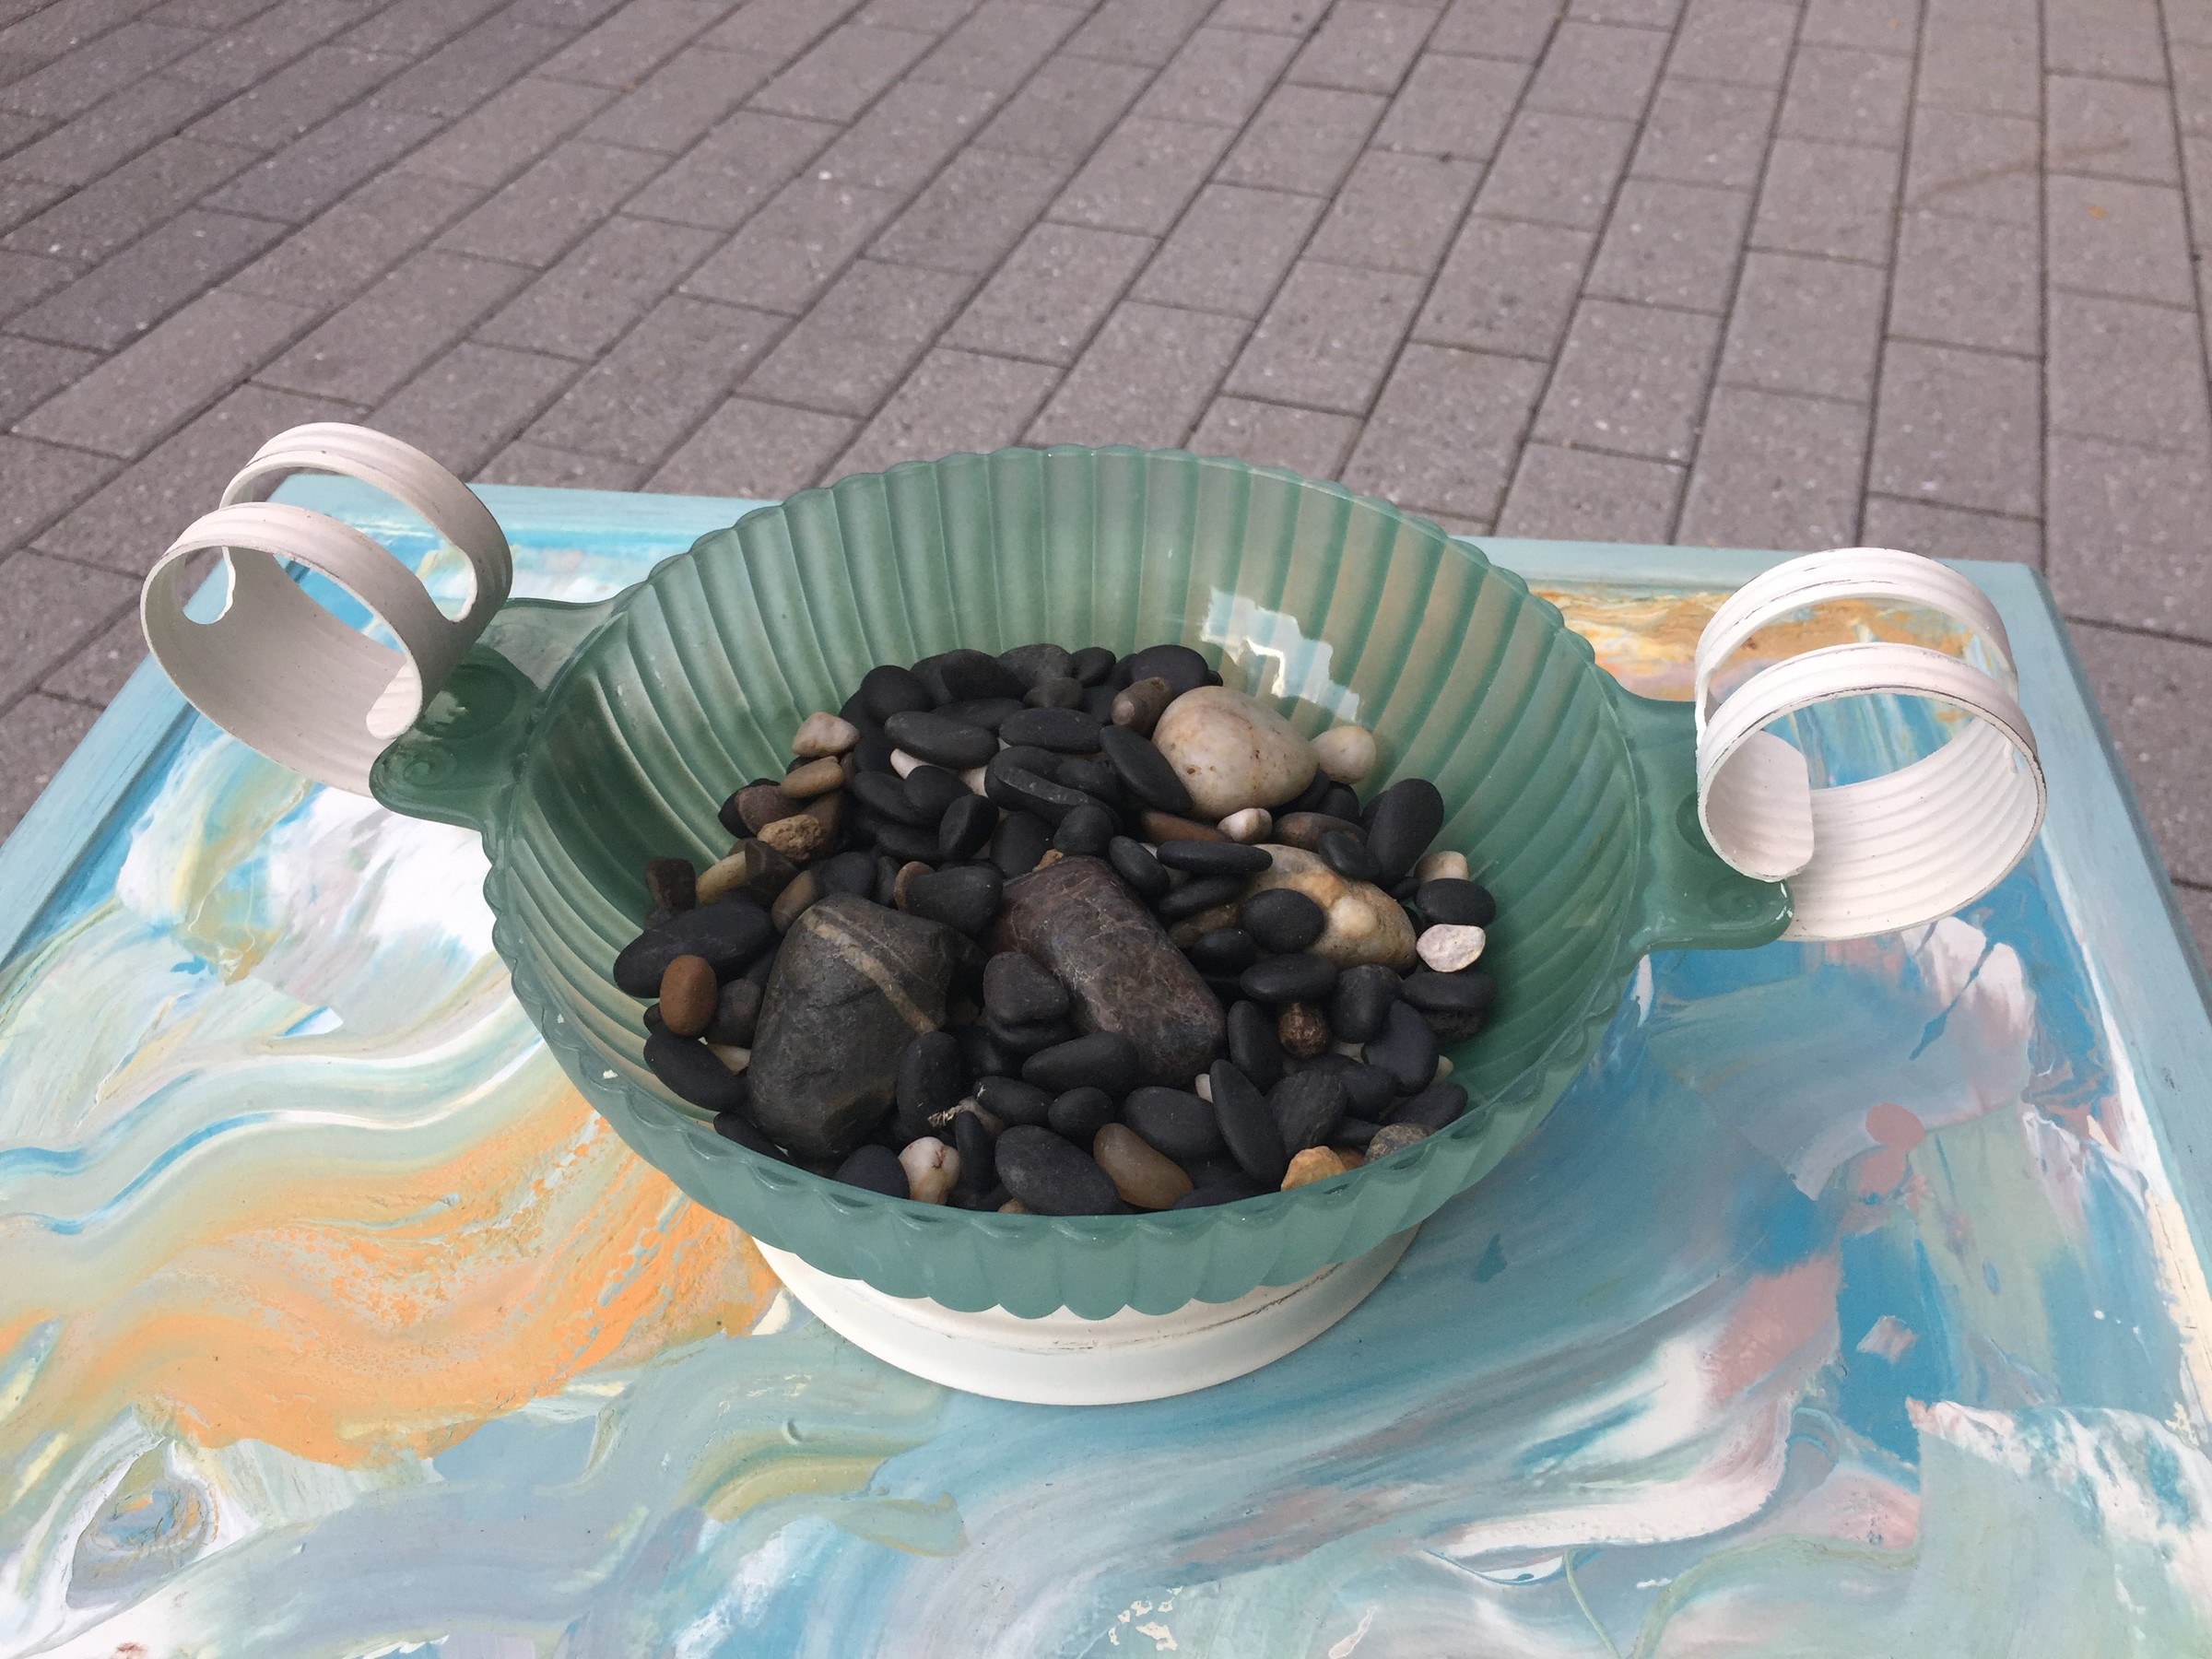
- Sea pebbles and stones (optional)
Time requirement: 2.5 hours (not including paint drying time)
Cost: Approximately $10 for each vase or bowl
- $3 to $4 per vase or bowl
- $5 per can of sea glass spray paint (lots left over!)
- $5 per can of spray paint (lots left over!)
- $5 for starfish and seashells
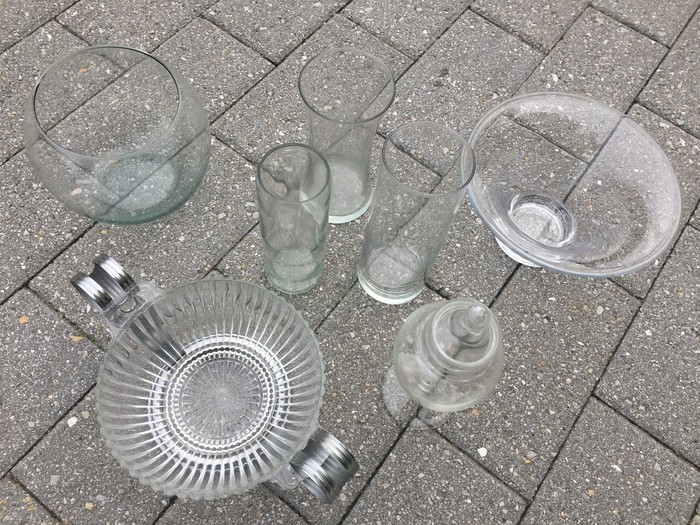
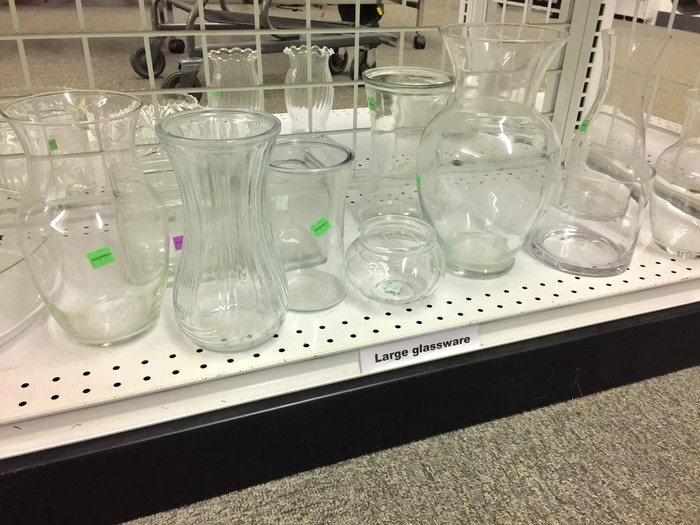
Step 1: Find a not-so-buried treasure at your local Goodwill
In the Housewares aisle of your nearby Goodwill Retail Store, you are sure to find many options for this stunning and easy project. While any clear glass vase or clear glass serving dish will look great when finished, consider items with clean and simple lines for the most impactful visual statement. While there might be square shaped items on the shelves, I prefer the round ones which mimic the movement of undulating ocean waves, billowing sand dunes, and flowing seagrasses.
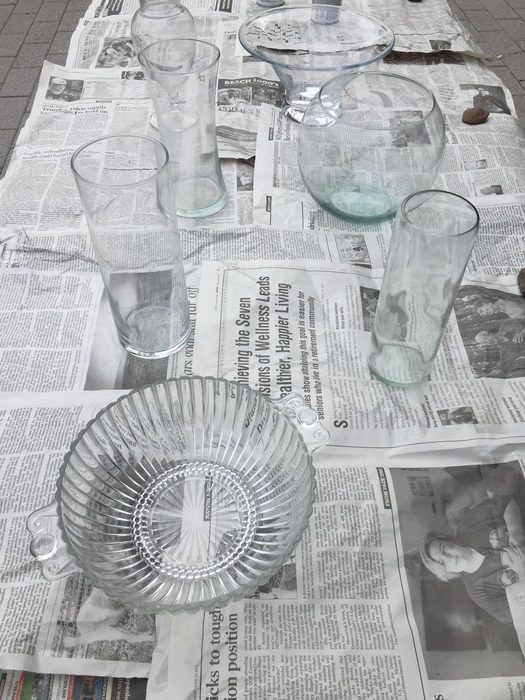
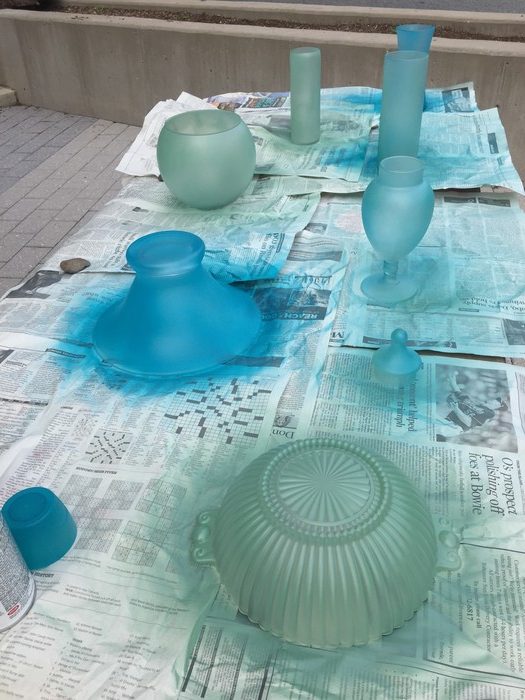
Step 2: Spray on the sea glass
After removing any price tags, wipe down your item then place outside on newspaper. Consider doing several pieces at the same time to give you the option to group them together once completed. Use two colors of the sea glass spray paint; the blue and green options are perfect for this ocean-inspired project. Grab one of the cans and very lightly spray it on to the vase or bowl. You want to avoid streaking to spray on with a very “light” touch. Use the other color for other pieces. Also, consider lightly spraying a piece with both colors to add an extra dimension to the piece. I knew I would be grouping three vases together, so I spray painted one in green, one in blue and one with both colors so they’d look lovely when placed together. Allow your pieces to sit for at least several hours before touching or handling as this special paint can come off easily on your fingers if not completely dry.
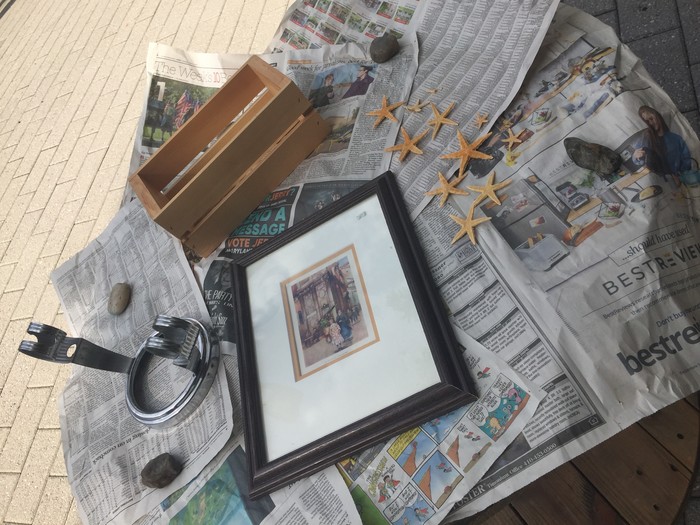
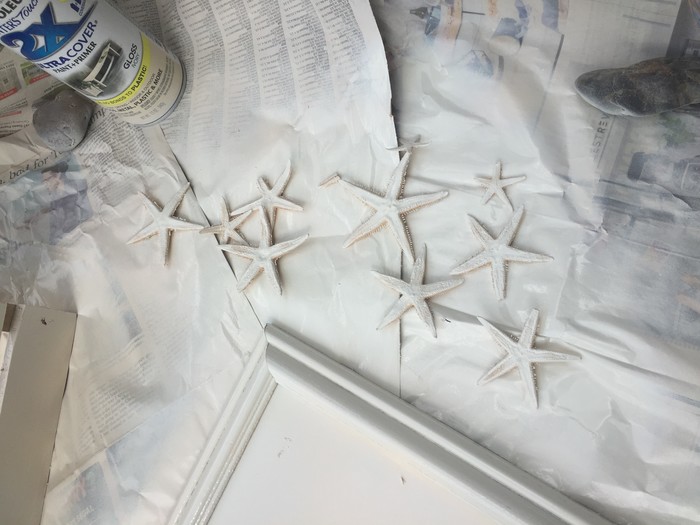
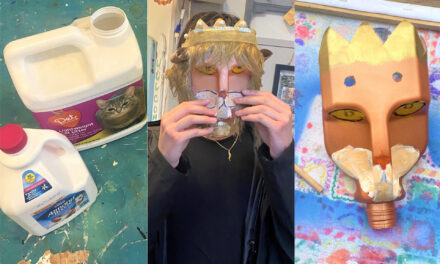
Step 3: Paint up accessories
While the painted vases and dishes are drying, turn your attention to the accessory items like the starfish, seashells, picture frame and small wooden crates. Pieces that are painted white or off-white always remind me of the beach. Paint an old wooden picture frame to use as a base on which to hold sand and as a stand for your vases. Brighten up the starfish fish and seashells (picked up at your local arts and crafts store) with white paint and give them a fresh look. One of the dishes I found came in a silver base with round, Roman-looking handles. As the glass was easily removed, I also painted this white to give it a beachy feel. Be sure to let these pieces dry well.
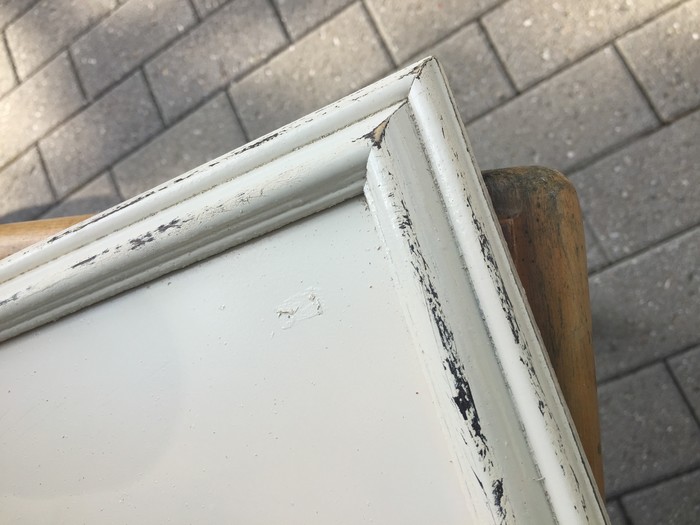
Expert tip: Weather-worn or distressed items add to a sea-side feel when included in the design. With sandpaper, lightly remove the new coat of paint along edges or on raised details of your picture frame, as well as any place that would naturally get worn. By allowing the base color to show through, it will also give additional visual interest.
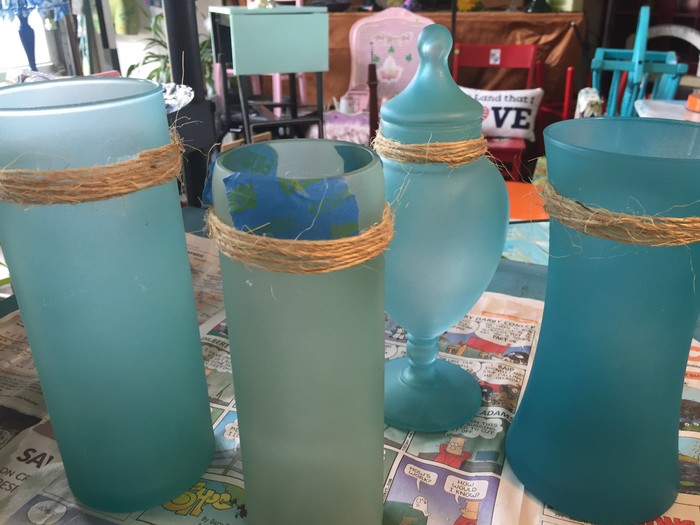
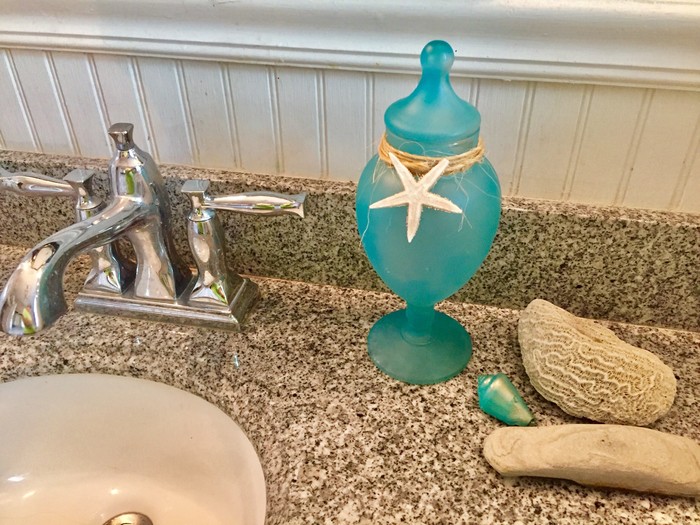
Step 4: To twine or not to twine?
The next step is to wrap twine along the top of your vases. Taller, round vases are best for this treatment. Add a strip of painter’s tape along the top edge to serve as a placement guide for where the twine will go. Using your glue gun, add dots of glue and adhere the twine as you wrap it around the vase. You may need to cut extra pieces to fill in any gaps. (While I had planned to add some twine to the dishes, they look so great with only the paint so I nicked that idea.)
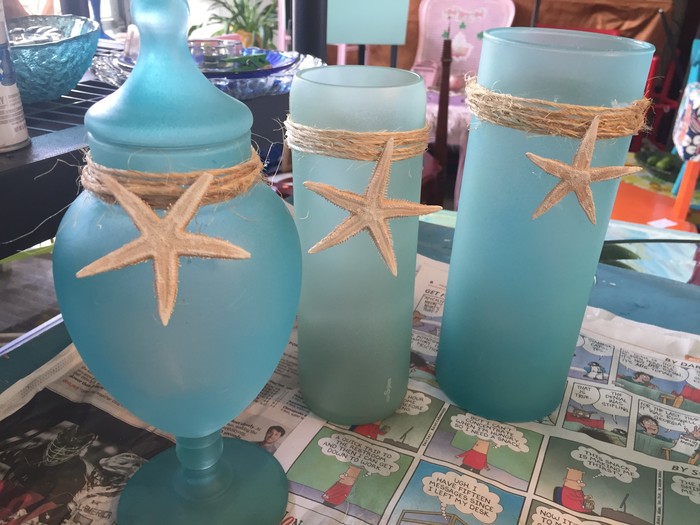
Step 5: Starfish or shell time!
Add a starfish or shell along the twine border, again, by using your glue gun. This touch will make your piece sing, “Summertime!”
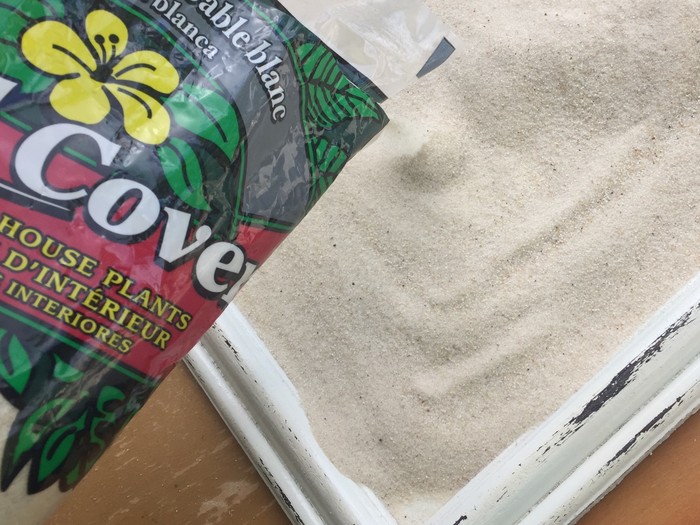
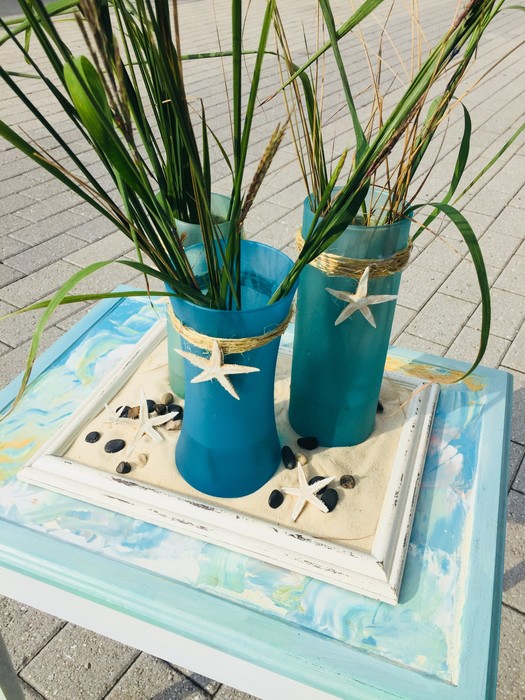
Step 5: Add sand, pebbles, candles, and more
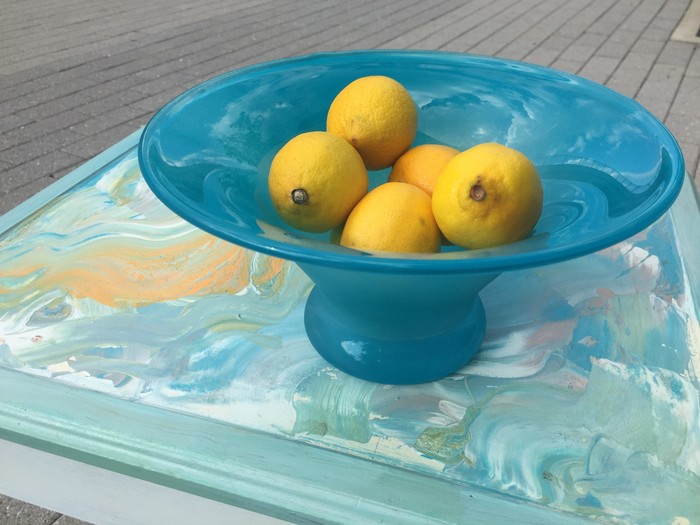
The final step for turning your generic, clear vases and dishes into a memorable decorative accent is adding sand to your former picture frame now turned into a weather-worn tray. Place several vases together in the center along with a couple of pebbles and starfish, and add grasses for a beachy feel. You could even pour the sand into the dish and add a candle. For a different look, consider keeping it simple by adding lemons or oranges for an exciting pop of color.
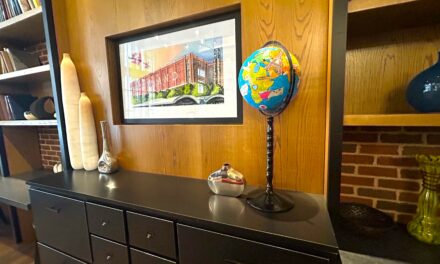
Step 6: Create a beach-front property: place your piece
Whether you live in an Urban loft, a house in the country, or an apartment in the mountains, your sea glass painted items and beachy accessories are sure to turn your home into a summer get-away!
Tim Kime is an artist, life coach, connector. He is President of Kime Leadership Associates offering executive coaching, meeting facilitating and motivational speaking. He is also Chief Creative Force of Transformation Junkies which upcycles furniture and other household items into functional works of art. He combined his two passions—unleashing the potential in people and transforming items with the launch of the Art of Possibilities Workshops. These workshops are part upcycling, part dreaming, part goal setting.