Your garden, front porch, patio or balcony will shimmer with an upcycled silver teapot and silverware when they join forces to become a one-of-a-kind wind chime. Rather than collecting dust and taking up space in your dining room or in a china cabinet, upcycle these forgotten pieces into an eye-catching wind chime and add wonderful sounds to your outdoor space, too!
Ability level: Mid-level to advanced due to drilling metal
Age Level: Adults or teens with adult supervision and support
Items needed:
- Silver teapot (sugar holders, creamers, other pitchers are great, too)
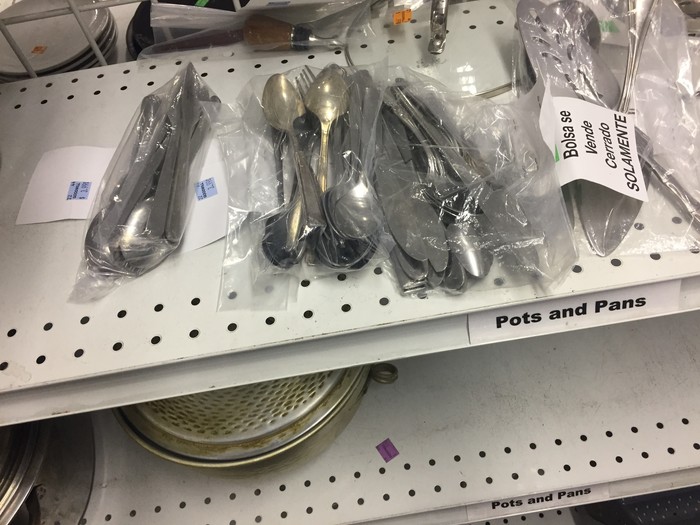
- 8 pieces of various sized spoons, forks, knives
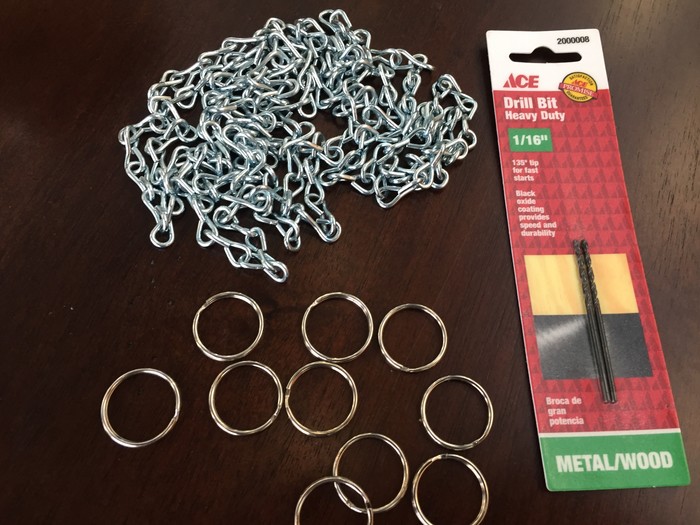
- 18 split holders (what are the called)
- 8 feet of chain with small links in black
- Drill
- Metal drill bit, 3/16 inch
- Protective goggles
- Flathead screwdriver
- Pliers
- Large S-hook (optional)
Time requirement: 1.5 hours
Cost: Approximately $36
- $6 for silver teapot
- $3 for spoons, forks, knives
- $11 for split holders
- $16 for chain
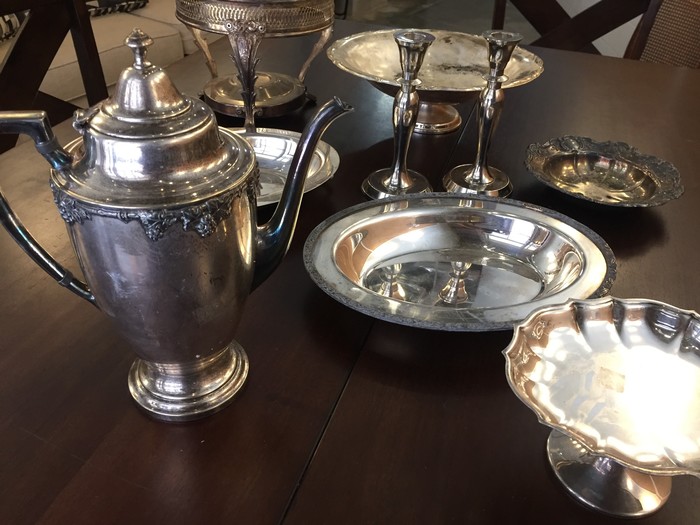
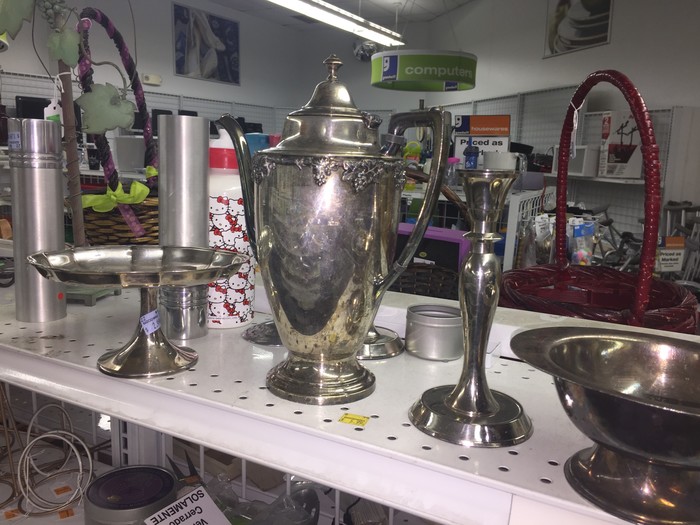
Step 1: Mining for Silver
Let’s be honest, no one really entertains anymore in the formal way our grandmothers did. And yet, we often keep their silver tea service or, in some cases, we donate them to Goodwill. After seeing this project, you will never walk by your local Goodwill store’s housewares aisle again without stopping to see what is awaiting transformation. While shopping, consider sugar bowls, cream jugs, and other containers as the foundation for this transformation. Do not forget to pick up a bag of mismatched silverware while you are there!
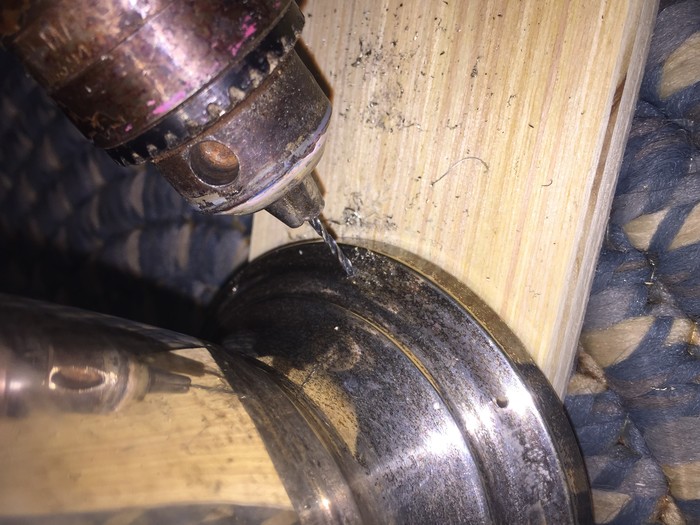
Step 2: Delicately Drilling Does the Trick
Before drilling, put on your safety goggles/glasses. This is VERY important given the tiny metal shards created by drilling. Place your teapot on a piece of wood so it provides a buffer when the drill bit goes through the metal. Along the base of your silver teapot, drill eight holes evenly spaced apart. You can certainly use a tape measure to ensure perfect spacing. I “eye-balled” my holes by drilling one then another on the opposite side until I had four at the “North, South, East, West” positions. I added one more hole between each, four total, to get to the eight. When done with the base, move your teapot so its spout is on the wood and drill a hole into it. Repeat these steps with the handle.
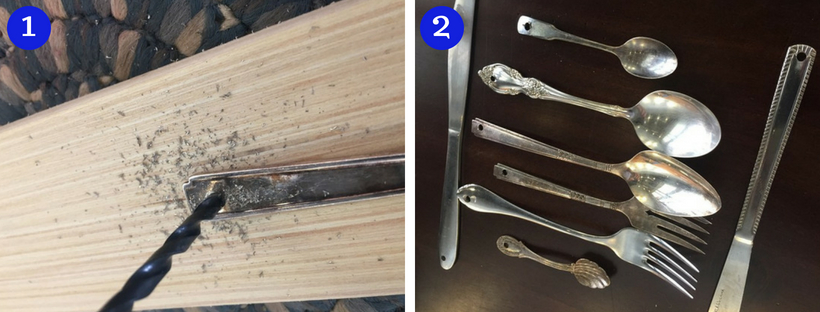
Step 3: Keep Drilling: Add Holes to Your Silverware Pieces
Again, using care and caution and wearing your protective eyewear, place a piece of the silverware on the board. I found that it lays better if flipped over and drilled from the backside of the handle. Take your time and don’t try to force the drill; the metal drill bit will work its magic. Be careful as the friction caused by the drilling may make the spoon/fork/knife handle very hot! For added charm, I selected pieces in varying shapes and lengths. For safety purposes, remove and trash all metal fragments caused by the drilling.
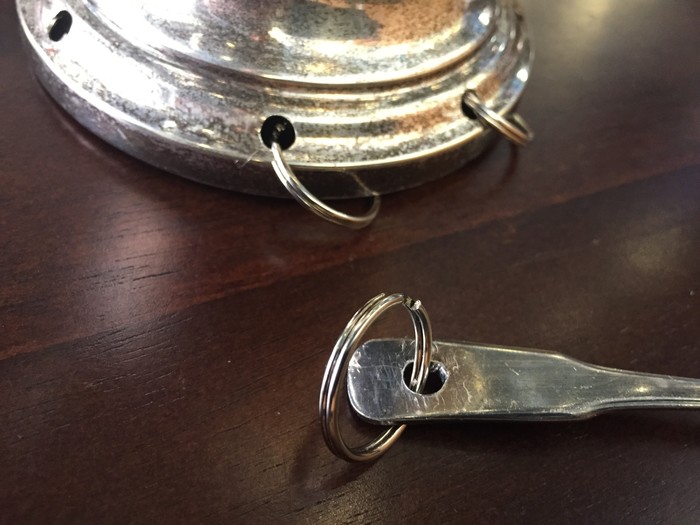
Step 4: Loop in Split Hooks
Take a split hook, open it and insert it into a hole drilled into teapot base. Repeat this step with the remaining holes in the base, spout, handle and then each spoon, fork, and knife. You may need to pry them open with your screwdriver.
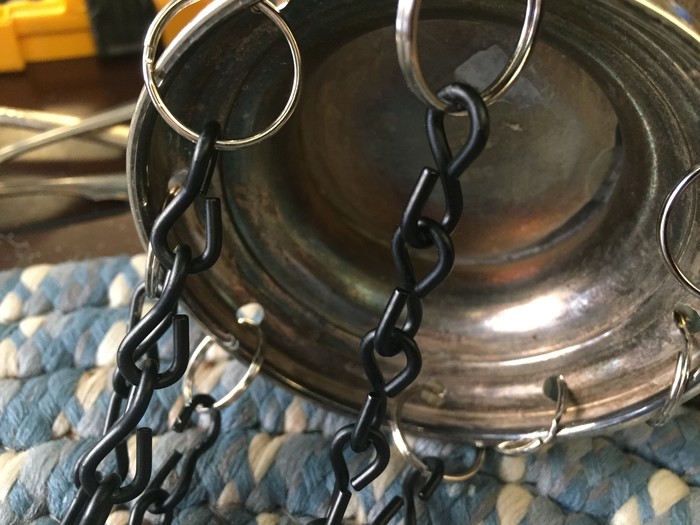
Step 5: Change it with Chain
While chains come in various sizes and colors, I picked up the black one with the smallest links at my local hardware store. I thought the black looked better with the beautiful, aged tarnish on the silver pieces compared to a new aluminum chain. Use your screwdriver and pliers to separate the links the desired length. Since your silverware will be different in size, your chain pieces will need to vary so that when they hang from the base of the teapot, they will be the same distance and will, therefore, be able to hit against each other and make wonderful chime sounds.
Add a length of chain to the split hooks at the spout and handle to hold up your piece. Your S-hook will come in handy now.
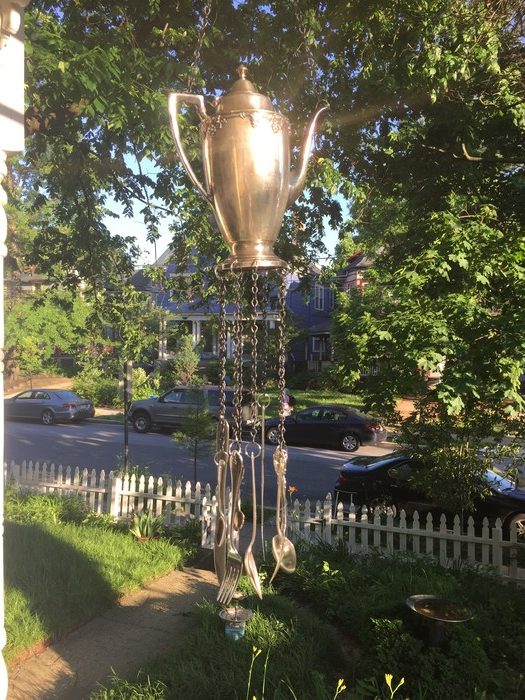
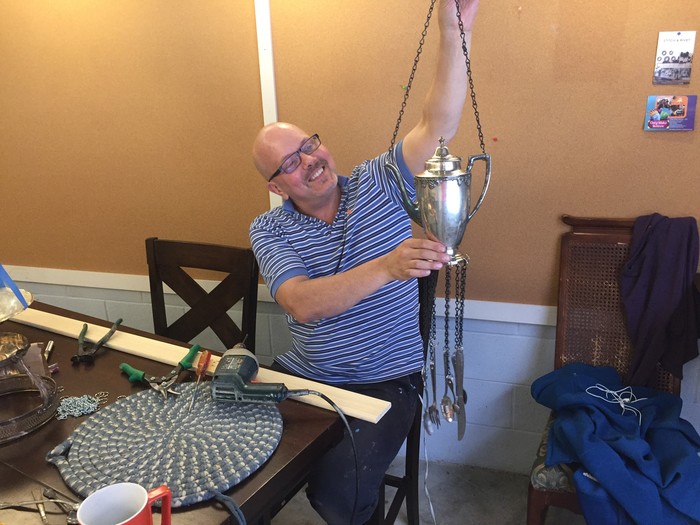
Step 7: Hang Time!
This is the most fun and exciting part of this project – deciding where to hang it! Whether suspended from a tree branch in your yard or a hook on your balcony, it will certainly delight the eyes and ears of all those who see and hear it!
Tim Kime is an artist, life coach, connector. He is President of Kime Leadership Associates offering executive coaching, meeting facilitating and motivational speaking. He is also Chief Creative Force of Transformation Junkies which upcycles furniture and other household items into functional works of art. He combined his two passions—unleashing the potential in people and transforming items with the launch of the Art of Possibilities Workshops. These workshops are part upcycling, part dreaming, part goal setting.