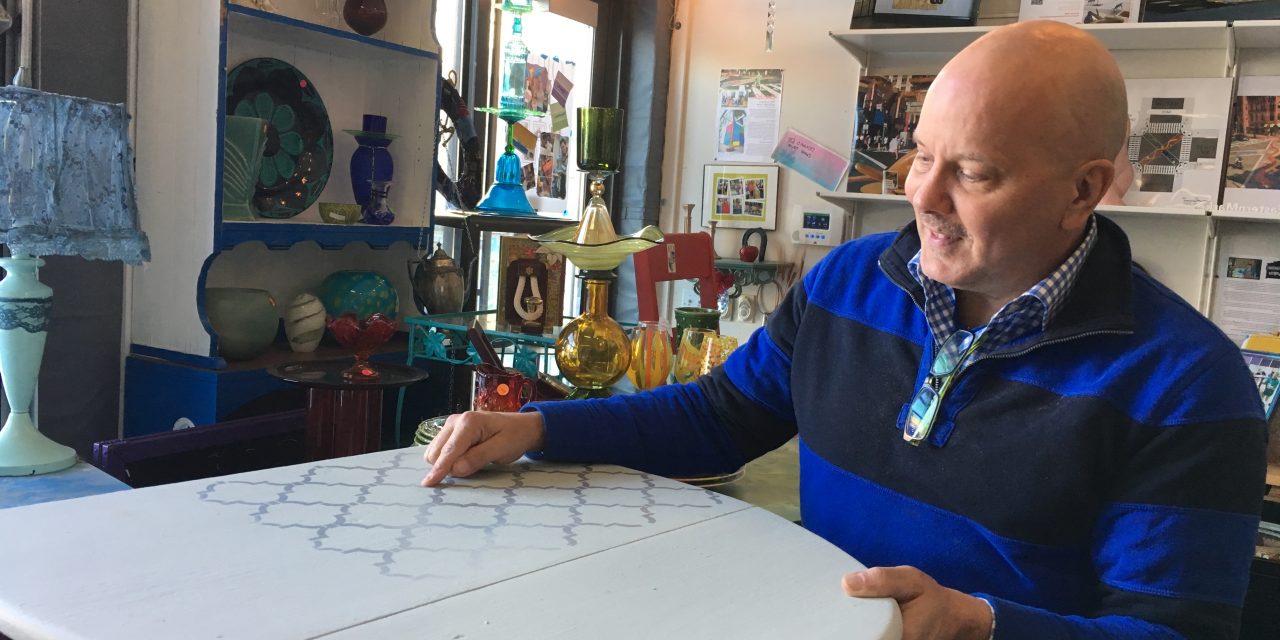
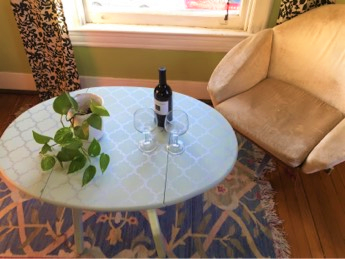
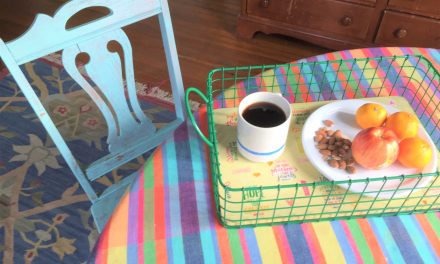
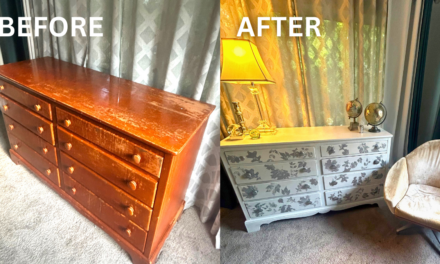
So simple and so chic! Add flair and a fashionable look to old tables with stencils, paint and fun! This easy project turns boring into bravo.
Prepare yourself—this project is going to make you flip for using this simple stenciling and painting process to transform pieces.
Level:Kids of any age, with some assistance with painting
Items Needed:
1. Flat top tables (end, side or kitchen tables all work well)
2. Base color paint
3. Silver craft paint
4. Plastic Stencil
5. Small paint roller
6. Paint brushes
7. Painter’s tape
8. Fine sand paper
9. T-square or ruler
10. Furniture wax
Time Requirement: 3 hours, not including drying time
Cost: Approximately $15 at Goodwill
- $5 per table for smaller ones; $20 for kitchen table
- $5 base paint
- $9 for silver craft paint (with lots left over)
- $15 for stencil (which can be used time and time again!)
Step 1: Finding your good options at Goodwill!
So many choices, so little room! You’ll find lots of excellent options at “made you look twice” prices. You’ll fill your vehicle to the brim with tables ready to be upcycled.
Which ones to take home? Solid wood pieces with a flat top and unusual accents are great for this project. Fun details like drop leaves, drawers and interesting legs always work well and are ALWAYS crowd-pleasers.
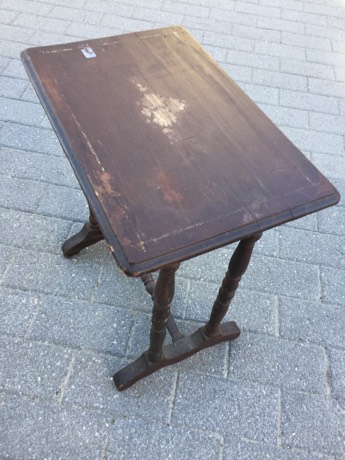
Step 2: Prepare your piece to paint
This project is great for any time of year – it can be done indoors since you will be hand painting the transformation as opposed to spray painting it. Using fine sand paper or a sanding block, lightly buff the entire piece getting all sides of the legs and anywhere you will be painting.
Don’t worry about removing the entire current finish, you are just buffing the surfaces to allow the paint to adhere better.
Once done, then use a damp rag to wipe down the piece to remove the dust created by the sanding and to ensure it is clean and dirt-free. Place it on a drop cloth and you are ready to go. Consider it as a blank canvas awaiting your creative talents to be expressed on it. (Sounds kind of dramatic, I know, but it is really exciting!)
Step 3: Brush on a light layer (repeat, repeat, repeat)
Patience is a virtue. With a medium-sized paint brush, apply a light layer of your base color over the entire piece.
Don’t be concerned about it being perfect; you will add additional coats to ensure solid coverage. Let dry. When you come back to paint the next layer on it, turn the table on its side and add the next round. By turning it on its side, you will be able to see it from a new angle and will be able to cover all sides, edges, nooks and crannies. Let this dry, too. Three times a charm so repeat again by turning the table again on another side, adding another layer of paint and letting dry. You may need to go back over the previous areas to ensure a good, solid coat.
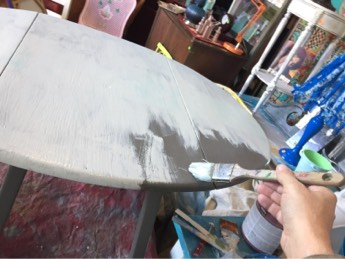
Expert Tip: After you have added several layers, turn the piece back up right so it is in the position on which it will be used. You may want to walk around the piece and touch up any missed areas or spots needing a little bit more TLC. Though it takes a little patience, consider adding one more layer to the table’s top as this will be getting the most use and will be seen most often, too.
Step 4: Square up your stencil
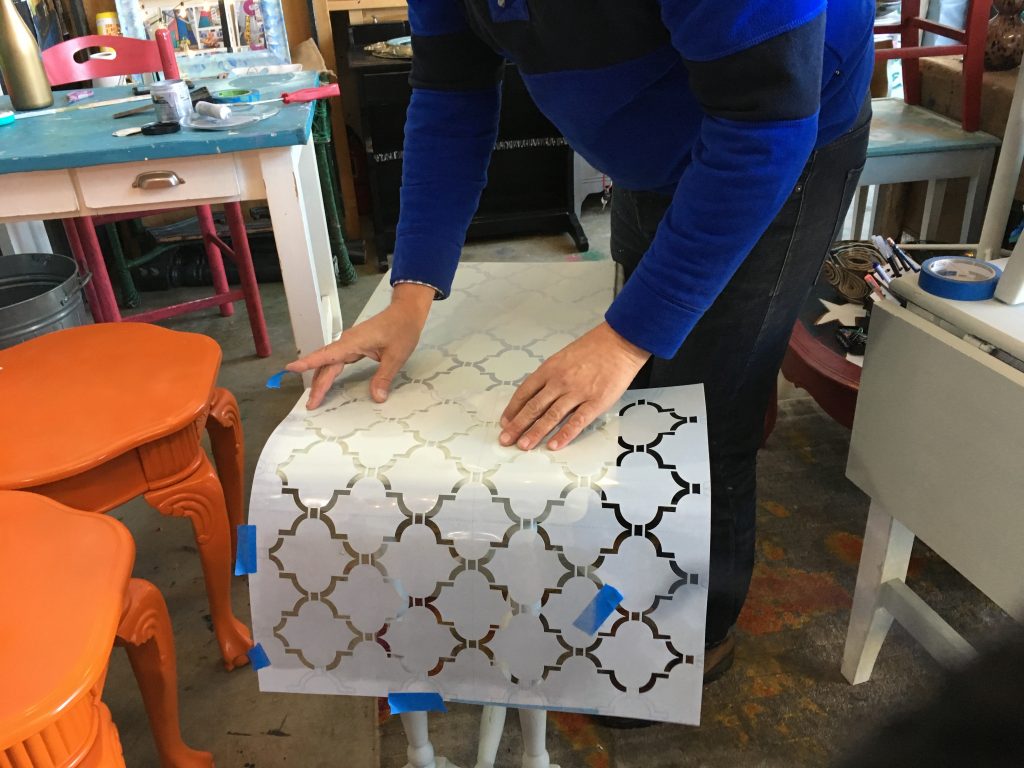
Place your stencil along the center end of your table. You can “eye-ball” the position or use a T-square or ruler to ensure you have the exact center point on which to move outward.
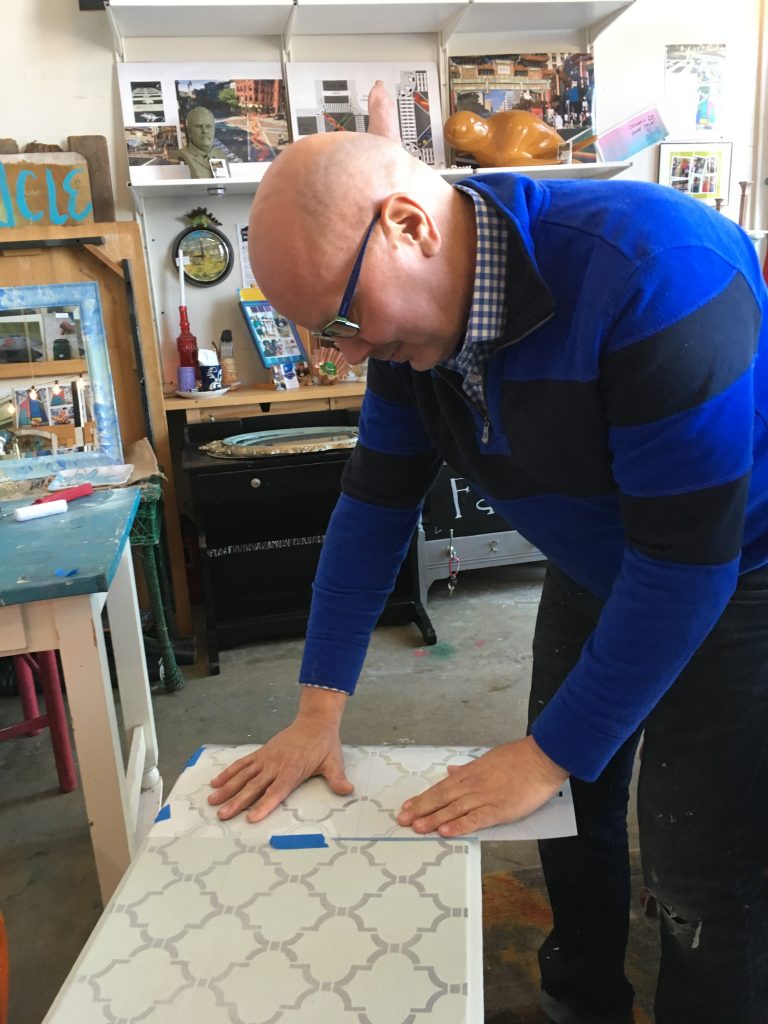
Once in the right position, use your painter’s tape to hold the stencil in place. By placing it in the center and working to the outer edges, you will ensure the final design is balanced.
Step 5: Roll on the second color
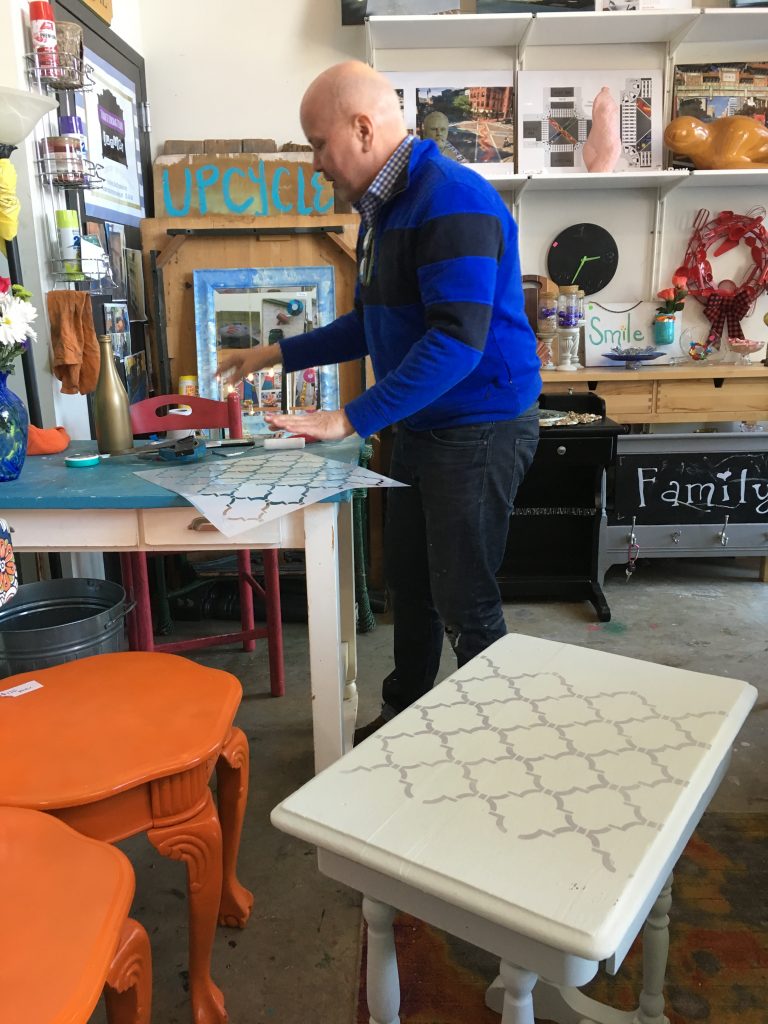
Pour on your second color (for this project, it was the silver craft paint) on a paper plate (a plastic one or old one will also work). With your roller brush, roll it around the paint on the plate to get a thin layer on it. Gently roll it on your stencil-covered area and ensuring all cut out areas are covered with this second color.
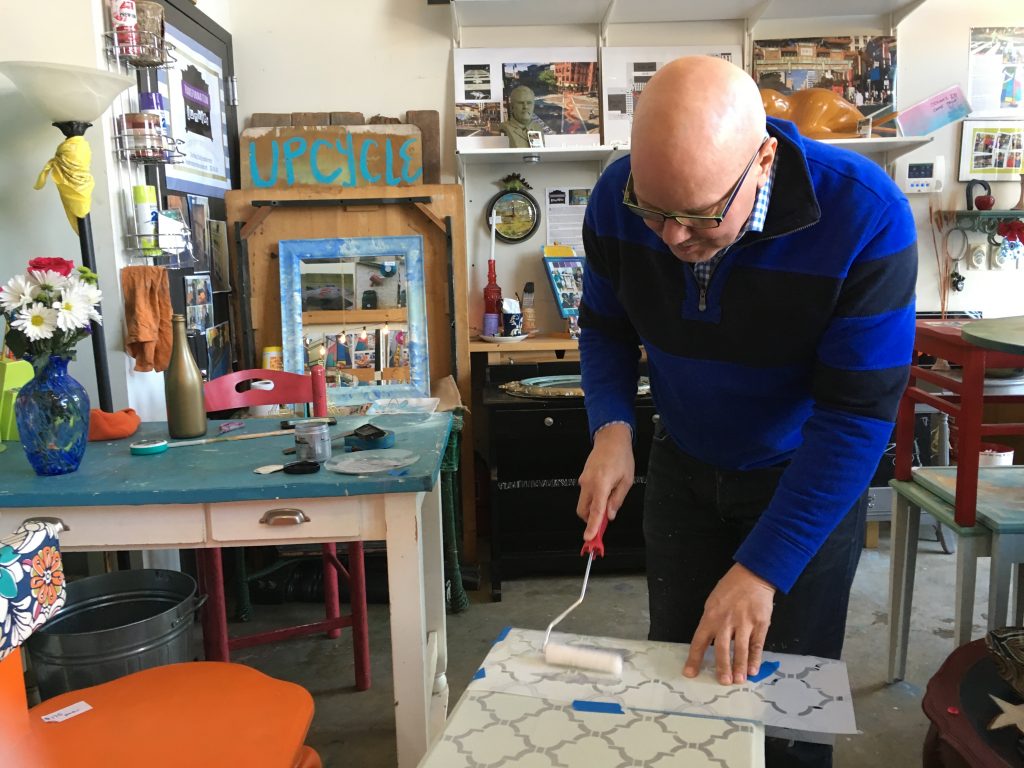
Don’t put too much paint on as you don’t want it to seep under the stencil. Immediately and carefully, remove the stencil. Ta-dah! You’ll see an instantly amazing transformation with a cool pattern on the table top. While this dries, gently wash off the paint from the stencil. (You could use paper stencils, too, but they don’t hold up as well with repeated use.)
When that first part is dry, place your stencil back on the top ensuring to line it up so that the pattern flows and you don’t see any gaps. Tape in place, roll on more paint carefully and remove.
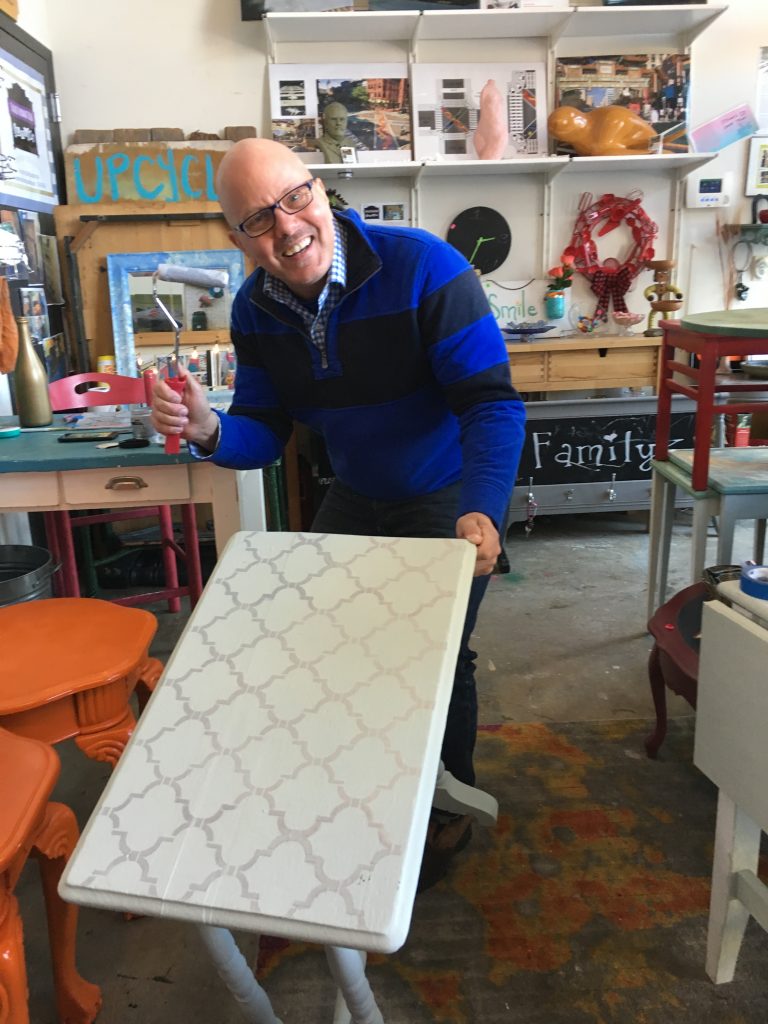
This part is fun and pretty easy; the drying between the stencil takes a little time so consider doing a couple of tables so that one is drying while you are moving forward on the other.
See what I mean about needing a little patience?
Step 6: Touch up time
Once your stencil design is covering the entire table top, you may need to go back with a smaller detail brush to touch up any smudges or places that got a little more paint applied on than ideal. Also, for the kitchen table used, my stencil didn’t quite reach far enough so I filled in the blanks with a smaller brush and the silver craft paint. You can’t tell the difference! Let your piece dry overnight.
Step 7: Wax to protect
With a rag, lightly rub on the furniture wax to cover any painted surfaces, getting all edges and legs. The wax will protect your piece and will not turn yellow. Let dry overnight, too, then with a clean rag, wipe done the entire piece to remove any access wax and residue.
Step 8: Place and celebrate
The most fun (funniest? Way fun?) step of this project is picking a spot in your home for this stylish new piece. You will want to show it off and place it where your family, friends and visitors will see it as they come and go. Be ready to accept the many compliments and just accept them with a smile.
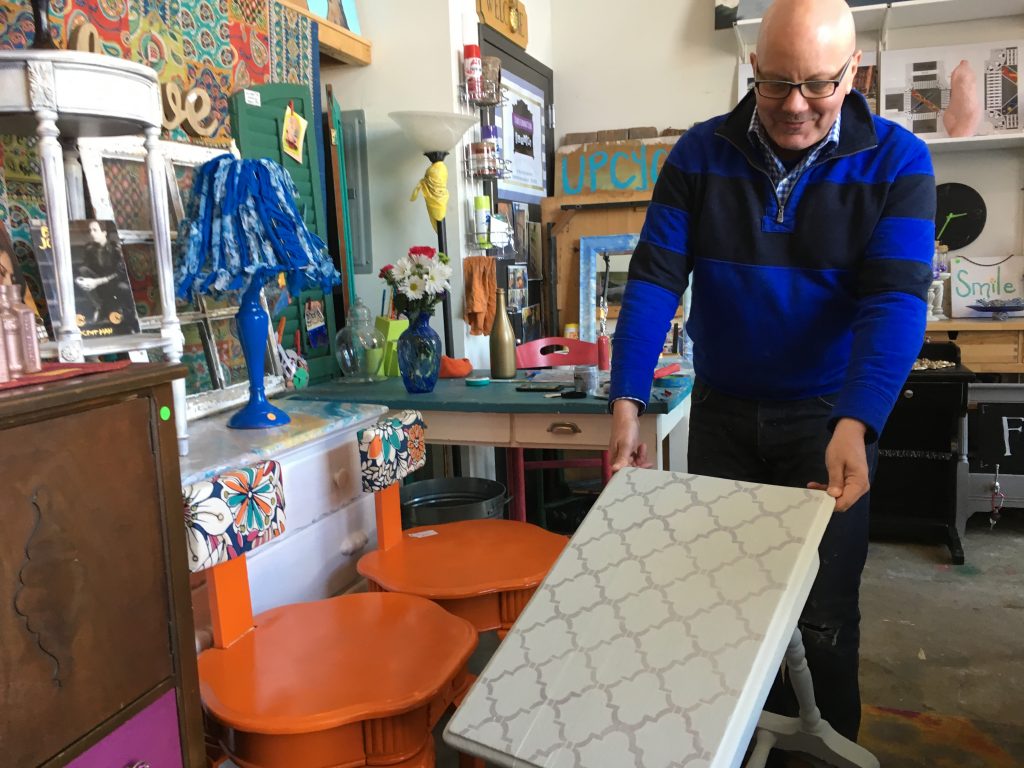
Let them marvel at your talents….you don’t have to tell them how truly easy this project is!


