Items needed:
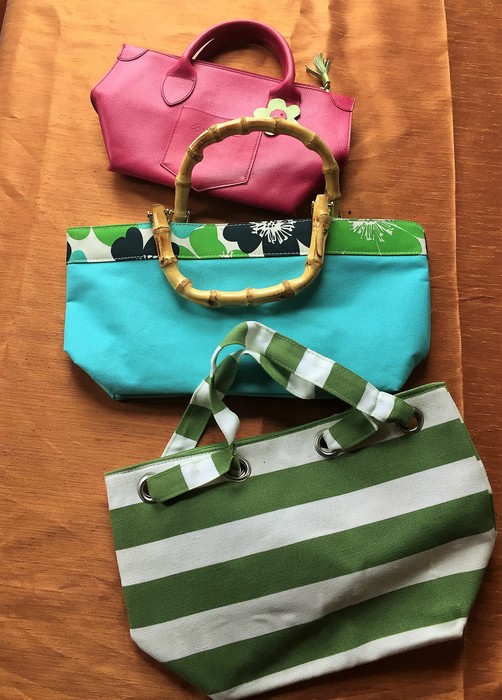
- Purse
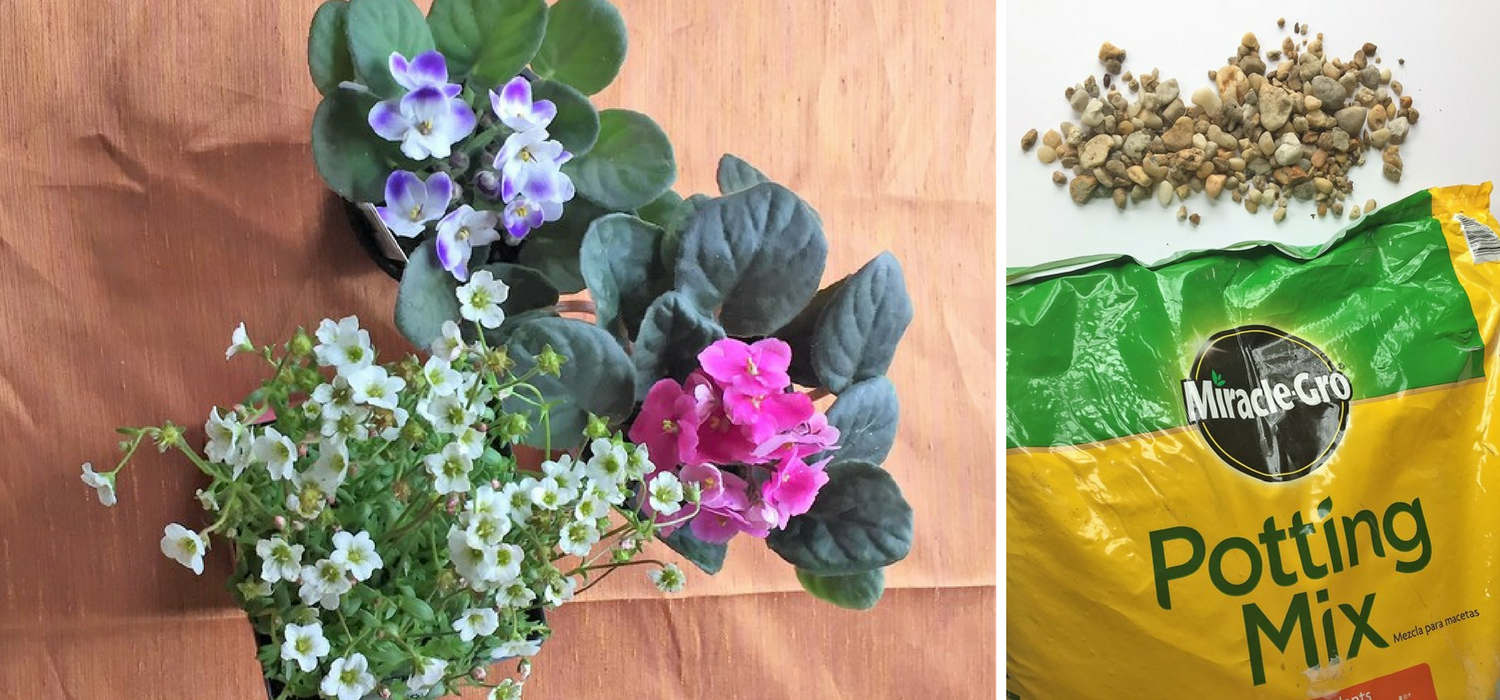
- Flowering plants
- Pebbles or small stones
- Potting soil
- Plastic grocery bag
- Scissors
- Trowel (although hands work great!)
- Pen or marker
- Accessories like ribbon, gift tags, plastic toys, other embellishments
- $2 per purse
- $4 per plant
- $5 for a bag of soil
- $1 for ribbon and tags
- $1 for embellishments
Step 1: Retreat to the Racks
Every Goodwill has racks of purses ready for a new role and at remarkable prices. While some fashionistas might consider them out of style, they will be sure to make headlines as they grace your table for the big event, are given to Mom for Mother’s Day, or welcome neighbors from your front stoop. You want to look for purses with a flat bottom so they easily stand upright no matter where they are placed.
Trim a plastic grocery bag to line the inside of your purse. It will help protect it and keep water from leaking out.
Step 3: Pebbles For Stability and Air
To provide space for the plant’s roots to grow and expand as well as to provide additional stability, add pebbles to the bottom of the purse. I had pebbles in my yard, so using them saved a few dollars. Small rocks will do the trick, too. Any garden center will have bags for approximately $5 to $10 each.
Step 4: Send in the Soil
Pick up a bag of potting soil from your local hardware store or garden center. Pour in a layer of soil on top of the pebbles. Add enough space for your plants to start just below the top of the purse’s opening.
Step 5: Position your Plants
Remove the plants from their plastic containers. You may need to break up the soil as their roots might be tightly packed. Once placed and at the proper height and positioned in the purse, add more soil so they are held tightly. You may also need to water the plant.

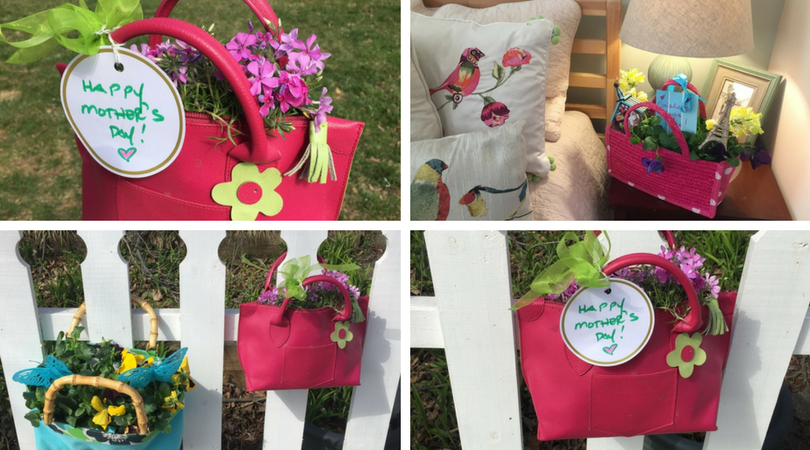
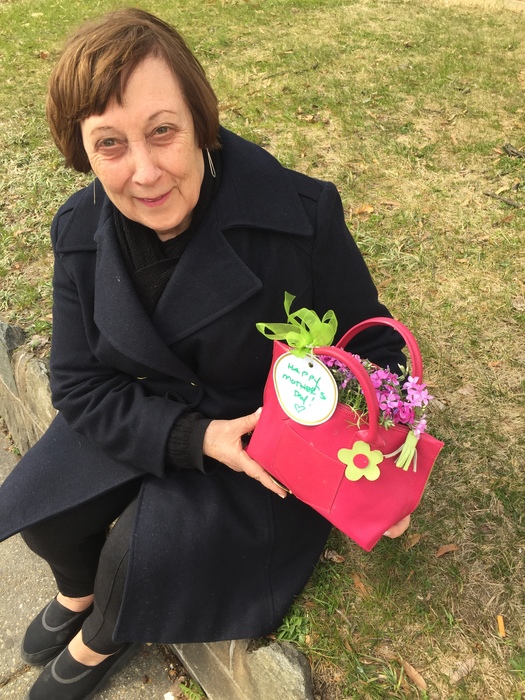
Step 6: Personal Touches Makes Perfection!
While your transformed purse planter will be eye-catching all by itself, adding personal touches will make it really appreciated and loved by all who receive it or see it. Add a gift tag with a message to Mom or with the name of the new couple being married. Add ribbons to give flair and to match the wedding color scheme. Considering plastic butterflies, small statues or a tiny birdhouse from the dollar store to make it really tie into the event’s theme or the person to receive it. If you are keeping one for your front porch (a great idea!), think about adding a small “welcome” sign to greet all who visit.
Will you be experimenting with this easy DIY this spring?
Tim Kime is an artist, life coach, connector. He is President of Kime Leadership Associates offering executive coaching, meeting facilitating and motivational speaking. He is also Chief Creative Force of Transformation Junkies which upcycles furniture and other household items into functional works of art. He combined his two passions—unleashing the potential in people and transforming items with the launch of the Art of Possibilities Workshops. These workshops are part upcycling, part dreaming, part goal setting.
