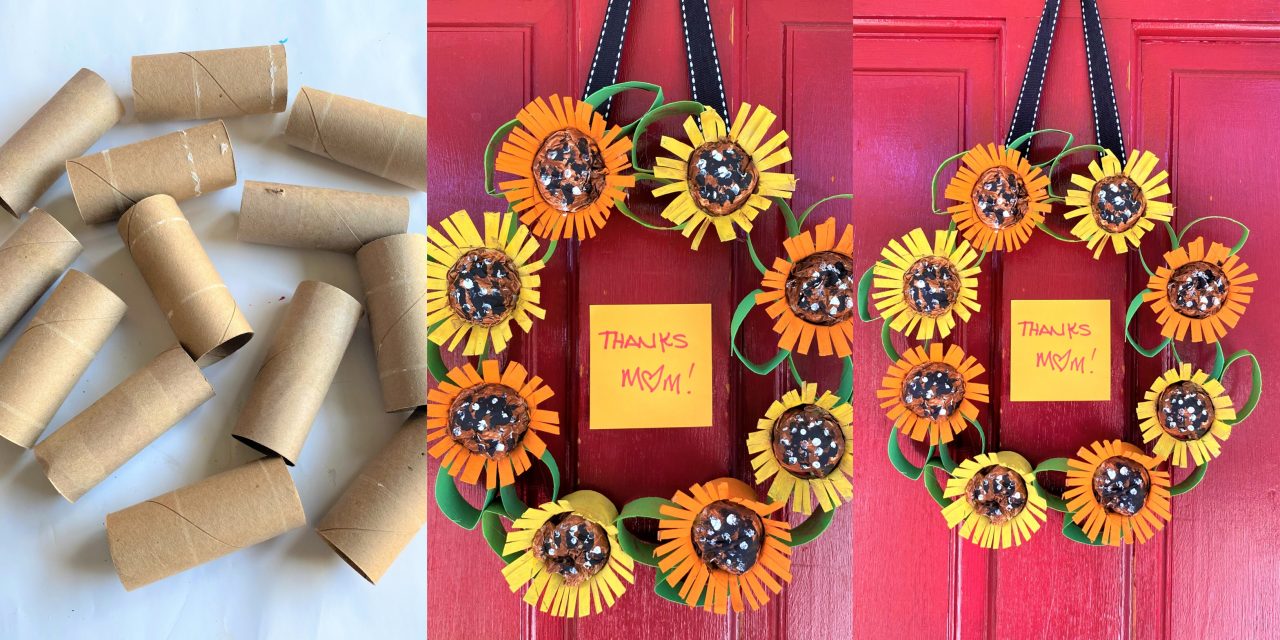
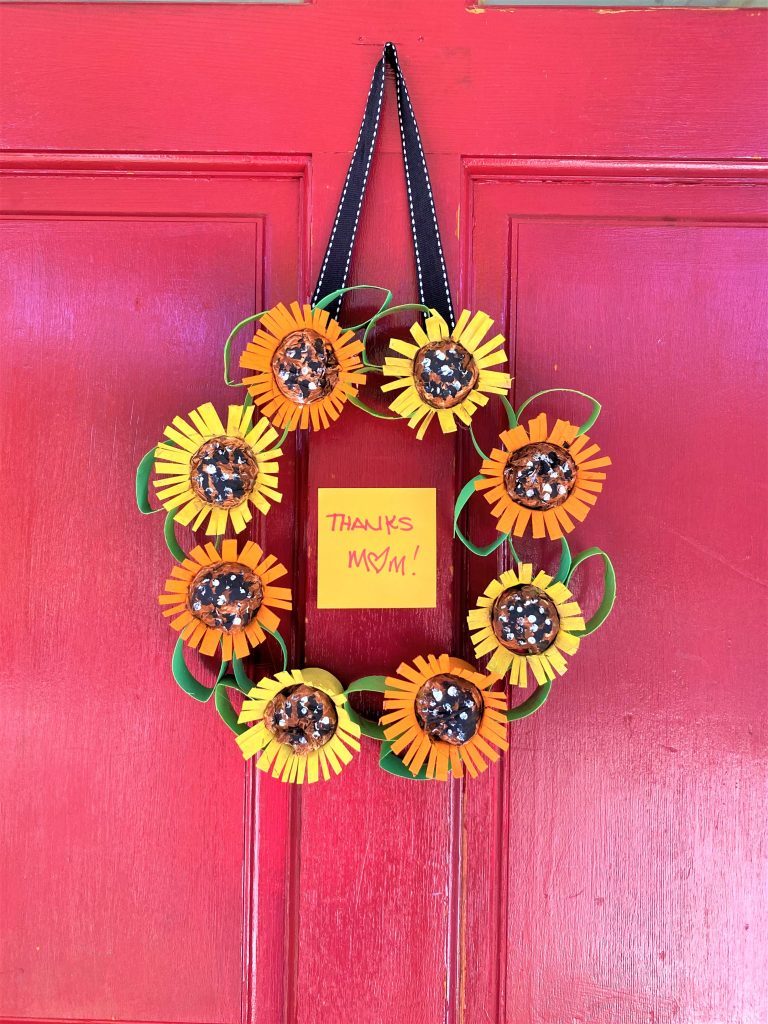
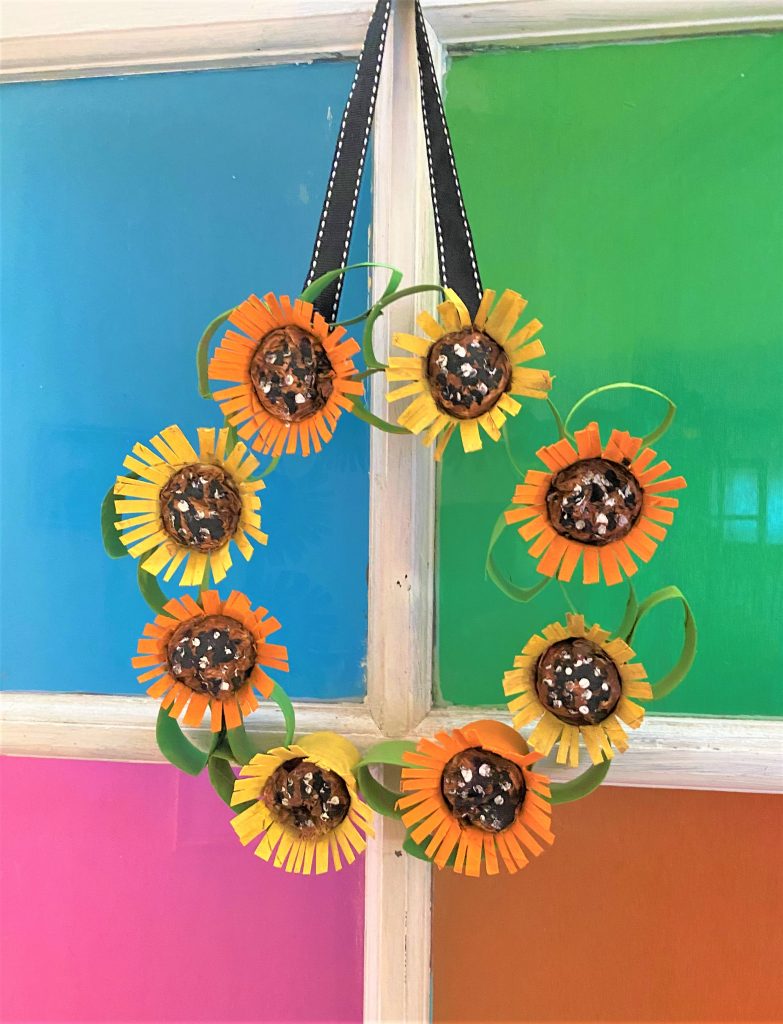
Here’s a bright idea for Mother’s Day that we know your Mom will love—a friendly sunflower wreath. Shine the sun on her on the holiday with this easy and cheerful DIY project that uses those many empty bathroom tissues rolls we have around these days.

Your Mom will smile at this special gift—you know she loves hand-made creations by her kids, no matter their age. And she will pat herself on the back for raising such a resourceful person who takes what they have at hand and transforms it into something so pretty!
Supplies Needed
1. Cardboard toilet paper rolls
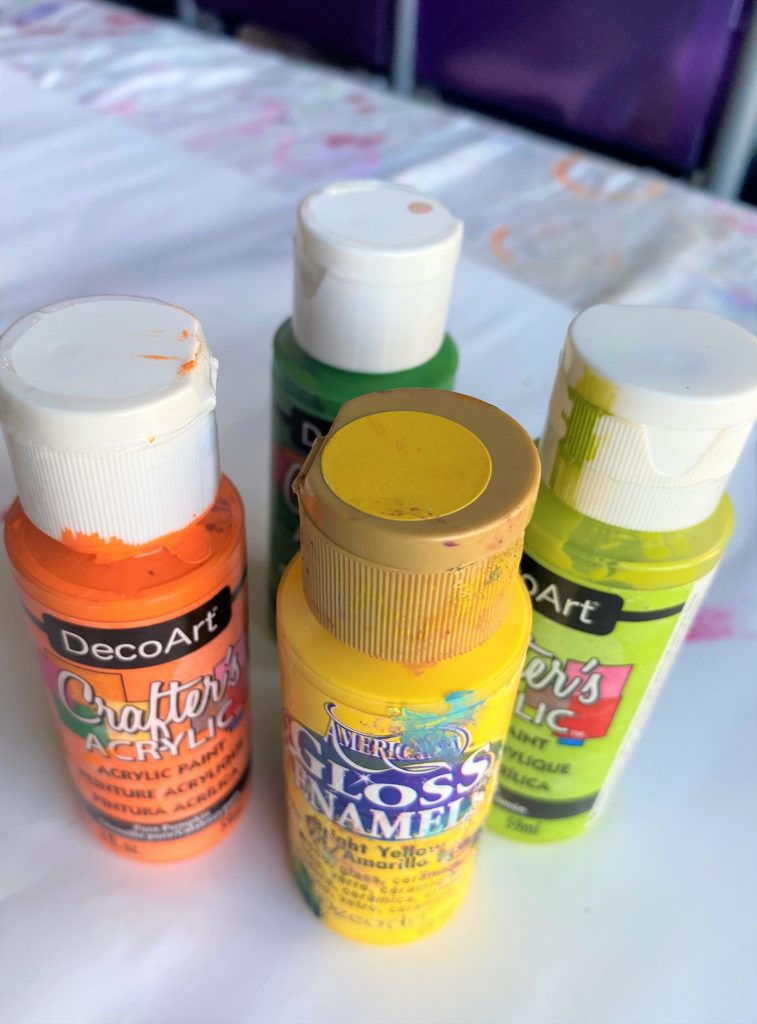
2. Craft paints (yellow, orange, green, black, brown & white)
3. Paint/foam brushes
4. Marker or pen
5. Scissors
6. Glue gun & glue sticks
7. Plastic shopping bags
8. Facial tissues
9. Ribbon
Time: Two and a half hours (not including paint drying time)
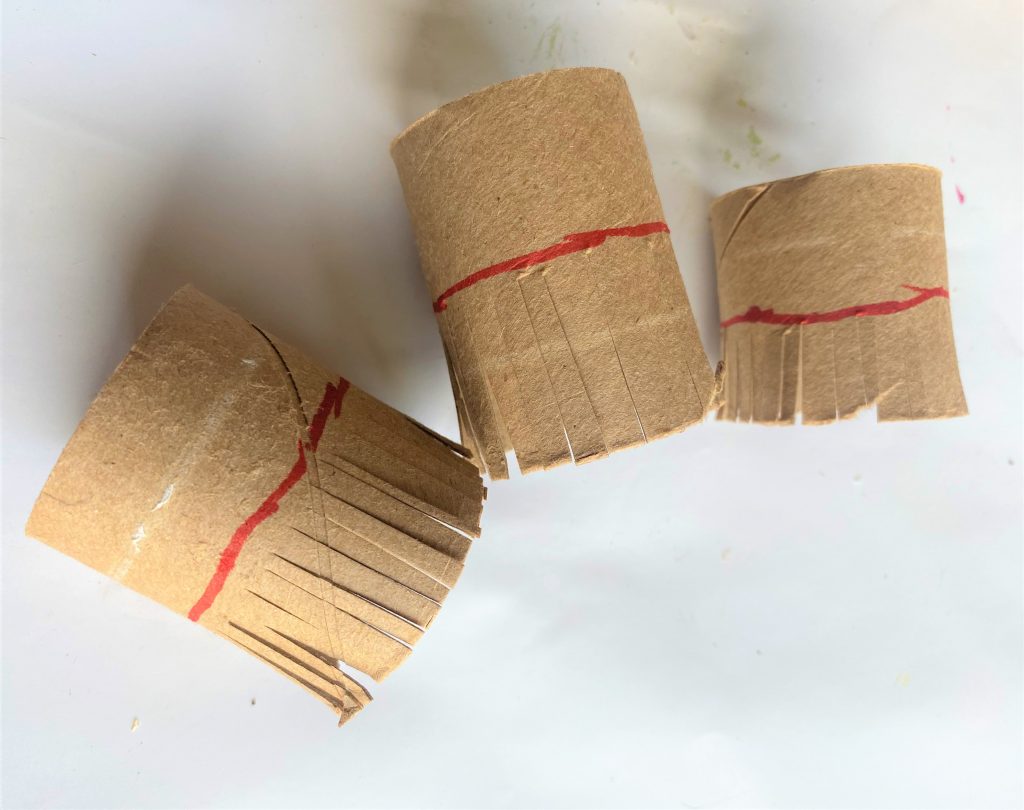
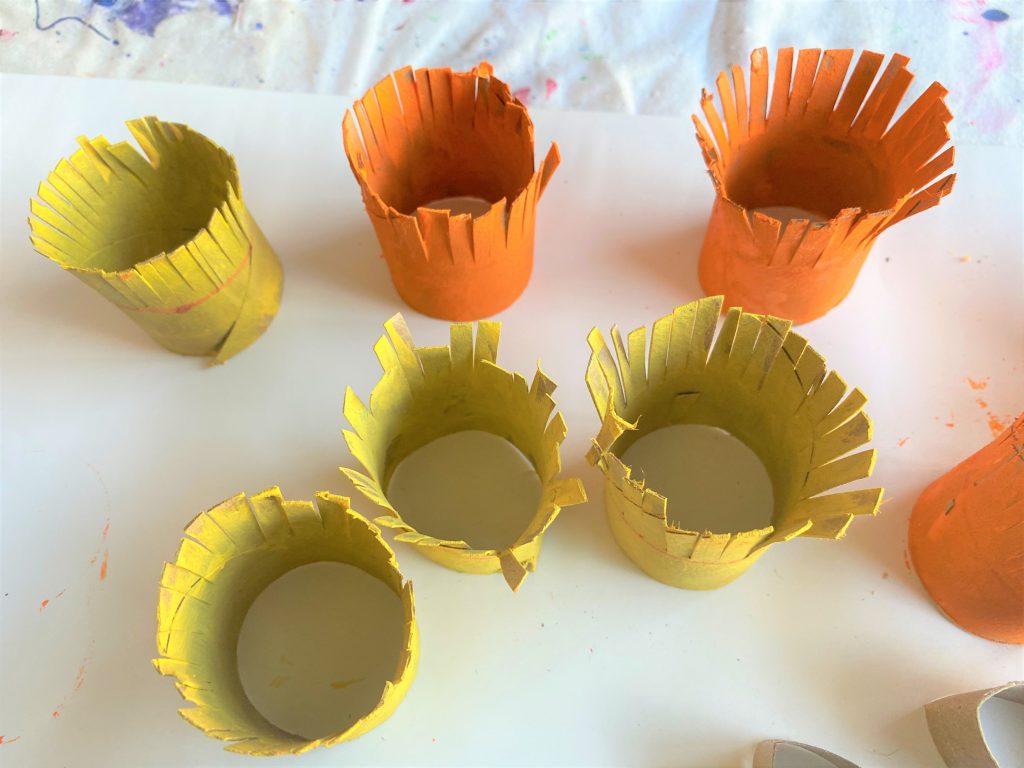
Step 1: Clip a flower or two (or eight!)
- One TP roll creates two flowers, so start by cutting the tube in half.
- Pick up one of the cut halves and use your marker or pen to draw a line in the middle and all the way around.
- With your scissors snip, snip, snip all the way around the tube creating fringe like look and using the line as a guide. These cuts will help create the flower’s petals. This wreath has eight sunflowers, so simply cut four tubes in half, mark them up and snip away.


Step 2: Don’t “leaf” out this step
- For your sunflower’s leaves, cut a tube in half, then cut it in half again. Doing so will give you four leaves. You will want to have a bunch of leaves so consider cutting five rolls so you have lots with which to work.
- Pinch one end, then the other so these pieces go from round to one with pointed edges…these will become the top and bottom of your leaves.
Step 3: Paint on natural colors
Keeping with the Mother theme, think about the colors that Momma Nature uses for sunflowers. Bright yellows and oranges, like the sun they are named after, are perfect choices.
- With a foam brush, apply yellow to four of your snipped flowers.
- Add a layer both inside and out.
- Repeat this step in orange for the other four soon-to-be flower rolls.
- Set these aside to dry.

For your smaller cut pieces, the parts that will become leaves, the color choice is pretty simple: green, green and green! If you have several shades of green craft paint, consider doing groups of the them in those shades for additional visual interest. As before, with a foam brush or small paint brush, apply on a light layer of green on both the inside and outside parts. Set these aside, too.
Design idea: While the flowers created for this project are sunflowers, you could also paint the flowers in shades of your Mother’s favorite color. Also, there are other flowers with lots of petals and good-sized centers which you could mimic. Gerber daisies, zinnias and asters come to mind.
Step 4: Make your flowers “bloom”
- After your first coat of paint has dried, bend open the snipped parts so they stick straight out from the center.
- Repeat this step so that the entire roll has its snips sticking out; these create your sunflower’s petals. You will likely need to go back to touch up these petals with more paint to ensure the brown of the cardboard edges are covered, too.
- Let this dry.
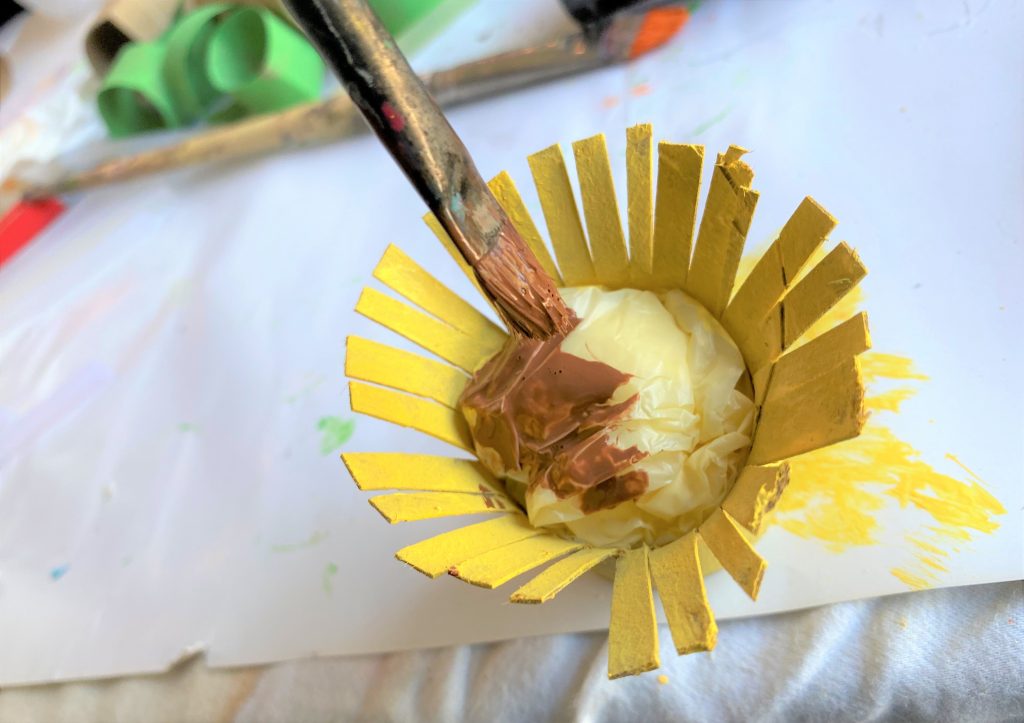
Step 5: Create your flowers’ centers
Now that your sunflowers are blooming, you want to create their centers.
- Using those thin plastic bags you get from stores, cut an piece about four inches by four inches.
- Roll a piece of new facial tissue into a ball, place in the center of your plastic bag piece then wrap the piece around it.
- Add some glue on the inside of your flower tube piece then place the bag-covered tissue inside. The glue will hold it in place.
- Paint the plastic bag/flower center with brown craft paint.
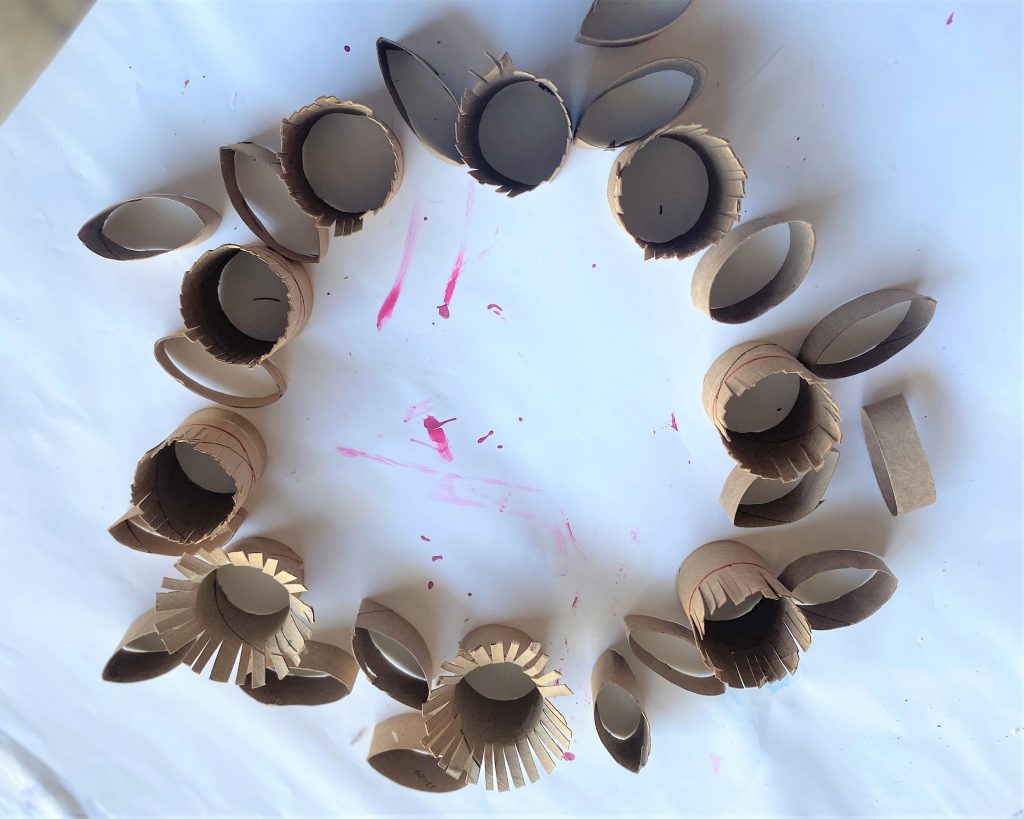
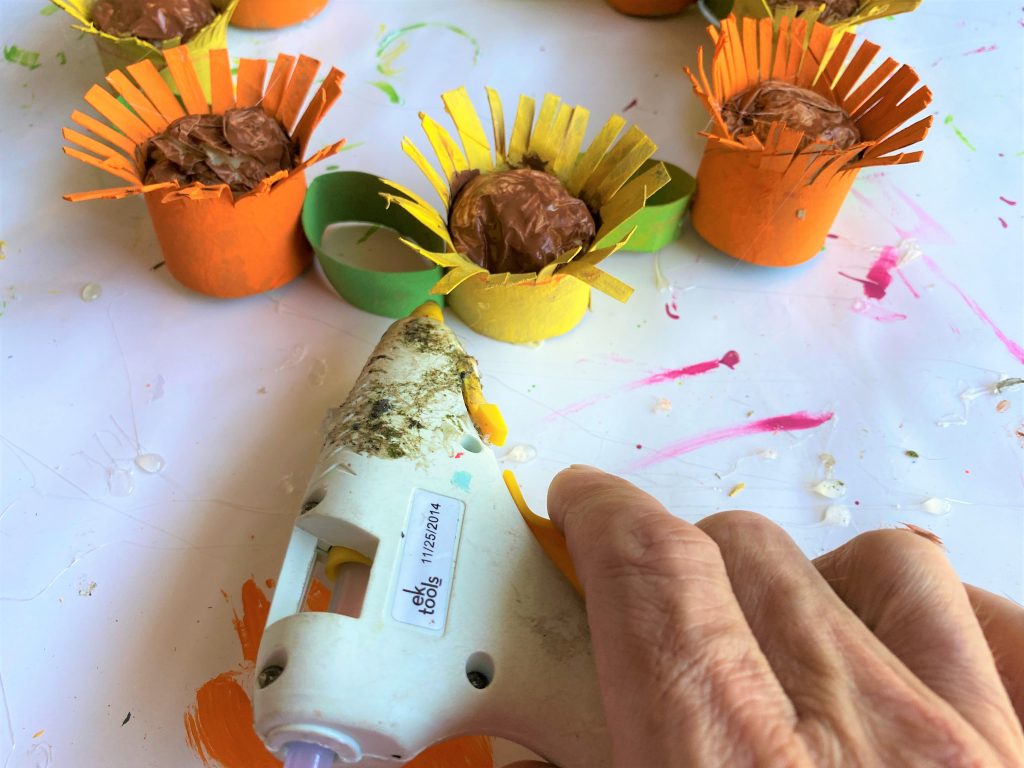
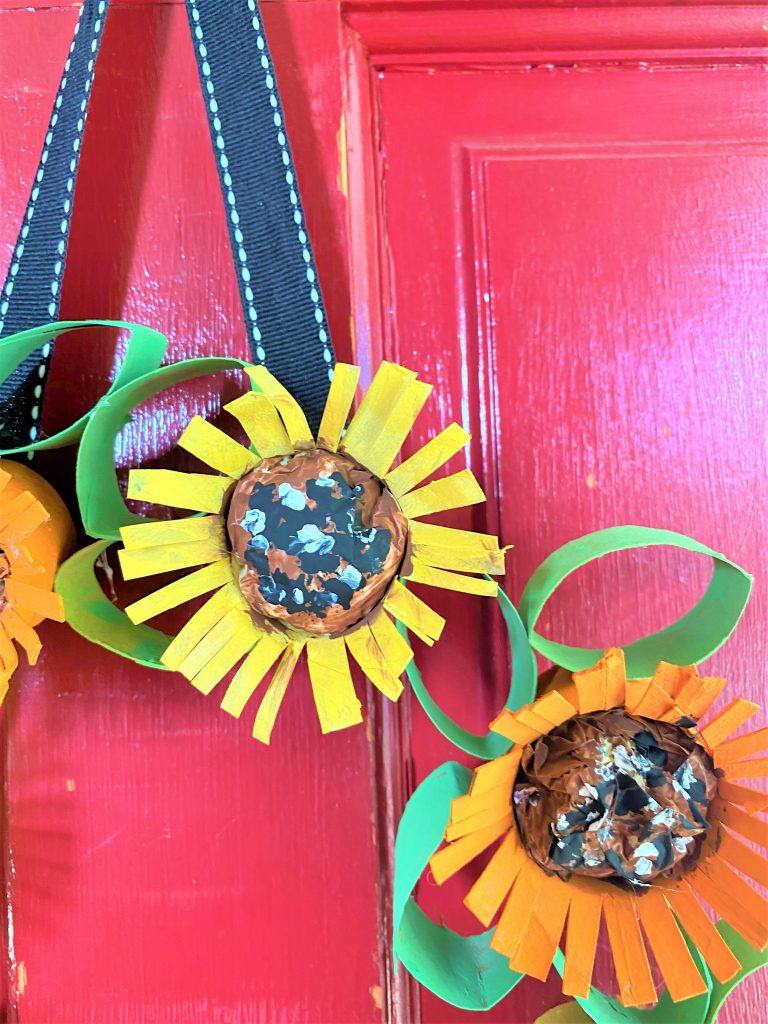
Step 6: Place flower parts in a circle, glue leaves to hold in place

- Layout your sunflowers in a circle.
- Alternate colors so a yellow one is next to an orange one. Allow a little space between each flower.
- Position one of the green leaf pieces between each flower. You might need to adjust things so that the flowers are close enough to allow one leaf to touch two flowers.
- With your handy dandy glue gun, secure the leaves in place so that one end is attached to one flower and the other end is glued to the other.
- Repeat all the way around so that all flowers are connected by leaf pieces.
To provide additional support, add more leaves so that the second round of leaves are attached to a flower and a leaf part. Ideally, each sunflower will have two or three leaves that connect it with its neighboring flower.
Step 7: Add center details
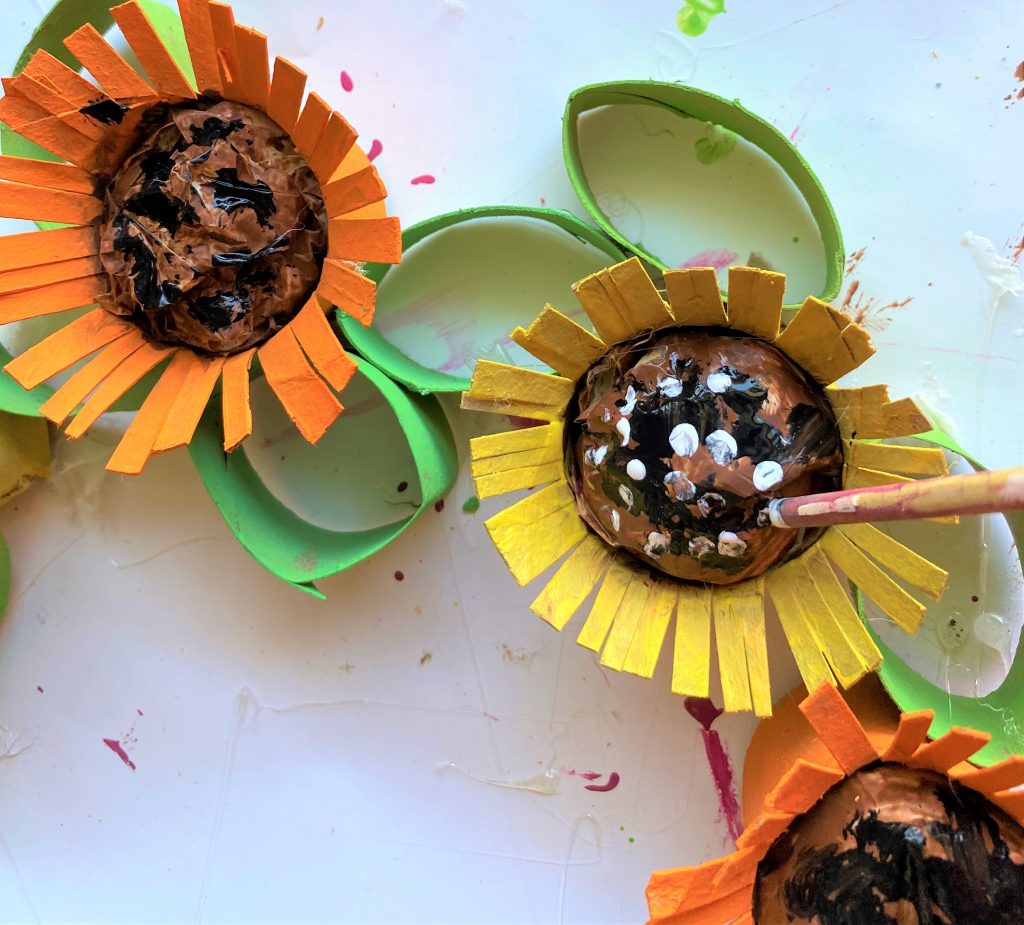
- To make your sunflower center look more real, you will want to go back with a small detail paint brush and dab on some black, allowing the brown layer to show through.
- Repeat this step on all eight flowers.
- Using the other end of your paint brush or the tip of a nail, touch on some white paint on top of the black and brown. You will want to “dot” on the white so that the circular end of the brush or nail appears.
- Dot away!
Step 8: Secure ribbon hanger
- Take an eight-inch long piece of ribbon and fold it over.
- Add some glue from your glue gun to one end then place one of your flower parts of your wreath on top.
- On the other end, add more glue and place another flower part on top.
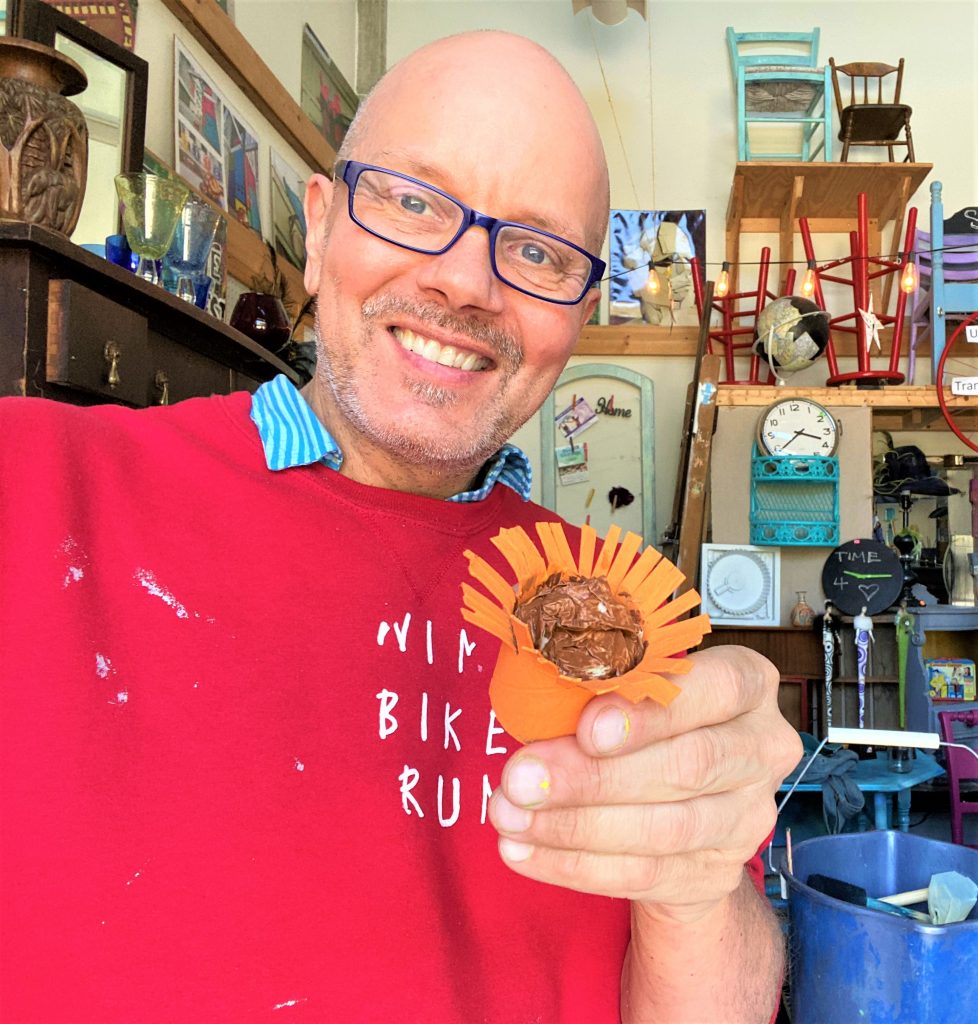
Step 9: Give to Mom or hang it for yourself!
This happy, happy sunflower wreath will be a hit with your Mother. If your dear Mom is no longer with us, you could keep this for yourself and display it in her honor. Or you could give it so someone who has been nurturing and loving to you, no matter their gender.
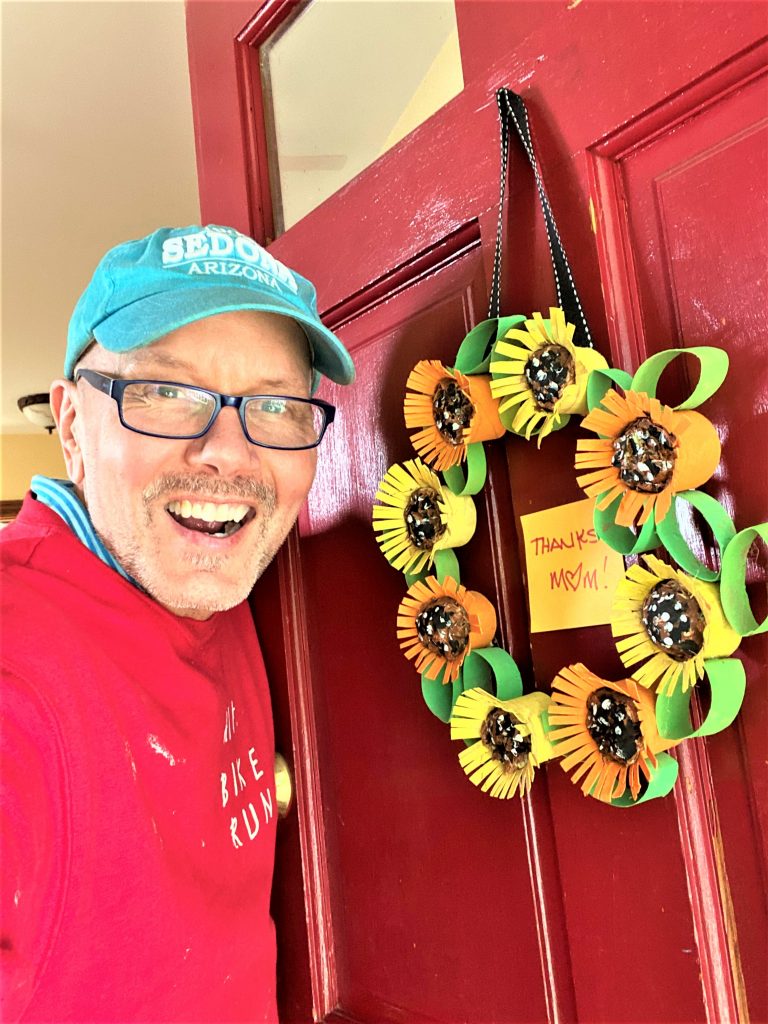
Each time I see this sunflower wreath, it makes me smile. Seeing real flowers blooming out and about, given the Spring season, makes me happy, too, and gives me hope that better days are on the way.

Tim Kime
Artist, Motivational Speaker, Life Coach

