Transform a Window Sash into Functional Art
What timeless words of wisdom have we all heard before? “When one door closes, a window opens.”
You can easily take this inspiring message to heart with a simple, joyful DIY project that is eye-catching and useful. Paint a window sash into a piece of art, then make it useful by adding hooks for hanging and displaying items.
Windows are timeless and universal, so your upcycled art piece will look great anywhere and connect with all who see it or use it. Also, by reusing an old window sash, you are keeping it out of a landfill, so your transformed project is helping to change the world, too!
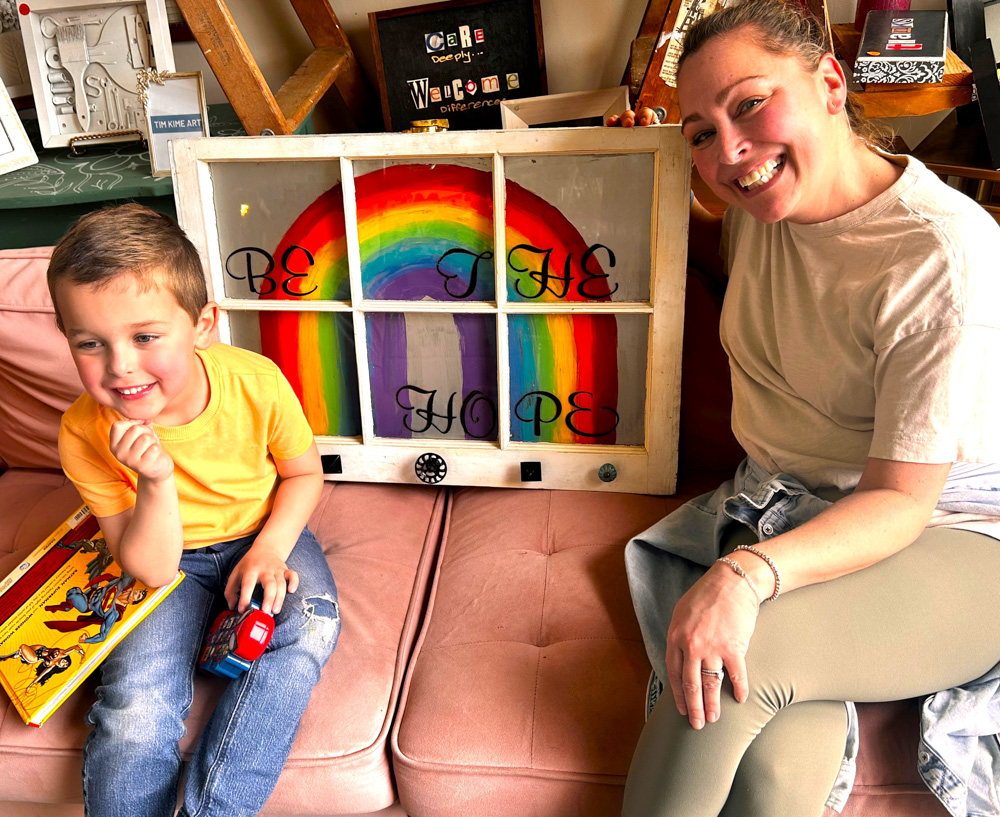
Here’s how:
Step 1: Open the door to find a window sash at Goodwill
Among the many cool and unusual items found at your nearby nonprofit Goodwill retail store, you might come across a window sash in the Home Décor/Wall Art section. If you do, take it home with you for this charming and easy DIY project.
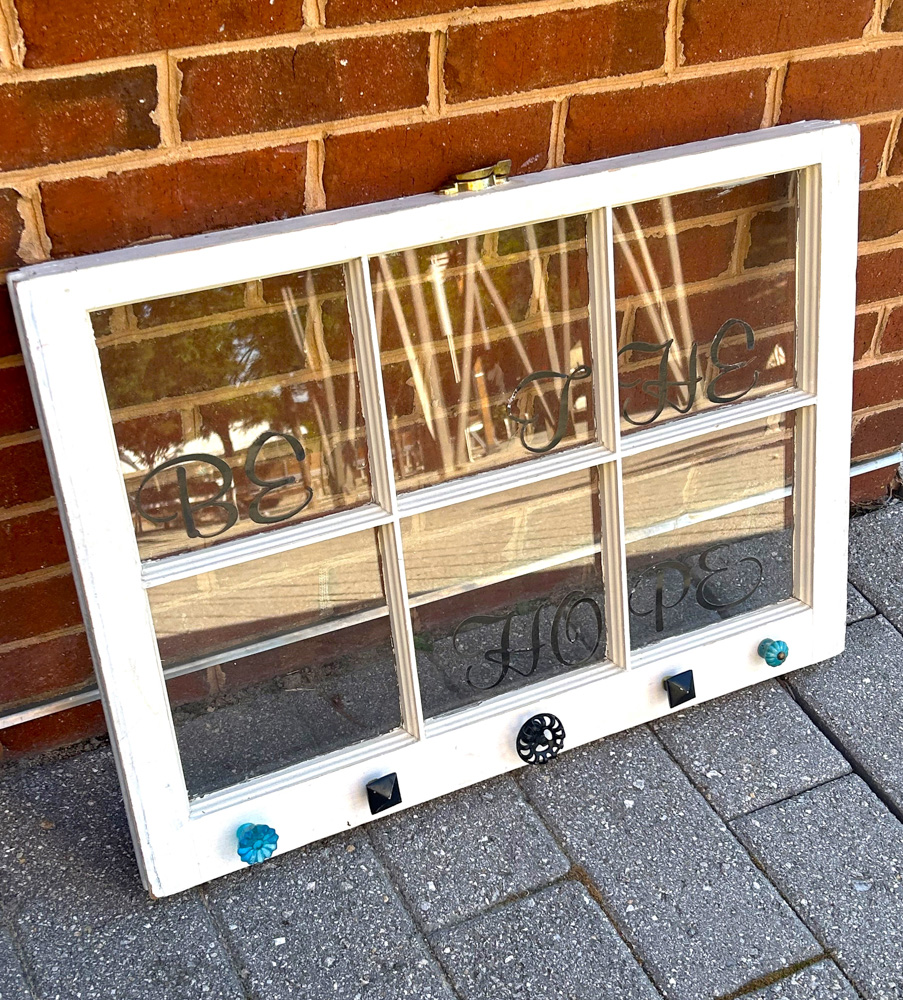
Window sashes are a unique find at Goodwill, so I felt super lucky to come across this one in excellent condition. Window sashes are on my list of Goodwill “must buy,” along with globes, vintage typewriters, colorful colanders, and stained glass. What is on your gotta-have-it list when you hit Goodwill to find your good?
Step 2: Prep for painting
Based on the age, appearance, and condition of your window sash, you might need to do some simple prep work before starting its transformation. You’ll likely want to give it a good cleaning on both sides of the glass and along its frame to remove dirt and dust from its previous use as a window. You might also need to carefully do some light sanding, too, with a light-grain sanding block or paper to smooth down edges or peeling paint parts.
Step 3: Add an inspiring message on the front
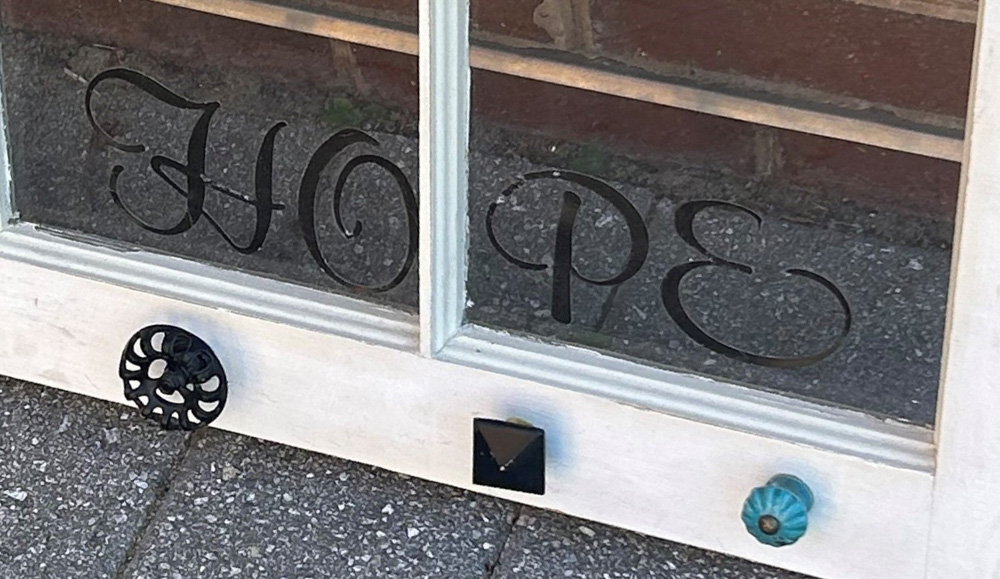
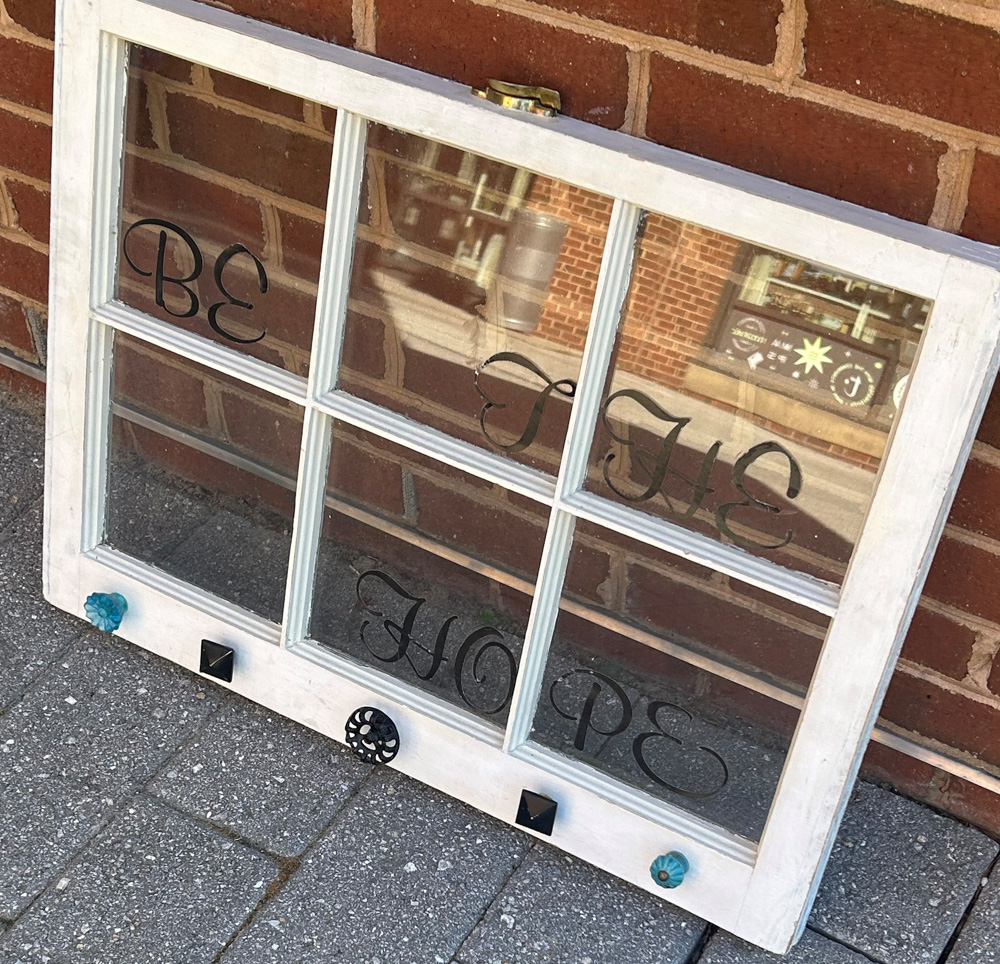
Consider your windowpanes as two-sided canvases on which to express yourself. Using sticker letters, add your words on the front side of your panes, being mindful of spacing between each pane. The letters used here were simply removed from their backing and carefully placed on the front, sticky side down.
Other options/ideas for adding words and letters could be using stencils and securing them with painter’s tape and carefully applying paint. Remove the painter’s tape and the stencil to review your words of wisdom. If you have nice handwriting/printing, paint pens are a great option too. (My left-handed writing is a little hard to read so the sticker/decal letting option was best for me!)
In addition to the “Be the Hope” message, what messages or phrases speak to you and touch your heart? Some of my favorites are “We Are One,” “See the Good,” “Show Love,” “Dream Big,” and simply “Peace.”


Expert Tip:
Keep your phrases simple, sweet, and short. You need two or three words, which will take less time to add. Done, done, and done!
Step 4. Brush on color, images on the back
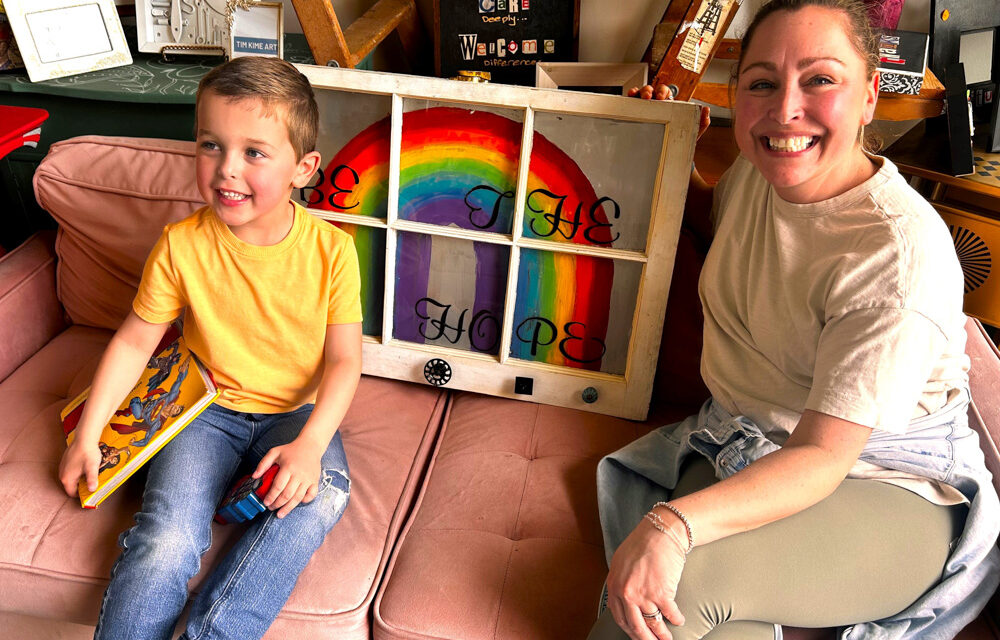
With your message on the front, flip your window sash over on your workspace. Now you have more “canvases” on which to have fun. Again, keep things simple, so consider images like a rainbow, a sun, a moon, or a big happy flower. If you go with the rainbow route, brush on your craft paints in the ROY-G-BIV sequence (red, orange, yellow, green, blue, indigo, and violet) but in reverse order. The inside color/arch/line should be violet, so start there, brush on a line of that tone, and move to the next until you finish with red as the outside color/arch/line.
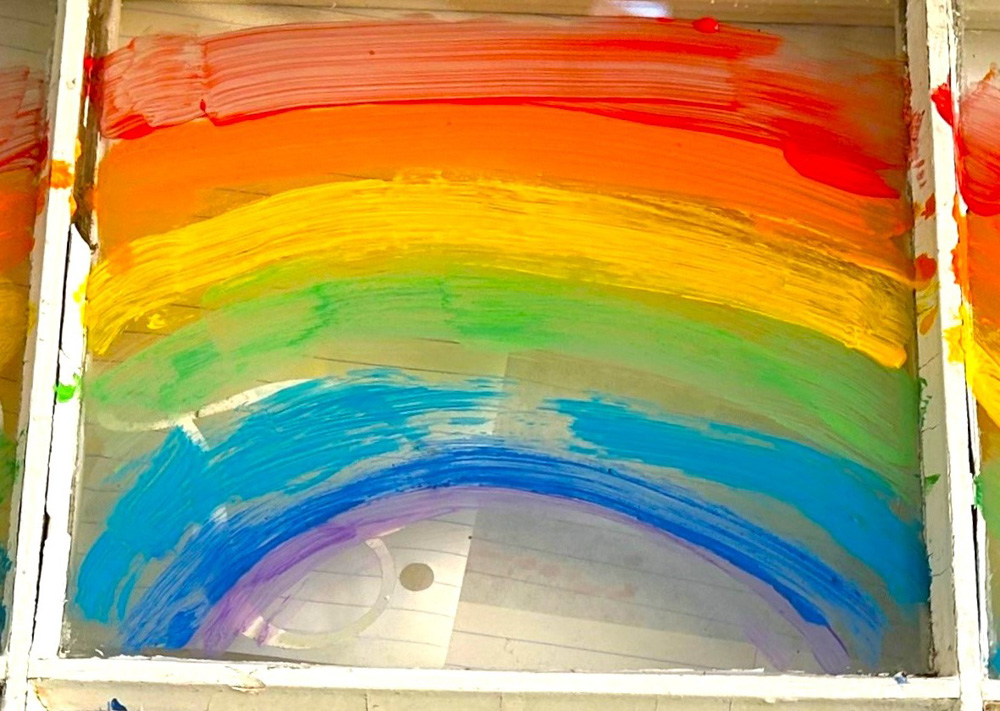
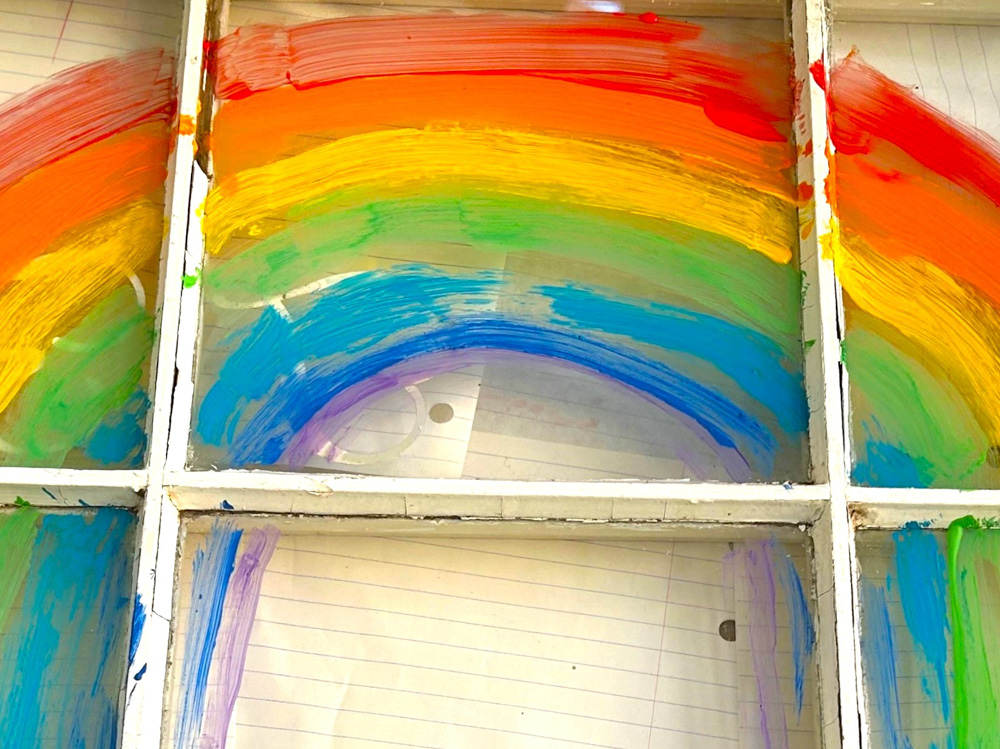
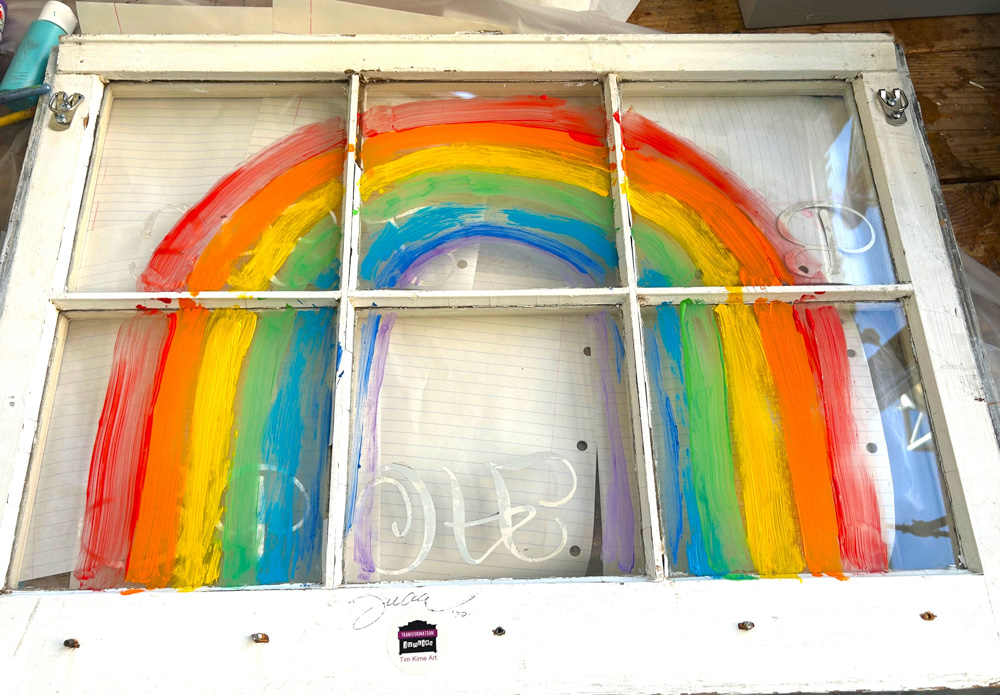
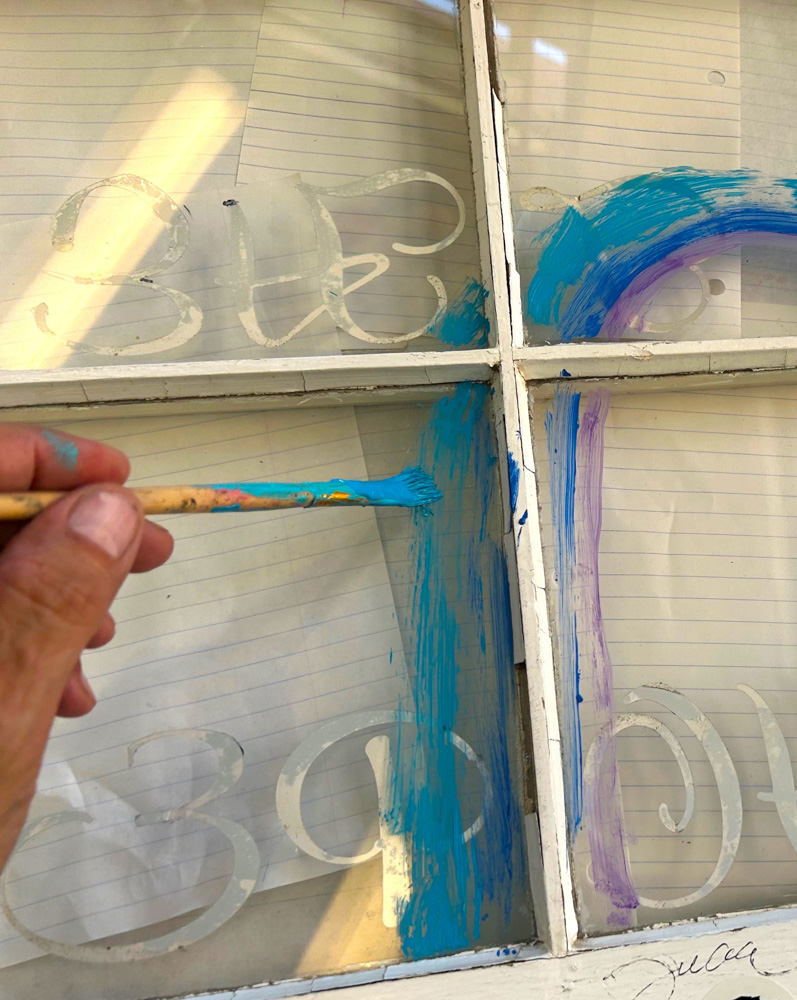
Ideally, each one of your windowpanes will have all or part of the rainbow’s colors, so each pane is a part of the overall look.
After your rainbow is painted in and has dried, then return with a color to fill in the background to help make your letters and message pop out more and ensure it is easy to read. An obvious choice would be to paint the background blue to look like a sky behind the rainbow. You are always encouraged to use what you already have to reduce costs and keep in line with the repurposed feel. In my case, I had a silver paint handy, so that was used. It also provided a lovely and soft reflective quality to the final design.
Step 5. Secure hooks, hangers
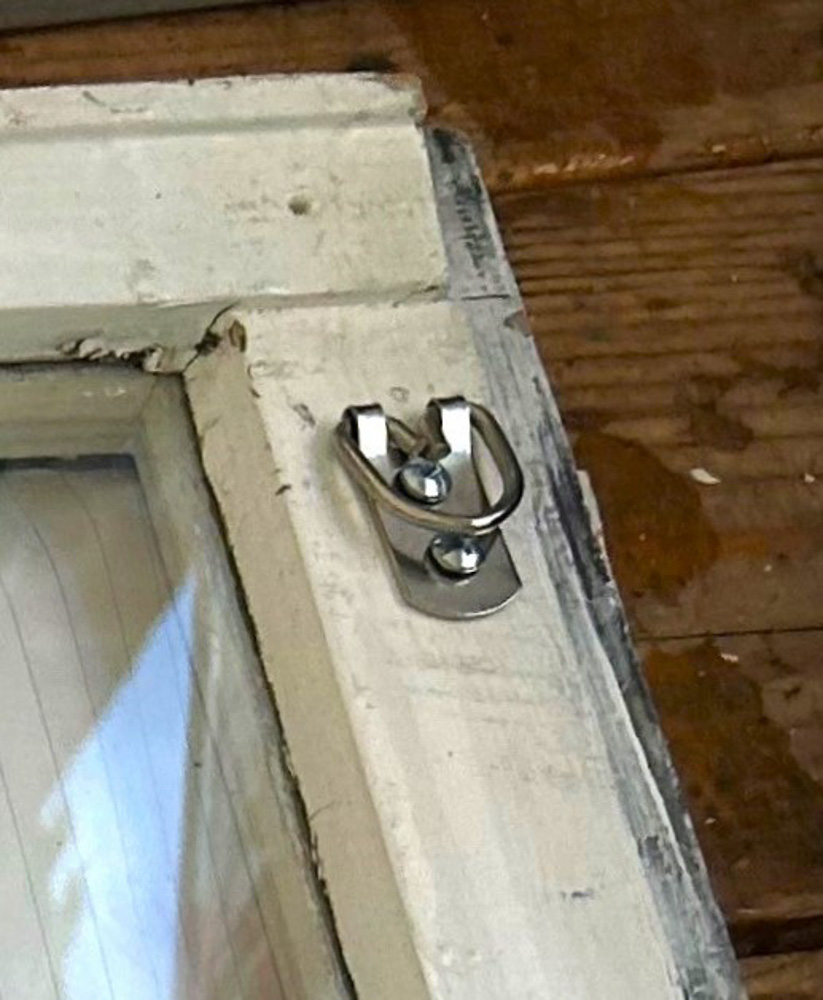
On your art piece’s back side, use a drill and screwdriver to add D-hooks on the frame’s upper left and upper ride sides. These will help to hold the window sash level on the wall and provide sturdy support.

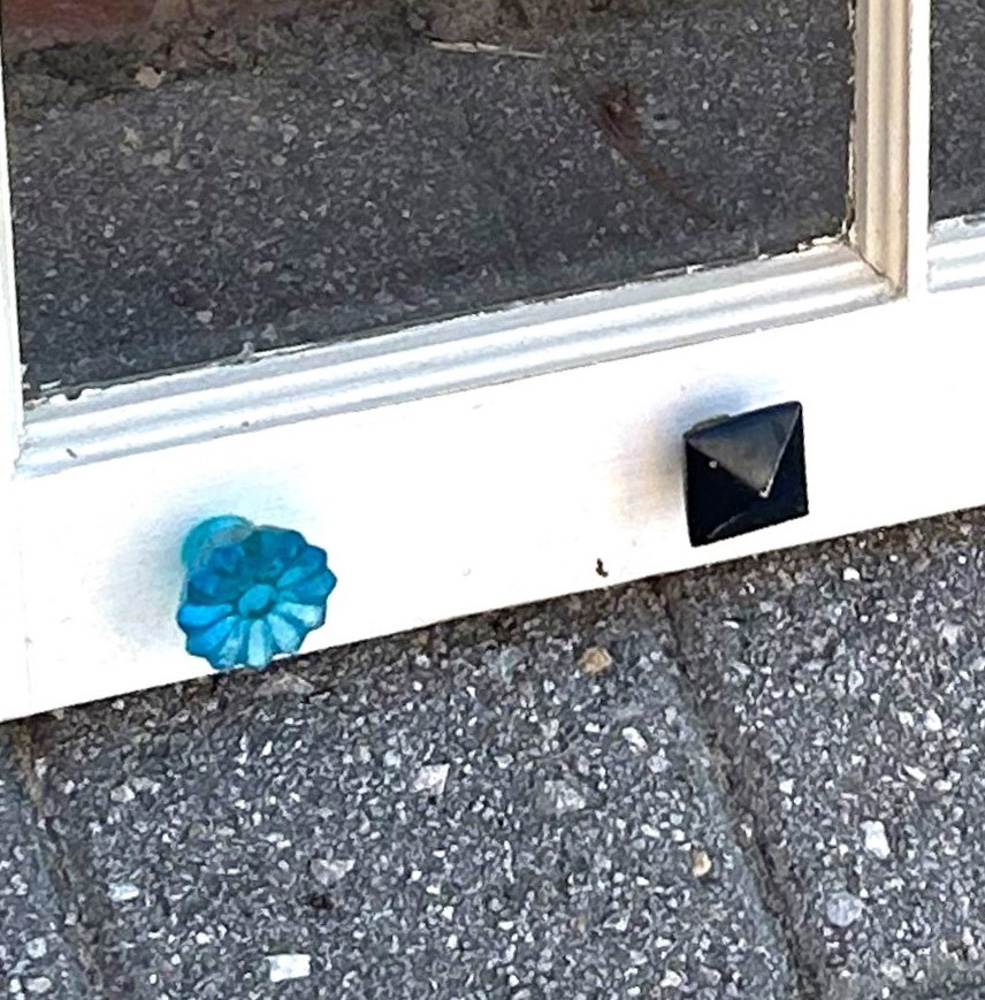
Next, flip it over and add hooks along the bottom edge. Again, use your drill to add holes and secure the hooks.
Design idea:
Consider using knobs and drawer pulls removed and reused from other furniture pieces and projects. As you can see, the collection of knobs for this project was mismatched, adding to the whimsical tone of the piece. Also, there was no cost or expense because they were salvaged from other items.
What might you use as a hook on your window sash art piece? A bent spoon, a toy part, or an umbrella handle will all do the trick and certainly add some fun flair to your piece!
step 6. Hang it and be happy
Your “Be the Hope” window sash, a functional art piece, will appeal to any space. Hang it above your workspace for daily inspiration and functionality. Position it by your front door to hold hats, gloves, and a light jacket or two. Display it in your kitchen and add wooden spoons, a rolling pin or other large utensils needing a home base.
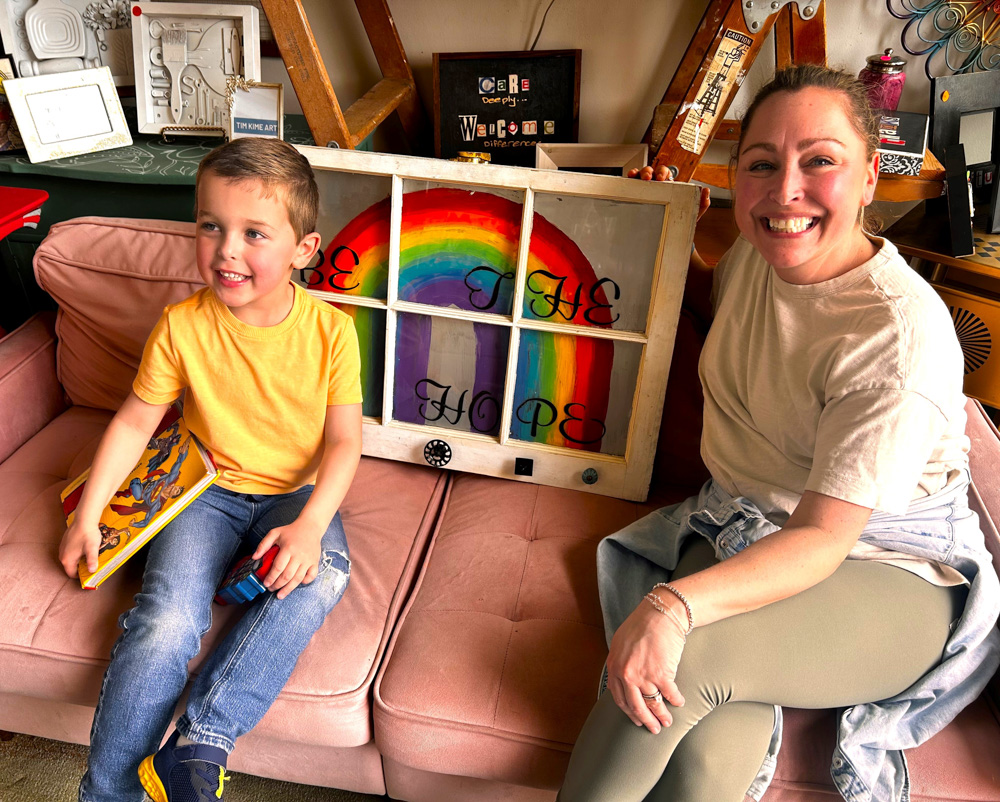

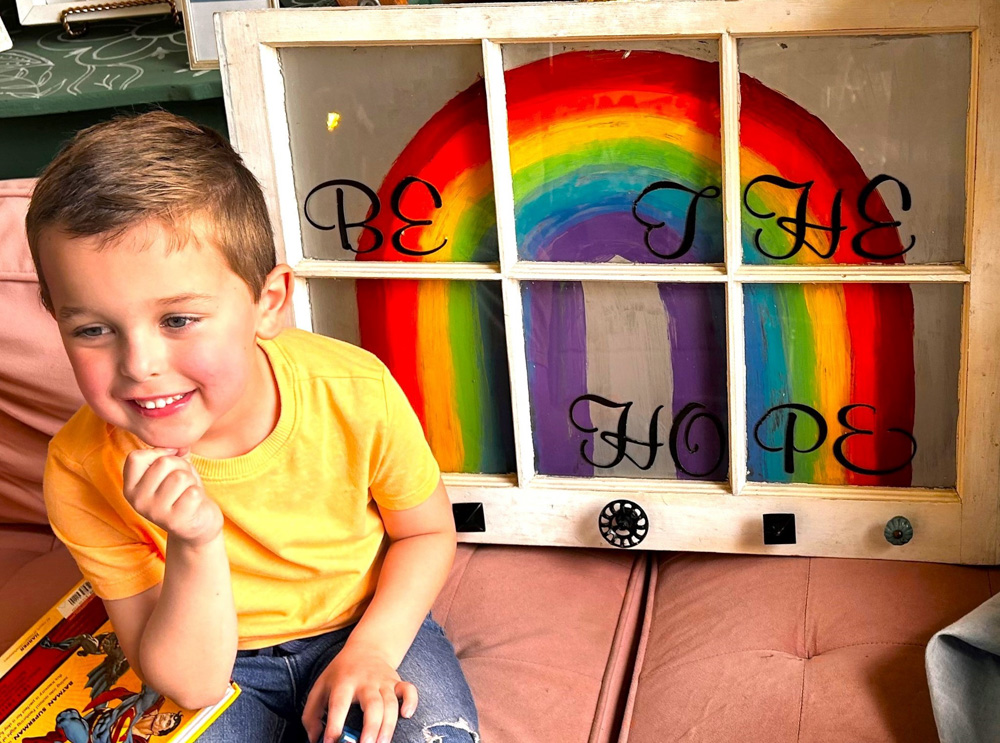
Thanks to Nicole, who picked up this art piece to hang in her school office, for her efforts to impact young lives, and to her son James for his infectious smile.
Thanks to Finding Your Good for helping to be the hope—and the change—we want to see in the world!
Similar Reads:
- Use Sunflowers to Inspire Your DIY Designs! – Finding Your Good
- Noodle on This DIY: Fun Flowers From Pool Accessories & Goodwill Finds – Finding Your Good
- DIY: Toilet Paper Roll Flowers & Butterflies

Tim Kime
Artist, Motivational Speaker, Life Coach


