Use Spring Colors & Impressionist Artists to Upcycle a Mirror
With the release of the new Snow White movie, you might hear the famous film line, “Mirror, mirror on the wall, who’s the fairest of them all?”
Well, here’s your answer: the mirror itself when you follow these simple steps inspired by the season (Spring) and impressionist artist (Claude Monet).
You, too, can create an upcycled masterpiece by transforming a thrifted mirror using craft paints. You will say, “Oh, la, la!” when you see how easy and fun it is!
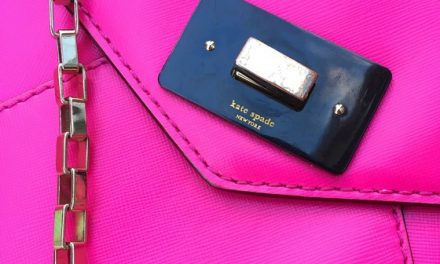
Step 1: Find your good and a mirror at Goodwill
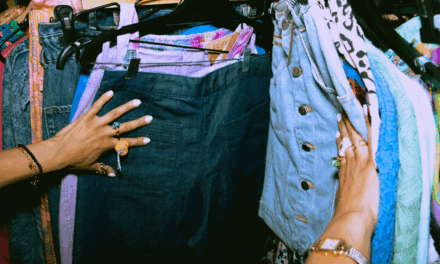
April showers bring May flowers, so get out of the rain and into your nearby Goodwill nonprofit retail store. You’re sure to find it sunny inside, thanks to the great deals on unique items and the smiles from the Goodwill team, who are always ready to help you with your purchases and your donations. Most Goodwill stores have a nice collection of wall décor, and mirrors are often among the items available.
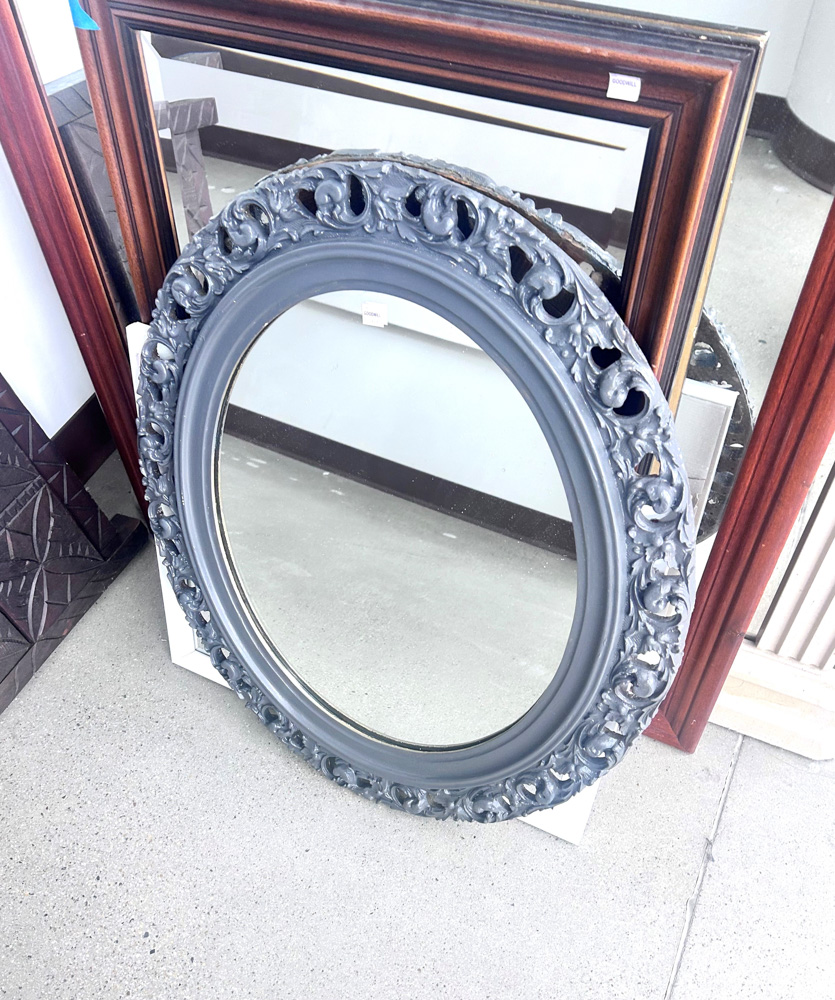
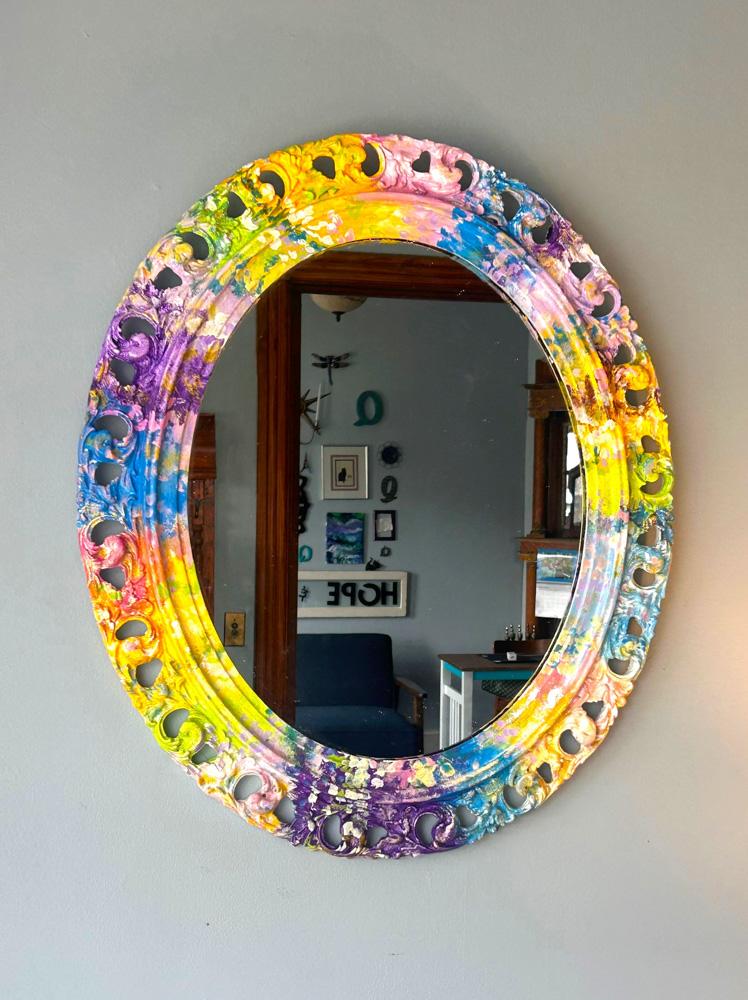
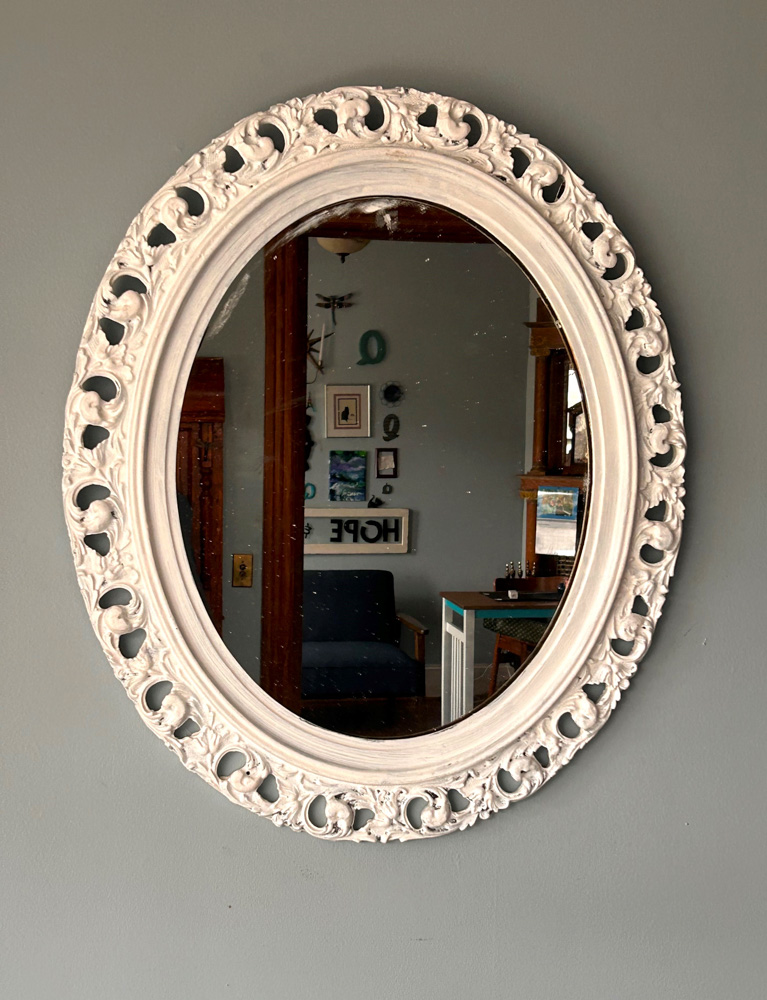
For best results for this DIY project, look for a mirror with a wooden frame with some width to it. The frame will be your canvas, and you want some surface on which to let out your inner impressionist.
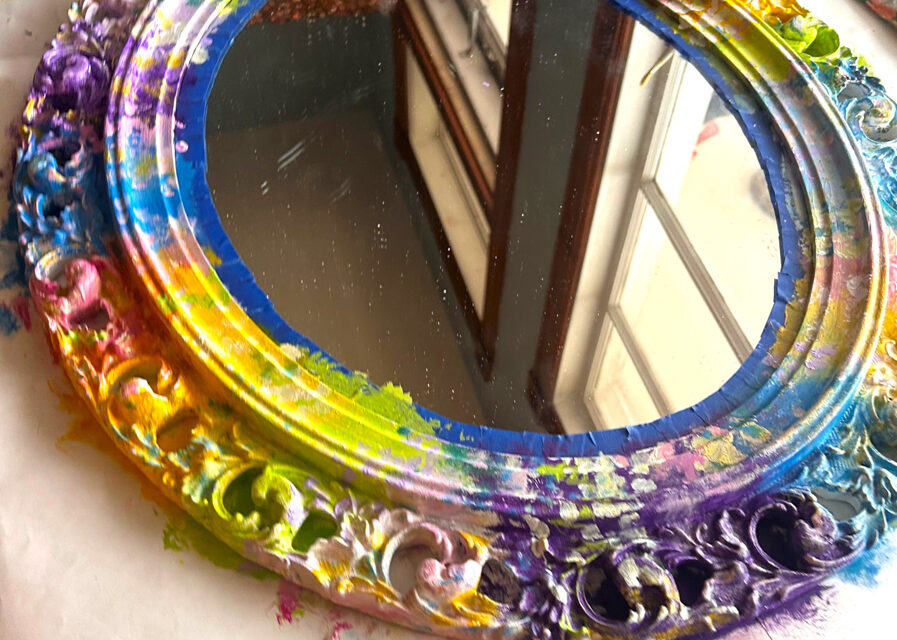
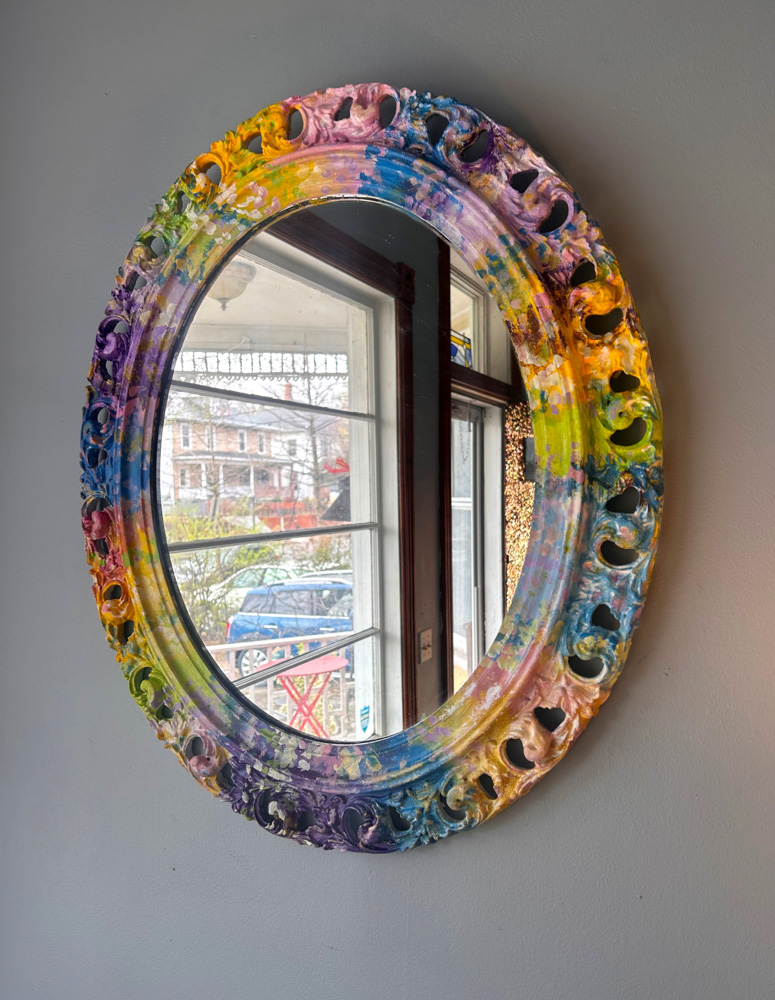
This oval-shaped piece had a wooden frame that was carved with flowing, flowery shapes. When I saw it and turned it over, its construction told me it was likely an antique and very solidly constructed. Therefore, into my shopping cart she went!
Step 2: Brush on a base
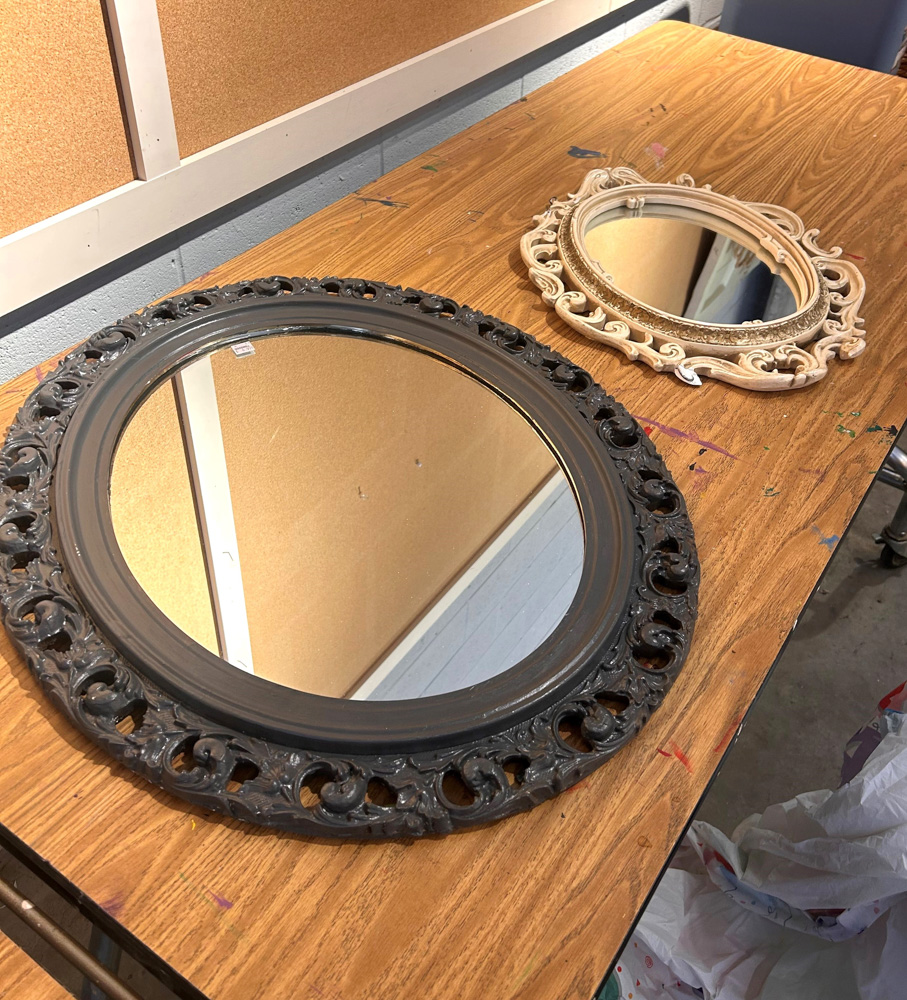
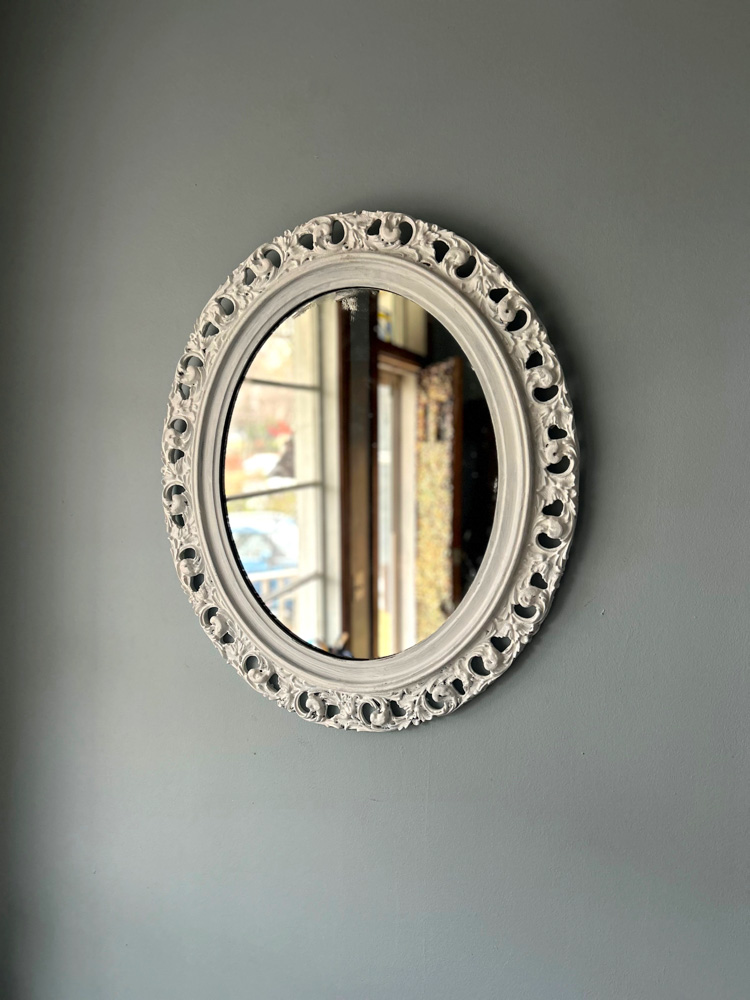
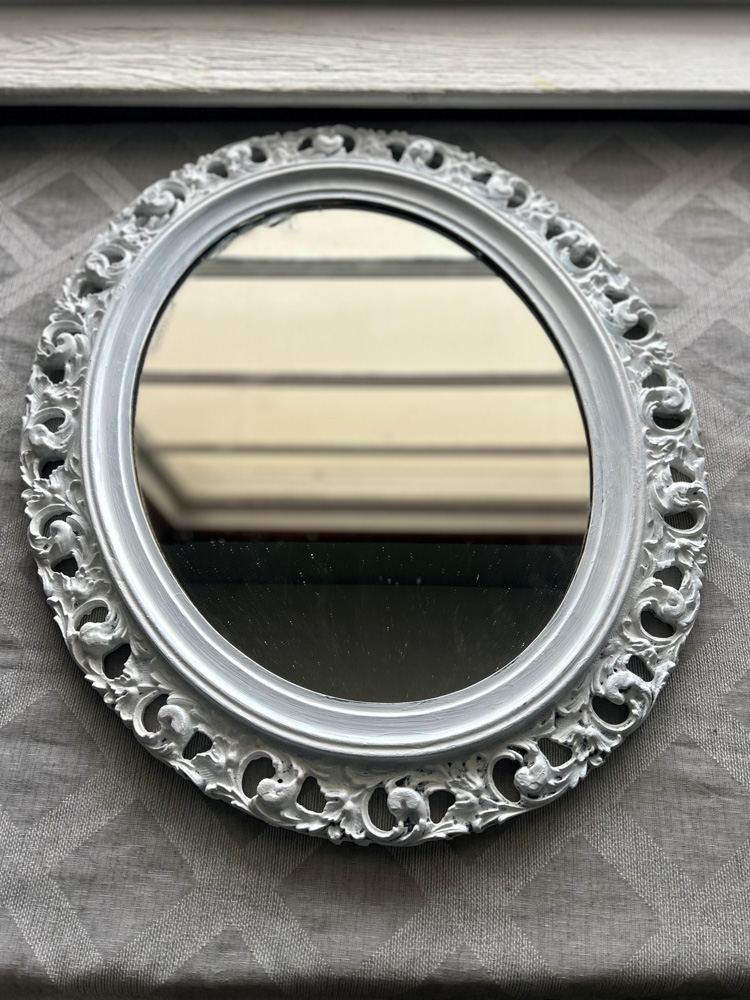
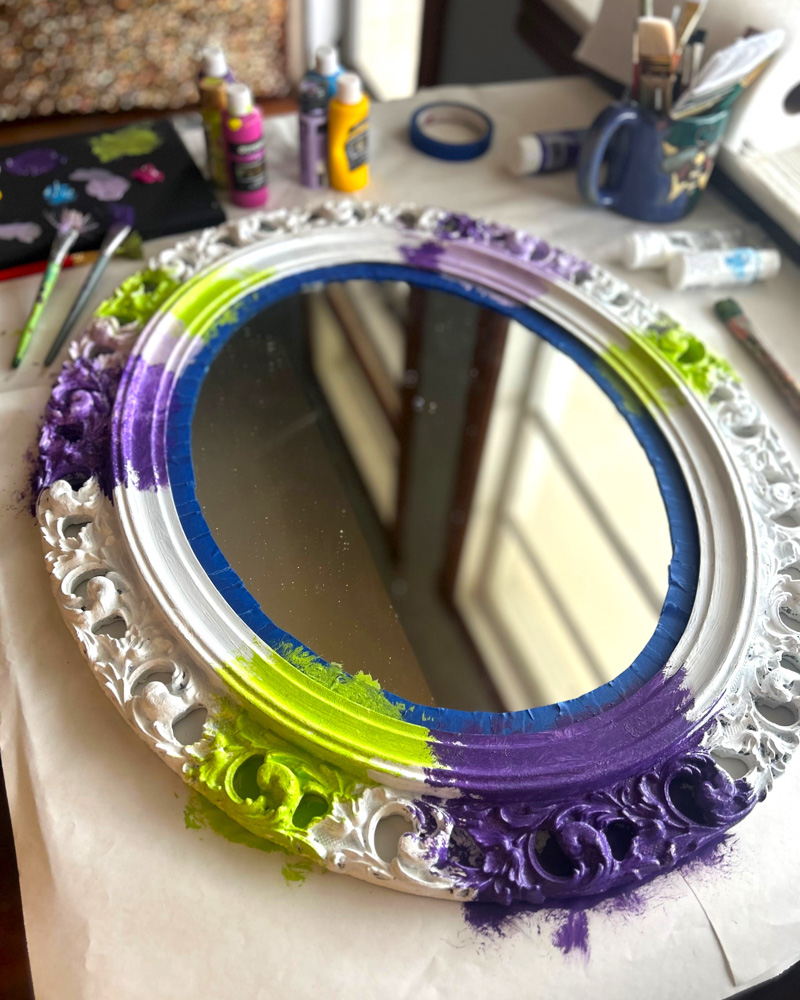
When you get your Goodwill-found mirror home and wipe away any dust, dirt, or fingerprints, then consider applying a coat of white paint to give yourself a bright and neutral base on which to build your transformation. The mirror’s frame was gray and dreary when I found it and it immediately looked so different with the solid white coat of paint.


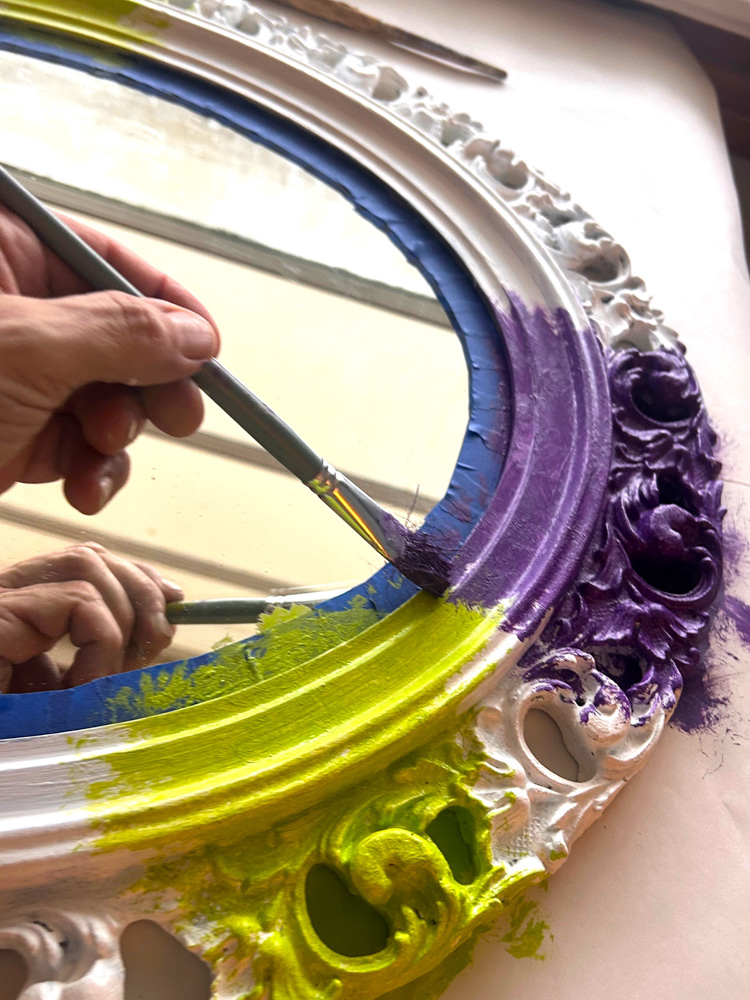
Step 3: Protect parts with painter’s tape
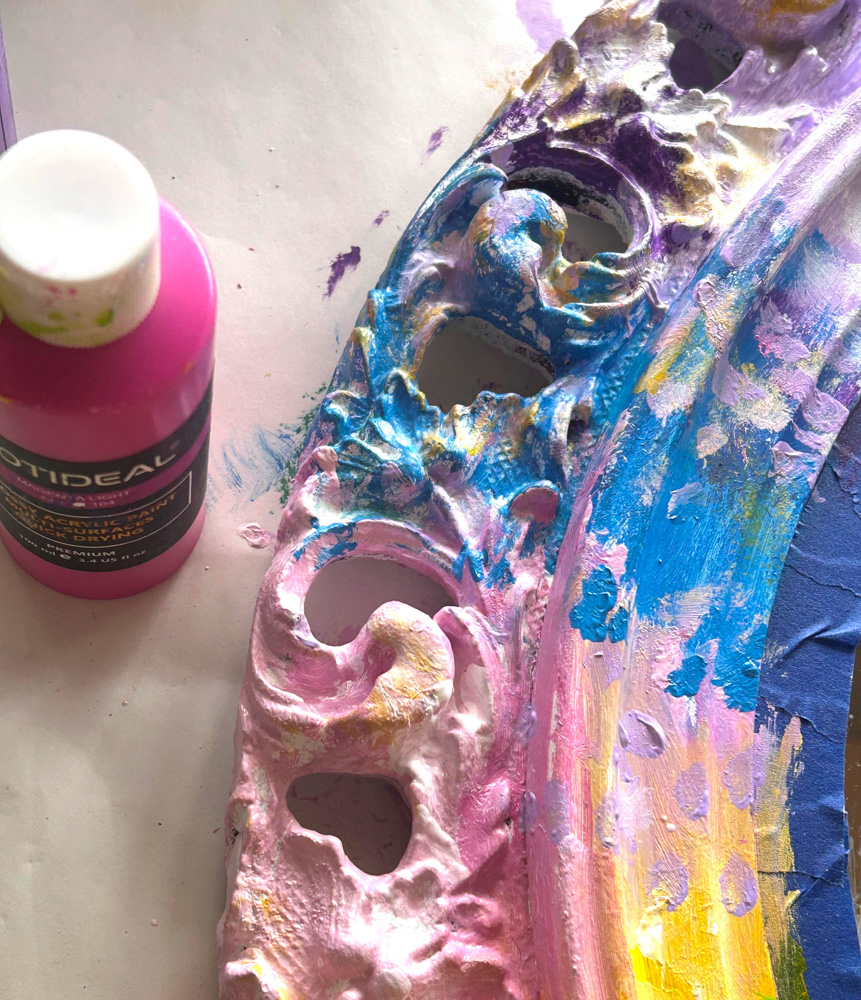
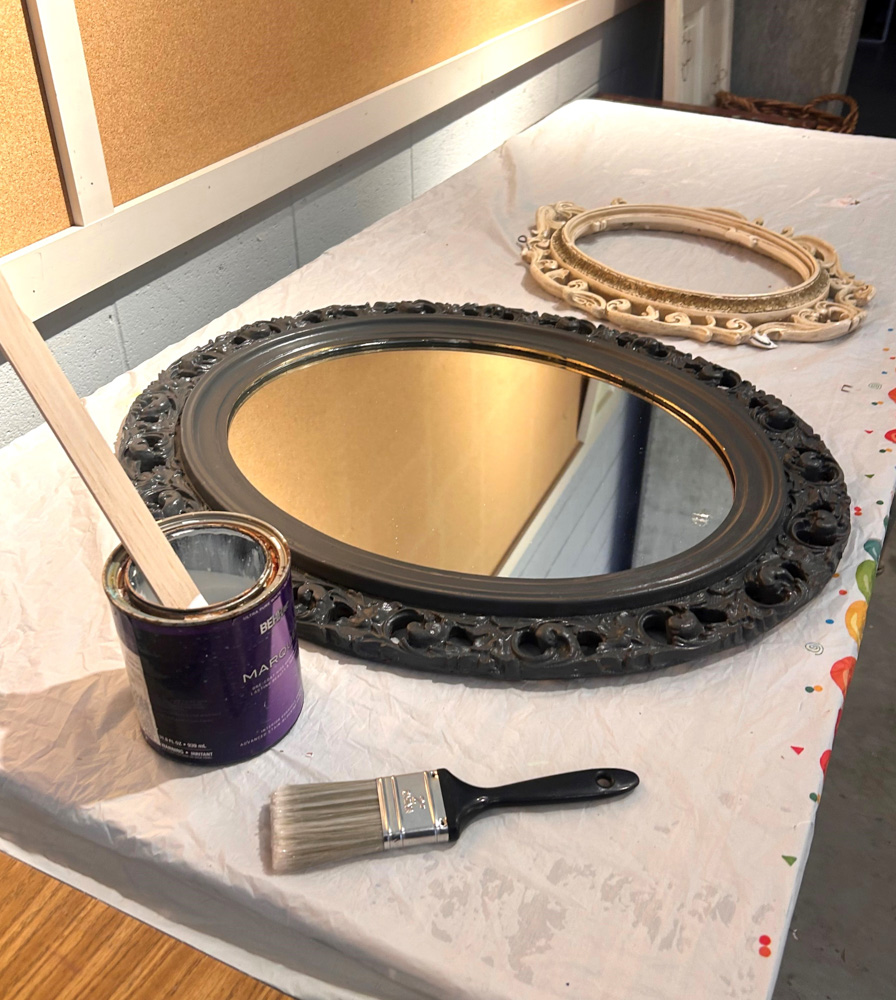
Based on the construction of your mirror and its frame, all it might take to remove the glass from your frame is a screwdriver. However, given the age of the mirror featured here, it had a series of very small nails holding things in place. Not wanting to damage it and, in the interest of time, the mirror was kept together. The solution was to use small pieces of painter’s tape around the inside edge of the mirror glass to protect it from getting painted and to allow for easy clean-up when done.
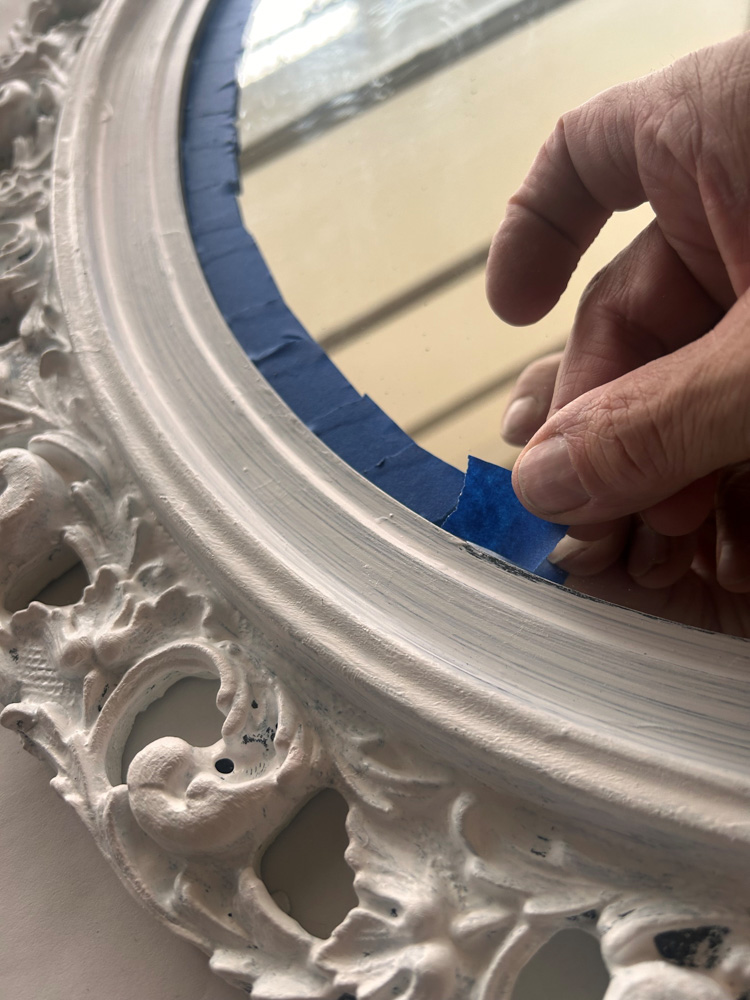
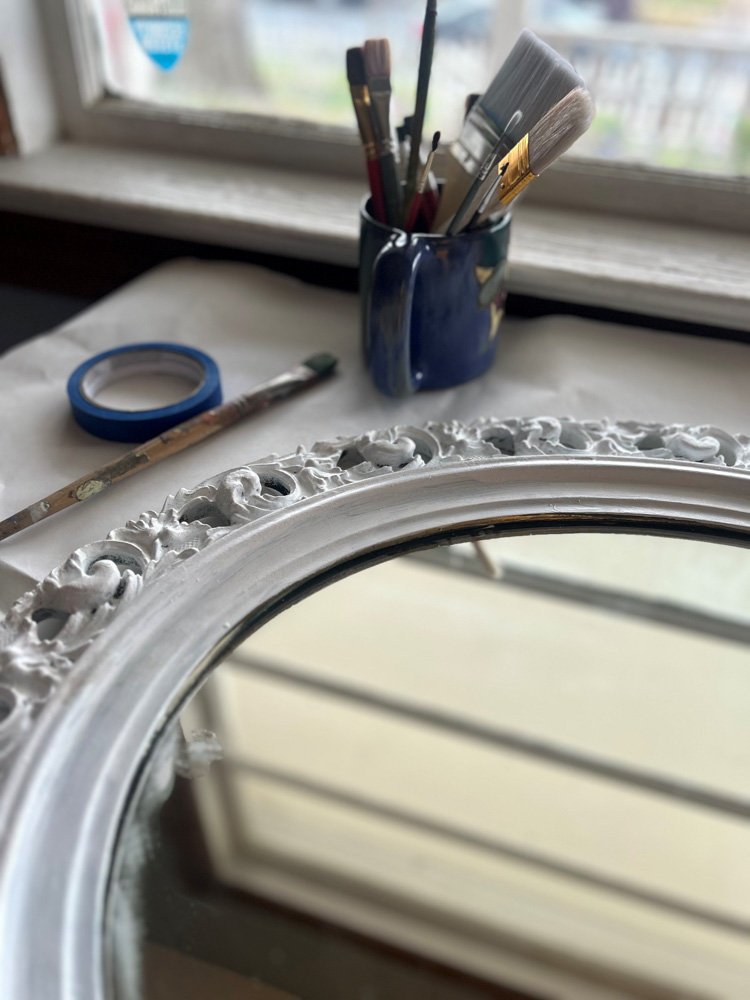
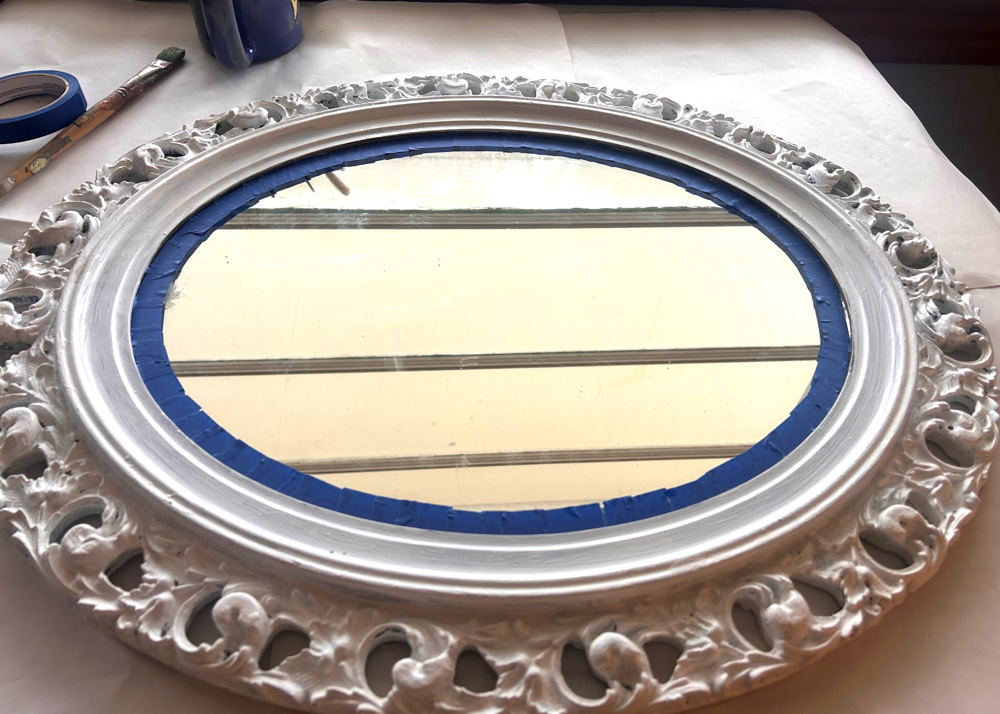
Does your mirror have any interesting details or parts which you want to keep as is? Use more painter’s tape to cover them now, too.
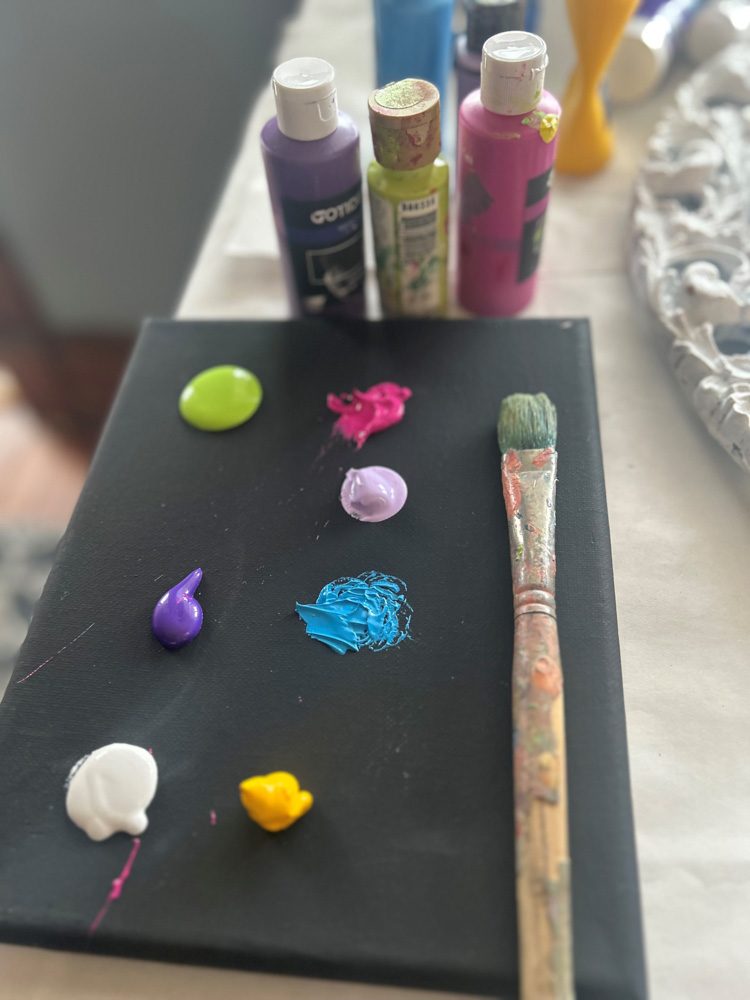
Step 4. Consider & collect your colors
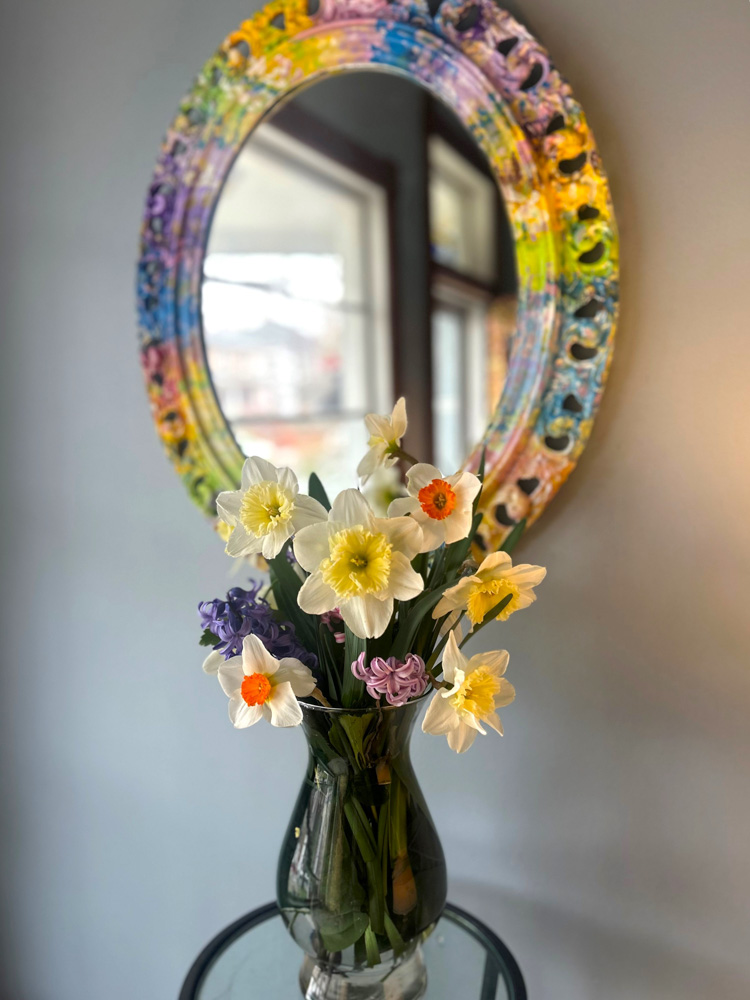
So many colors, so little time! Sometimes the hardest part when doing a DIY paint project is deciding what color or tones to use. Consider the season as a starting point. Spring is full of pale yellows, pretty pinks, cheery blues, and lovely purples found in daffodils, hyacinths, forsythia, and azaleas. The blue tones in the sky also seem more vibrant and clearer, too. Mr. Monet found these colors in his beautiful gardens right outside his door.
Thanks to the recent Art Supply Swap events held in partnership with Finding Your Goodwill and my studio, Tim Kime Art, I was blessed with a plethora of craft paints and had a collection of many in the aforementioned colors.
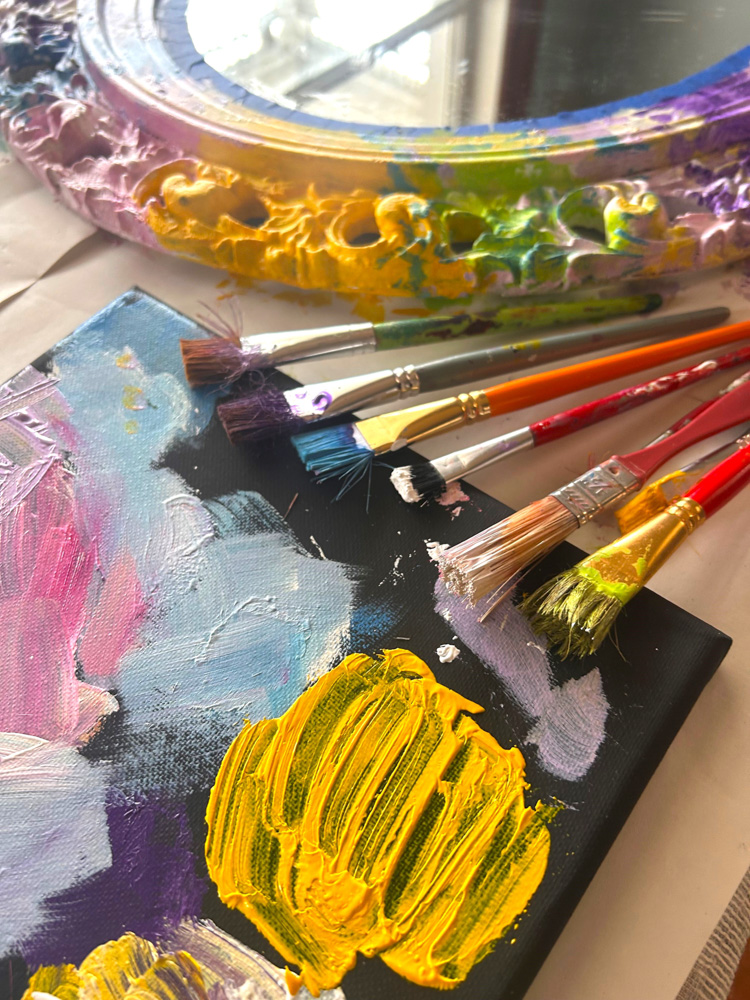
Grab a bunch of brushes and an item to use as your palette. A swapped, small canvas was on hand and perfect for this role. You could consider a dinner plate or cardboard box part, too, as your palette. Always love to repurpose items when upcycling pieces.
Step 5. Add layers with love and light
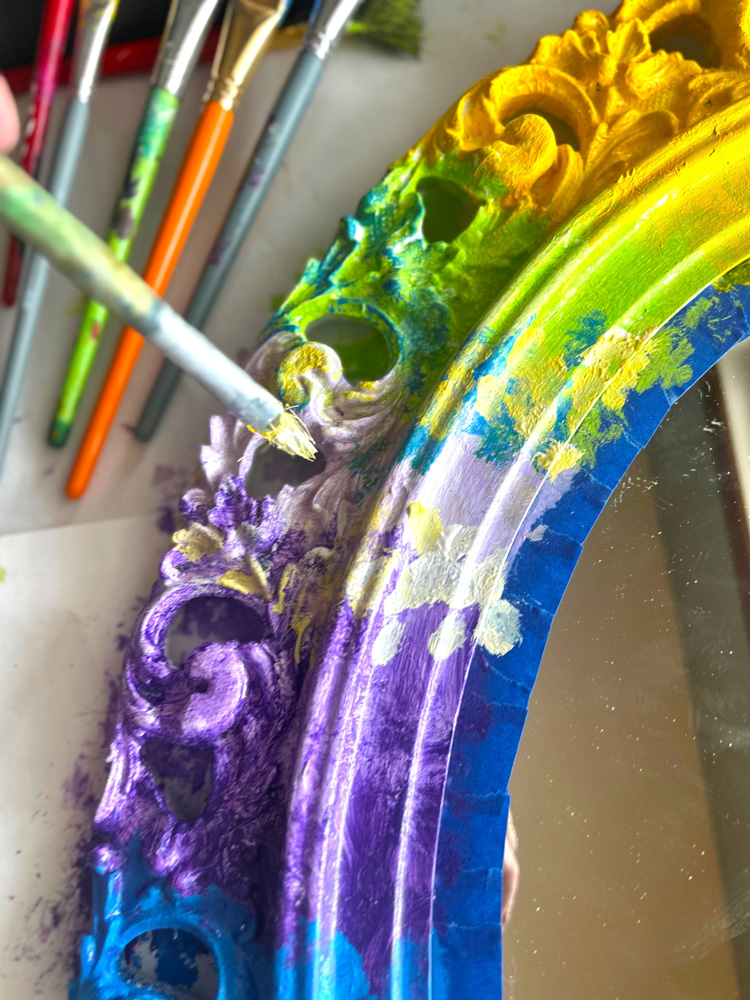
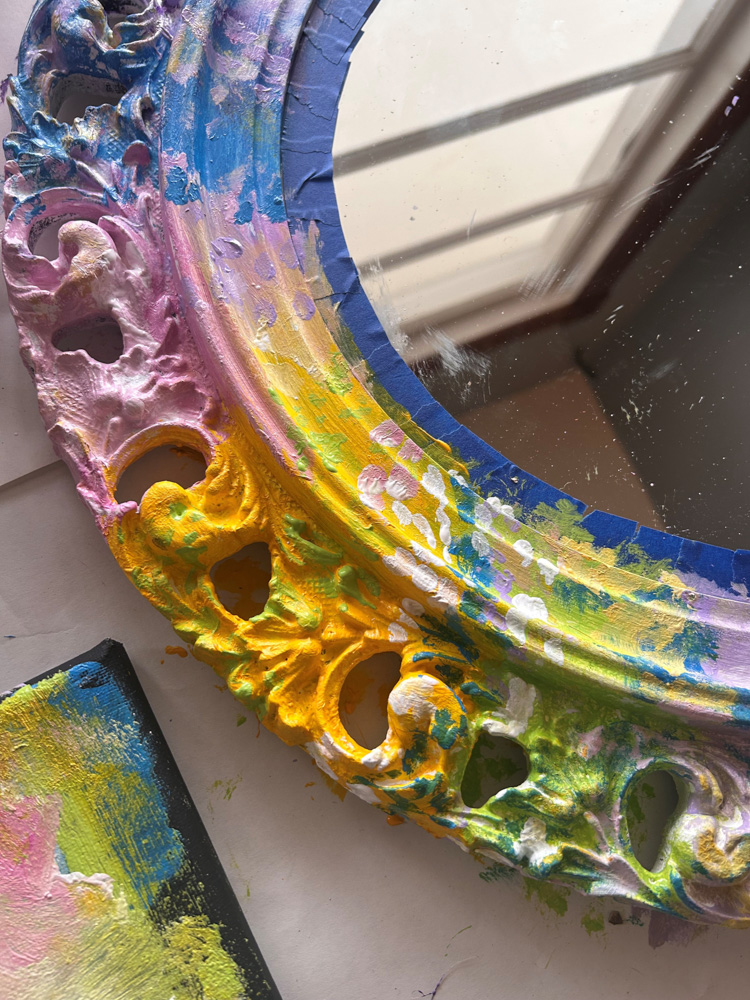
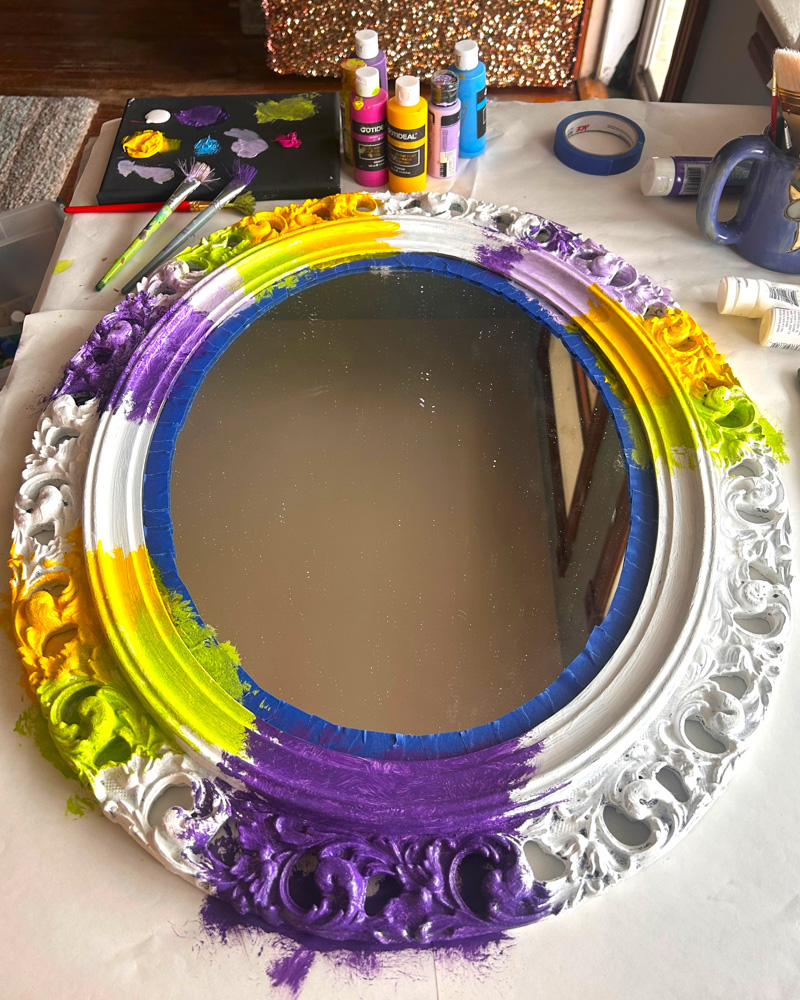
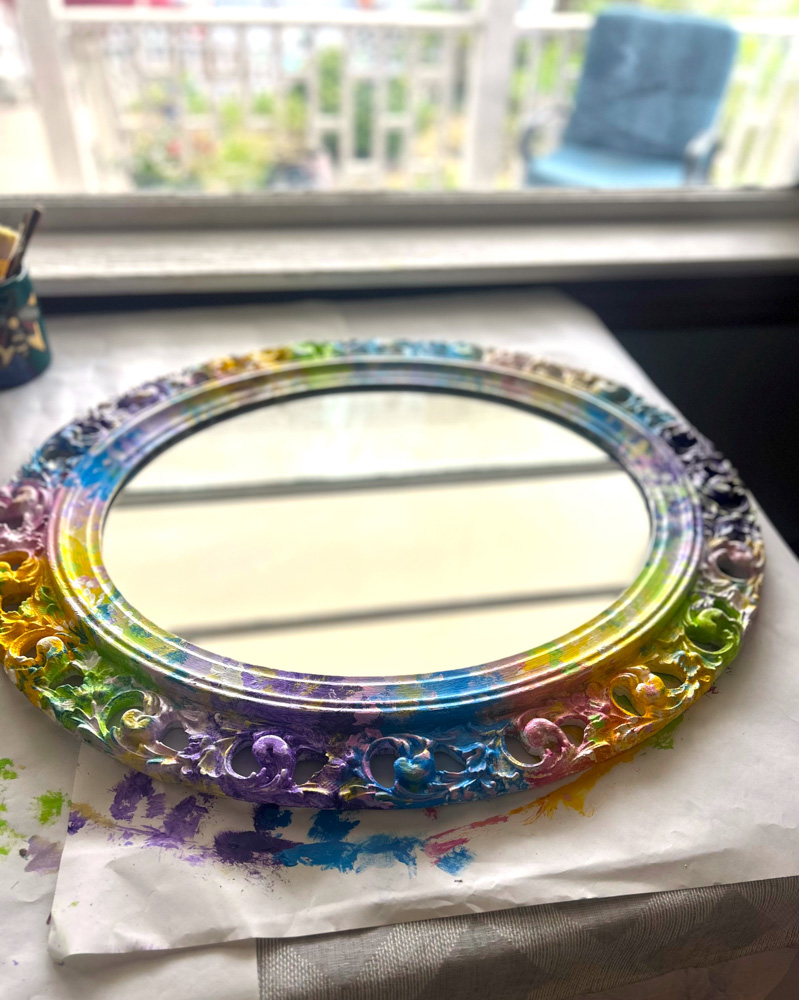
Use a brush and dab on your first Spring Tone. Apply some here and some there; try to space colors out and apply in odd-numbered sections: three or five are perfect. You want your eye to move around your mirror frame, and an odd number of sections in the same colors will help to keep it moving. Even-numbered placements like two and four will be too balanced for your ideal outcome, in my humble opinion.
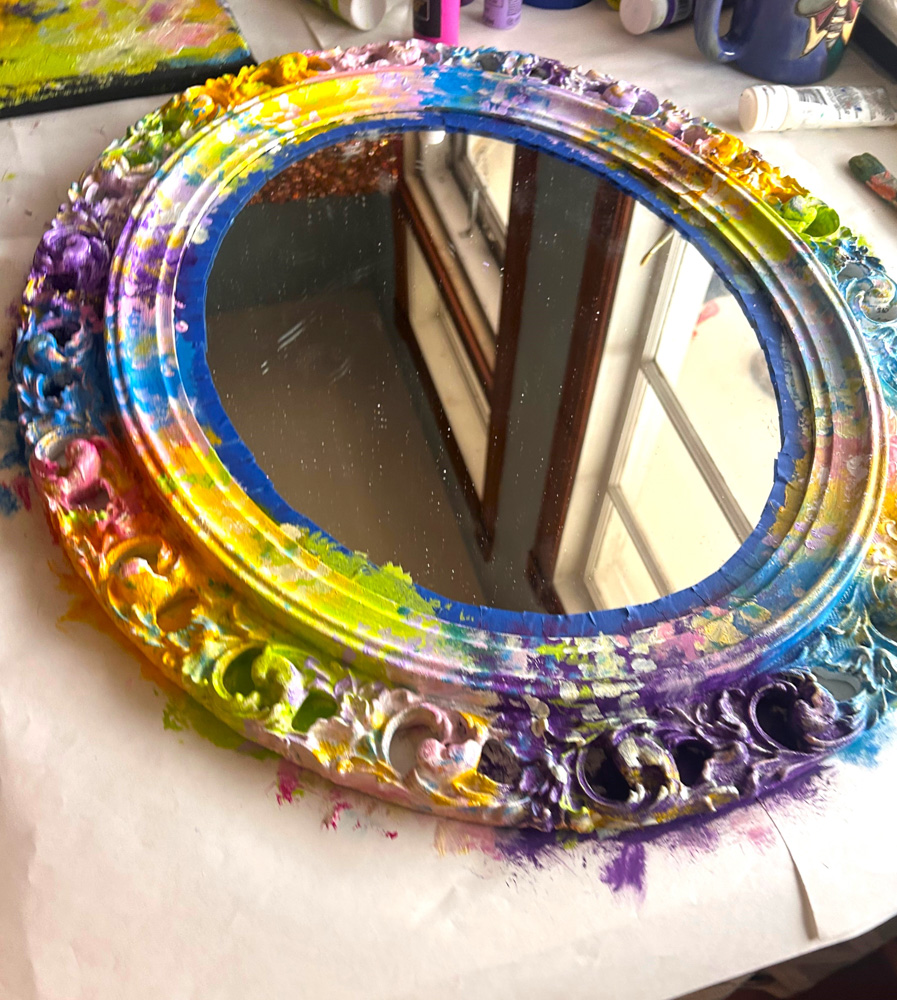
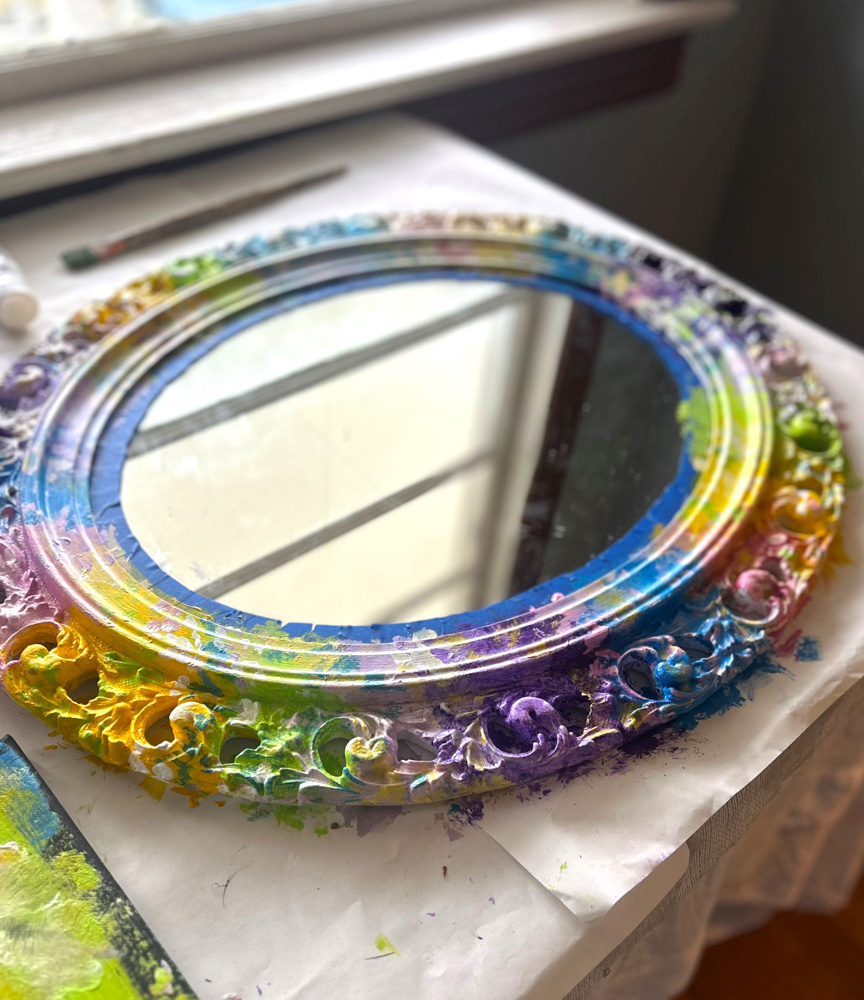
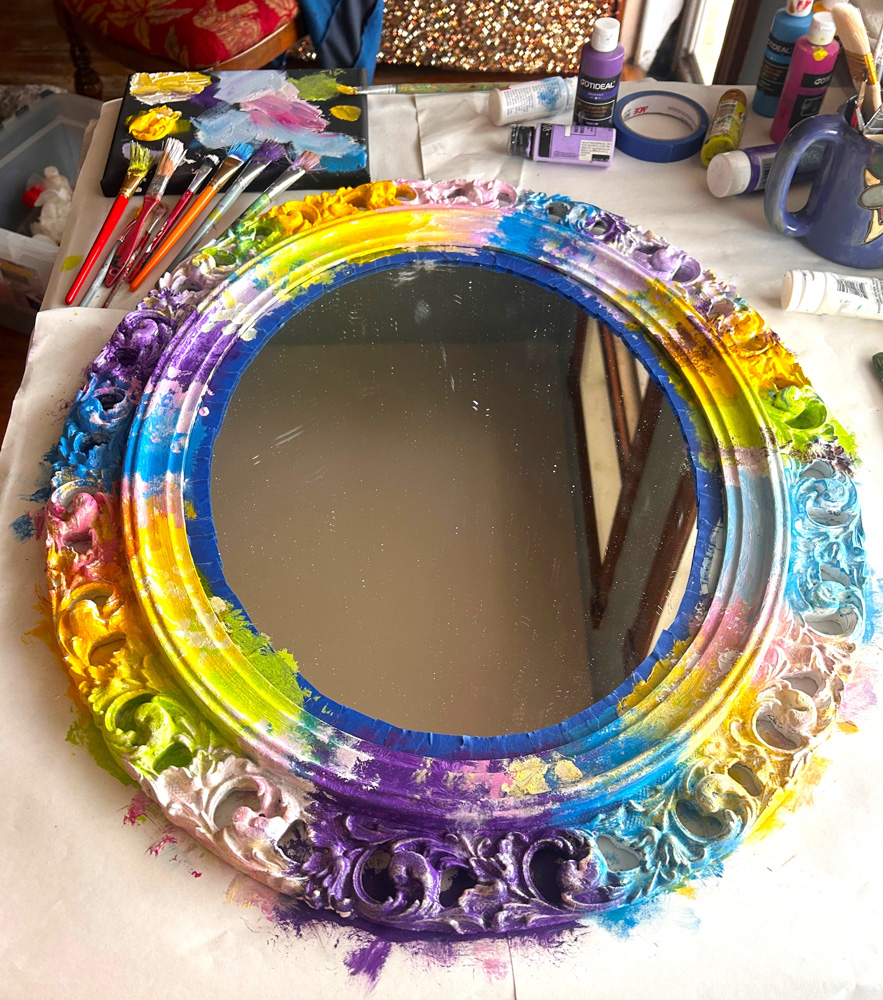
As you can see, bigger sections of paint were applied around the mirror, ensuring all nooks and crannies were covered. The benefit of using an impressionist approach as inspiration is that you can’t go wrong, as we want colors to overlap and blend together. If possible, allow your first color coat to dry completely. Sometimes, colors can mix together a little too much, resulting in a muddy brown tone. Not cute!
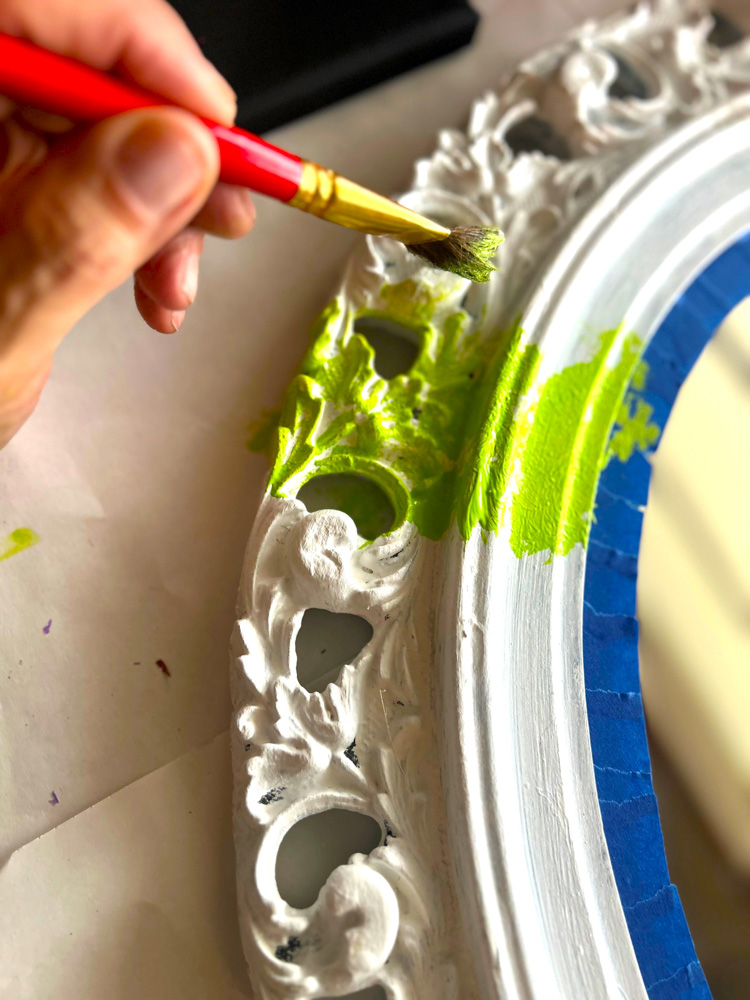
With a smaller, more detailed size brush, add more paint around your mirror and in groups of small dots and dabs. For example, apply a series of pink dots and dabs together in a small group in one section, then do the same in another section. Repeat this step with white dots/dabs in a group and consider an overlap of some of the pink dots. Repeat with another tone, like lavender and blue. Be gentle and touch lightly on your frame. You want the dots and dabs to look almost like flower pedals seen in nature right now.
Design Tip
When you step back and look at your mirror, you want the various colors to be in sections around it. While one part might have green as a base, you want dots and dabs of other colors on top. Along the same lines, another part might have more purple as a base, then ensure it has some dots and dabs of green and other colors, too. This will give balance and cohesiveness to your final look.
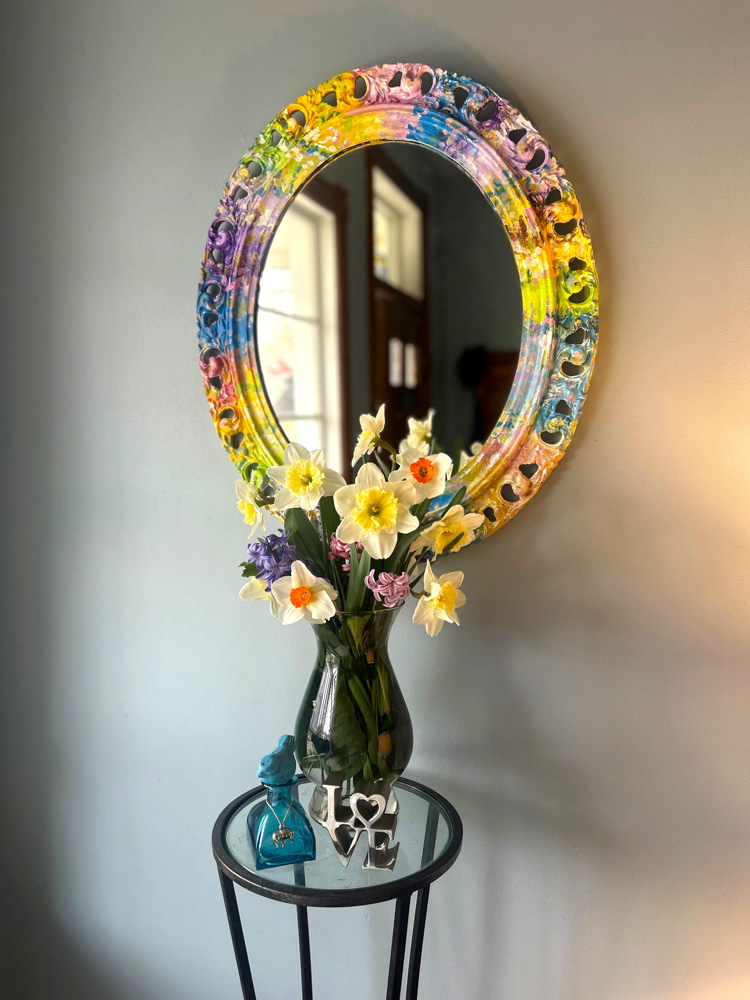
Step 6. Display with delight
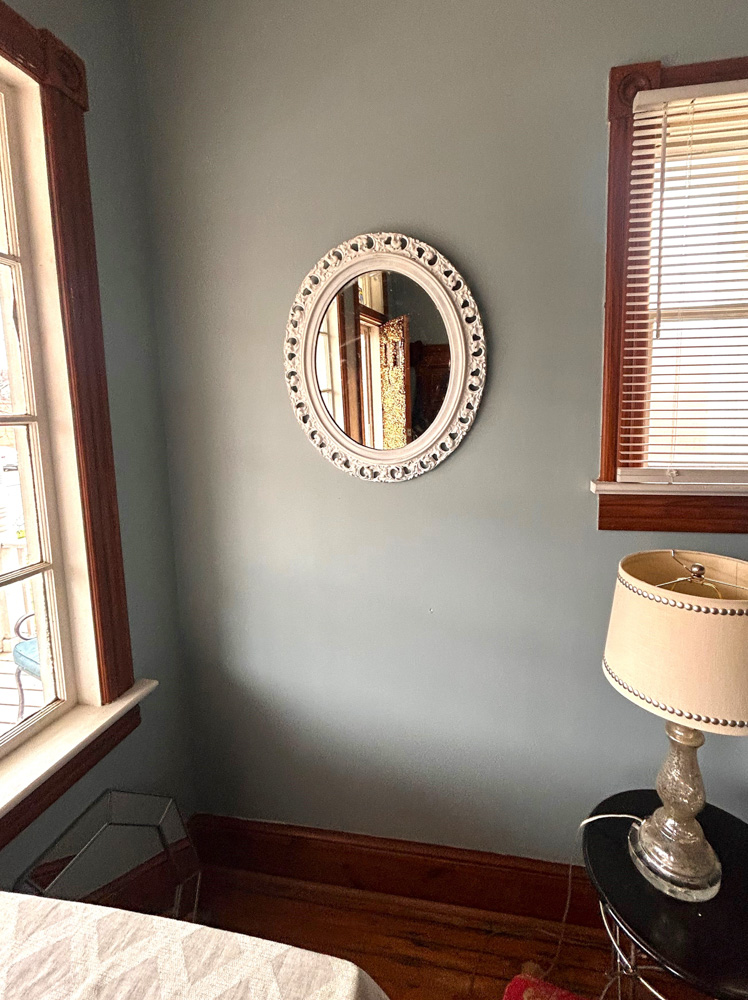
When the paint has dried completely, carefully remove your painter’s tape to reveal your upcycled, colorful mirror, which reflects the Spring season and Monet’s masterpieces.
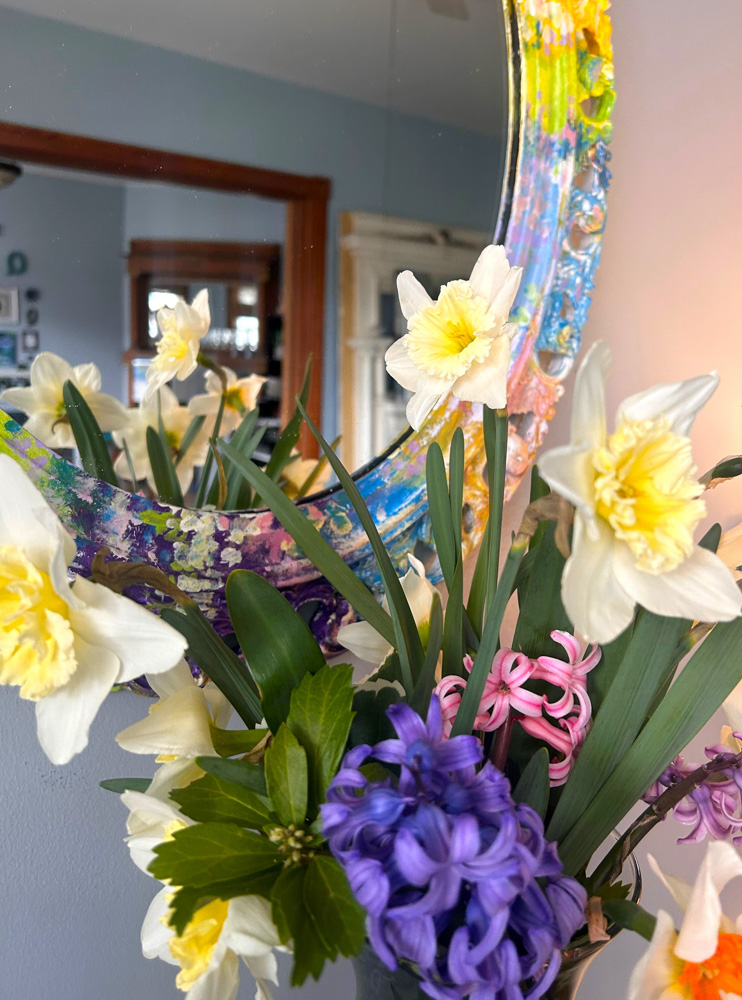
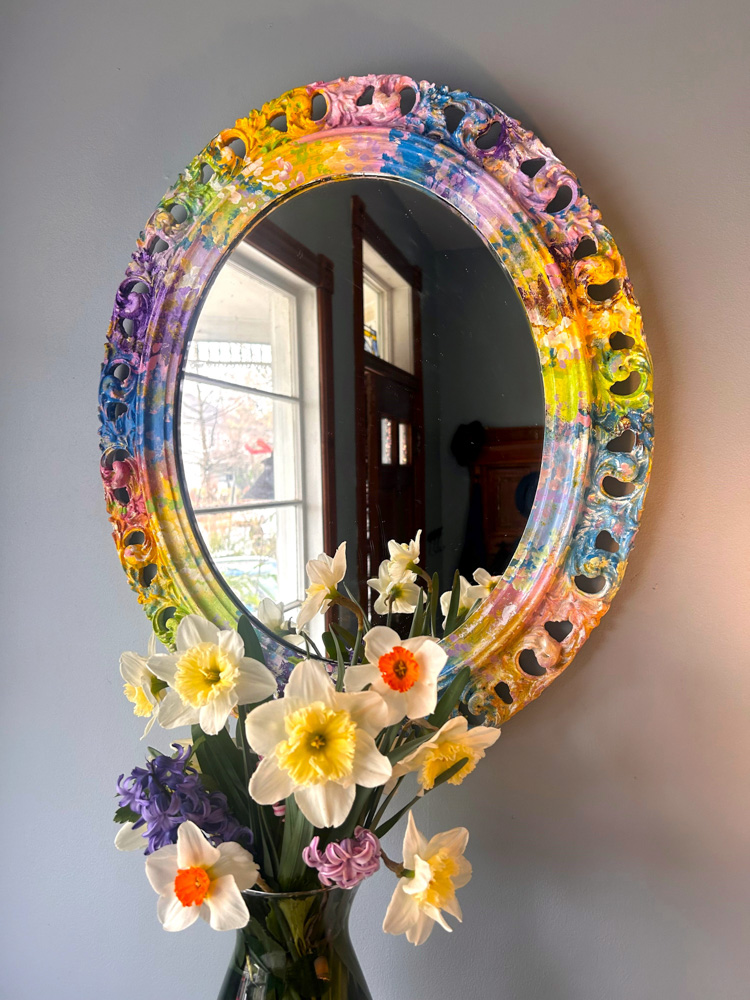
Hang it on your wall by your front door so you may see your happy reflection in it when you come and go, so you can truly say you are the fairest—and most creative—of them all!
Similar Reads:
- Use Sunflowers to Inspire Your DIY Designs! – Finding Your Good
- Noodle on This DIY: Fun Flowers From Pool Accessories & Goodwill Finds – Finding Your Good
- DIY: Toilet Paper Roll Flowers & Butterflies

Tim Kime
Artist, Motivational Speaker, Life Coach