
Make Your Memorial Day Weekend Memorable with a Pair of DIY Projects Using Goodwill Finds
It’s hard to believe, but yes, Memorial Day is nearly here! Considered the unofficial start of the summer season, it’s really the official kick-off of fun with family and friends.
Make your long holiday weekend memorable by using treasures picked up at your nearby nonprofit Goodwill retail store. These DIY projects will create a friendly and inviting place to hang out, break bread, or enjoy relaxing.


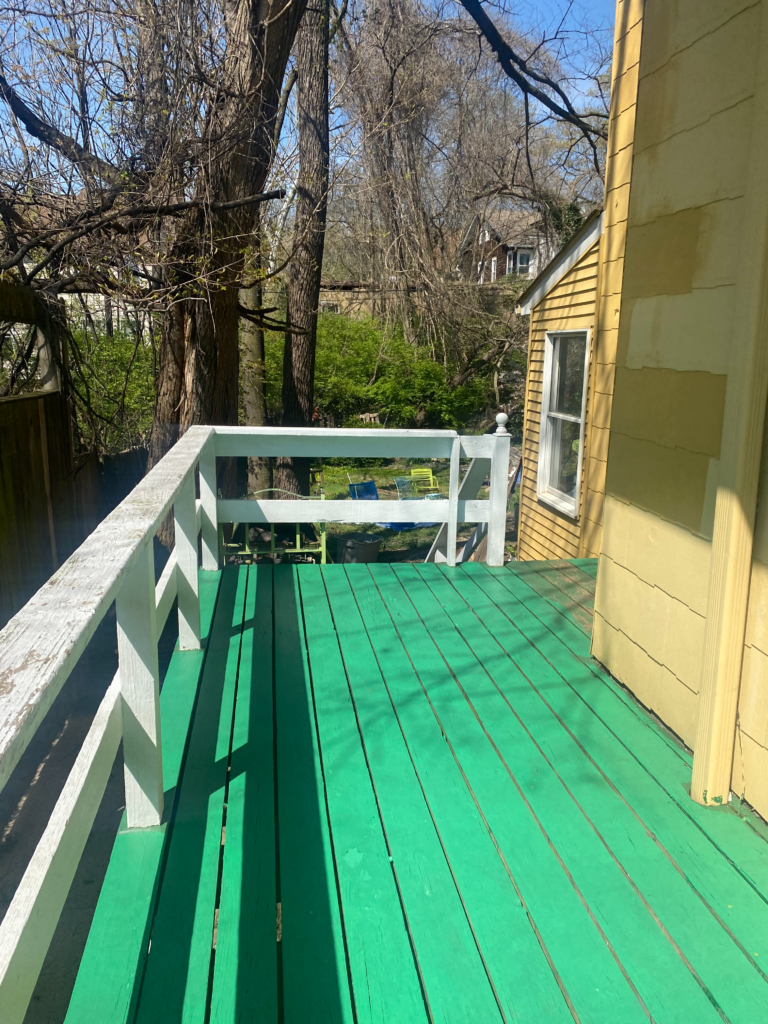
DIY Project 1: Transform Your Deck/Porch/Outdoor Space
With longer days and warmer temperatures, we all want to be outside. Ensure your outdoor space is refreshed and ready for guests and gatherings.
Here’s how:
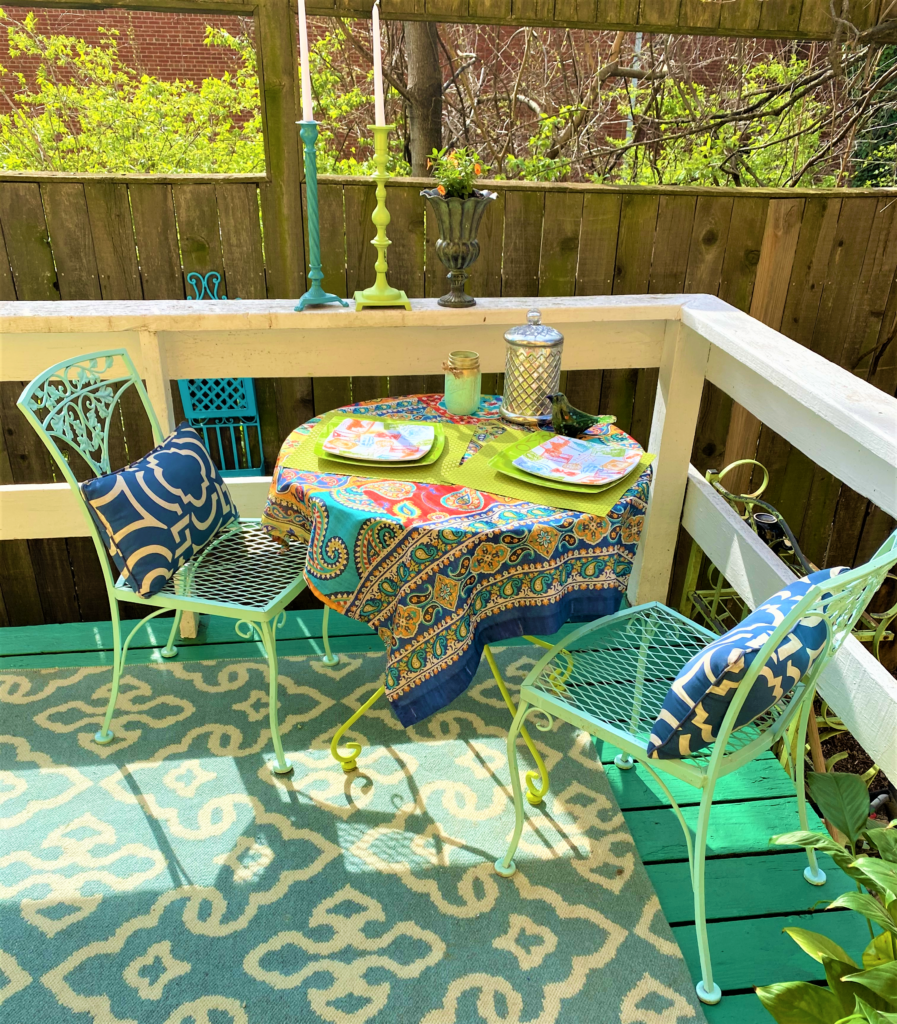
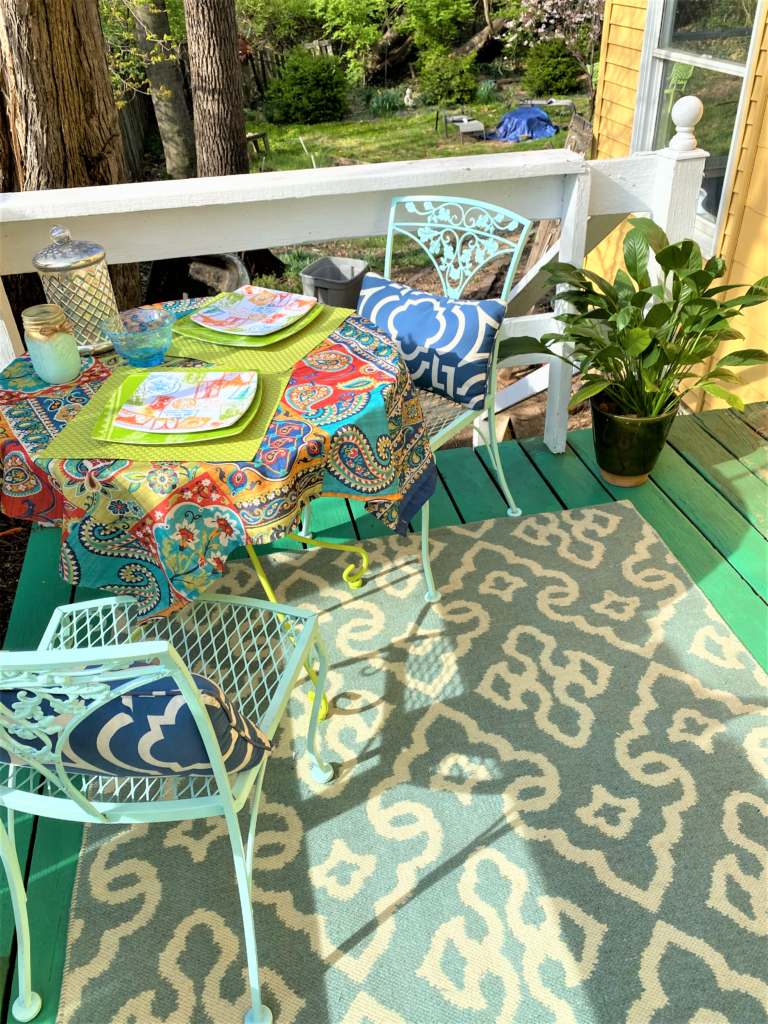
1. Create a foundation on which to build
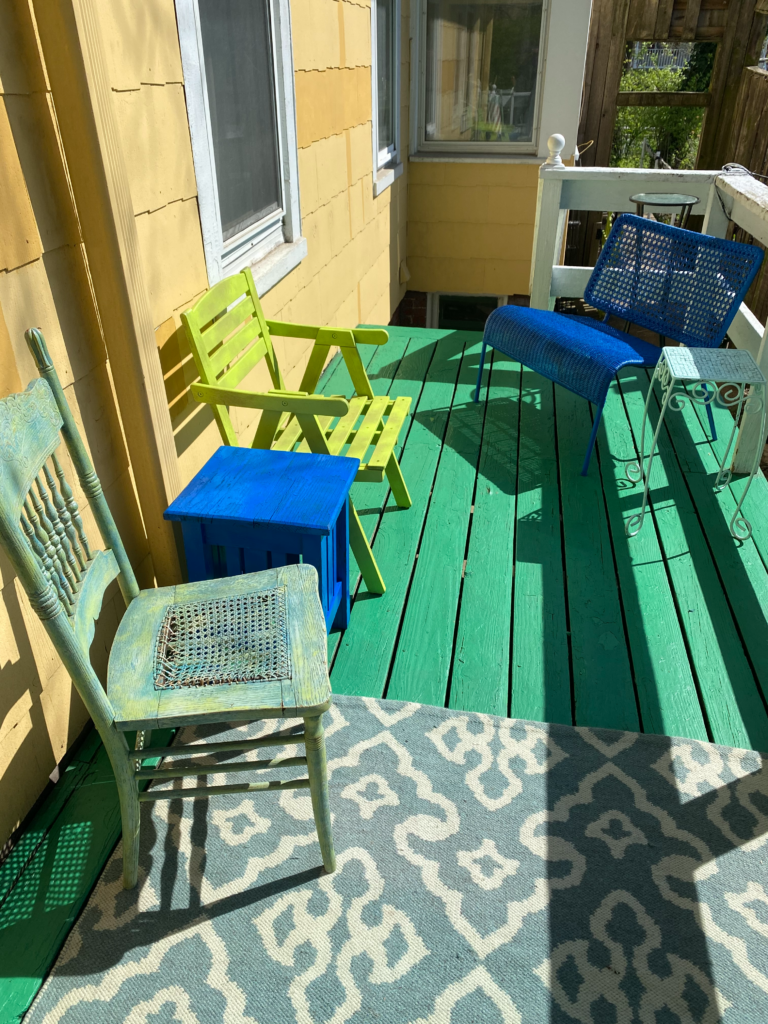
After a long Winter, does your porch or deck floor need some brightening up? Place a colorful rug on it to help define the space and make it feel more like an outdoor room. Goodwill often has lots of great rug options at really great prices. The rug here was an outdoor one; however, given Goodwill’s very inexpensive costs, you could use one for indoors as long as it is flat and the fabric pile is very short, so it doesn’t absorb much moisture.

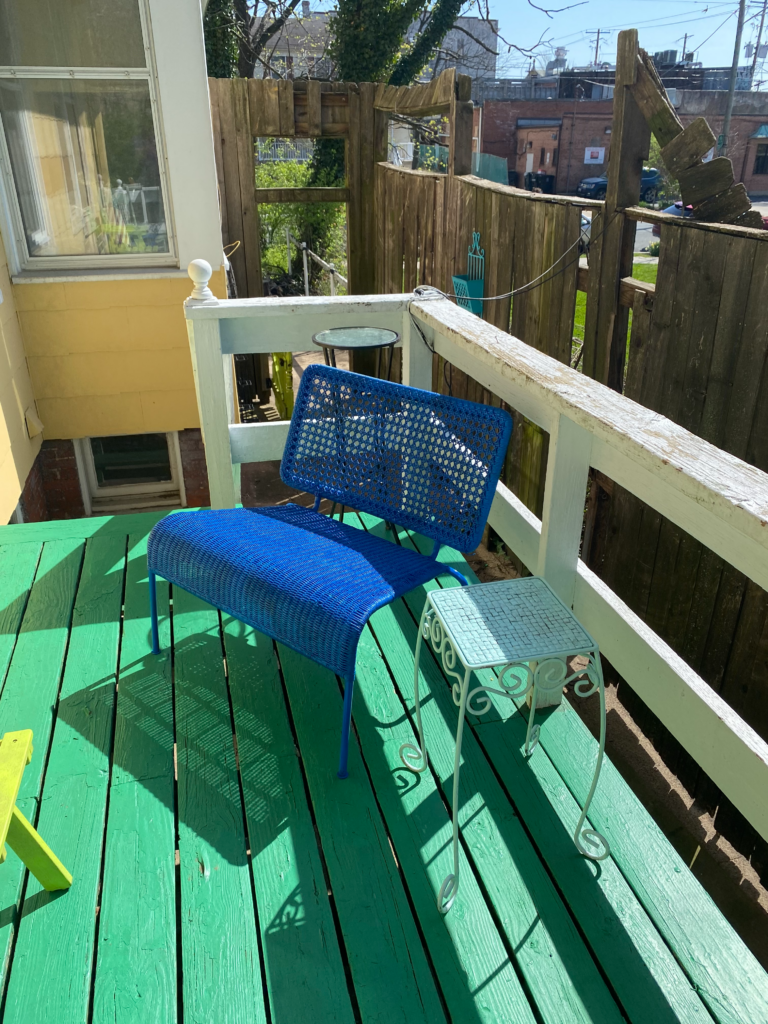
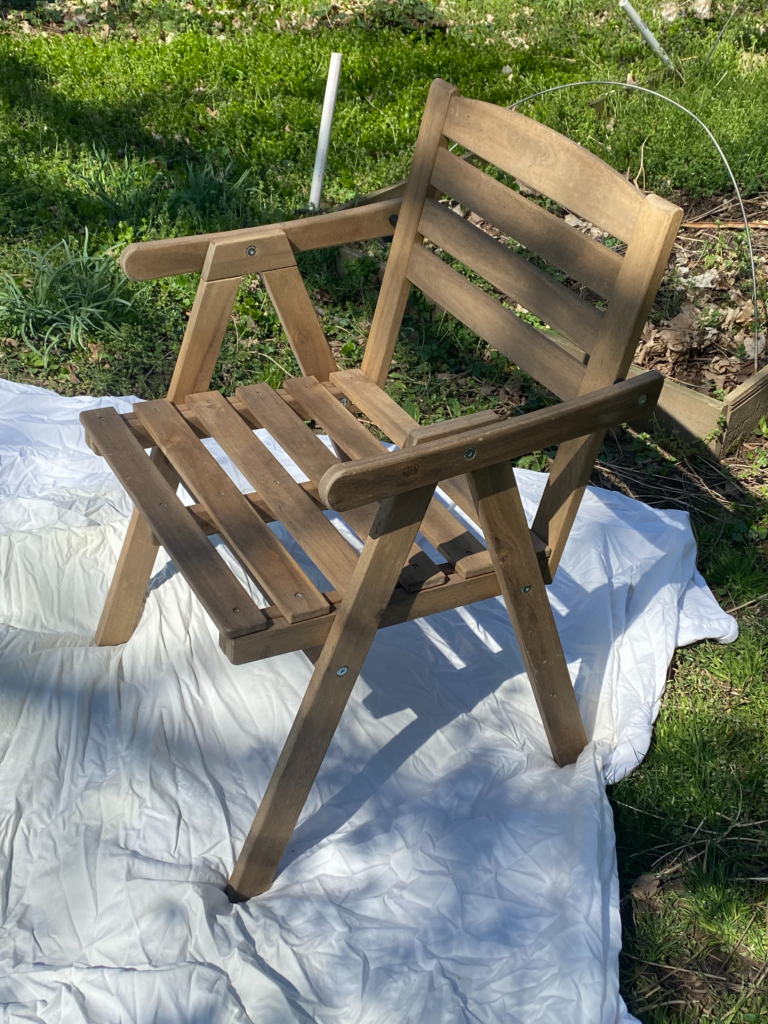
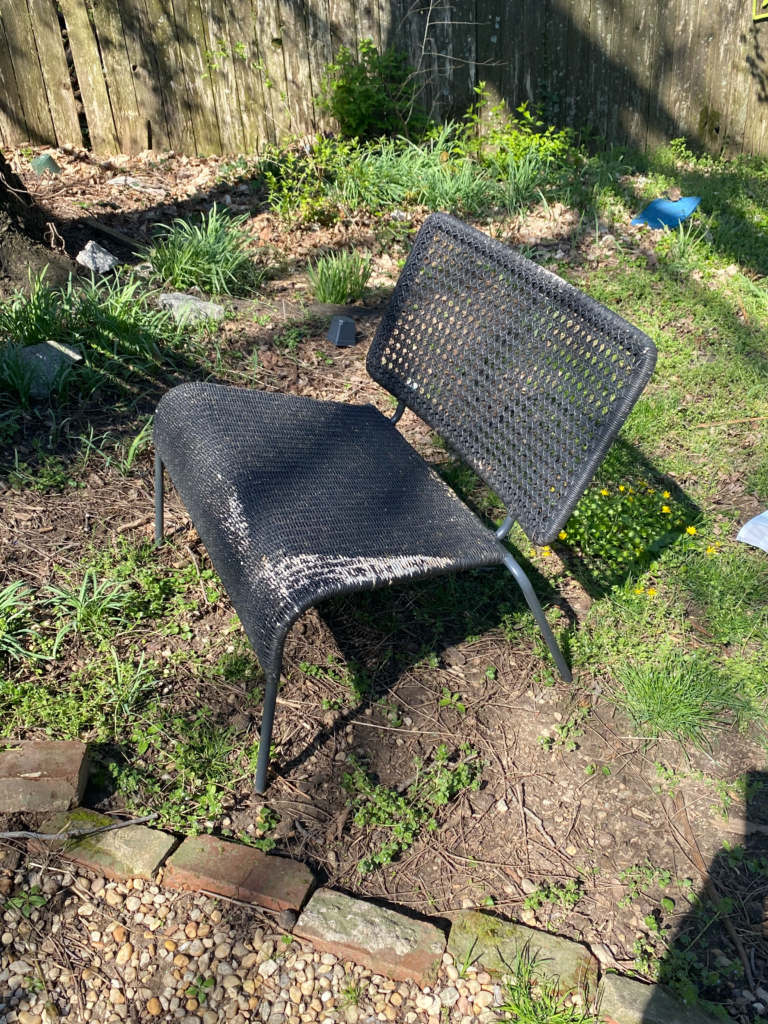
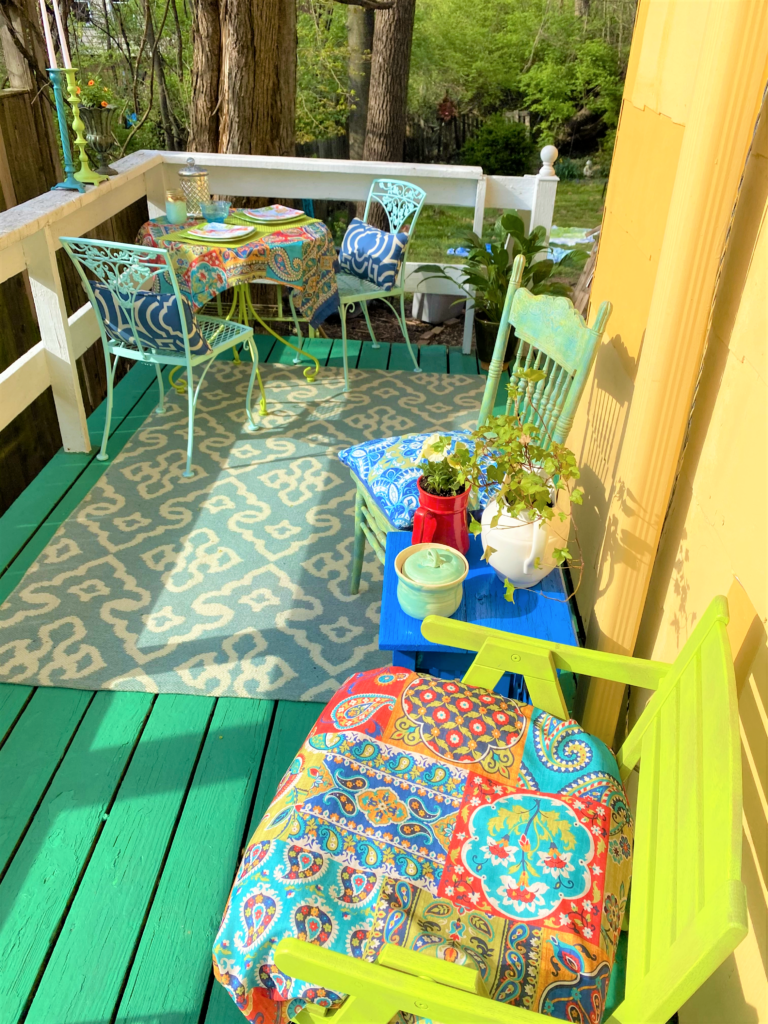
2. Connect mismatched furniture pieces with paint
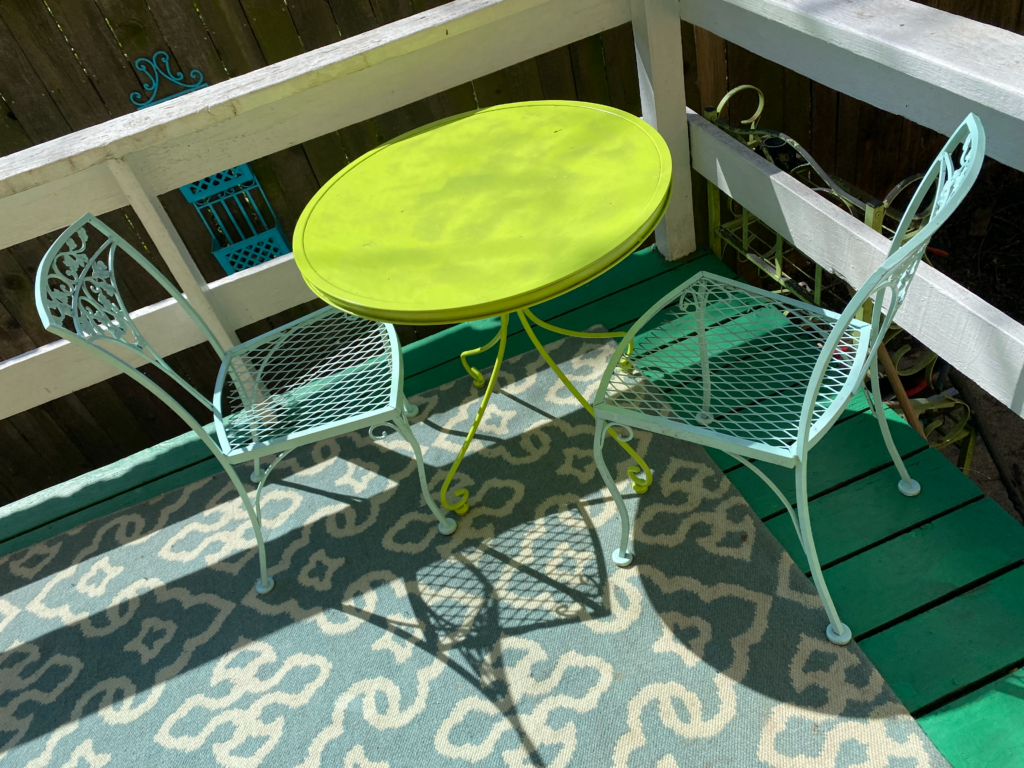
Random, mismatched pieces become immediately connected when you spray paint them in matching and complementary colors. At Goodwill, look for a metal table and chairs to enjoy a meal and good conversation. Be sure to pick up a bench, other chairs, as well as side tables.
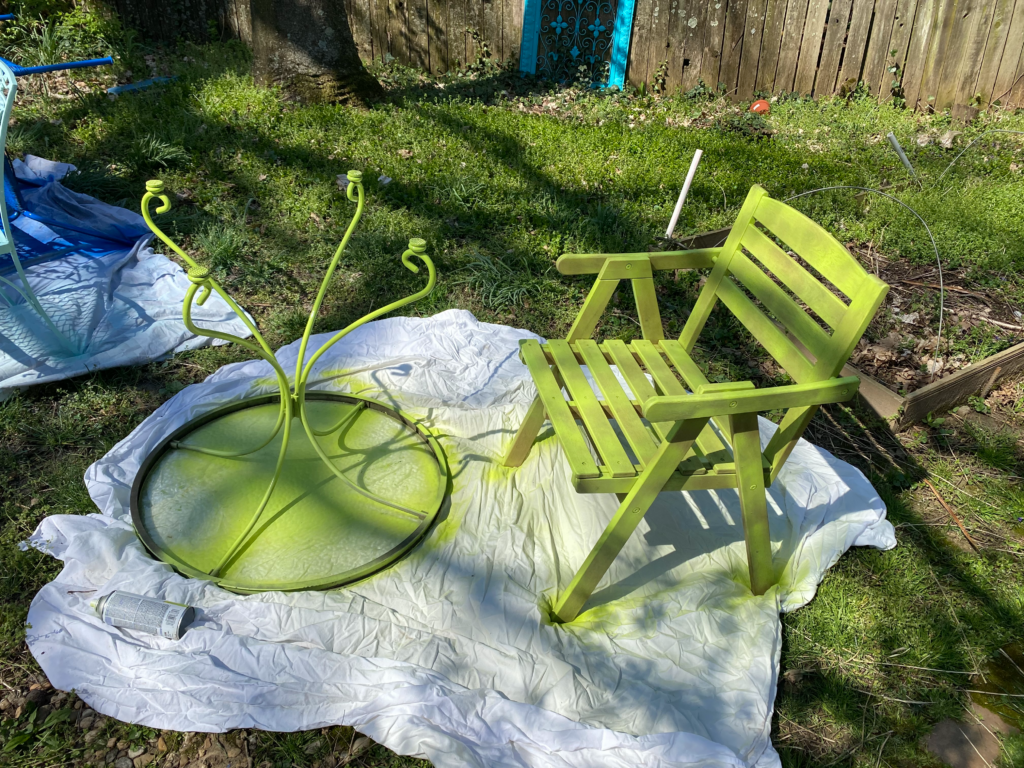
They will likely be mismatched in color, so you can easily fix that with spray paint. Prep for painting by using a wire brush to remove peeling or chipped paint. Wash your furniture pieces to ensure a clean surface to add paint.
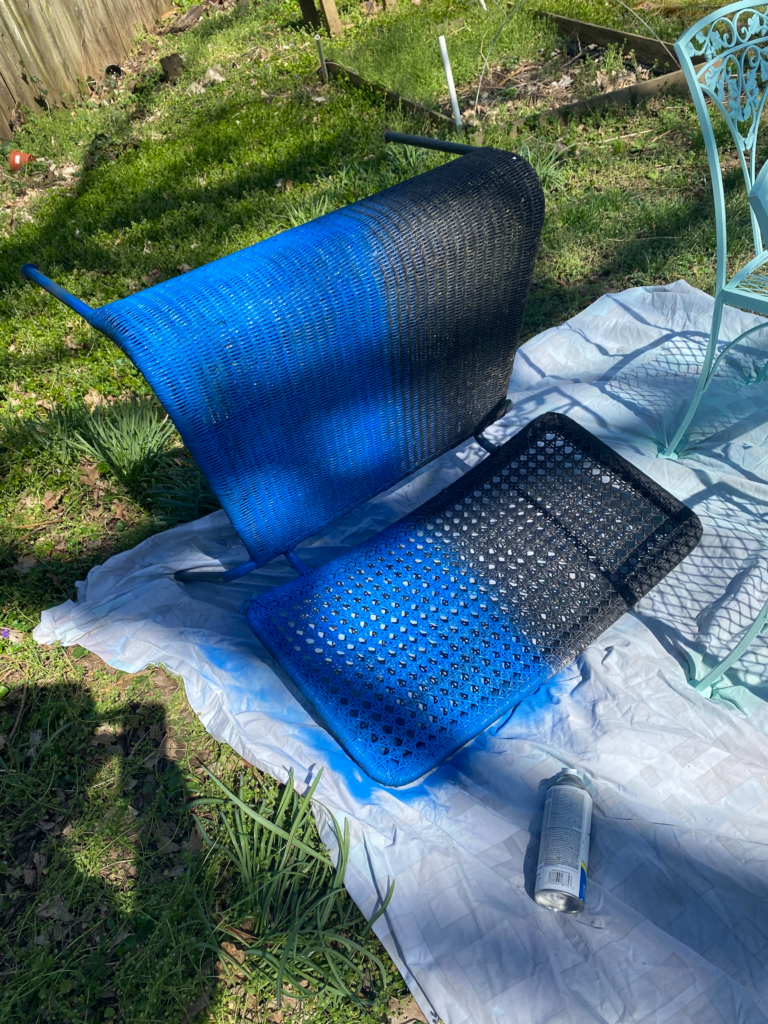
Place them on a drop cloth and spray away, adding several light coats. Let dry well.

3. Position pieces for people
Since you will be having folks over to enjoy your transformed outdoor space, place your furniture in positions that allow for easy conversation. On my transformed deck, I put the bistro set in one corner so a friend and I may look out over the backyard when enjoying a morning cuppa joe or evening cocktail.
Three chairs face each other so guests can easily talk with each other; small end tables were placed nearby so that folks may set their drinks down without having to get up.
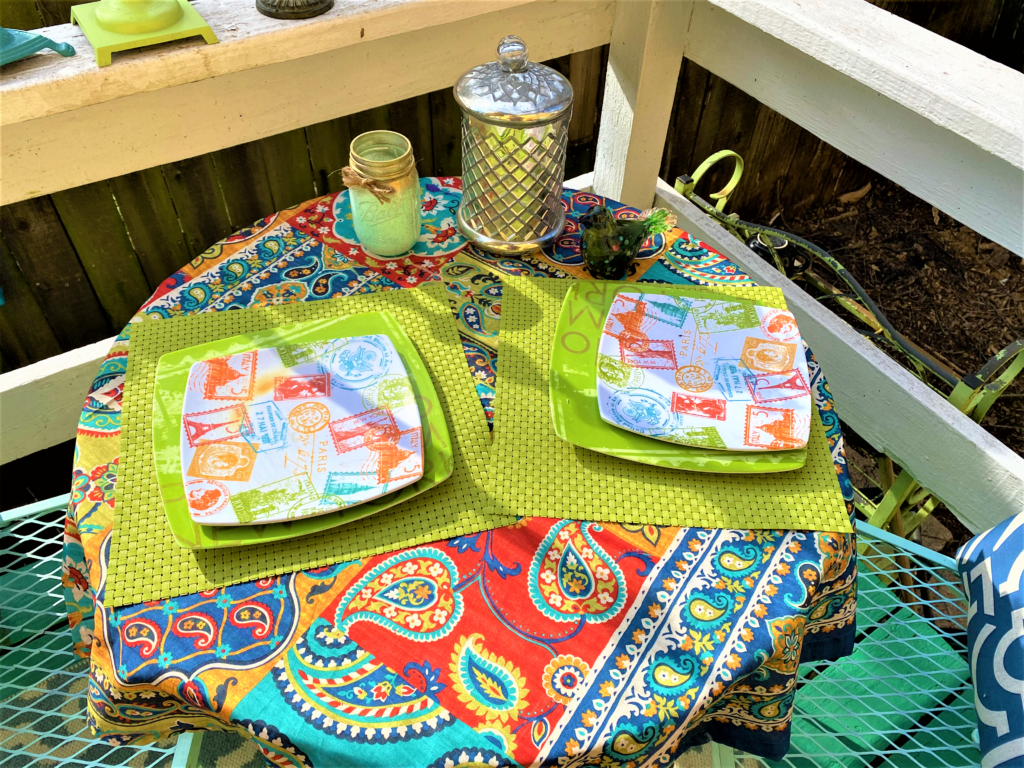
4. Accessories add elegance, personality
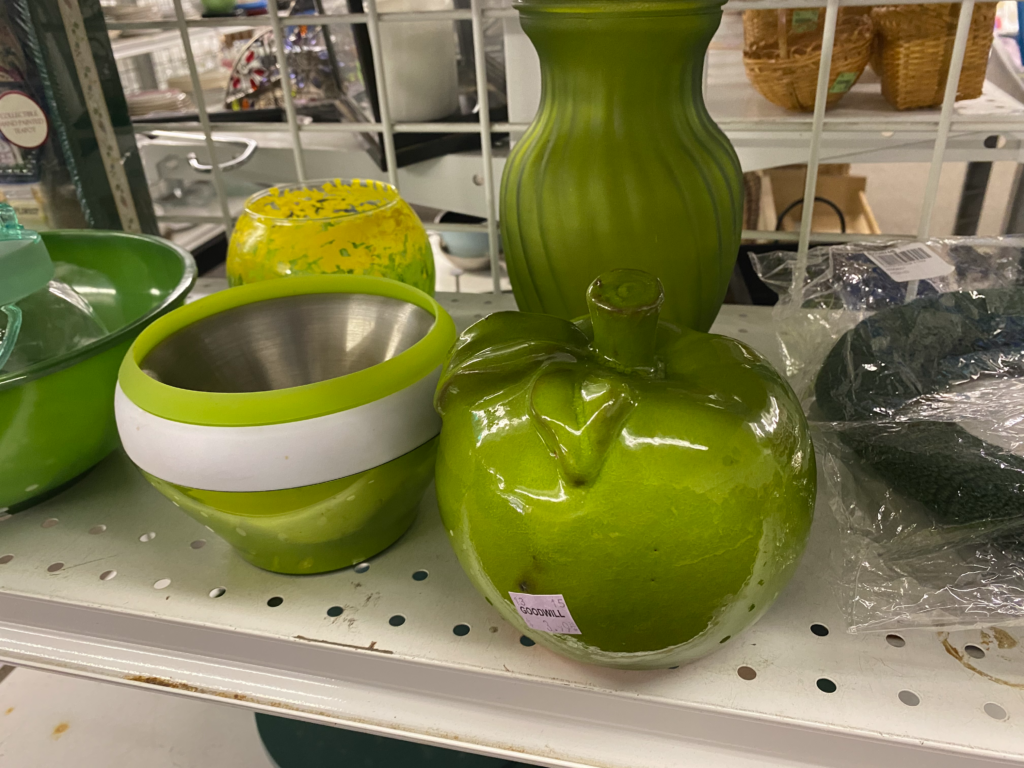
Add pizzaz to your space using colorful and interesting plates, glassware, pitchers, vases, and other items. Position them around your outdoor room, so each section has colors, textures, and items of visual interest.
Goodwill always has charming and eye-catching items for just a buck or two, which will help show your personality and style. Select ones in matching tones so they look intentional.
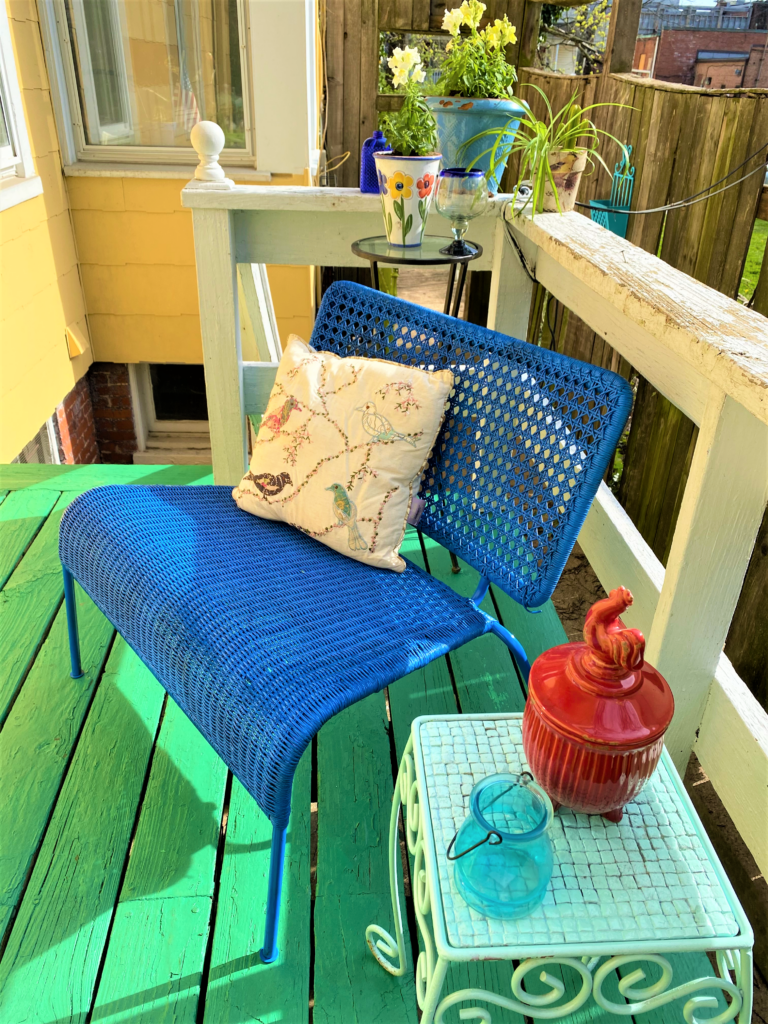

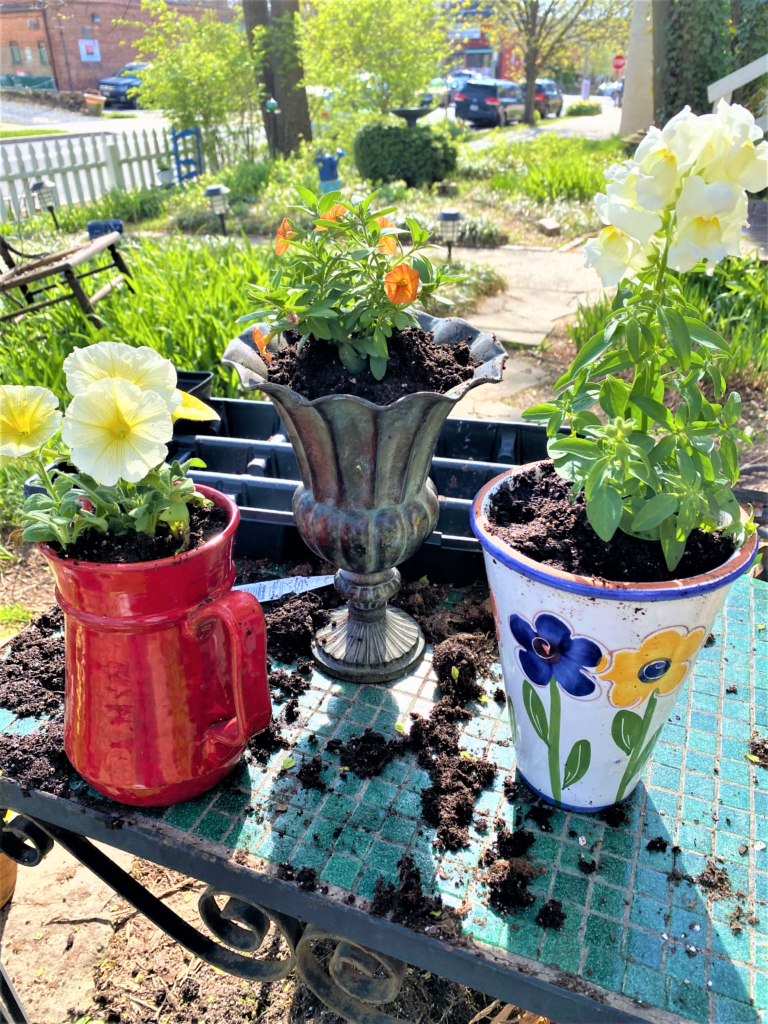
5. Add Mother Nature
Pick up flowering plants at your local hardware store to make your outdoor place feel like a mini-garden space. Given all the sun on my deck, flowers that love the light were selected then added to clay pots, a brass container and flowered vase. Several house plants were moved outdoors to add more green to it and to honor Mother Nature’s talents.
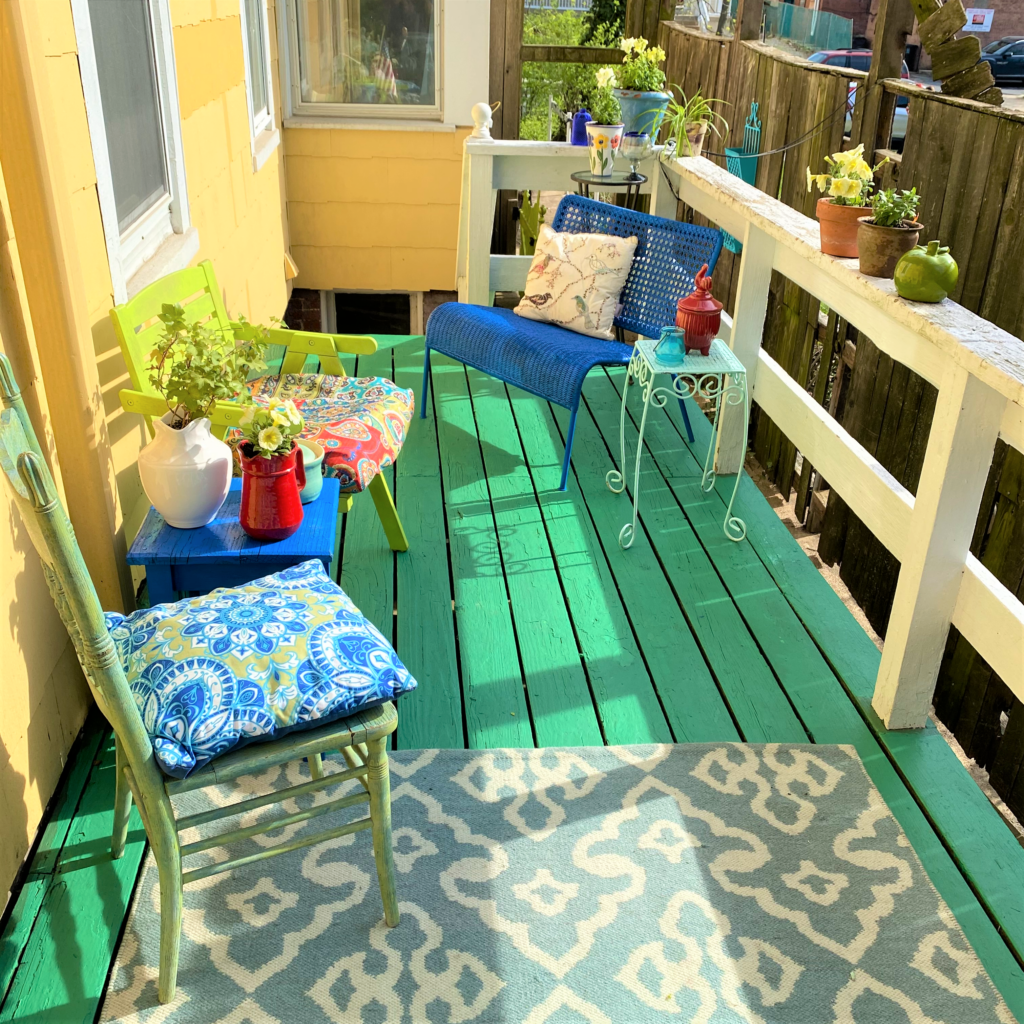
6. Add some light & extend an invite
Place tea lights and candles—also found at Goodwill—around the space then light them to add a beautiful ambiance. Invite family and friends over to celebrate and to enjoy your wonderful transformation! Your outdoor space will make you so happy that you will not want to go inside until you absolutely have to!
Project 2: Create a Bar/Party Cart
Often, the center of any festive gathering is a bar/party cart. Create a versatile, mobile station to hold adult beverages and supplies as well as snacks and munchies. You can easily and inexpensively make one from items picked up at Goodwill. This is sure to be a crowd-pleaser. Here’s how:
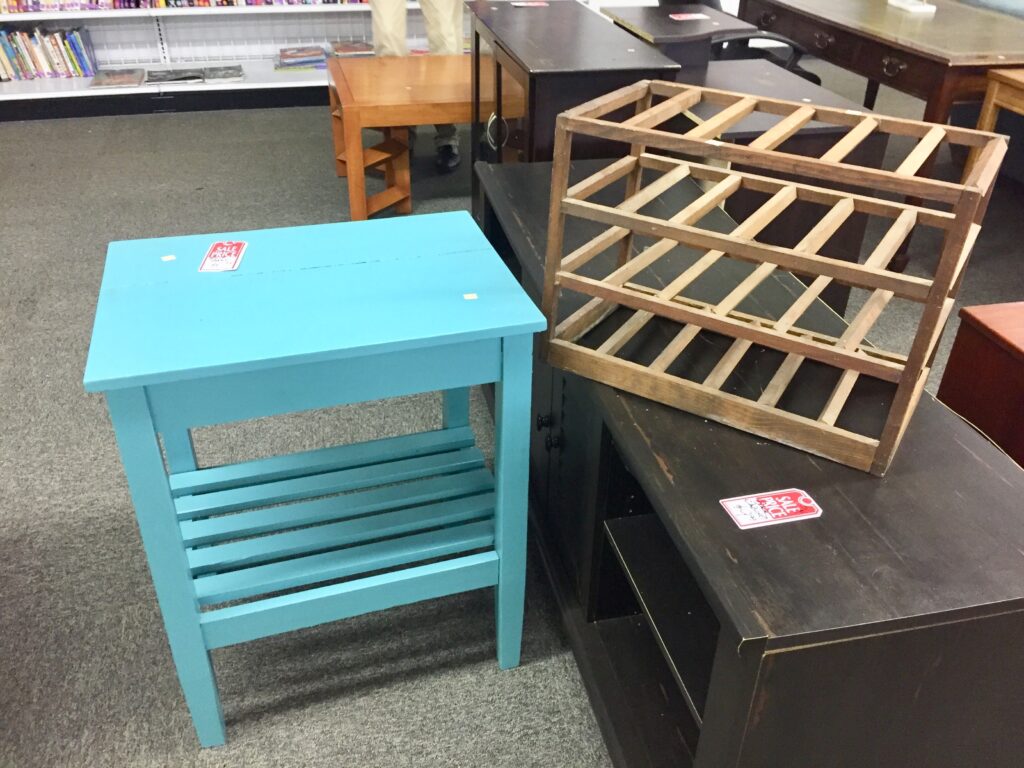
1. Pick up a table to transform
Check out Goodwill to see what interesting tables they have available for this fun project. A tall wooden table was among the treasures picked up at Goodwill; you could use a barstool, a bookshelf, or even a small desk as your cart’s base. Look for pieces made from solid wood rather than metal or particleboard.
You want something strong and sturdy; the wood will be helpful when adding hooks and other hanging items in the steps below.
2. Pop with a paint, protect with Poly
Since this piece will be part of your good times, select a bright and vibrant color. After prepping your table for painting, place it outside on a drop cloth and spray or brush on a thin but solid coat of paint. Let your piece dry between coats. Apply two to three coats for solid coverage, and ensure you place it on its sides to get all parts, edges, nooks, and crannies.
When your piece is totally dried, apply a thin coat of polyurethane with a brush over the entire piece. This will protect the paint from moisture and dirt if your piece is outside and might be exposed to the elements.
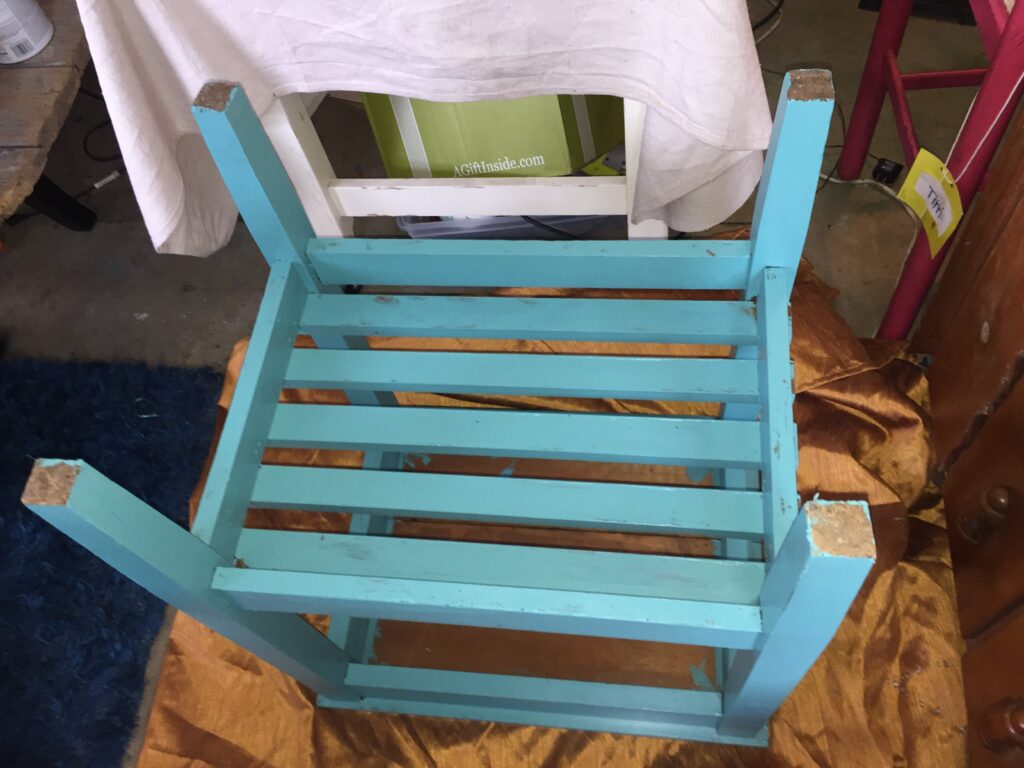
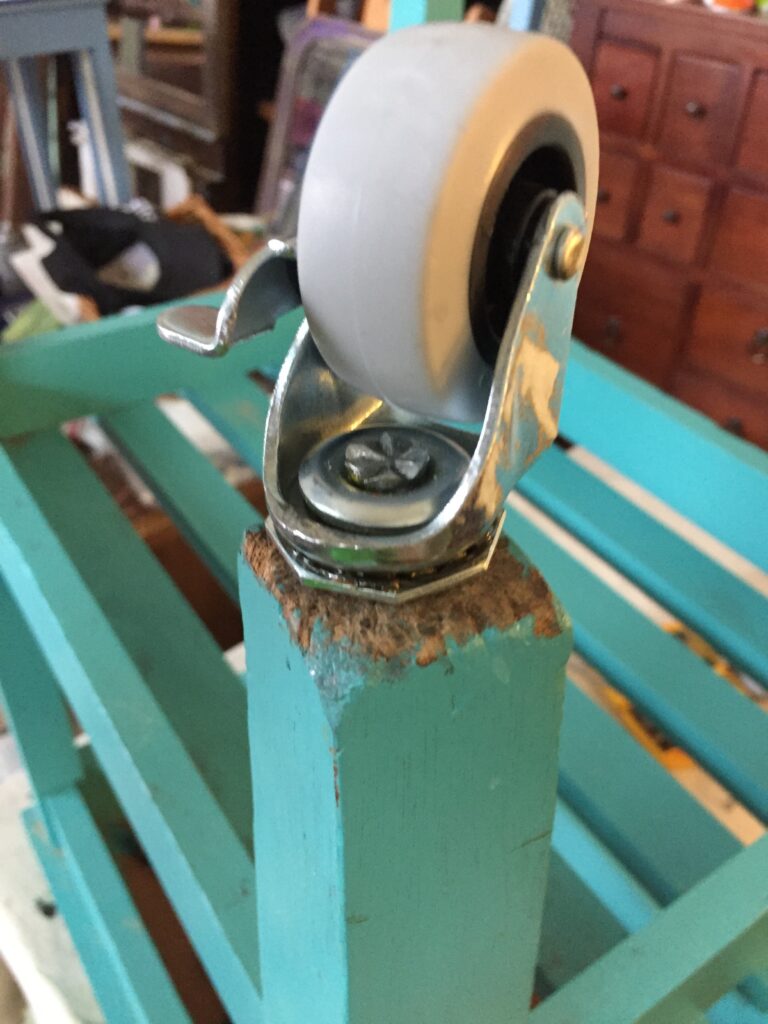
3. Let the good times roll: add wheels
It is amazing how adding wheels gives any piece some immediate, funky coolness. There are so many options, so I selected ones with a silver finish and one with a screw on top, so I only had to drill one hole in the bottom of each table leg to attach them. Most larger hardware stores will have many options.
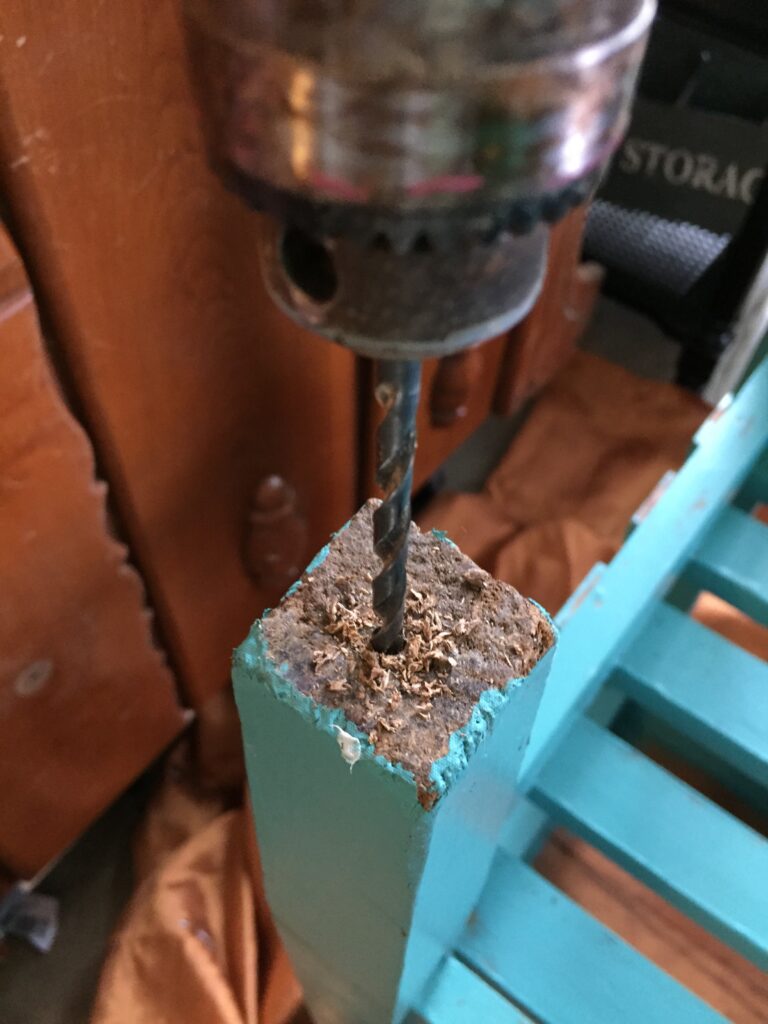
Flip your table over, place on a drop cloth or towel to prevent scraping, grab your drill, select a large drill bit, and put it to work. Once the hole is drilled, screw your wheel into it; you may need to use a hammer to tap on the wheel to ensure it goes all the way in and is tight and secured.
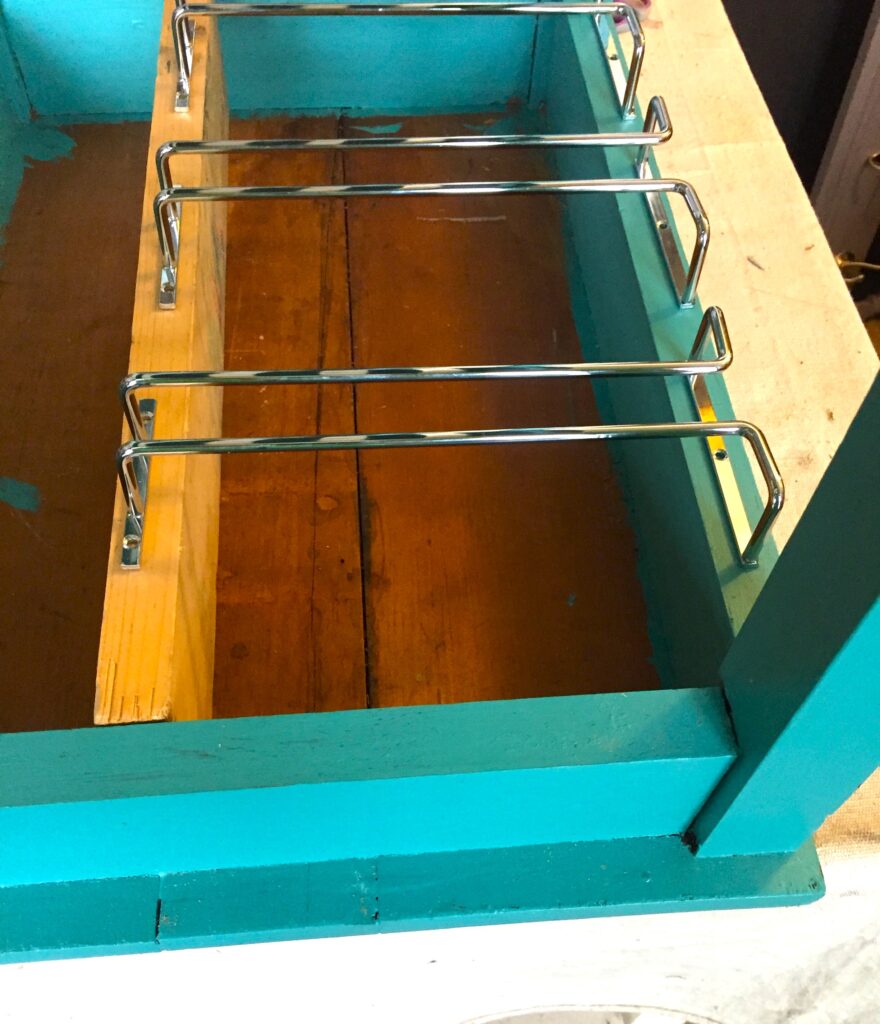
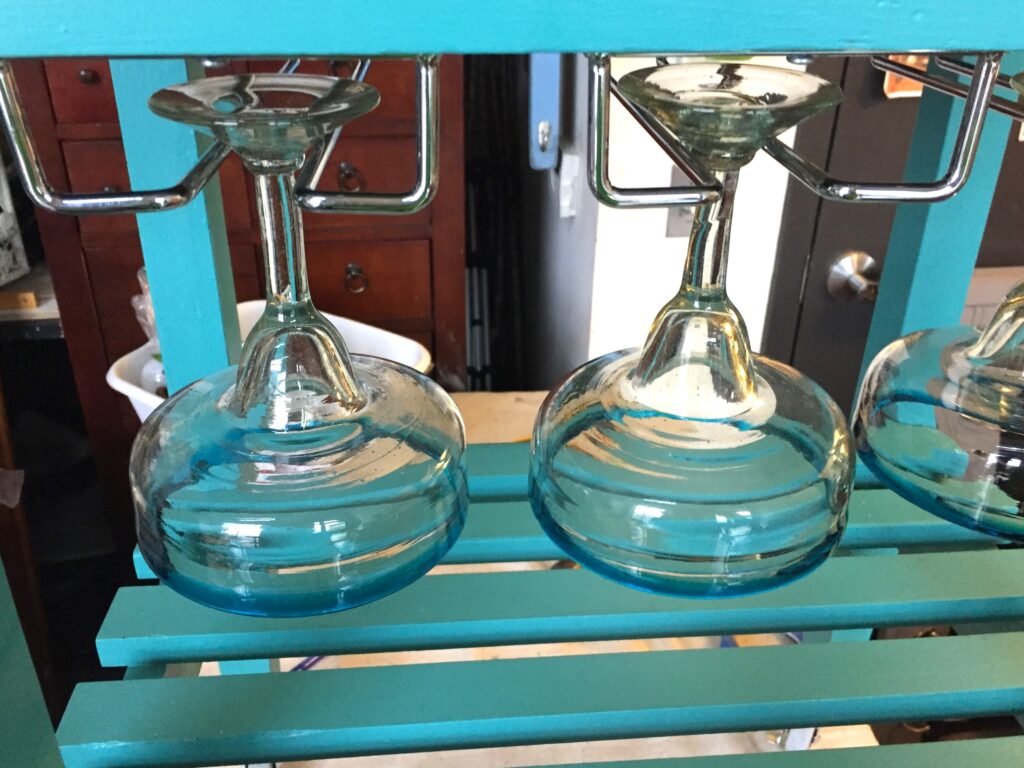
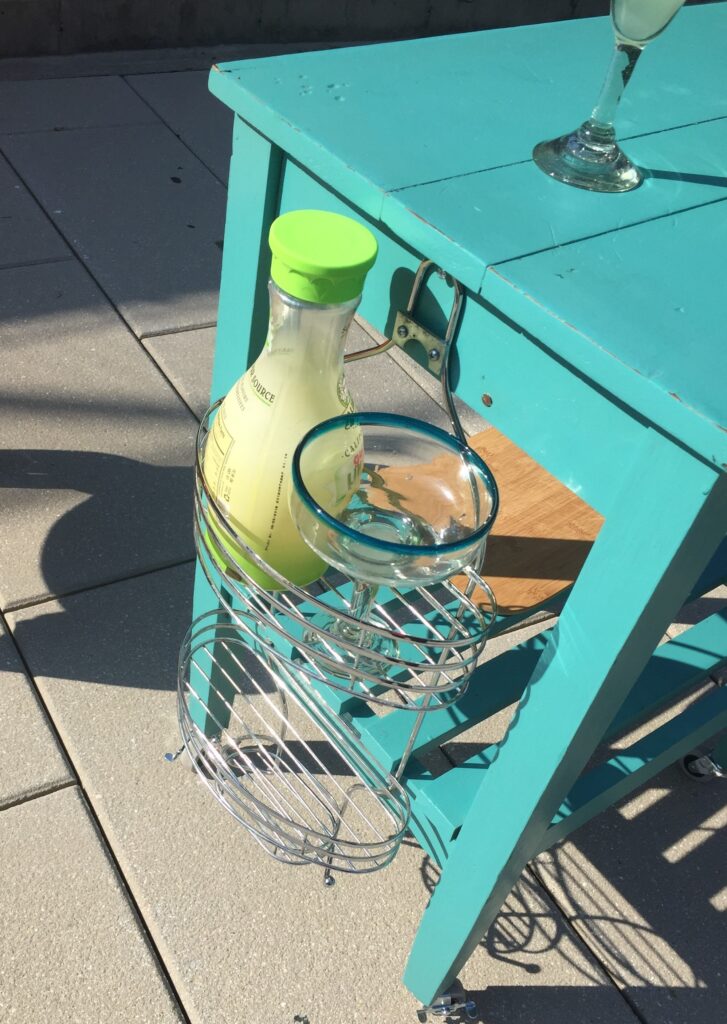
4. Add Stemware Holders
You will want a place to hang and hold your glassware so pick up metal stemware holders, too, for a hardware store or order online.
Move your piece onto a table or workstation and use the drop cloth or towel to keep the top looking good. Based on what the underside of your table looks like and how wide it is, you may need to add a scrap piece of wood on which to attach the stemware holders.
Again, I got lucky because I just needed to add one two by four trimmed to size. I added wood glue and a couple of screws to secure the holders in place.
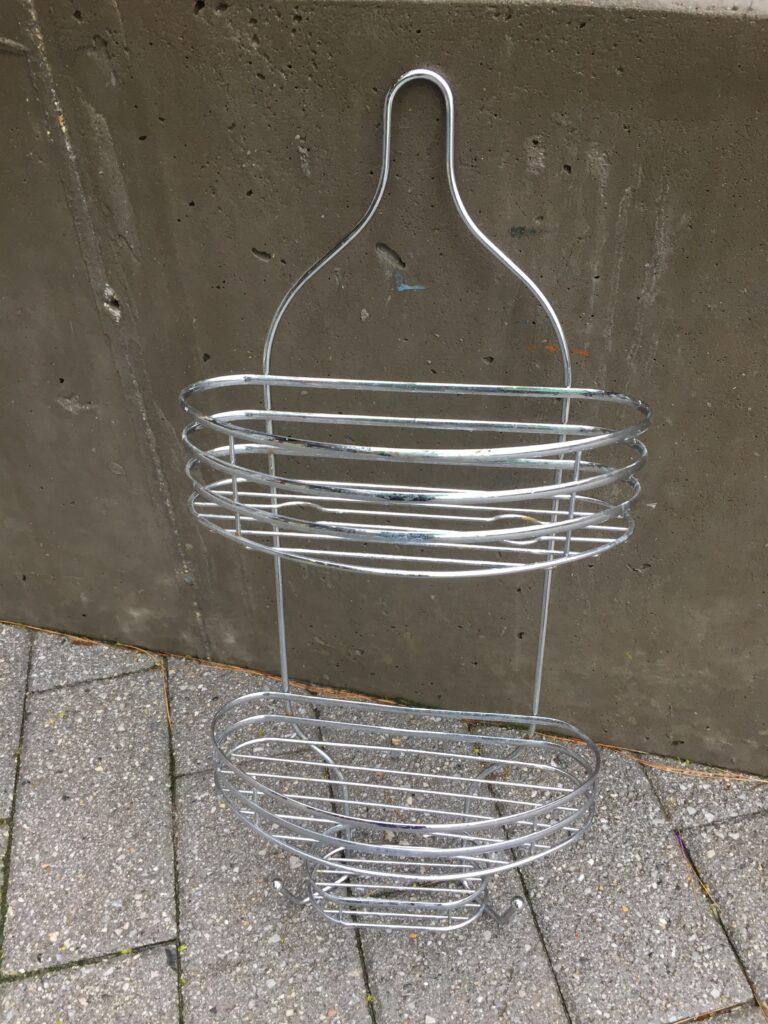
5. Add hooks & a shower caddy
Flip your bar cart over, right side up. On either side, use your drill to create holes for the hooks then screw the hooks into the piece. Look for a shower caddy at Goodwill, too, as it will make a perfect storage option. Use your drill and screws to attach it. To match the silver of the wheels and the stemware holders, pick a shower caddy that is either white or silver to match the overall look. Remember, you can use spray paint on your shower caddy, too, to make it match.
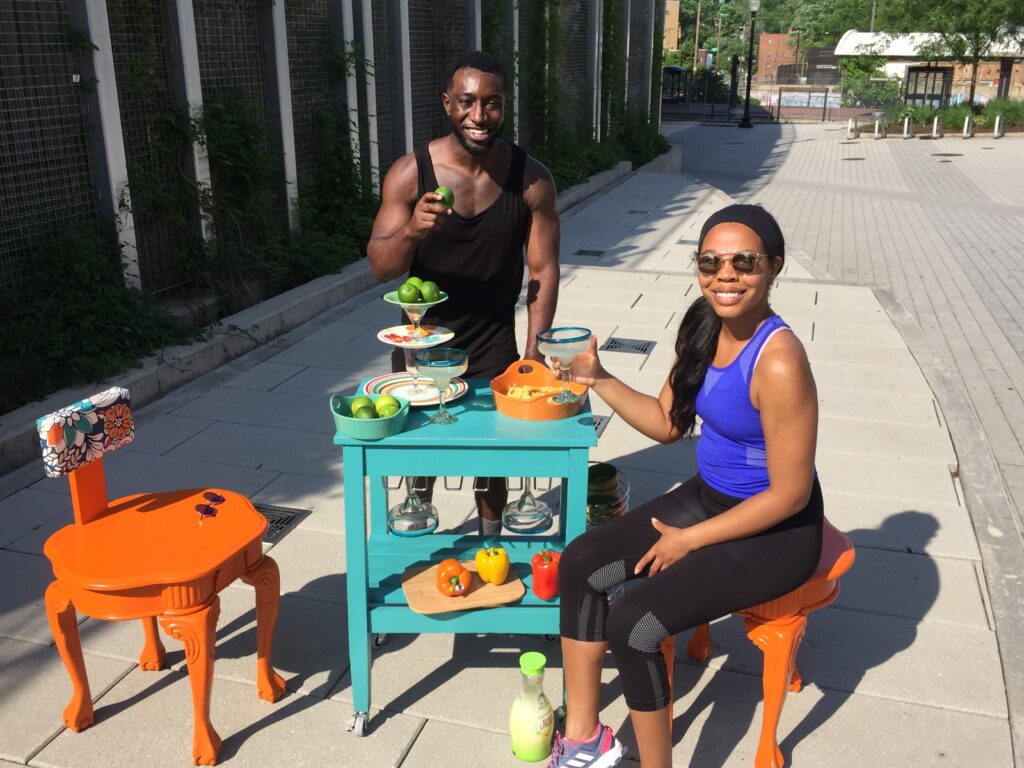
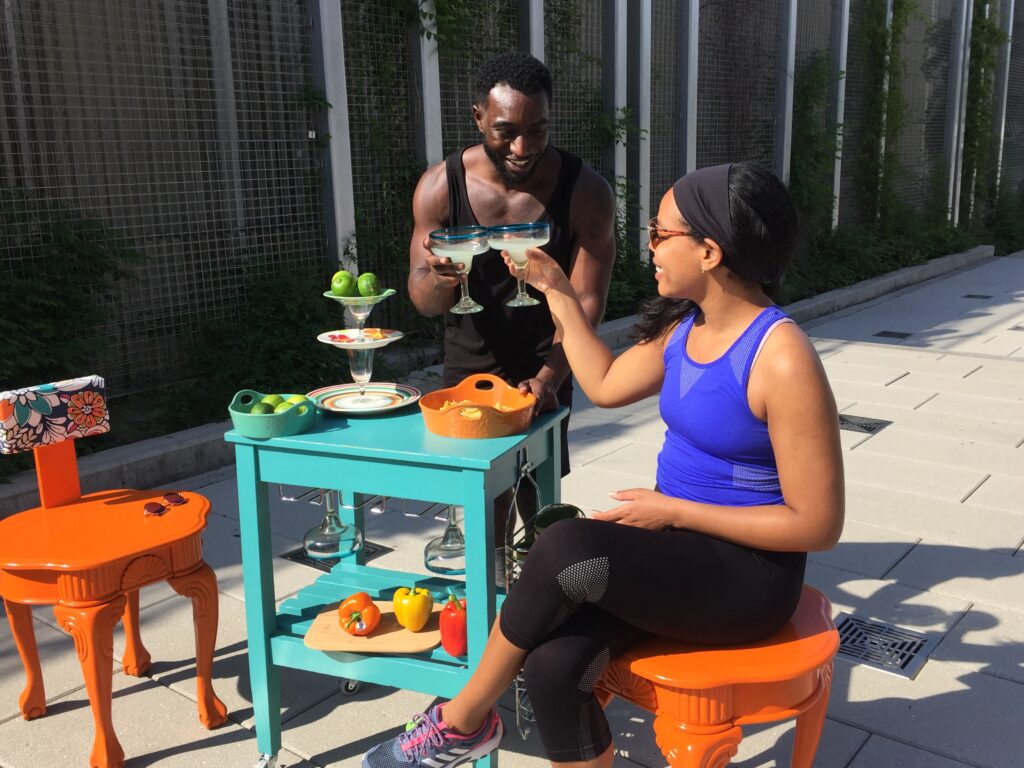
6. It’s Party Time!
Place your bar cart on your balcony, porch or patio. Add plates, dishes, bowls and glasses (yes, all available at Goodwill!) along with beverages, snacks and other refreshments. Place by your chairs and side tables, picked up at Goodwill.
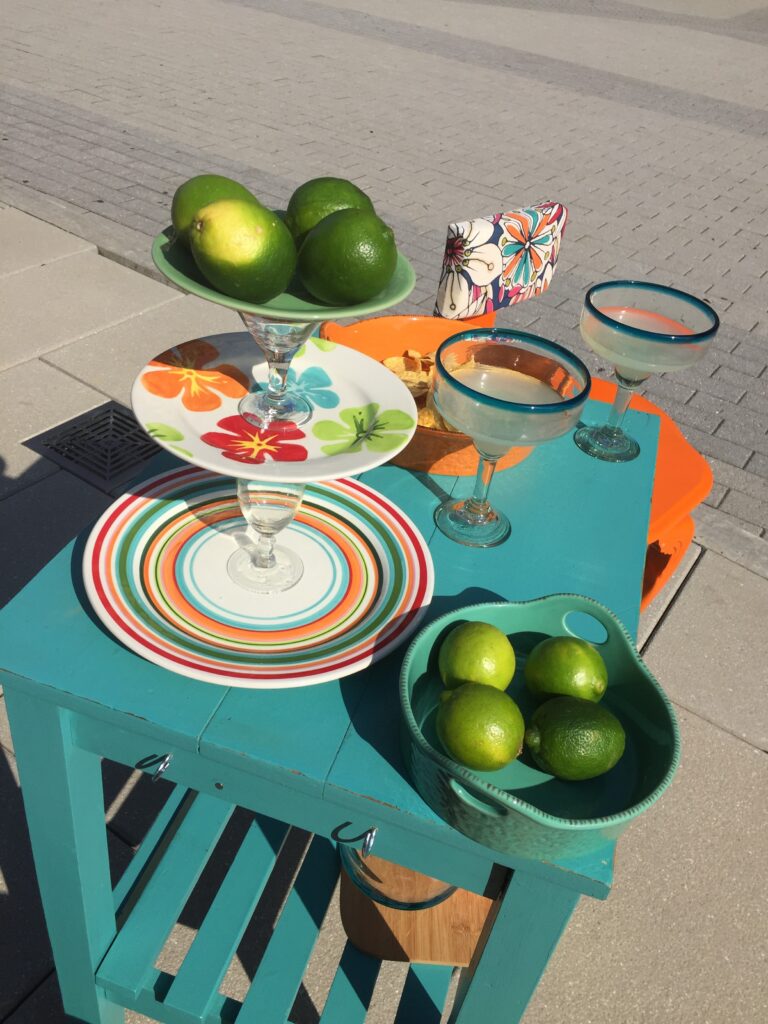

Now invite friends and family over to enjoy your transformed bar cart and let the summer fun begin!
Similar Reads:
- DIY: Upcycle a Chandelier Into a Bird Feeder
- DIY: Toilet Paper Roll Birdhouses
- DIY: Graffiti Heart Dresser Inspired by DC Mural

Tim Kime
Artist, Motivational Speaker, Life Coach
