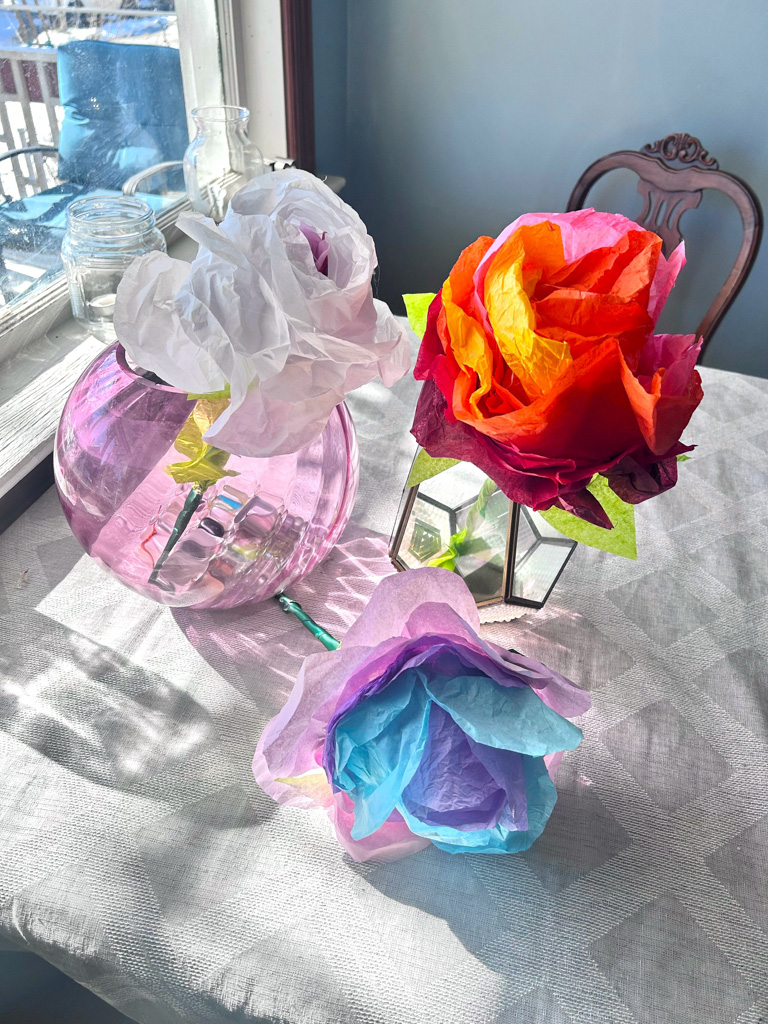
Turn Tissue Paper into Pretty Peonies
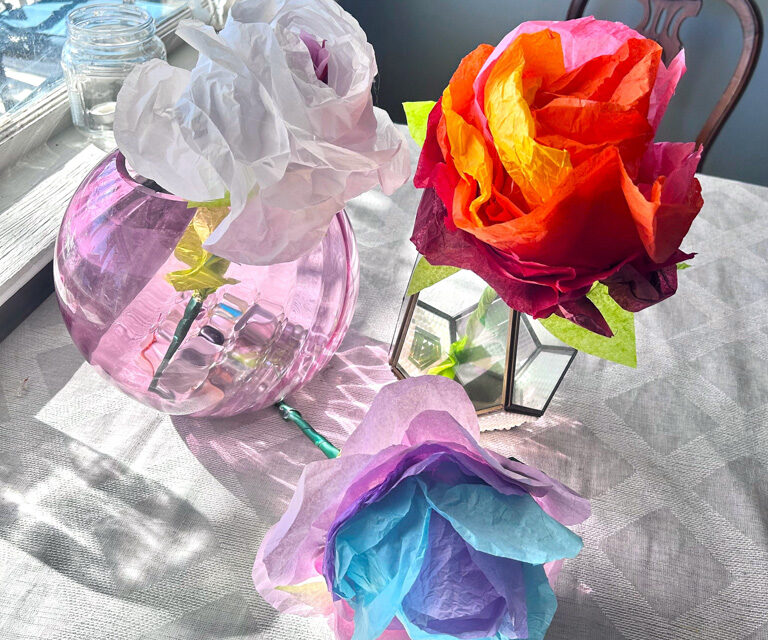
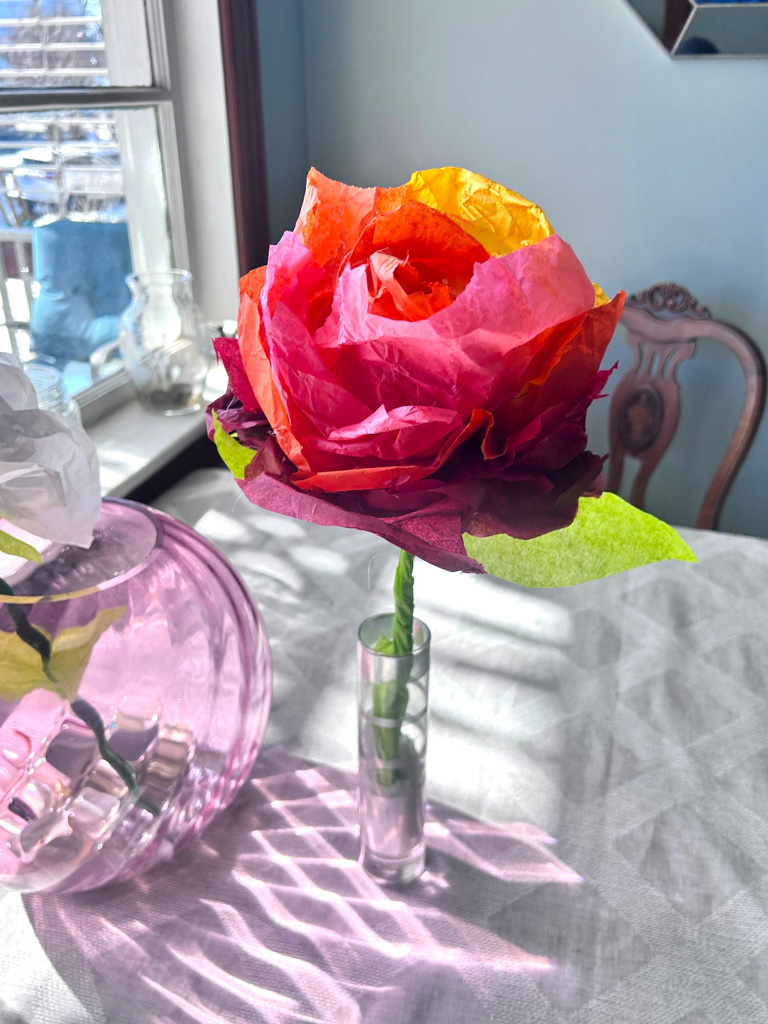
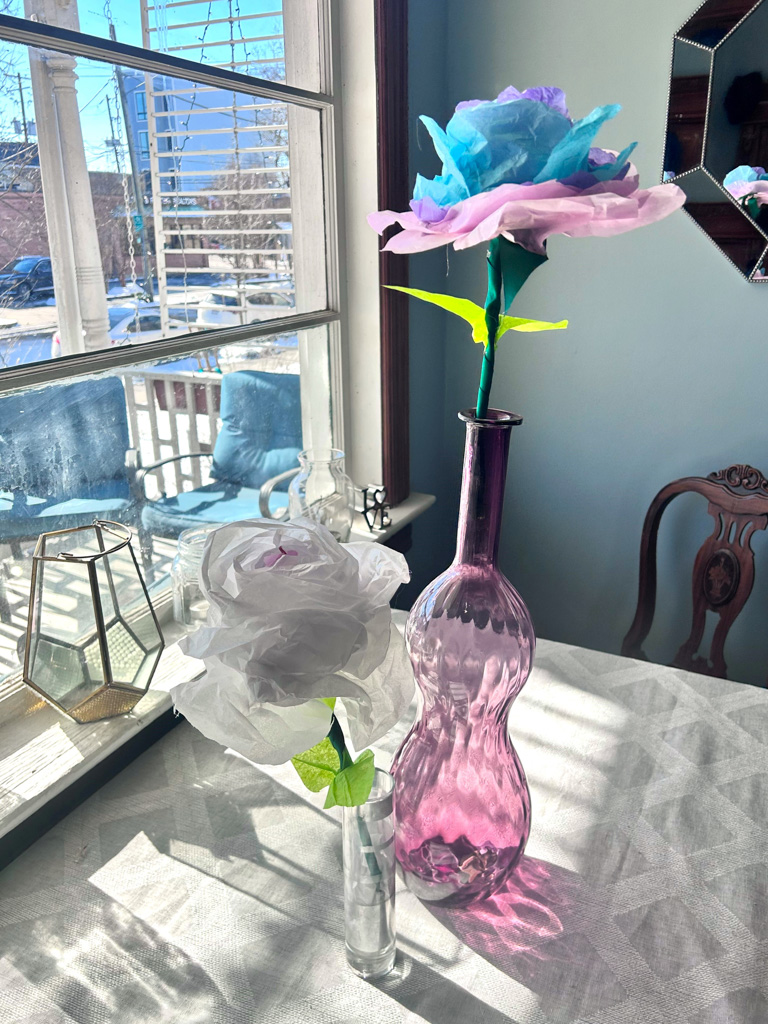
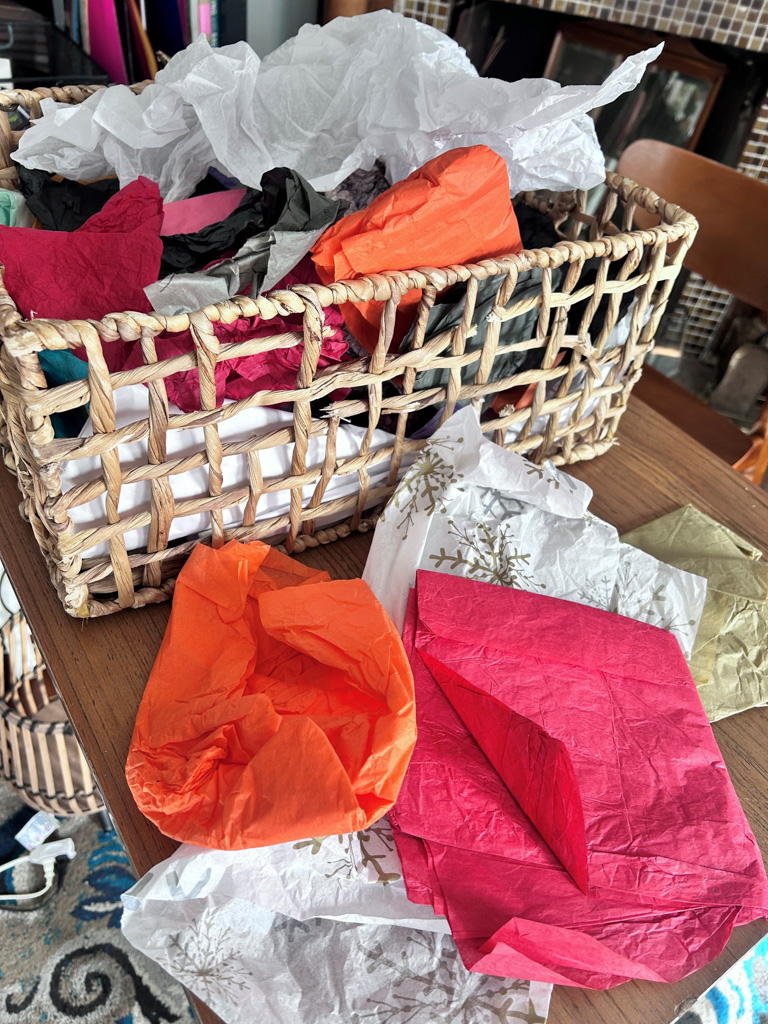
With the holidays behind us, you might have a plethora of leftover tissue paper from gifts in your stash or you might find some donated to Goodwill. Upcycle it into pretty peonies that will bloom all-year long and give the feeling of Spring during the cold winter months. Rather than toss it, transform your tissue paper following these simple steps then give a stem or two to your loved ones, friends or boo for Valentine’s Day, Mother’s Day or any day!
By the way, you’re invited to join us on February 11 for our “Not Your Typical Typical Valentine’s Day” event.
During it, you will get the chance to make your own peonies as well as jewelry and cards from repurposed and upcycled items. The tissue paper featured here was collected during a recent Art Supply Swap event, also held in partnership with Finding Your Good & Tim Kime Art, two of the hosts for the upcoming February 11 special event. Bring art supplies to swap then, too!
Step 1: Lay out the layers, cut out some circles
Start your flower’s transformation process by layering several pieces of tissue paper on top of each other. If reused from previous gift-giving, use your hands to smooth out any crinkles; if folded, then unfold and use your hands to press it to be as flat as possible. Consider layering six to ten pieces on top of each other. Also, you can fold pieces over, too, based on its size, to get your six to ten layers, too.
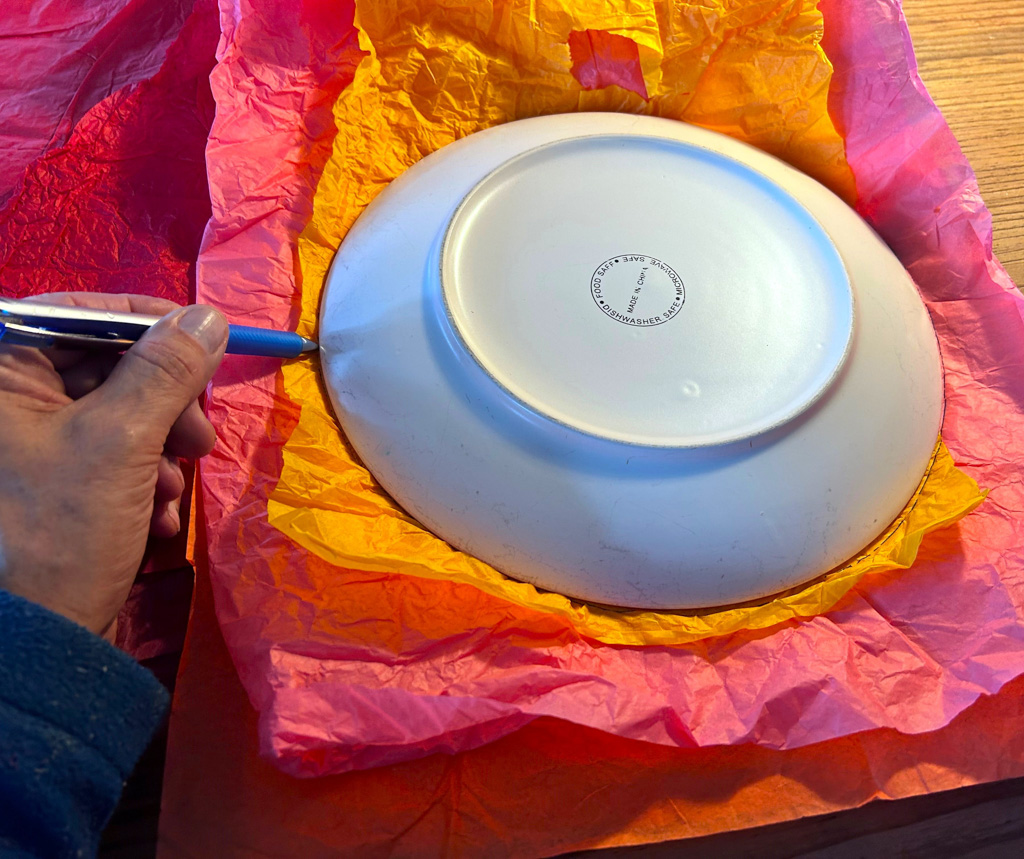
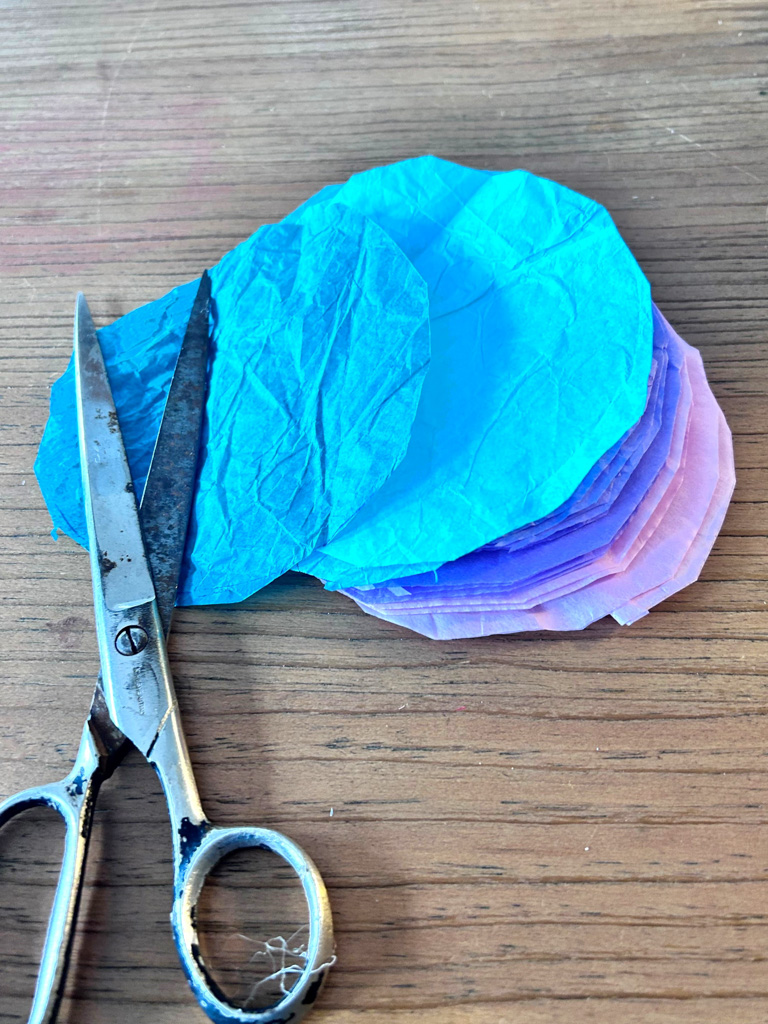
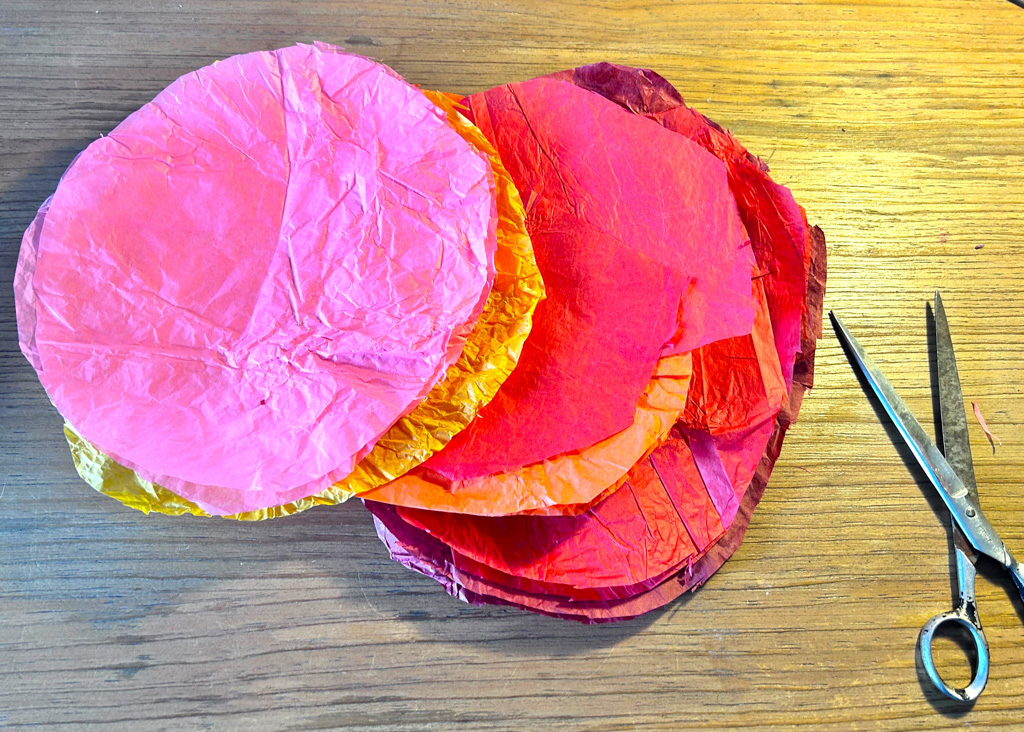
Use a pen or pencil to trace around a plate in order to leave a circle shape on top. Holding the layers securely, cut out your circles. Do your best to keep the cut circles stacked on top of each other.
Step 2: Fold over to make florals
Enlist the help of a medium-sized bowl, flowerpot or sturdy mug for this step. I used a ceramic flowerpot picked up at Goodwill, too, for this step. Its top/opening was the right size, it was deep enough and it stood solidly on my workspace.
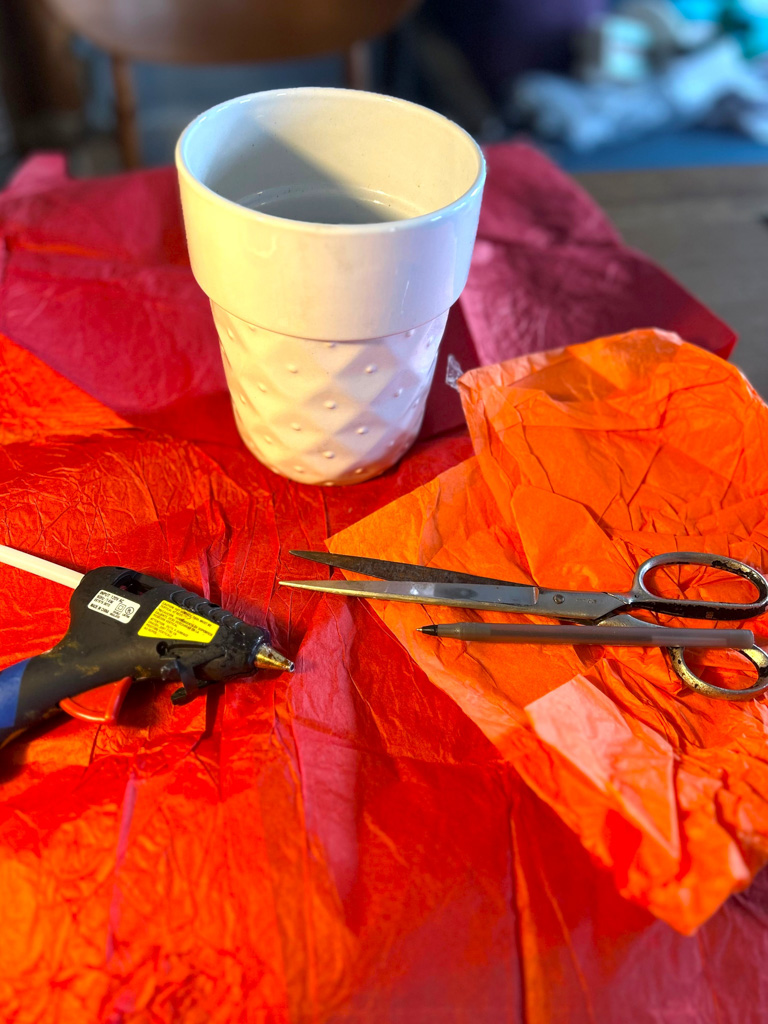
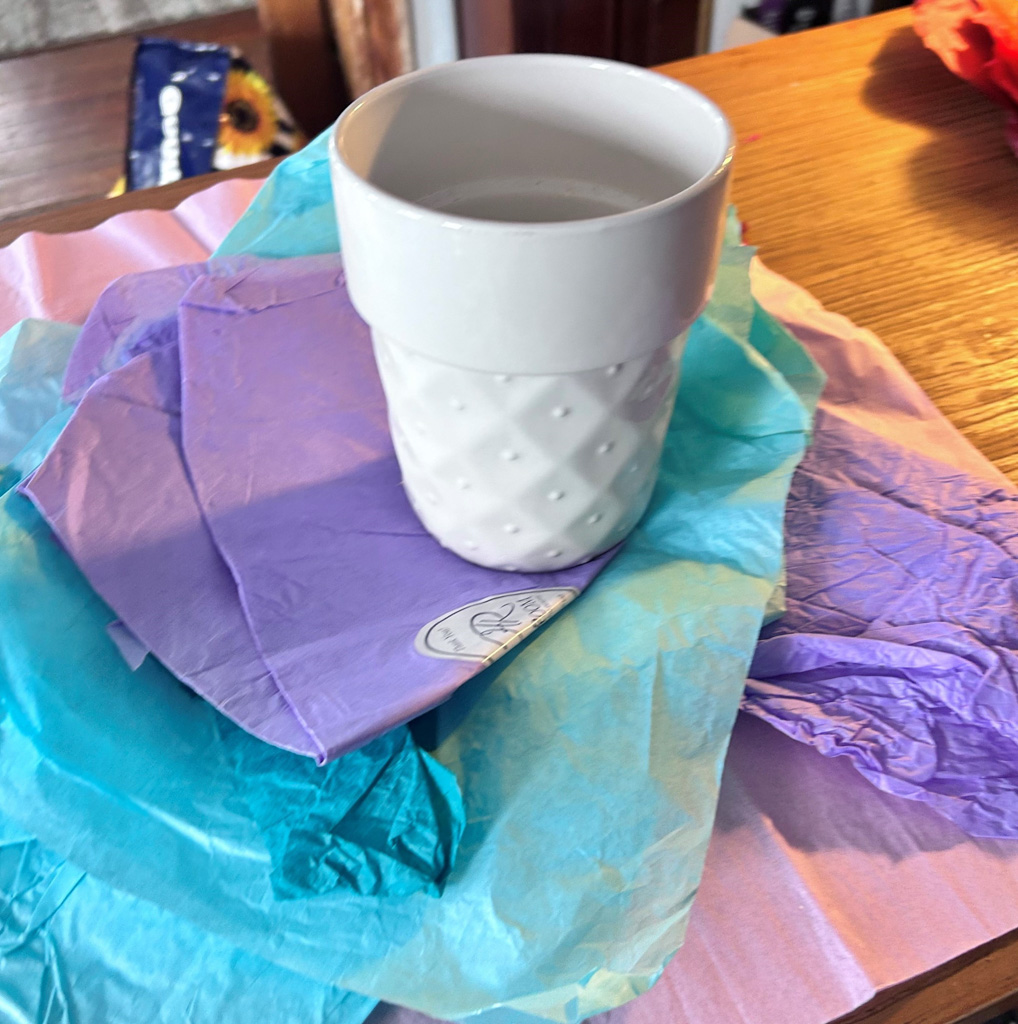
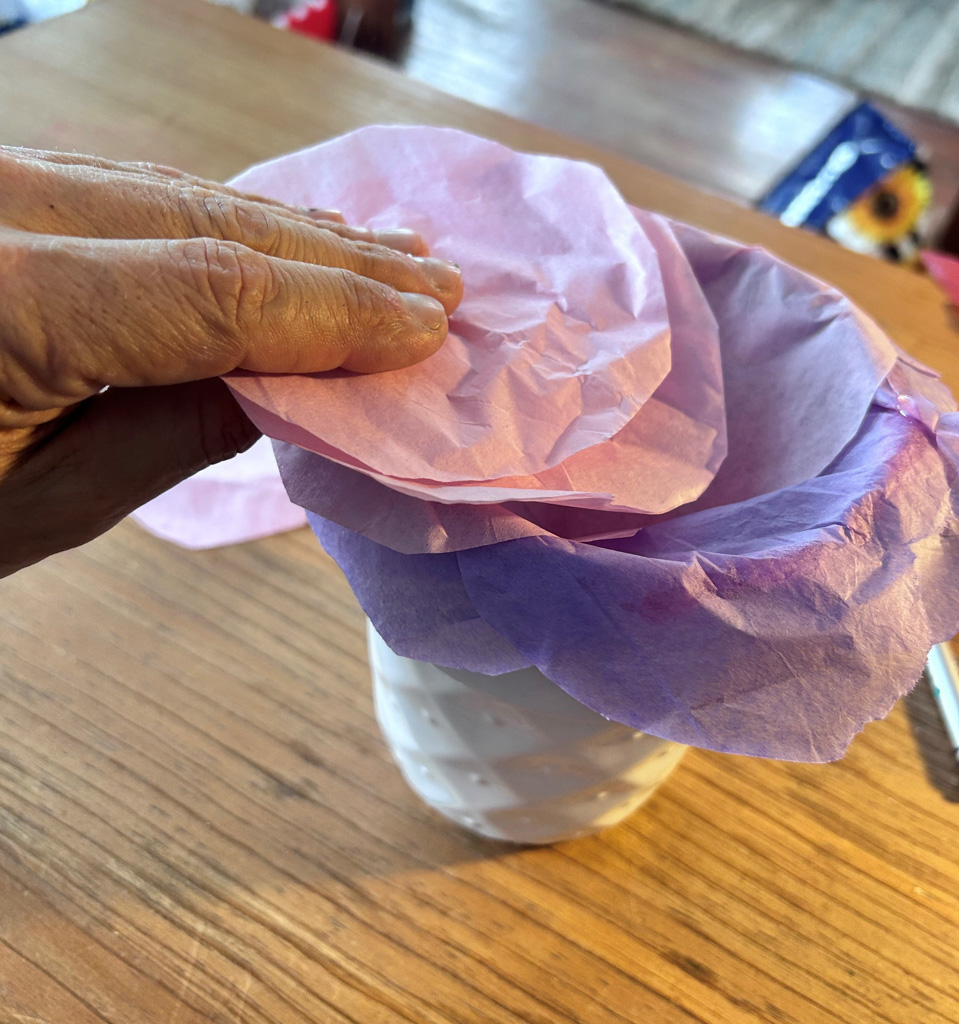
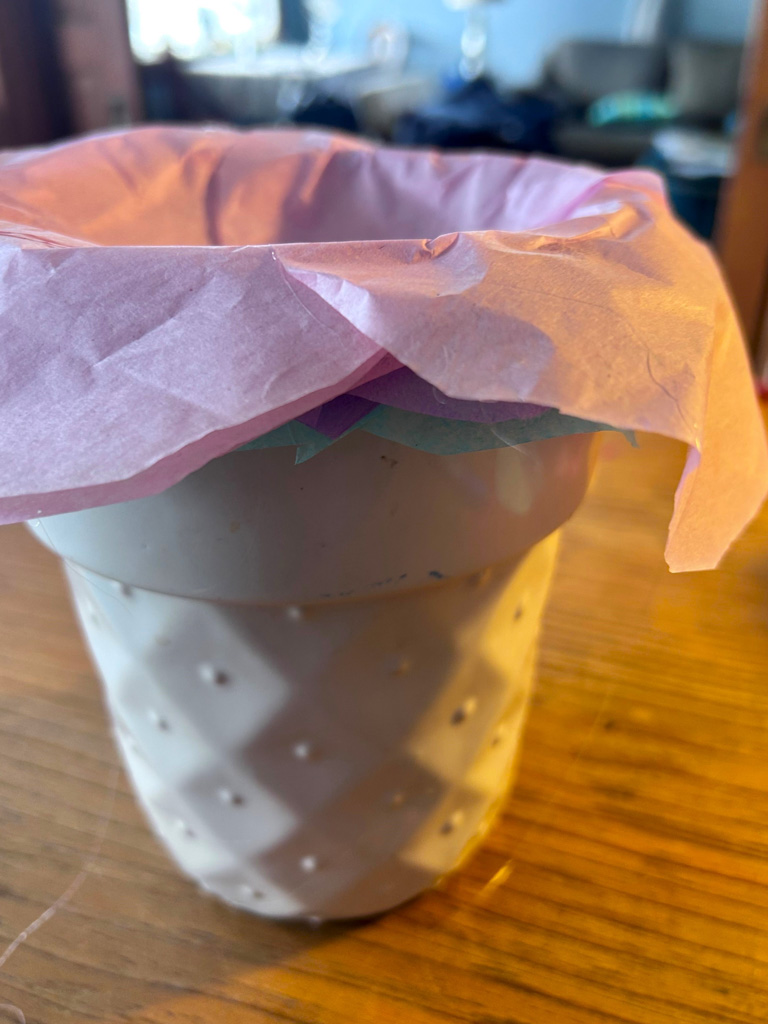
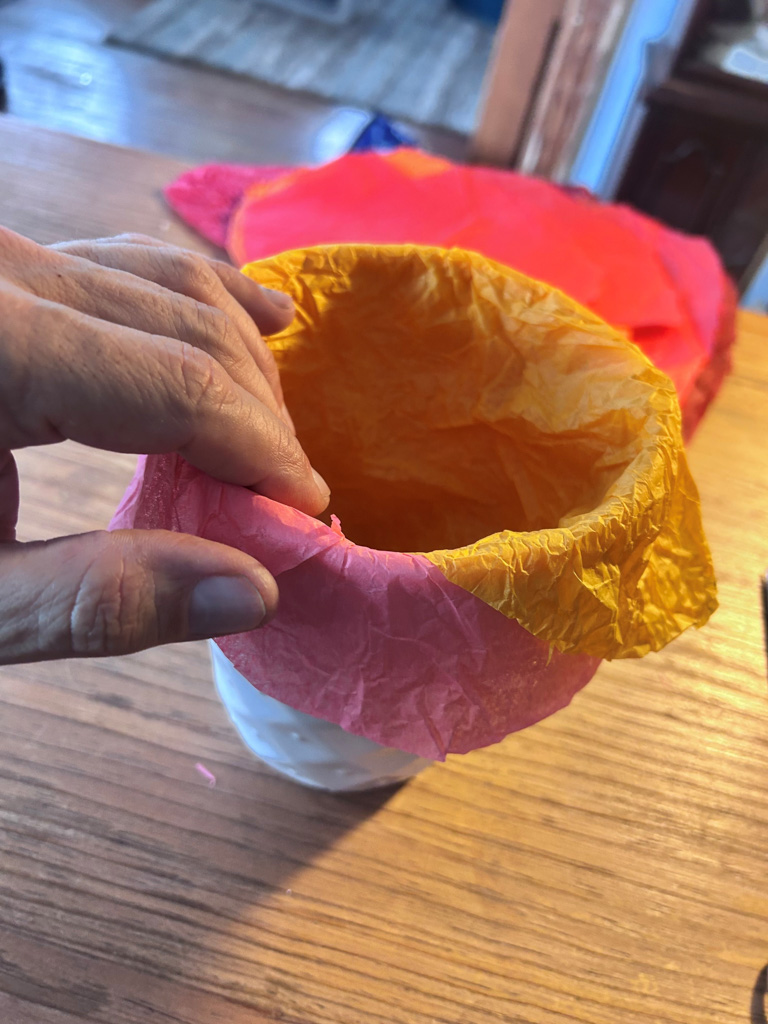
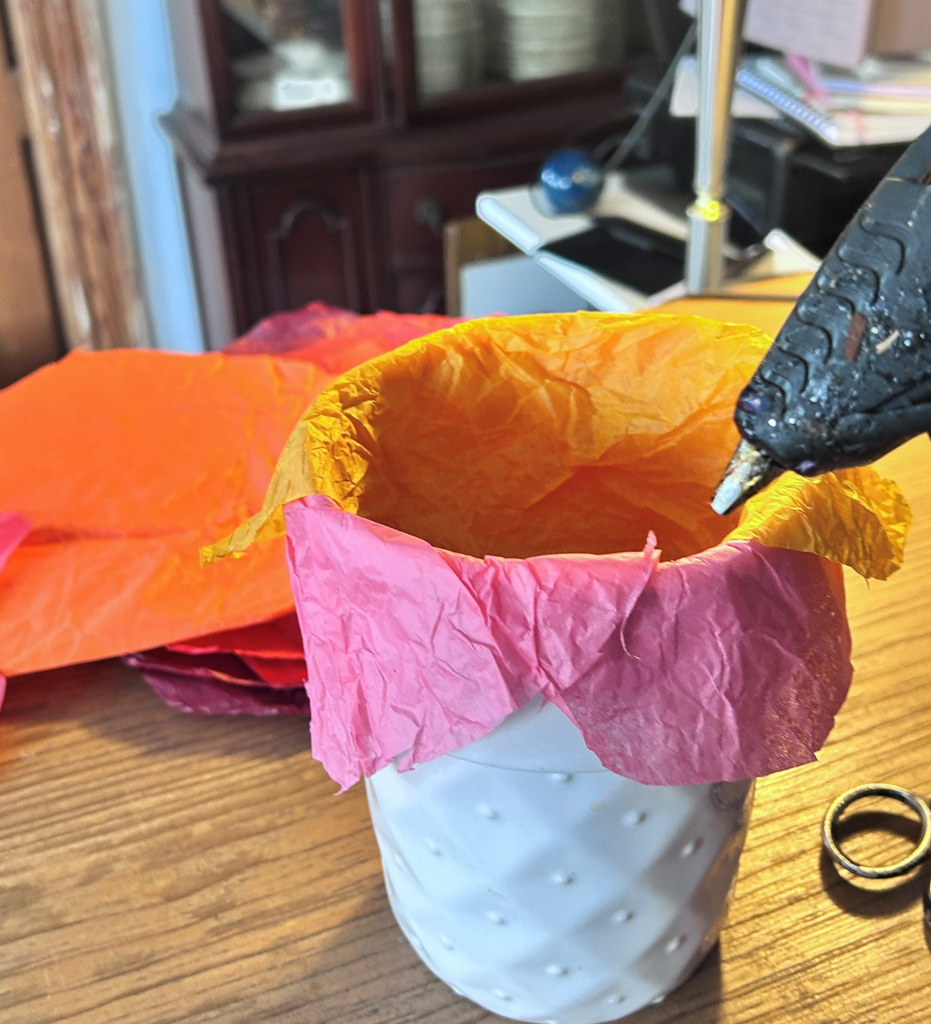
Pick up your first cut tissue paper circle and place it on your flowerpot rim, so half is on the inside and the other half hangs out.
Repeat this step of half-circle in and half-circle out but overlap the second and third so they go around the rim of your flowerpot.
Add a line of hot glue then add your next layer of circles, following the same half in, half out process.
Repeat until your tissue paper circles have pretty much filled your flowerpot.
Step 3: Remove with care, then fluff with flair
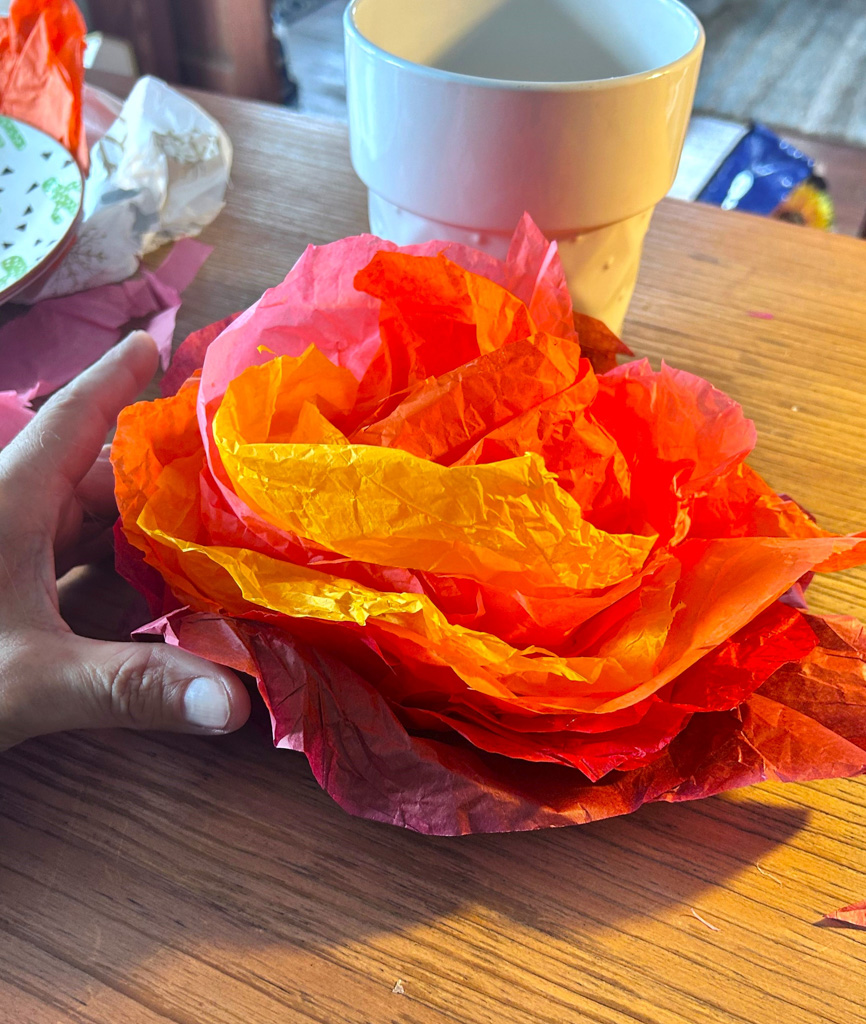
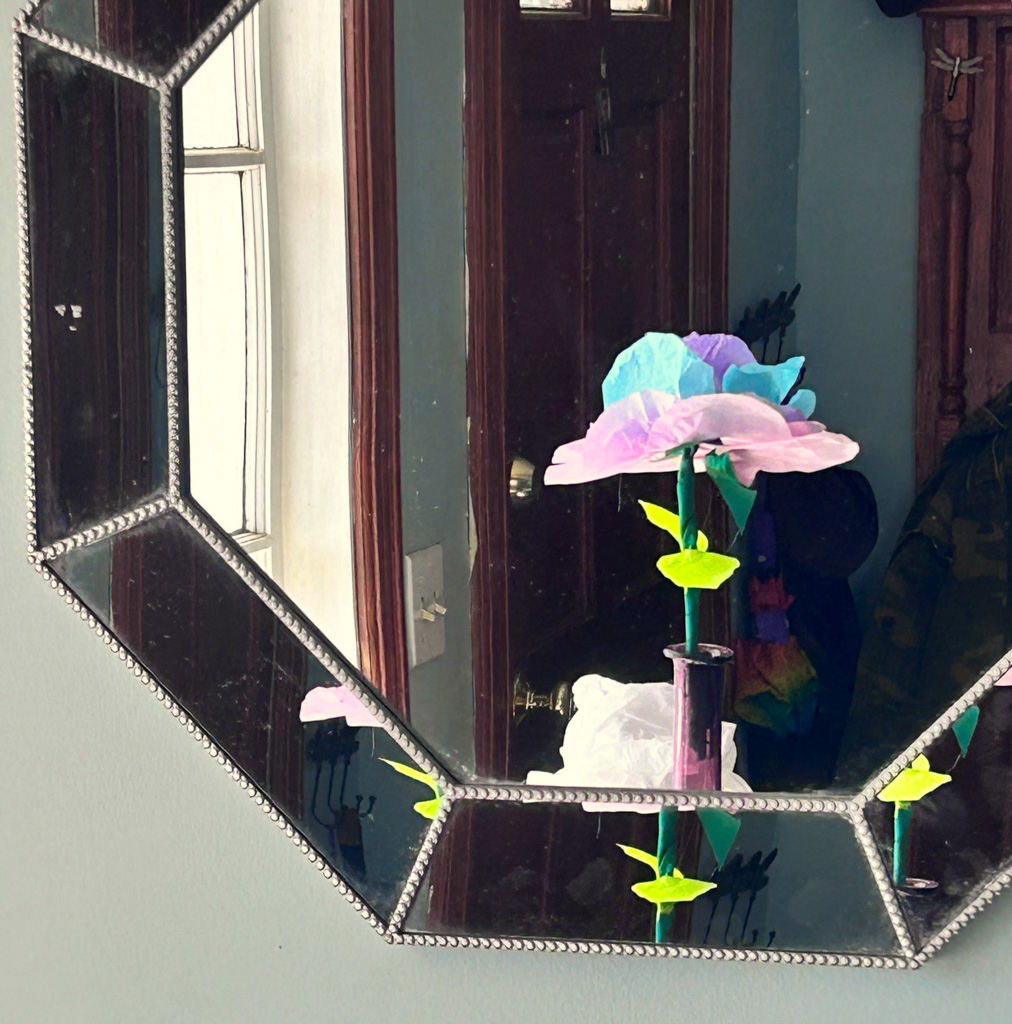
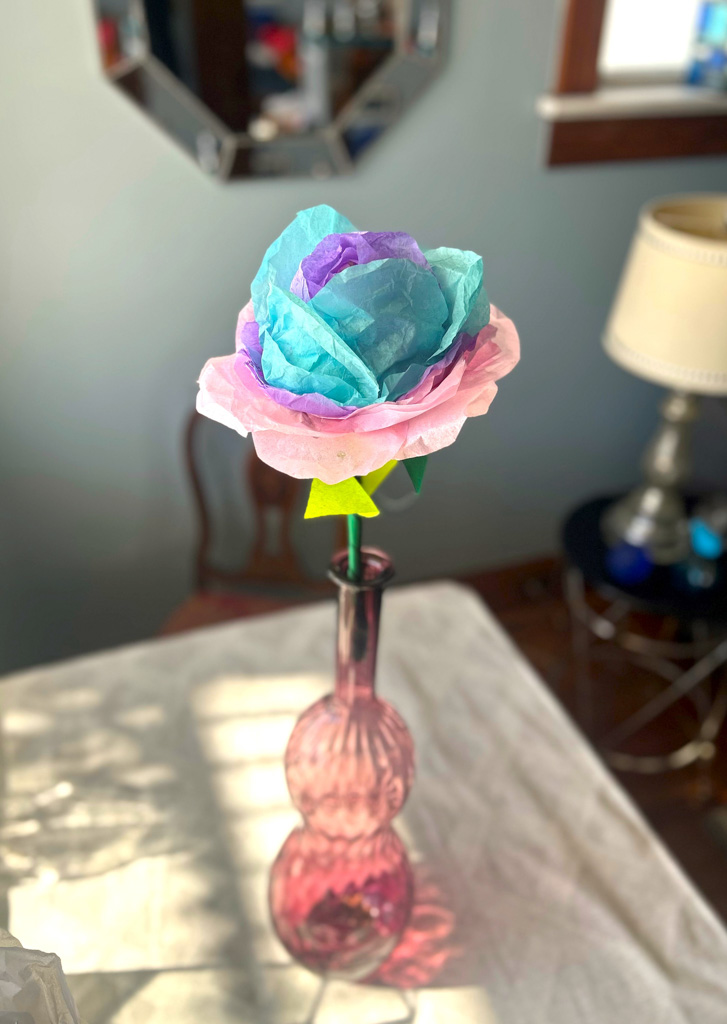
The layer of tissue paper circles facing you (and now glued together in your flowerpot) will become your bloom’s bottom. Carefully remove the tissue paper from your flowerpot and turn it over to reveal your pretty peony!
Use your fingers to separate and pull apart the tissue paper layers to make your bloom look bigger and fluffier.
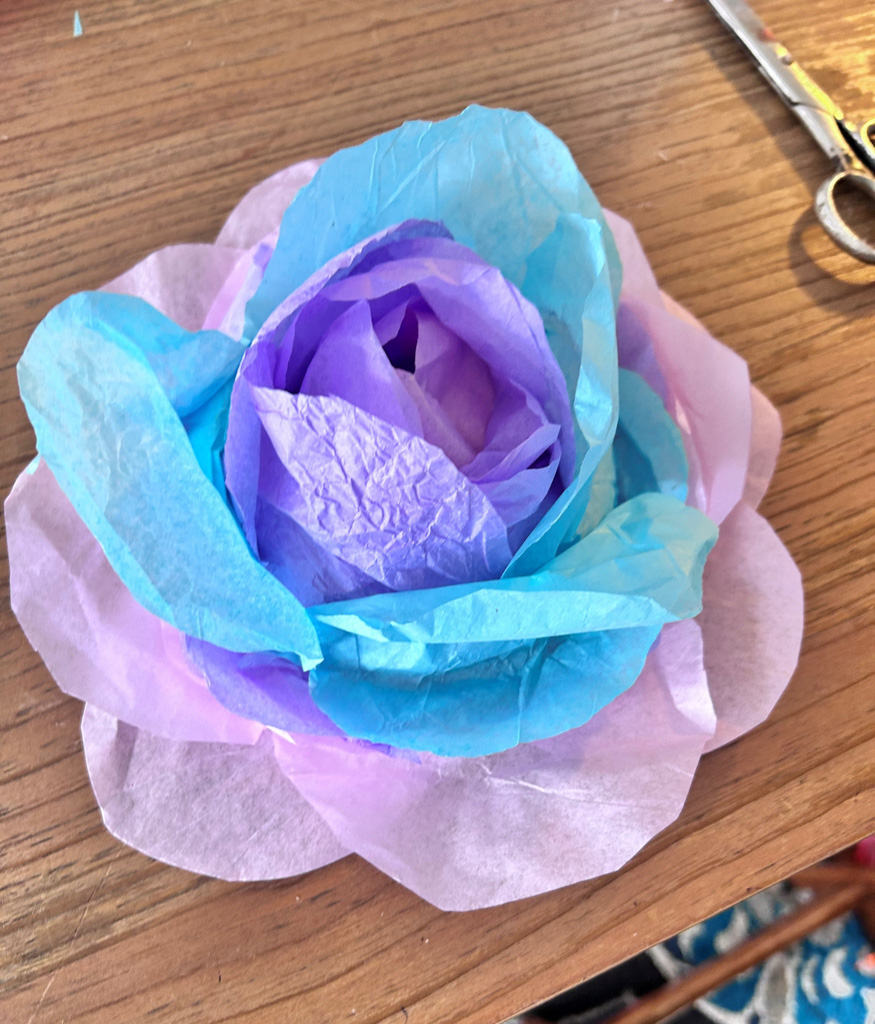
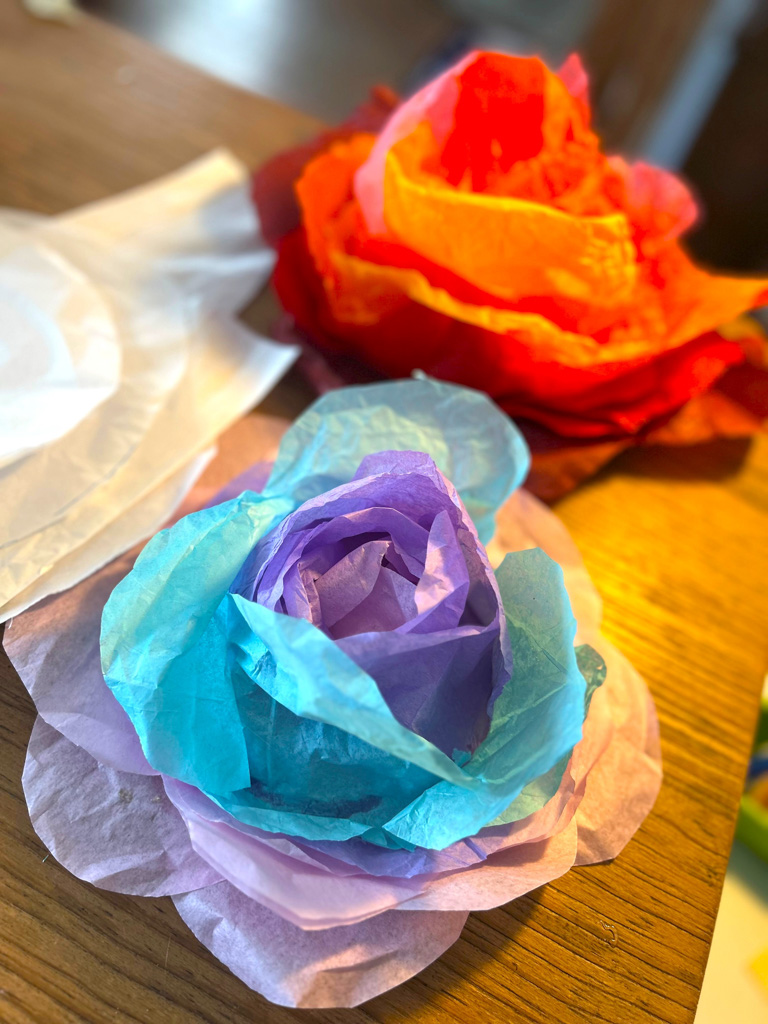
Design Idea:
Based on the look of your bloom, consider adding a center to it using a contrasting color of tissue paper. Roll up some small pieces, glue them together and fluff out one end. Use your hot glue to secure it in the bloom’s center.
Step 4: A stem and leaf will leave you happy
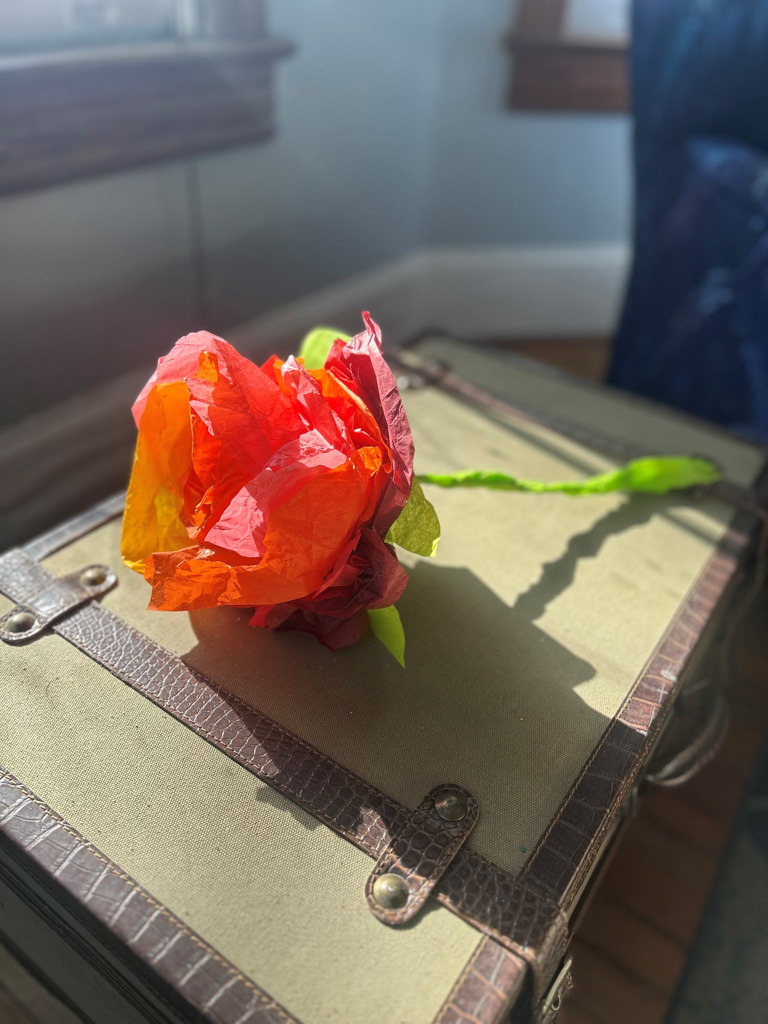
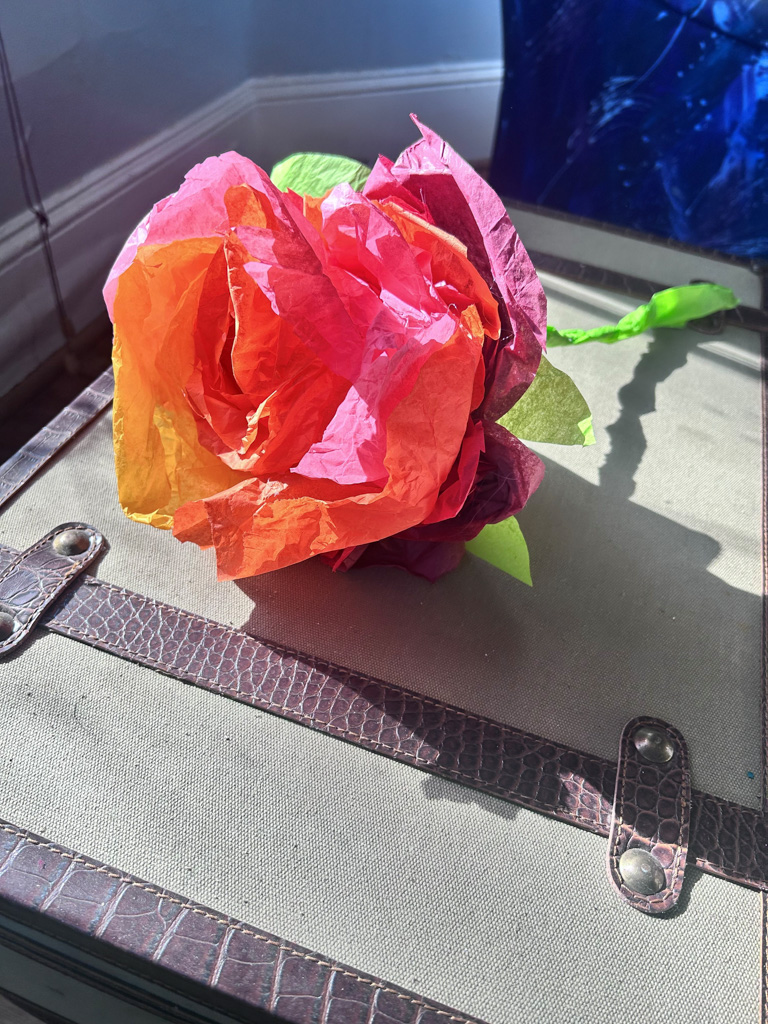
A thin wooden food skewer was used as a stem. Its pointed end was poked through the peony’s center then hot glued to hold it in place. A green ribbon, left over from a Christmas gift, was wrapped and secured in place with the glue gun. You could use green tissue paper, too, to cover your skewer. Simply cut a long, thin strip of the green tissue paper then wrap your skewer with it, adding hot glue along the way to hold it in place.
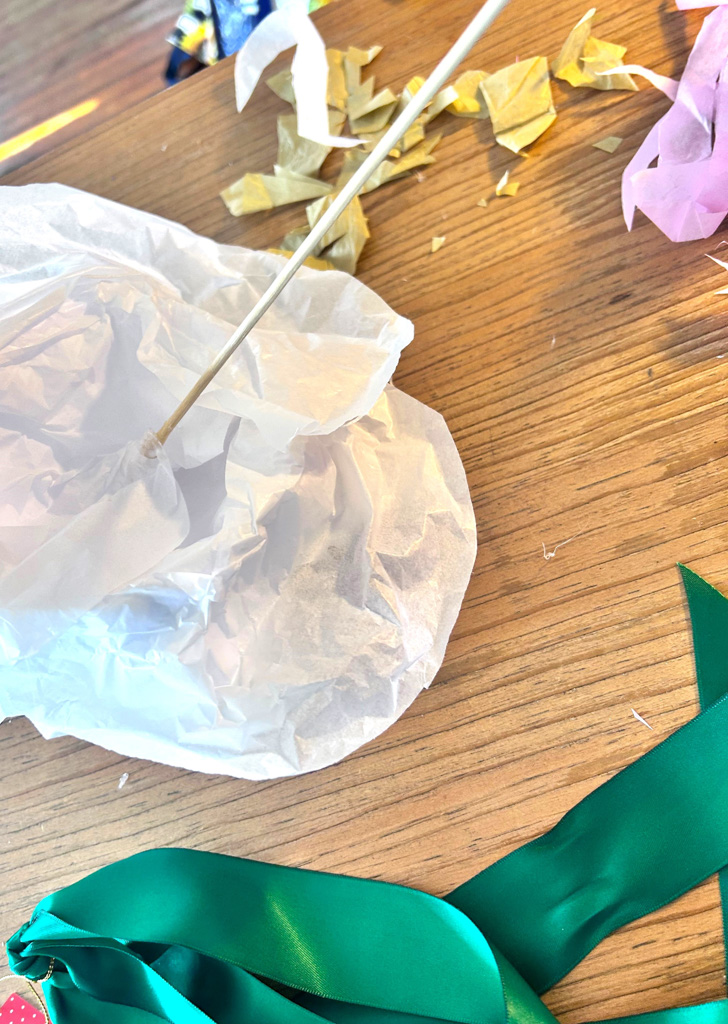
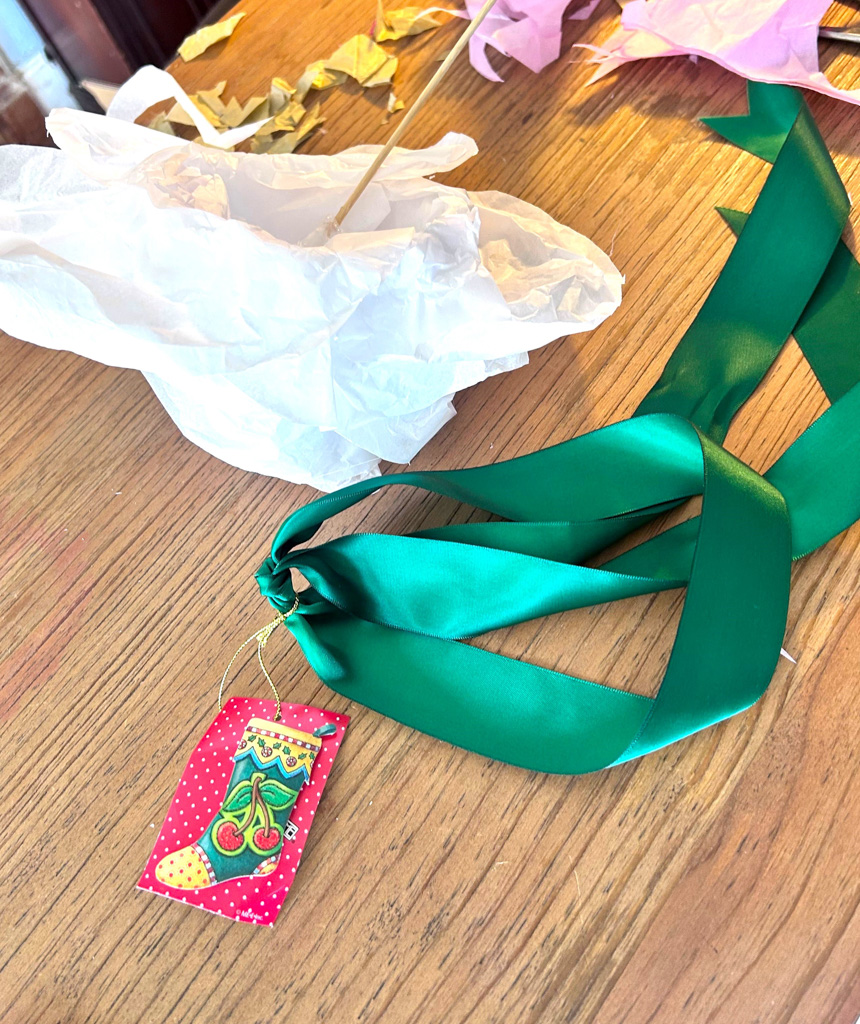
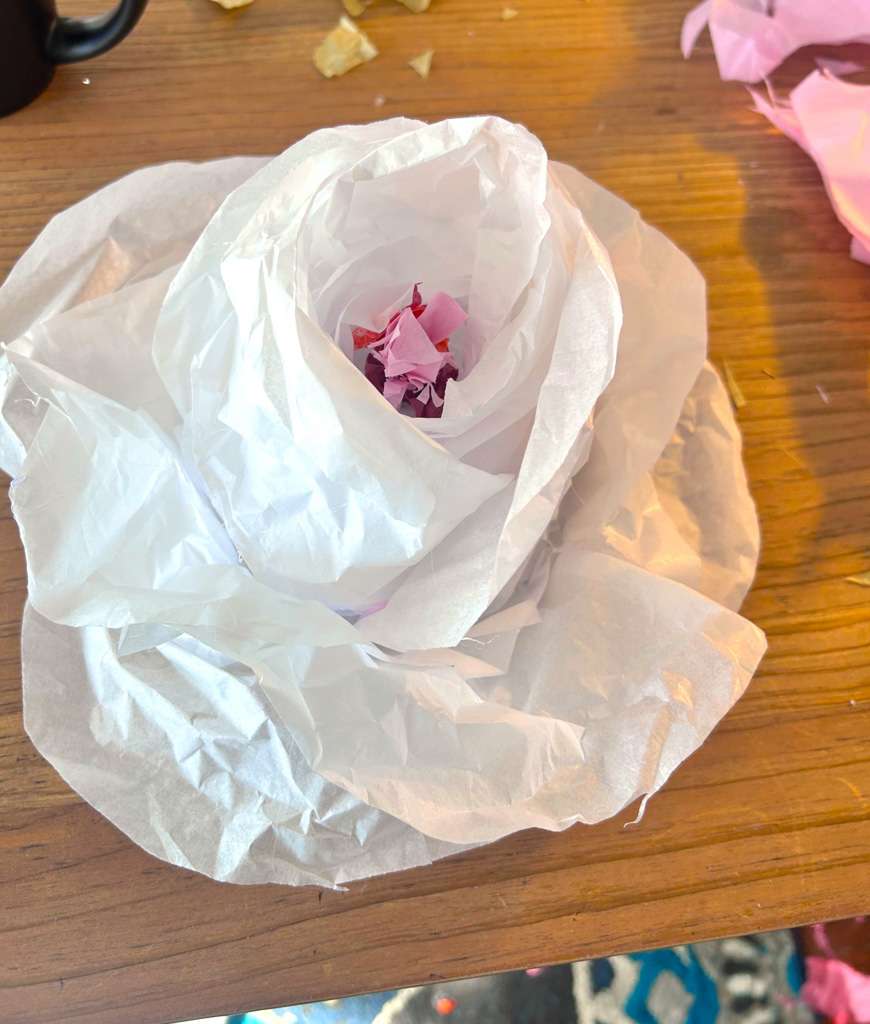
Cut leaves from the green tissue paper and secure them with more hot glue under the bloom and along the stem.
Step 5: Place in a vase, keep in your space or give to a smiling face
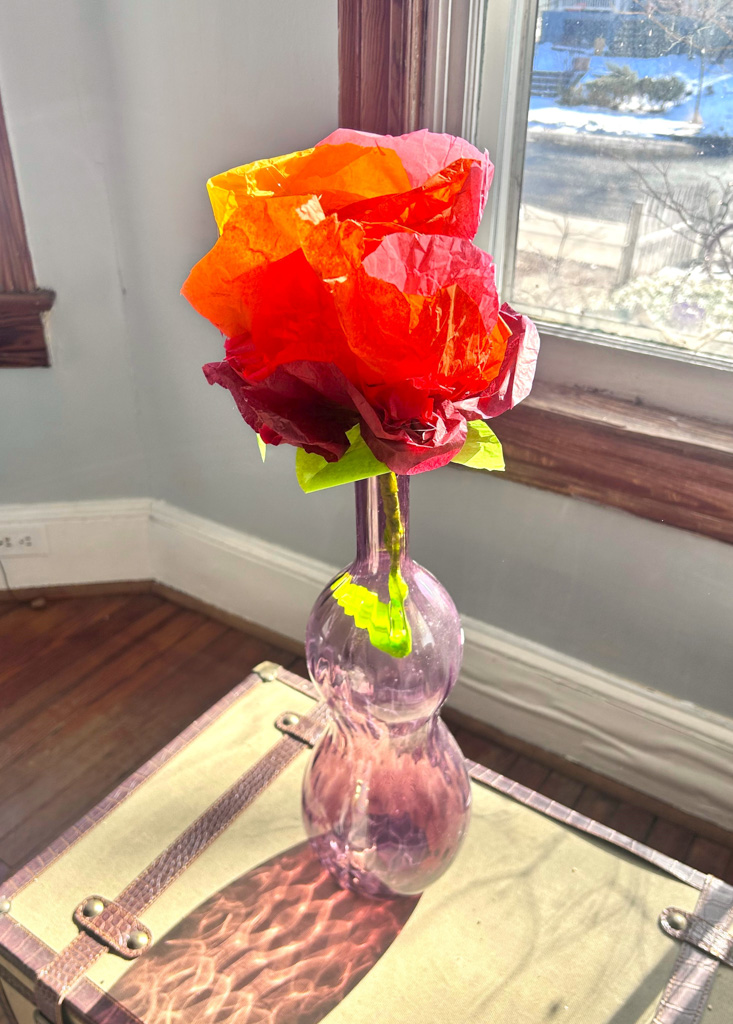
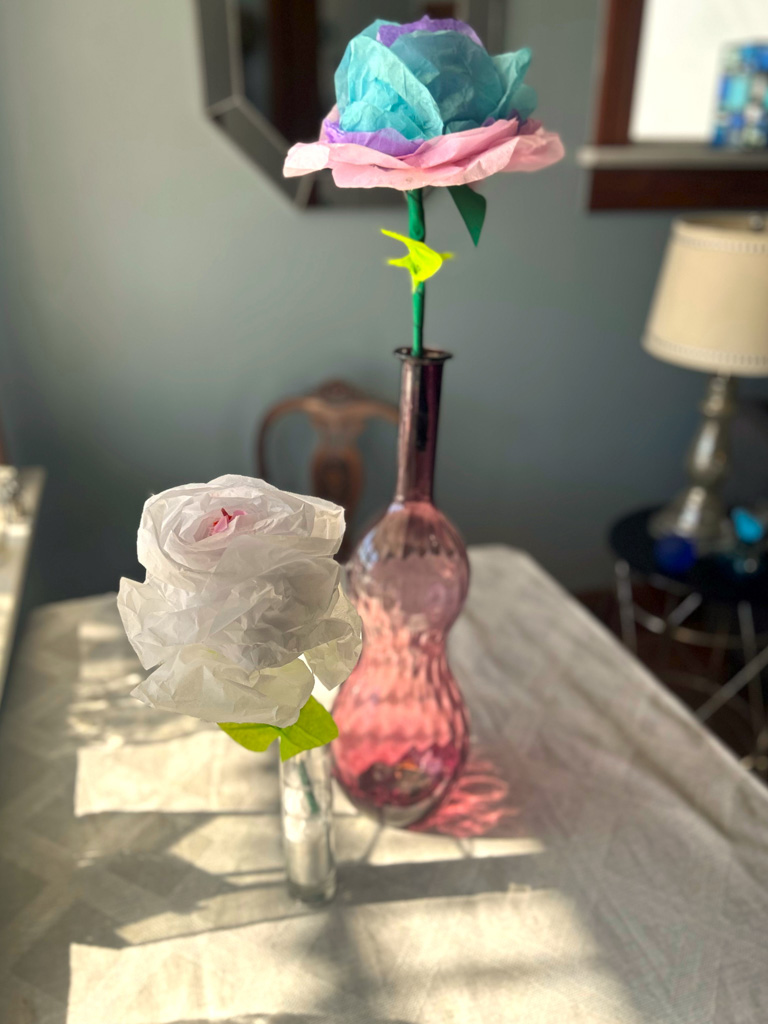
Add your puffy, pretty peonies to Goodwill-found vases. Display them in your home to add some welcoming cheeriness during the winter doldrums. Share them with a loved one who will certainly smile when they receive them. They are the perfect perky pick me up any day of the year!

Again, we invite to join us on February 11 from 6 p.m. to 8 p.m. at Brookland Arts Walk’s Artist’s Lounge, 716 Monroe Street NE. We are so excited to co-host this “Not Your Typical Typical Valentine’s Day” event with several amazing groups.
You will create your own flowers, jewelry and cards using upcycled materials. Bring materials to use, share and swap with others! Come solo, with a friend or with you boo! See you there!


Similar Reads:
- Use Sunflowers to Inspire Your DIY Designs! – Finding Your Good
- Noodle on This DIY: Fun Flowers From Pool Accessories & Goodwill Finds – Finding Your Good
- DIY: Toilet Paper Roll Flowers & Butterflies

Tim Kime
Artist, Motivational Speaker, Life Coach


