You’ve heard the sage advice that says, “One man’s trash is another man’s treasure.” Well, for this creative DIY project for Father’s Day, you’ll be saying, “One person’s rusty tools make a cool key holder for Dad.” Or perhaps, “One guy’s junk becomes a great gift for Dad.” How would you say it?
As someone of loves and thrives on upcycling and turning trash into treasure or junky into funky, it was fun to repurpose items to create letters in order to spell out “Dad.”
What things do you have around the house or apartment that you can creatively transform into a unique and memorable Father’s Day gift for dear old (or young) dad?
Supplies Needed:
1. Old tools
2. Metal house items like tube covers, screws, bolts
3. Well-used metal paint tray
4. Picture hooks
5. Scrap wood
6. Teacup hooks
7. Quick dry epoxy glue
8. Drill
9. Painter’s tape
Time: One hour max (not including glue drying time)
Step 1: Go on a treasure hunt in your own home
Knowing that Father’s Day is coming up soon, a Dad-themed project seemed very fitting and timely. This project is so much fun because it gets you to look at everyday items around your house in new ways.
What things do you have in your junk drawer, office or basement that could be used as letters for this project? Maybe a couple of hinges could be an A? What about a round lamp part and a piece of wood to become a D? You would take apart an old computer or printer, too, so see what parts can be transformed into letters for this project. Nothing like that on-hand? You could take a stroll around your block and look for twigs and branches that would be united for this unique gift Dad will love.
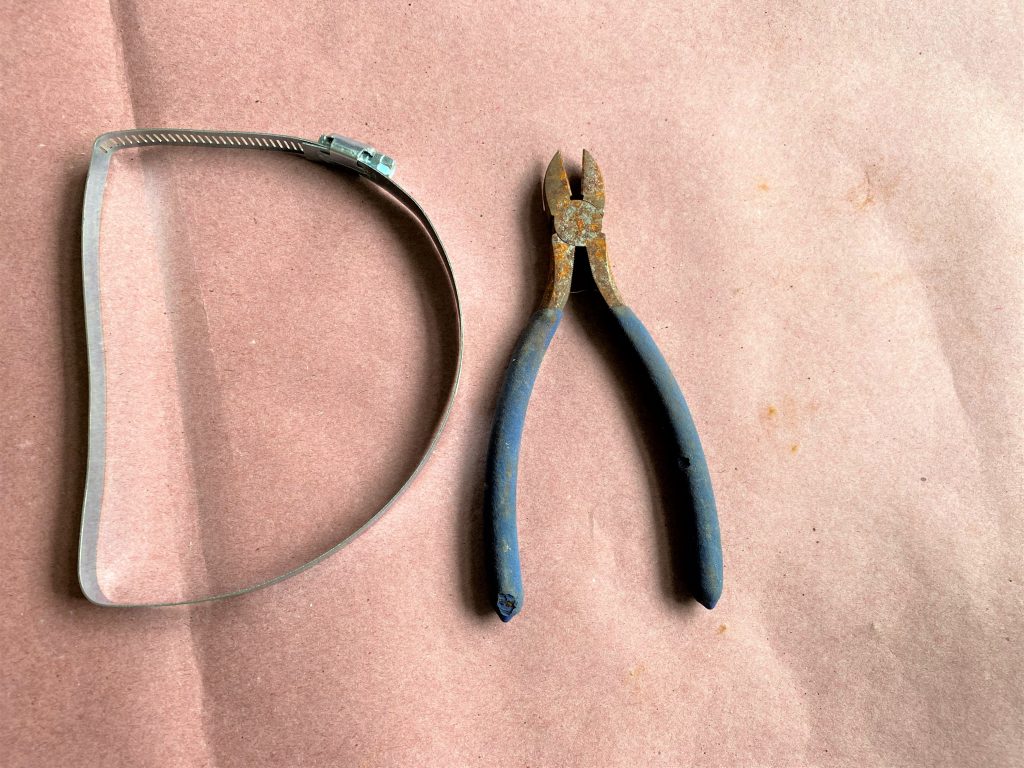
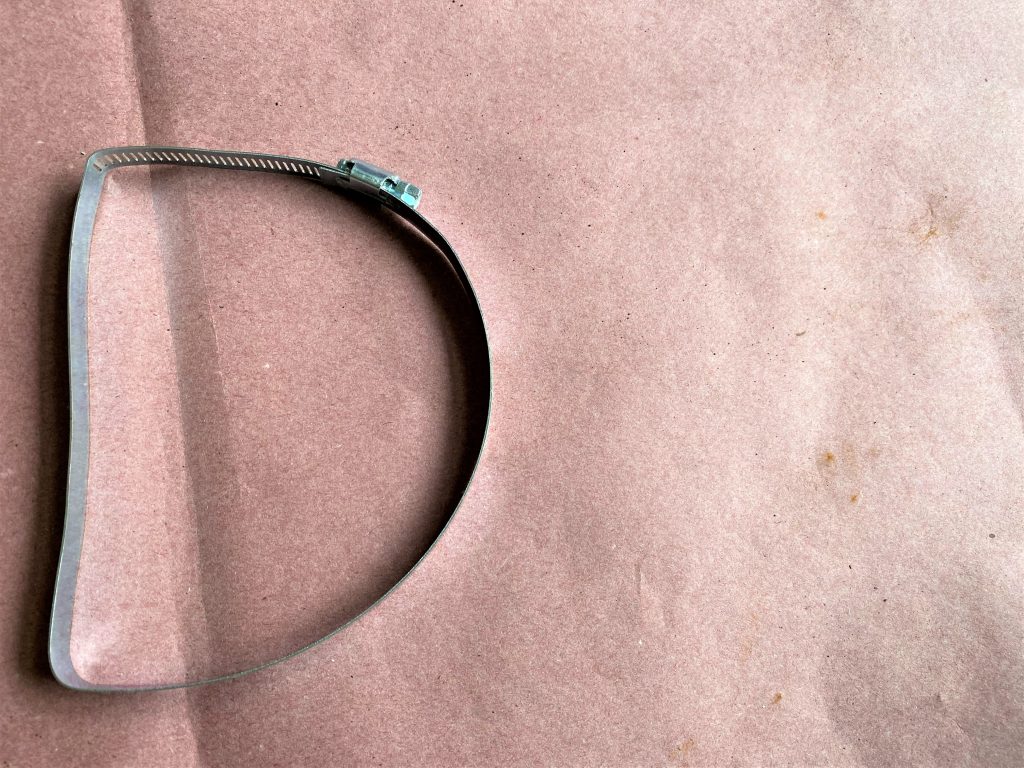
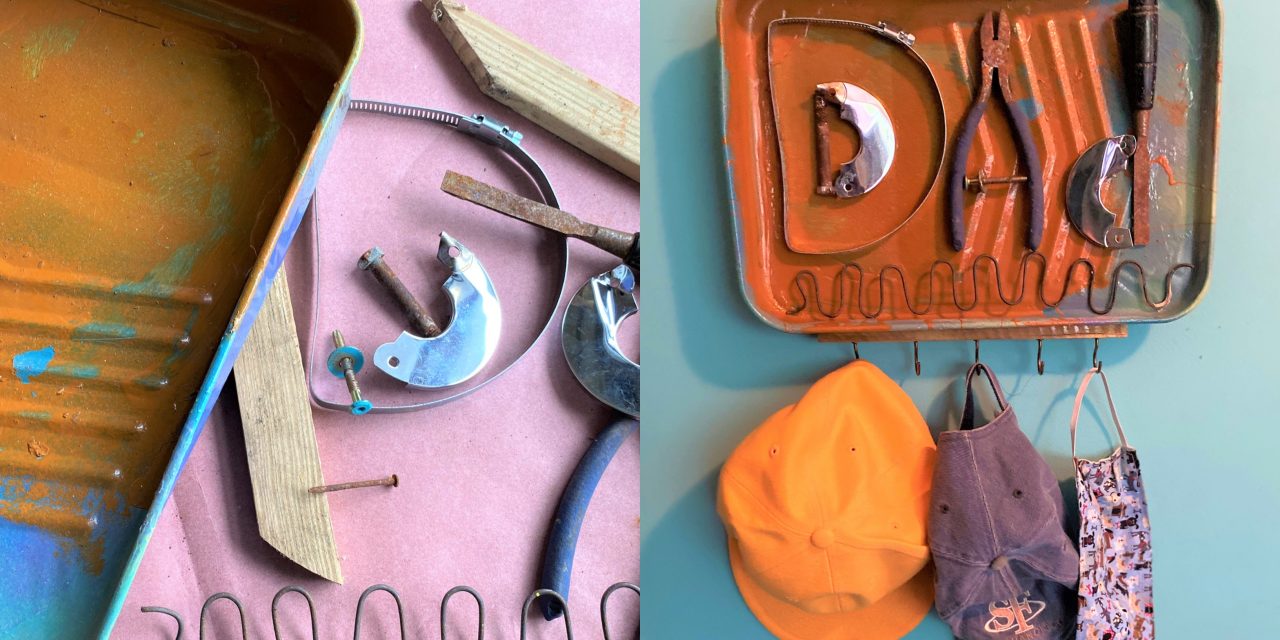
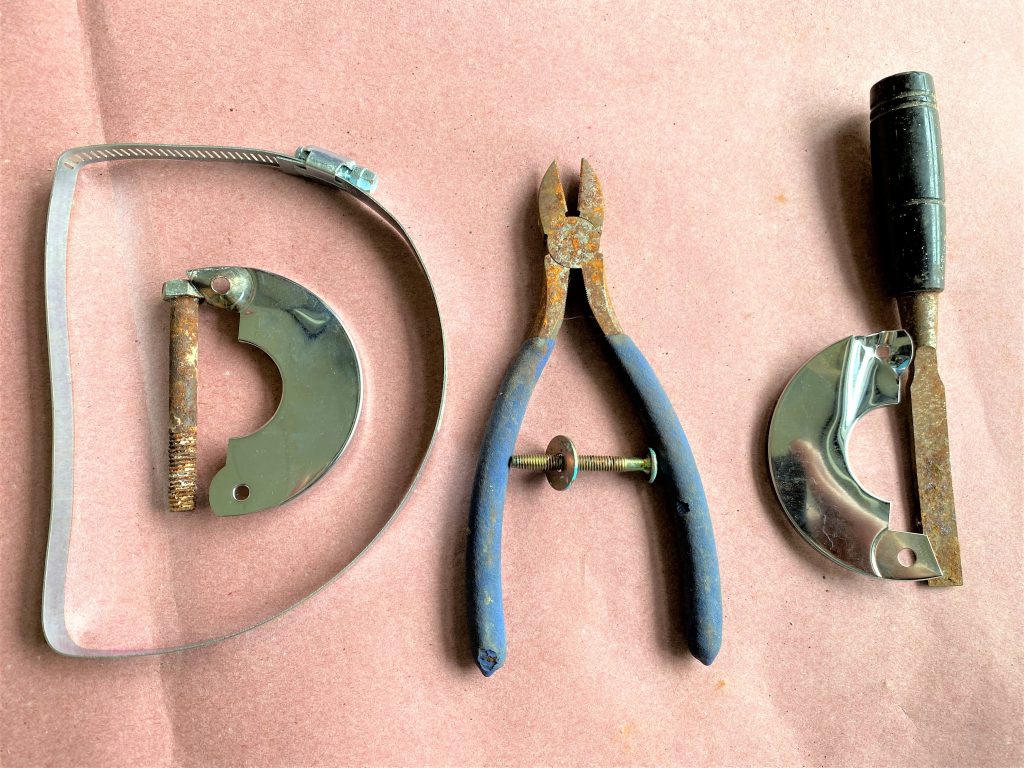
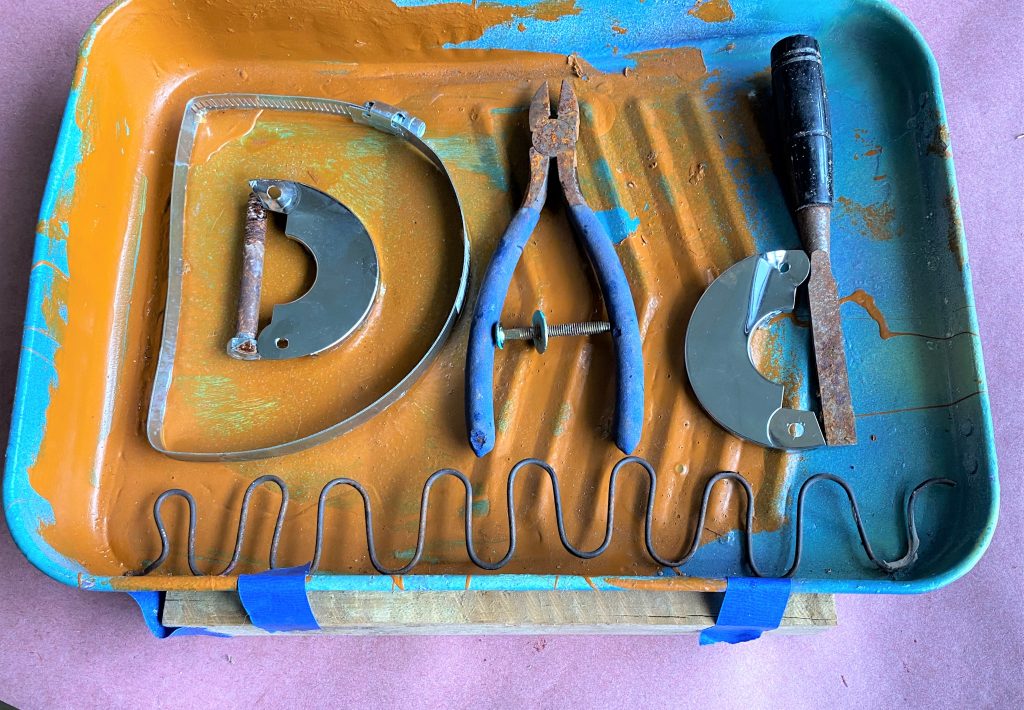
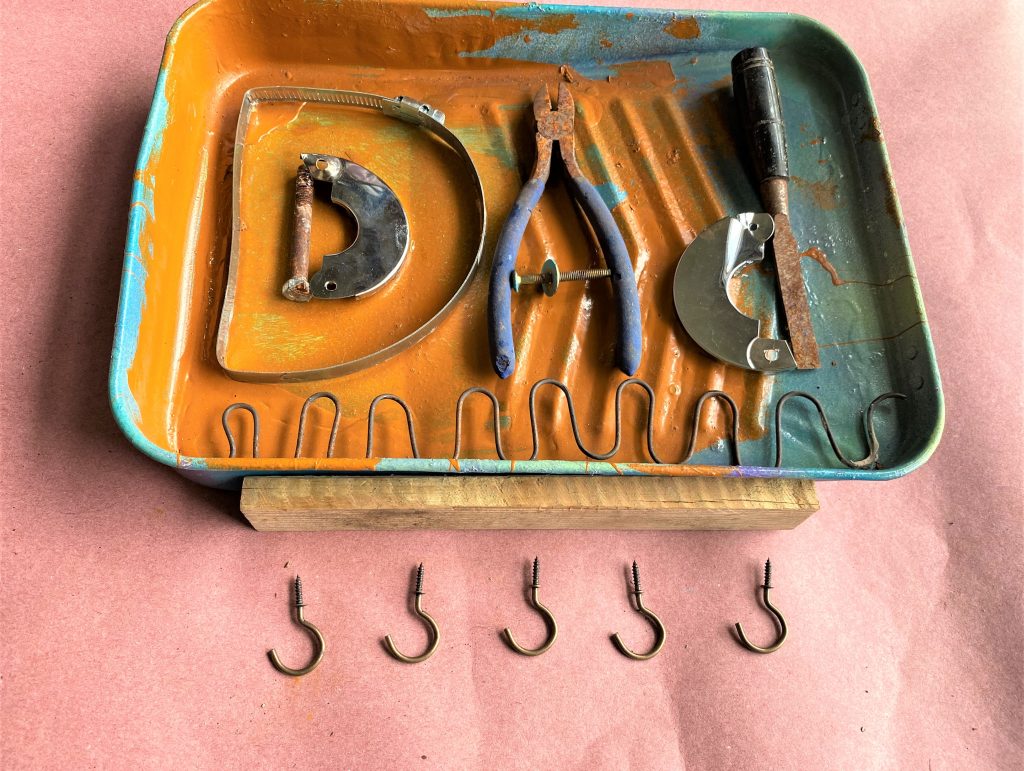
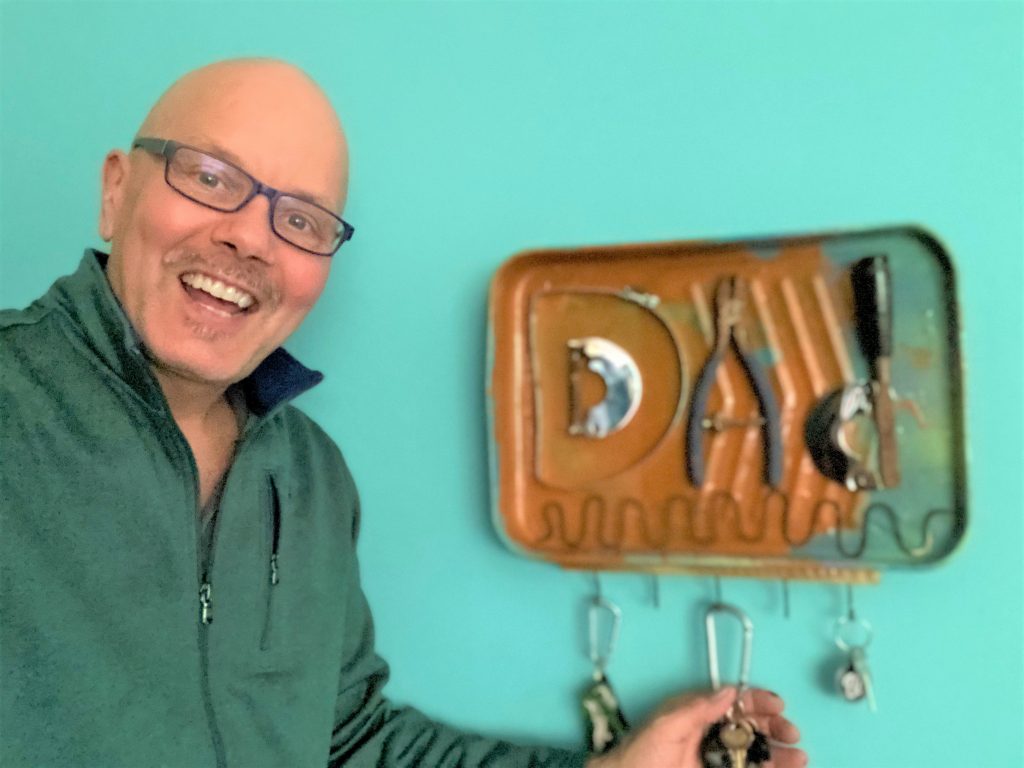
For this project, I found a silver pipe fastener that was round so I pinched two of the corners for a capital “D.” A rusty wire cutter, with its triangular shape, said, “Hey dude, I’m an ‘A.’” And part of a radiator tube, along with an old chisel, became small “d”.
Step 2: Look for your key holder’s base
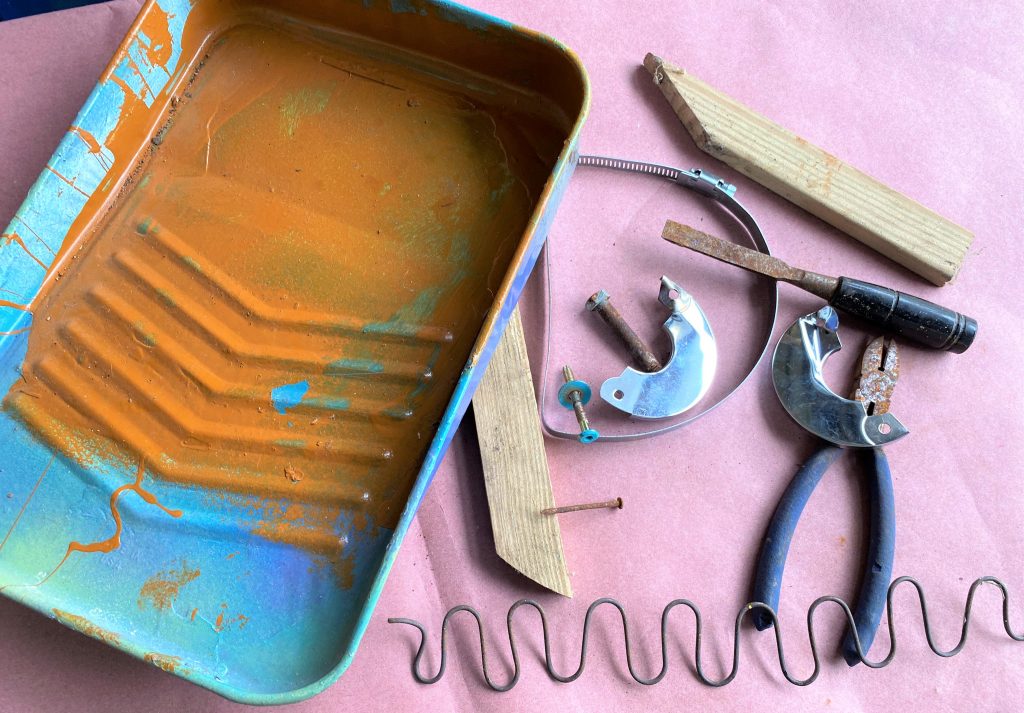
Again, part of the uniqueness of this project is that it reuses things you already have. As I was looking around my house, I came across some old pieces of wood that I thought I could cut size as the key holder’s base. I even found a leftover drawer that I thought could work, too. And then I scored when I discovered a well-used, paint tray that I thought was perfect given its size and splashes of color on it.
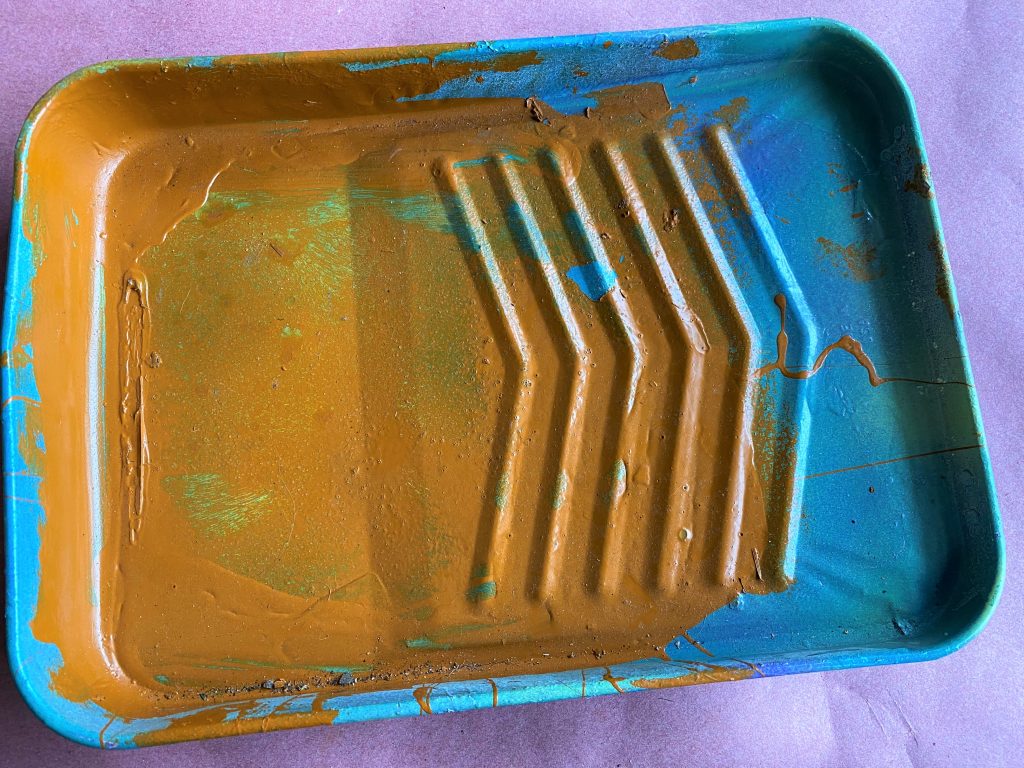
Design Tip: Many of my projects featured in this blog and for sale at my studio use paint to give items a fresh, vibrant look. However, for this project, I loved the color of the rust on the tools and screws. These pieces earned their weathered appearance. And they complimented the brown and blue tones of the dried paint in the tray, again giving the tray a wonderful look obtained by years of use. Even the shininess of the radiator covers was perfect as is because it added a reflective quality to the piece. So what is my design tip here? Sometimes, less is more!
Step 3: Secure your “Dad” in place with strong glue
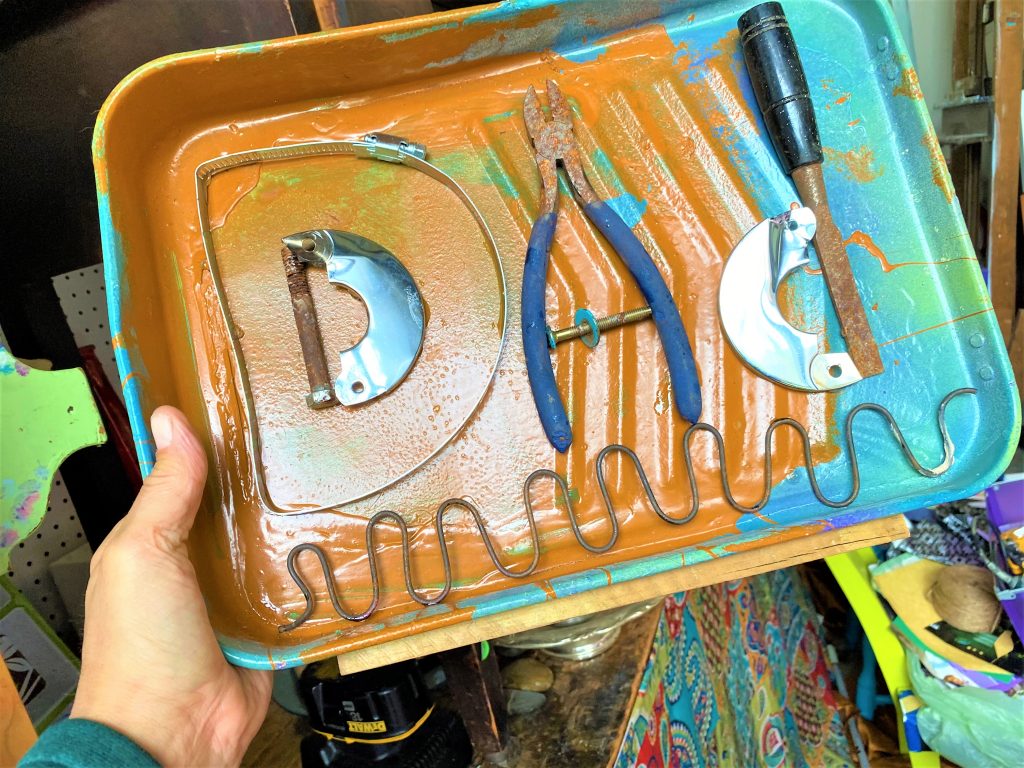
- Place your key holder base on your workspace and spell out “Dad” with your various tools, screws and other items.
- When positioned in a way that you like, now is time to adhere them to the key holder’s base.
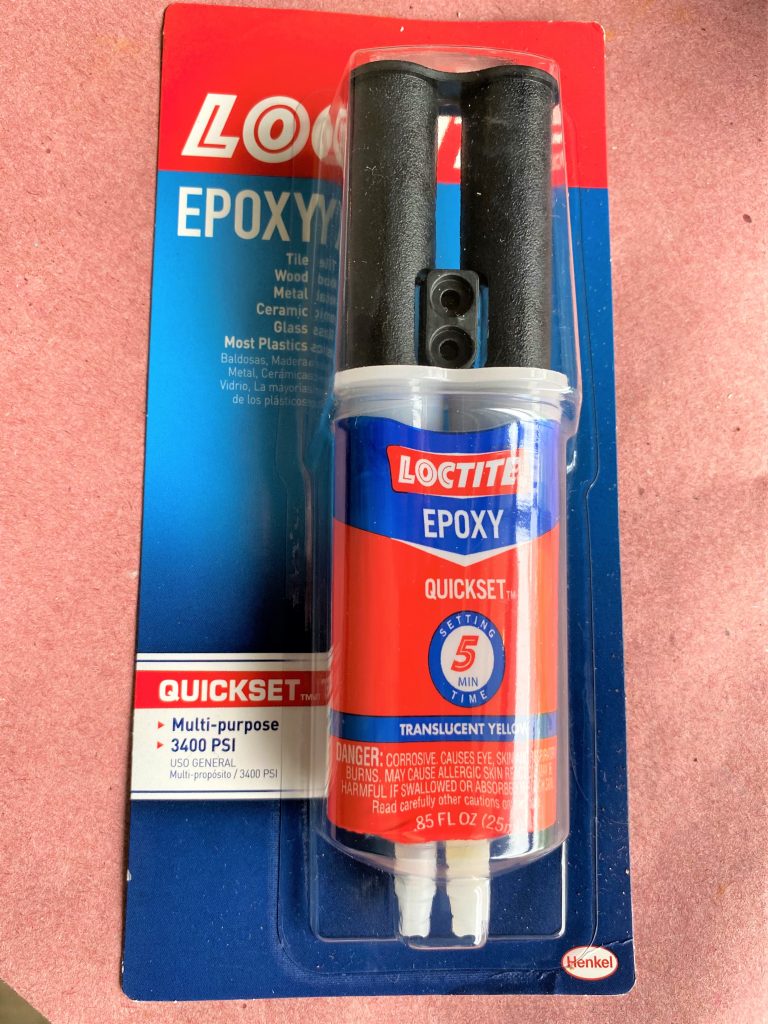
- Mix up your epoxy glue, the kind that dries in five minutes (picked up at my favorite hardware store, Annie’s Ace in Brookland) then grab one of your D parts, turn it over and brush on the glue along the back side then turn it back over and position it in place on the base.
- Repeat, repeat, repeat until all letters have been glued in place. Epoxy glue gives a very strong hold; while glue guns are great for smaller craft projects, you will want to enlist epoxy because of the weight of the tools, screws and other pieces. The five-minute-to-dry kind is great because it gives you some time to work with your piece and allows to dry fairly quickly.
Step 4: Get hooked up
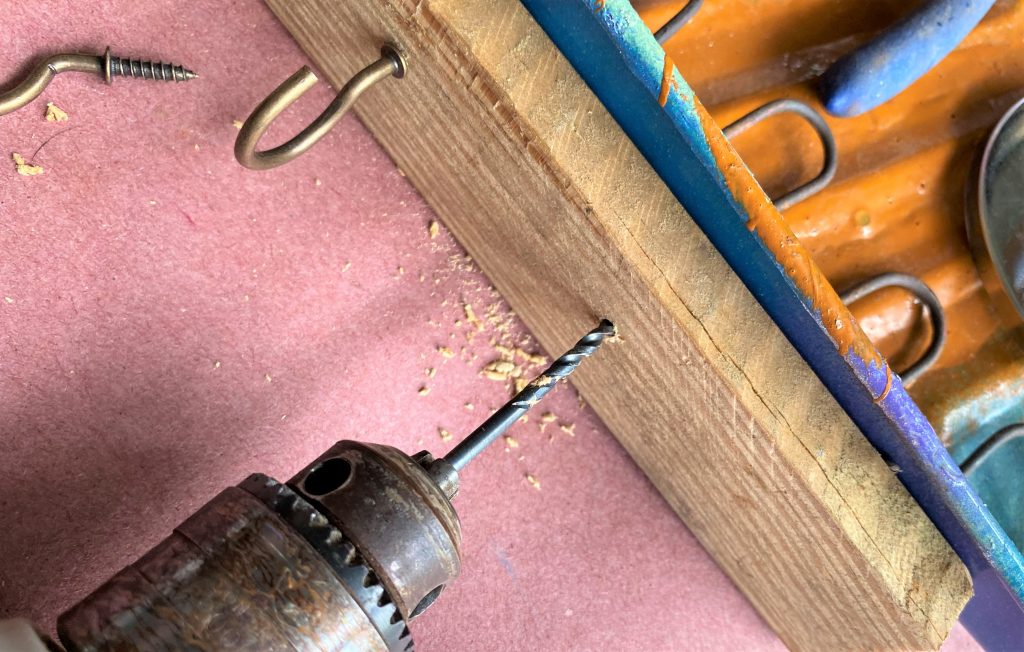
- Along the bottom edge of your key holder’s base, you will want to drill holes where you will then add your teacup holders.
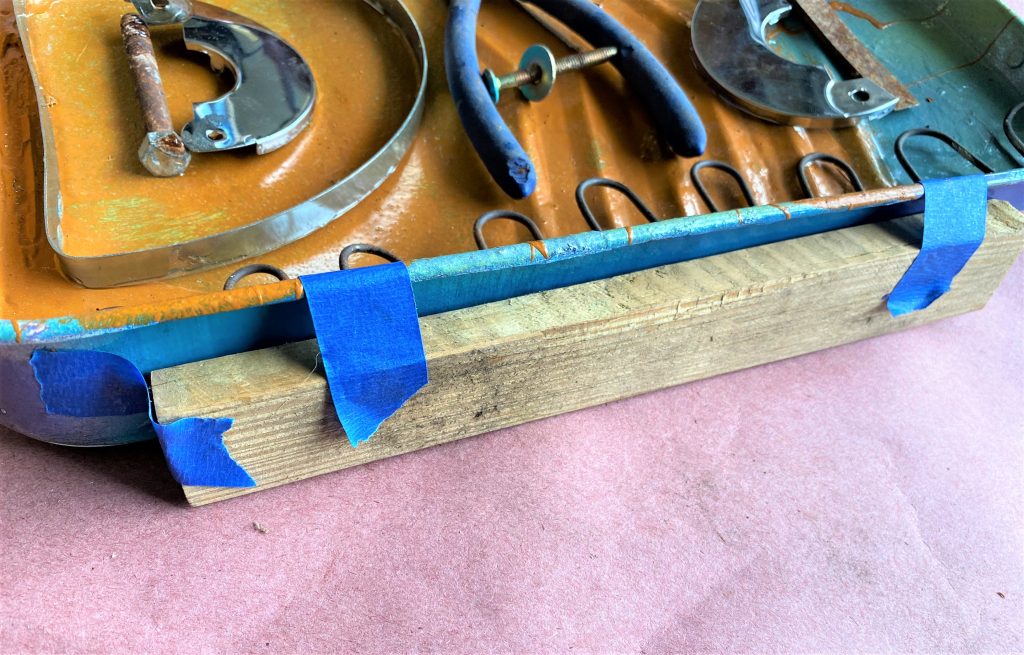
- If your base it made of wood, this step will be as easy as measuring where you want your holders to hang then drilling holes and screwing the hooks in place. The project featured here used a metal painter’s tray, so it required a small piece of scrap wood to be secured along the bottom edge.
- Use your strong, epoxy glue here, too, and hold it n place with some painter’s tape.
- After it is dries, use your drill to add holes and screw in the teacup holder hooks.
Step 5: Picture holders, add them now!
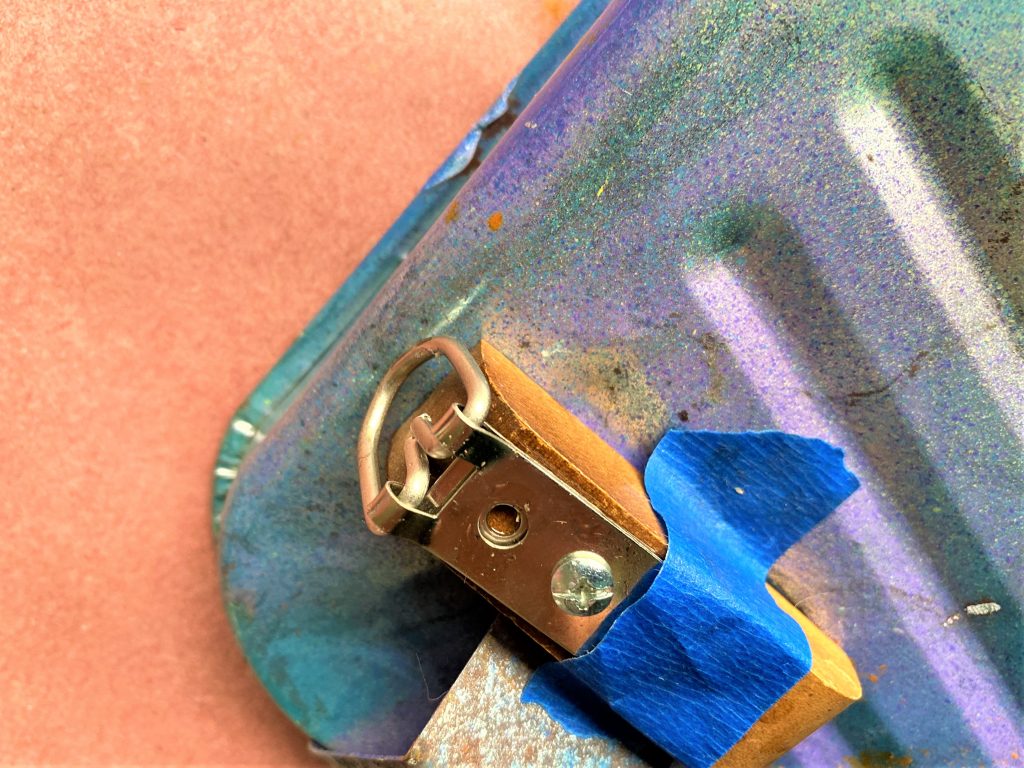
- You will want to add two D-shaped picture holders to the back of your key holder’s base so that it stays in the right position when items are placed on the hooks.
- Flip your key holder over and drill/screw into place, if using wood that is. For my key holder base, I used my glue to hold one picture hanger in place. Given the angled shape, I needed to secure my other picture hanger on a small piece of scrap wood so the key holder would hang flat on the wall.
- As before, the picture hanger and scrap wood were glued on and painter’s tape was used to keep it from slipping or moving until the glue had dried.
Step 6: Gift-it to Dad, then hang it and add keys…ta-da, you now have a funkadelic key holder he will love!
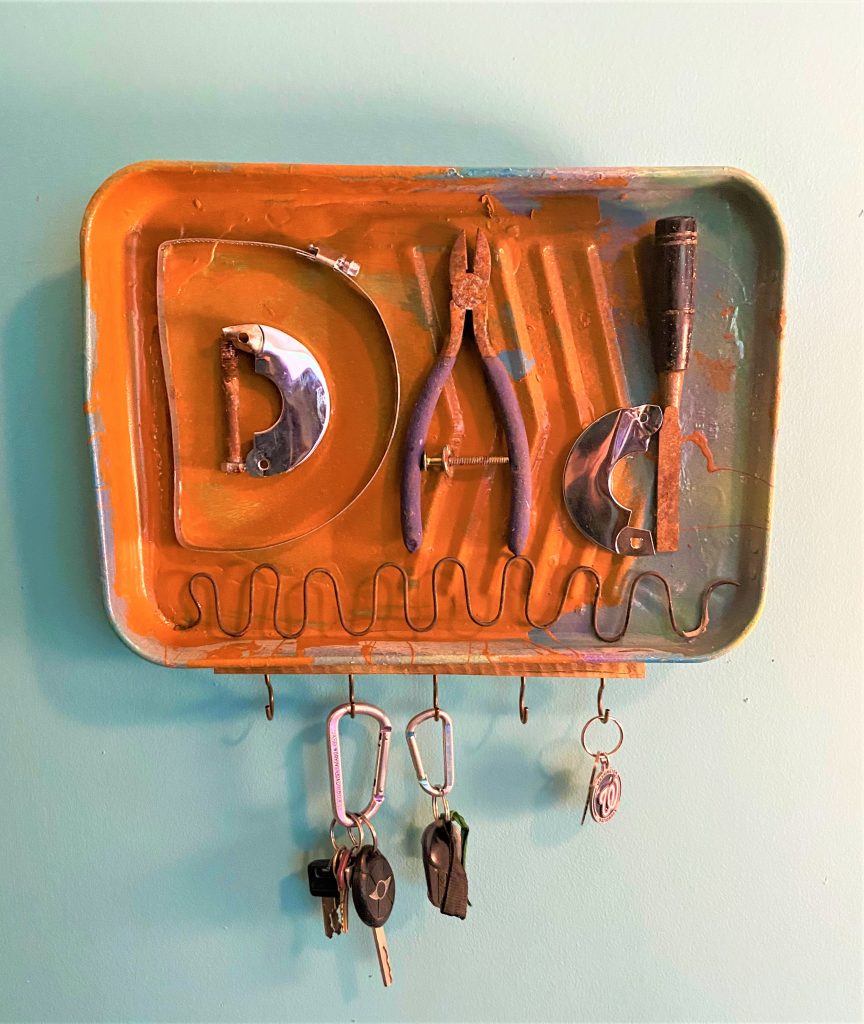
Wrap it, give it to Dad and watch his face. It will be covered with expressions of marvel at your ingenuity.
So many options for this piece, too—he could hang it in his office, by his workbench or in his man cave.
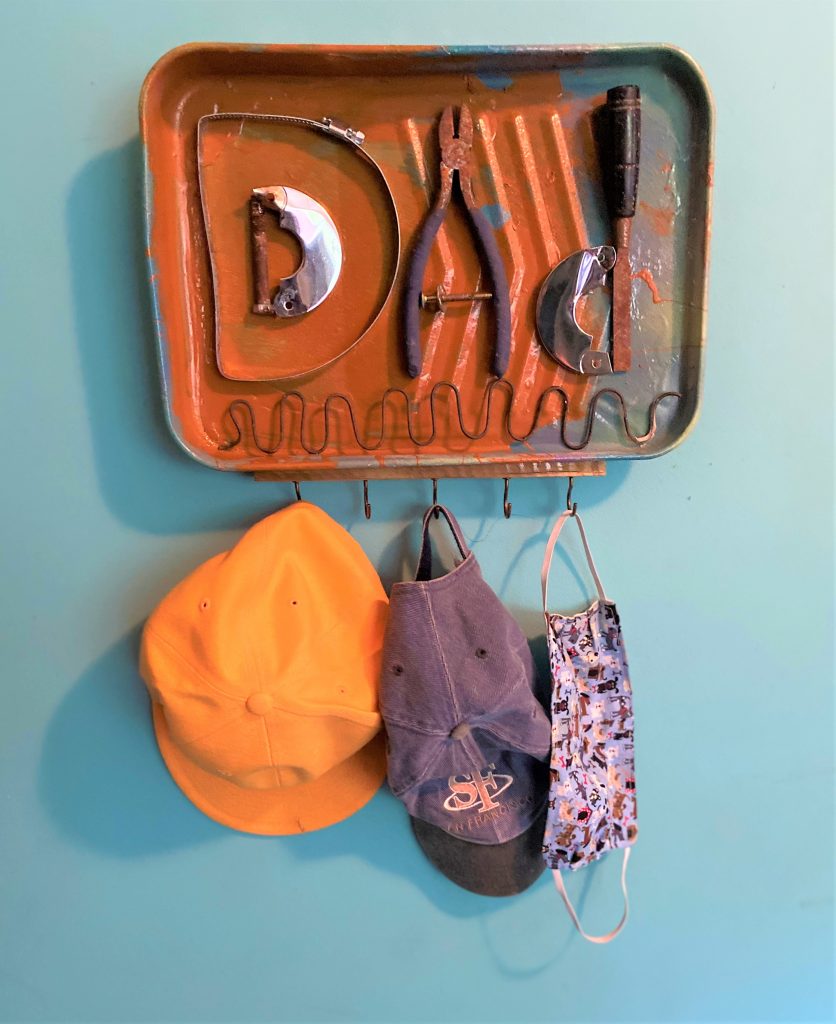
Wherever his displays it, he will always be able to find his keys (or hats, face masks, even ties) and will be proud to know he raised such a resourceful kid (even if you are all grown up!).

Tim Kime
Artist, Motivational Speaker, Life Coach

