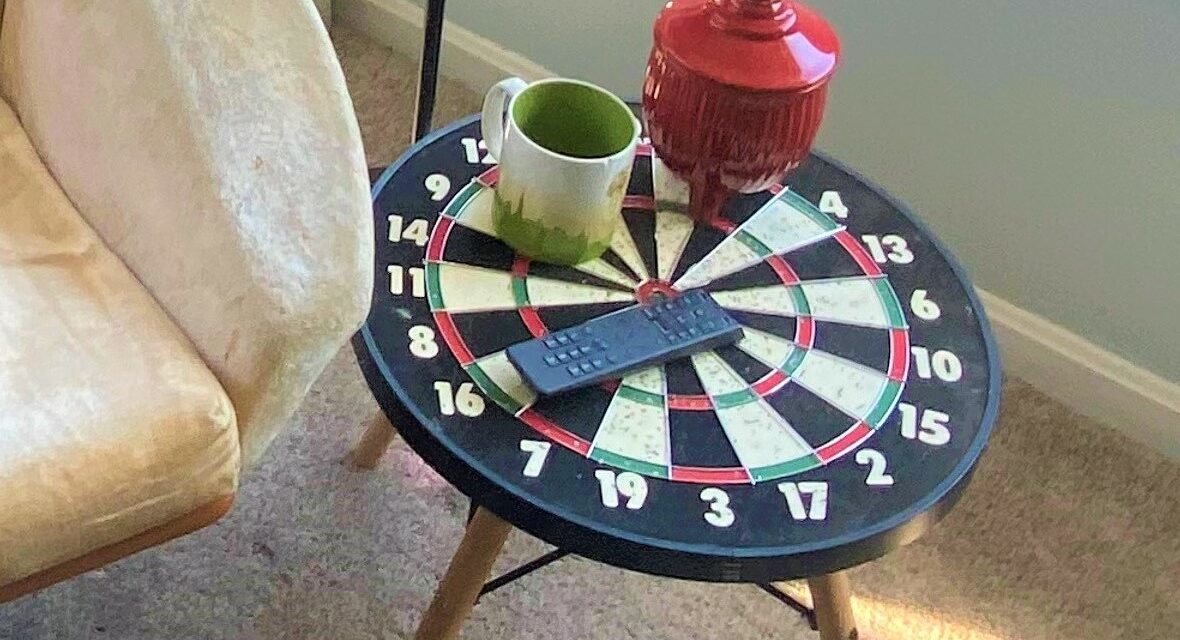
You’ll score big with this week’s DIY project. Upcycle a dartboard into a side table that will win you points with game players of all kinds. This unique furniture piece will look great in your man cave, your family room, or even in your office. One thing is certain, everyone will think it—and you—are pretty sharp!
This project also reuses the legs from a side chair, so it’s truly a two-fer when it comes to transformation!
Okay, I can’t help myself. Here’s a dart joke for your consideration. “If you haven’t tried blindfold darts before, you should. You don’t know what you’re missing.” (Groaning allowed!)
Supplies Needed:
1. Dartboard
2. Chair legs
3. L-shaped brackets & screws
4. Drill
5. Screwdriver
6. Epoxy blue
7. Saw
Step 1: Making shopping at Goodwill a fun game for all
For those of us who are regular Goodwill shoppers, we often approach our time there like a treasure hunt or adventure. Consider it playtime or game time! Given the constantly changing inventory of items for sale, you never know what cool or unusual things will be available during each visit.
With this in mind, when I saw this dartboard for sale, a first for me, it had to go home for a funky and fun upcycle. Its size and shape called out to be made into a unique side table.
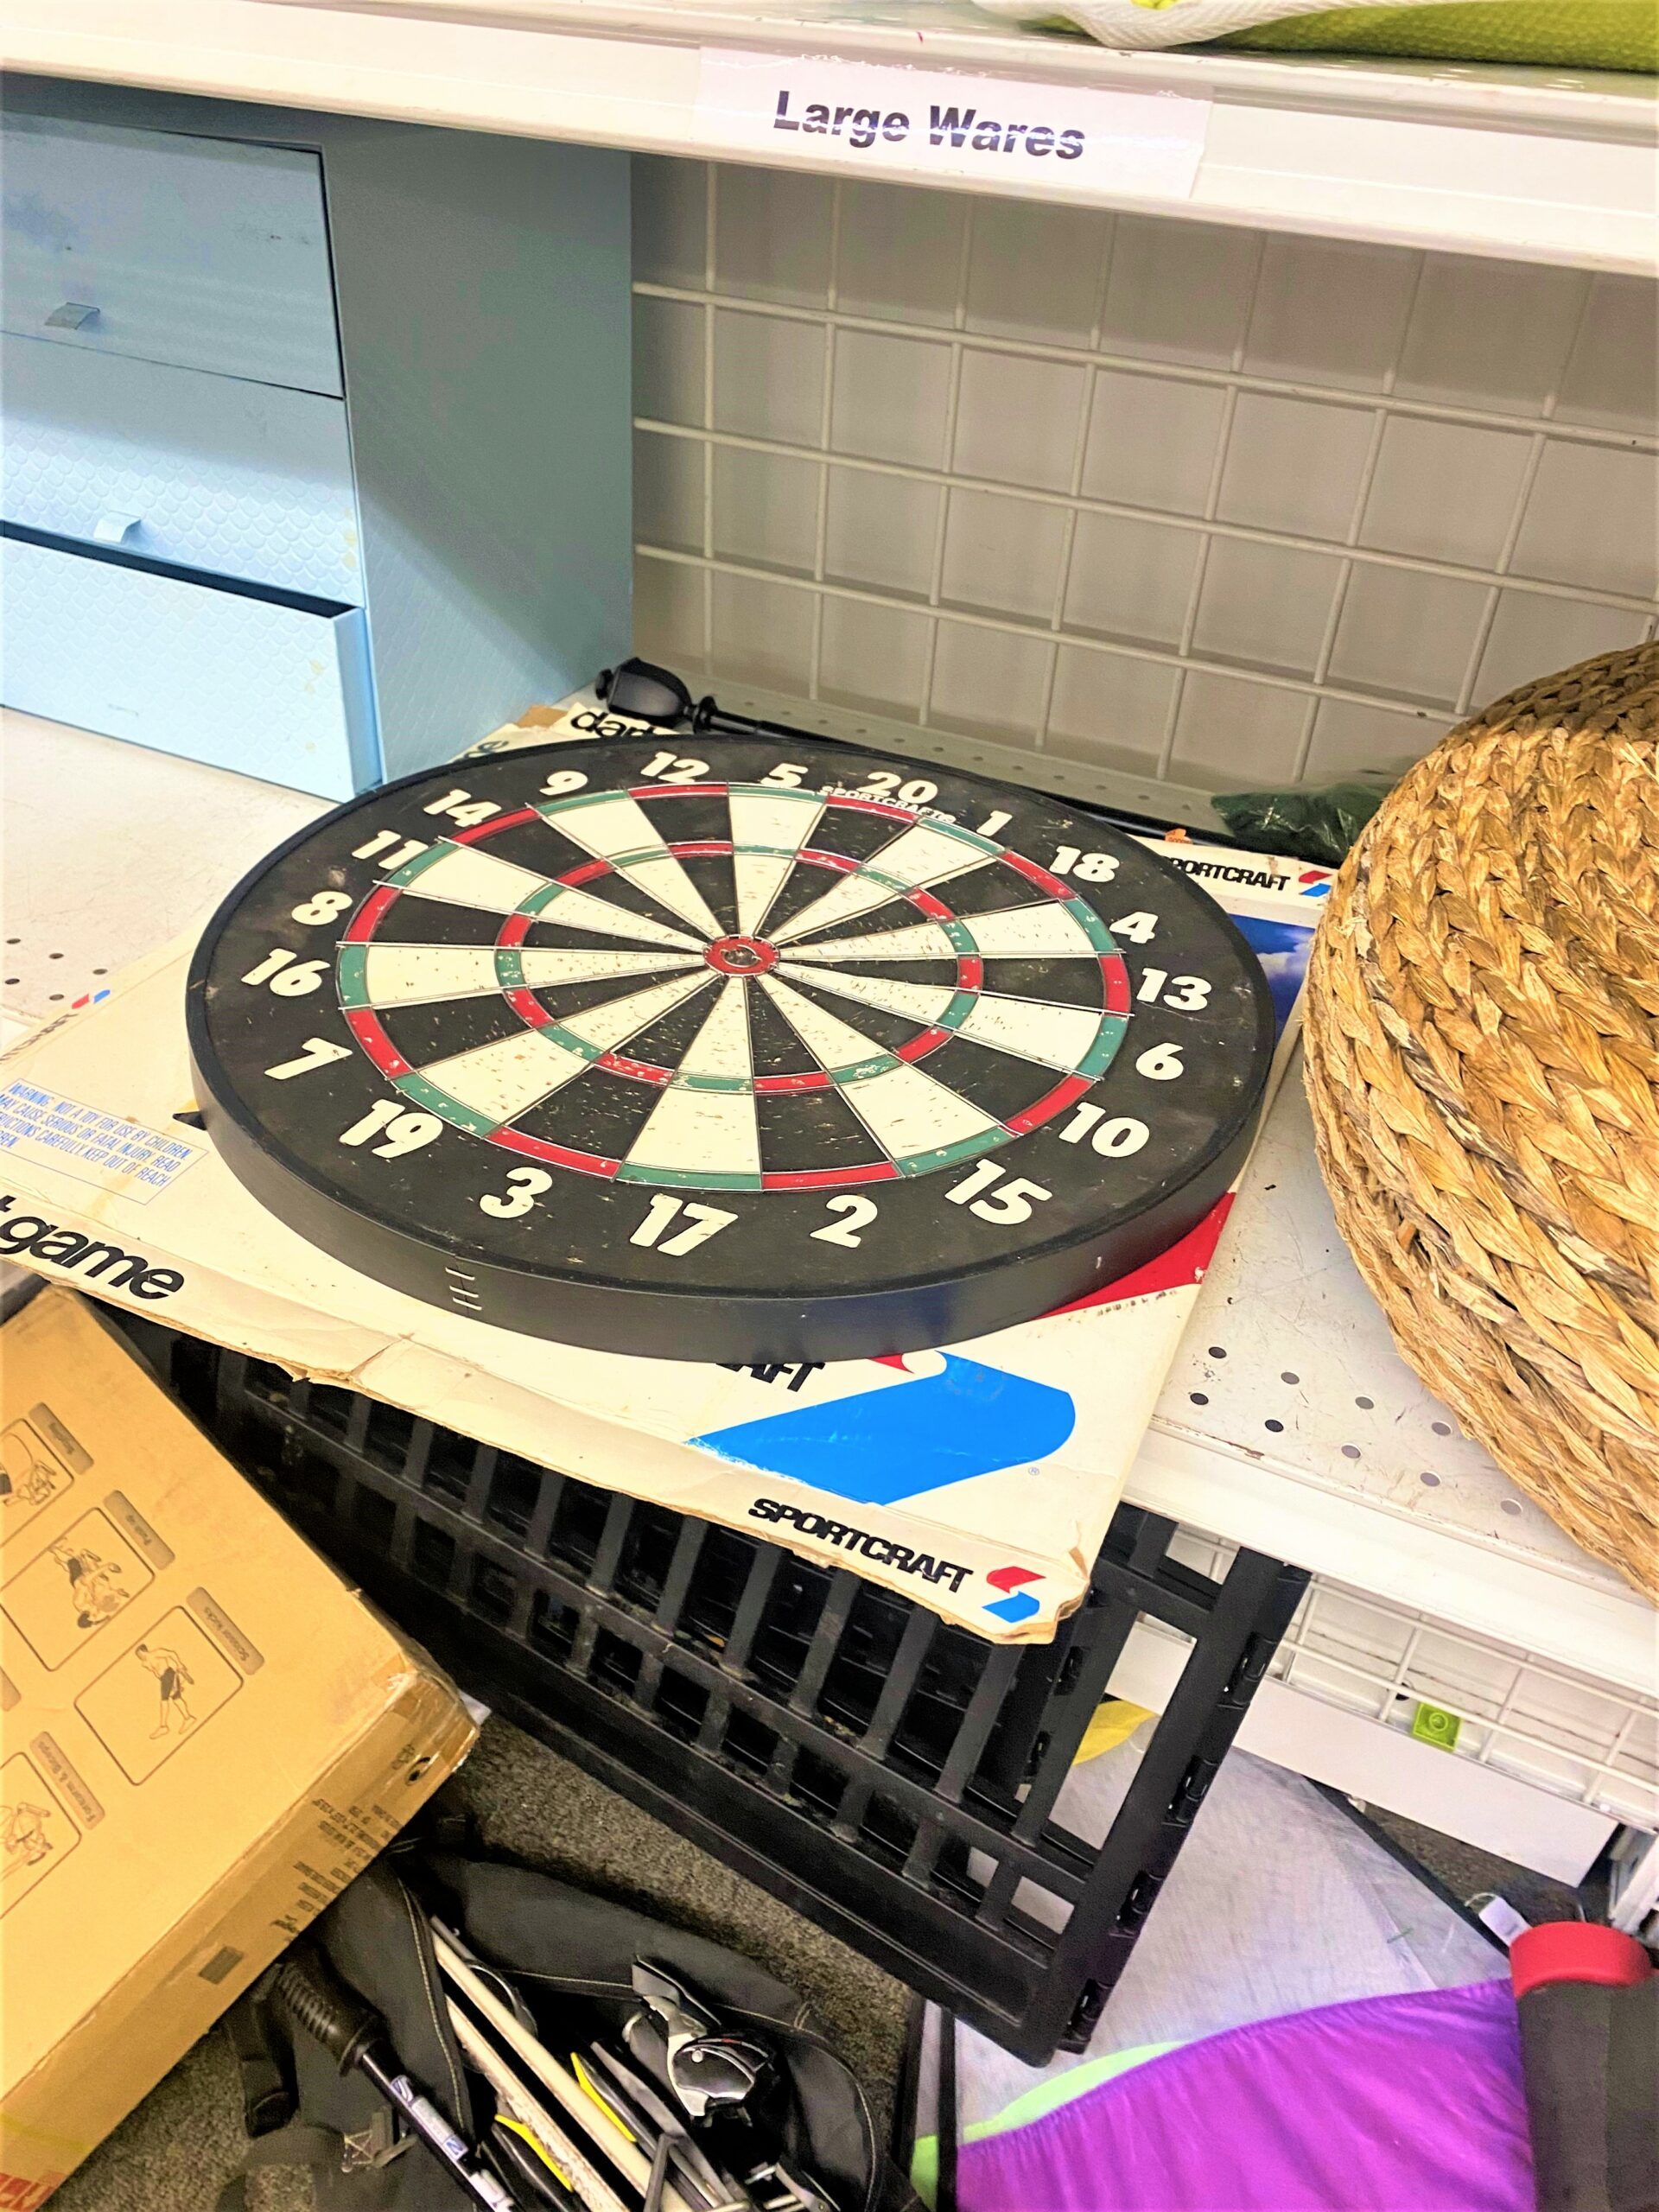
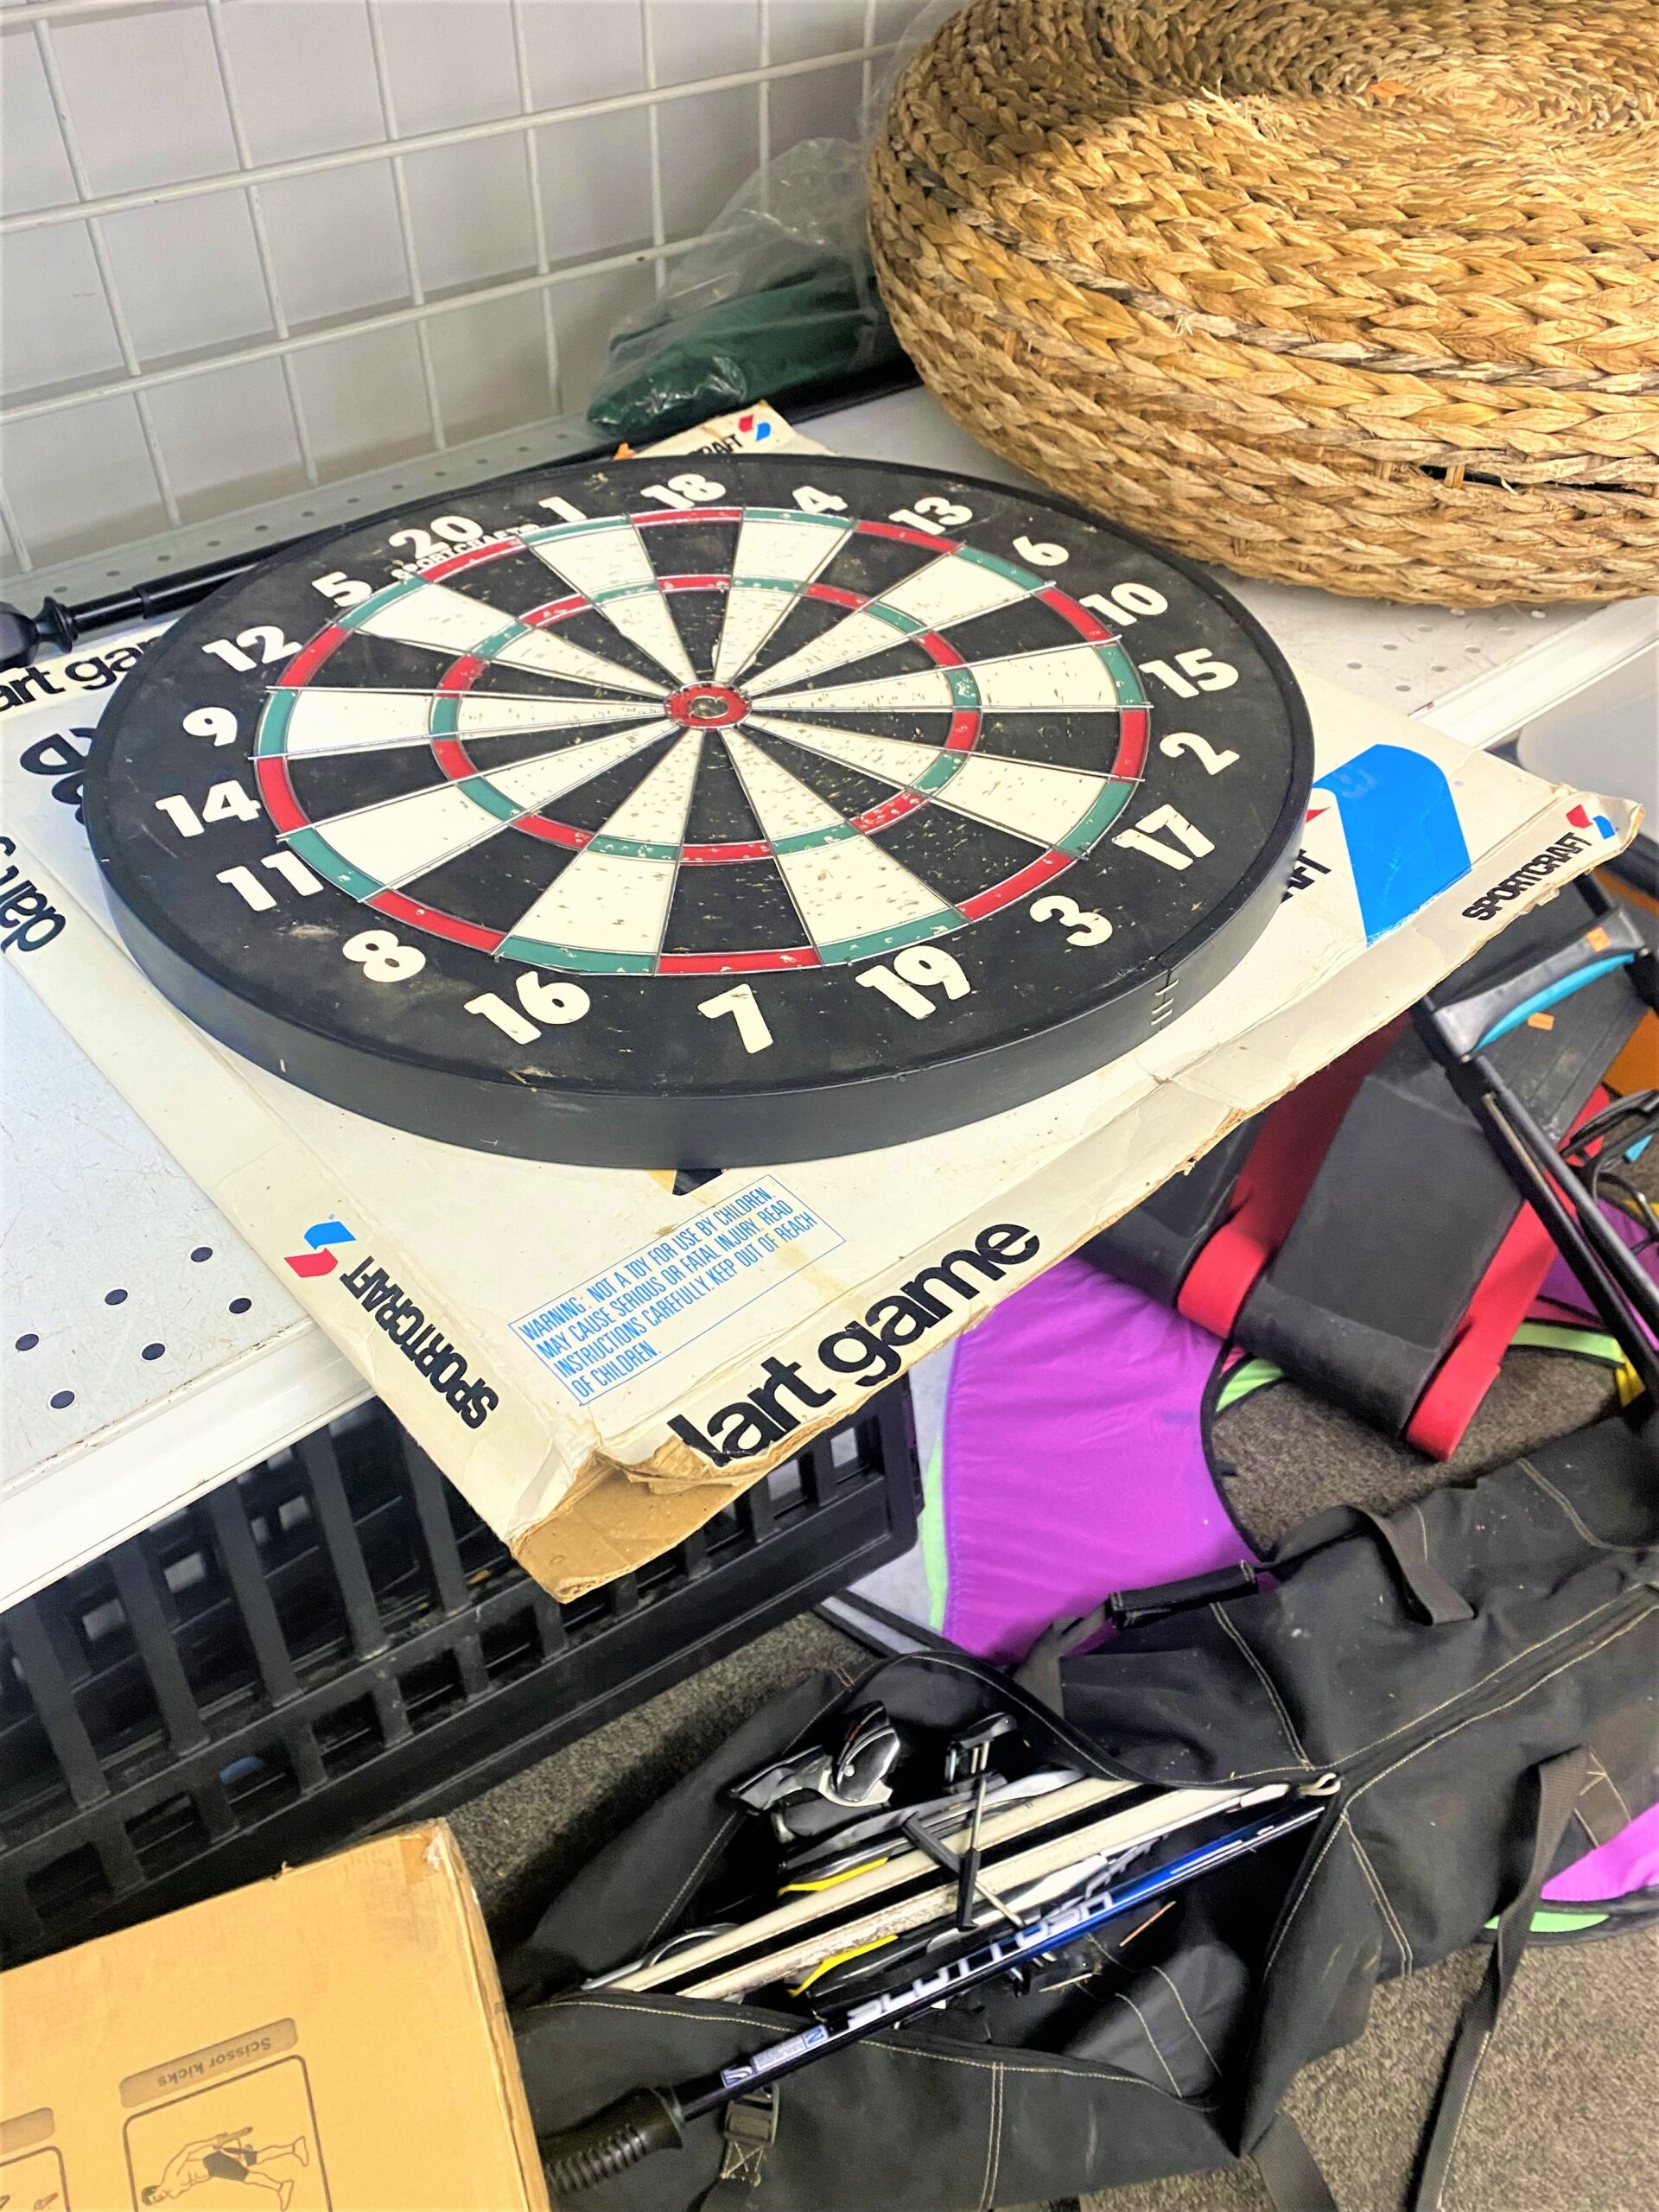
While at Goodwill, also look at the chair, stool, and small table selections to see if you might deconstruct one to use as the soon-to-be table’s base.
Step 2: Cheer for a chair
The chair used for this repurposed project was ideal. In addition to the legs being a good length for a side table (coffee tables are typically 14 to 20 inches in height), the clean, simple lines looked good when paired with the dartboard. Also, the black, crisscrossed framework holding the legs in place matched the dartboard’s color and overall urban feel. Perfect!
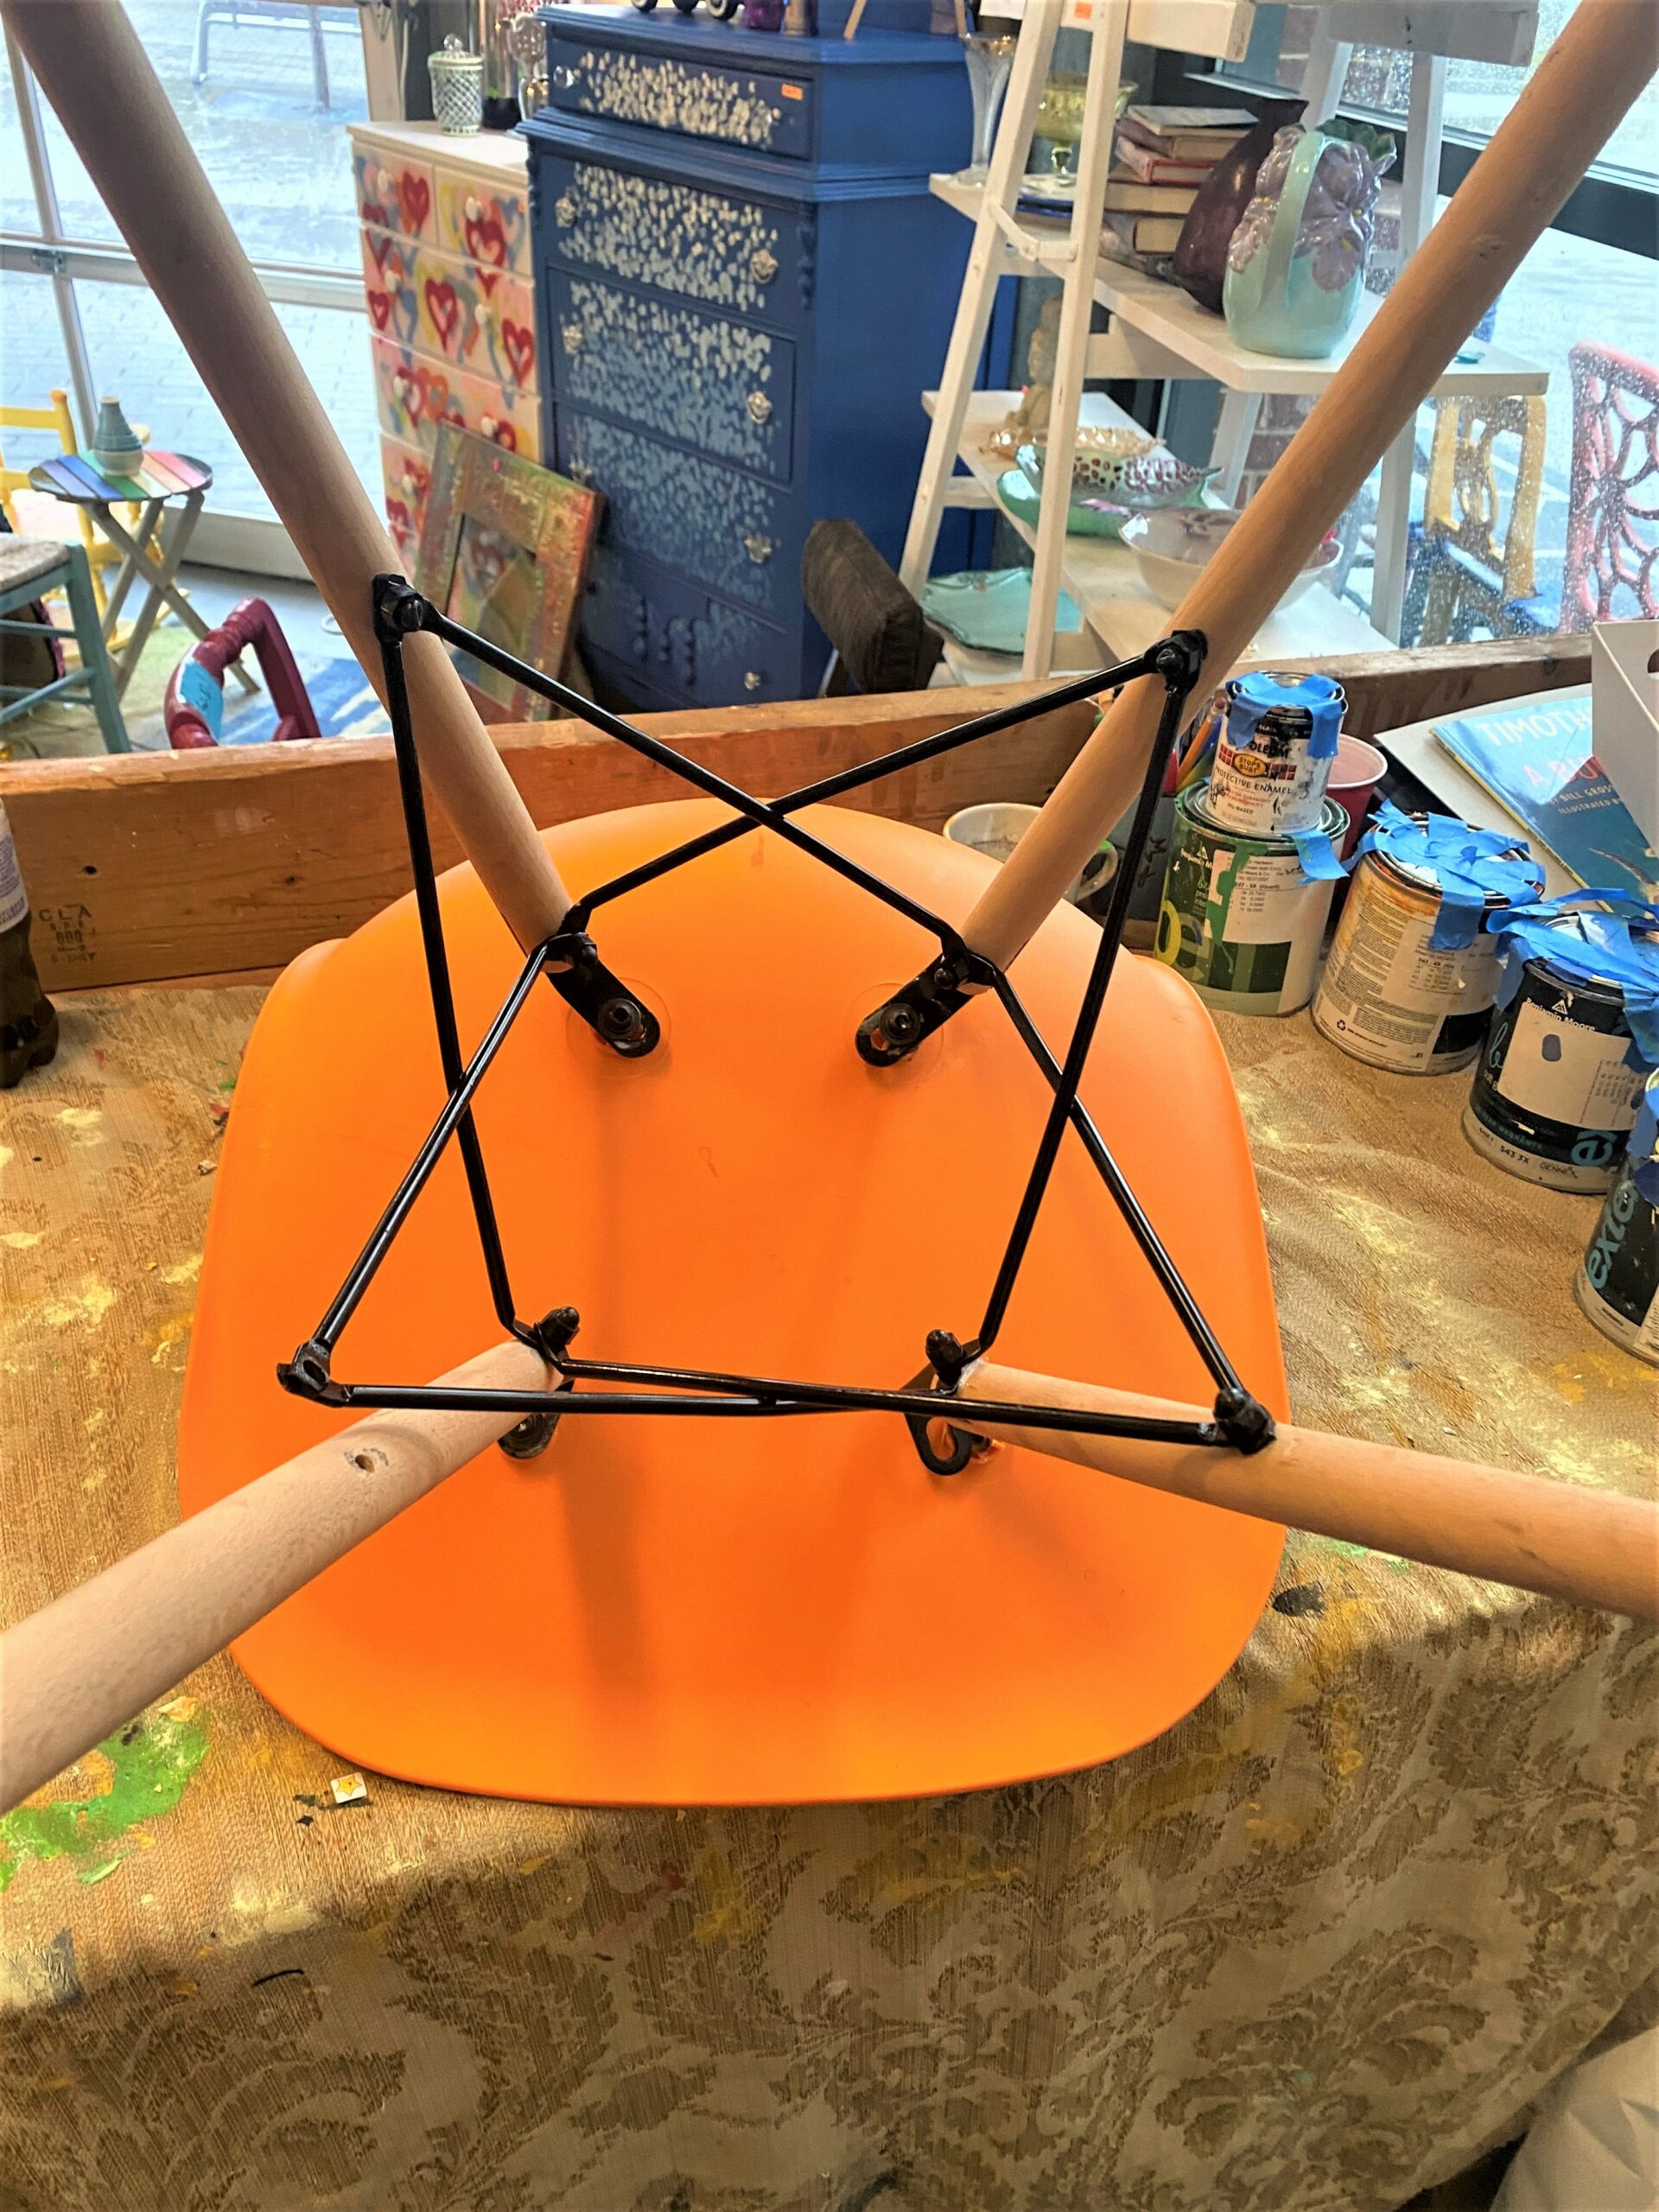
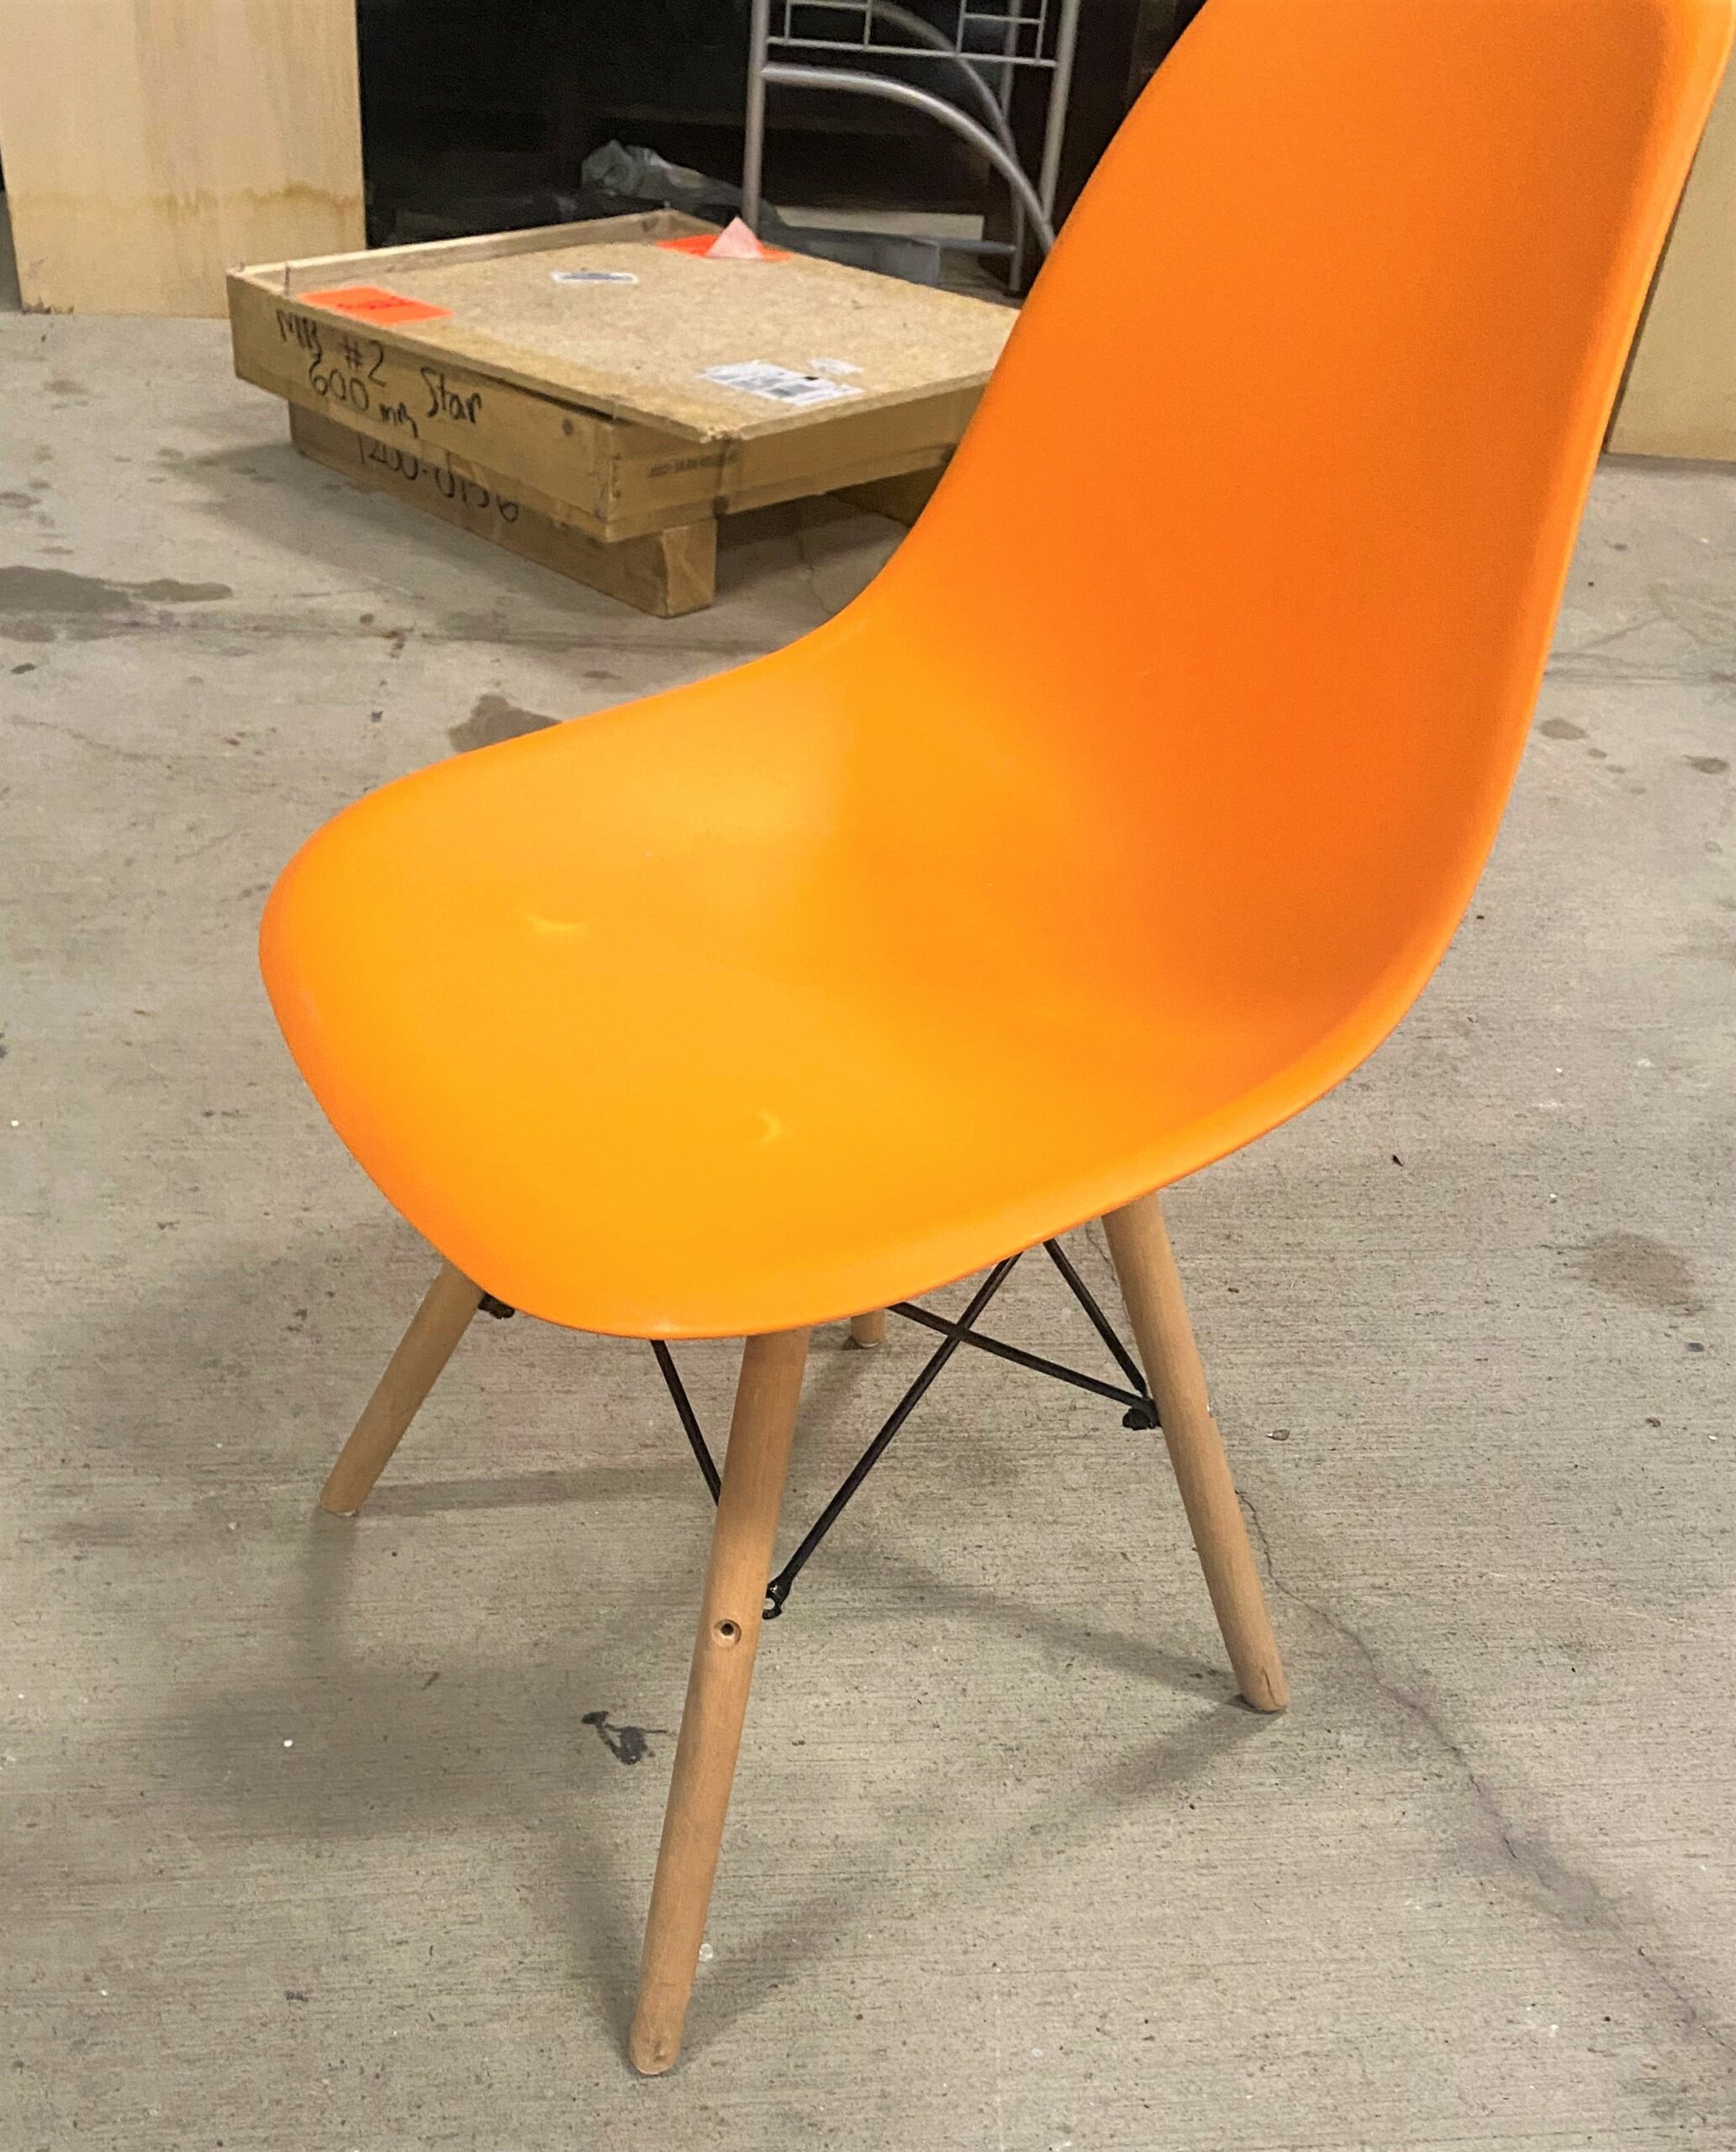
The legs were simply screwed into the bottom of the plastic chair seat, so it was super simple to remove it, leaving just the legs and frame.
A small stool would work really well for this project, too, as would a small side table. Based on its design, you likely only have to remove the tabletop and replace it with the dartboard. Another look you will love is using hairpin legs to support the dartboard tabletop. Sometimes you score and find them on items for sale at Goodwill. You may order them online, too, but that feels like cheating to me! Keep hunting for them at Goodwill instead.
Step 3: Table legs tweaks
The wooden legs had an angle at the top which was fine when the chair seat was attached but not so cool for a tabletop.
- To provide a flat base on which to secure the dartboard, the legs needed to be sawed at an angle.
- Measure and cut—really that easy!
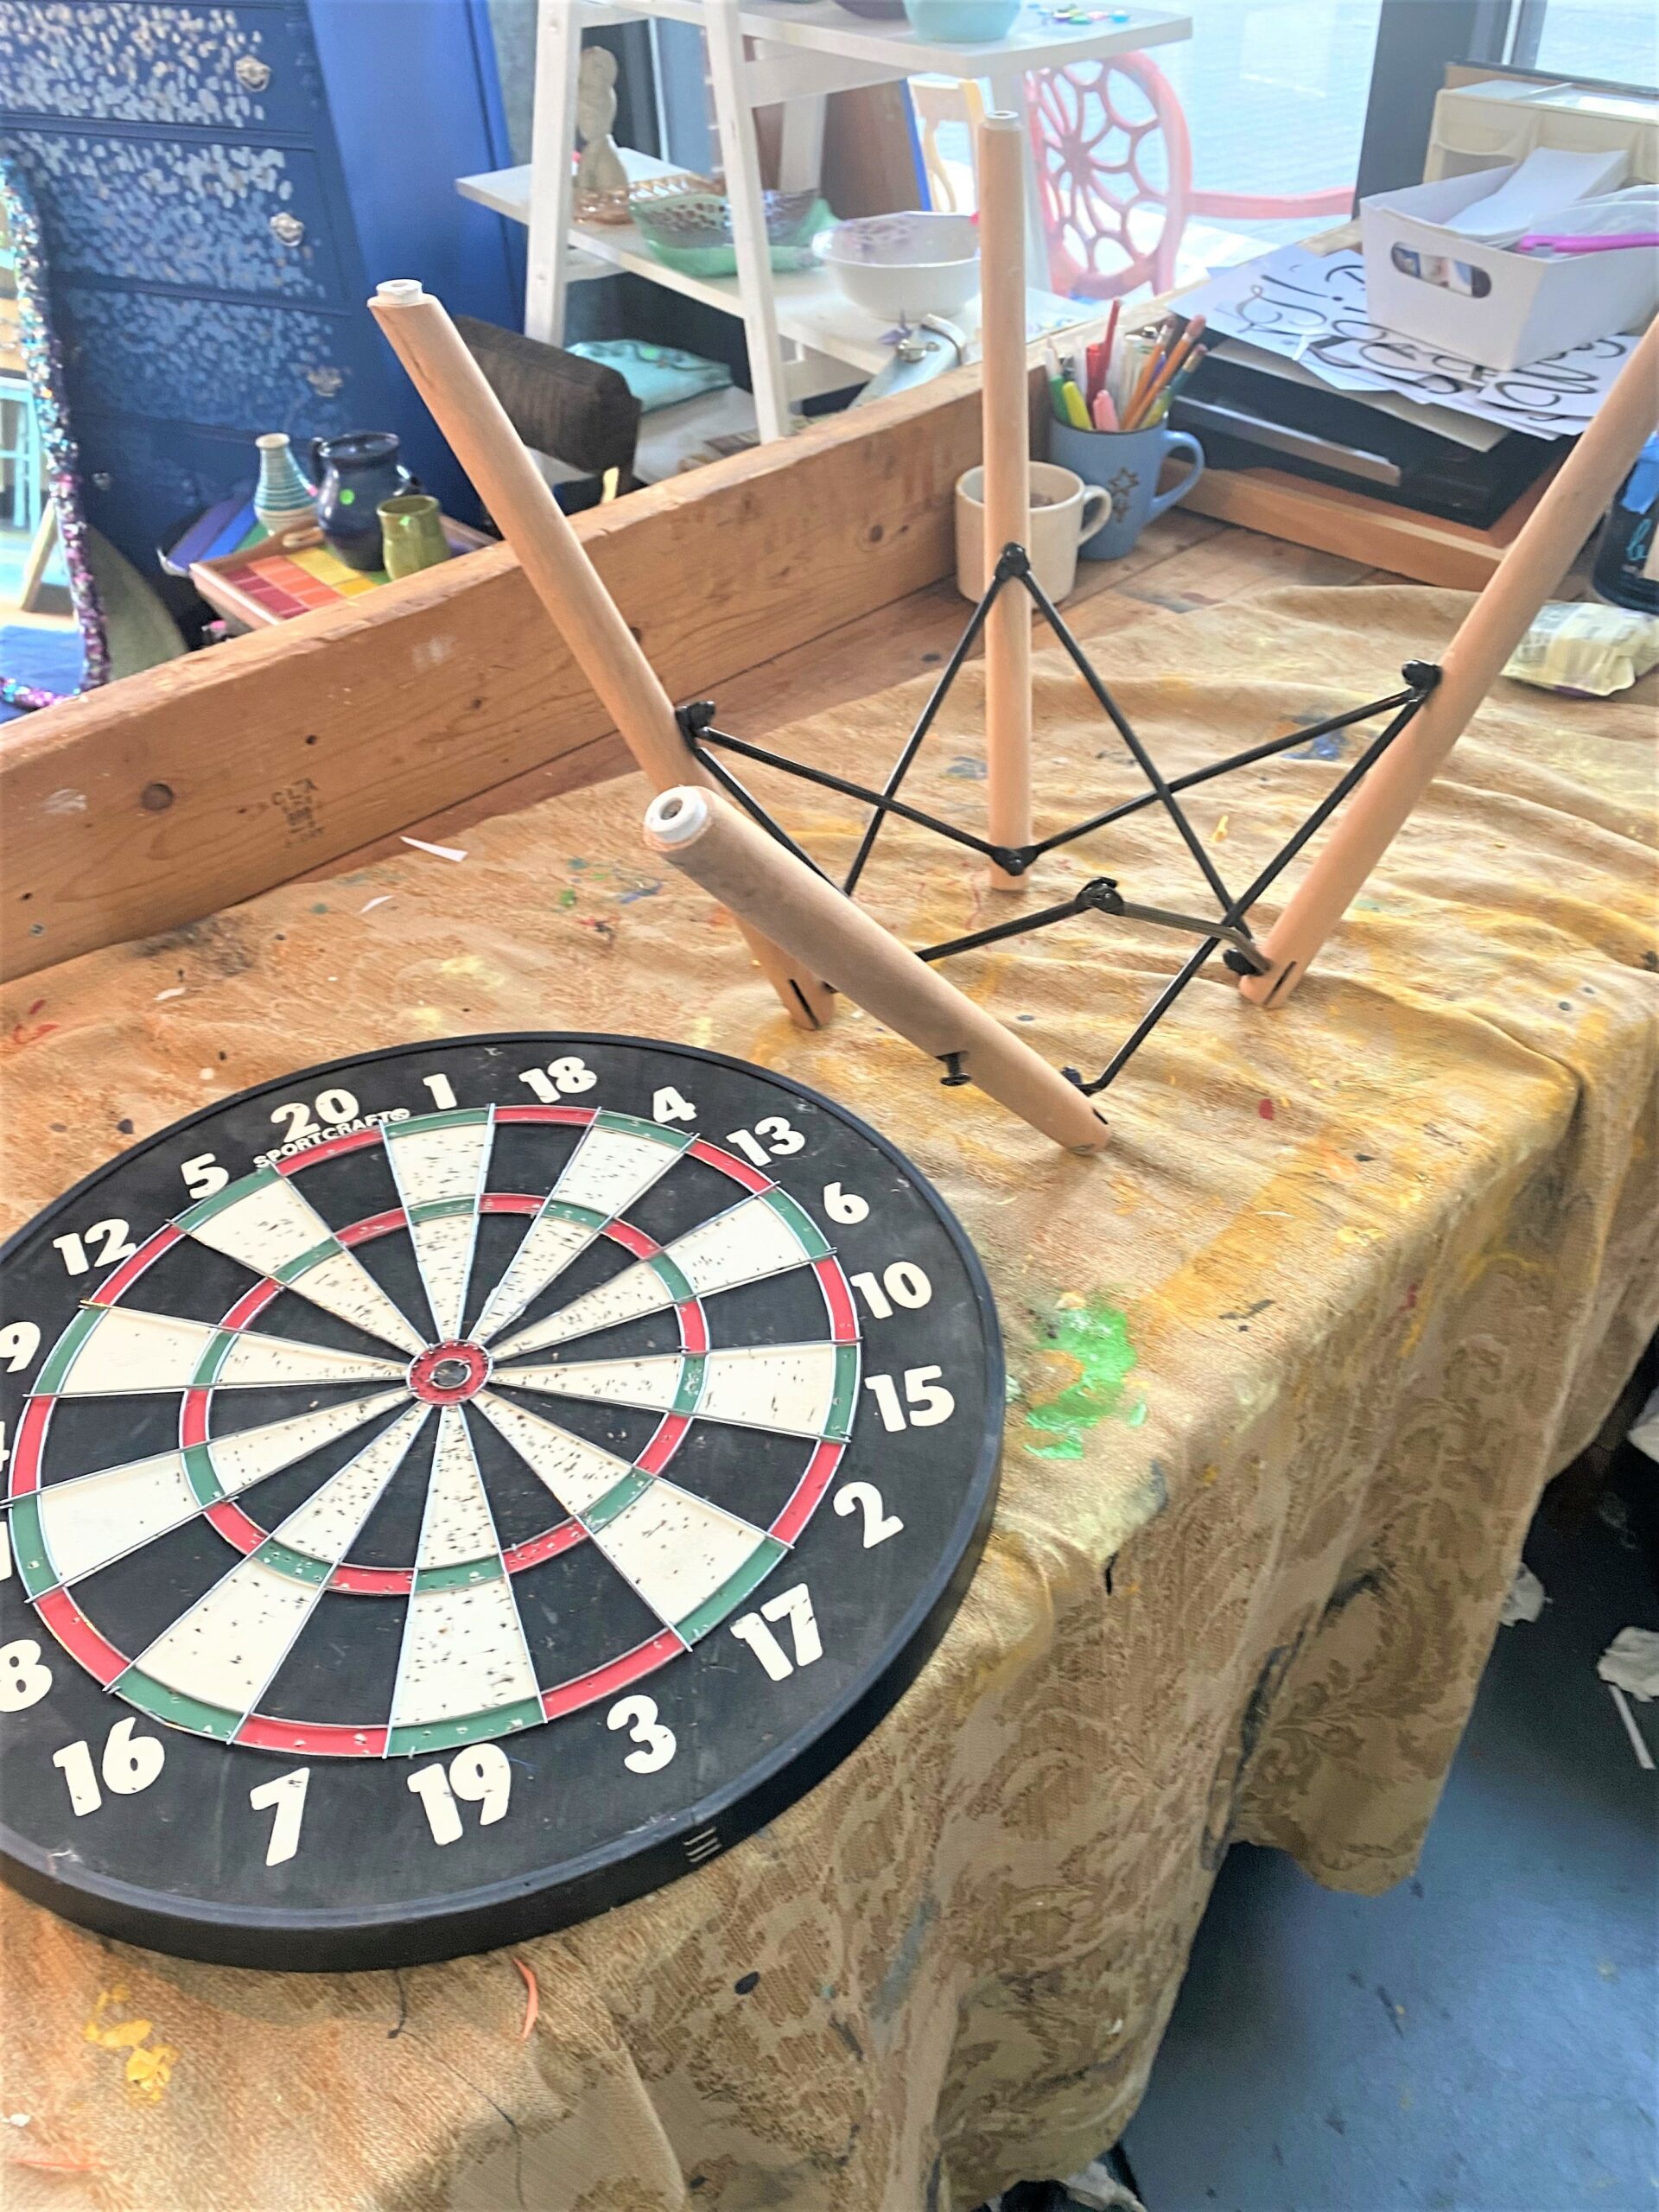
Step 4: Secure with screws, glue
Flip your dartboard so that target, its top, is face down on your work surface. Position your table’s legs in place and trace around them with a pen or market. Place a small L-bracket so part touches a leg and part touches the base and make another mark in both.
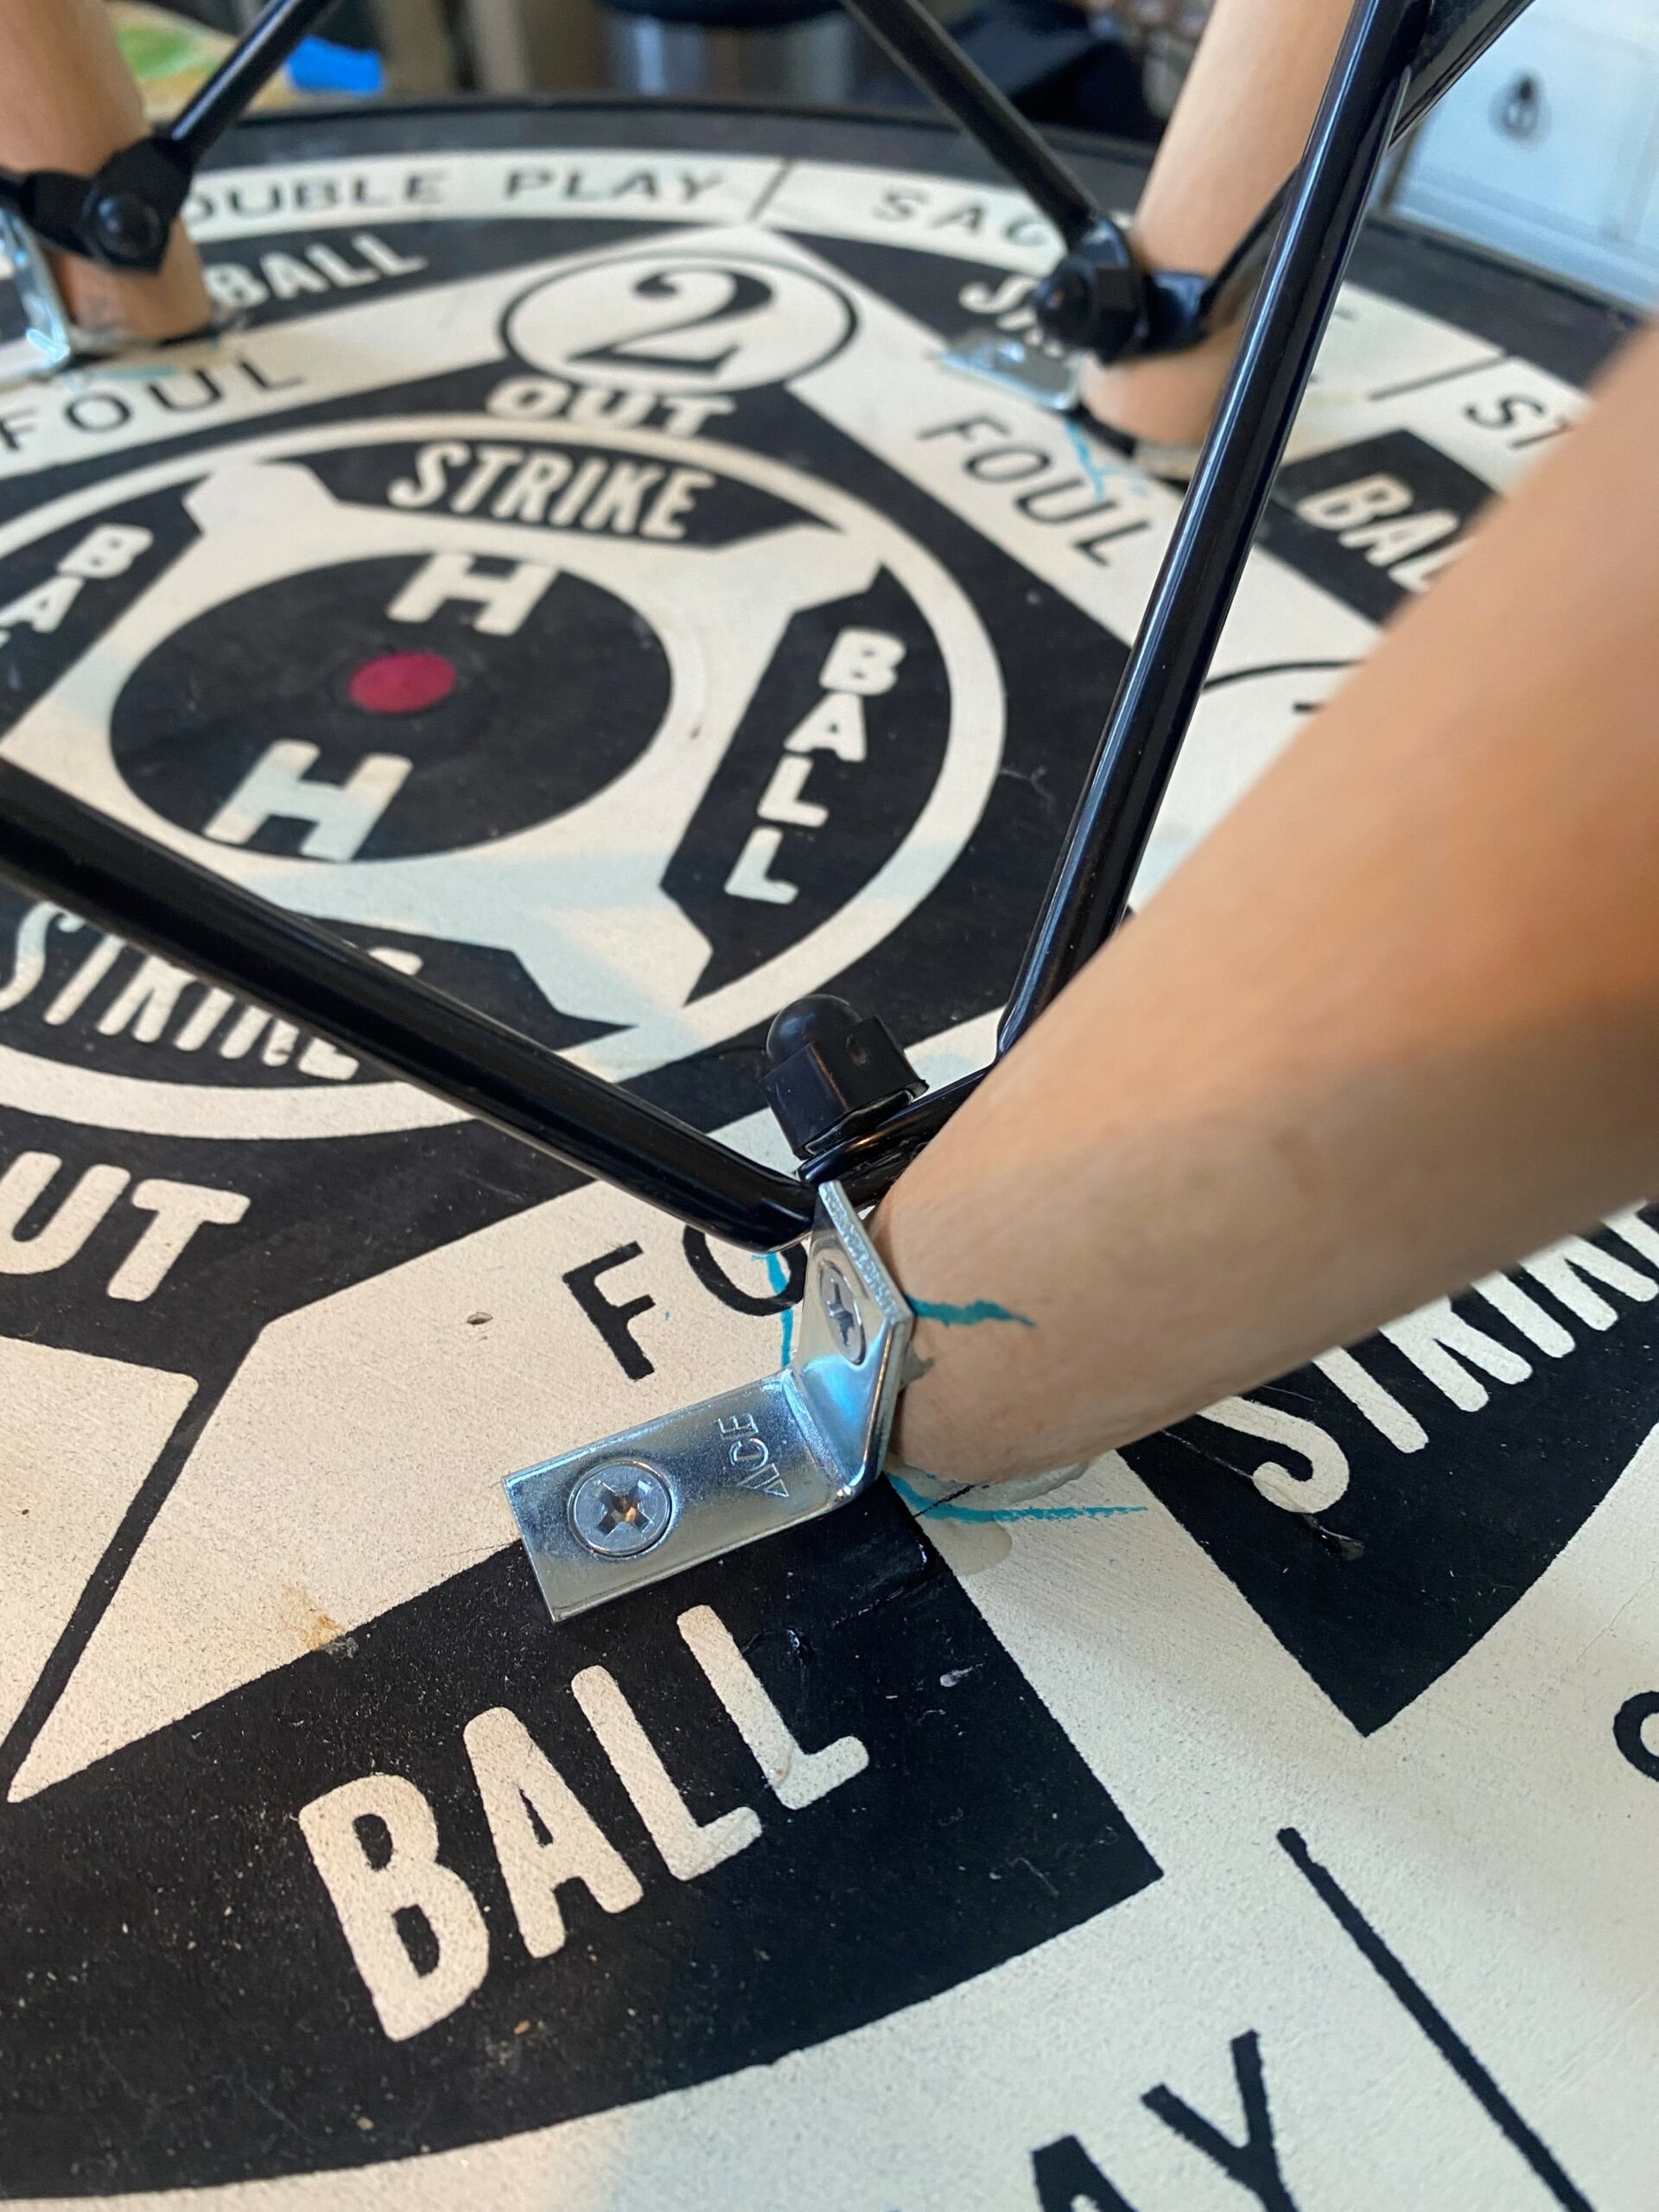
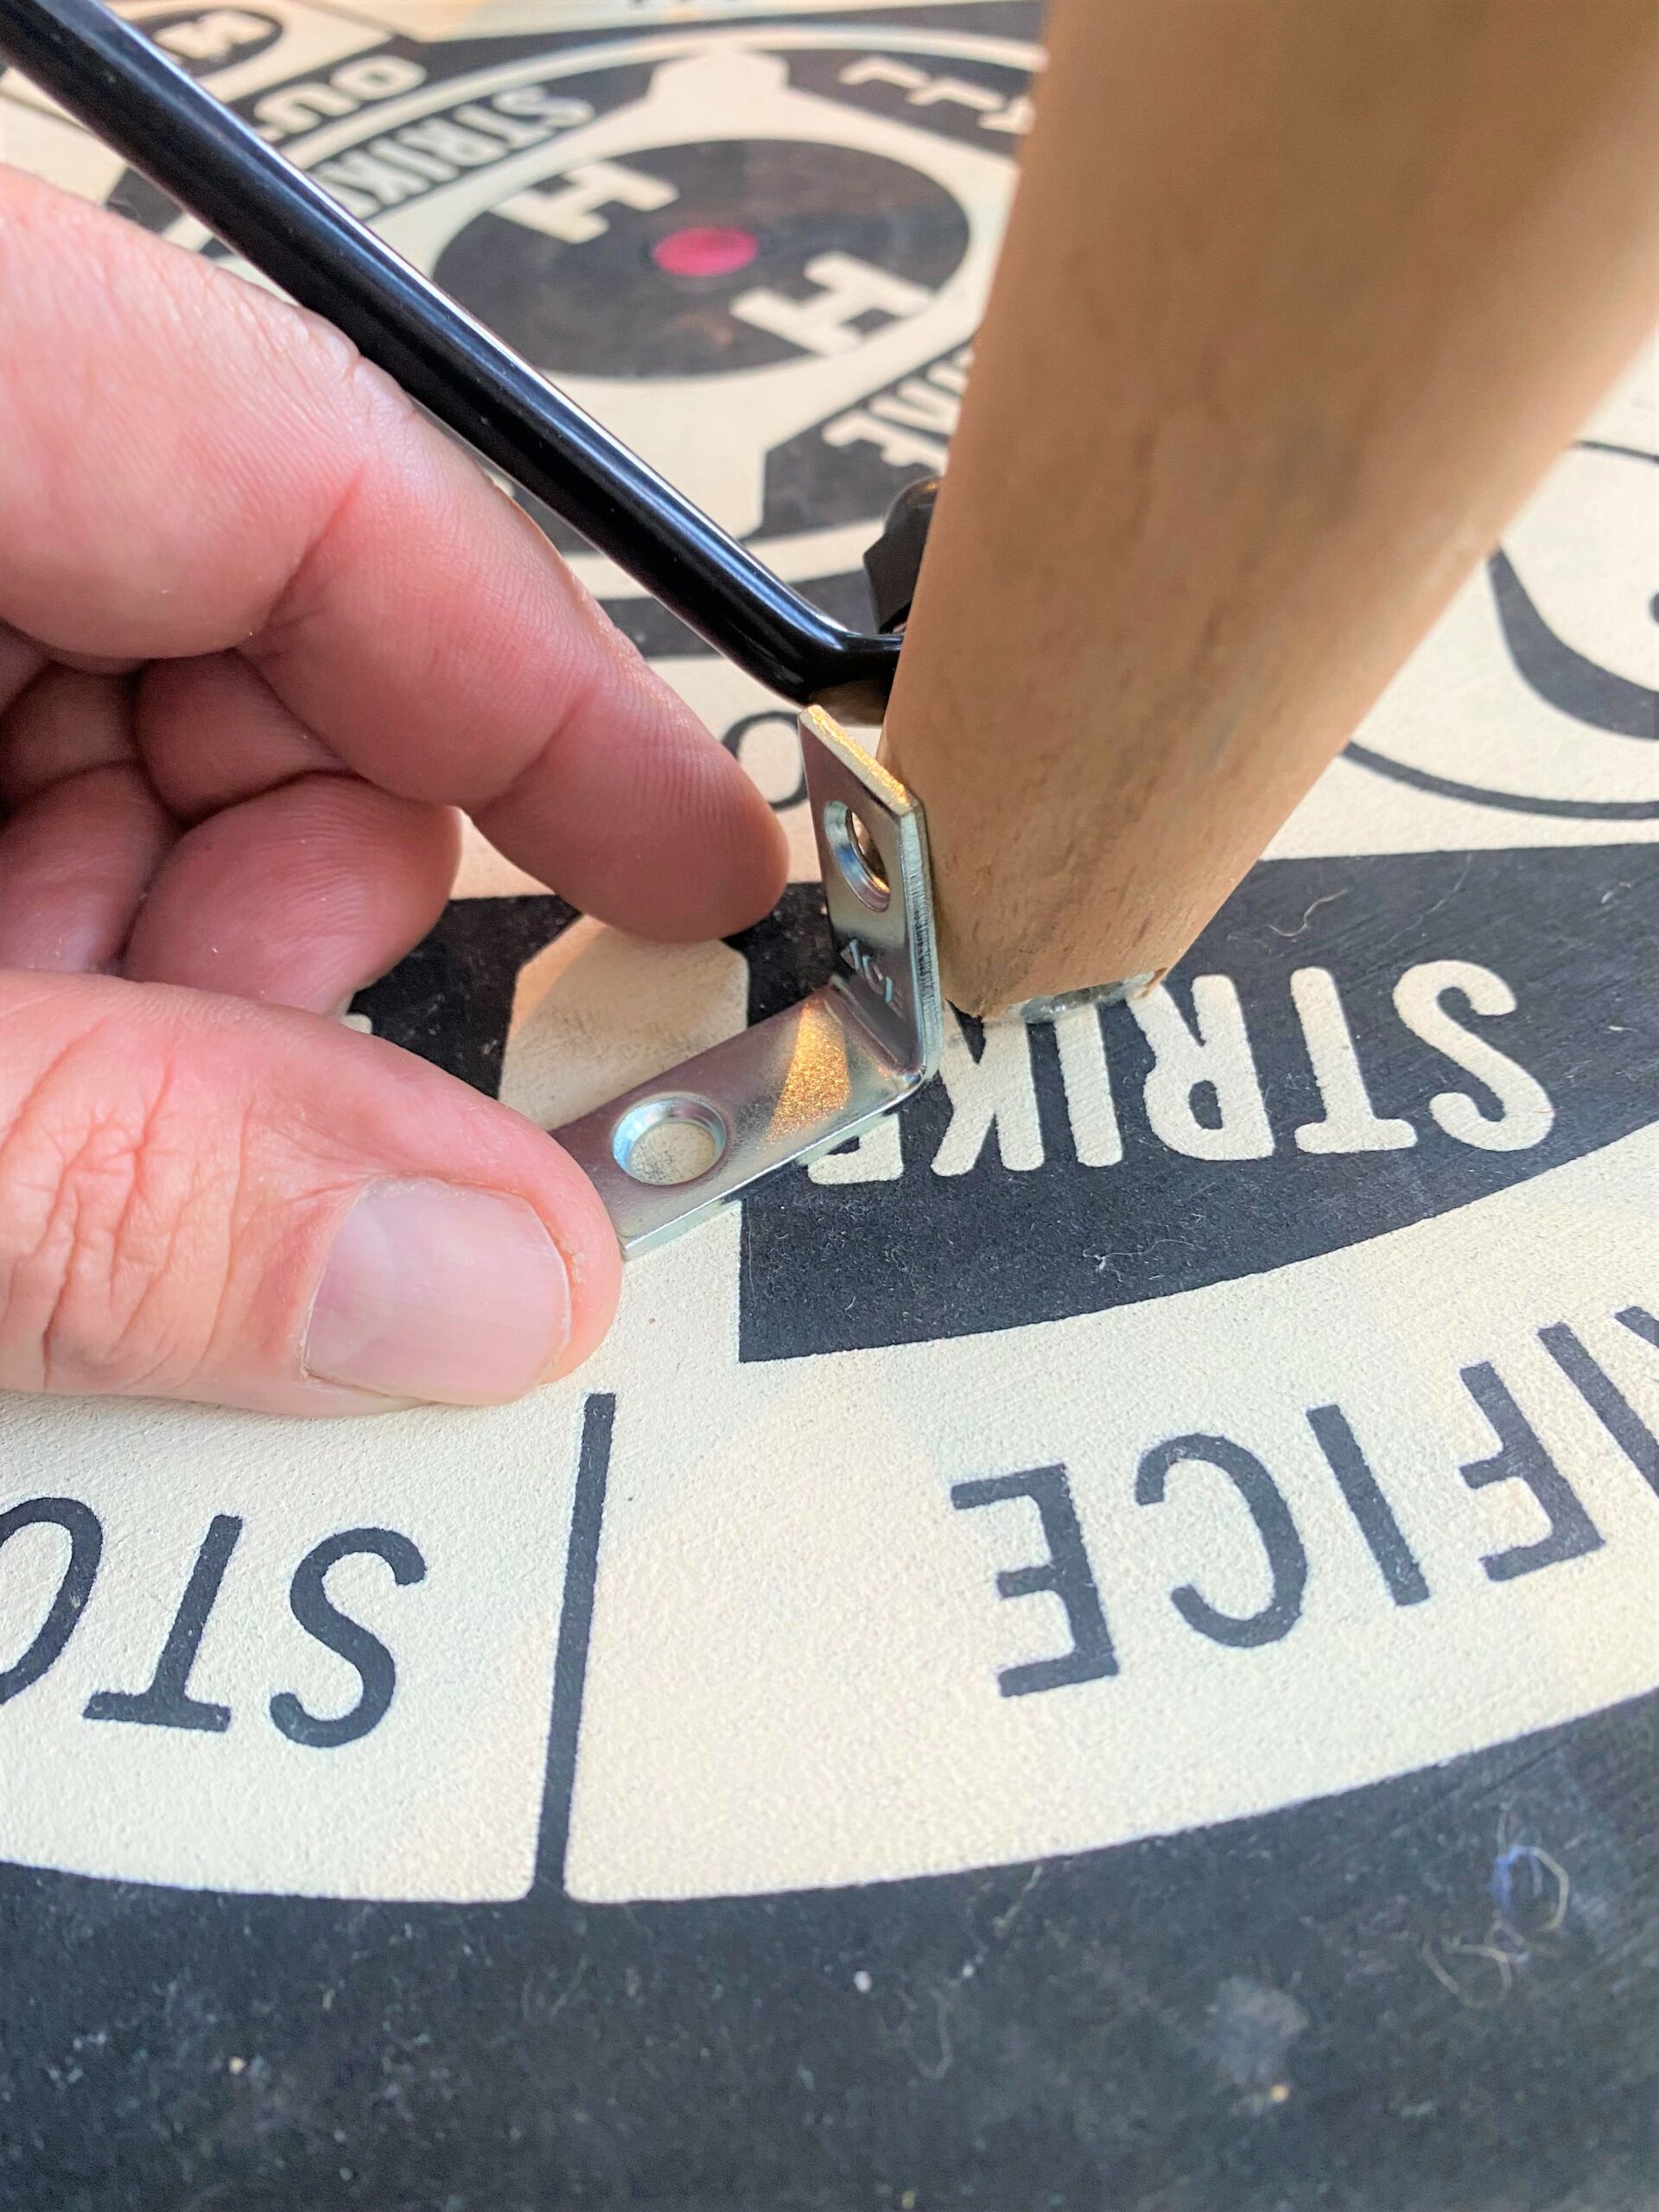
- Use a drill to add holes in the leg and base.
- Remove the table legs, add epoxy glue to the traced circles and return the legs back into position. The glue will help adhere the legs to the back of the dartboard, now the underside of the table.
- Use your screwdriver to secure the L-brackets in place.
- Give some time for the epoxy glue to dry well.
Step 5: Flip it, place it, toast it
Your dartboard side table is now game for its new role. Place it next to your favorite easy chair to hold your TV remote and a beverage. Put it between two side chairs and add a small lamp. Put it in your kids’ bathroom to hold toiletries, placing a small basket under it to hold towels.
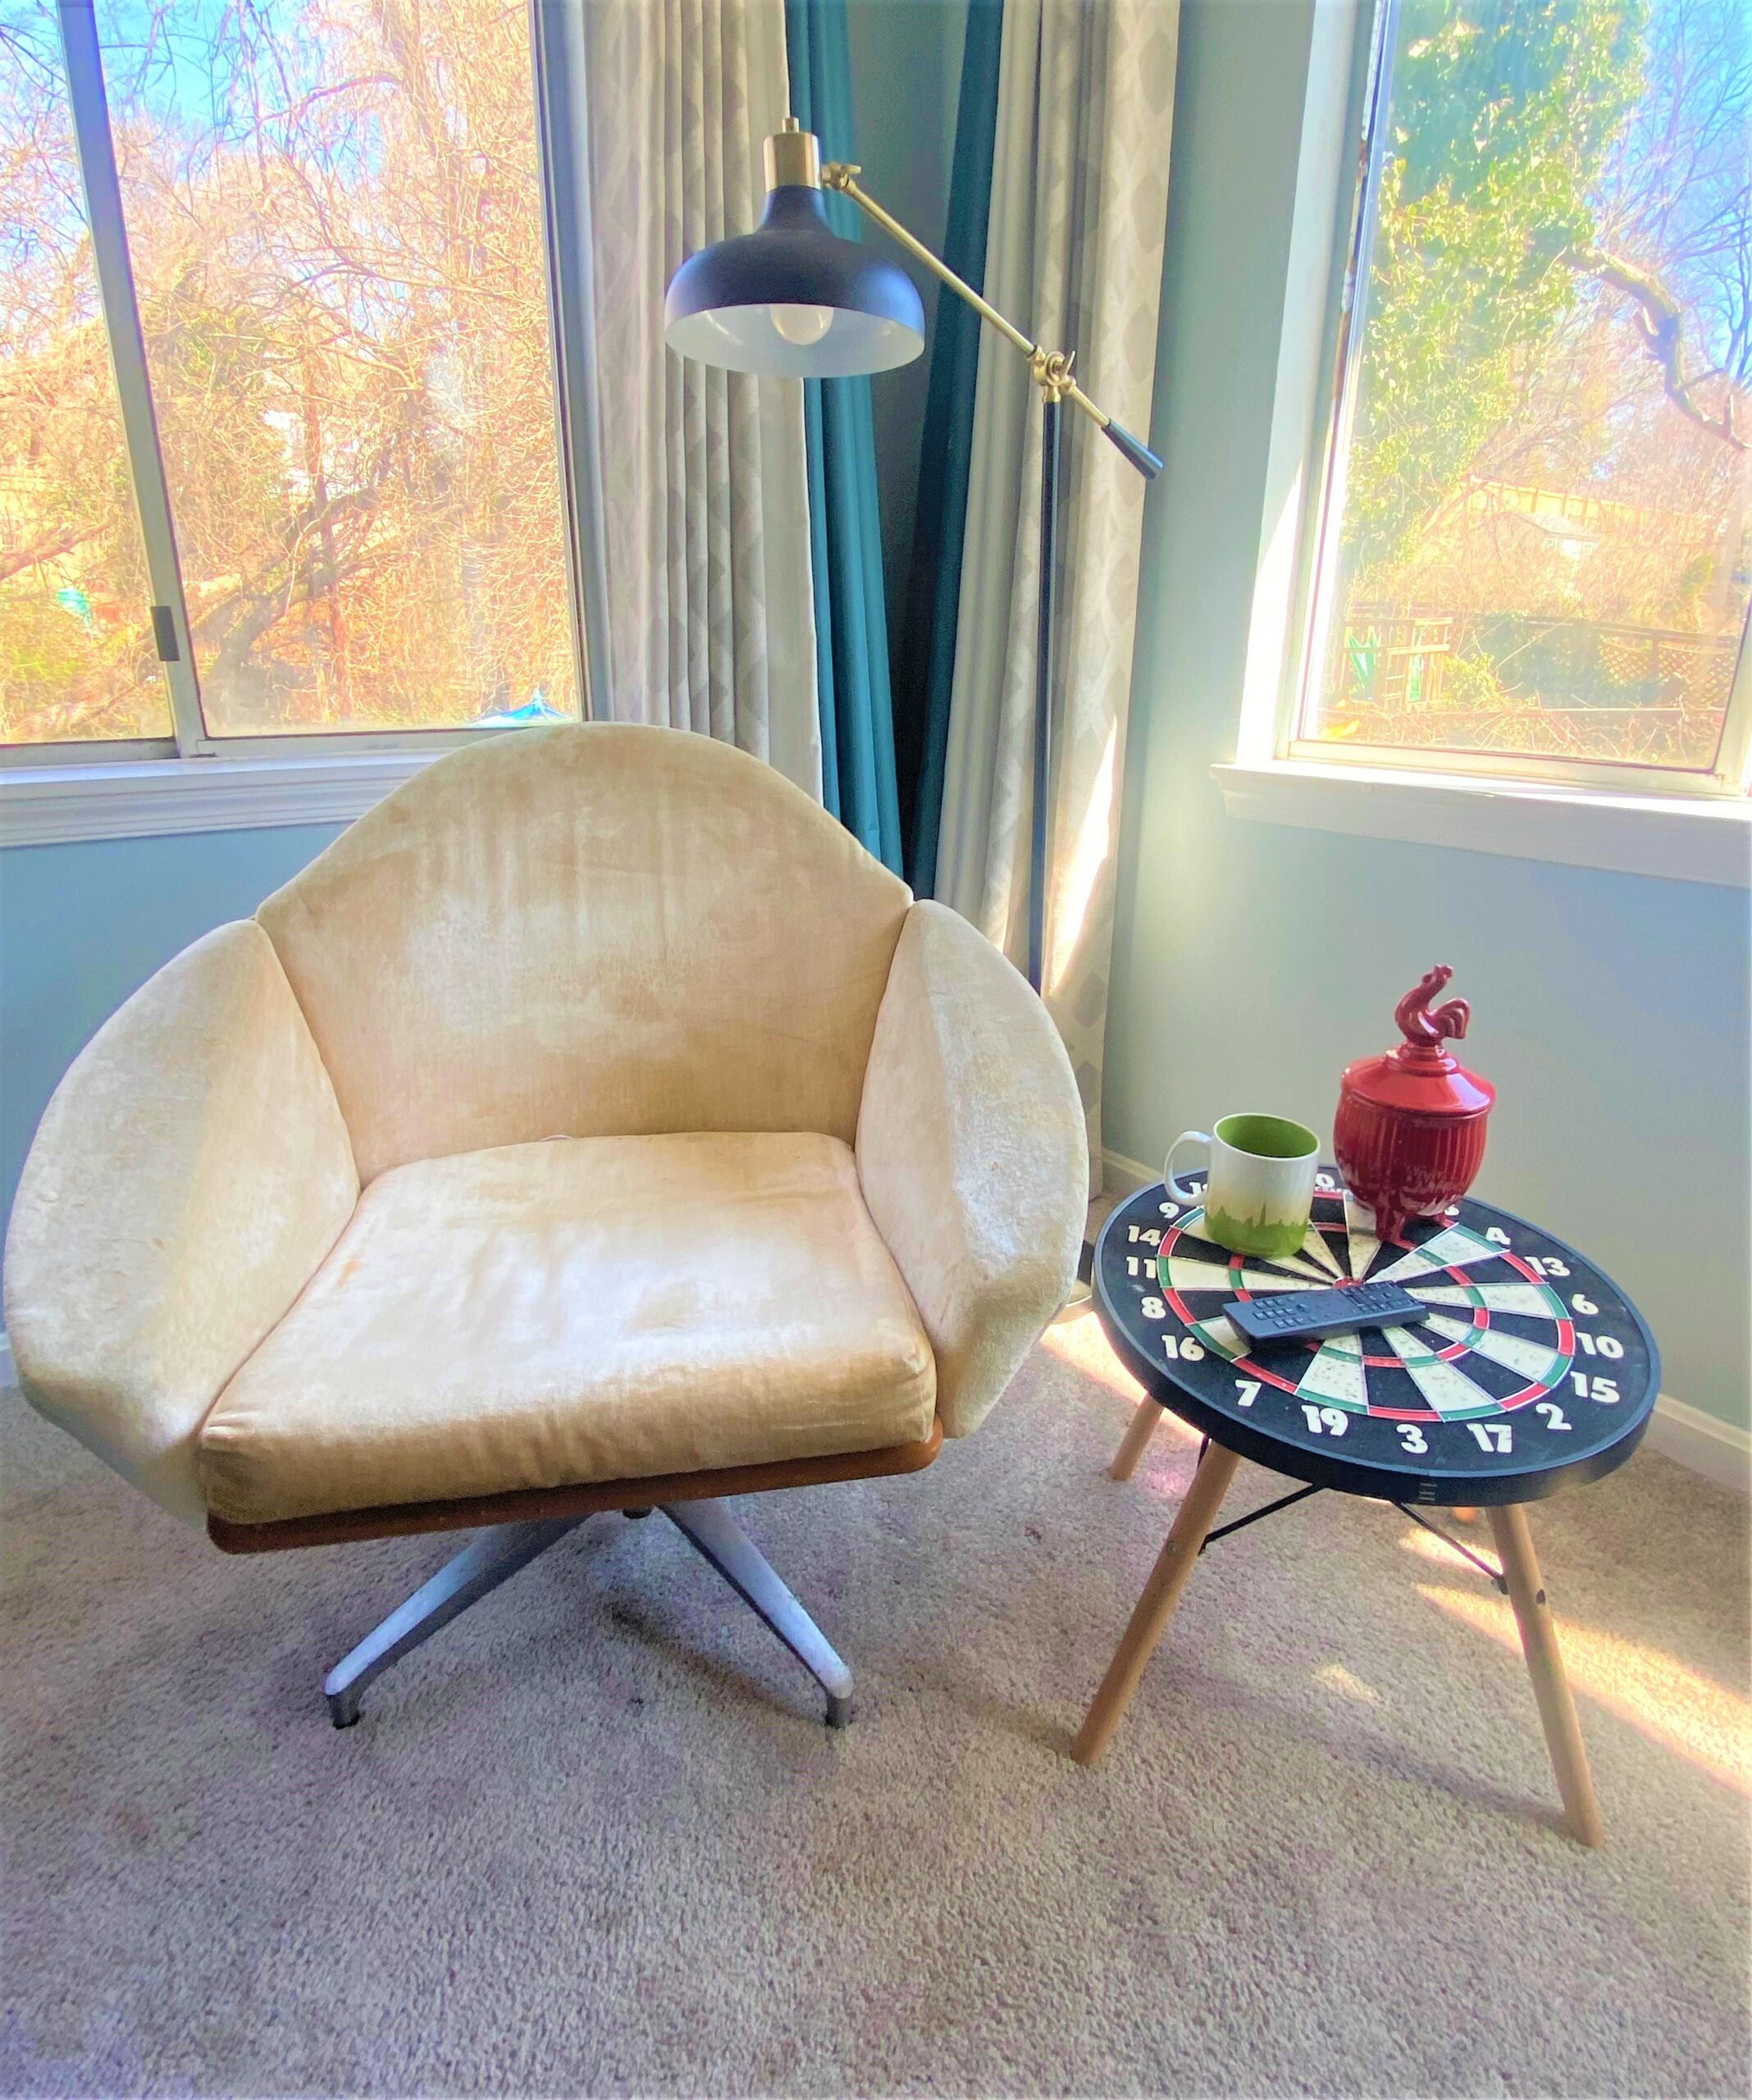

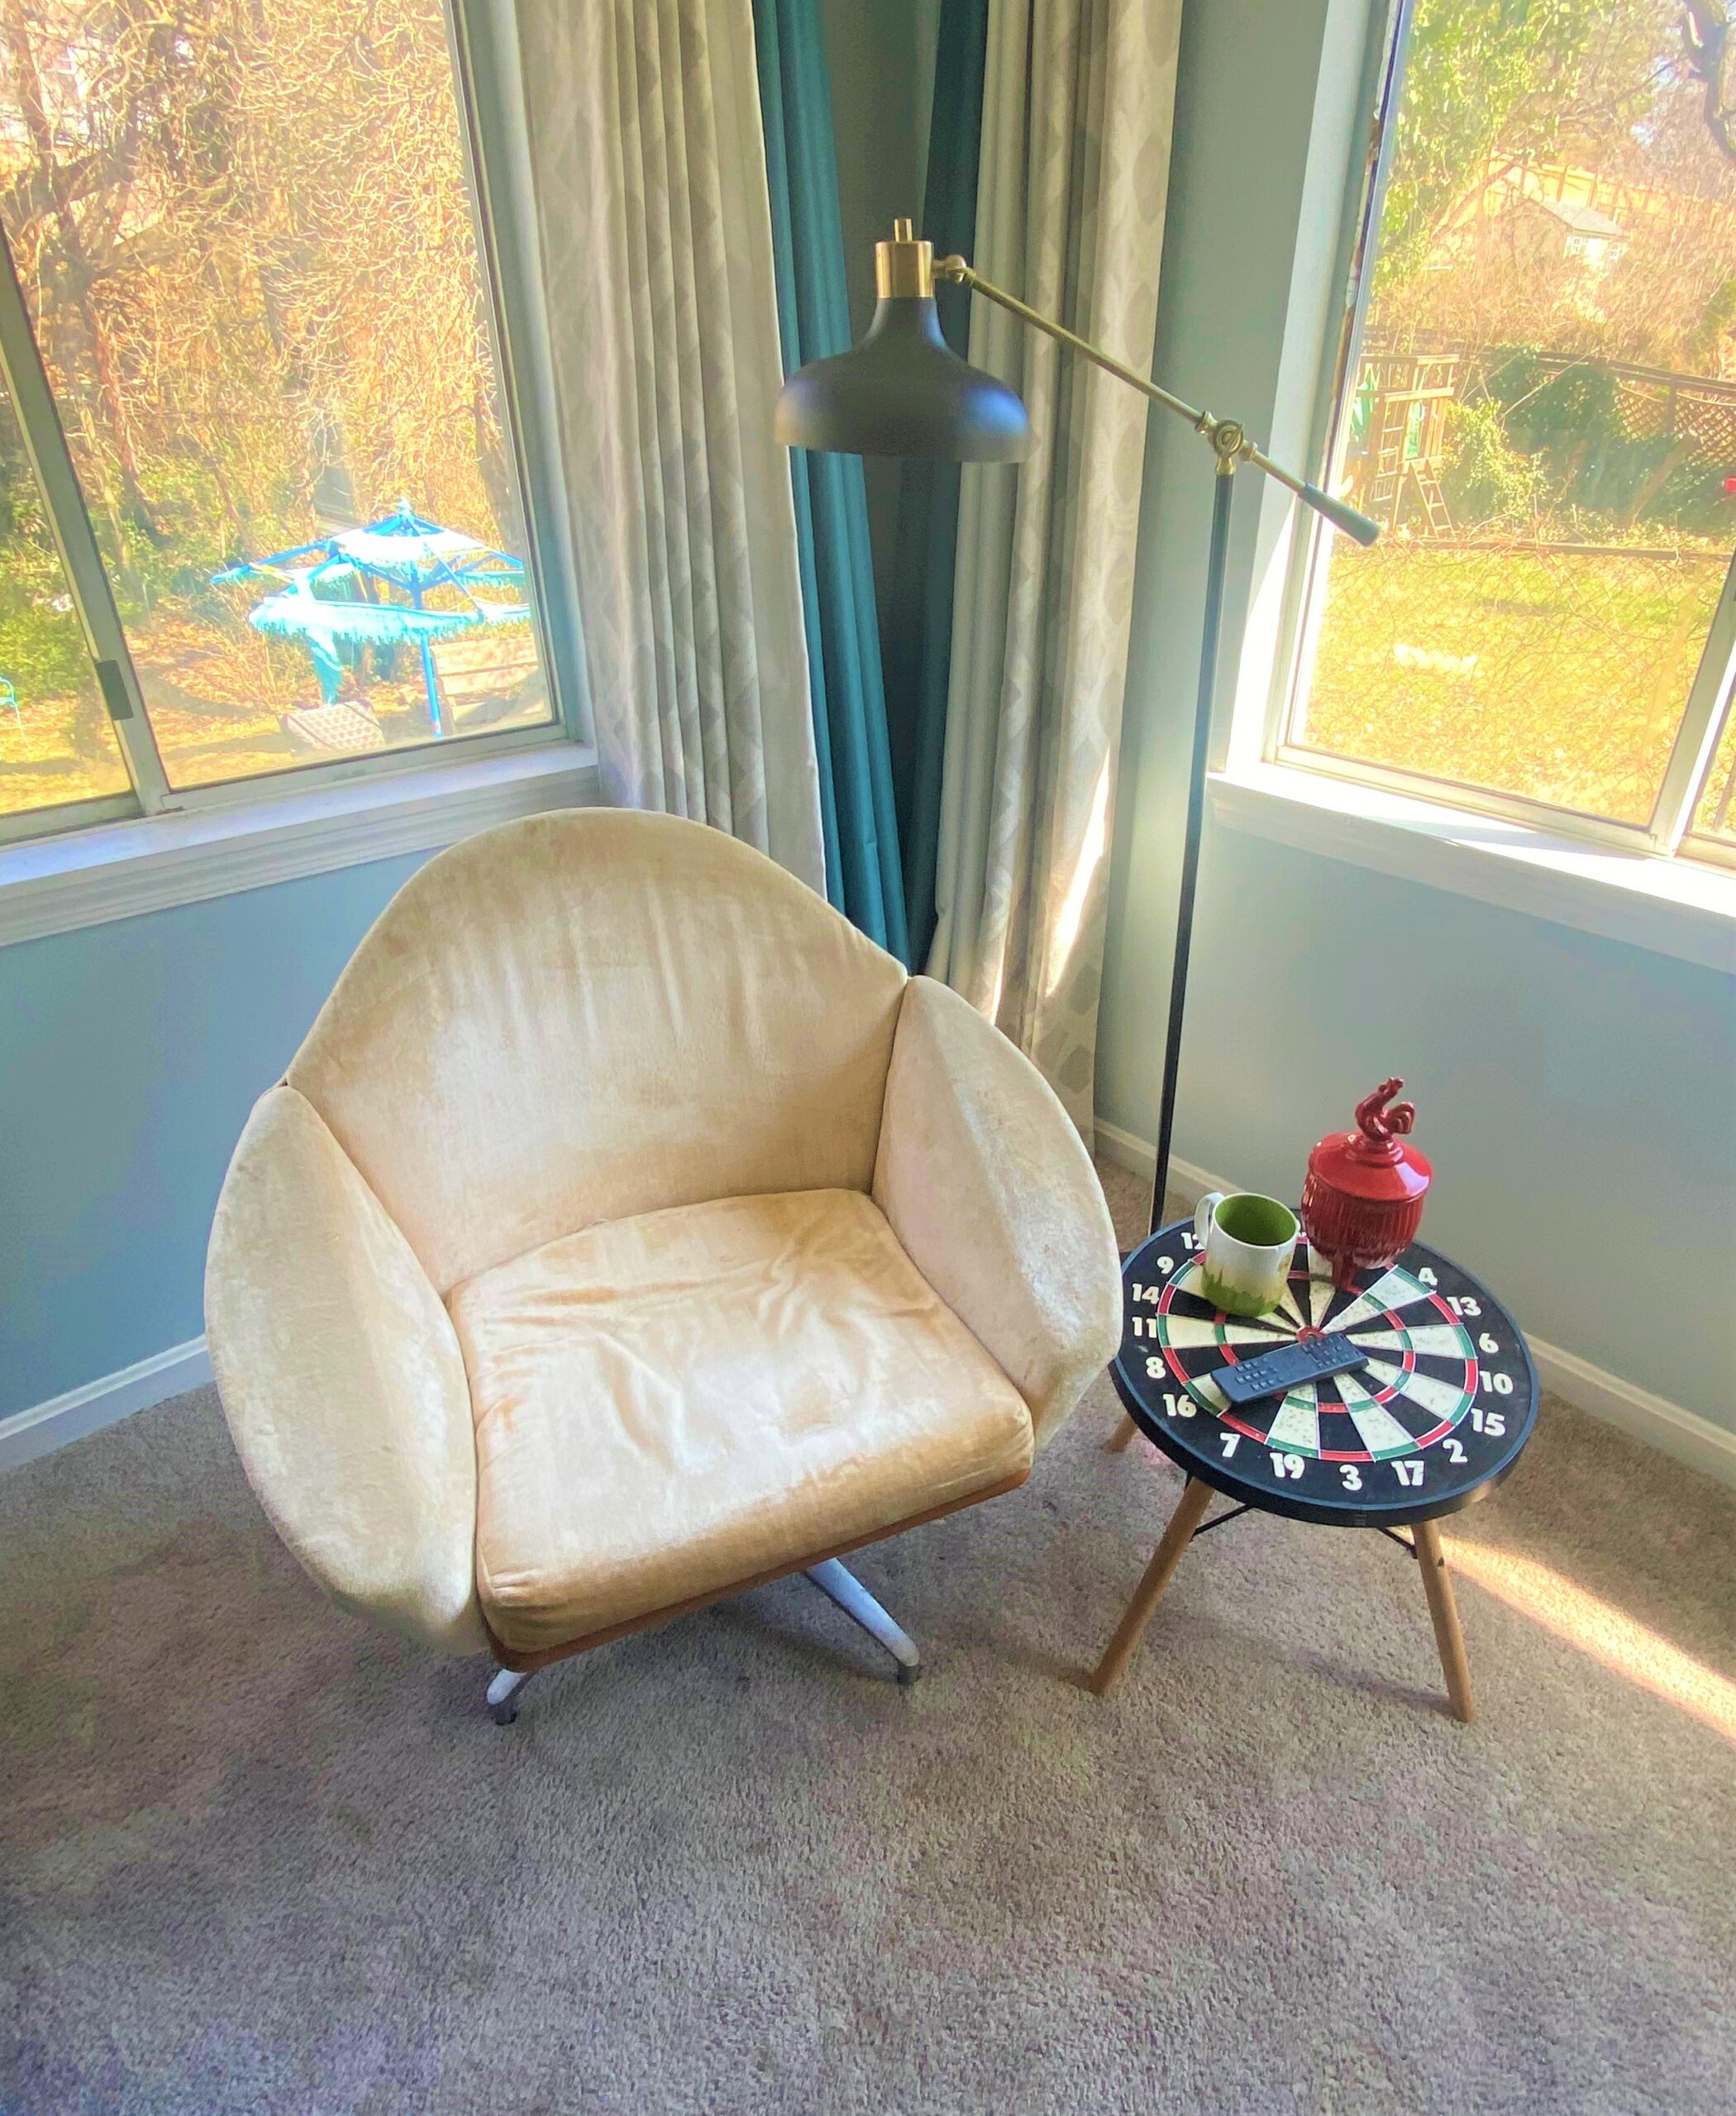
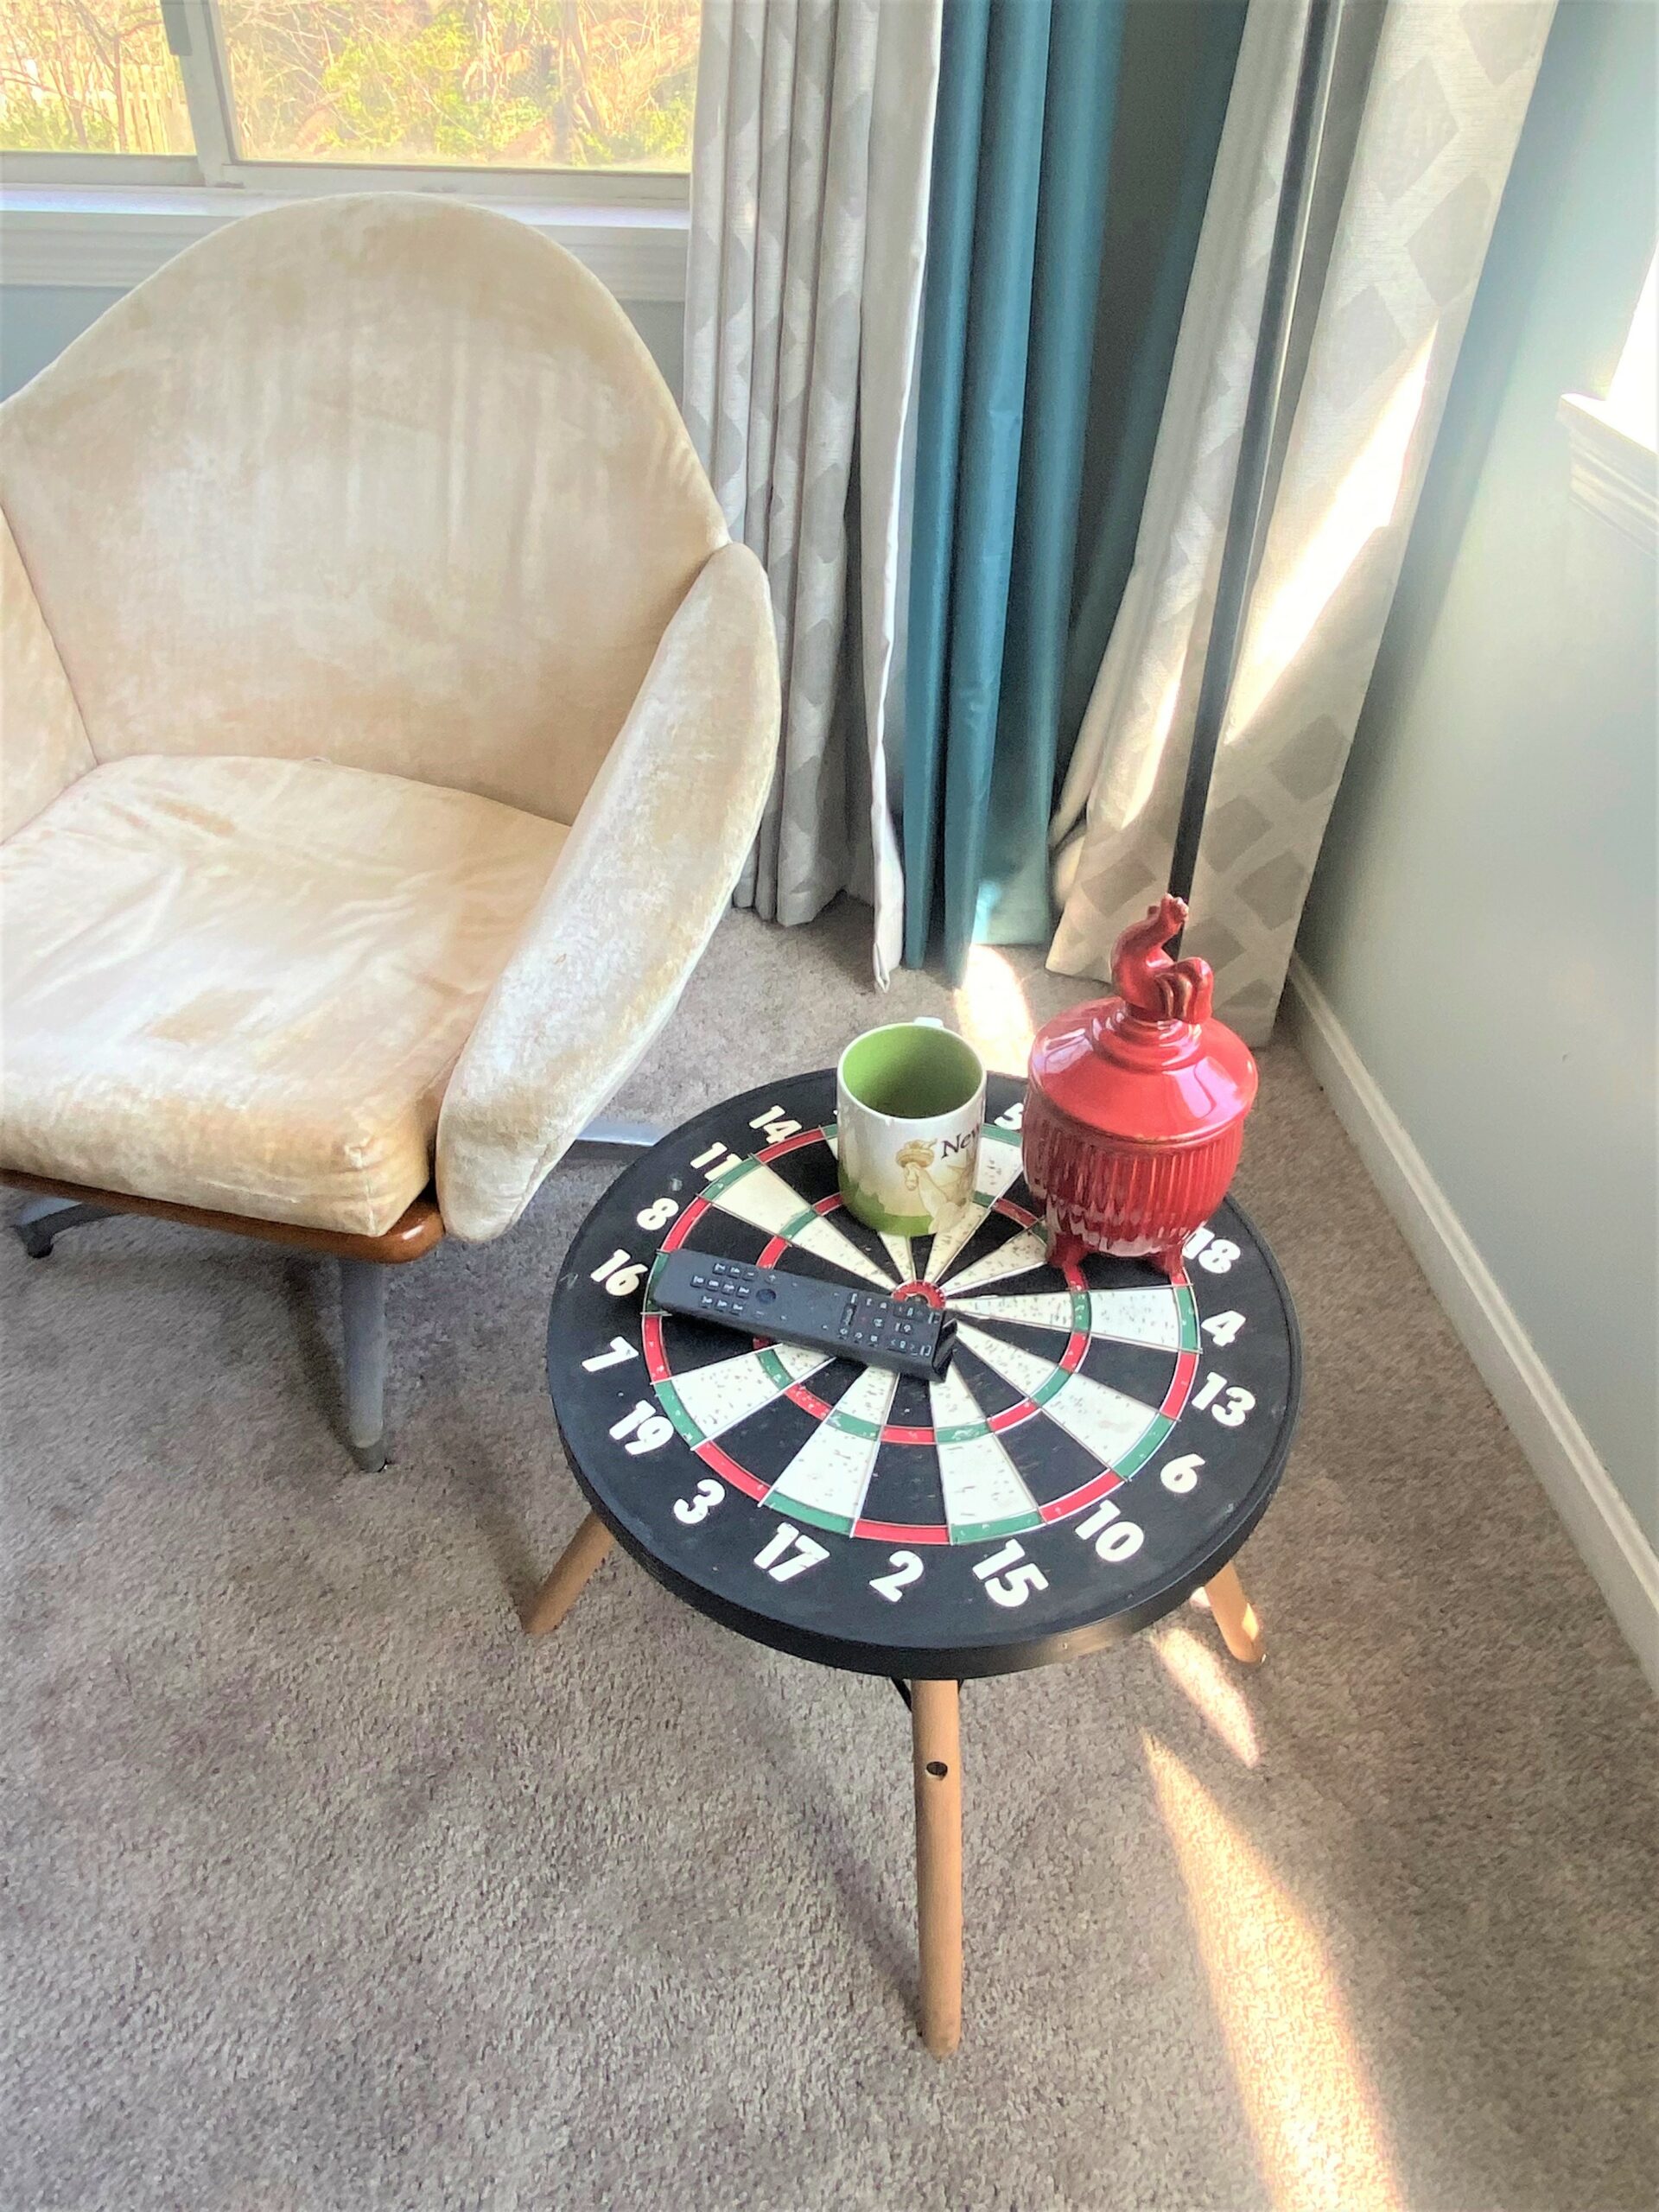
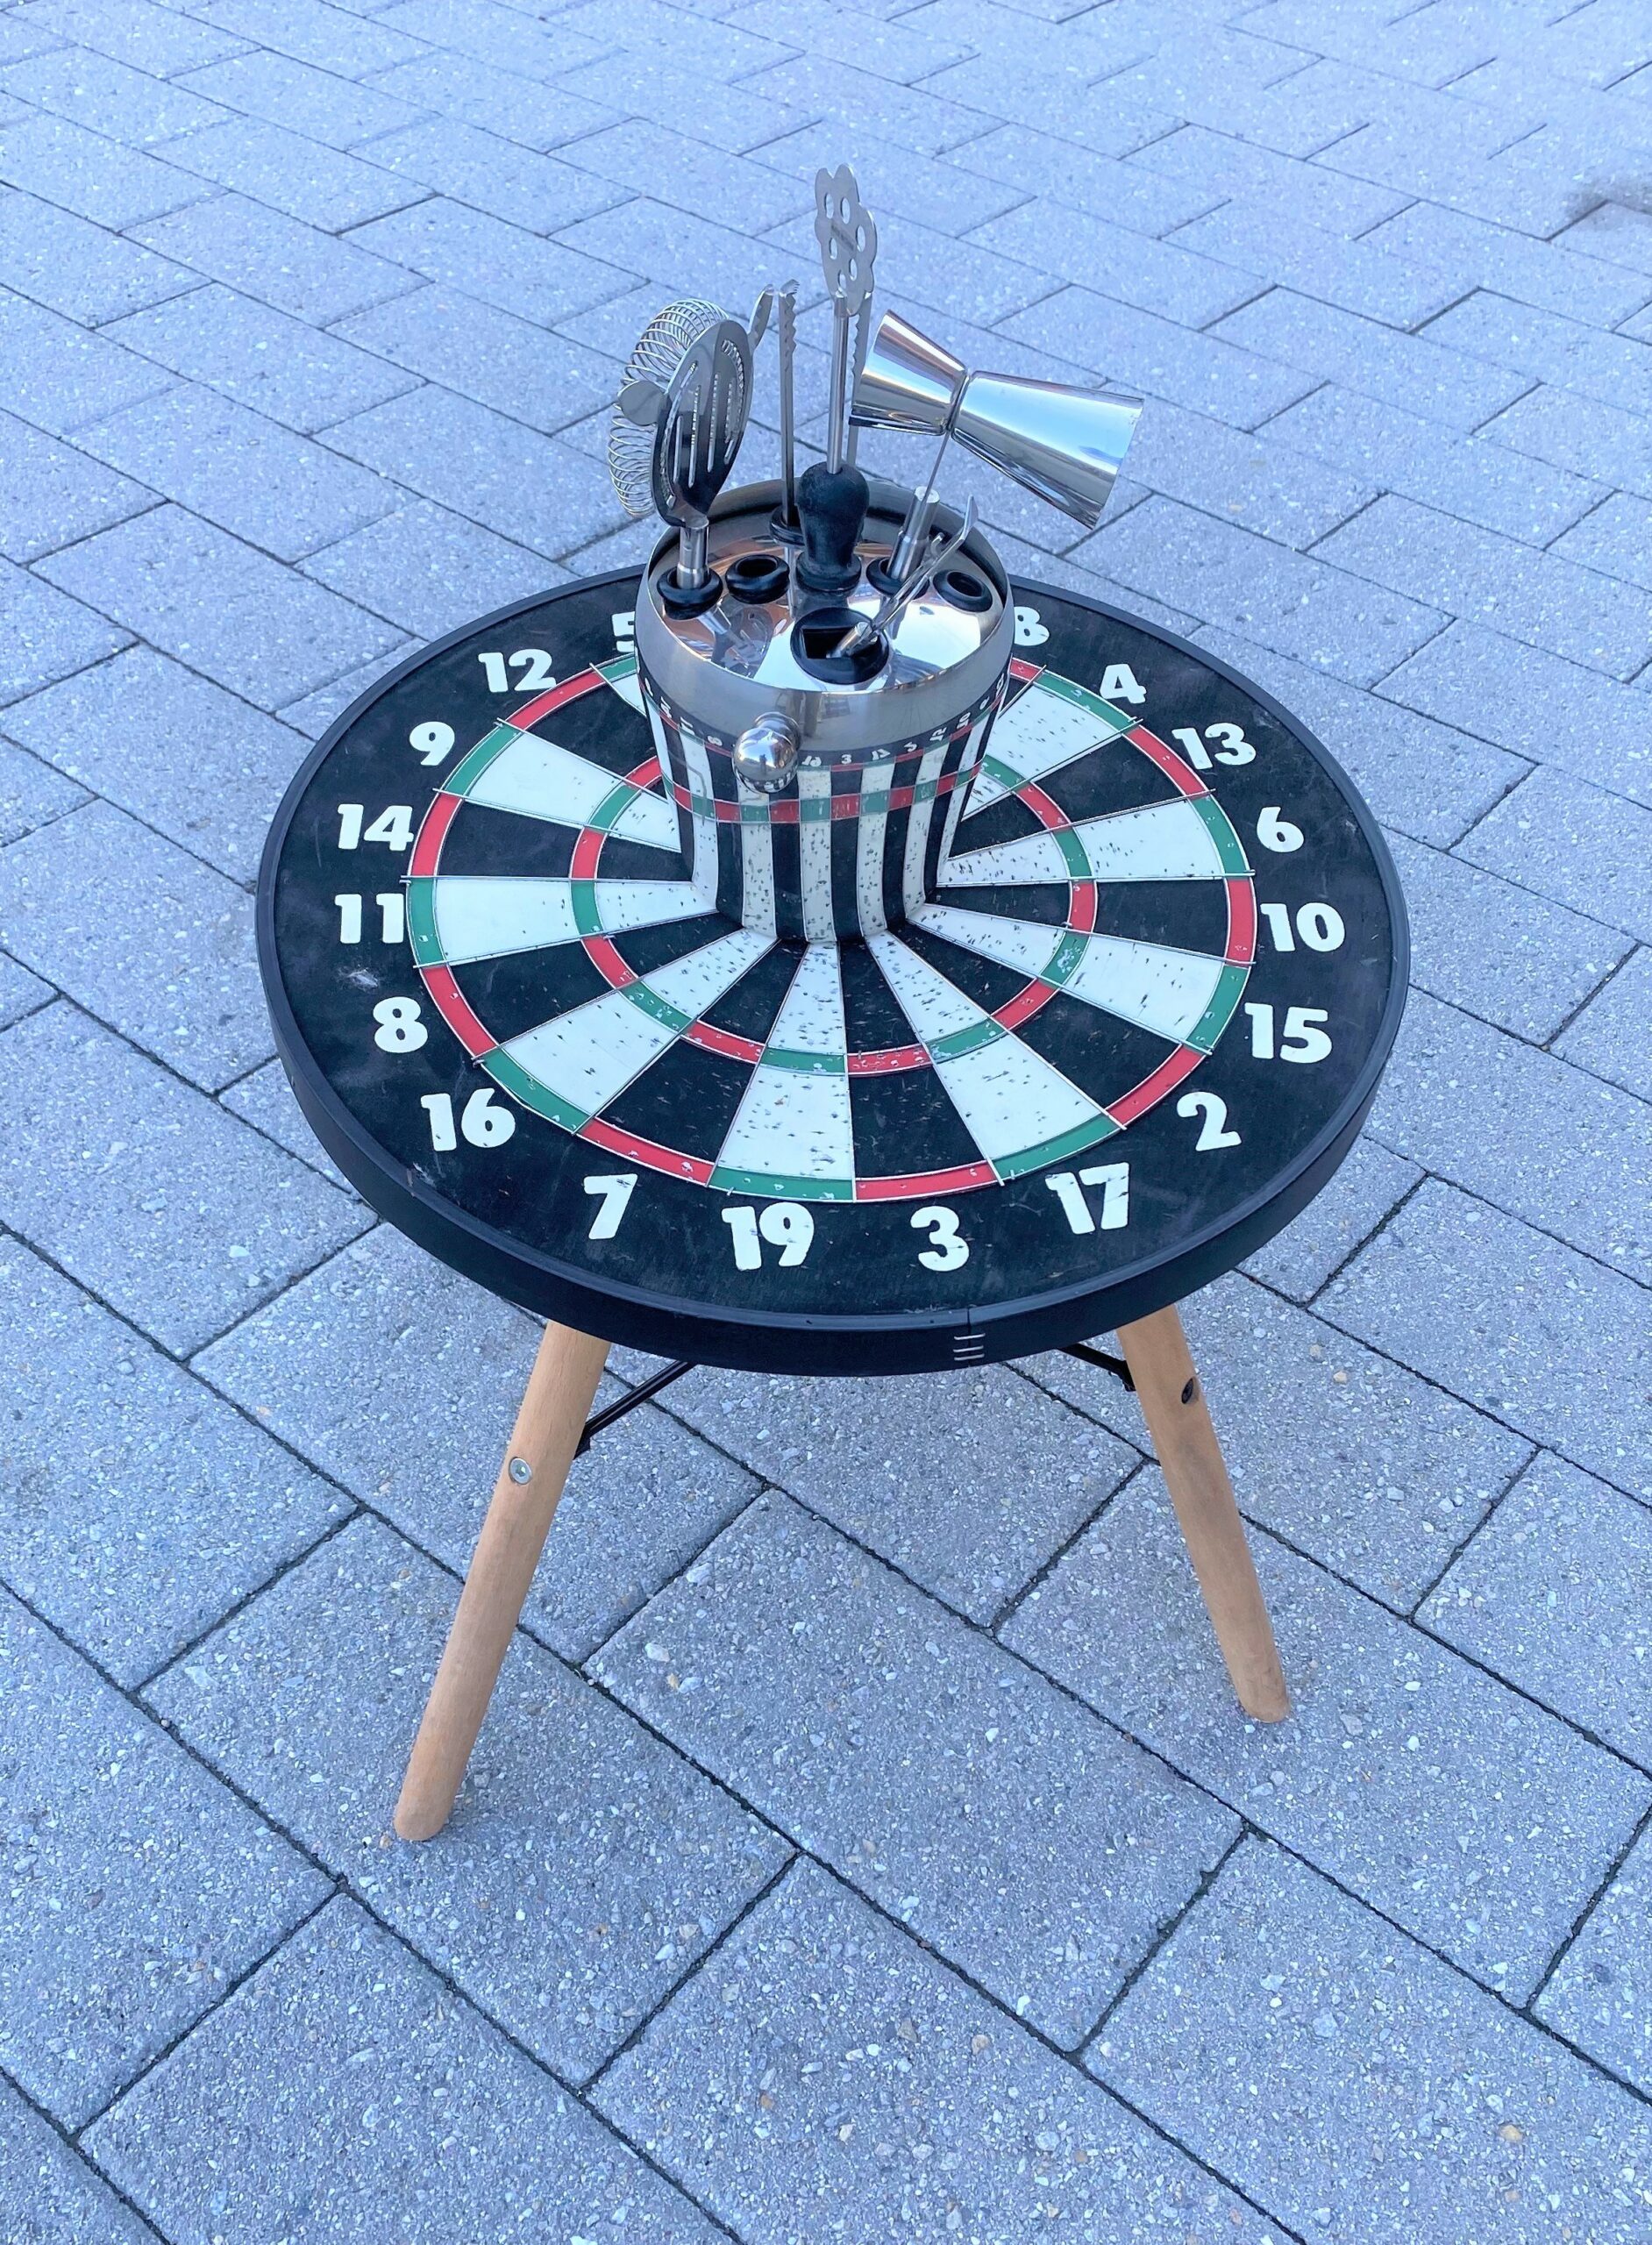
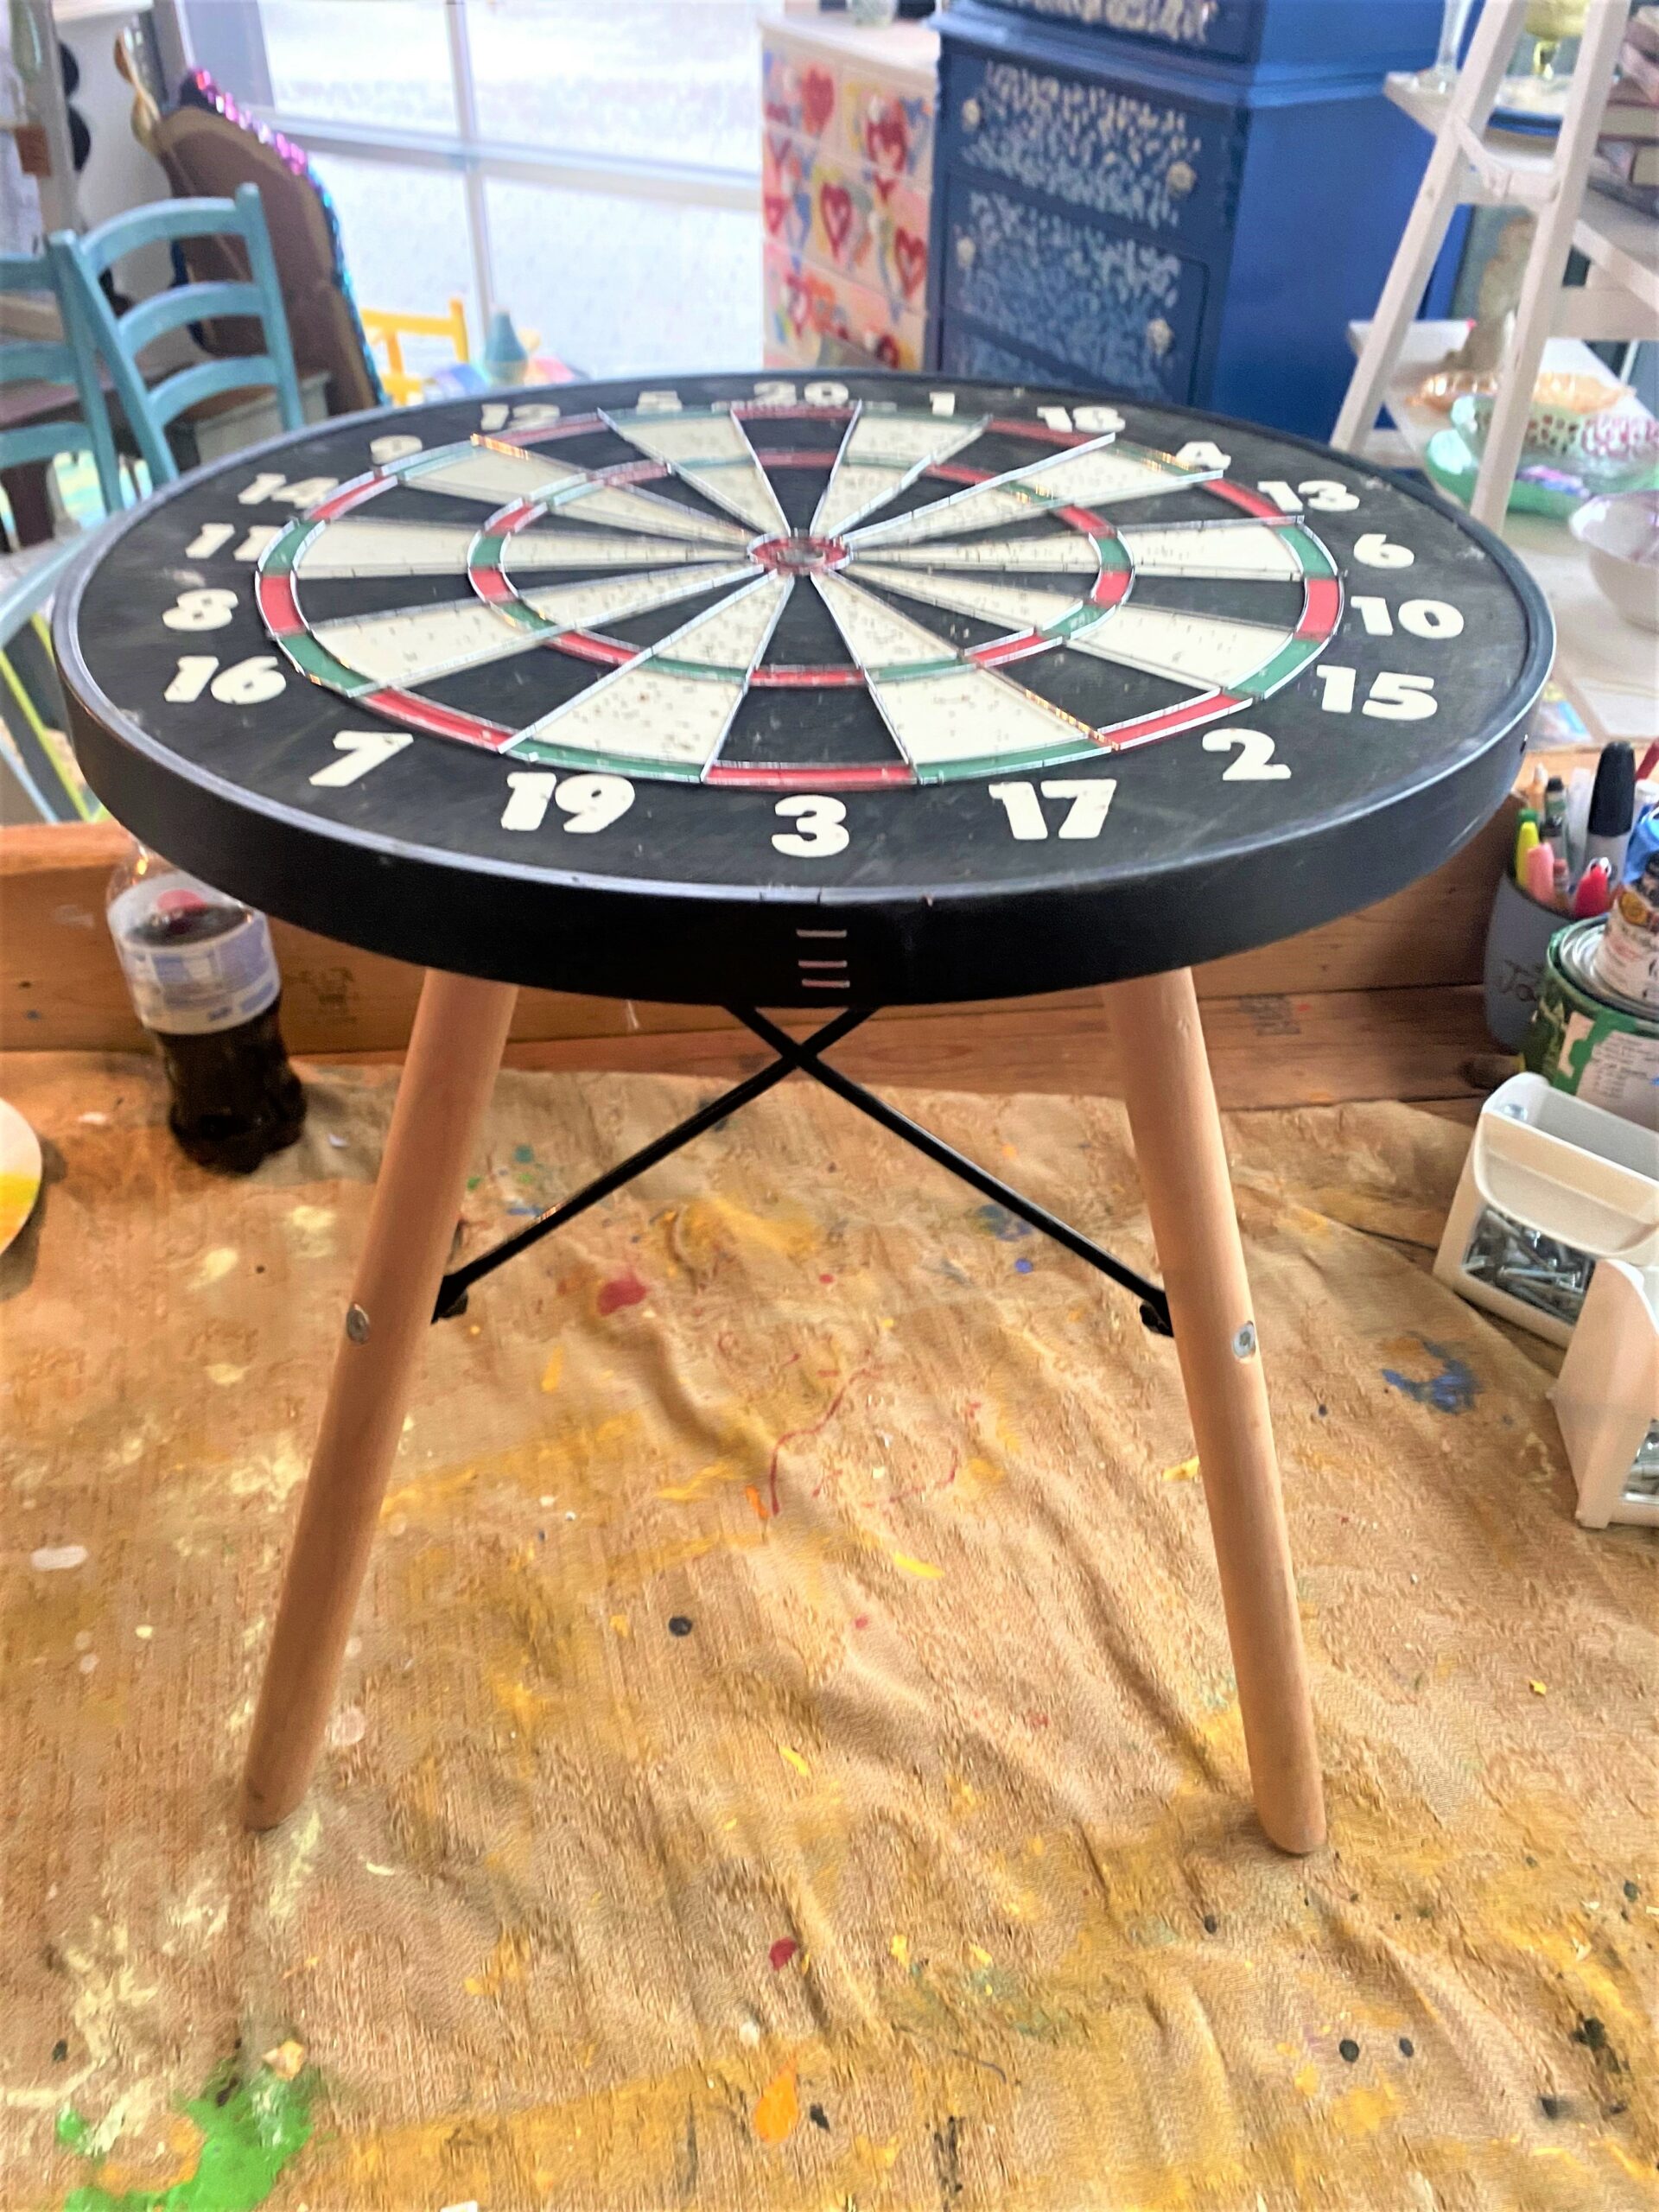
Wherever your dartboard table makes its new home, it will certainly get noticed and score points with all!

Tim Kime
Artist, Motivational Speaker, Life Coach


