In Challenging Times, Share Signs of Hope.
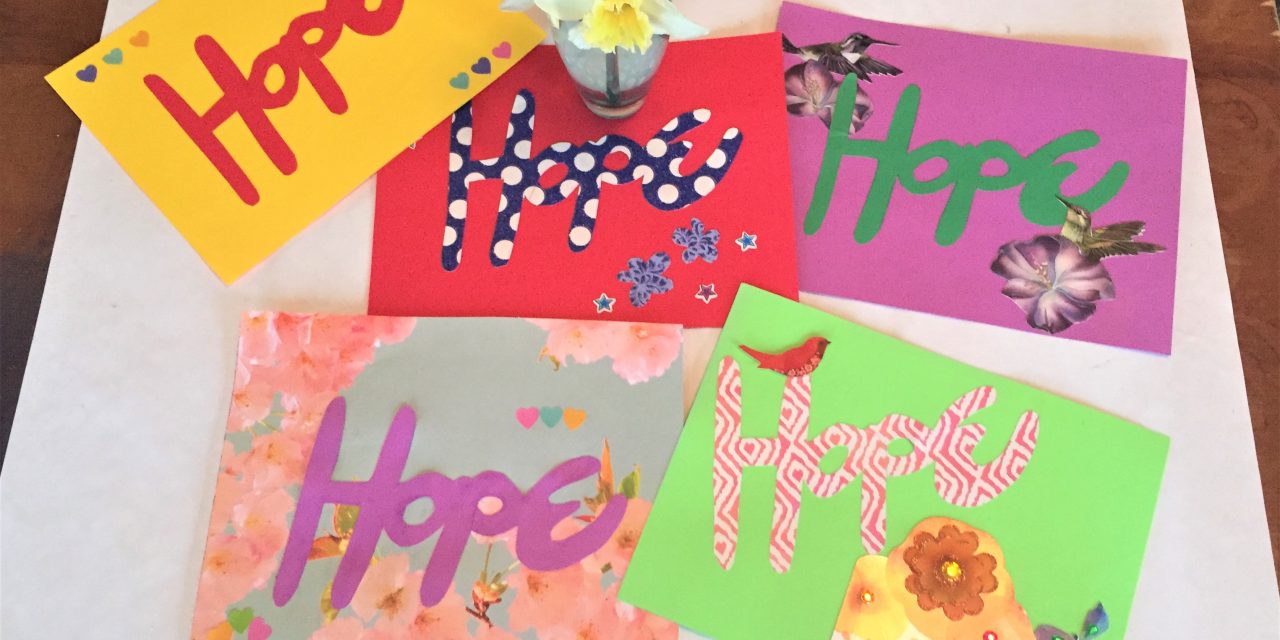
Here’s a kid-friendly, creative project that helps give inspiration to others. With your family at home these days, you are likely looking for ways to keep them busy and thinking positively too. Make paper signs with the word “Hope” to share with neighbors and others to show them that you care about them, something we can all use these days!
Why the word “Hope”? According to Webster’s Dictionary, it is a verb that means “to cherish a desire with anticipation; to want something to happen or to be true.” We all want to get through this period as quickly as possible and with the best outcomes for everyone. When we have hope, anything is possible!
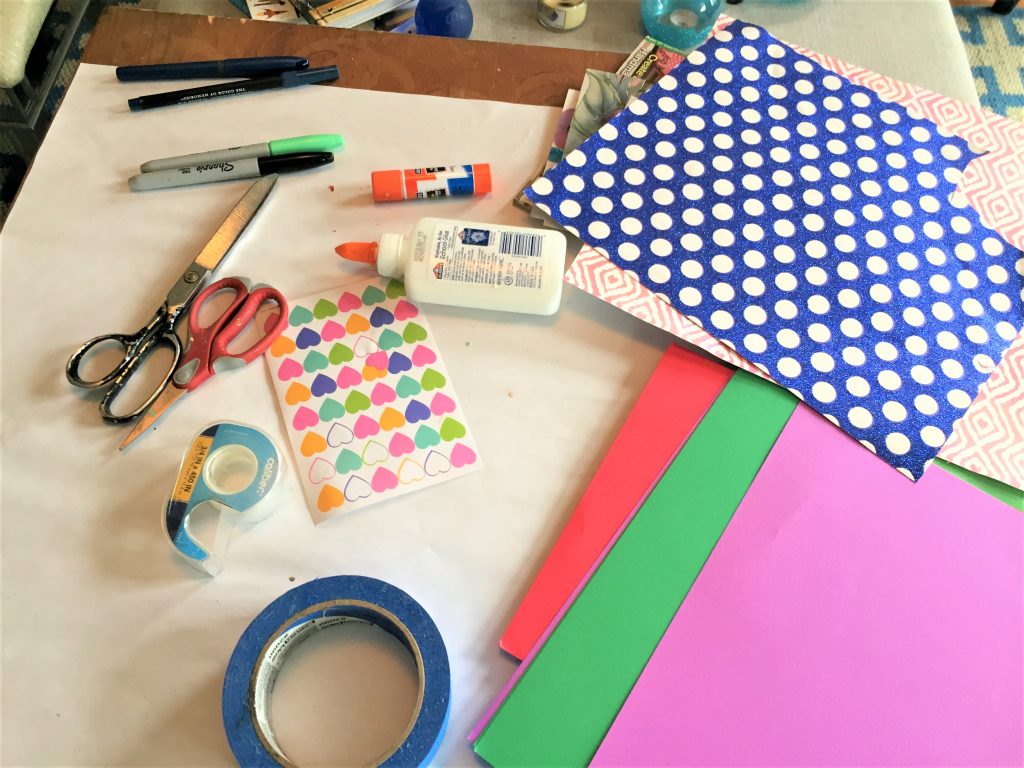
Supplies Needed
1. Colored paper
2. Old cards, calendars, note cards
3. Stickers
4. Scissors
5. Sharpie or pen
6. Glue sticks
7. Painter’s tape
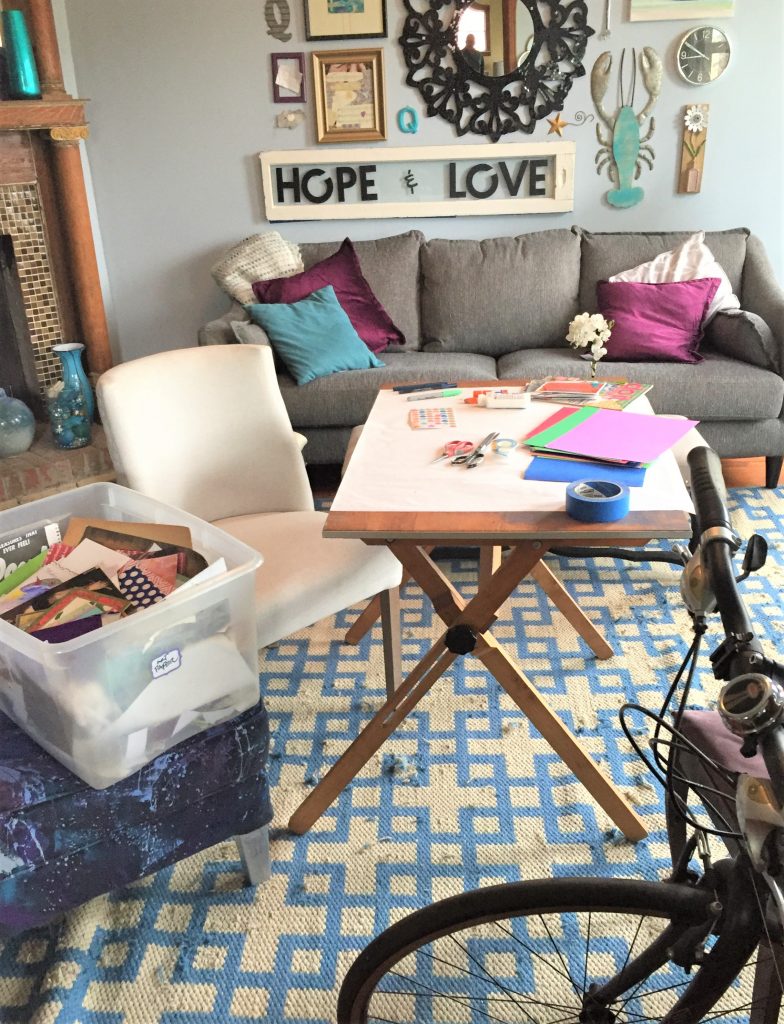
Step 1: Set up your workstation(s)
To keep a good social distance from others, set up a workstation where you can create this project and not be at the same table with others. If you have them, use TV tables or other small surfaces on which to write, cut and glue.
The shared materials like the papers, stickers and other items can be in the center of the room.
Have handy wipes on hand, too!
Ideally, each family member will get their own pen, glue stick and scissors so you can work together but not too close.
Part of the success of this project is to use paper items you already have on hand and transform them into these signs. Do you have craft paper available? What about colored printer/copier paper? Do you have stationary, cards or calendars you can cut up for this? This project cost me nada, nothing, zippo as I had everything on hand already.
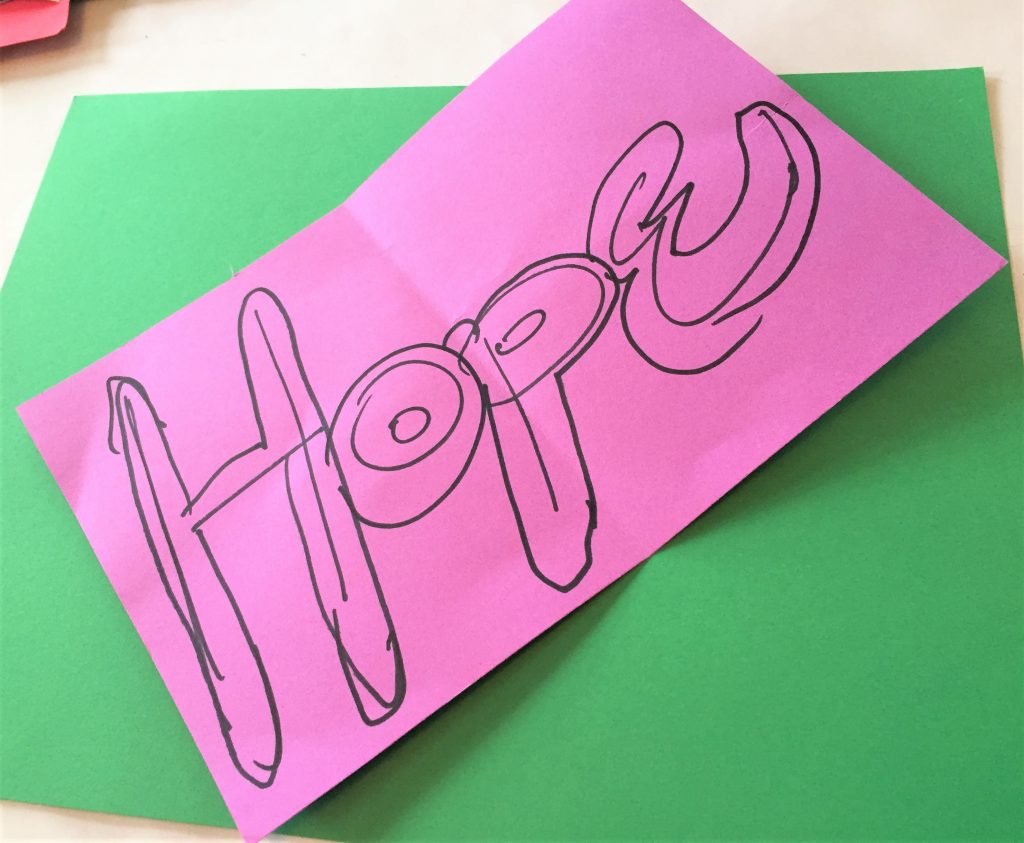
Step 2: Create a pattern of Hope
On a piece of paper, write the word Hope and fill it out to give each letter some width. Overlap your letters so that when cut out, you have one piece of paper. After you cut out your pattern, flip it over and trace around it on another piece of paper.
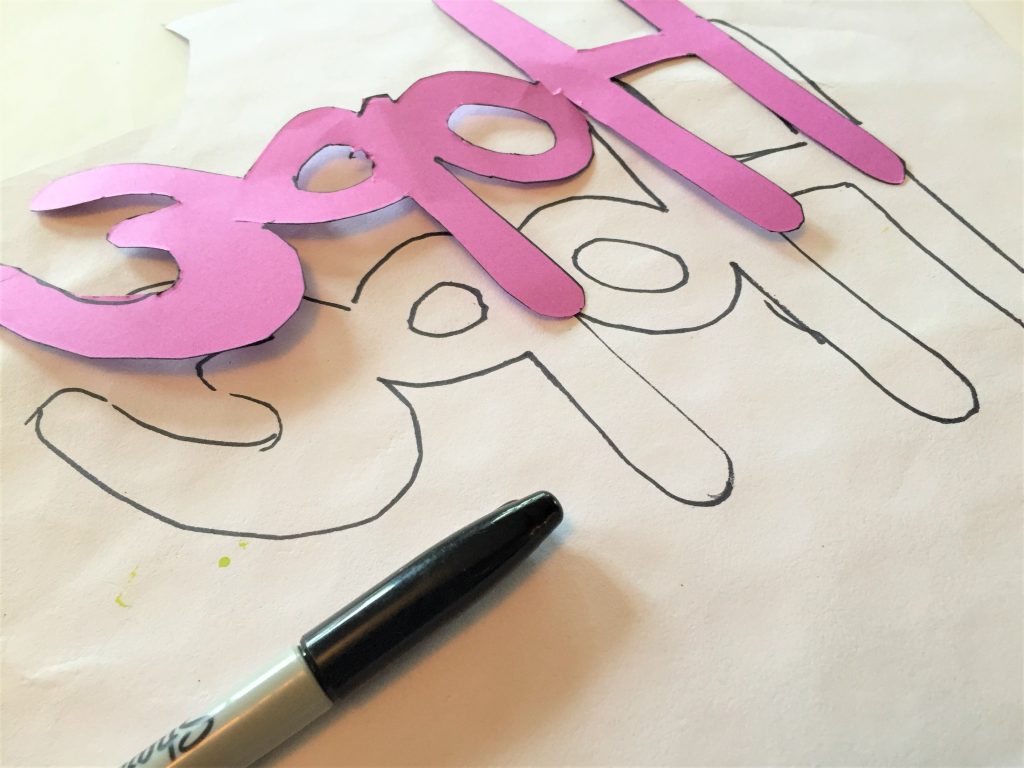
Step 3: Cut & glue
- Carefully cut out your “Hope” and take time to trim any rough or pointed edges so that it all flows.
- Flip it back over and add glue to its backside then place in the center of another piece of paper.
- Select colors that contrast enough so that the word pops out and is easily readable.
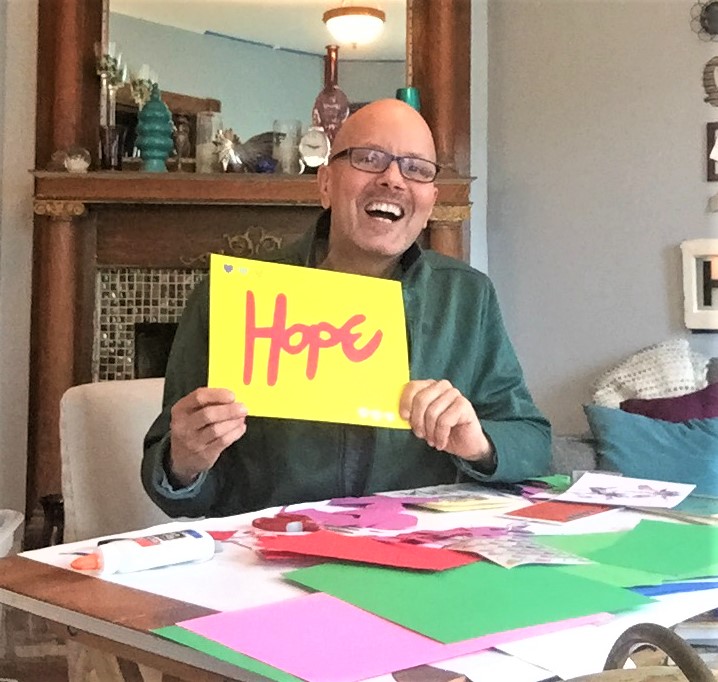
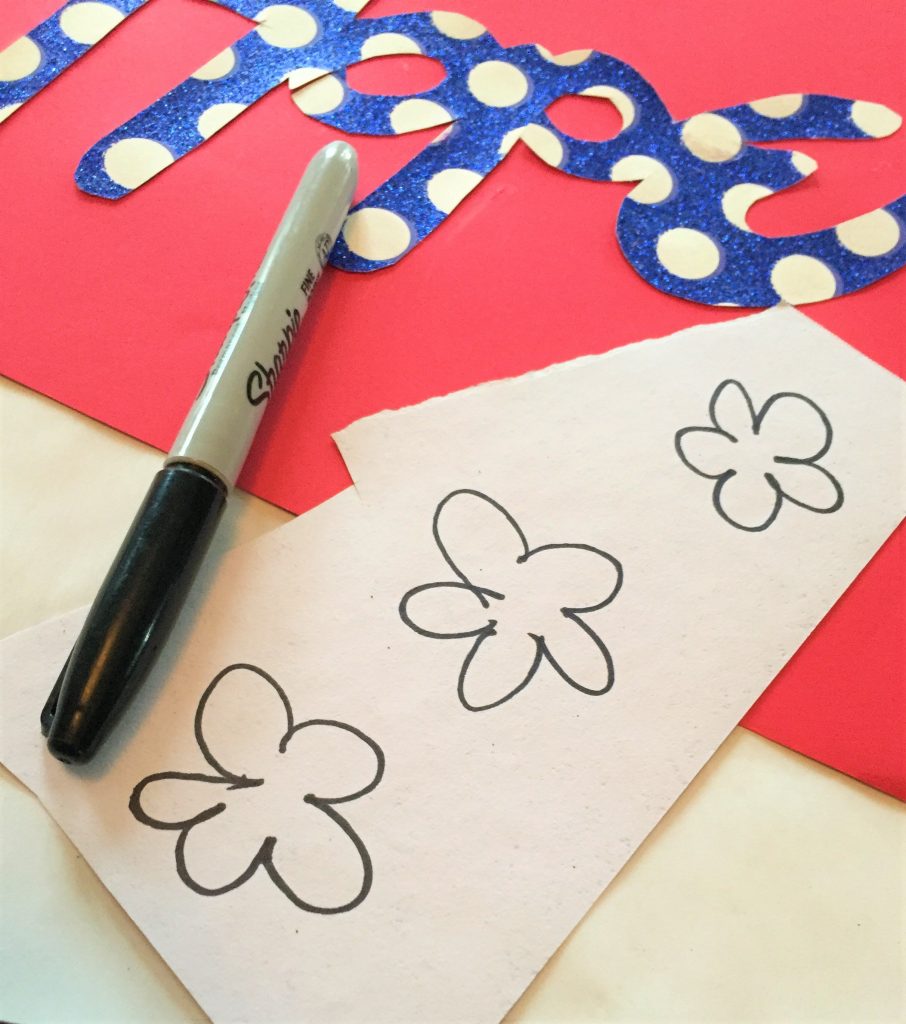
Step 4: Add accessories
If you have stickers, consider adding them now to add extra visual interest and whimsy to your sign. You could cut out images from cards, magazines or calendars to underscore the message. Birds, flowers and butterflies are great for this project because they represent Spring, nature and transformation.
Expert Tip: You could also add your own hand-written messages now. For example, you might add, “You are appreciated!” or “We are all connected” to them. “Keep the faith” or “Thinking of you and giving you a virtual hug” are perfect, too.
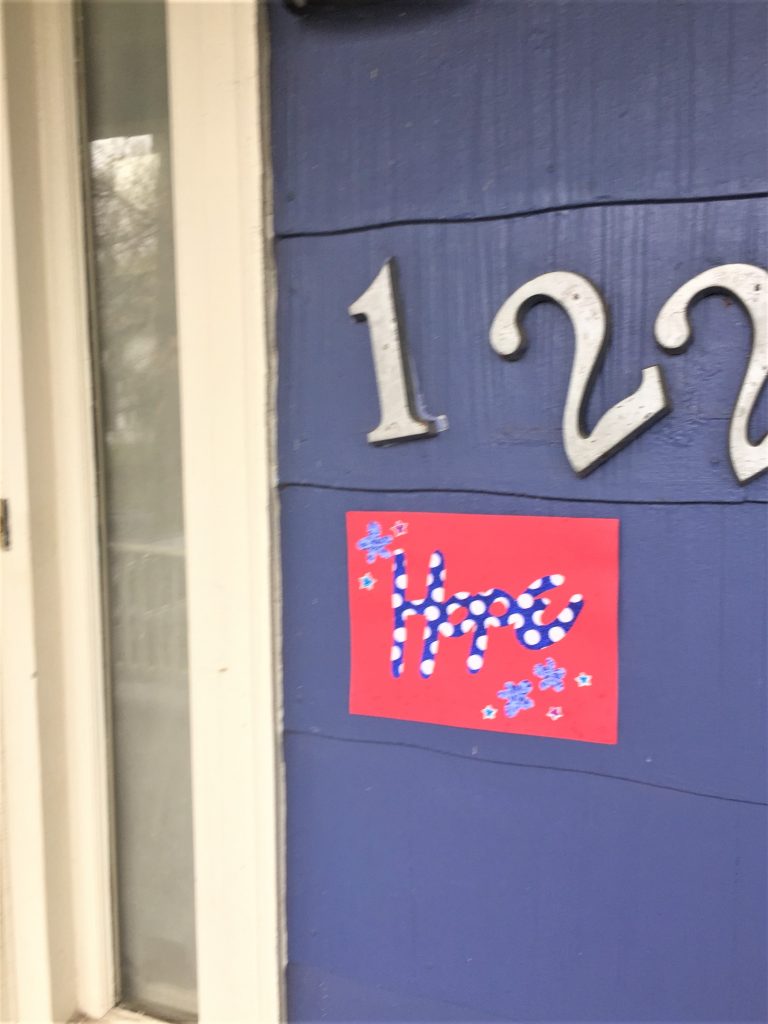
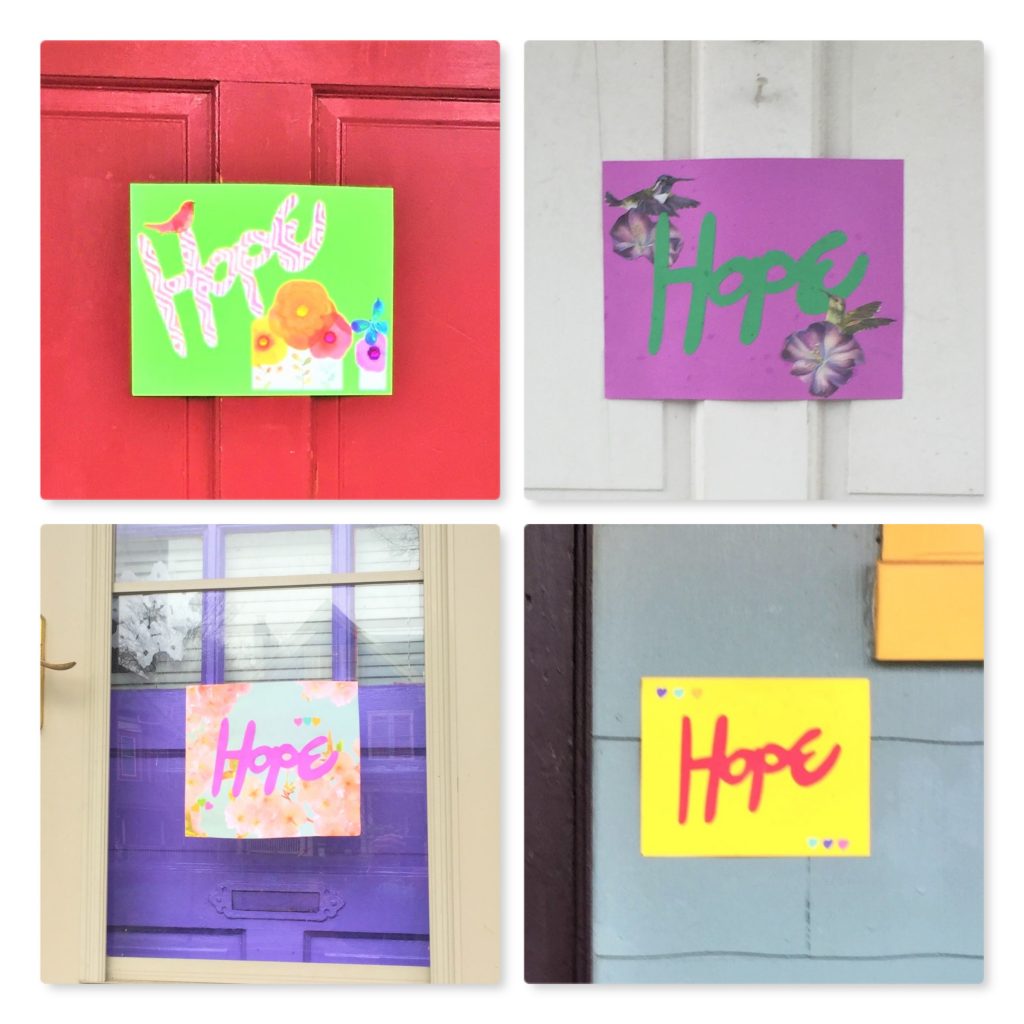
Step 5: Surprise your neighbors
This last step is what makes this easy DIY project so meaningful. Using painter’s tape to allow easy removal, post your Sign of Hope on the front door of your neighbor’s home or apartment.

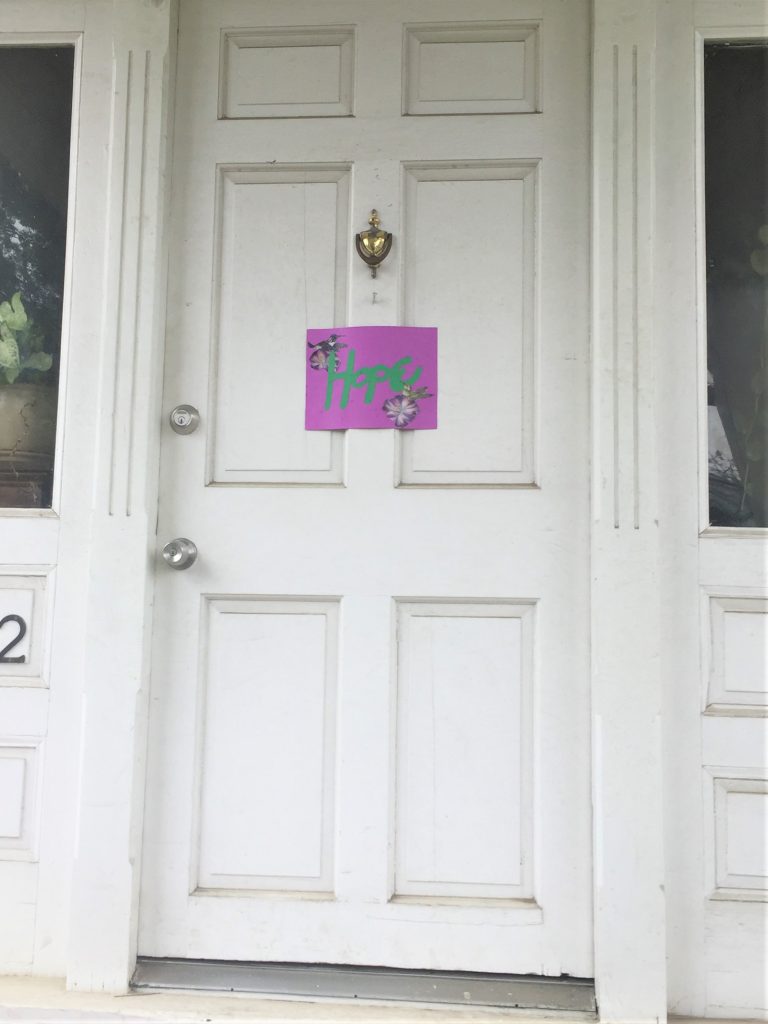
When they come home or step out and see your wonderful creation, it will be sure to lift their spirits. And you will get a lot of joy, too, out of giving this positive message for others to see.
So simple, so easily, so full of Hope!

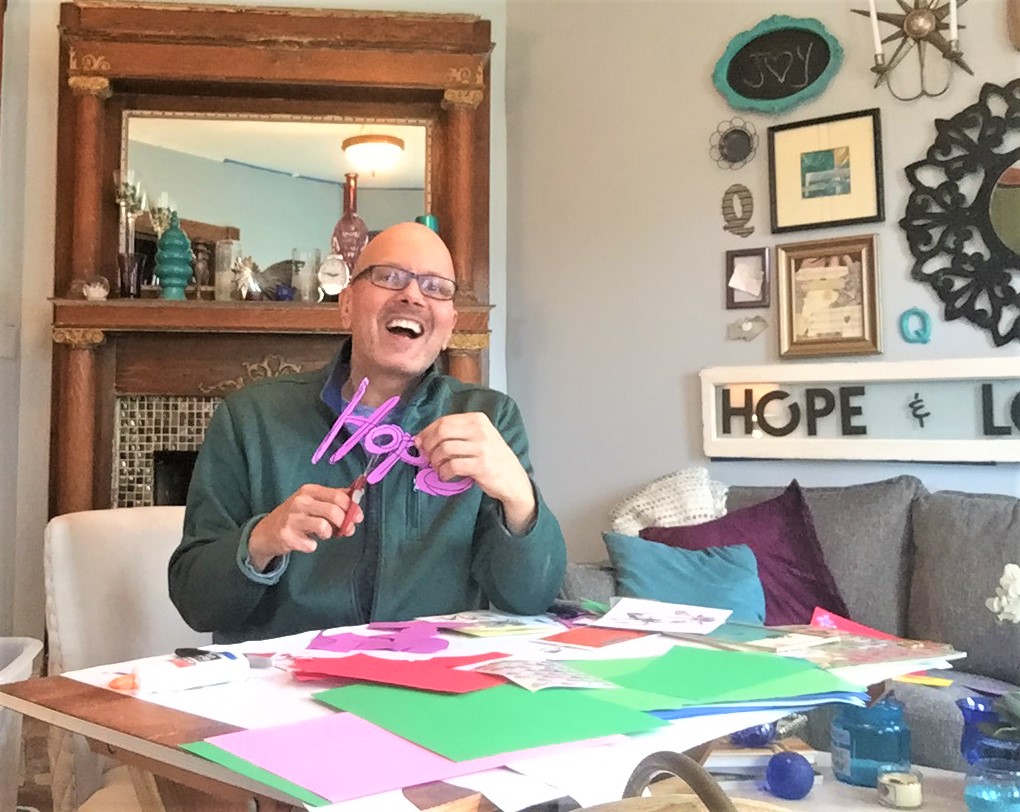
Tim Kime
Artist, Motivational Speaker, Life Coach

