Transform a bicycle into a planter that will be sure to turn heads. You’ll do wheelies when you see how easy – and charming -this project is!
Ability level: Easy
Age Level: Kids (with some supervision) and adults
Items needed:
- A bicycle
- Two baskets or buckets
- 4 cans of spray paint for bike
- 1 can of another color of spray paint for baskets/buckets
- Flowering plants
- Potting soil (if needed)
- Florist’s wire
- Wire cutters or scissors
- Drop cloth
Time requirement: 3 hours (not including paint drying time)
Cost: Approximately $50
- $15 for a bike
- $4 for baskets
- $20 for spray paint
- $14 for flowering plants
- $4 for florist’s wire
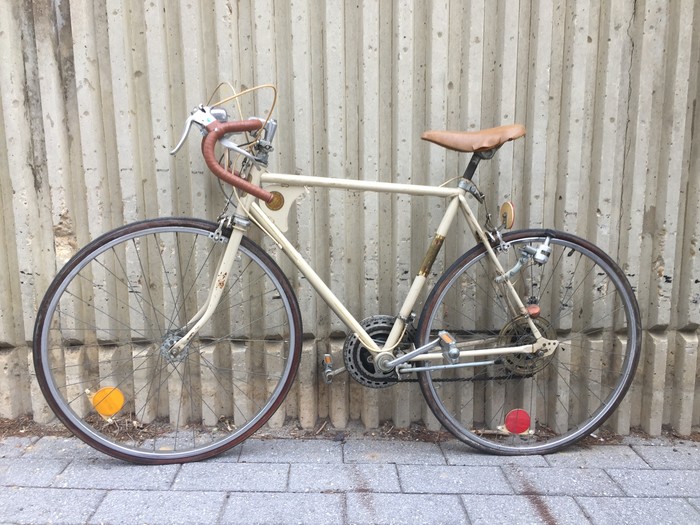
Step 1: Peddle on Over to Goodwill
It’s time to hunt for a bicycle for this project, so get on over to Goodwill to see what options are there ready to ride out. Any bike will do; while an adult-sized bike is ideal, you might consider using one for a child, too. Consider purchasing two bikes, too, to group together and double the fun!
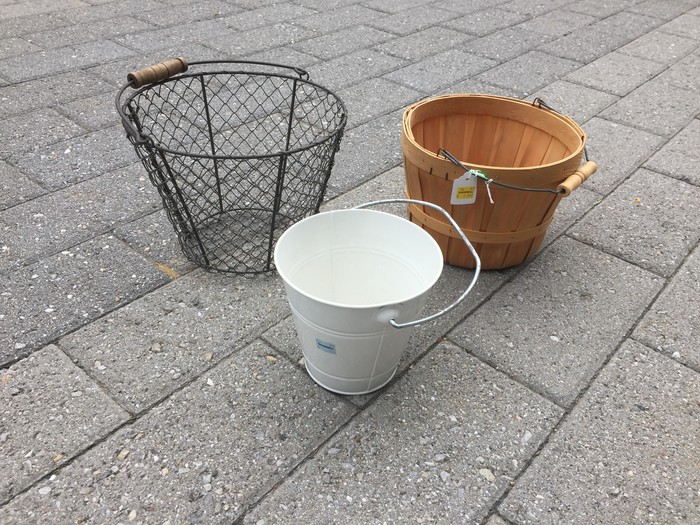
Next, head over to the Housewares section to look for baskets for your flowering plants. I suggest ones with handles to make it easy to attach them to the bike.

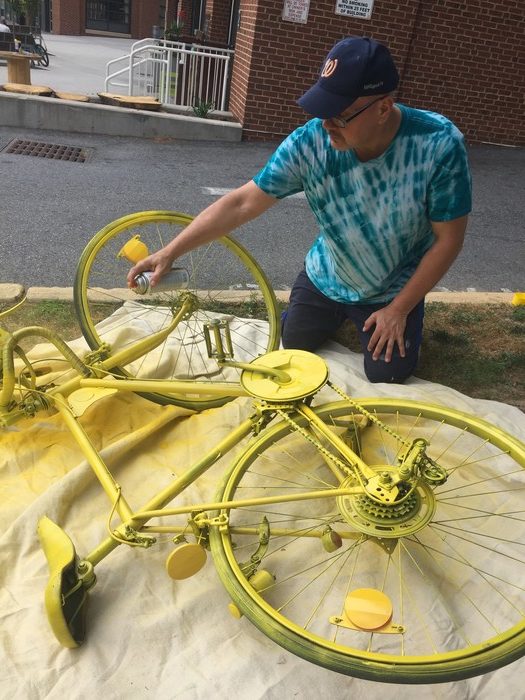
Step 2: Paint on the Transformation
When you get home, dust off the bike and wipe it down with a damp rag. Place it on a tarp outside, ideally in a shaded area so the summer sun doesn’t impact the spray painting process. This part is the most time-consuming part of the project because you want to ensure total, solid coverage. Spray on a light coat, let dry for an hour or so then place the bike on its side and give it another coat. Let it dry again then put the bike on its other side. You will want to ensure you are getting every part covered well so looking at it from a variety of angles will help. Based on the condition and age of your bike, painting the tires may take some time, too. Once done, let your newly painted bike to dry overnight.
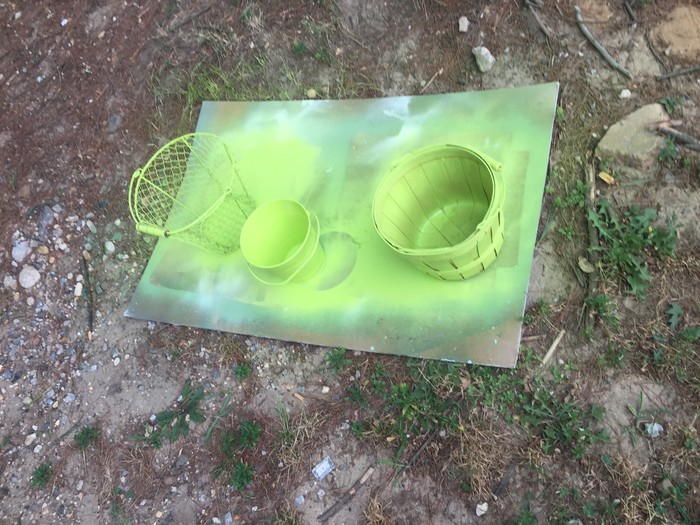
In between coats while painting your bike, turn your attention to your baskets. Use another color of spray paint to add extra visual interest. As with the bikes, spray on a light coat of paint, let it dry then turn the baskets over to ensure all parts are covered. Let these dry overnight, too.
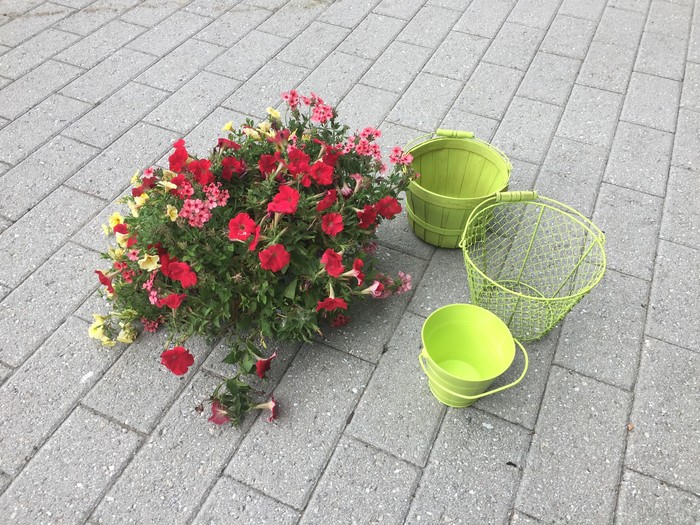
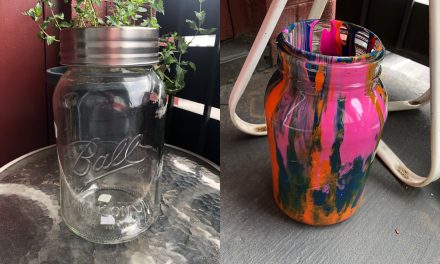
Step 3: Flower Power!
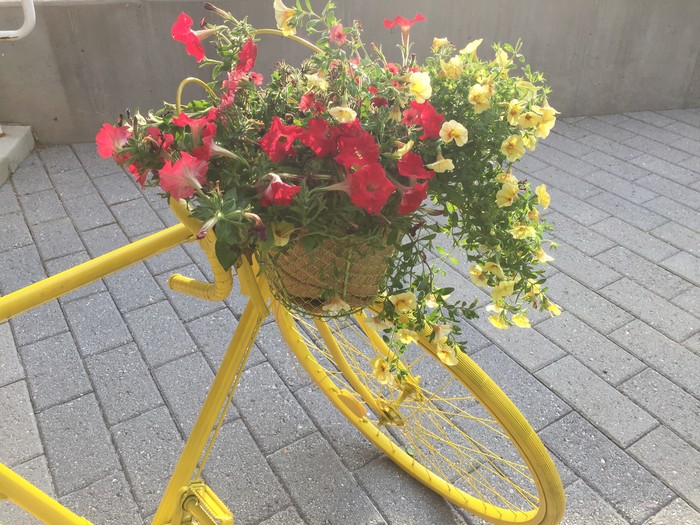
When your baskets are completely dry, fill them with dirt and add your flowering plants. I purchased one larger planter then divided it into parts for each basket. You may buy individual plants in bright colors and may need to add potting soil. Expert tip: a bike planter looks best when the flowers cascade down from the baskets. Select annuals that will hang down and spread out.
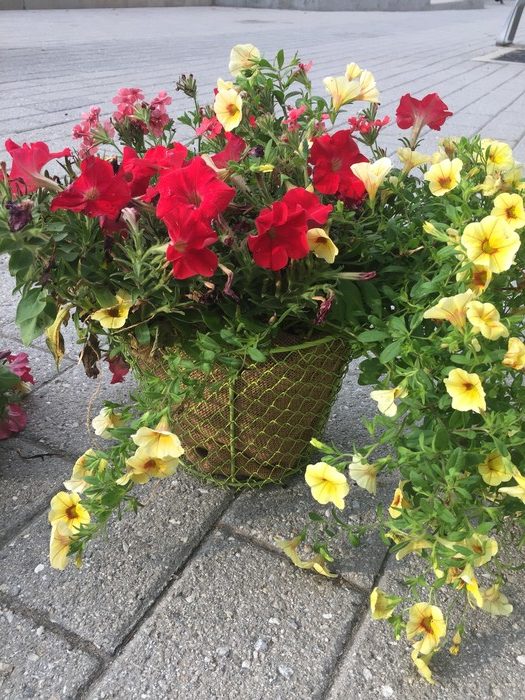
Step 4: Wire Your Baskets On
With pieces of the florist’s wire, attached your flowering baskets. Place one basket on the handlebars and another by the seat.
Step 5: Water Well
After you secure the baskets with the plants to the bike, be sure to water them well.
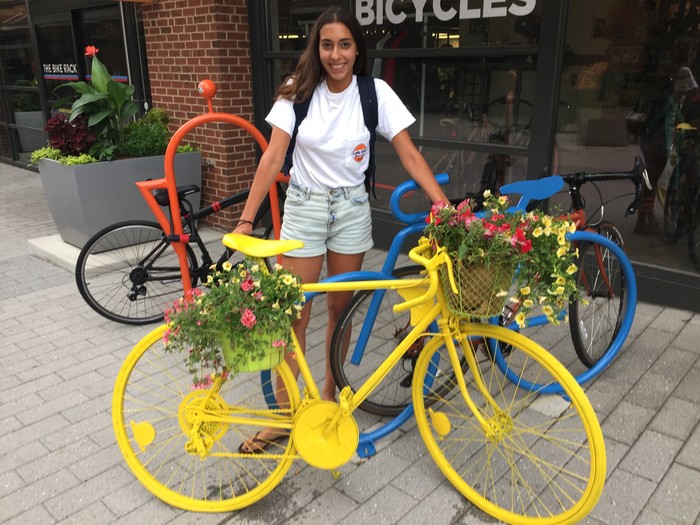
Step 6: From Bike Trail to Your Garden: Find Your Planter a New Path
Your new bike planter can go anywhere, from standing in your garden to welcoming guests by your front door. One guarantee with this project, this transformed piece will attract miles of smiles!
Tim Kime is an artist, life coach, connector. He is President of Kime Leadership Associates offering executive coaching, meeting facilitating and motivational speaking. He is also Chief Creative Force of Transformation Junkies which upcycles furniture and other household items into functional works of art. He combined his two passions—unleashing the potential in people and transforming items with the launch of the Art of Possibilities Workshops. These workshops are part upcycling, part dreaming, part goal setting.