Connect crates to create a cool catch-all for your collectibles, coffees or cocktails (how about that alliteration?). This totally charming shelving unit works great and looks good when it holds your kids’ school supplies, toys and gear. Arrange your personal library in it or use it to display your musical collection too!
No matter how you use it, it will be a welcome addition to any space and an instant hit with folks of all ages. Follow these simple steps to make one—or two or three—for yourself because it can be used in so many wonderful ways!
Supplies Needed:
1. Three or four wooden crates, various sizes
2. Drill
3. Screwdriver
4. Wood screws
5. Wood glue
6. Spray paint (two cans)
7. Painter’s tape
8. Craft paper
9. Leftover wall paint
10. Scissors
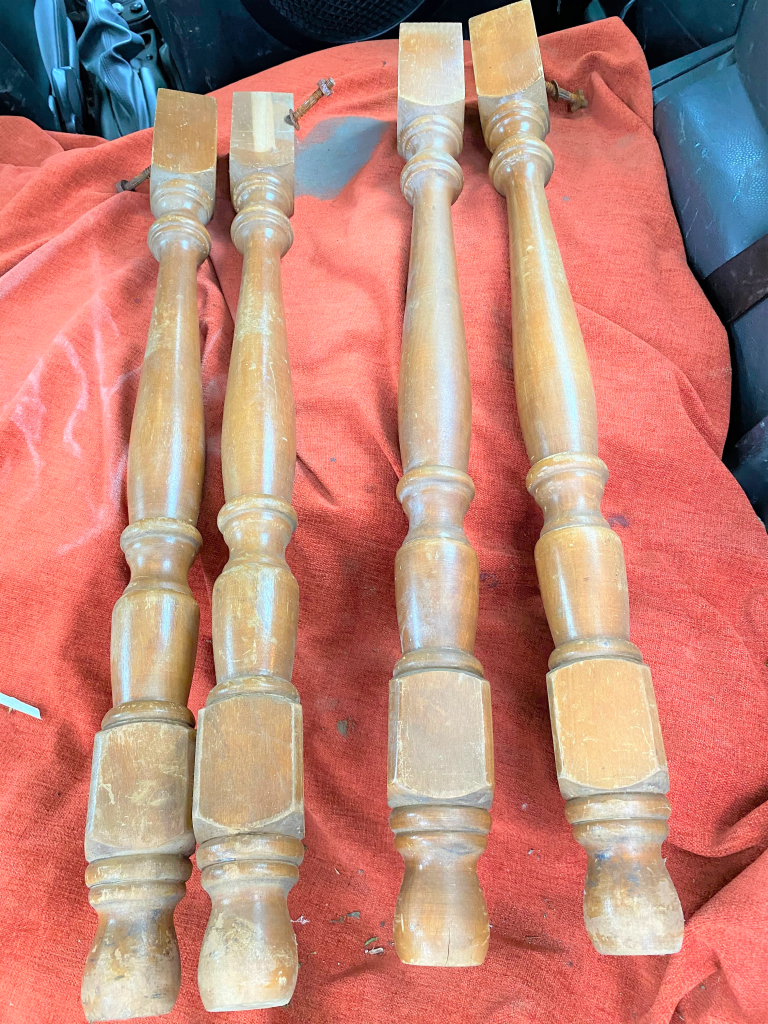
11. Scrap wood pieces or ends of table legs
12. Sandpaper or sanding block, medium grade
Step 1: Take a voyage to Goodwill
Now open with lots of safety precautions and practices in place, your favorite Goodwill store awaits you. Hunt for crates for this easy DIY project.
I found several for just a few dollars each and combined them with a couple I had leftover from a farmer’s market.
While finding your good there, also look for a small wooden table that you can take apart to use a portion of its legs.
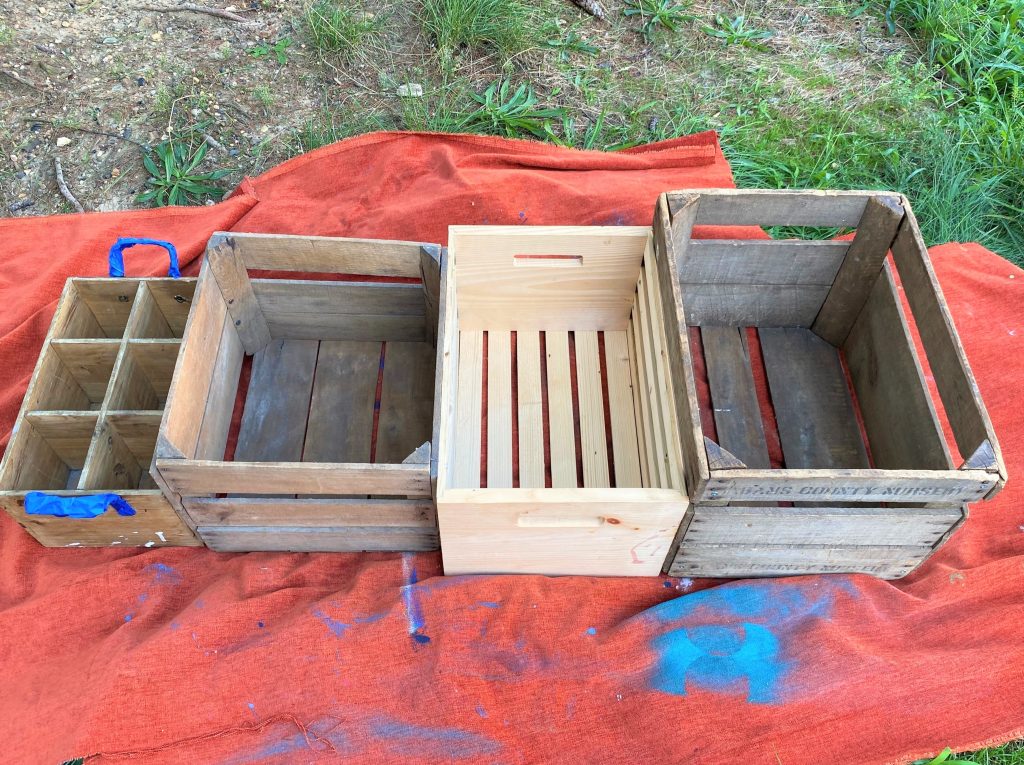
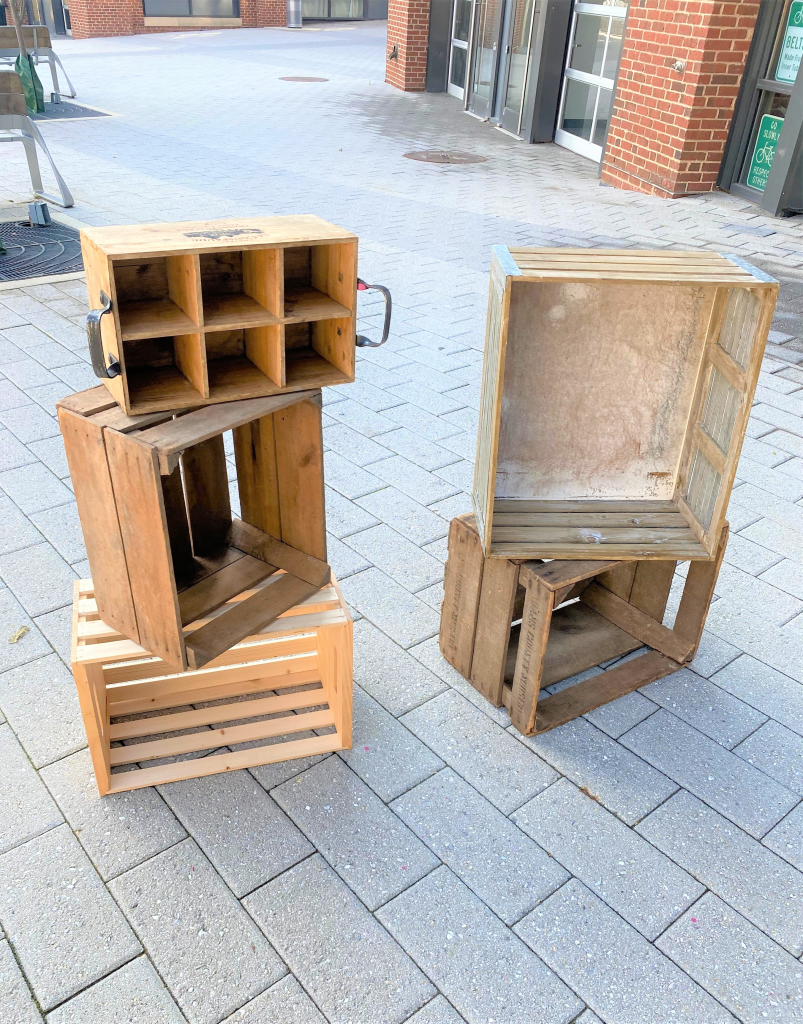
Step 2: Stack ‘em til you like ‘em
- To determine the look of your crate shelves, place them one on top of another being mindful of size and shape.
- Switch their places and consider vertical and horizontal positioning so that the final piece looks really nice. I had a small crate which held wine bottles at some point and I knew I wanted to use it on the very top of this repurposed piece. One crate looked too flat when part of the grouping. It was fun to experiment with various options.
- Once you get a look you like then take a picture of it for reference.
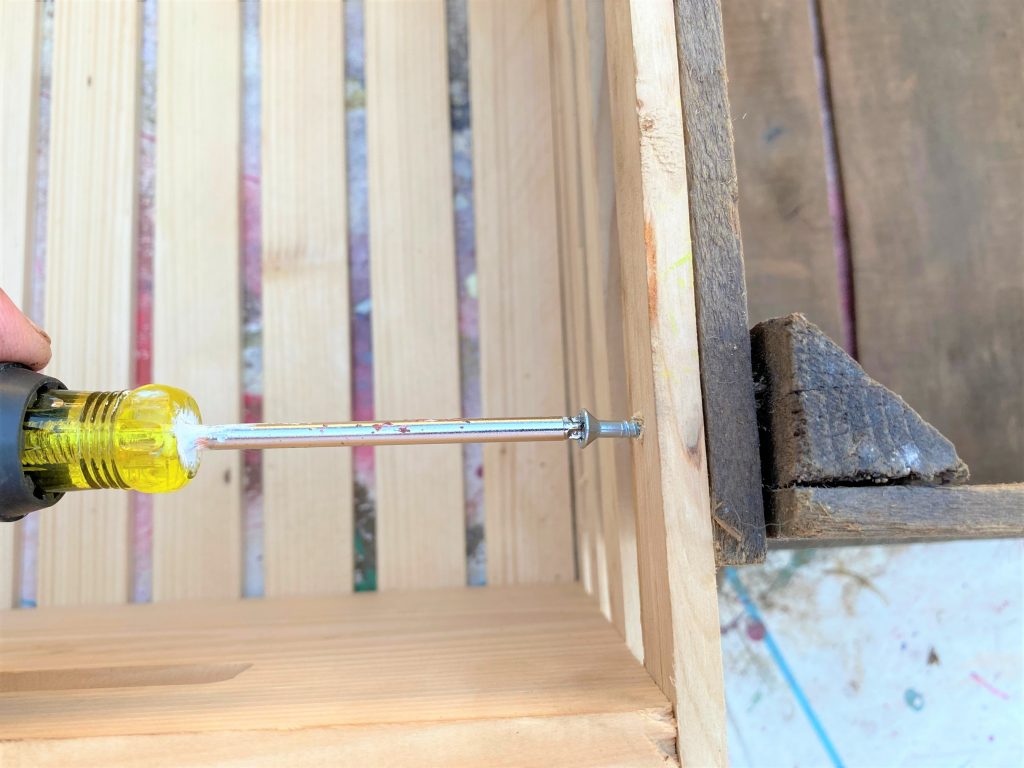
Step 3: Screw & glue
- On your work surface, place your bottom crate and the one next in line, back to back.
- With your drill, add holes for your screws so they go from one crate into the next.
- After drilling your holes, separate the two crates and add wood glue to surfaces that will be touching. Then put back in position and screw in your wood screws.
- Repeat this step with the next crate and the next. I put four screws in between each crate and with the glue; this ensured a very secure and solid fit.
- Use a damp rag to remove any dripping glue or places where the excess might show.

Expert Tip: If you are using old crates, you may want to use a hammer to secure the nails, pins or staples which hold them together. The bottom crate used for this project was a little wobbly, so I drilled holes and added screws on the outside corners to tighten things up. It was super easy, quick and made such a difference!
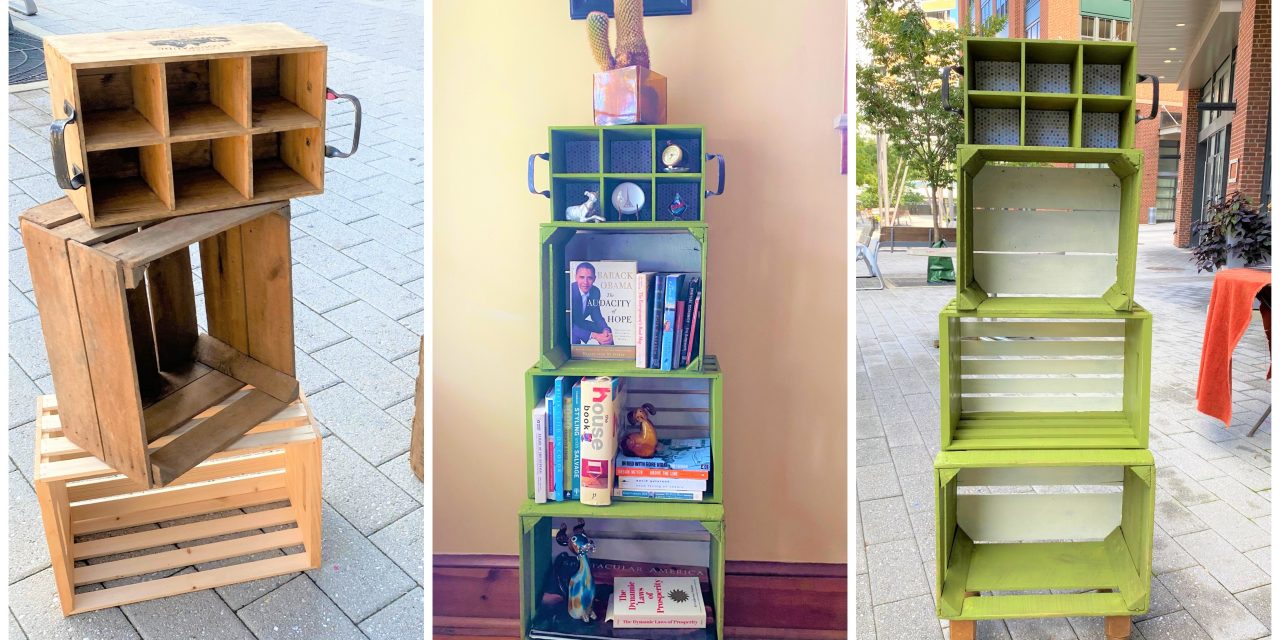
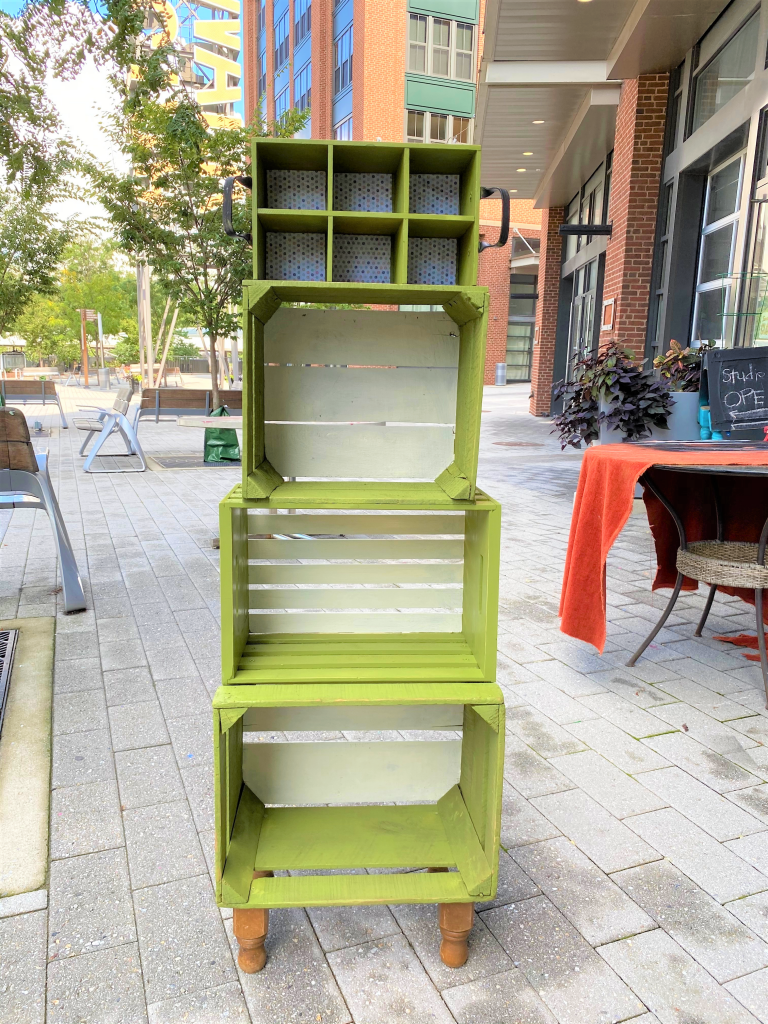
Step 4: Spray on a cohesive look
To make your mismatched collection of crates look connected and cohesive, use spray paint now. While any color would do the trick, I chose a rich green color that felt organic, timeless and would look good in any setting from the living room to the kitchen to the bathroom.
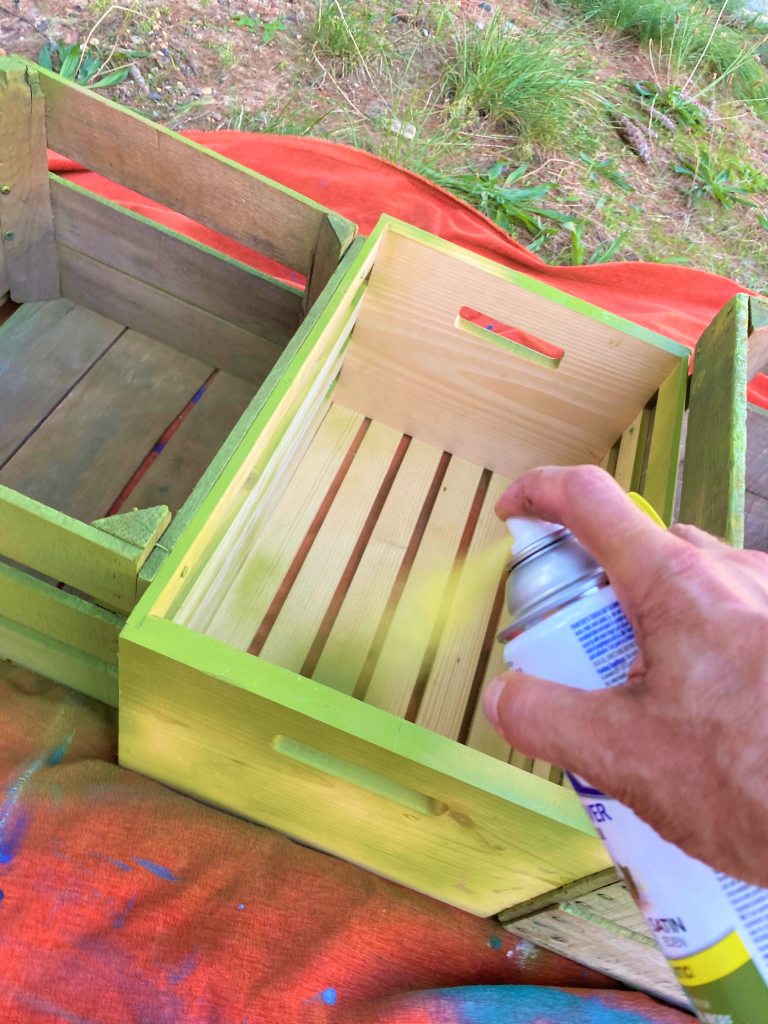
- Carefully move your secured crates outside and onto a drop cloth.
- Add a light layer and let it dry.
- Place it on its back, then stand it up for the next round of spraying.
- Dance around your piece to ensure you are seeing it from every angle and, therefore, getting every edge and part.
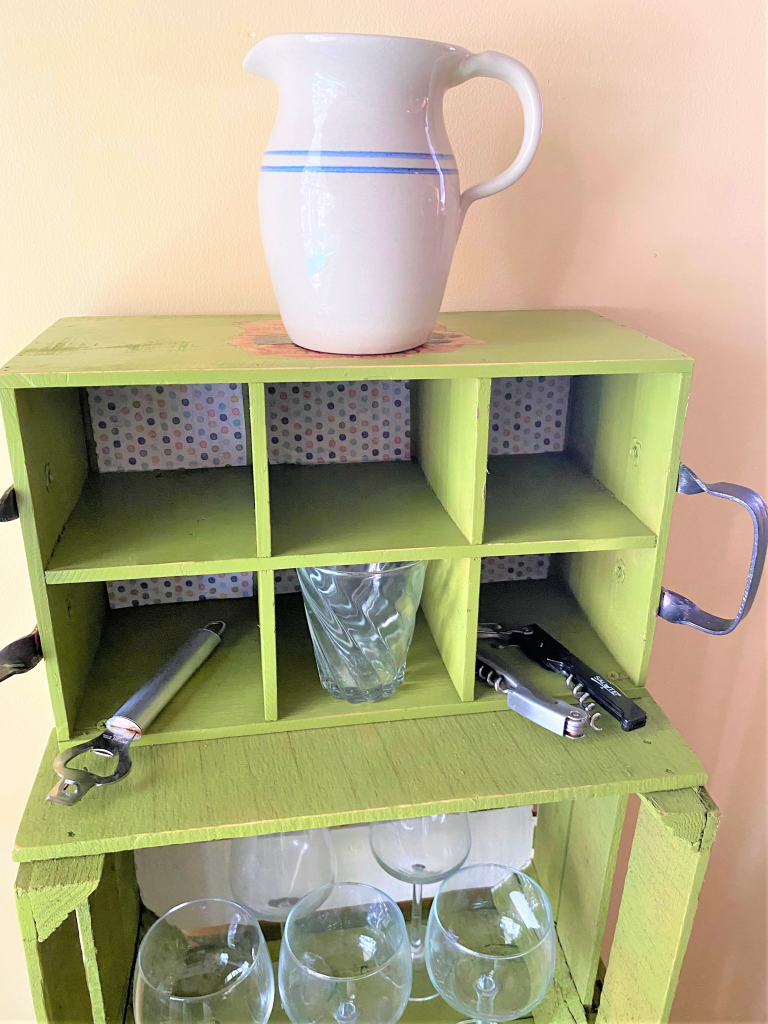
Design Idea: Do your crates have any unique parts or markings that you want to keep visible? My top crate had nice metal handles and a printed stamp from the vineyard where it came from, so I covered them with painter’s tape to protect them from getting covered with paint. These details added additional visual interest and whimsy to the final look.
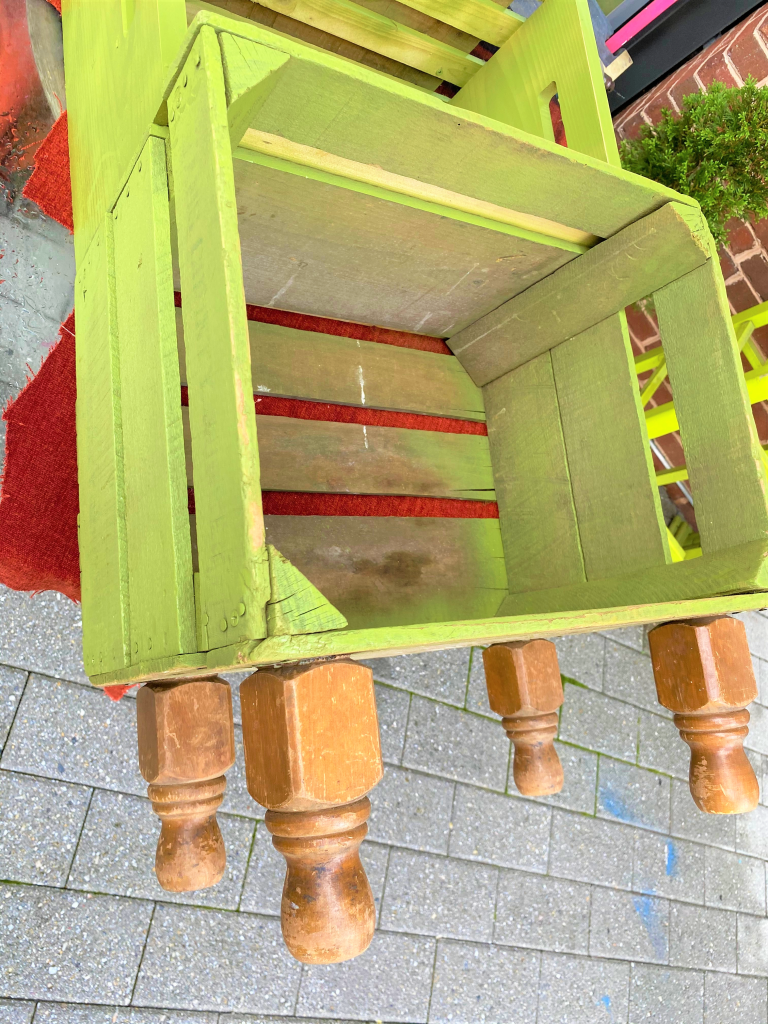
Step 5: Raise your shelves— and your spirits—with little legs
- To give your crate shelves a grand look, secure wooden legs to the bottom of the lowest crate.
- I had some old table legs which I cut, so they were shorter for this project. You could use some scrap wood and cut them into four squares to raise up your shelves.
- Use your drill to add holes and secure them with wood glue and screws. This small touch will have a big impact with the overall look and feel of your project. I am so glad I saved the old table legs as they look great in their repurposed, new role!
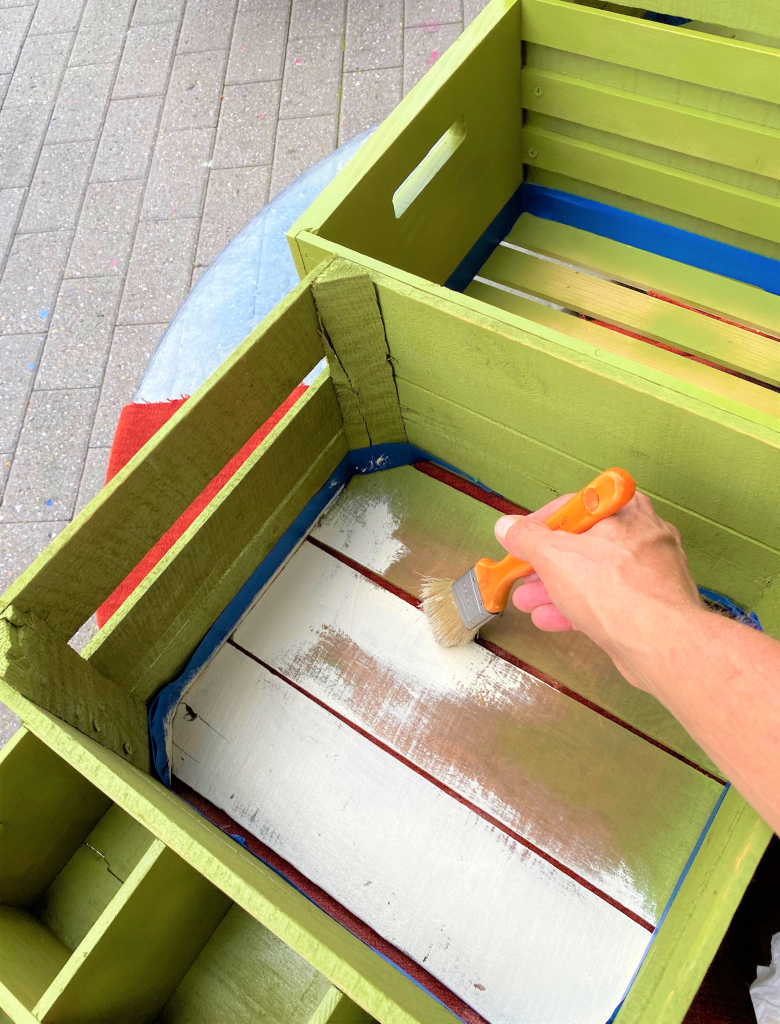
Step 6: Highlight the back panel with paint and/or paper
- While spray painting the back panel (formerly the crate’s inside bottom) would work fine, you will want your project to go from good to great. Paint the back a complimentary color to make it stand out. I suggest a lighter tone to add a level of brightness to your unit.
- Use painter’s tape to protect the sides. You could also use colorful wallpaper or craft paper, too, to make your shelves super special. In my collection of craft papers, I found perfect piece with dots that picked up the green color, brown wood tones and cream background paint.
- If using paper, measure, cut and glue into place.
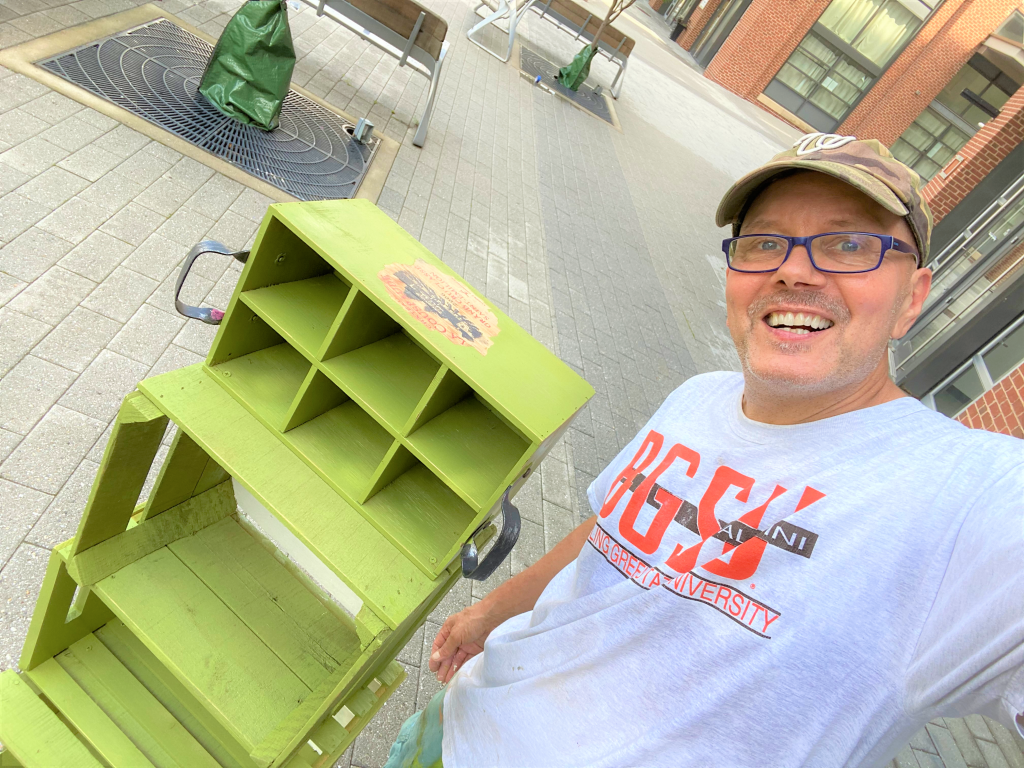
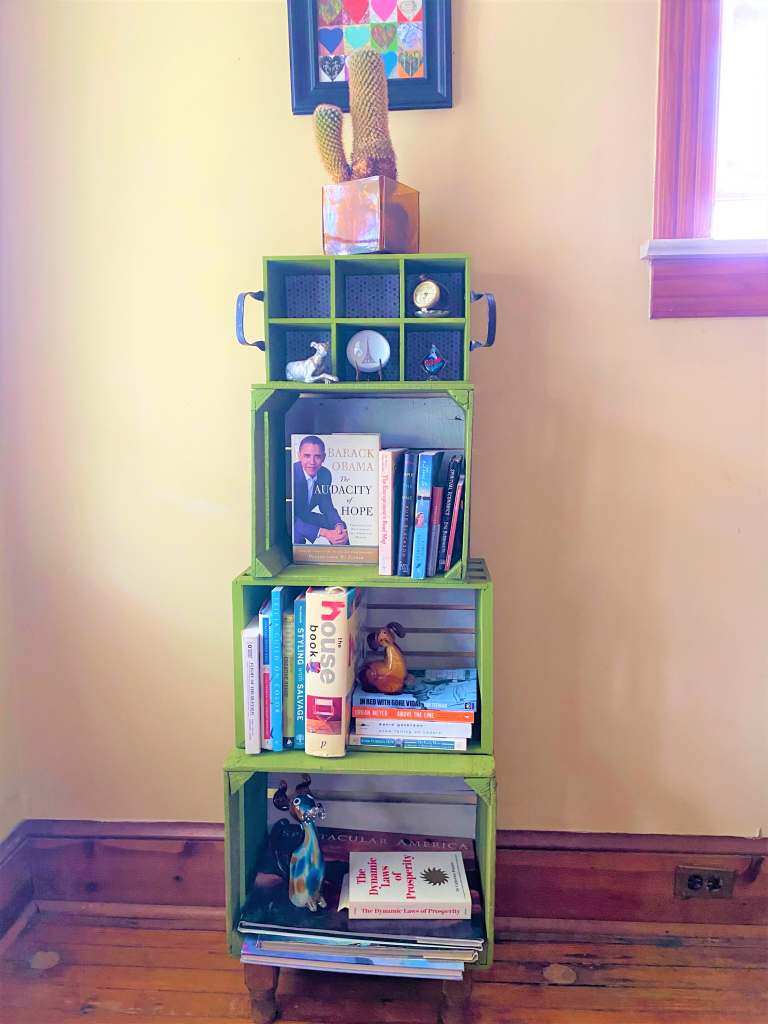
Step 7: Pick a place then fill with love!
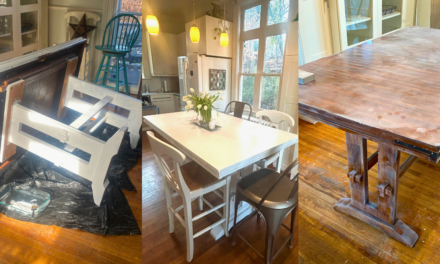
These crate shelves will add charm to any room. I wish I had created three!
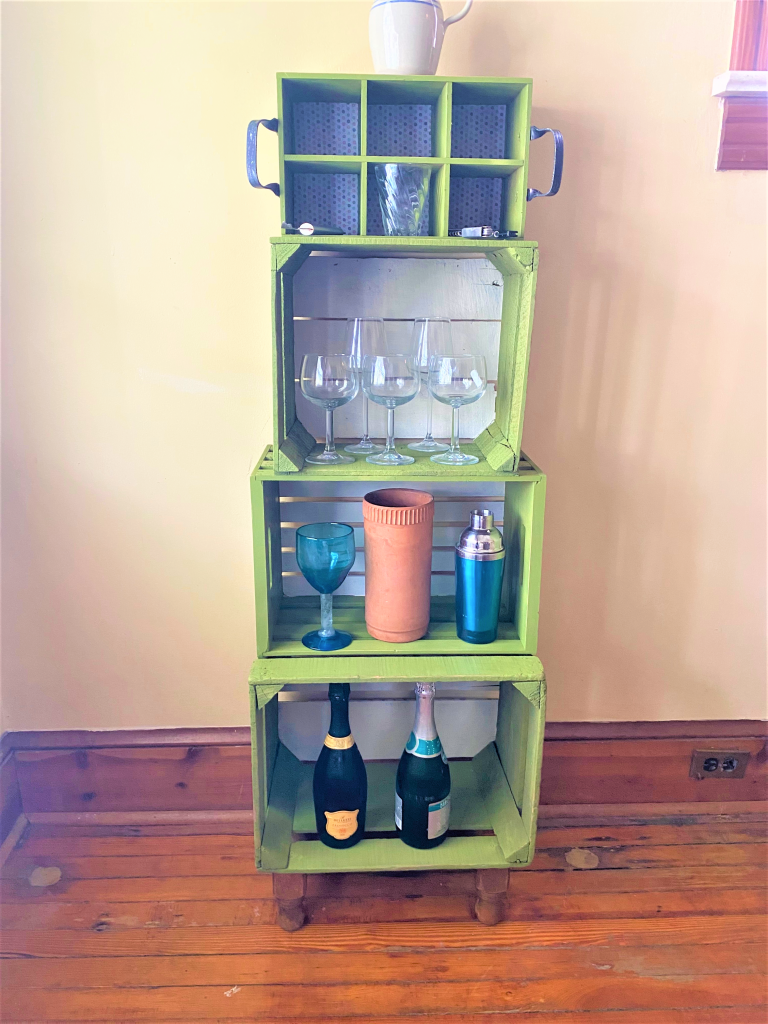
As you are able to see by the photos, I staged one to hold a collection of books and special collectibles. Secondly, I set it up as a bar which would be well served in a smaller apartment or condo.

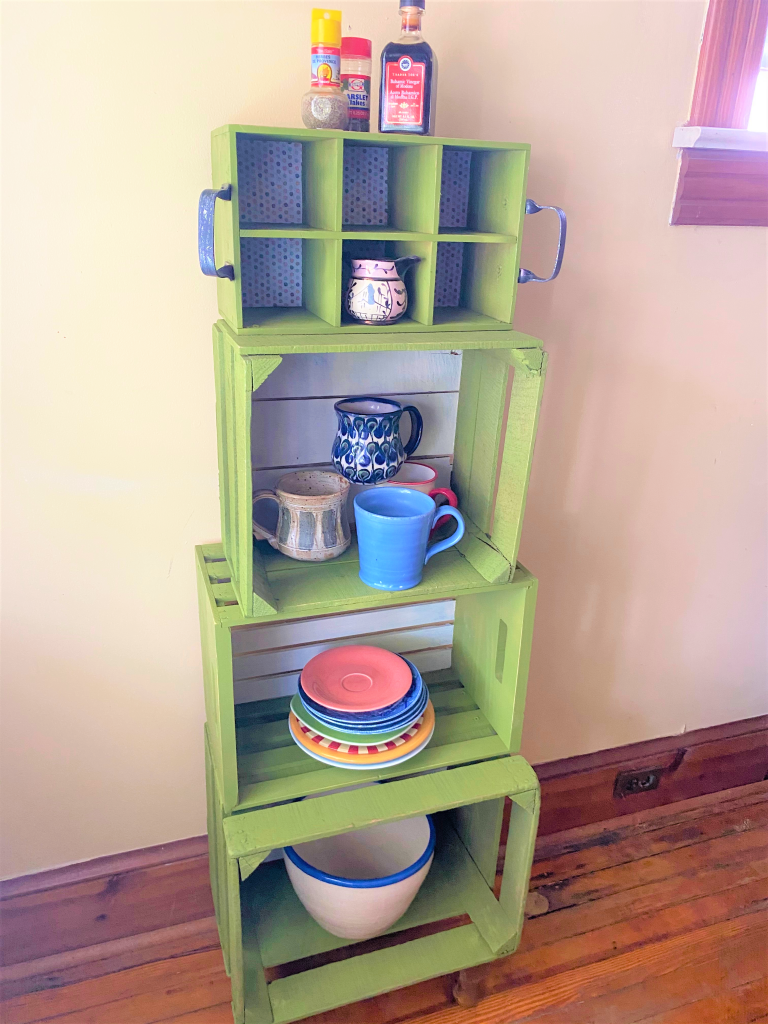
Lastly, I put dishes, mugs and serving bowls in it so it would work very well in my kitchen.
This project is clever, easy and so functional that I know you will love, love, love it. Where will your crates turned shelves go in your place? Share, share, share how you would use this and send us pics of it set up and ready for business. Thanks, thanks, thanks!

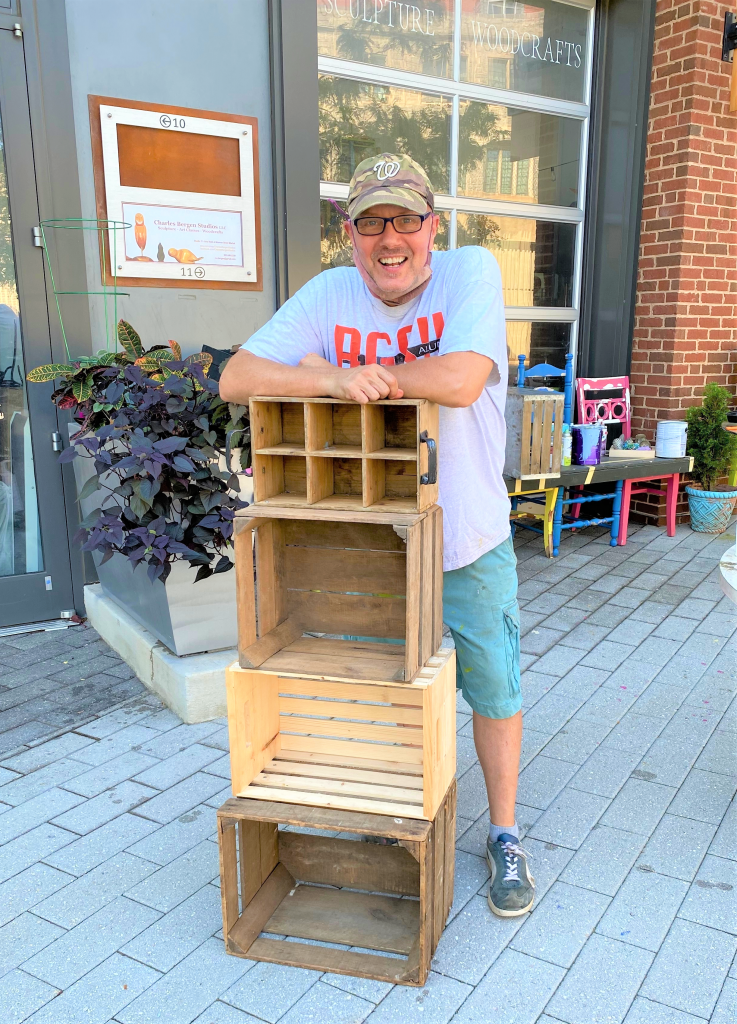
Tim Kime
Artist, Motivational Speaker, Life Coach
