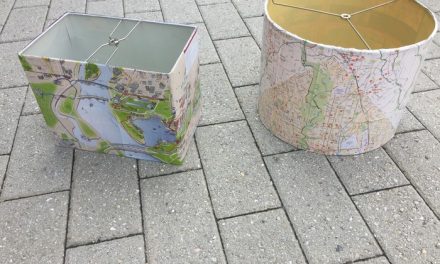
With June being Pride Month, you can show your support by giving a piece of furniture a colorful transformation. Rainbows are happy and appealing to all, so turn a blah piece into one that is sure to attract attention and be celebrated all year long! You won’t have to channel Dorothy by being somewhere over the rainbow because you’ll have something right in your own place you call home!
1. Find your good and a solid piece at Goodwill
Now that more and more Goodwill stores across our community are open for business with expanded hours as many of us are vaccinated, you will have even more time to shop there for cool and unique items. Rather than shopping online, you can help keep used furniture out of local landfills by shopping in person at Goodwill.
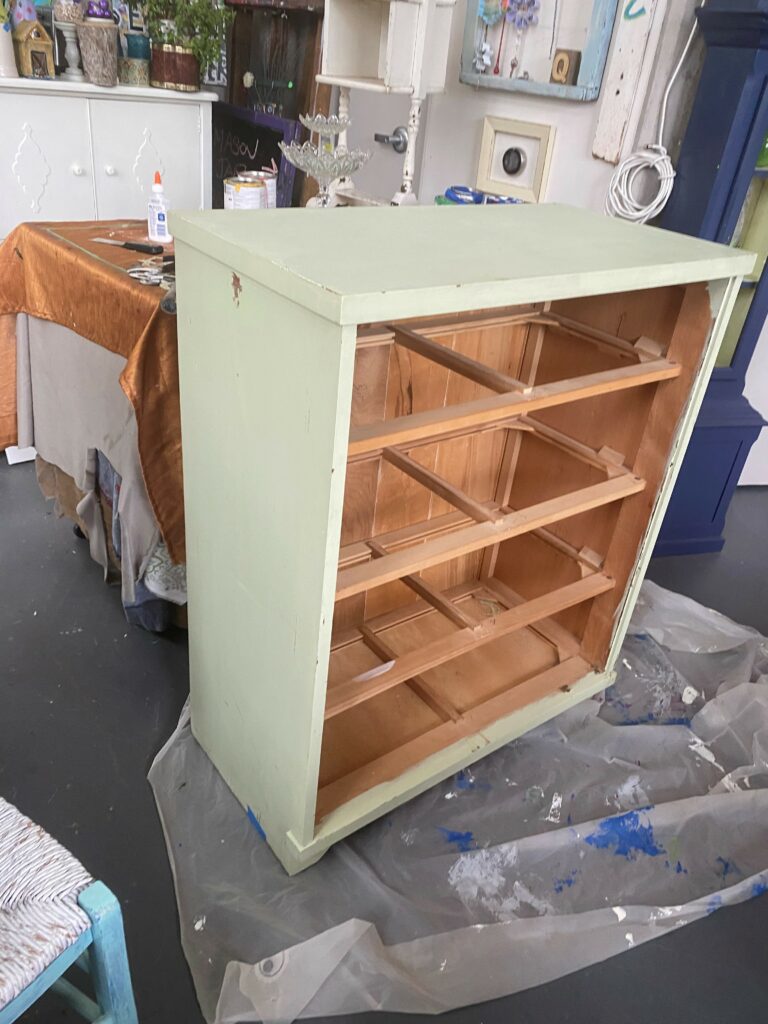
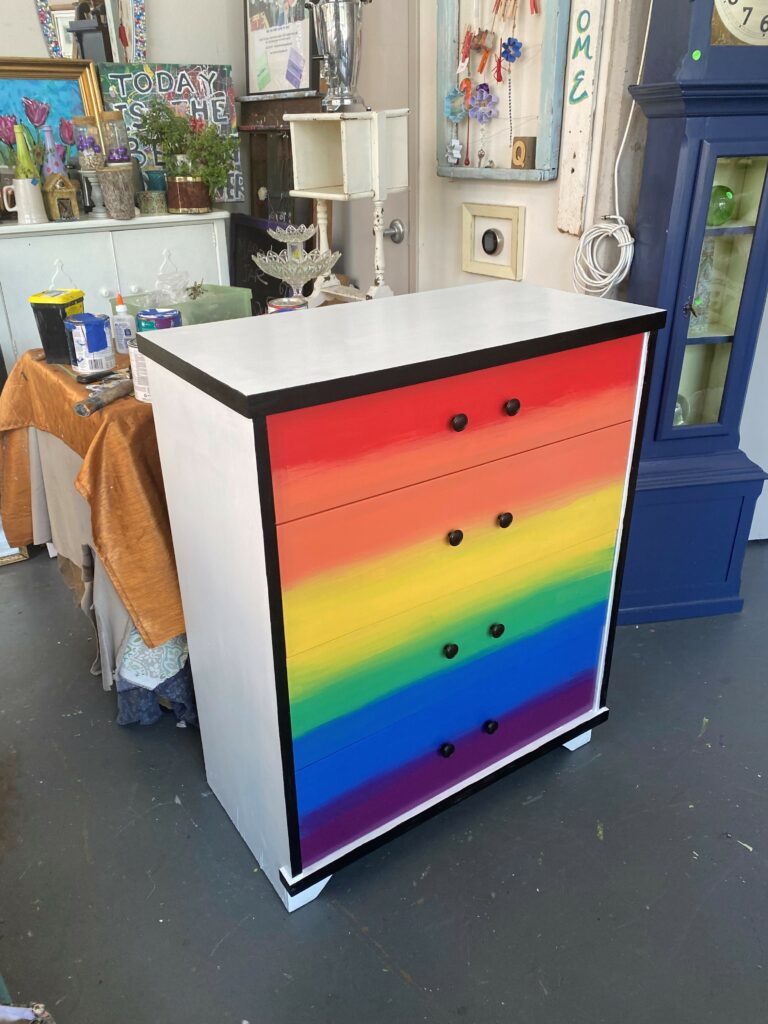
If you are like me, you might do some dumpster diving to find an item to transform. The dresser featured in this blog was left in the trash room by my studio and, just as I was moving it out, the dump truck showed up and would have taken it away. I’m so happy that this piece got saved just in the nick of time, and now will grace someone’s home or office rather than taking up space in a landfill.
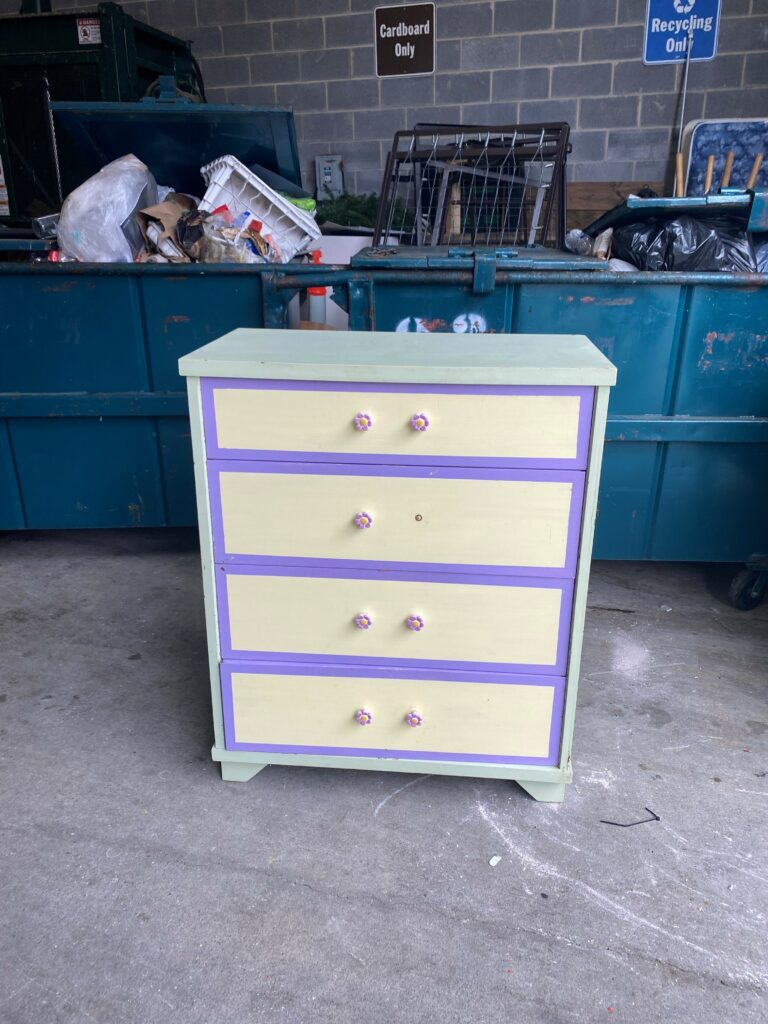
Why this piece? It was in excellent shape, other than its dated colors and missing knob. It was constructed of solid wood/wood parts. Also, the drawers were big and deep. Clearly, it was meant to be!
2. Prep for painting & transforming
- Remove the drawers and take off the knobs.
- Keep the knobs, if you won’t be reusing them for this project and enlist them for a future upcycle.
- With a medium-grade sanding block or paper, buff up your piece to smooth out edges and to prime your piece for painting.
- Wipe down all parts with a damp cloth to remove dust and dirt to create a clean slate—and blank canvas—on which to be creative.
3. Let your true colors come shining through
Cyndi Lauper sang, “I see your true colors shining through, I see your true colors and that’s why I love you. So don’t be afraid to let them show.” A perfect theme for this Pride-inspired, upcycled project!
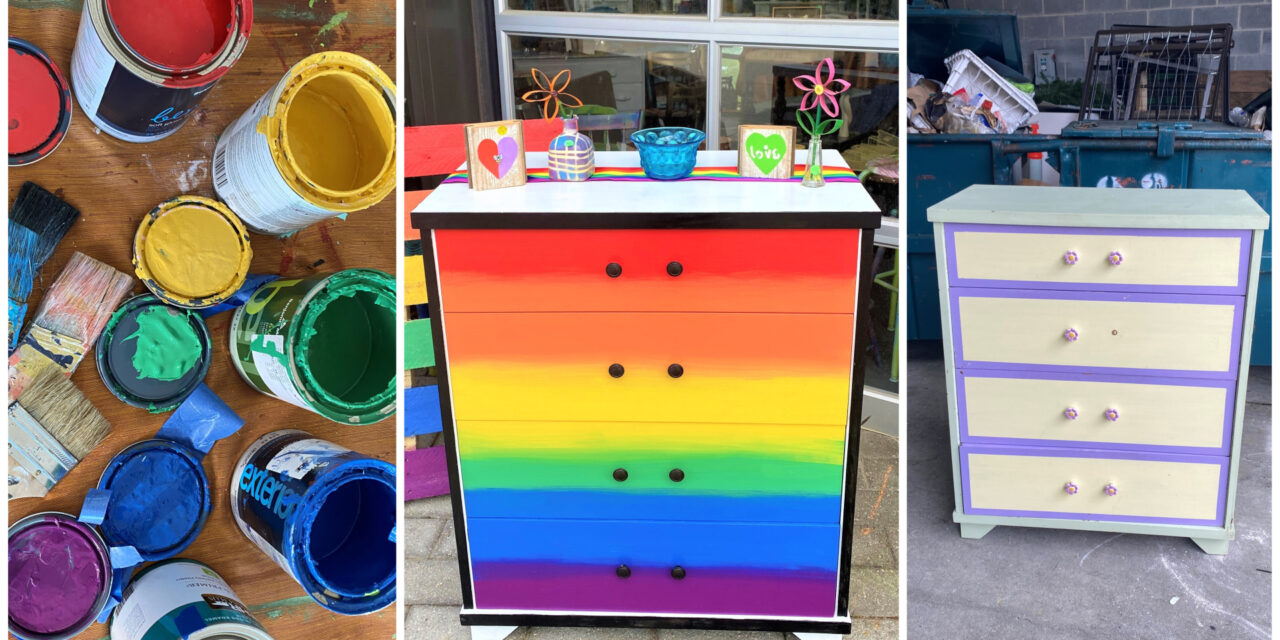
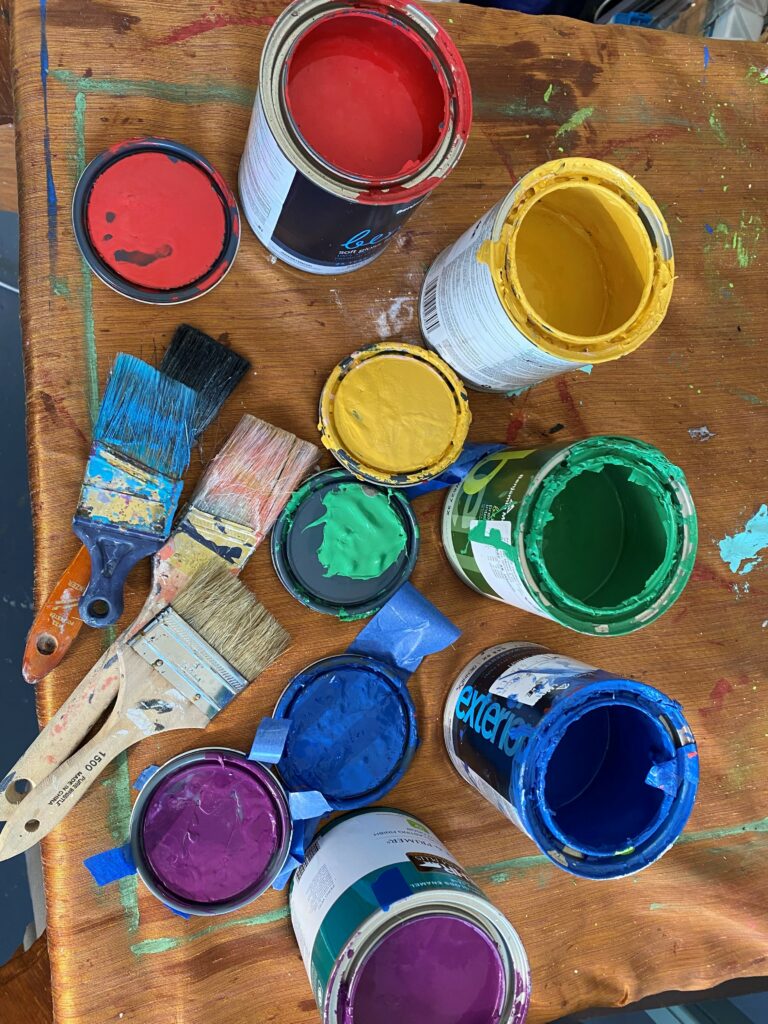
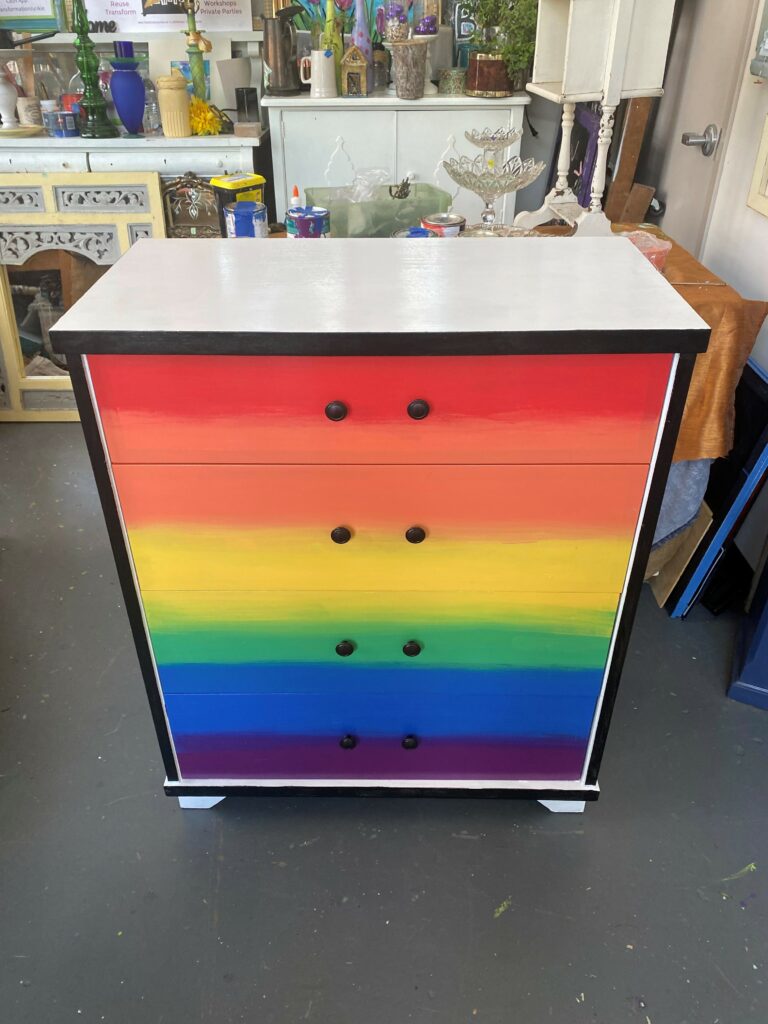
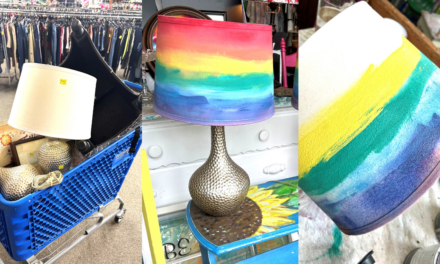
Essential colors for a rainbow are red, orange, yellow, green, blue, and purple so collect those tones from your paint collection or hit your neighborhood hardware store to purchase them. The paints used for this project had primer mixed right in and had a soft gloss finish making them the ideal choice.
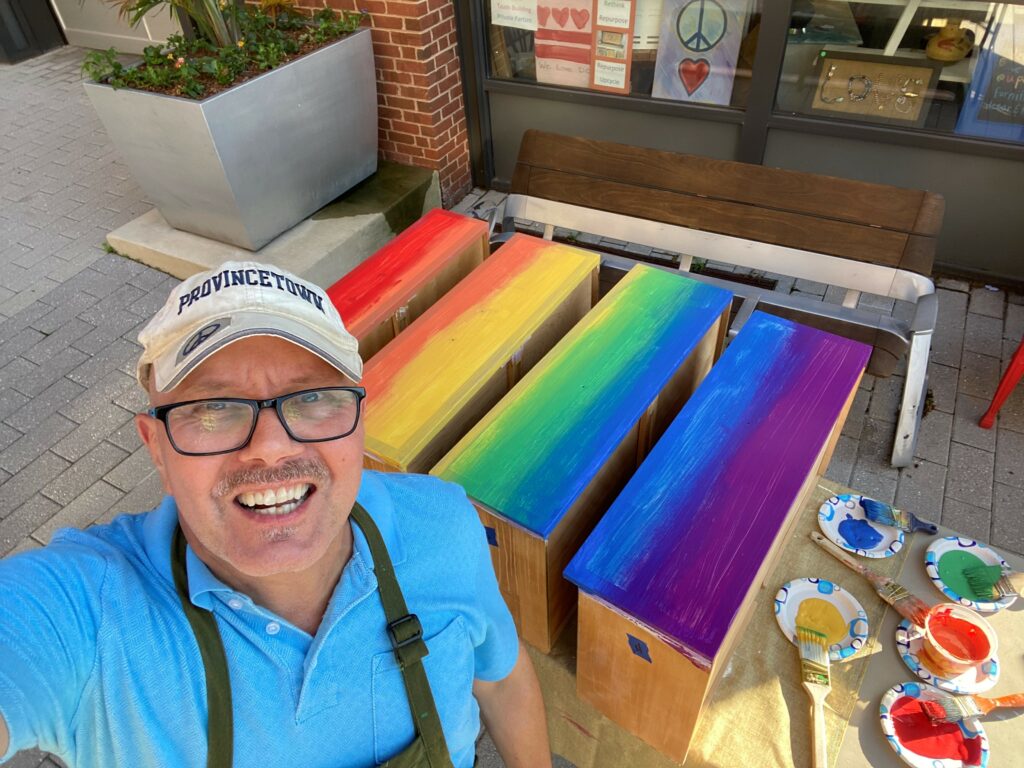
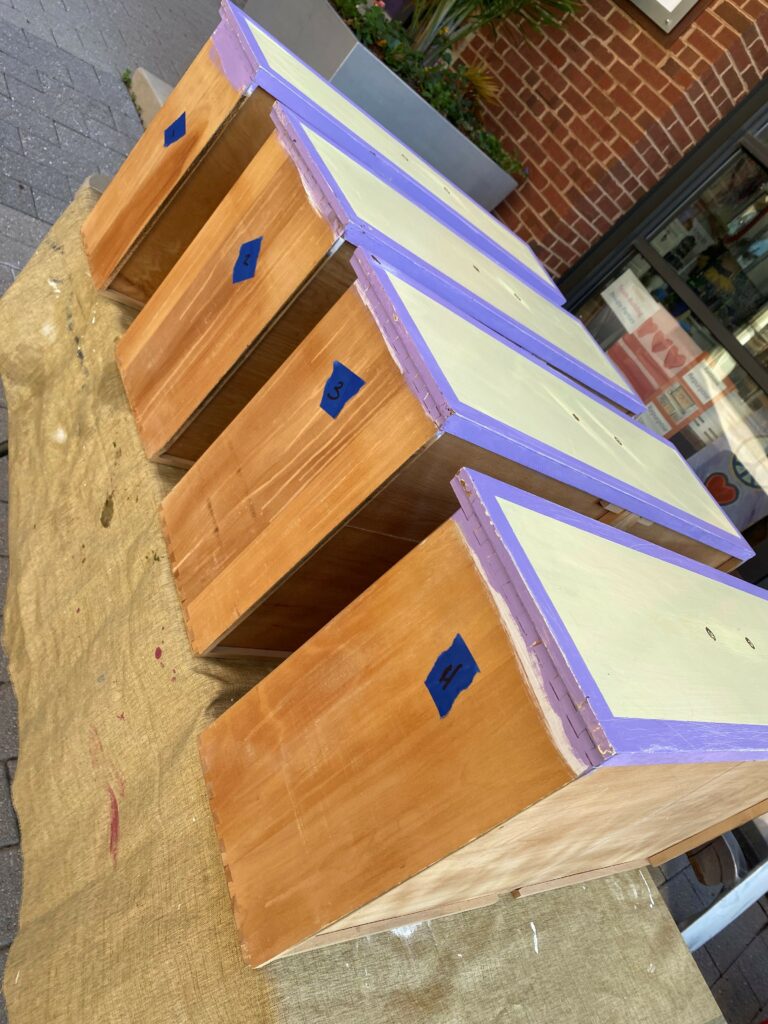
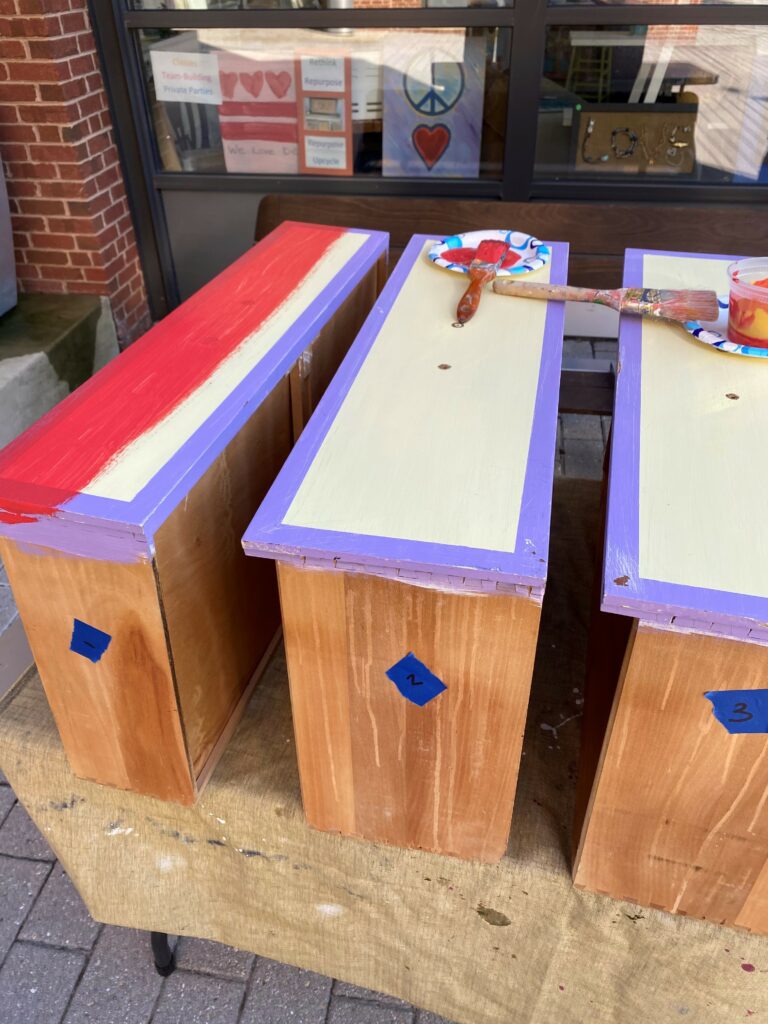
Place your drawers on a drop cloth and put a piece of painter’s tape on the side and number them so you can easily return them to their proper place.
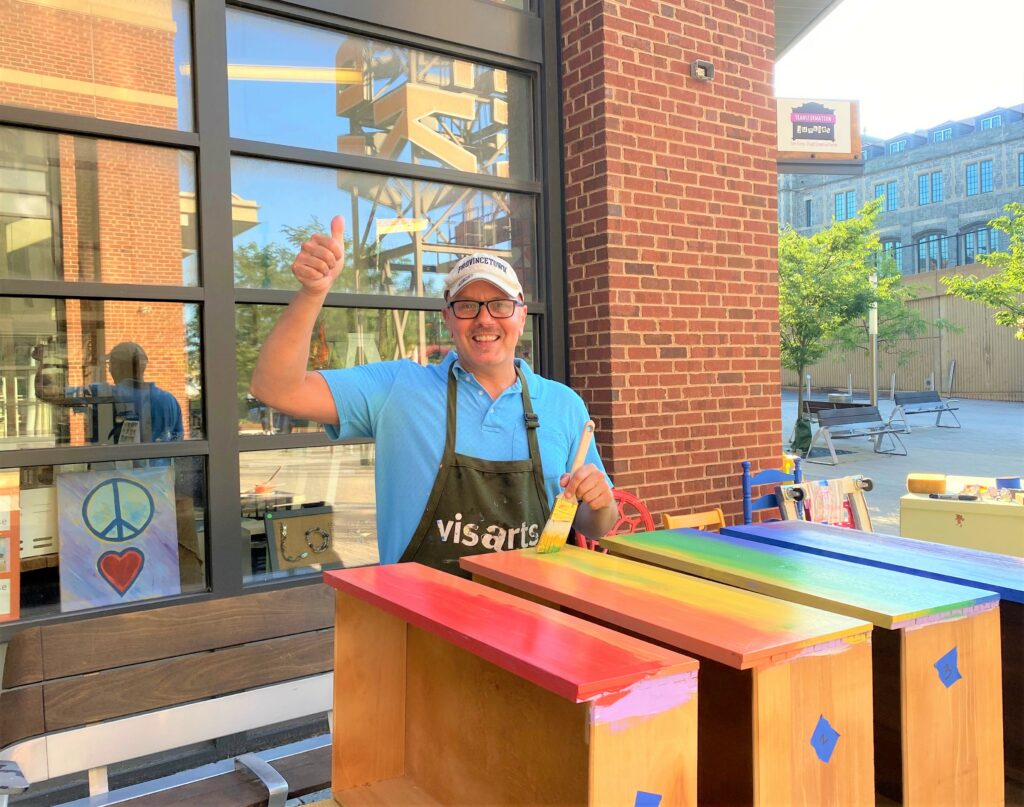
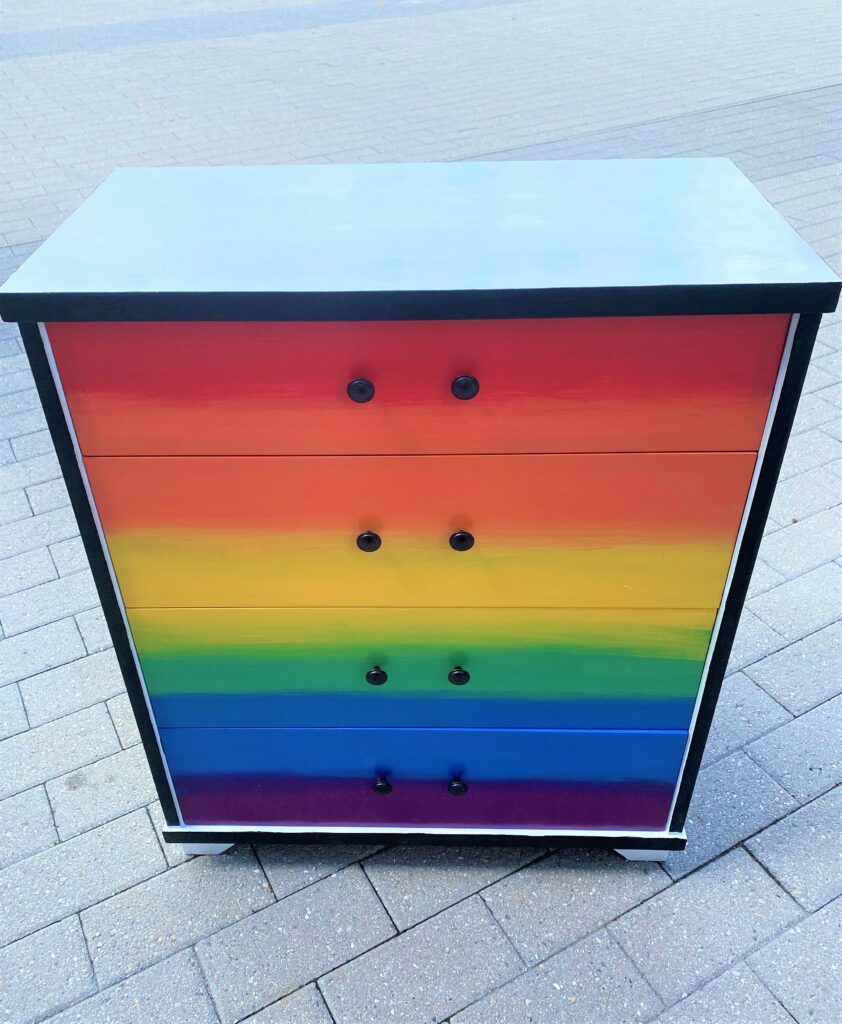
Starting at the top drawer and working your way down, start with red and move down the colors. Enlist additional clean brushes to help blend the two colors next to each other so it looks flowing and ombre-like rather than hard stripes.
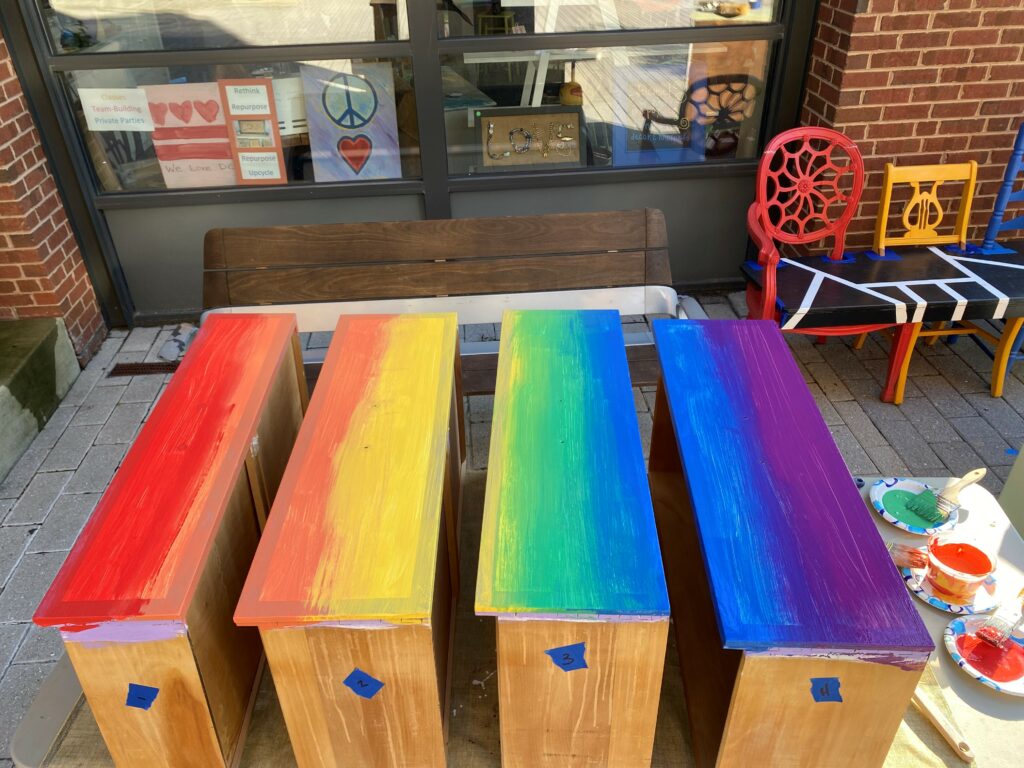
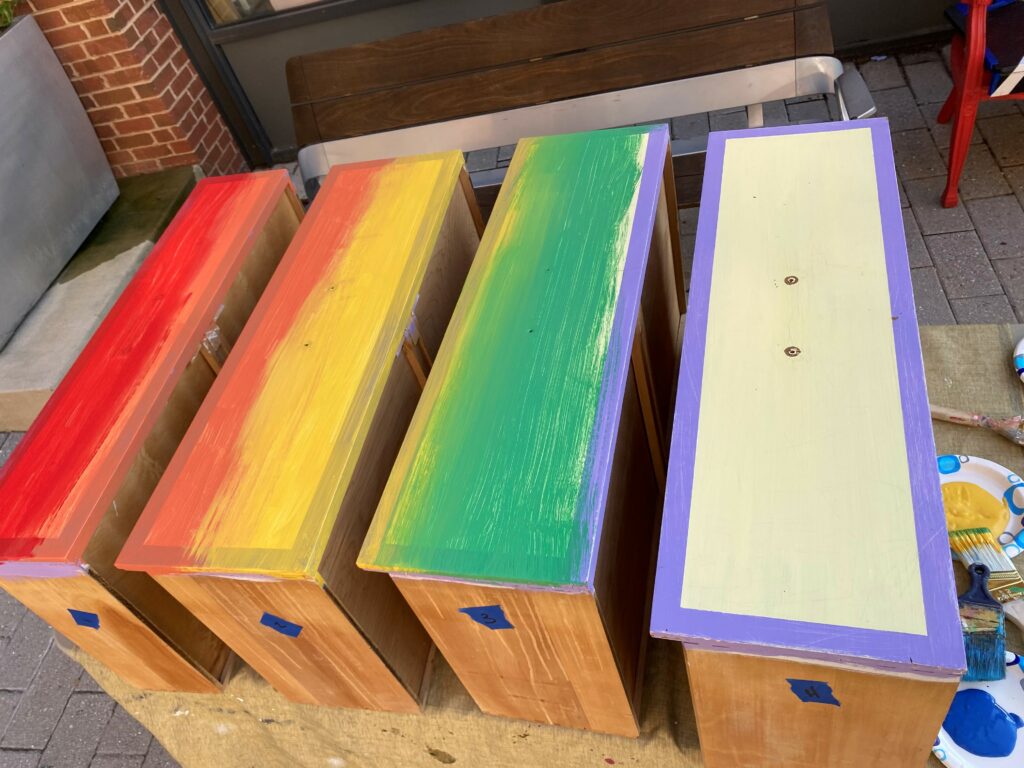
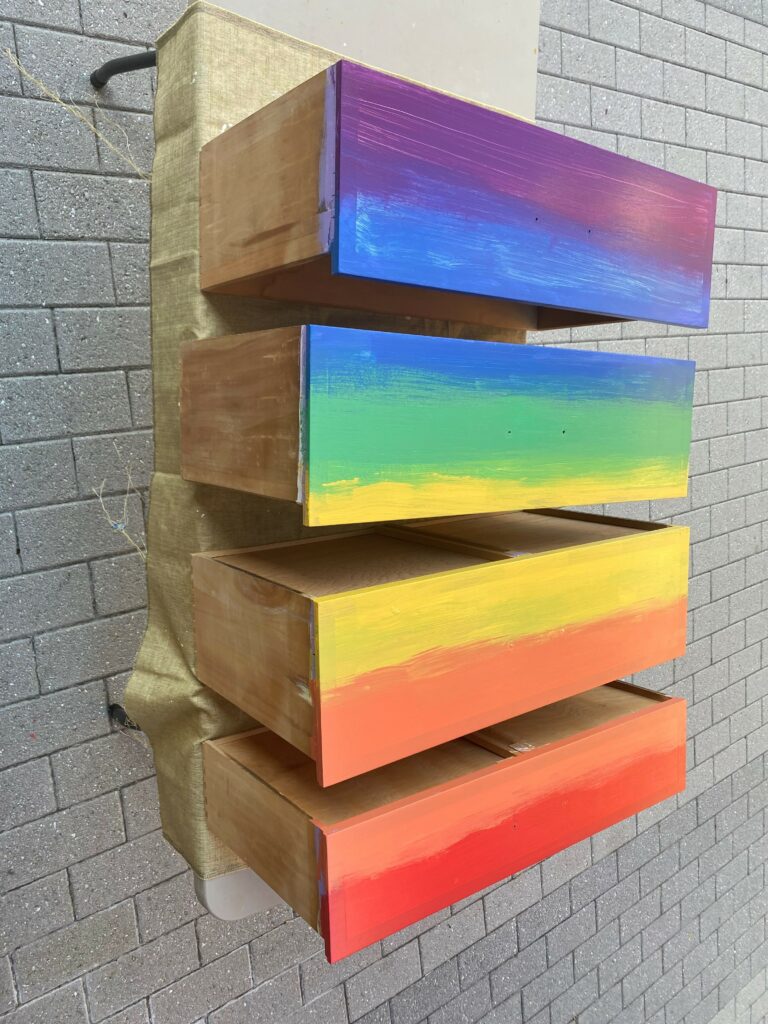
- Two coats of each color were applied to ensure a vibrant look.
- For the second layer, I blended the colors with a damp brush to ensure a better blending.
- Let these dry overnight and while that is happening, time to take the next step (maybe down the yellow brick road, too? Hey, I am trying to tie in the rainbow-related metaphors!)
4. White with black details make things P-O-P, Pop!
To provide a neutral yet crisp backdrop for all the shades on your drawers, I suggest you select a bright white and highlight any special details or edges with black. While your drawers are drying, turn your attention to the dresser’s body.

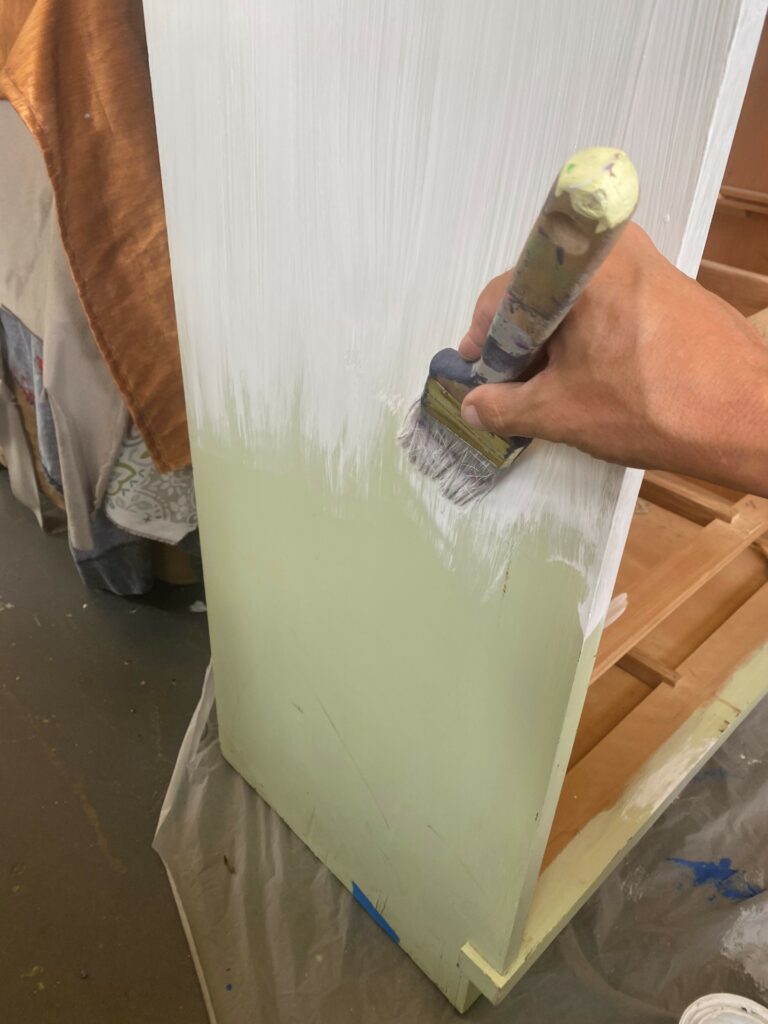

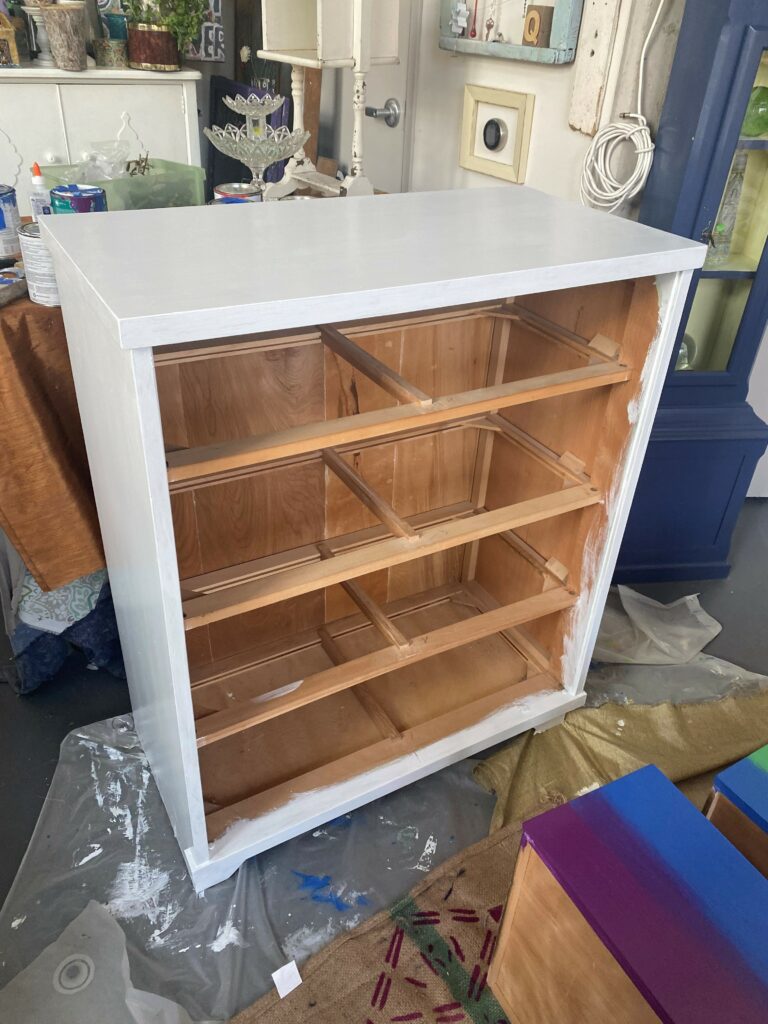
Roll or brush on your white paint all over the outer sides of your dresser. This dresser required three good coats to get the desired finish and was well worth the extra effort.
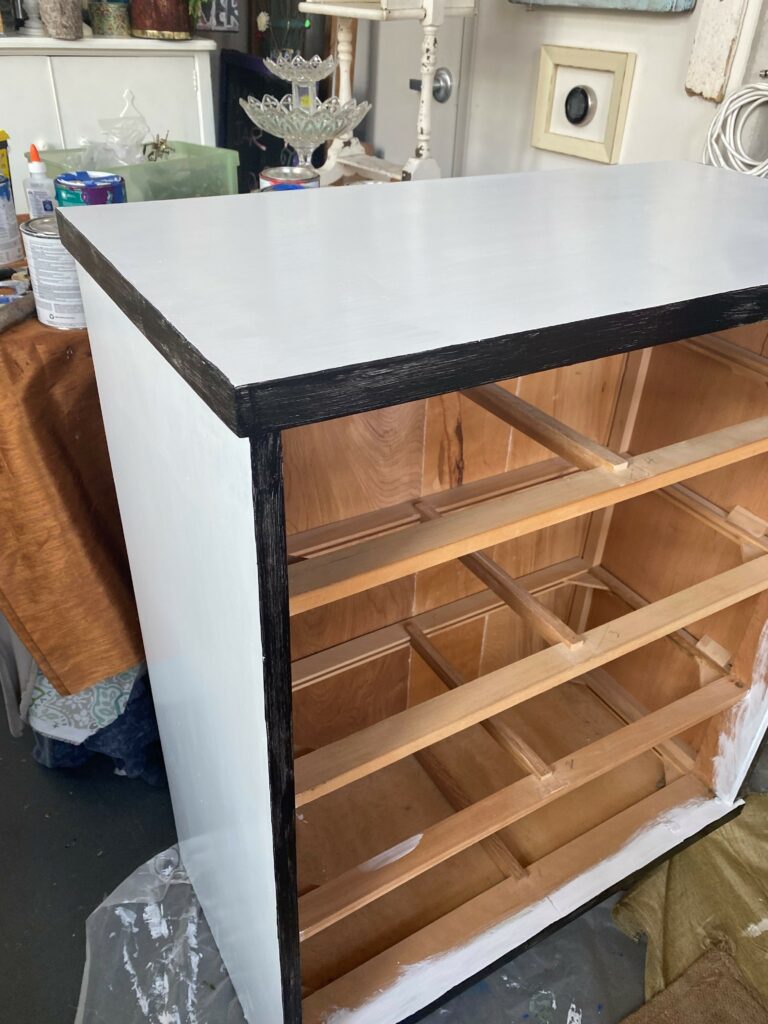
Does your piece had any interesting carvings, curves, or lines to bring out? This drawer had some raised edges, so I highlighted those with black paint to make them jump up and grab your attention. The black lines also helped to frame the drawers which made the dresser look so sharp!
5. Add black knobs to make it a cohesive, well-thought out design
Round, black knobs replaced the flower-shaped, pastel-colored ones. To support the bright colors and not compete with them, the simple ones look great as an accent.
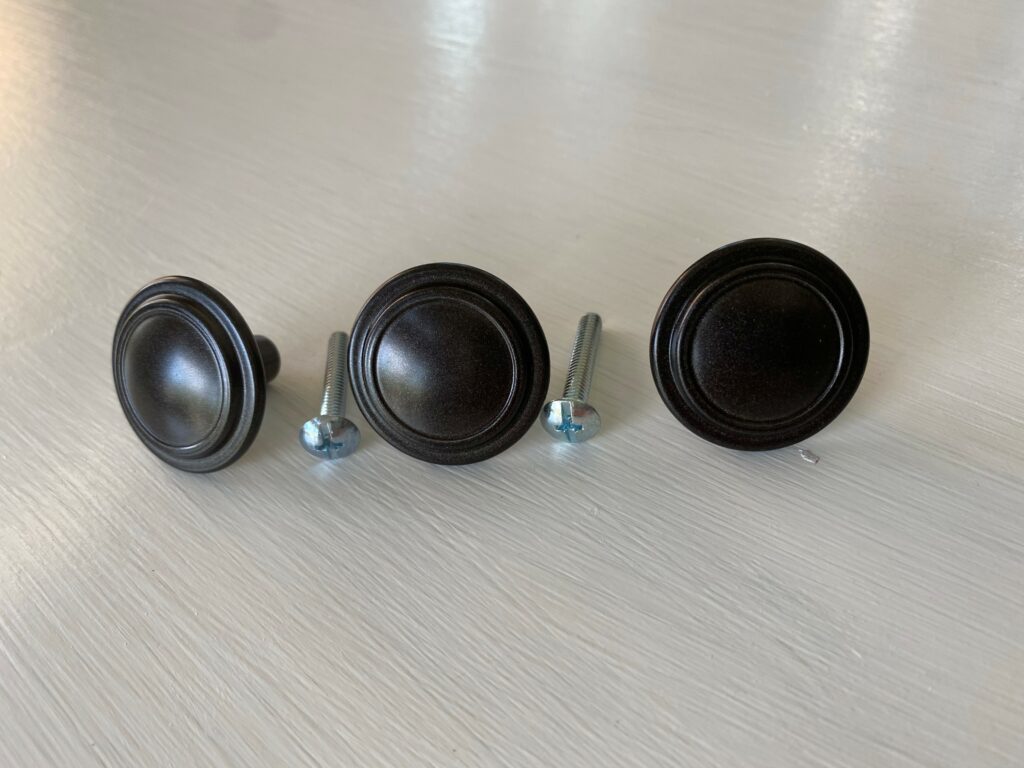
The new knobs added the right finishing touch. It felt like finding the pot of gold at the end of the rainbow! (Okay, maybe that is a little bit of an exaggeration, but you get the point!)
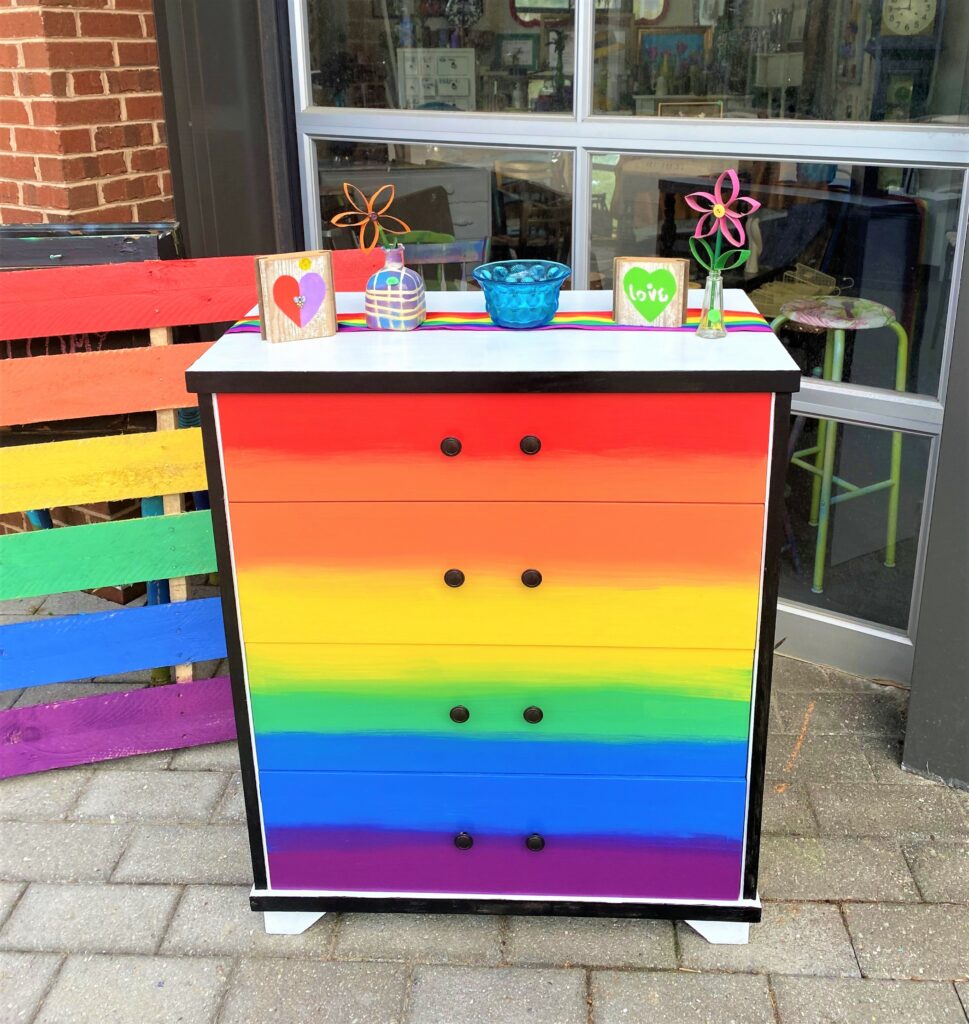
6. Place it, fill it and celebrate it!
This dresser would be a welcome addition to any bedroom or dorm room. It also would look so sharp in an office, whether one at home or the workplace.
Couldn’t you see this in your entertaining space with a flat-screen TV positioned on it or over it? You could place it in your foyer to provide a place to drop your mail, toss your keys and store off-season outerwear.
No matter where you use it, if you follow these steps, you will have something that will show your pride—AND make you proud that you did it all yourself!
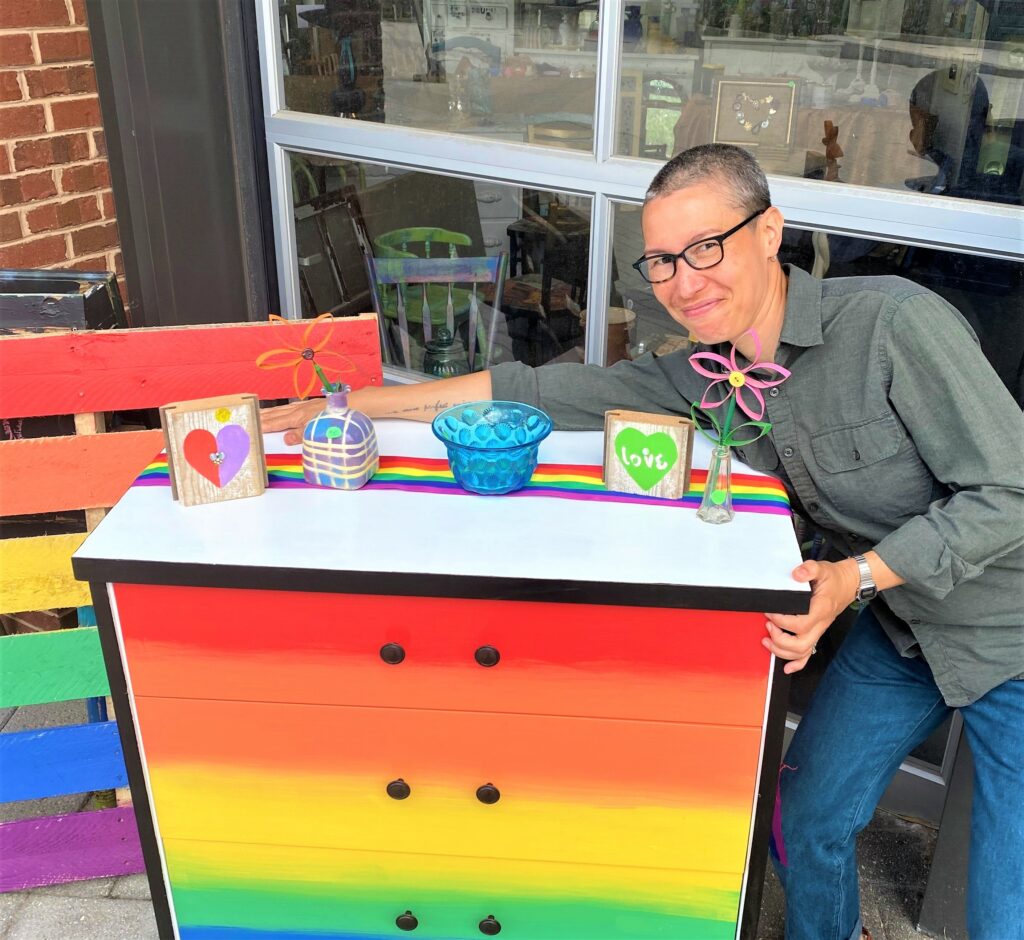
Thanks to Topaz M. Terry for being the perfect model, seen posing with the completed project! She is the Owner of Bicycle Trash offering homemade goods from bike parts. Check out her amazing creations at www.bicycletrash.com.

Tim Kime
Artist, Motivational Speaker, Life Coach

