Transformed items to add personality and pizazz to your place for just a few dollars. For just around $150, an apartment went from bland to beautiful with items given a second chance in this exciting DIY project.
Ability level: Easy to moderate
Age Level: Kids of all ages with some painting, decoupaging supervision
Items needed:
- Lamps
- Artwork
- Frames
- Mirror
- Baskets, vases, candle holders, pots, statues
- Photos
- Maps
- Modge Podge
- Paintbrush
- Scissors
- Spray paint
- Spray can of polyurethane
Time requirement: From 30 minutes – 2 hours for painting items and lampshade transformation (does not include drying time)
Cost: Approximately $150
- $20 for artwork
- $10 for mirror
- $20 for two lamps
- $10 for lanterns
- $40 for baskets, vases, other items
- $35 for frames
- $15 for spray paint
- $5 for Modge Podge
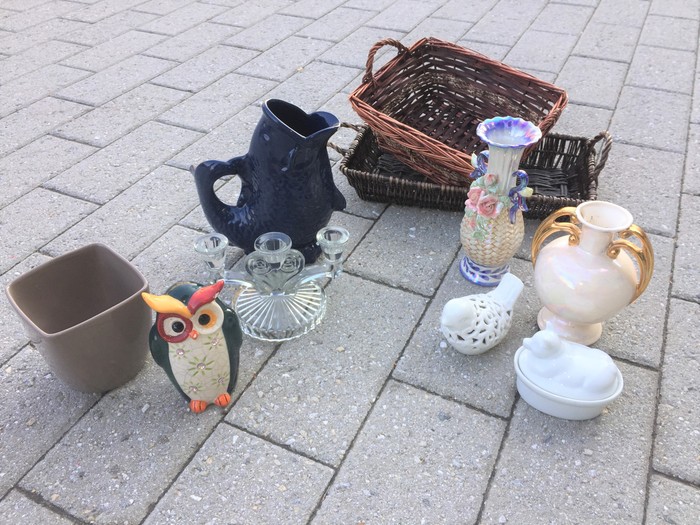
Step 1: Be a happy hunter!
It truly is remarkable the amazing, interesting and beautiful things you find each time you go treasure hunting at Goodwill retail stores. For this transformation, look for interesting lamps and eye-catching artwork. Pick up a mirror and small picture frames. Search for vases, lanterns, candle holders, pots and other items with fun shapes and sizes. No need to worry about clashing colors or patterns as the items will be painted.
Step 2: Pick colors to build on a foundation
With so many paint color options, how do you decide where to begin? Consider what you already have – this project was inspired by the hues of an existing comforter and accent pillow. Perhaps you have a piece of art or a piece of furniture to inspire your color choices? Select three hues for your items so when placed in the space, they feel cohesive and connected. This project centered around teal, royal blue, and yellow with various shades in those tones.
Step 3: Consider a theme when selecting artwork
To help make your choices easier, think about a theme for your space. Is it country chic? Uptown glam? This transformation was based on the room being in Washington, DC so items were selected to connect with that focus. The centerpiece was a piece of art that resembled cherry blossom tree branches.
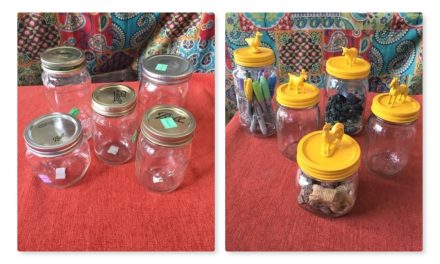
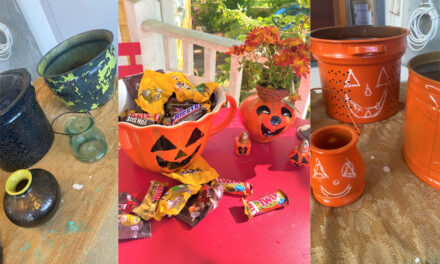
Step 4: Transform accessories with spray paint
Once you have selected your vases, baskets and other accessory items, divide them into three even groups. Place each group on a tarp or well-ventilated space then have fun with the spray paint. Use a different paint color for each group of items. While spraying, make sure you cover all sides of every item with a light coat of paint. Let the pieces dry then add another coat, turning items on their sides to ensure solid coverage. By dividing your items into three groups, you will have a balanced number of pieces in the colors selected. Let everything dry overnight after the final coat.
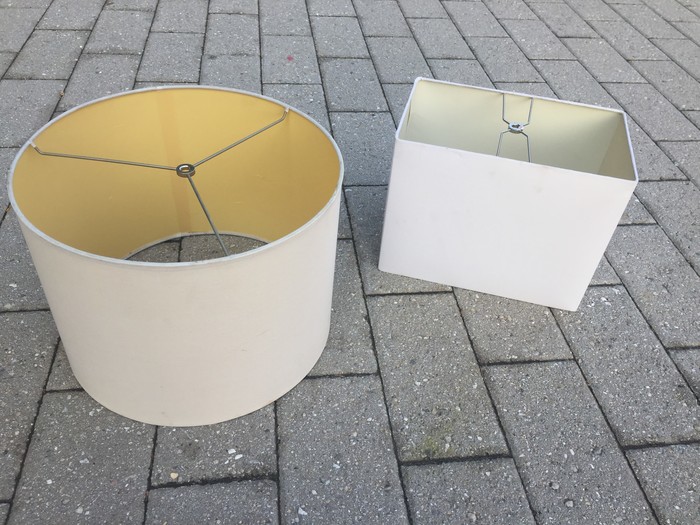
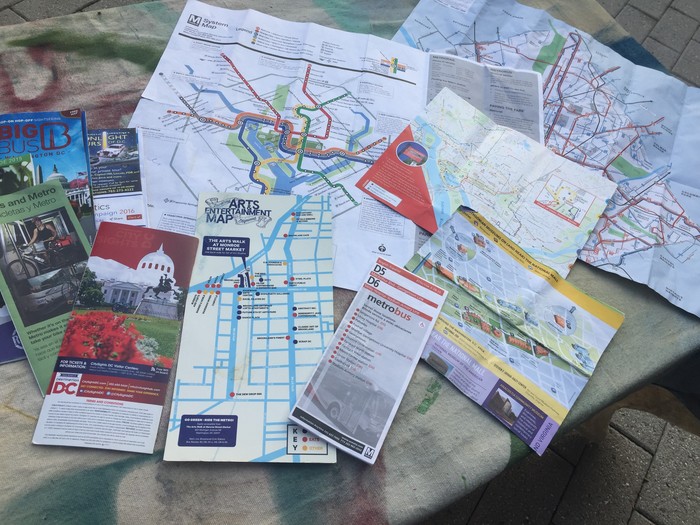
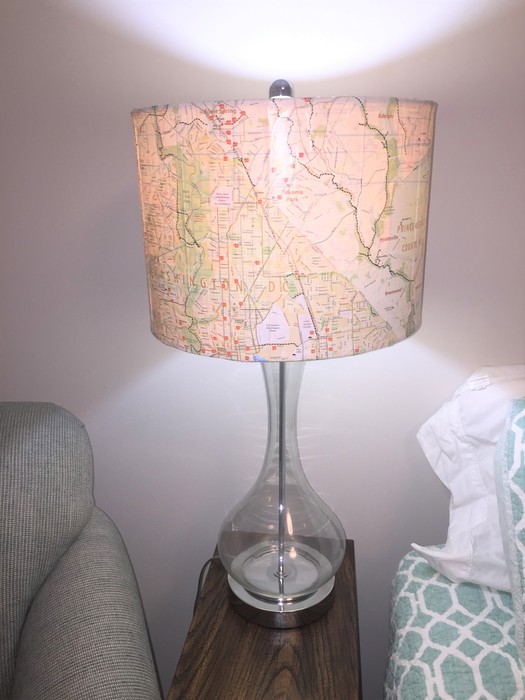
Step 5: Upcycle lampshades by decoupaging
To take lampshades from generic to gorgeous, adhere fun paper through a process called decoupaging. Again, sticking to the “Nation’s Capital” theme, maps of Washington, DC were used for this process. Consider postcards, wrapping paper, sheet music and other paper choices for this part of the transformation.
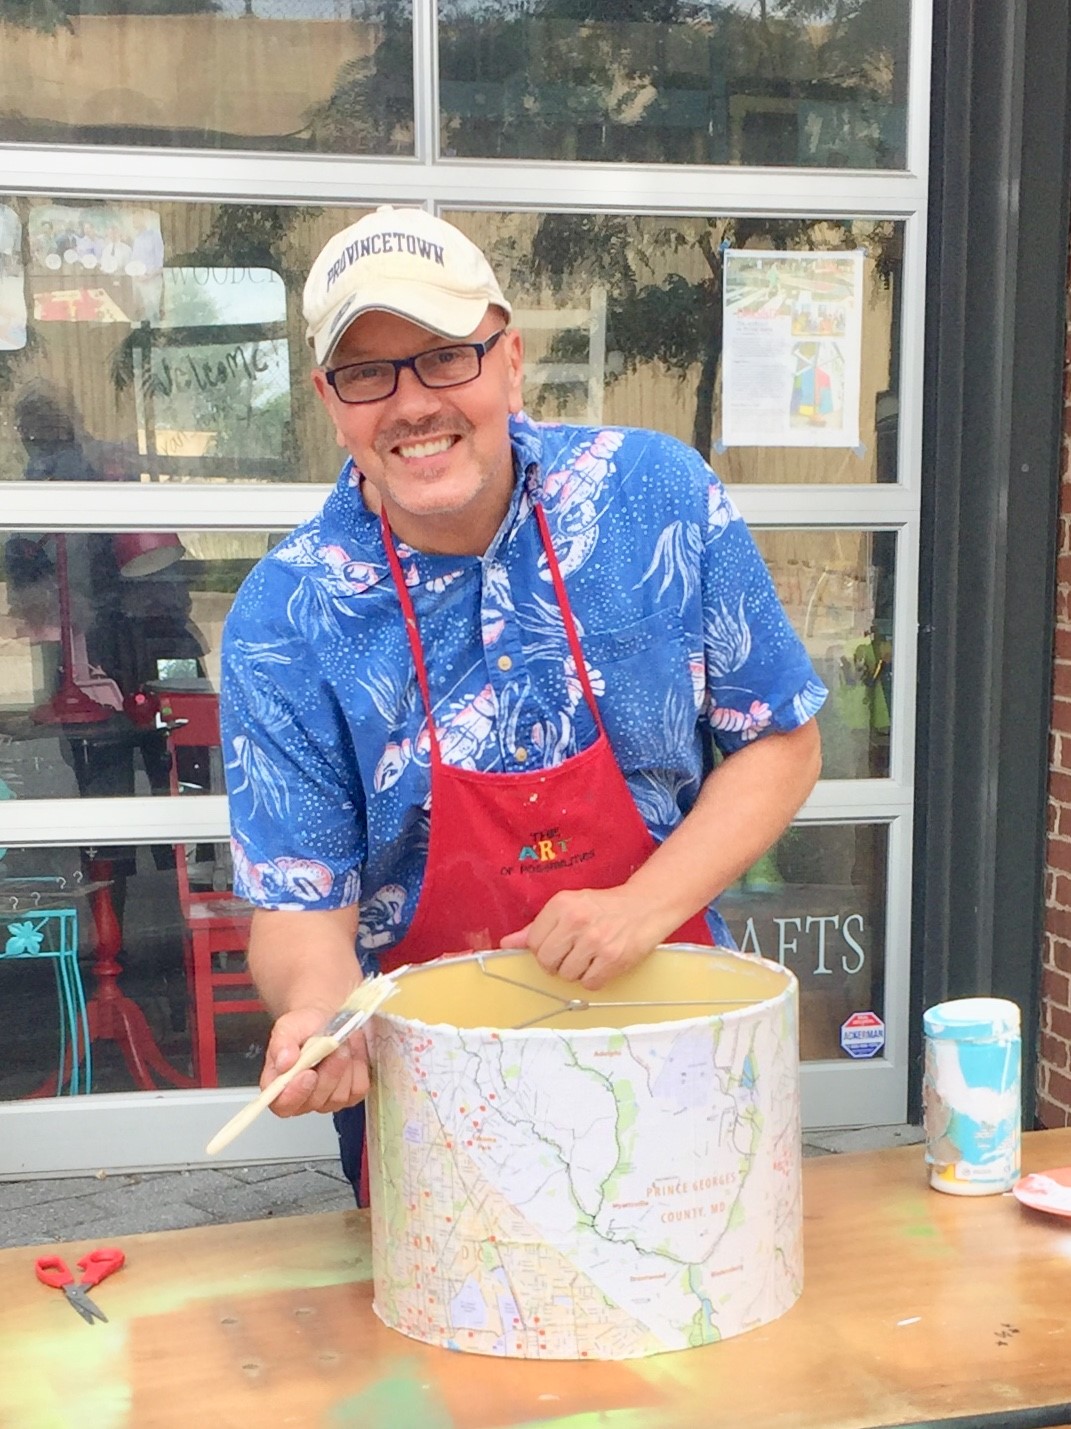
Trace the paper, cut it, and use Modge Podge to secure it to the shade. Place your map (or paper item) on the shade, apply a thin coat of Modge Podge with a paintbrush, and use your fingers to ensure a solid fit (pushing out any bubbles as you go). Let it dry completely then paint on more Modge Podge to ensure the edges are secure. Once done, apply a thin coat over the entire shade. Once dry, spray on a coat of polyurethane to protect it from dust and fingerprints.
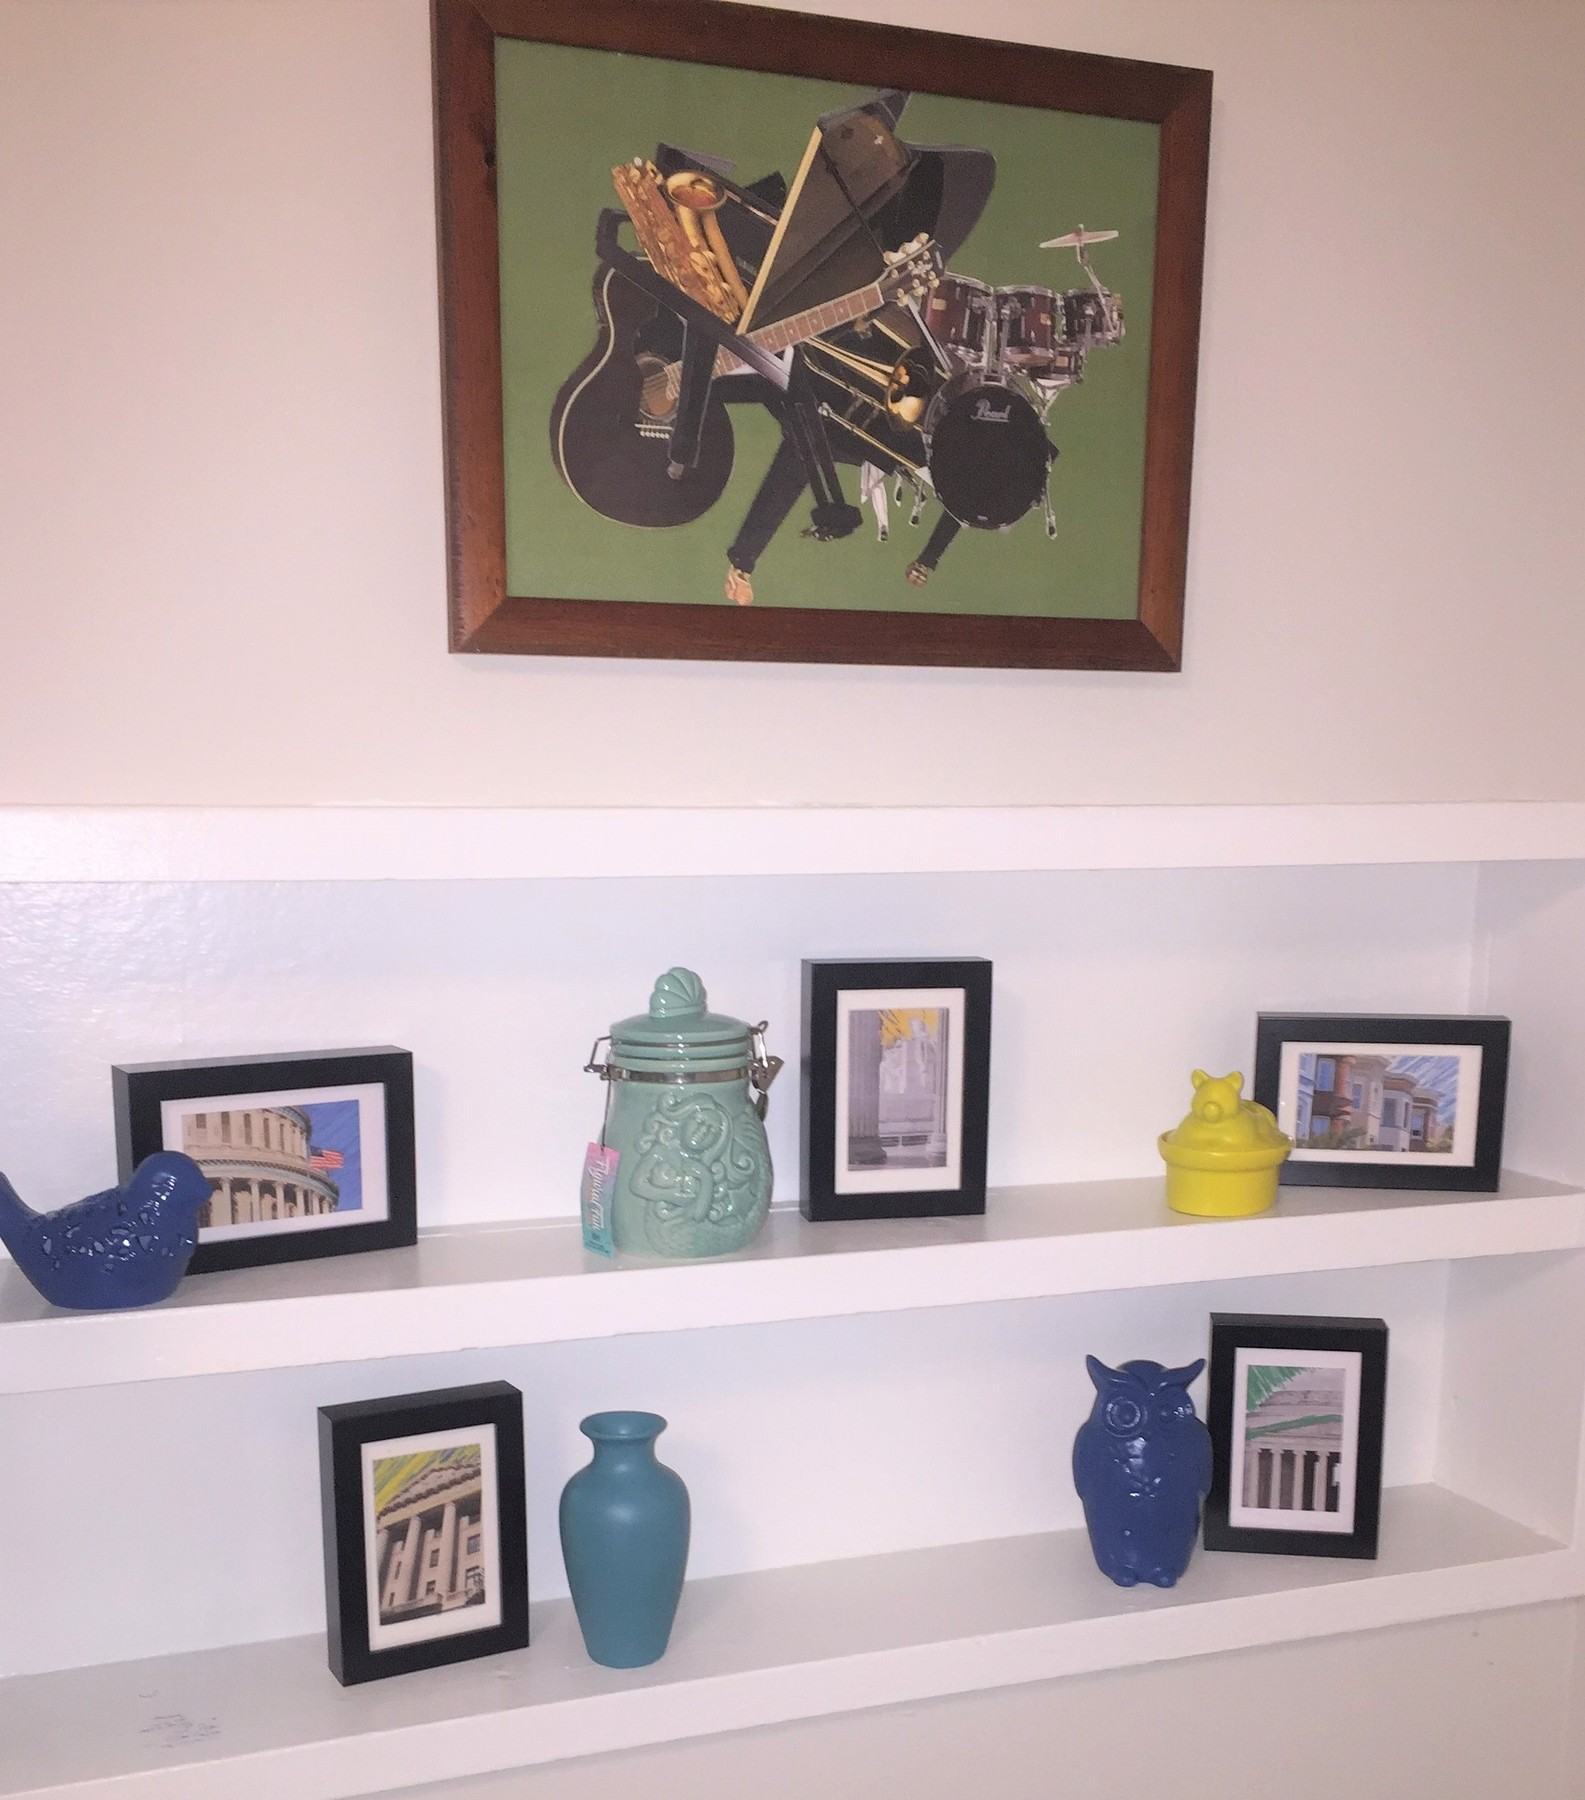
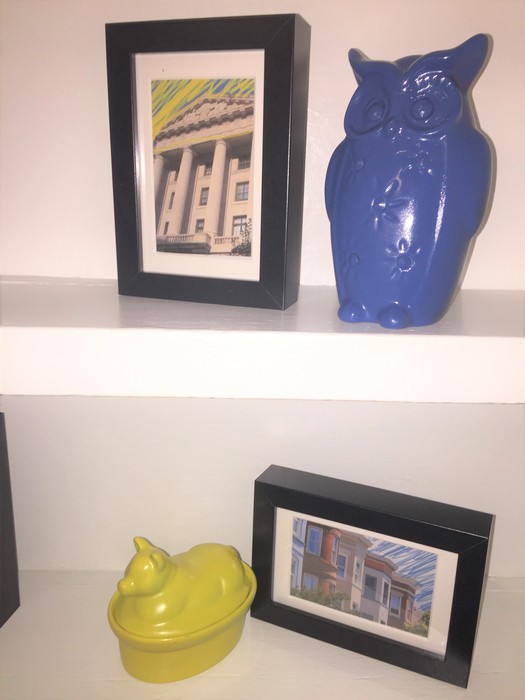
Step 6: Fill frames with fun
If you have a collection of mismatched frames, consider spray painting them the same hue so they look cohesive even if the shapes and sizes are different. Fill each frame with photos or images that connect to your theme. I selected photos of DC, printed out from my laptop, and embellished with online photo editing software to make them look unique and interesting. Vacation photos and family images are always great options.
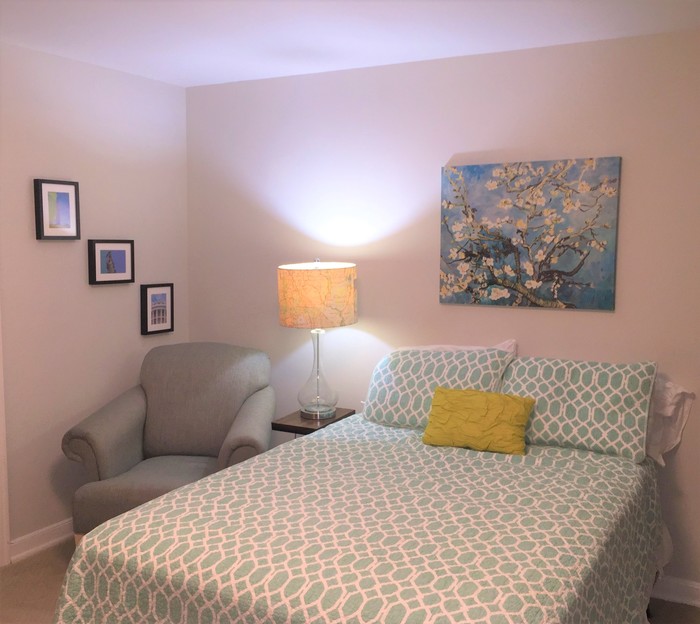
Step 7: Pulling it all together
Think about what item is the centerpiece of your space. Is it the bed? A couch? Hang a big piece of art above this item or a grouping of pieces to draw attention to the wall. Place a mirror near a door to allow you to check things as you head out; consider hanging it on a wall opposite a window to reflect light. Put a lamp near the bed or couch to shine on you while you read and use the second one to brighten up a corner. Next, group your accessories by color in pairs or in threes. Space them around the room so there are splashes of color in each part of the space.

