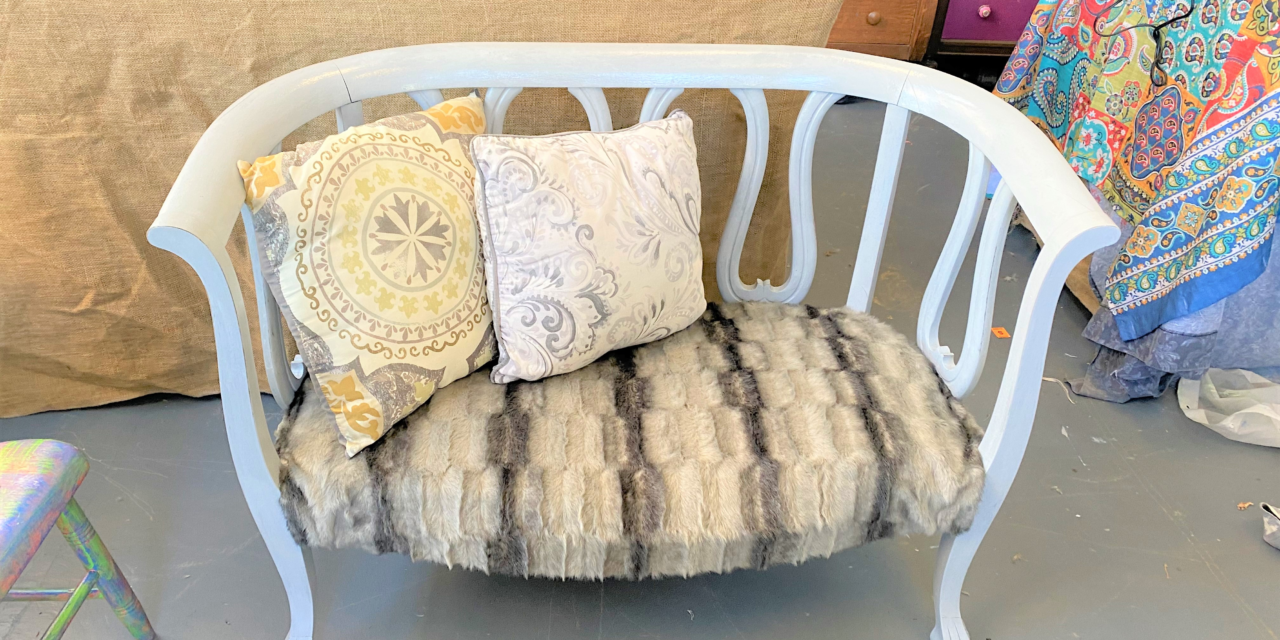
No faking it at all with this week’s DIY project! Use a rich feeling faux fur blanket to cover the bench seat for a million-dollar look. Your investment in materials will be small, but the pay-off will be big when you reuse the fabric from a throw. Not only does it feel nice when you touch or sit on this seat, it creates a luxurious impression fit for a king or queen.
Supplies:
1. Wooden bench with padded seat
2. Faux fur throw/blanket
3. Accent pillows
4. Gray semi-gloss paint
5. Mineral spirits
6. Paint brush
7. Scissors
8. Staple gun
1. Shop for elegance at Goodwill
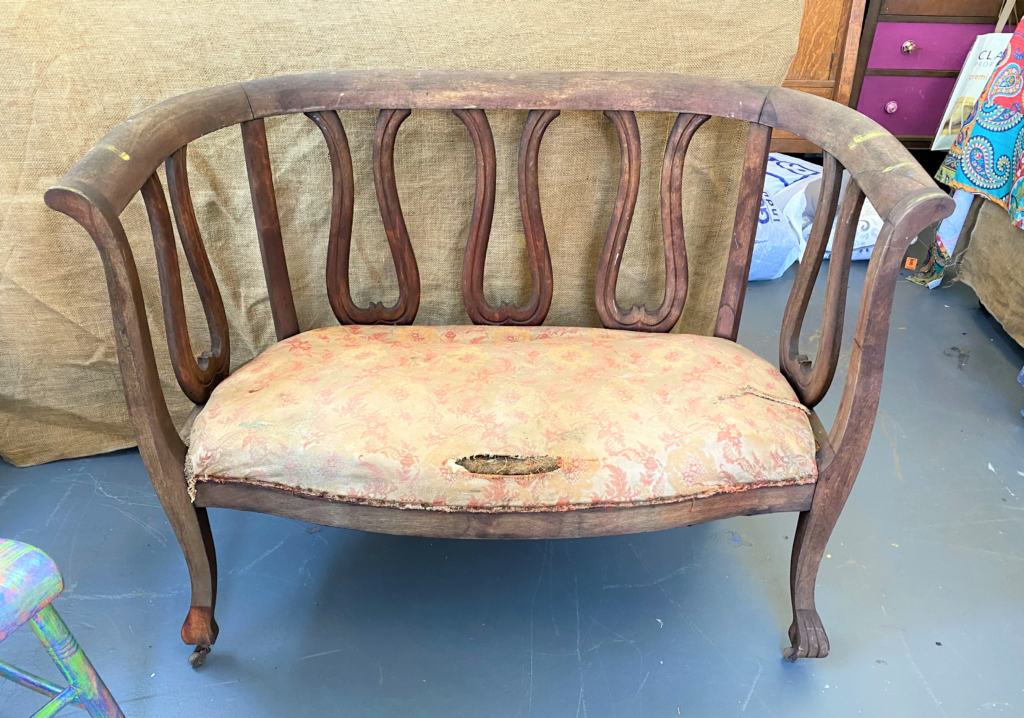
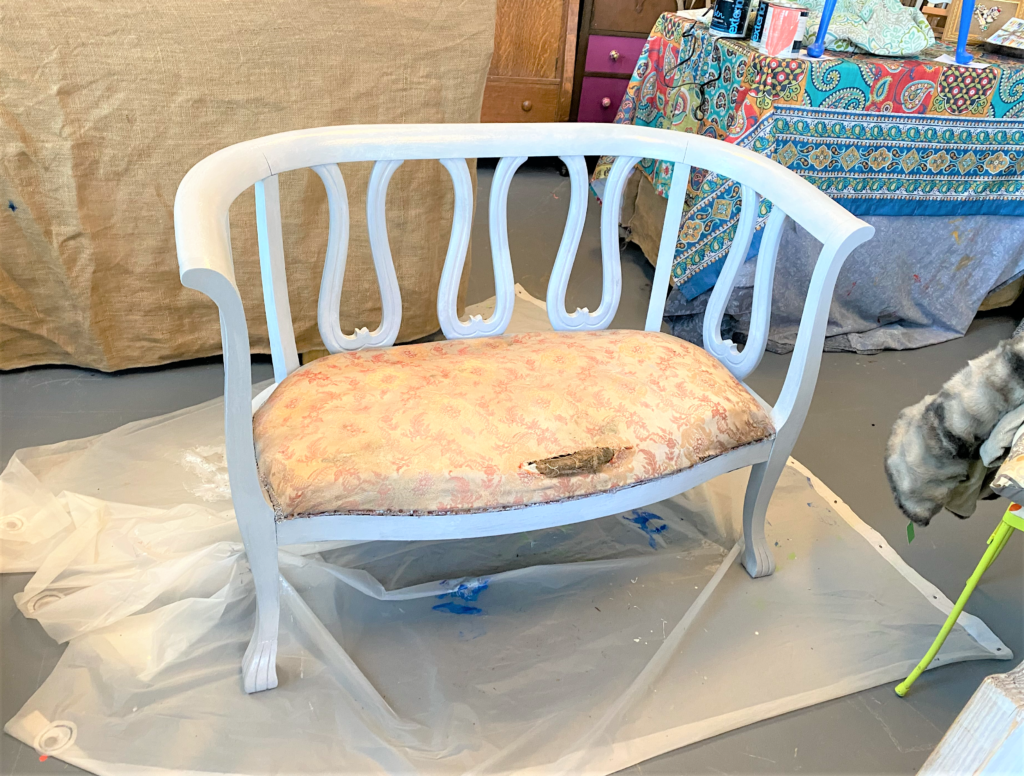
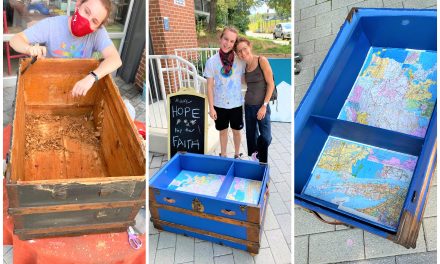
Can we talk? Those of us who love to shop at Goodwill appreciate doing so because you can get very rich-looking items for just a couple of bucks. It’s always quite amazing to see what interesting stuff is for sale there and for such low prices that will make you look twice. The project featured here underscores this point. I had this beautifully carved bench that had “great bones” as they say and needed some TLC, which is why it was given to me. However, Goodwill has so many unusual pieces that you might find one there, too. As you can see by the photos of this bench, it was in sorry shape and likely would not have passed the Goodwill approval test. Goodwill only sells item in good shape and in solid condition.
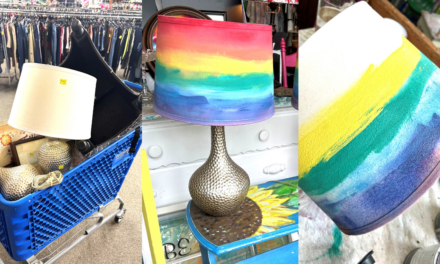
I hit the jackpot when I saw this faux fur blanket hanging around waiting to go home with me. It was really cozy feeling and the various shades of gray were so lovely. Using the throw as my inspiration for color choices, I hit the home goods section where the pillows are available for sale. I found several in matching colors so three of them were must-haves. My total purchase was under $15—yes, I felt like I hit the lottery! Cha-ching!
Expert Tip: When you shop at Goodwill and see something you like, grab it and buy it immediately. I had been shopping at Goodwill several days ago and saw a great framed print that I looked at, took pictures of AND didn’t take it with me. Well, you know what happened: when I returned to purchase it, it was long gone! Relating that experience to today’s blog, I found a woman’s flowing dress that had an African print in purple with shimmering gold accents. The fabric will be great to cover a chair seat or two, so I bought it because it was such a good find. I’m not sure how to use it now but I am sure it will be featured here sometime soon. What have you seen at Goodwill that you didn’t take home when you had the chance?
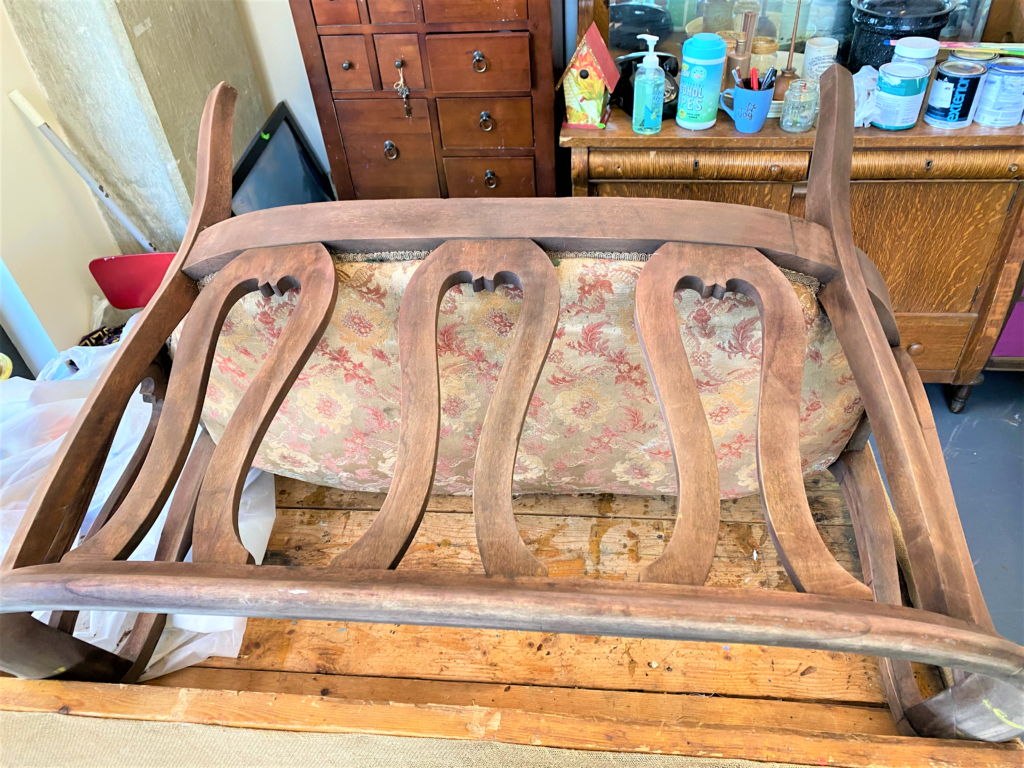
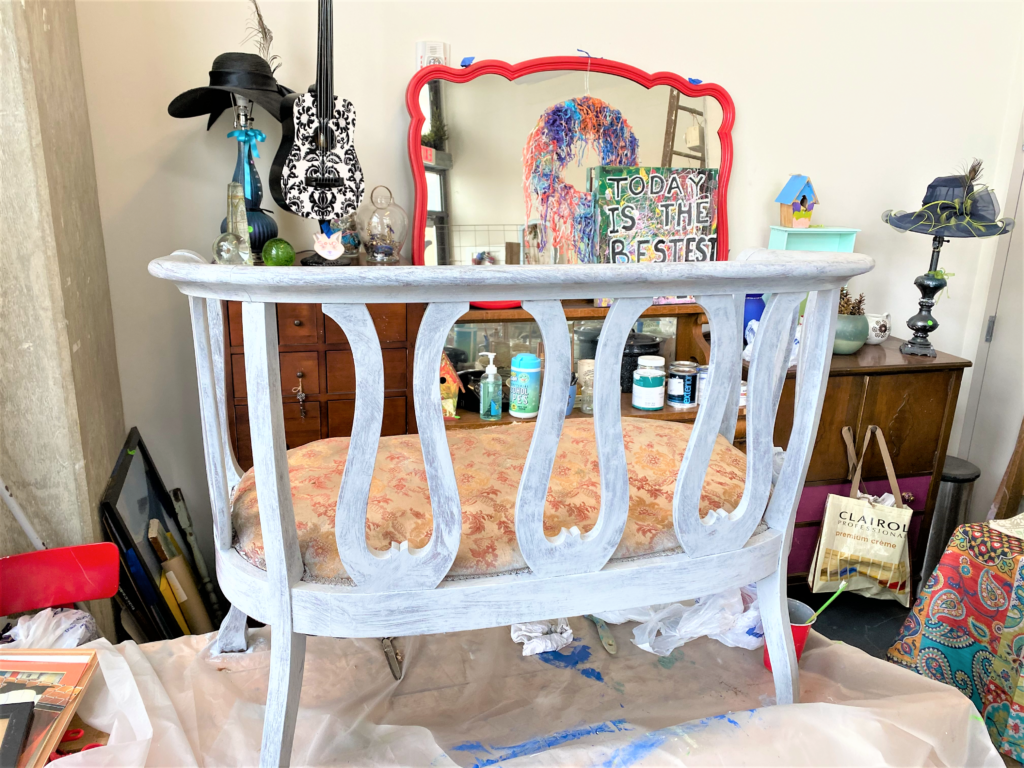
2. Prep your piece
This antique wooden bench has such elegant curves and details but was weathered and had a tear in its cushioned seat. As your Mother likely said, “Don’t judge a book by its cover.” That philosophy certainly applied to this piece given its sorry state, so the first step to begin her transformation was sanding all the wooden parts from top to bottom.
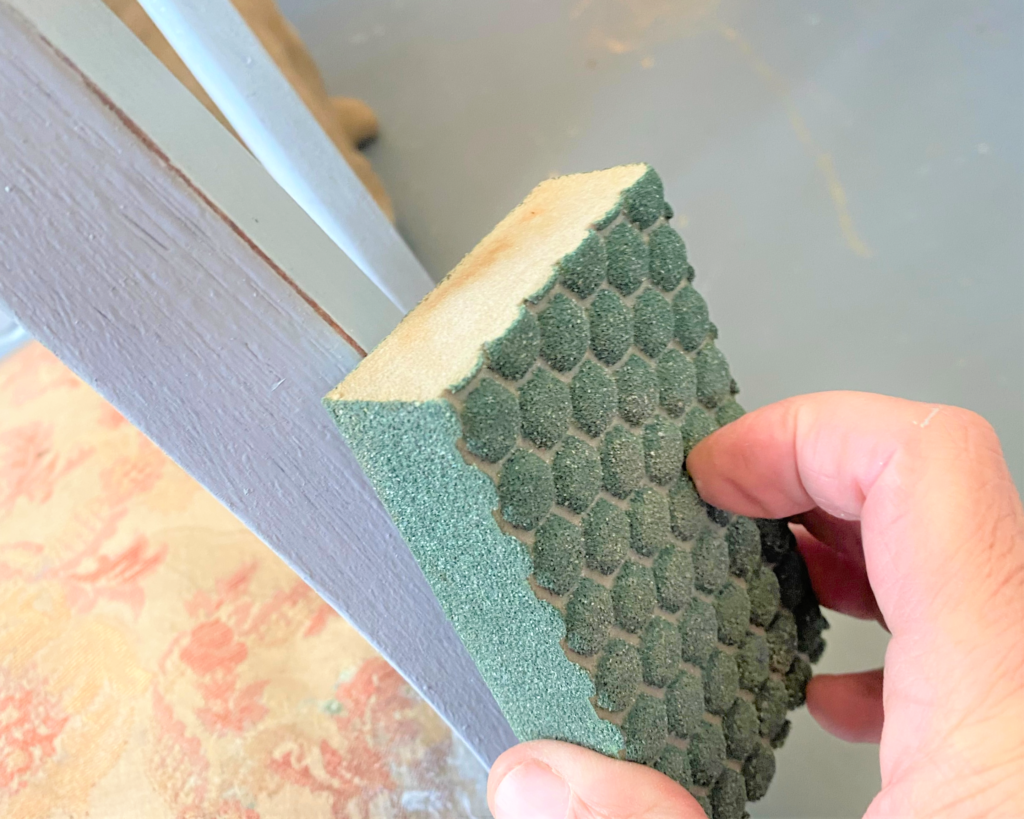
- After you sand your piece with a medium to rough grade sanding block or sandpaper, then wipe it down with a damp cloth or sponge.
- This step will remove years of dirt and grime and help to create a more pristine canvas on which to paint which leads us to the next fun step.
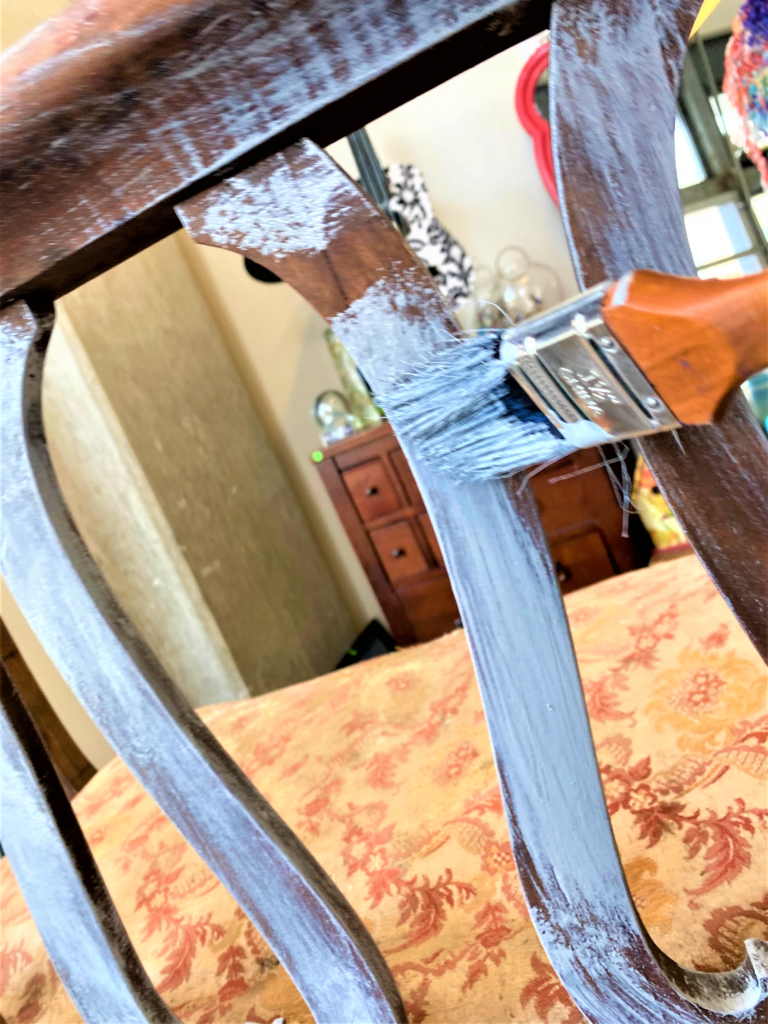
3. Brush on beauty
Building on the tones of the blanket, I used a light gray paint with a semi-gloss finish. I wanted a lighter tone so you could better see the beautiful carved details. Grays are so popular now in terms of home décor, so this makes it also a contemporary color choice.
- Brush on several layers, not aiming for one perfect coat.
- Be sure to turn your piece on its sides or back to get all edges and angles. For me, this is the most exciting step in the upcycling process because you can instantly see what a big difference a little paint will make.
- Allow drying time between coats.
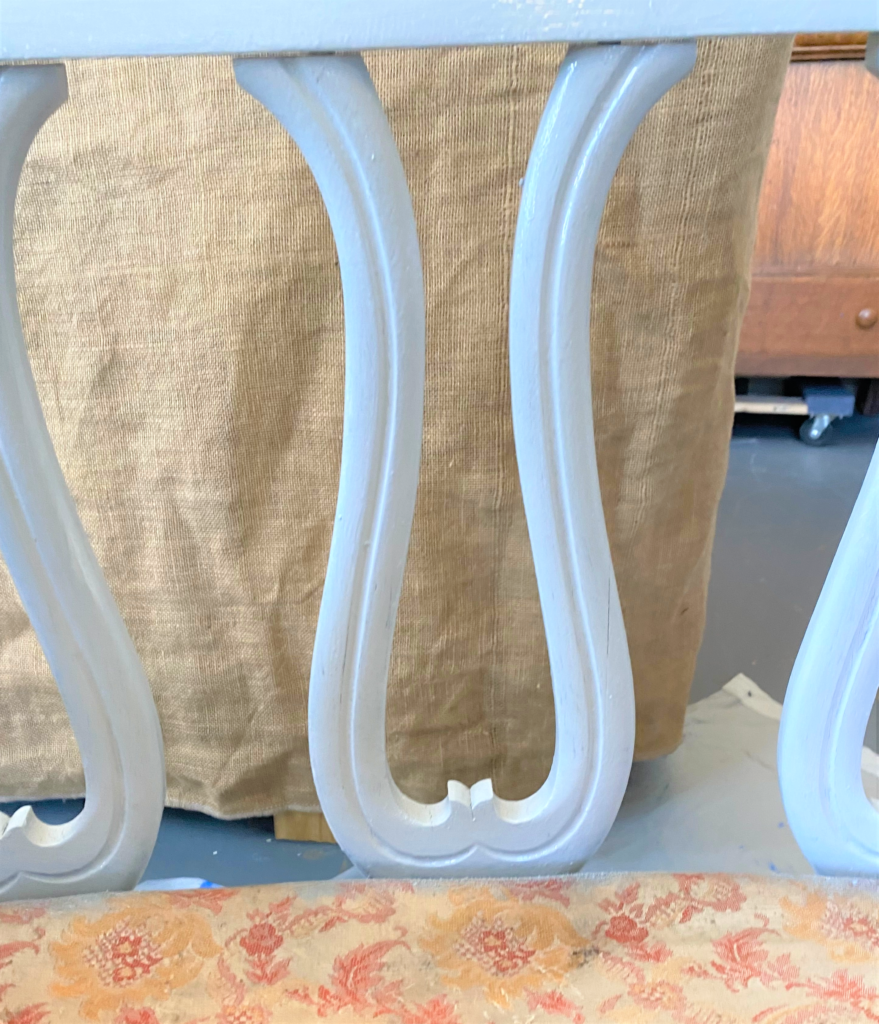
4. Highlight details with light distressing
- Once dry, an option to add more visual interest and charm to your piece is to lightly “distress” it by sanding away the paint along its edges. This will give it a beautiful look that will call attention to any special carvings or details. I like this look because it will make your piece look more artistic than a perfect, pre-fab piece.
- Wipe down to remove the paint and dust created with this step.
5. Fasten your fur
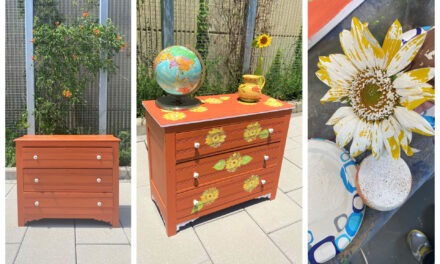
The throw blanket selected for this project had stripes in it.
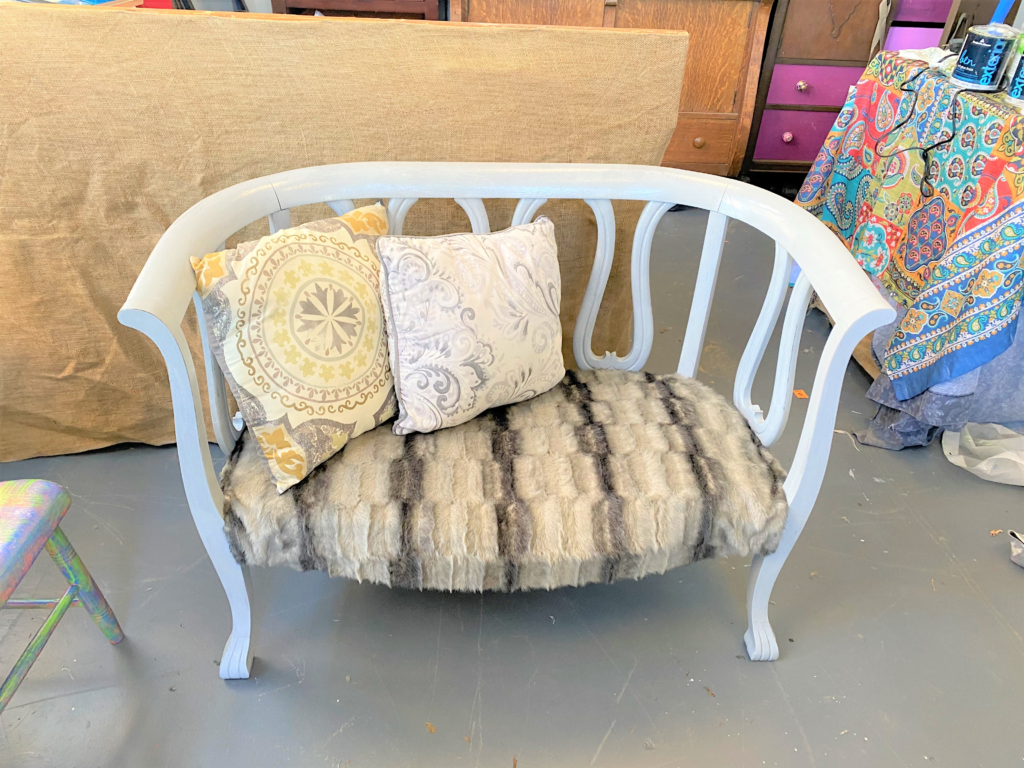
- I placed the center stripe in the center of the bench so it would look balanced and well thought-out.
- Extra fabric was removed by cutting it away AND leaving enough to overlap the edges.
- With your staple gun, secure the front, back and sides with just a staple or two so that your fabric stays in place as you pull and tighten, while stapling.
For the bench here, I decided to cover the front wooden piece and staple it on the underside. I thought it would look better and I am glad I did it that way. The side and back edges were stapled from the top down with the extra material cut away after all in place. Due to the thickness of the material’s fur and the gray tones, the staples were not seen from above.
6. Add accent pillows and take a seat
To provide extra comfort as well as more visual delight, add your accent pillows now. The gray tones of this bench will allow it to look great in any room and with any décor. Pillows are an easy way to give a quick and fresh update. You could pick pillows in bright colors to add lots of pop or to pick up other hues in the room.
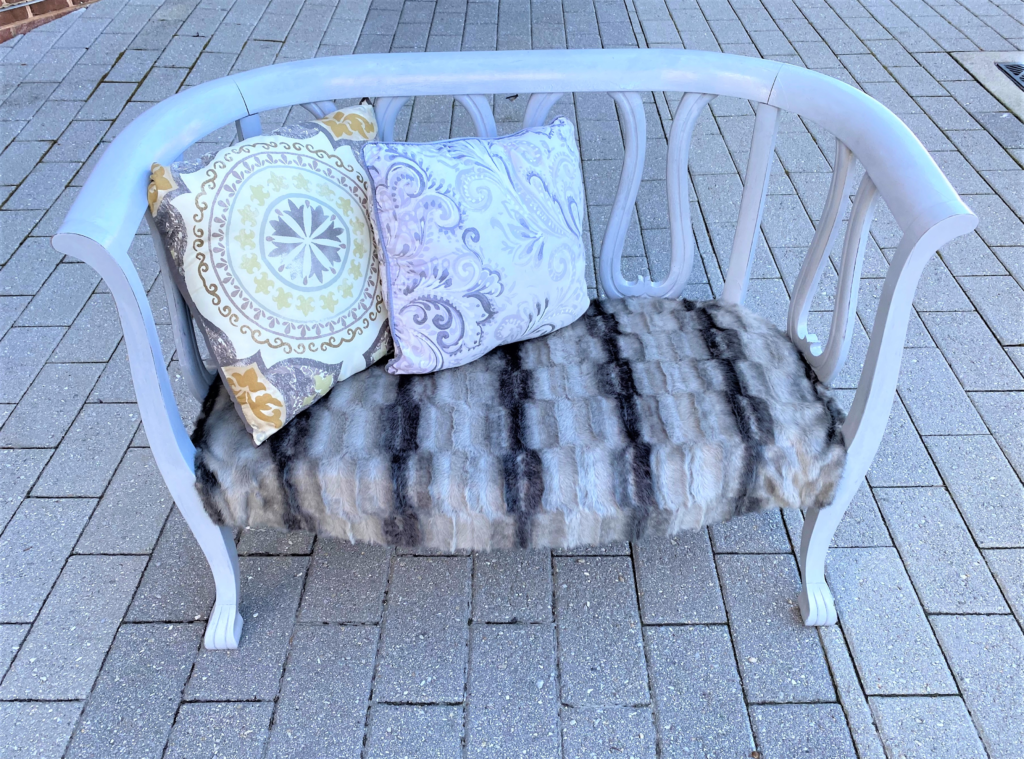
Each time you take a seat and feel the furry fabric, you will wonder if the Royals have one like it, too!
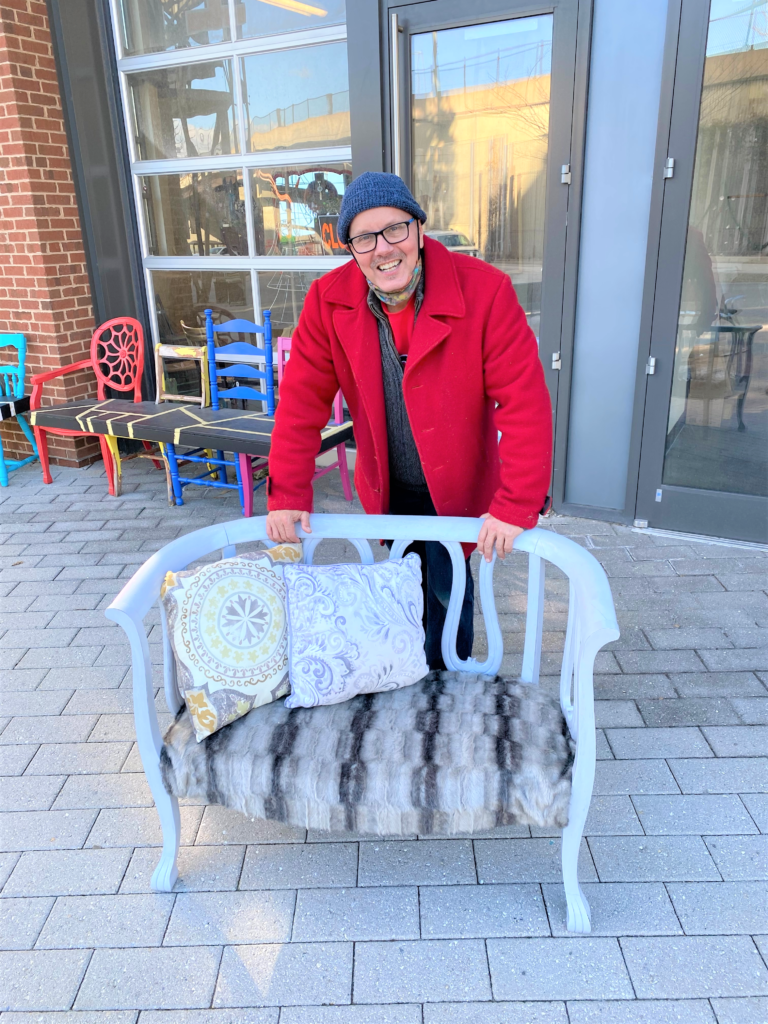

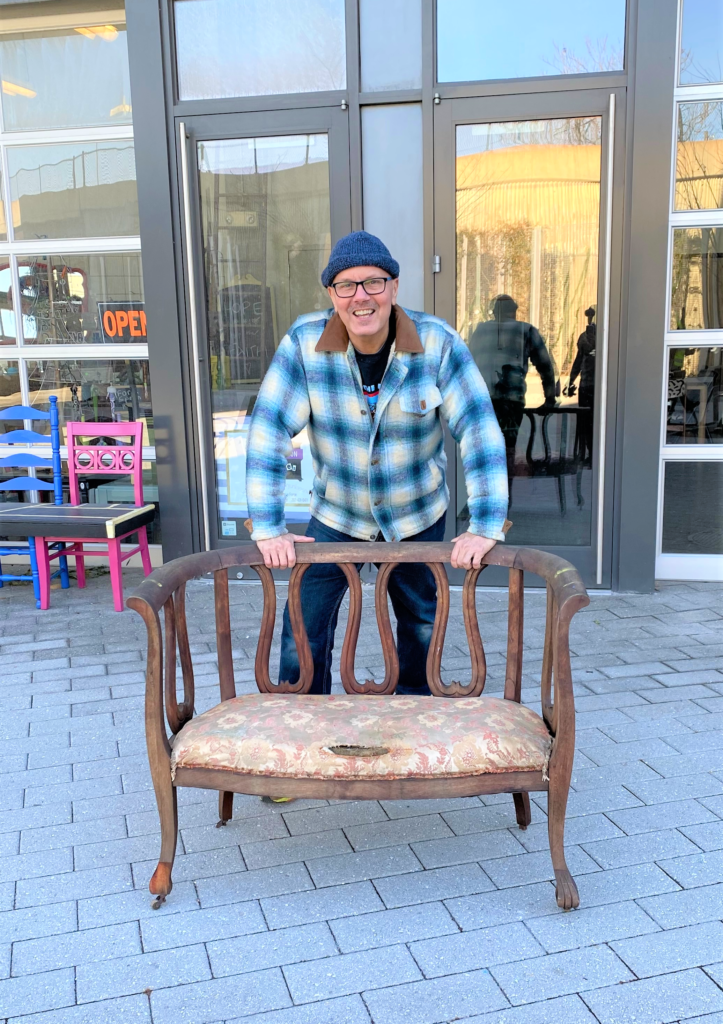
Tim Kime
Artist, Motivational Speaker, Life Coach
