Reflect Your Pride by Upcycling a Mirror
Want a fun and colorful way to show your pride this month and all year long? Consider painting a Goodwill-found mirror in rainbow colors! This DIY project will reflect your pride, show your love for our planet, and be good for your wallet, too.
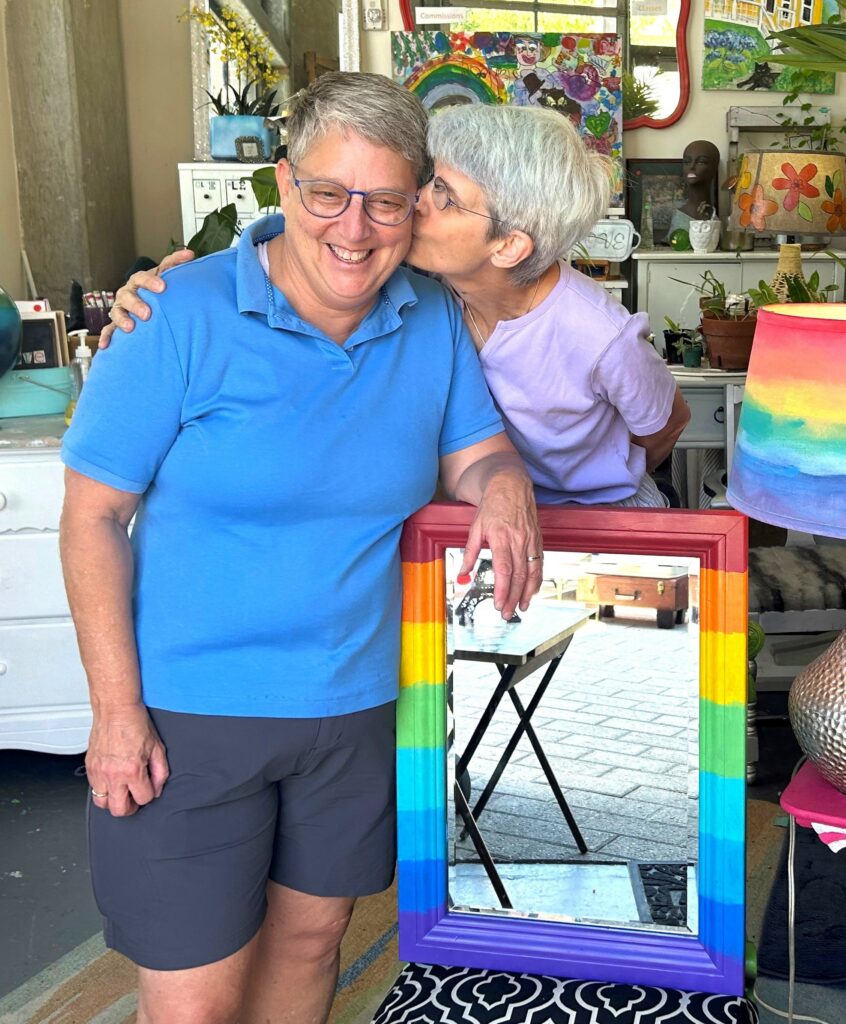
Create a functional work of art that will add vibrancy to your space and ensure you have a place to check your pearly whites and baby blues (or brown beauties/gorgeous greens) before you head out to change the world!
Here’s How:
1. Reflect your shopping savvy by finding your good at Goodwill
Can we talk? When you get a great deal on a totally cool item at Goodwill, it makes you proud. At least that’s how I feel! Rather than buying a run-of-the-mill item for top dollar, there is something very gratifying and affirming when you shop for your good at Goodwill and come across a great piece or two for just a buck or two. Goodwill usually has a collection of mirrors and other wall décor that will make your place look good and ensure your budget is happy, too.
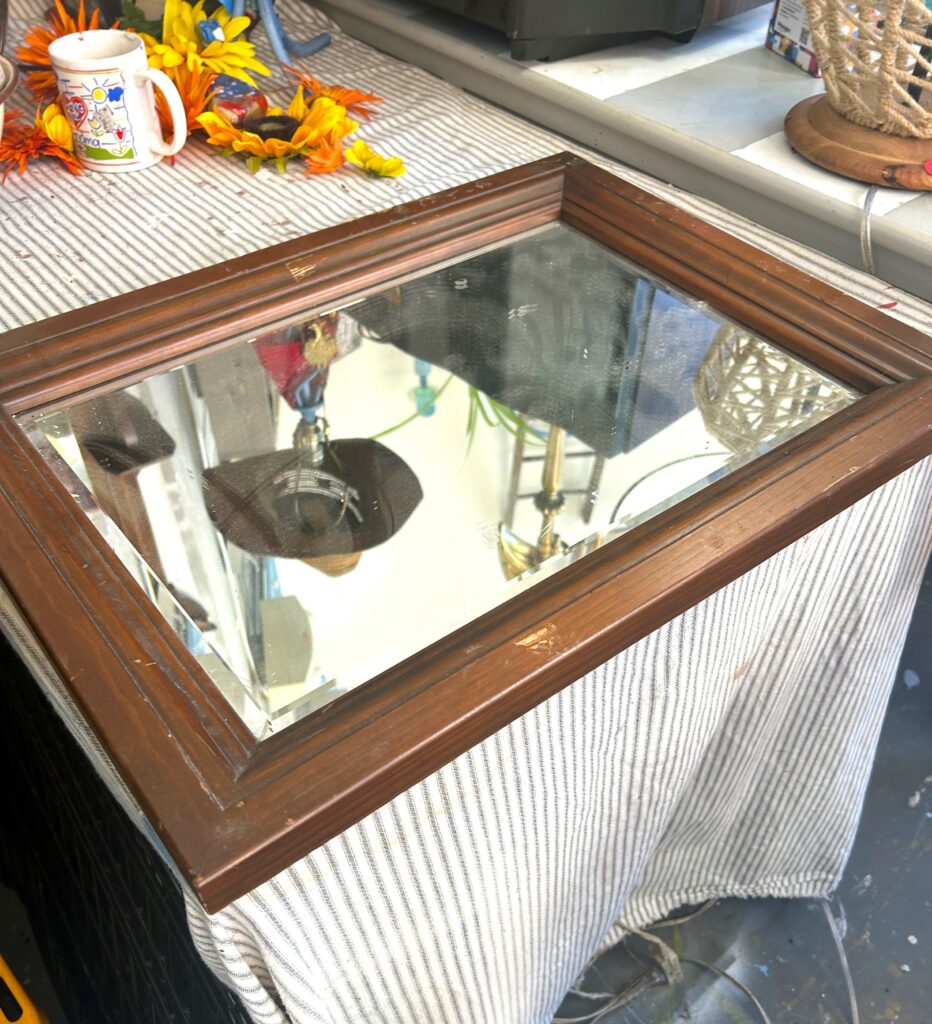
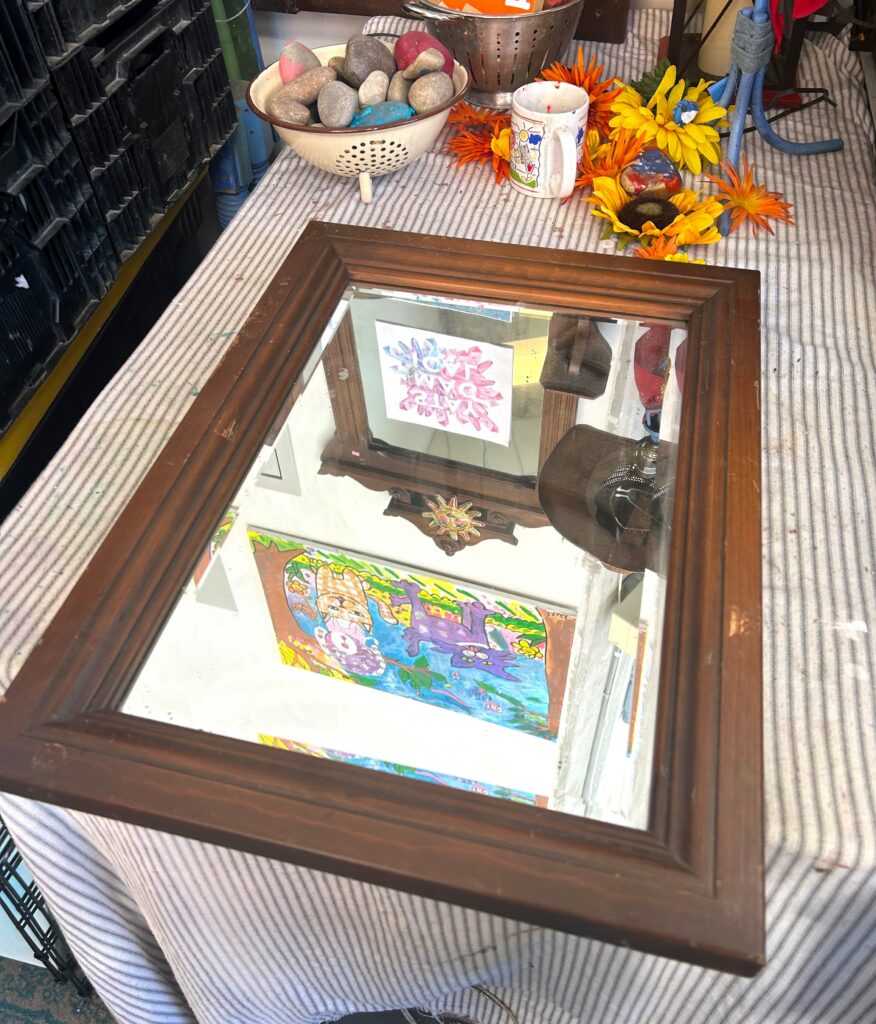
In addition, the dollars and pennies you spend at Goodwill supports this local-focused nonprofit organization with a mission that transforms lives and our community. Everybody wins when you shop til you drop at Goodwill.
This mirror was a gotta-have because of its solid, sturdy wooden frame. The icing on its cake was its beveled glass mirror which added to its elegance and reflective look. Given its super low price, I rounded up my purchase at the end, so even more funds went to help Goodwill.
2. Put on the painter’s tape
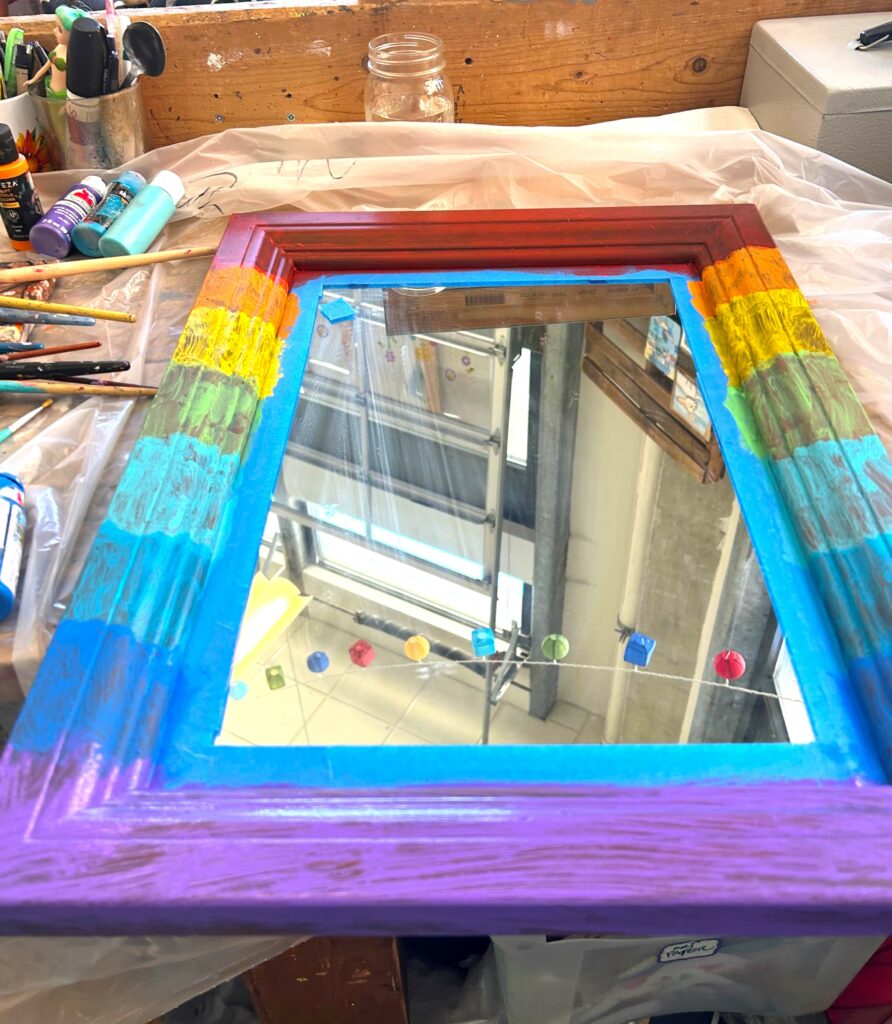
The straight lines made adding painter’s tape to the mirror’s inside edge super easy. What parts or pieces might need protecting as you paint and transform your mirror?
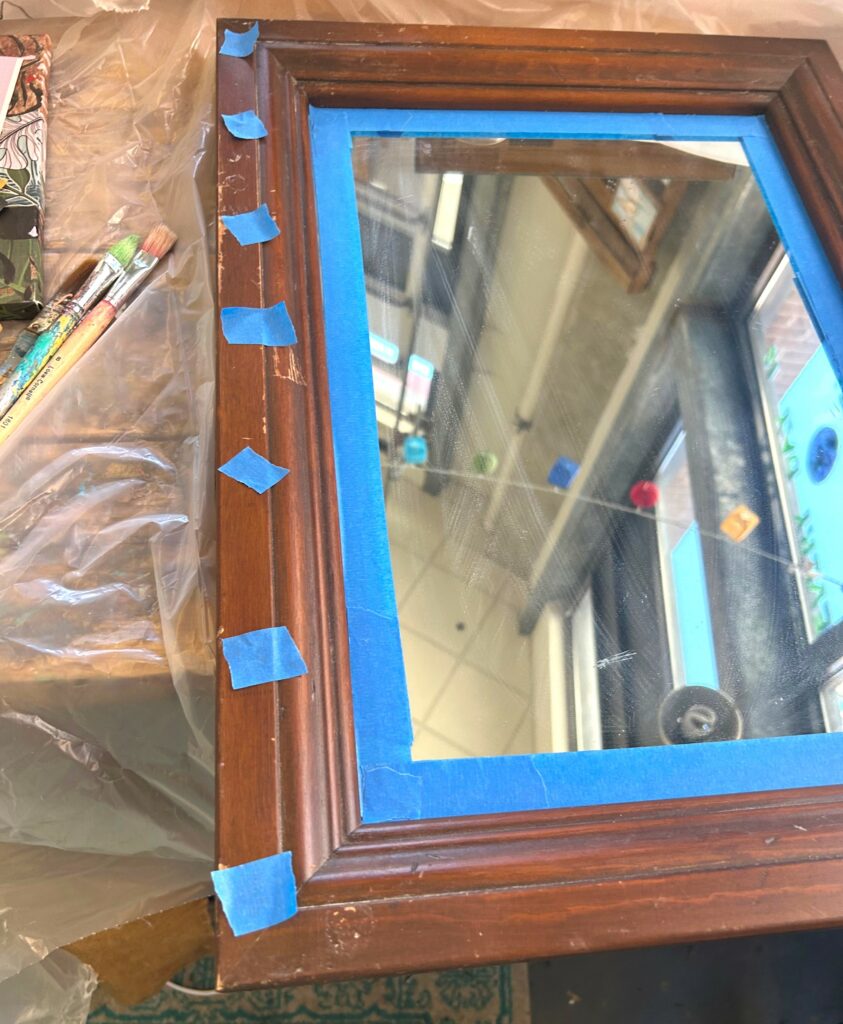
A staple in any upcycler’s/DIY’ers tool kit is painter’s tape for sure. In a few minutes, this mirror was ready to starts its new look.
3. Paint on the pride
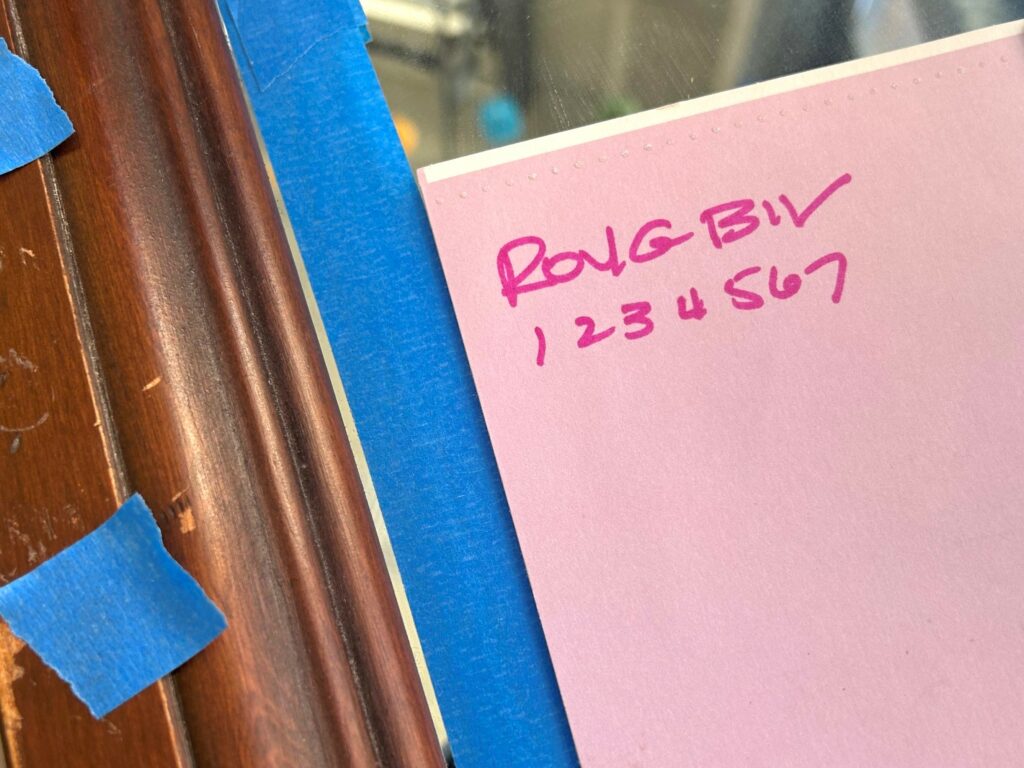
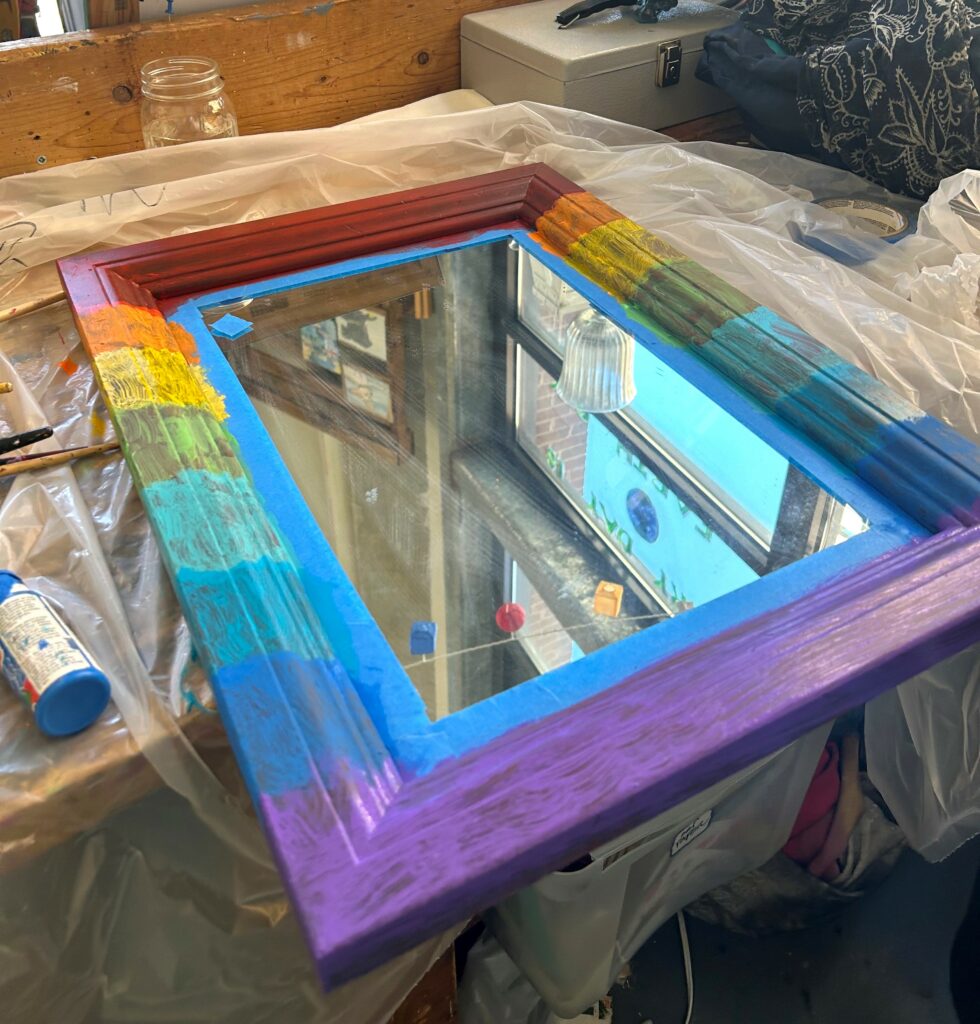
Collect your craft paints to reflect the colors of the rainbow: ROYGBIV or red, orange, yellow, green, blue, indigo, and violet. Ensure your mirror’s top color is red and the bottom/last tone is violet. Allow plenty of space for each other color in between; consider using a small piece of painter’s tape to help map out seven sections to reflect the seven rainbow colors.
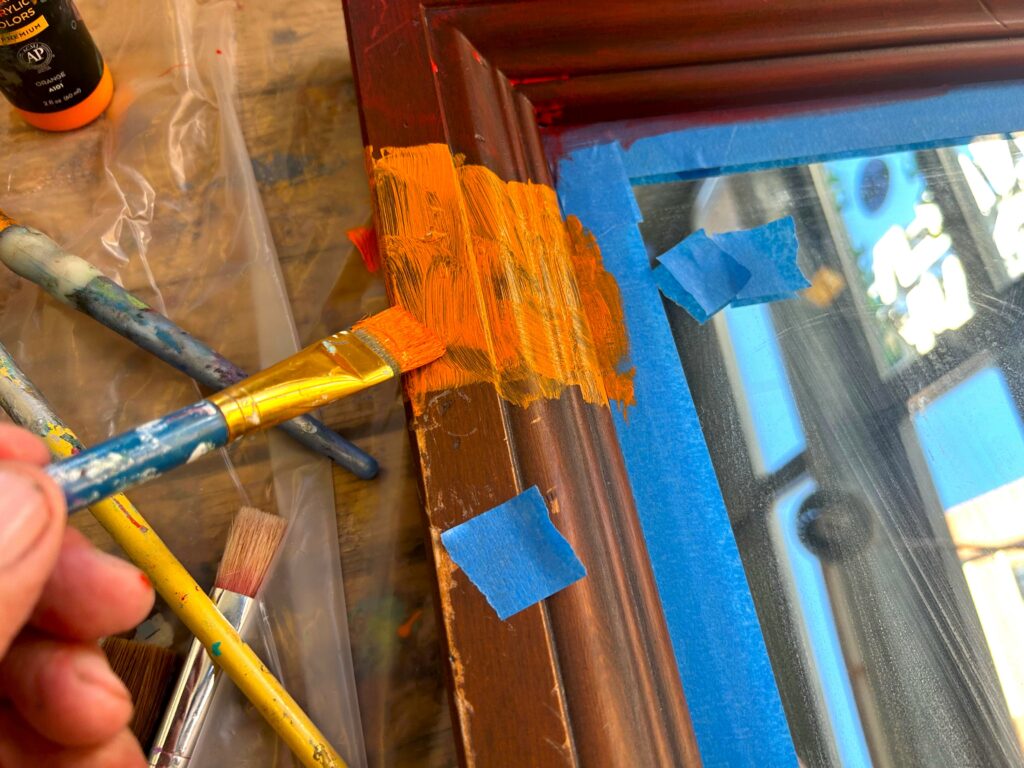
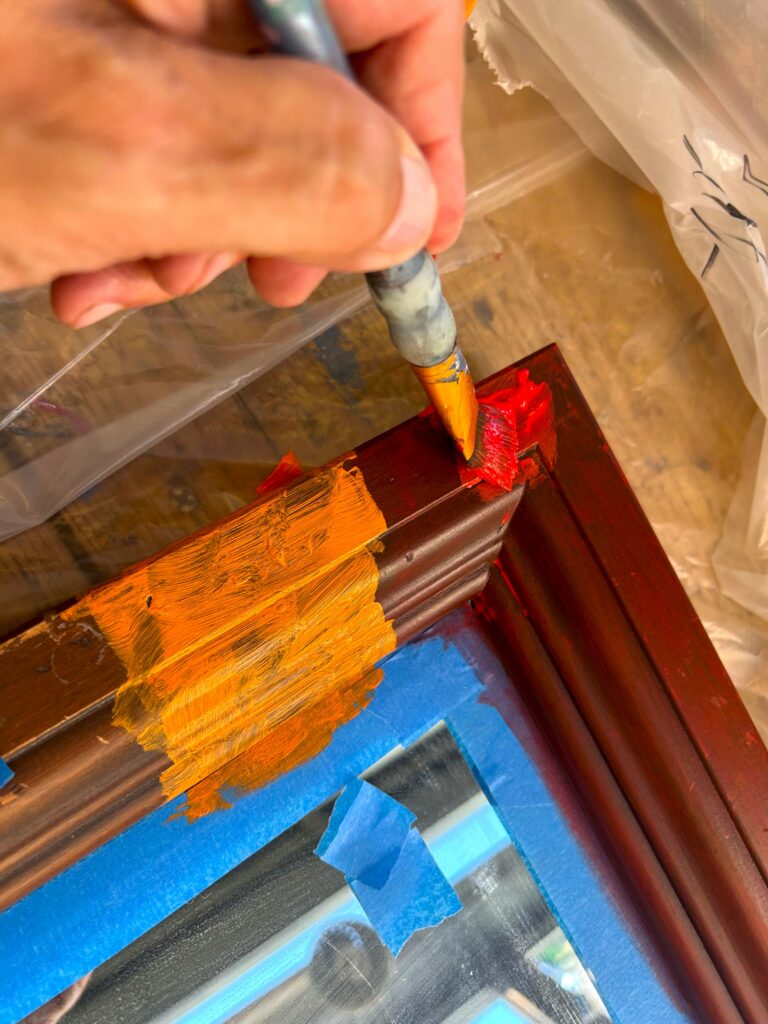
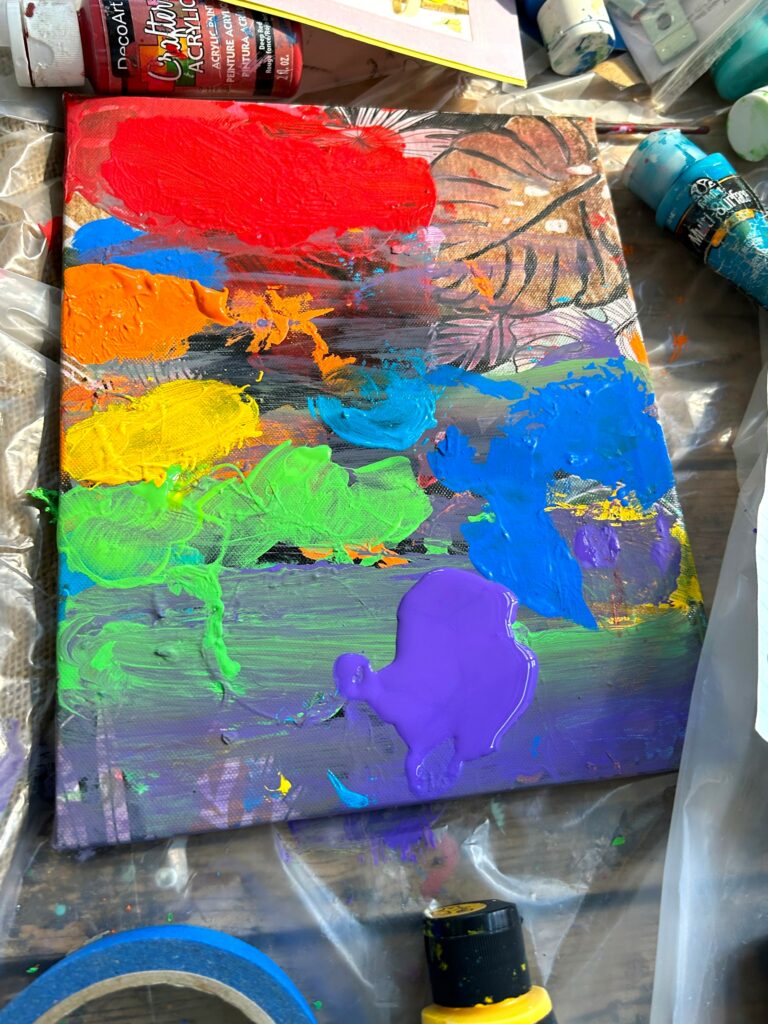
Apply a light coat starting at the top with red then work your way through the list. A square, small foam brush or an inch-wide, square regular craft paintbrush is my favorite, so the paint goes on evenly. Overlap your colors a bit so they flow from one tone to the next. Allow time to dry, then return to apply several more light coats. To ensure the colors were as bright as possible, the mirror here required four coats. Easy enough!
4. Protect with poly
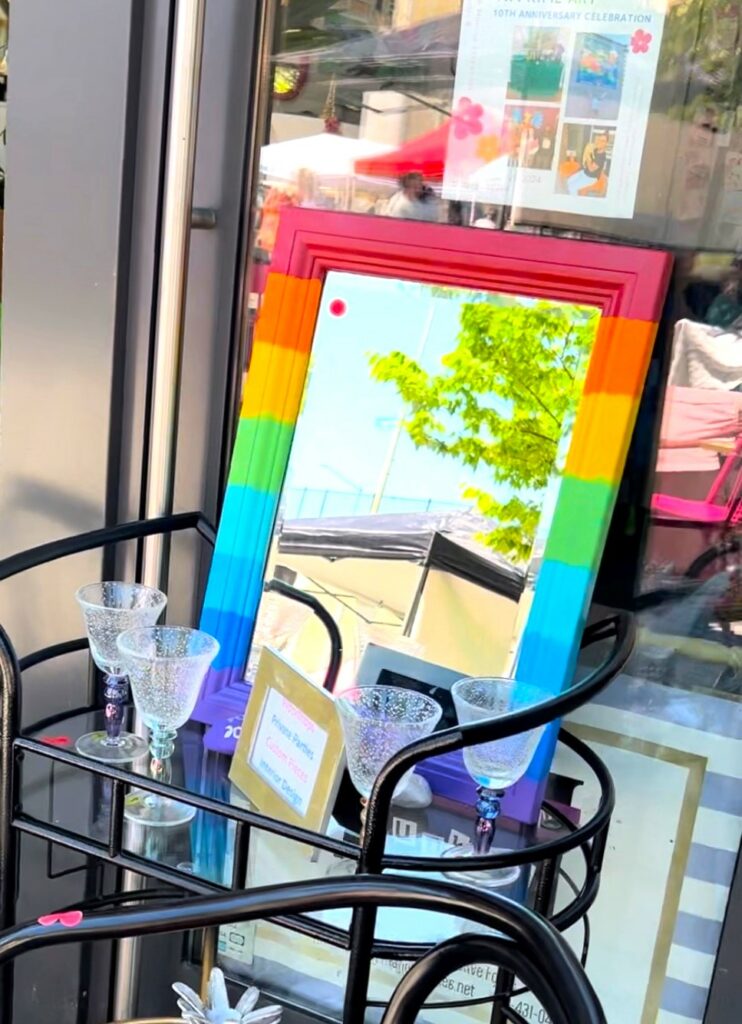
After your paint colors and layers have dried completely (and ideally overnight), then tape on scrap paper over the entire mirror glass. Spray on coats of a glossy or semi-gloss finish polyurethane to help protect the painted parts. After this dries then remove the scrap paper and painter’s tape to unveil this truly unique and prideful piece!
5. Hang it to reflect your Pride
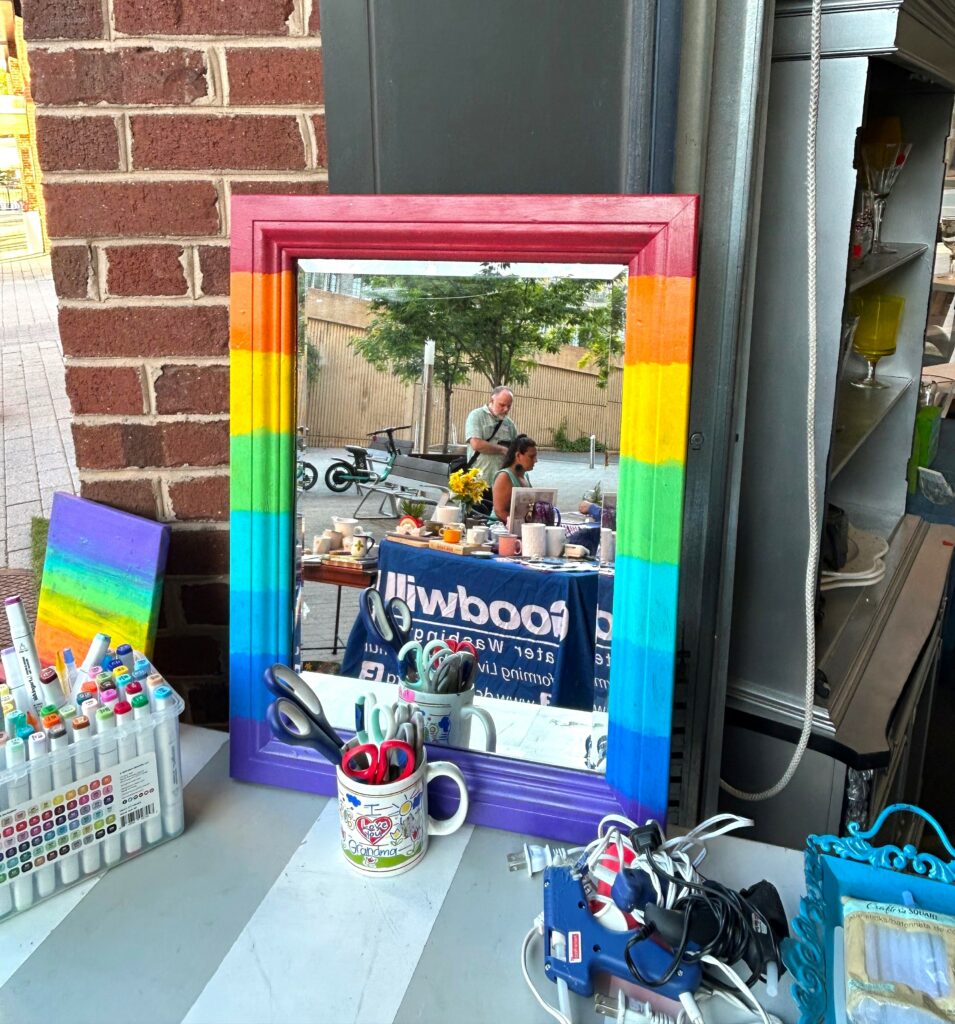
This rainbow-covered mirror will look great in any room and in any home or office. How wonderful and whimsical will this look by your front door, so you are greeted by its vibrancy when you come home or when you head out for the day? Wherever it hangs, it will certainly be a great symbol of your DIY talents, your thrifting skills and your pride for who you are!
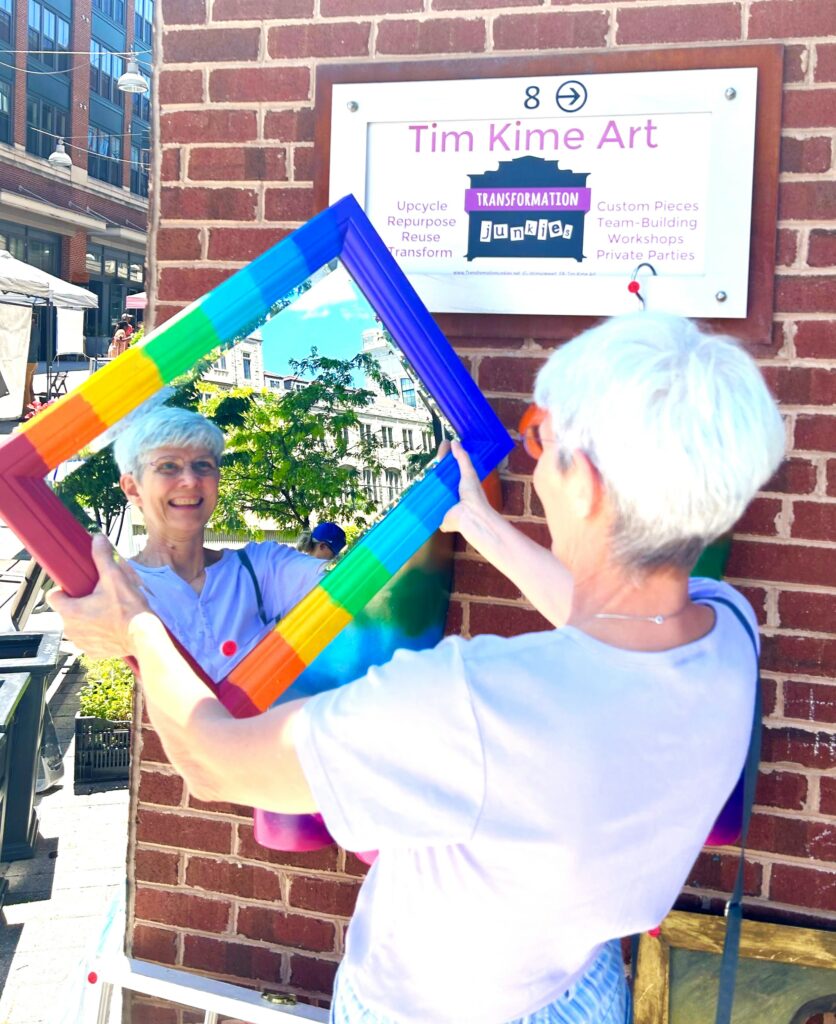

Thanks to Marci and Shelly for being my wonderful models and for stopping by my studio to add their energy and love to the space. So happy this upcycled mirror now graces your place!
Similar Reads:
- This Pride, Make A Rainbow Connection at Goodwill
- DIY: How to Paint a Chair Pair to Show Your Pride
- DIY: Let Your Light & Support Shine with Pride-Painted Lamps

Tim Kime
Artist, Motivational Speaker, Life Coach


