Pretty Places for Your Posies: Paper “Sleeves” Dress Up Goodwill-Found Vases
Here’s another easy, joyful Valentine’s Day gift idea that creates a colorful keepsake long after the flowers fade. Paper “sleeves” are a simple way to dress up thrifted vases—and to show love not just on Valentine’s Day, but every day.
This project is fun, budget-friendly, and perfect to do solo, with friends, or alongside little artists at home. The result? One-of-a-kind vases that make flowers sing and recipients smile.


Here’s How:
1. Get out of the cold and into the warmth of hot deals at Goodwill
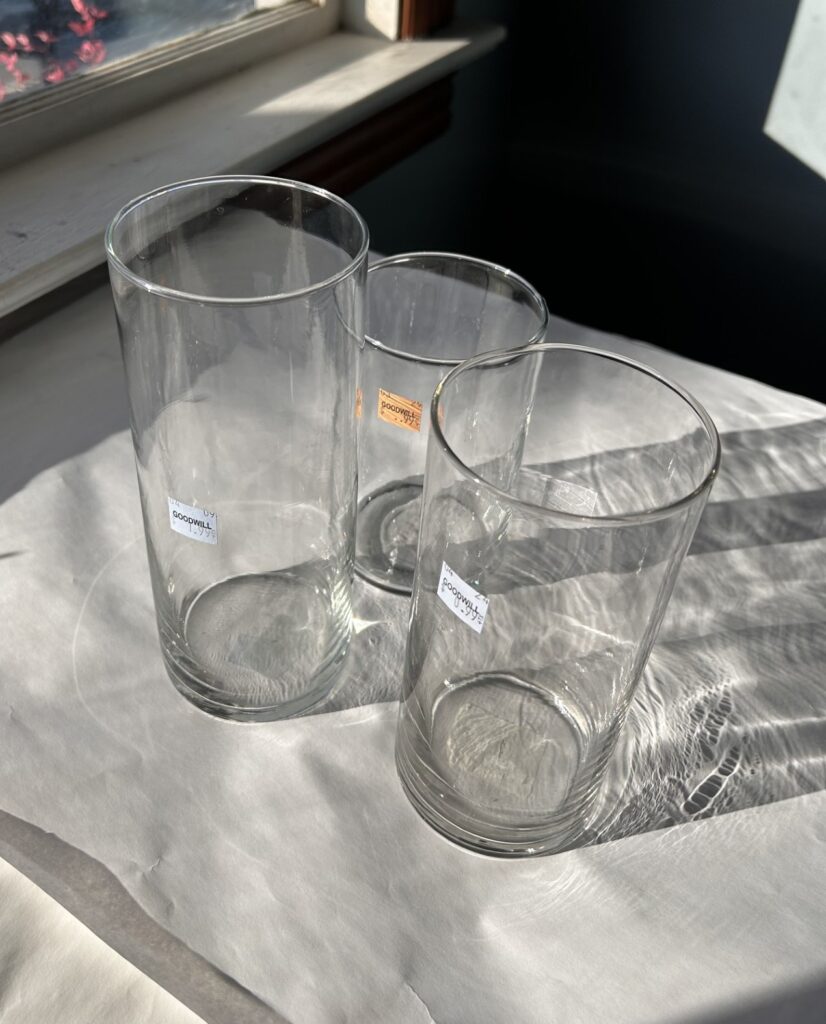
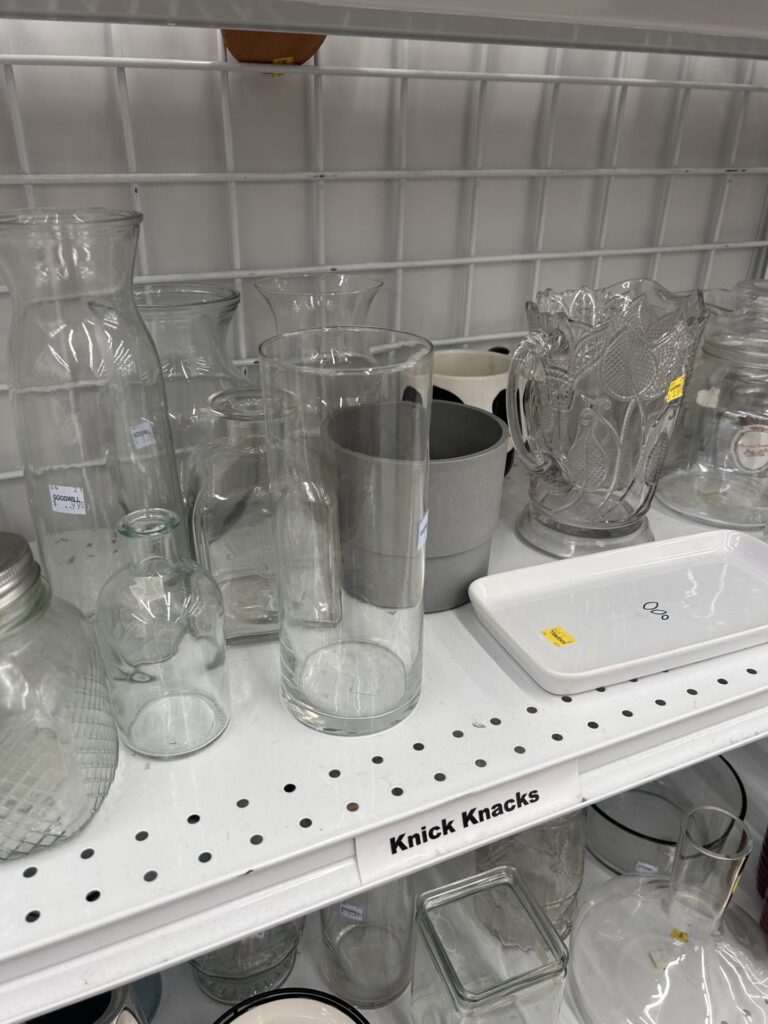
Now that many of us have finally dug out from snow and ice, bundle up and head to your local Goodwill nonprofit retail store. Your fingers will warm up quickly as you browse the aisles filled with affordable, unique finds.
For this project, visit the glassware section and look for slim, sleek, circular vases—these are usually plentiful and perfect for sleeves. While you’re there, browse the book section for colorful picture books to repurpose, and stop by the school and office supplies to see if any craft paints, markers, or papers catch your eye.


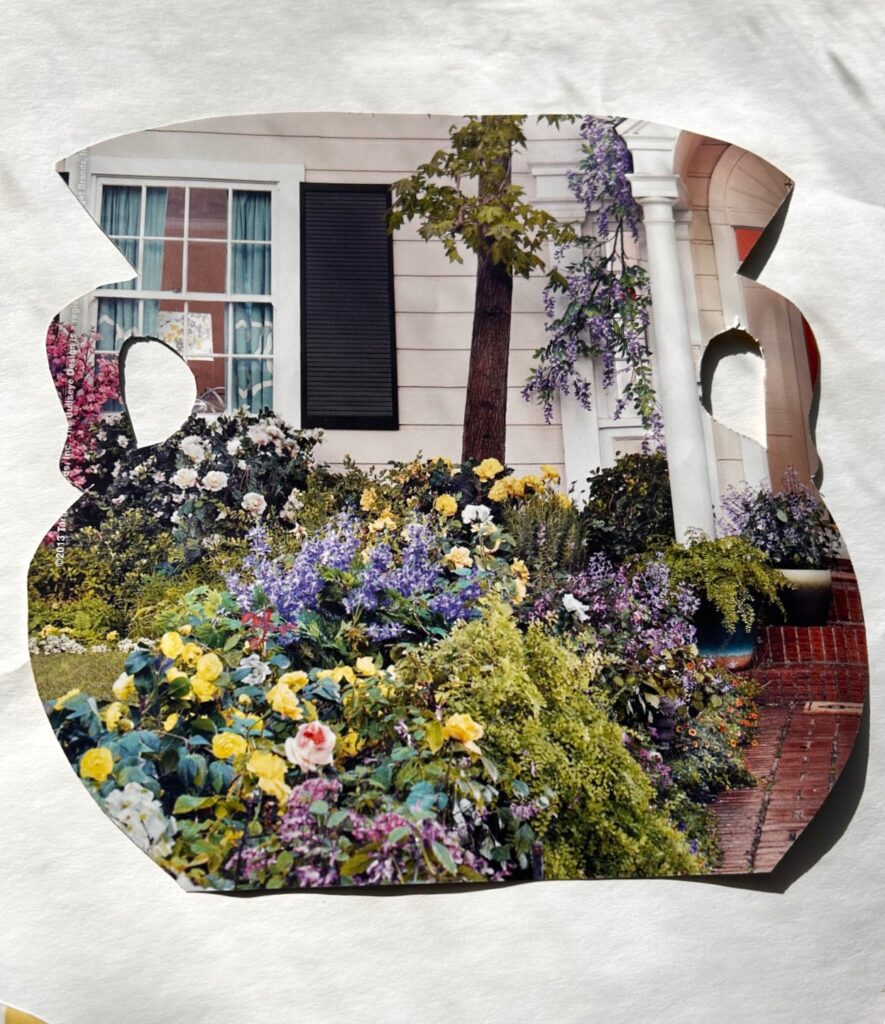
2. Create a pattern for your paper sleeve
Using scrap paper, sketch a simple vase-inspired shape. Think curves, handles, and a top rim. Your paper sleeve should wrap about halfway around the vase so it slides on easily while still making a statement.


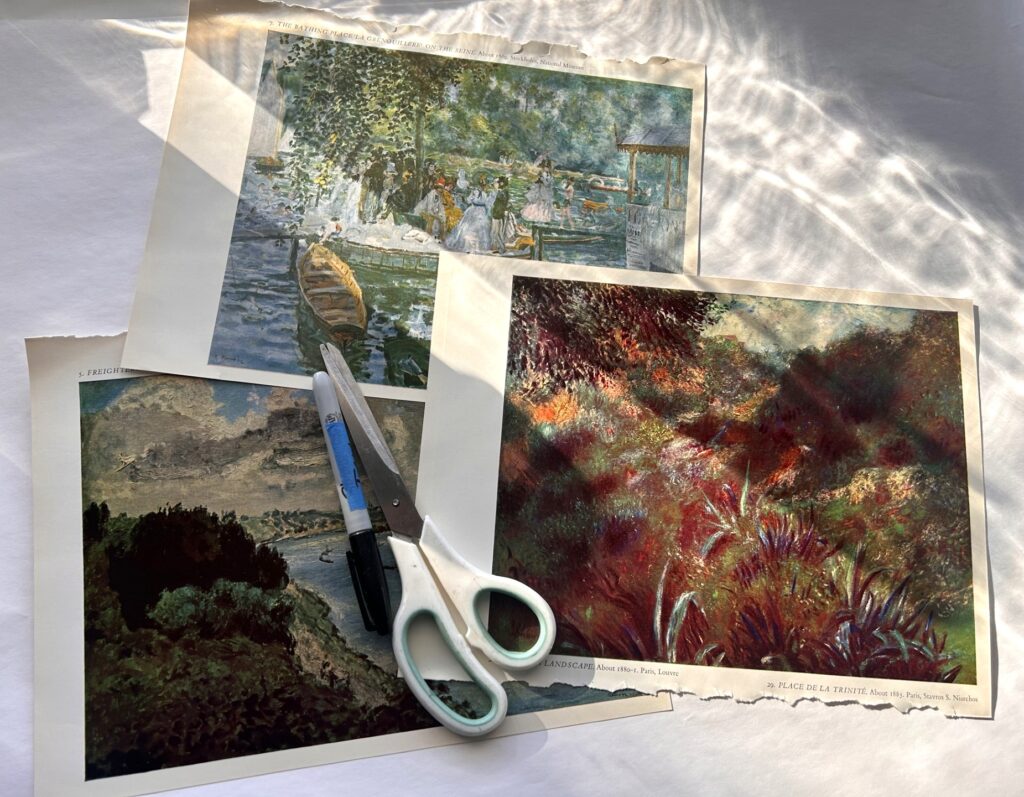
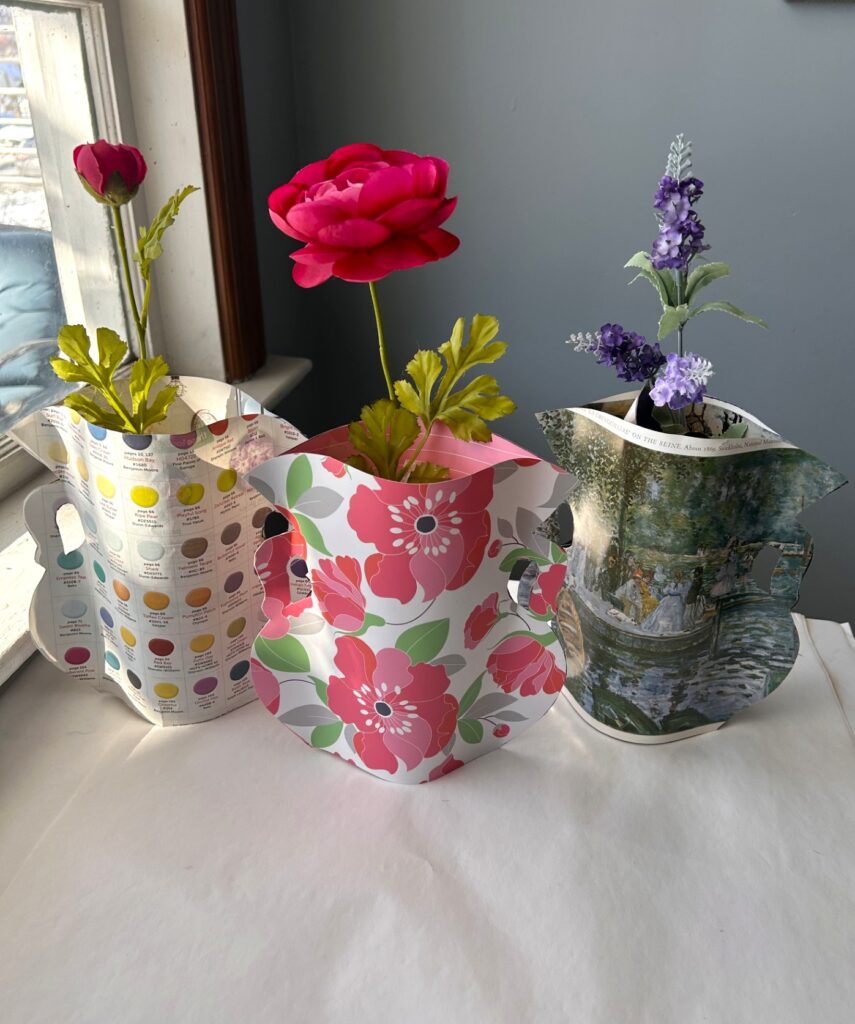
3. Pick papers, then trace (times two)
Choose the papers for your sleeve—pages from picture books, magazines, sheet music, leftover folders, or craft paper all work beautifully.
For each sleeve, trace and cut two identical shapes. Trace on the side of the paper that will be glued and hidden from view.


Valentine’s Day Design Idea:
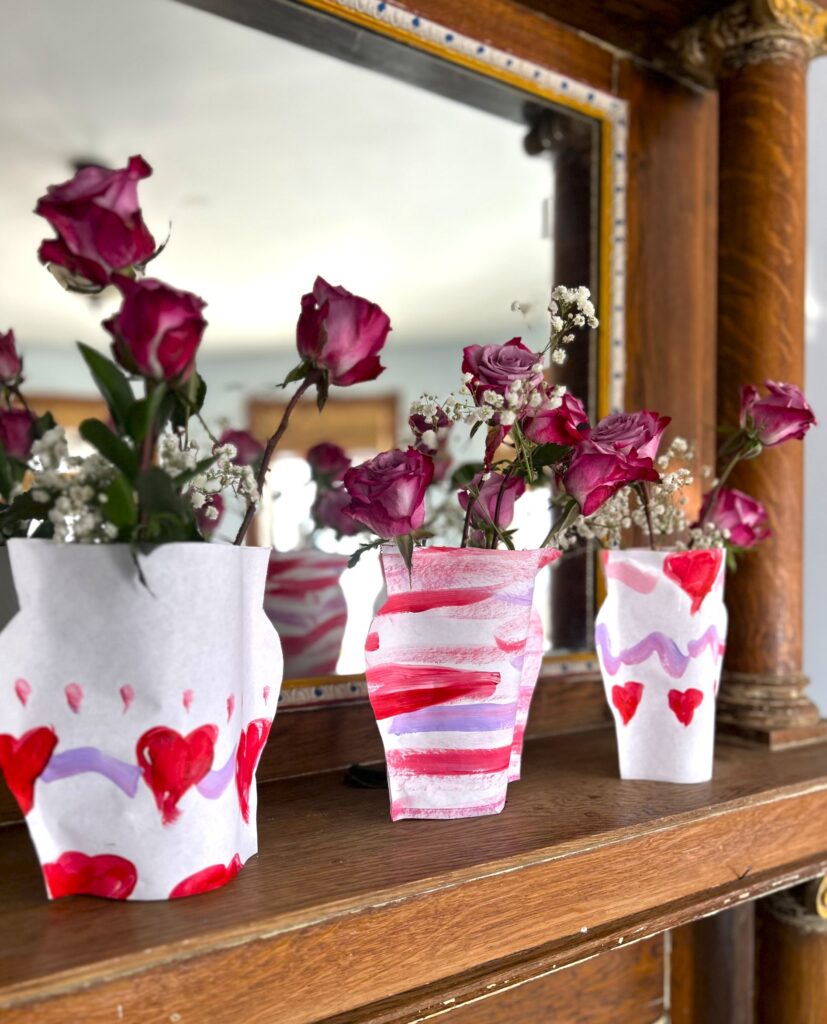
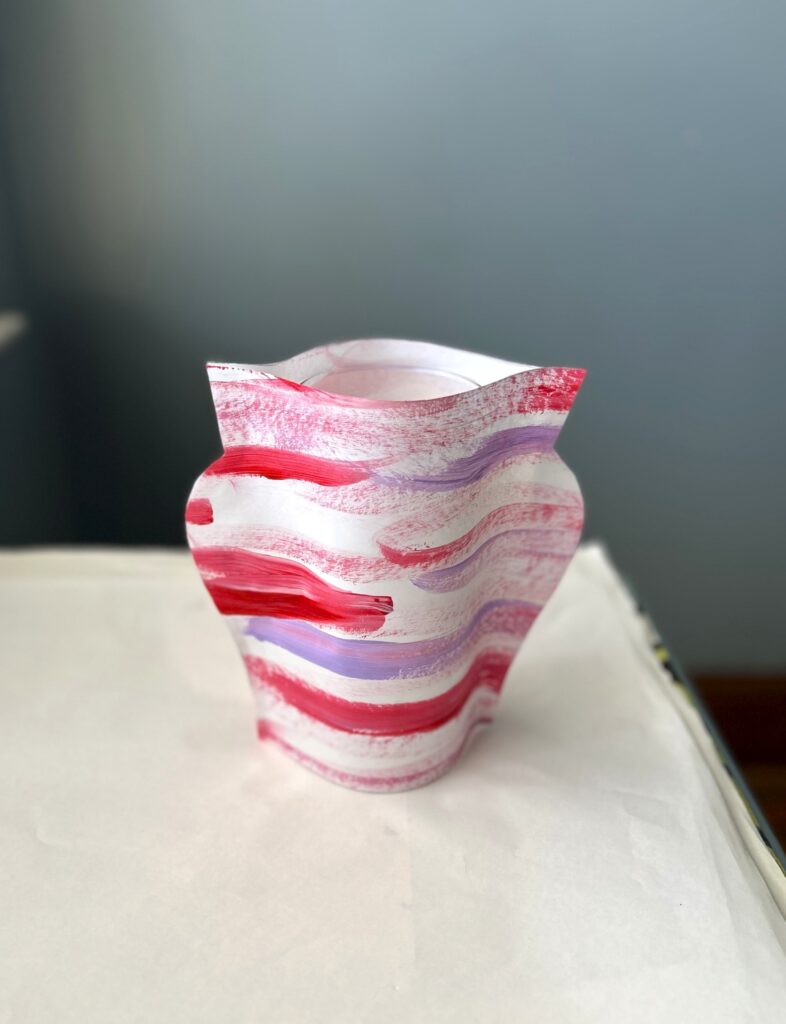
Flowers and Valentine’s Day go hand-in-hand, so lean into hearts and warm hues. On white craft paper, paint loose stripes of red, pink, and purple, or add hearts and dots in a playful pattern. This step is especially fun for kids—just be sure to let the paint dry completely. The personal, handmade touch is always a hit.
4. Add a line of hot glue along the outer edges
Place the two matching shapes together with the “good” sides facing out. Carefully open one side and apply a line of hot glue along the outer right and left edges only—leave the top and bottom unglued. (Adult supervision recommended for younger creators.)

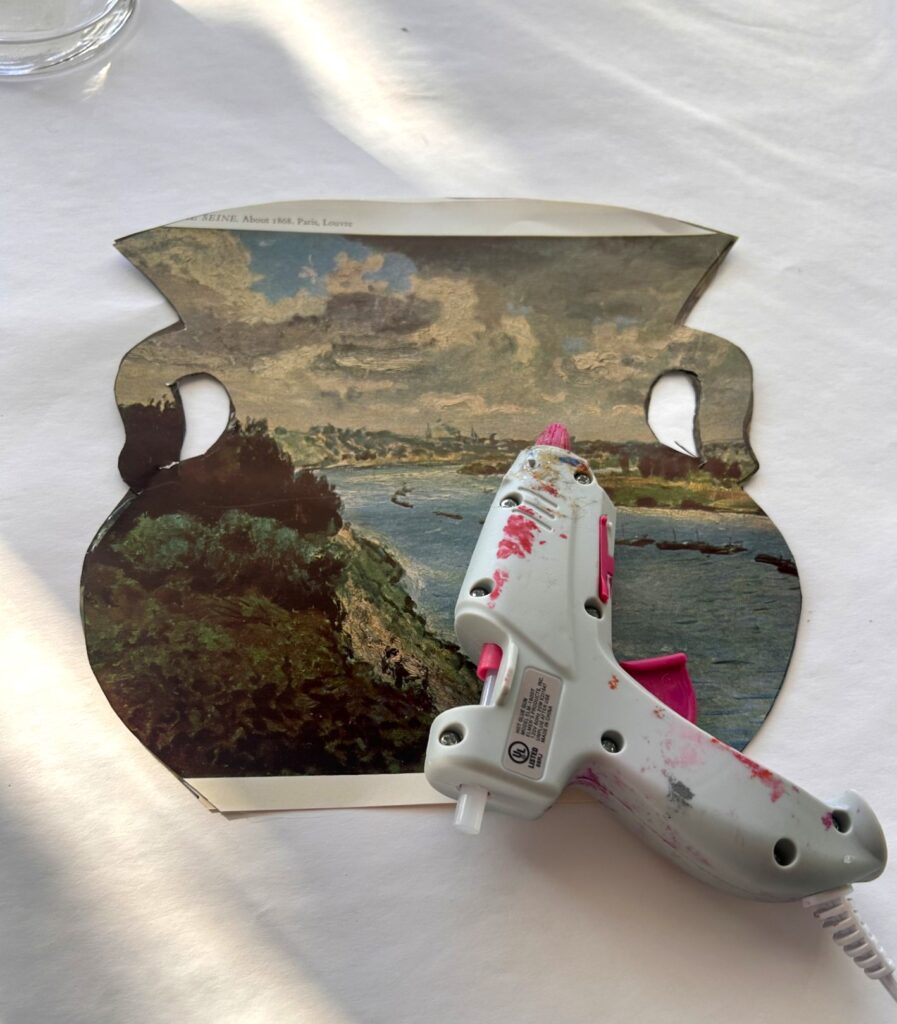

Trim any uneven edges so both sides match neatly.
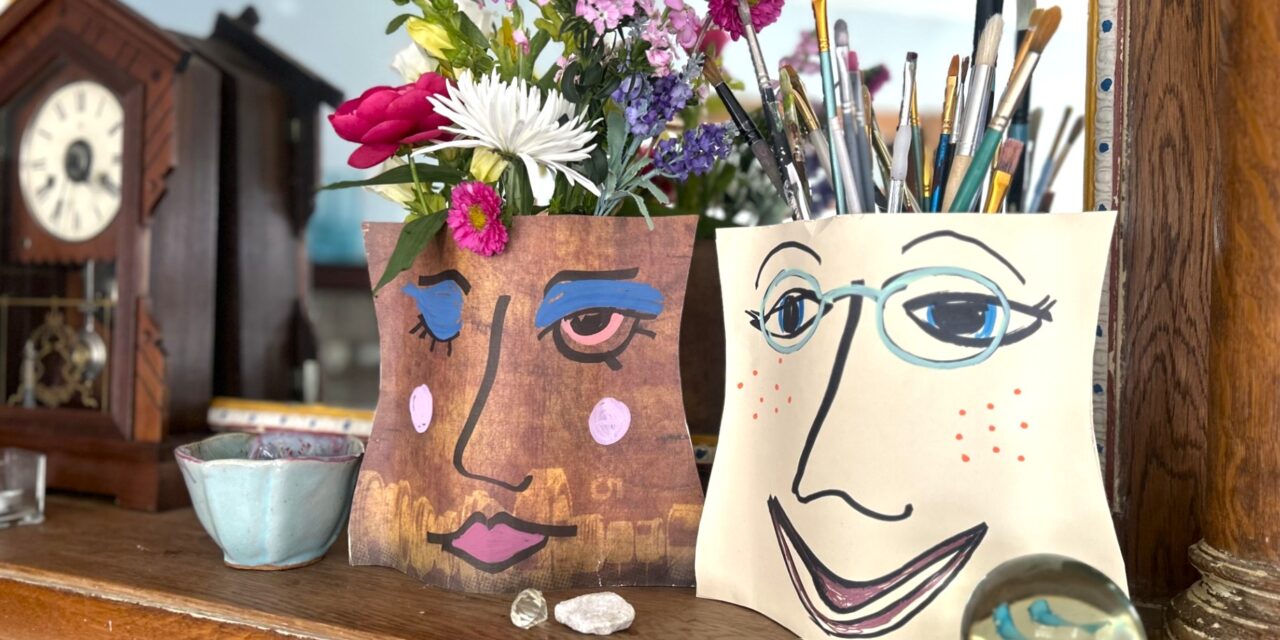
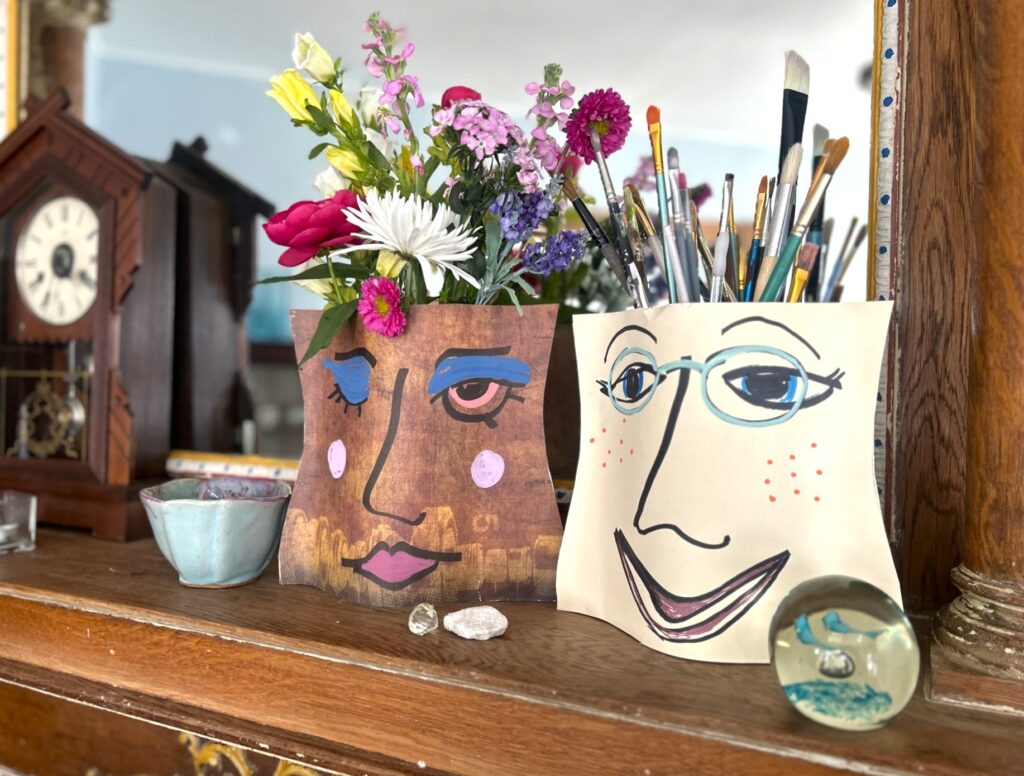
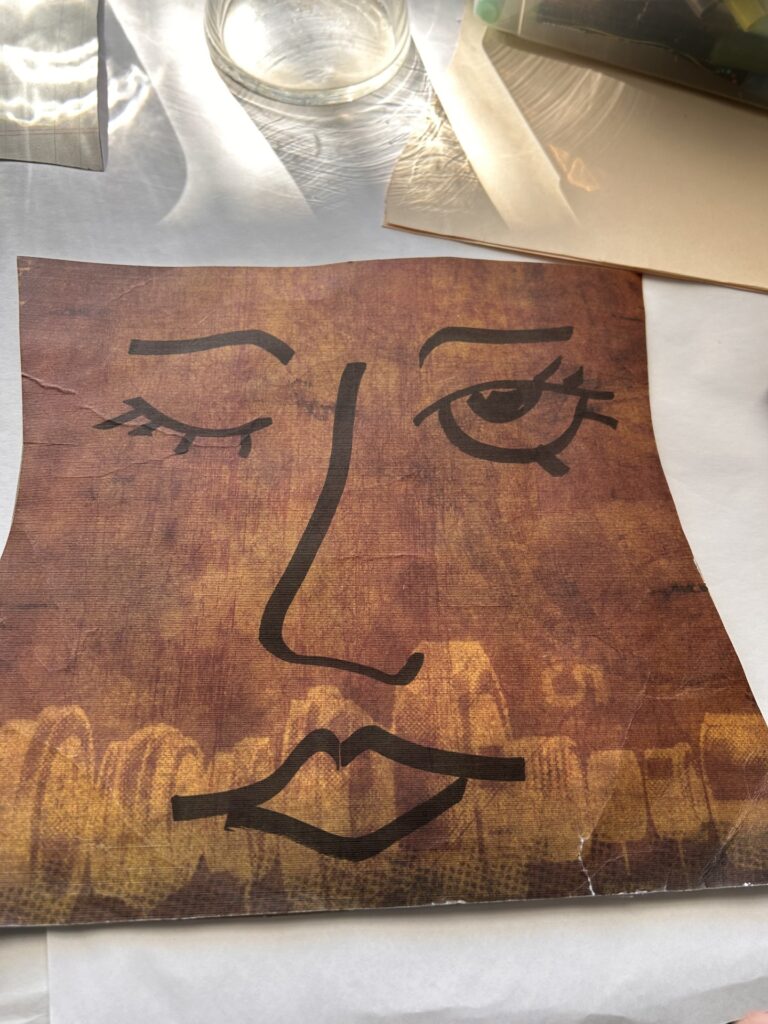
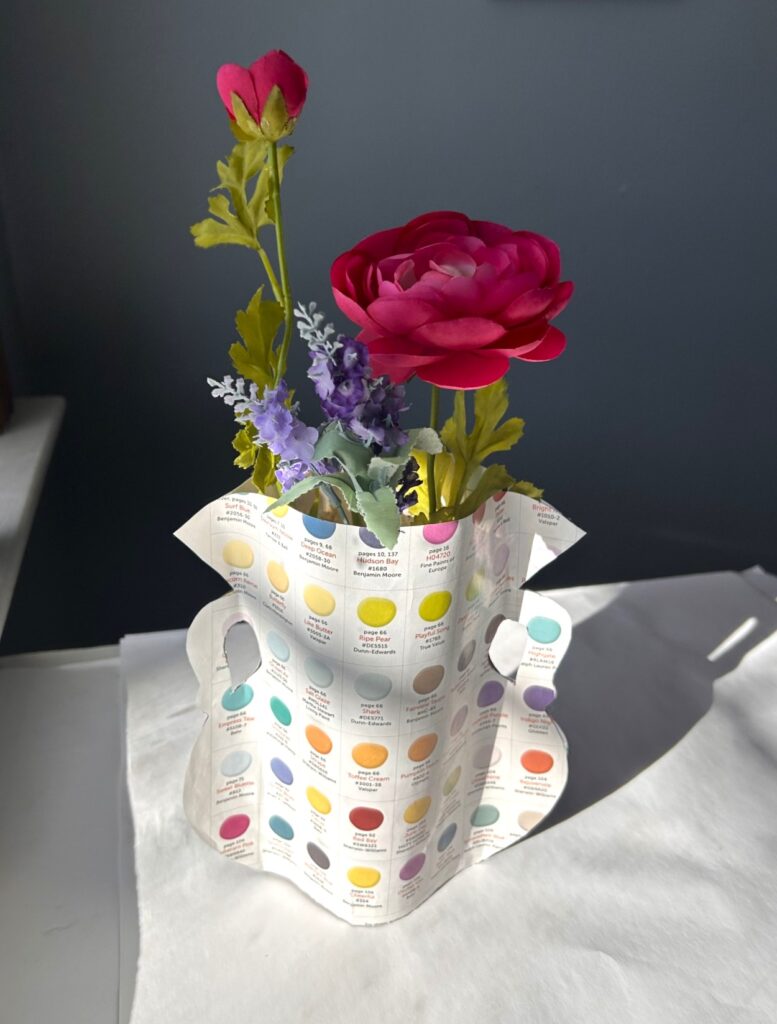
5. Embellish with paint pens and markers
Once glued, consider adding details with paint pens, markers, or Sharpies. This is where personality really shines.
Based on your paper choice, add extra charm—faces, patterns, glasses, freckles, cheeks, or bold outlines. On a few of mine, I drew playful faces and added pops of color to bring them to life.
You can also write a short message, a favorite word, or a loving phrase directly on the sleeve for an extra-special touch.


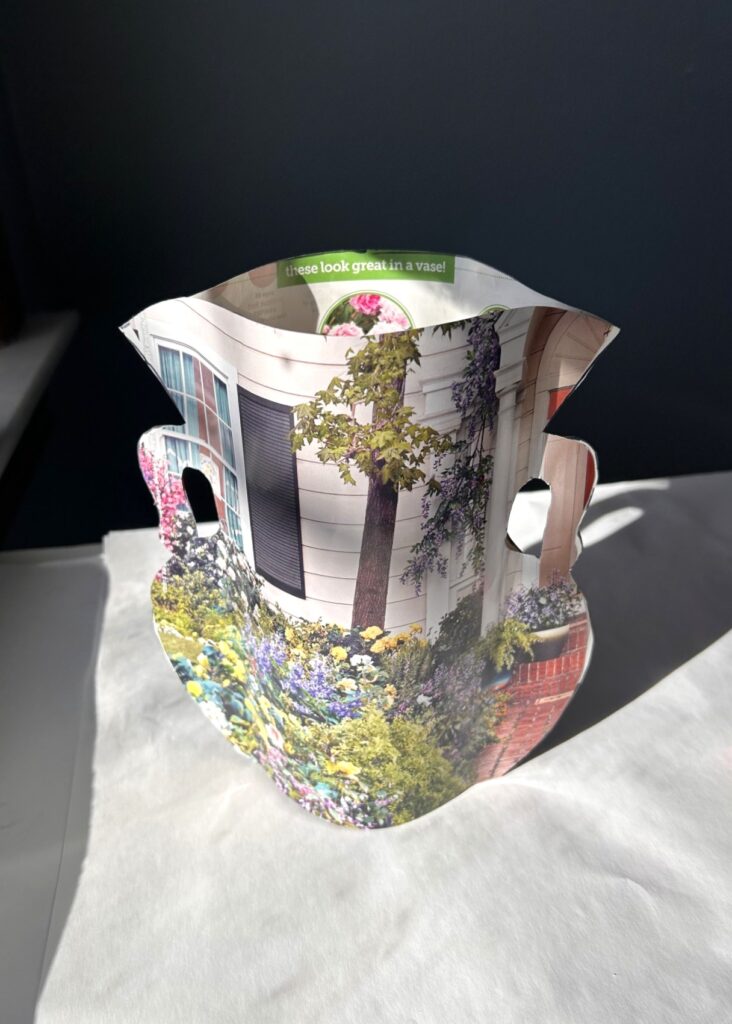
6. Slip the sleeve over the vase
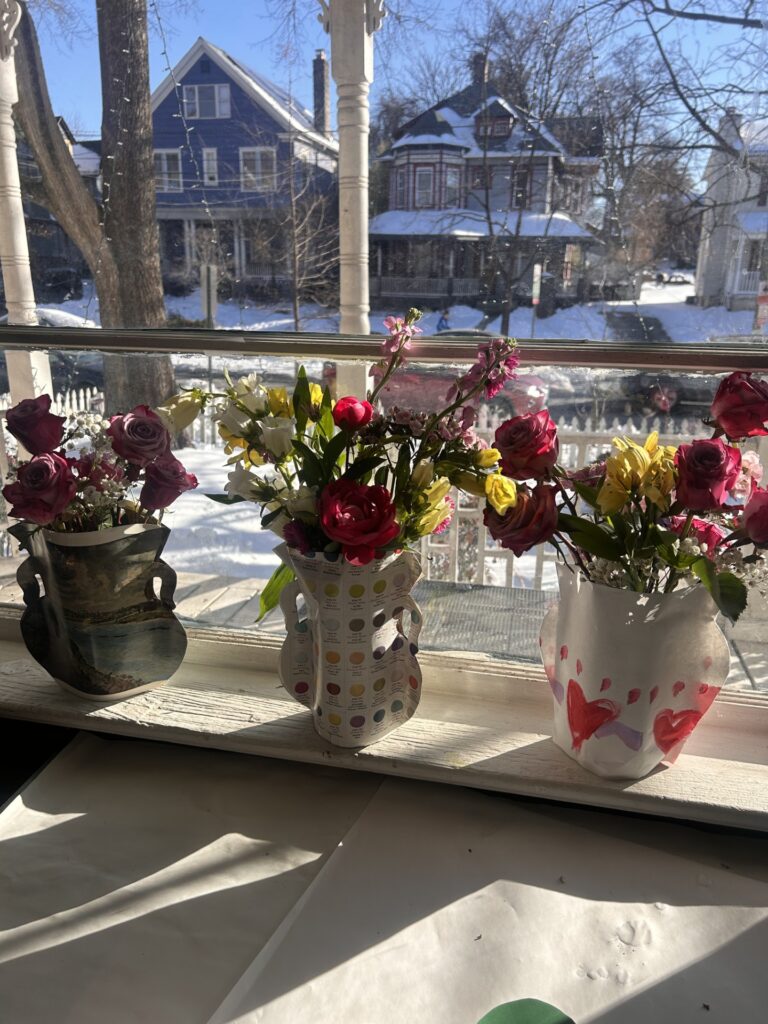
Gently open the sleeve and slide it over the top of your vase. You may need to slightly bend the paper to match the curve of the glass. Voilà! Instant art, drama, and delight—this step is always so satisfying.
8. Fill with flowers, then share, keep, and enjoy
Add your loved one’s favorite flowers and arrange them with care. Roses are a classic Valentine’s choice, but any blooms will do.
If you keep one for yourself (highly encouraged!), the vase can live on long after the flowers fade—perfect for holding paintbrushes, markers, or other tall art tools.


With Gratitude
A heartfelt thank-you to Finding Your Good and Goodwill of Greater Washington for the opportunity to create, repurpose, and share projects like this. Goodwill’s mission strengthens communities, supports job training, and inspires creativity through reuse—and this project is a beautiful reminder of how much good can come from giving items a second life.
Happy creating—and happy Valentine’s Day!
Similar Reads:

Tim Kime
Artist, Motivational Speaker, Life Coach

