Upcycle glass vases into stylish centerpieces with spray paint!
Create beautiful, one-of-a-kind vases with spray paint and painter’s tape. This simple DIY project makes wonderful and memorable gifts for Mother’s Day, birthdays and other special events.
Planning a wedding, graduation celebration or other big gathering? This is a cost-effective way to make personalized centerpieces that are sure to please all guests and attendees.
Going to a dinner party? Your host/hostess will love receiving flowers in vase you transformed just for them!
Level: Older teens and adults
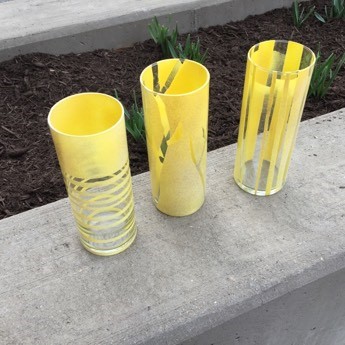
Items needed:
1. Clear glass vases that are straight-edged, from top to bottom
2. Spray paints in complimentary tones
3. Painter’s tape
4. Scissors
5. Flowers
6. Tarp/drop cloth
7. Plastic gloves
Time requirement: 30 minutes each, not including paint drying time
Cost: $8 each
- $1 to $3 per vase
- $5 per can of spray paint
- $5 per roll of painter’s tape
- $5 for flowers
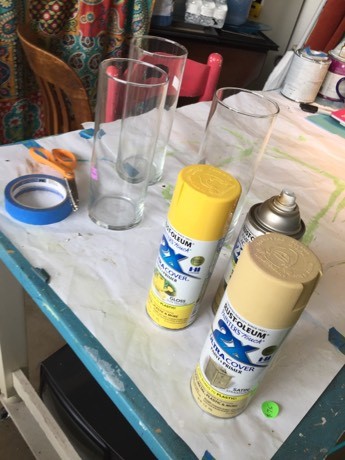
Step 1: Finding your good—and great vases—at Goodwill
With so many great items for your home and wardrobe, you might walk right past the Housewares aisle as you shop at Goodwill.
Vases are often clear and fade into the background… but this is no longer the case with this DIY!
Look for vases that are smooth along the sides with no embellishments, ridges or other details. I’ve found that round, sleek and straight-edged vases are ideal.
While I prefer the look of round vases, you could certainly pick vases that are square or rectangular shaped, again with smooth and straight edges.
Since the vases will hold flowers, choose ones that are at least eight inches tall.
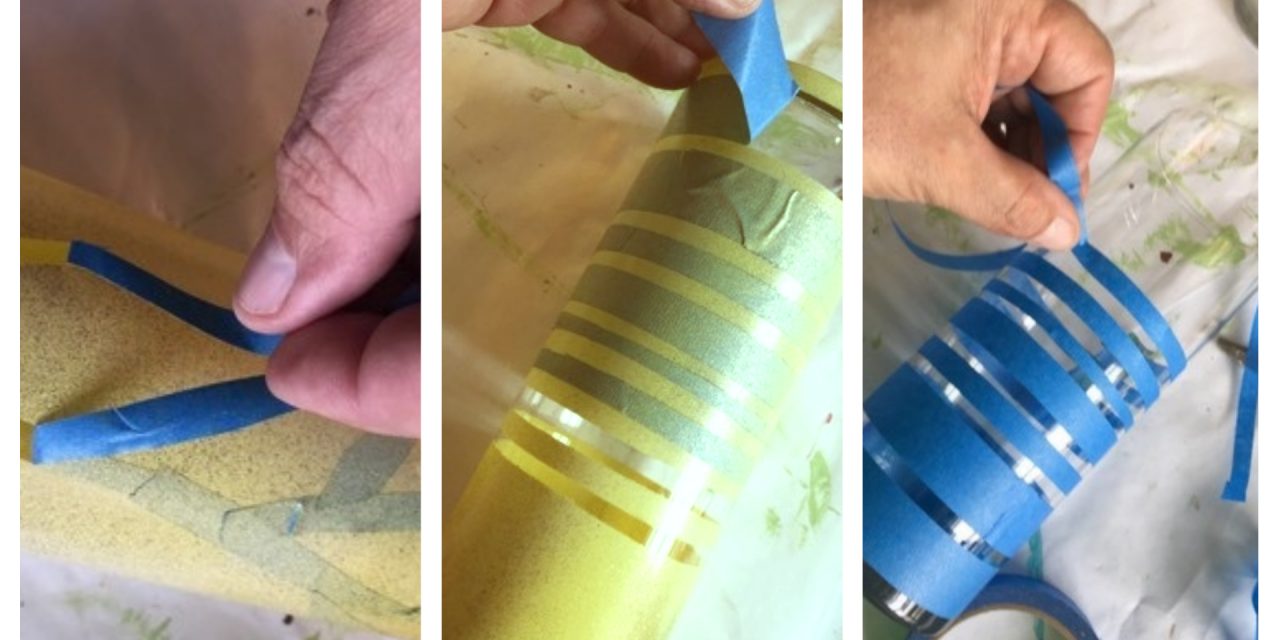
Step 2: Tape on your design
Using painter’s tape, add stripes to your vase.
- One option is to do so with horizontal stripes.
- While you could simply add stripes that are the width of your painter’s tape and the result will look wonderful, use your scissors to cut the tape so your stripes are various widths.
- Wrap the tape around the vase, varying the spaces between each ring of tape.
- For vertical stripes, follow the same steps but while placing the tape so it goes up and down, top to bottom. Again, consider cutting the painter’s tape so the stripes are various widths.
For a more organic look, use your scissors to cut long pieces of the tape into skinnier ones.
- Moving from the bottom, adhere the tape slightly curving it up as you go.
- Add smaller pieces from those, again, having the pieces curve slightly upward.
- This process will make the stripes look like branches.
- Get creative and cut small pieces to look like tiny leaves and add to the “branches.”
- With all options, go over the tape placed on the vase with your fingers to ensure the tape is on the vase tightly.
Design ideas: Don’t feel limited by stripes. You could cut squares of the painter’s tape to place all over the vase. If you are patient, you could cut pieces to create hearts, letters for initials or fun swirls.
Step 3. Select several spray paints
What is so great about this project is that you have a rainbow of color options!
Consider the vase’s purpose.
If it is a gift, choose the recipient’s favorite color or home décor hues.
- For a wedding, select a color that compliments the theme.
- A graduation party? The choice is easy—go with one of the school’s colors.
Buy spray paints that are semi-gloss or a gloss finish for best results.
- Place your taped-up vases outside on a drop cloth and put on your plastic gloves to keep the paint off your hands.
- Fill the tops of the vases with wadded up pieces of newspaper or disposal plastic grocery bags to prevent the spay paint from getting on the inside.
- Spray on a light layer and let it dry.
- Fortunately, today’s spray paints dry pretty quickly so you might only have to wait a half hour or so to add another light layer, ensuring you get all sides.
- Once done painting, let dry overnight if possible.
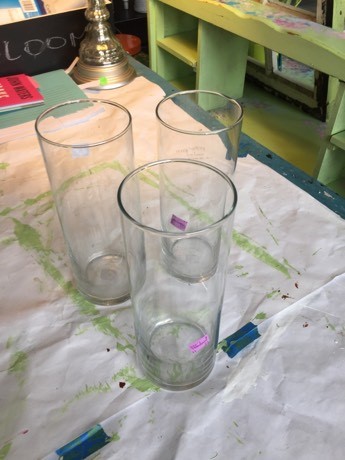
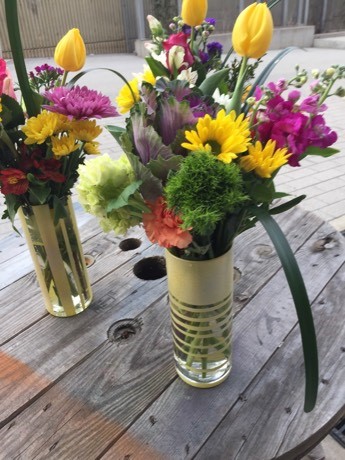
Expert Tip: Consider picking three complementary tones of spray paint to add extra dimension.
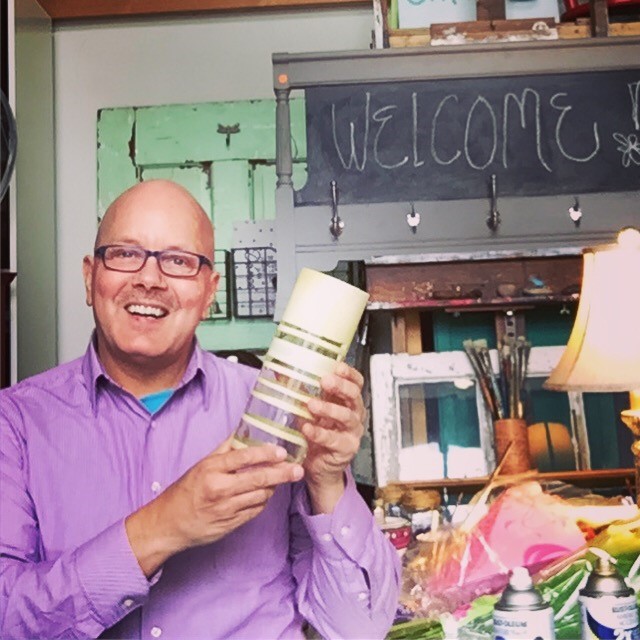
For the vases featured here, a bright yellow paint was used for the first coat, a light cream for the light second coat and gold for the third. To allow each layer to show, just “spritz” on the second and third layers so they are not solid but just a splash of color. The gold gave the vases a little shimmer which looked great!
Step 4: Remove tape to unveil the transformation
- Carefully take out the newspaper or plastic grocery bags.
- Finding the end of the tape, gently remove each piece.
- This step is so exciting because you will see how lovely your vase with its new look will be! You, too, will say, “Ta-da!” when you see the magical results.
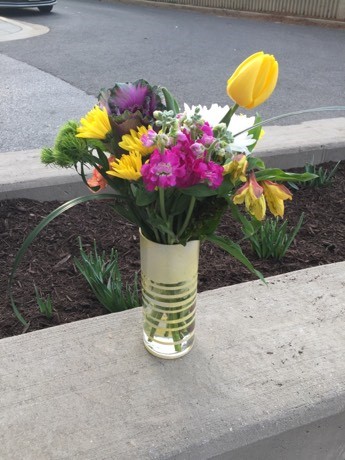
Step 5: Add water, flowers and share
Pour in water, cut your flowers and place them in the vase. Ideally, the bouquet you select will have some of the vase tones to they match and look beautiful together.
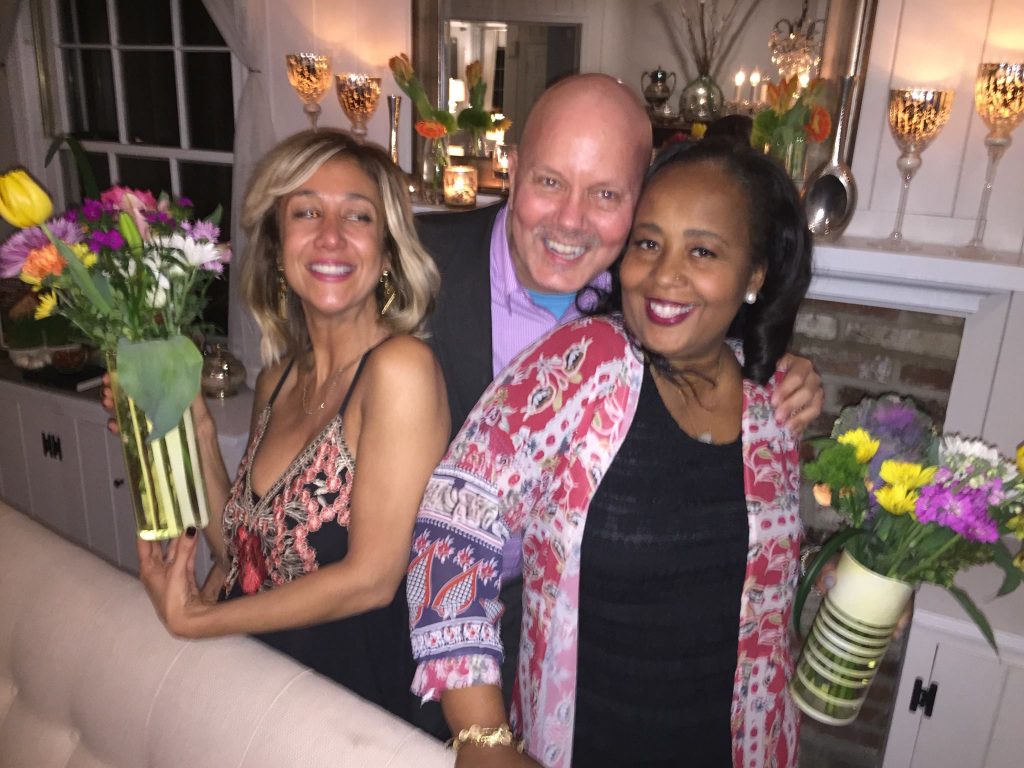
Good Guest Tip: Are you going to a dinner party or event in someone’s home and want to take fresh flowers? Consider doing this fun DIY project so that you arrive with the flowers in a beautiful vase. Also, this allows the recipient to be able to place them out immediately without having to search for a vase of his or her own and without the need to take the time to cut and arrange the flowers since you have done it for them. This will allow them to enjoy the flowers and continue to focus on their guests and being a good host/hostess. Also, a transformed vase is much more memorable than taking a bottle of wine or box of candy and can be enjoyed (with new fresh flowers) for many events to come!

