Time requirement: Six hours each, not including paint drying time
Cost: Approximately $8 each
- $1 per mason jar
- $2 for plumbing clamp
- $1 for frame hanger
- $1 for embellishments
*To save money, look for scrap pieces of wood and use paint and embellishments you already have.
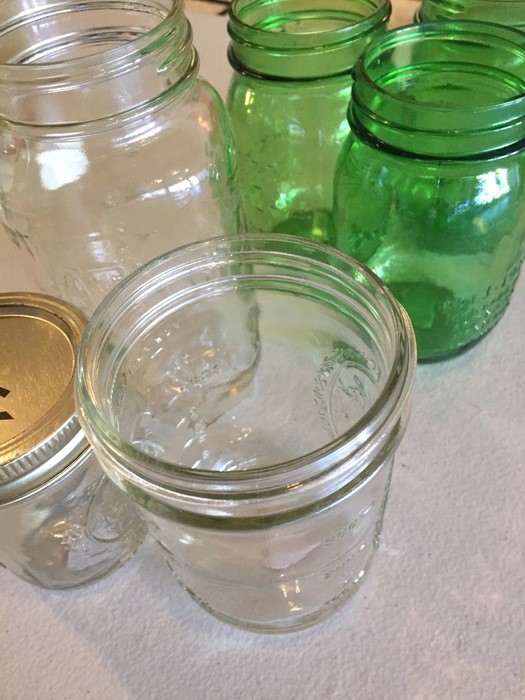
Step 1: Hunting Time in Housewares
Head to your local Goodwill and make a beeline right to the Housewares section. While there are many options for vases, glassware, dishes and mugs available (and great for other DIY projects), search among them for mason jars to re-purpose. Look for ones that are small and medium-size so they won’t be too heavy once water and flowers are added. Also, mason jars are perfect for this project because the top edges (where the lid screws on) provides a place for the hanger to hold it tightly.
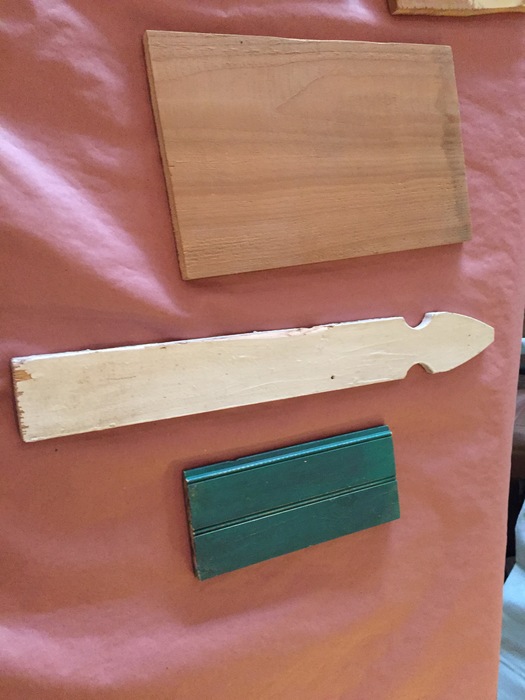
Step 2: Cut Your Wood & Prep Before Painting
*Please note: Only older teenagers and adults should do this step.
Grab your scrap wood and determine how wide from left to right you want your message board to be. Next, place your jar on its side on the board to determine how much space you want between the edge and space for your message.
If you need to cut it, ensure you have a safe place to do so. When you use the saw, always wear protective goggles. After you cut your wood, use sandpaper to smooth out the rough edges. If your scrap wood has any old paint or varnish on it, lightly sand the front surface to make it more porous for paint.
Another option is buying wood from your local hardware store; they often cut small pieces for free. Also, the front of old cabinets and drawers are great options because all their edges are finished and often the perfect size for this project. Remove any price tags or stickers from the mason jars. Wash and dry them.
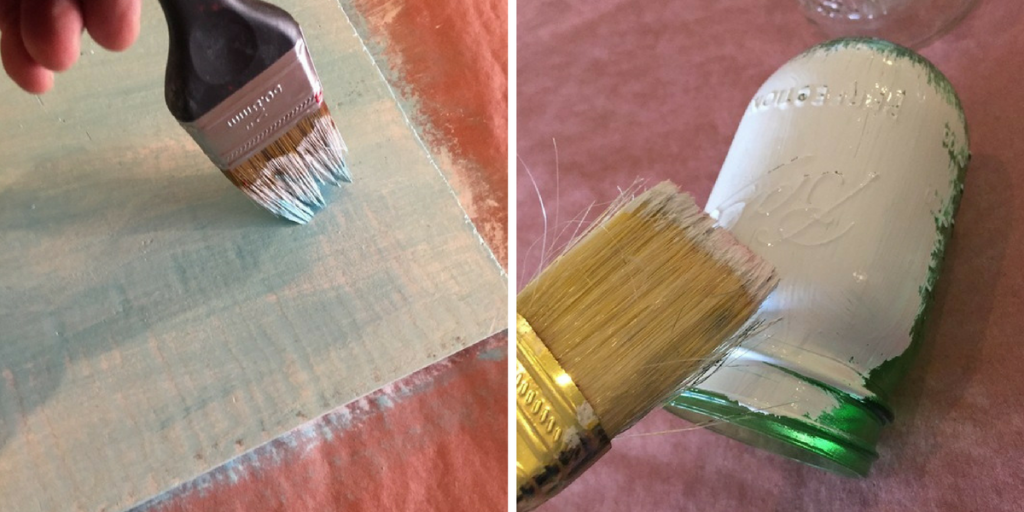
Step 3: Paint Away!
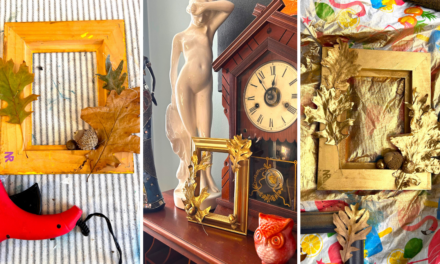
In complimentary or different colors, paint both your wood piece and the outside of your mason jar. Given the country charm/shabby chic feel of this project, you can paint light layers of paint on both the wood and the jar. Paint one layer then let it dry for several hours. Layering several colors adds visual interest, so consider adding a second and third coat of paint in different colors. While you will want to ensure you are covering the top surface and edges, don’t worry about applying a thick heavy coat. Depending upon your piece of wood, you may not even need to paint it. I used a part of a white picket fence and I made no changes to it.
Do the same process with your jars. Paint a layer all over it; allow it to dry. Consider a second layer in another color and try a “dry brush” technique where you dip the brush lightly in the paint, then dab it on a rag to remove most the paint. While the paint on the brush is still wet, gently brush it on the jar while trying not to cover it completely. (For one of my message boards, I found jars that were green and looked good as I found them, so I skipped this step). Let your board and jar dry between coats.
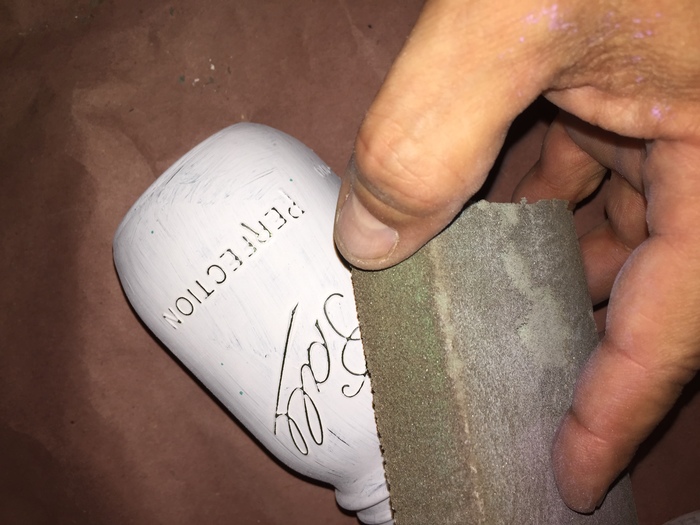
Step 4 (Optional): Sand It to Show Its Stuff
After your board and jar are dry, use sandpaper to help pull out any details also known as “distressing” or to give it a worn look. For the board, sand lightly along the edge to remove some of the paint and to allow the surface below to show. Do the same on your jar along any raised words or areas to help them to pop out. Wipe down your board and jar with a damp cloth to remove any dust created from the sanding.
Step 5: What’s Your Message to the World?
Place your jar in the position you want it to go and use a pencil or painter’s tape to draw a line to separate that area from where your message will go. Set the jar aside and grab a pencil to write a message. Consider using a ruler or straight edge to map out space. You could use stencils at this step; however, I think free handwriting adds a more personal, whimsical feel to the piece. Words like Hello, Welcome, Ciao or Bonjour are great options and offer universal appeal. You could also put someone’s name or even your address number. So many options! Once you paint on your message, let it dry completely. Erase any pencil marks.
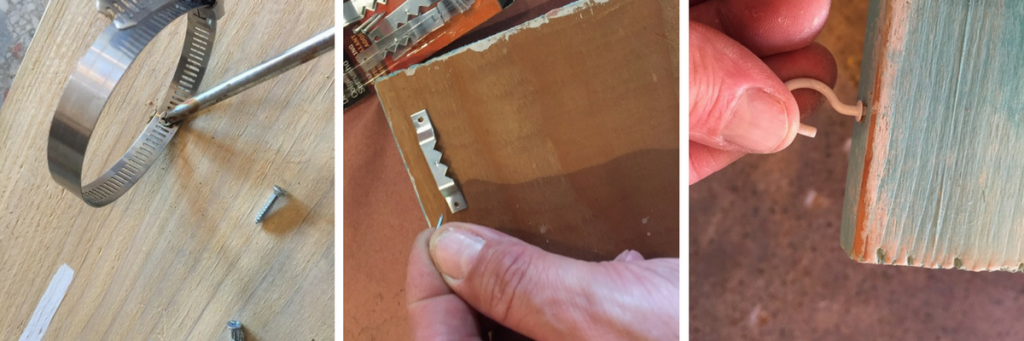
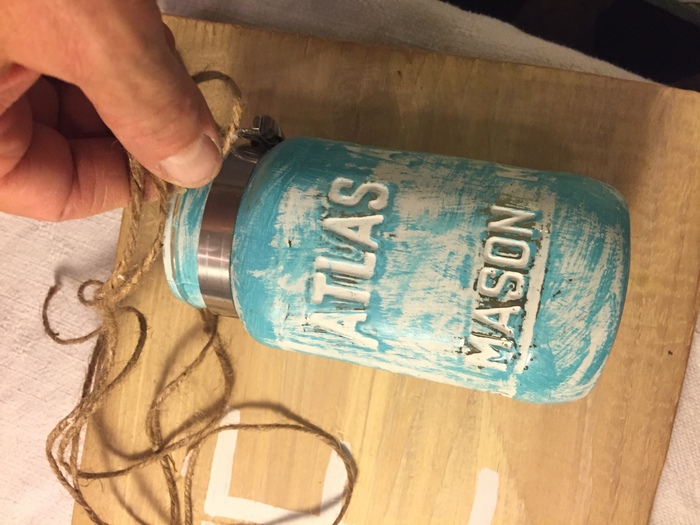
Step 6: Clip on Time
Place your pipe clip around the top of the jar with the tightening bolt along the side and facing you. Place it in position and note where the back of the clip touches the board. Remove the jar and place the clip on another scrap piece of wood, ensuring the clip back is in the same place. Grab a Philips head screwdriver and place it in the spot on the clip where it will be attached to the board. With a hammer, tap it to create a hole for the screw. Return the clip with the hole to the board, insert your screw and tighten it in. Place your jar inside the clip and use your screwdriver to tighten it so the jar in securely in place. An option for extra support is to apply a little glue from your glue gun to the part of the jar below the clip that touches the wood. At this point, you also might want to lightly spray the jar and board with a coat of polyurethane to protect the piece, especially if it hangs on your front door or porch.
Step 7: Add Frame Hangers
Carefully turn your jar and board over. Position it on the corner of your worktable so the jar hangs over the end and allows the board to lay flat. Carefully hammer the hangers into place. You might want to use a chain or rope as a handle or hook. Secure it in place with a screw. Again, be careful as you turn your message board over; the attached jar will make it feel off balanced. I nearly dropped mine at this point!
Step 8: Enjoy Embellishing
Your message has been written. Your jar has been securely attached. Hanging hardware is in place. Now is time to add additional visual interest or items to make this piece just for you. Add small hooks on the bottom edge for your keys or mugs. Use ribbon or twine to wrap the top of your jar with additional color or texture. Add an old knob or handle.
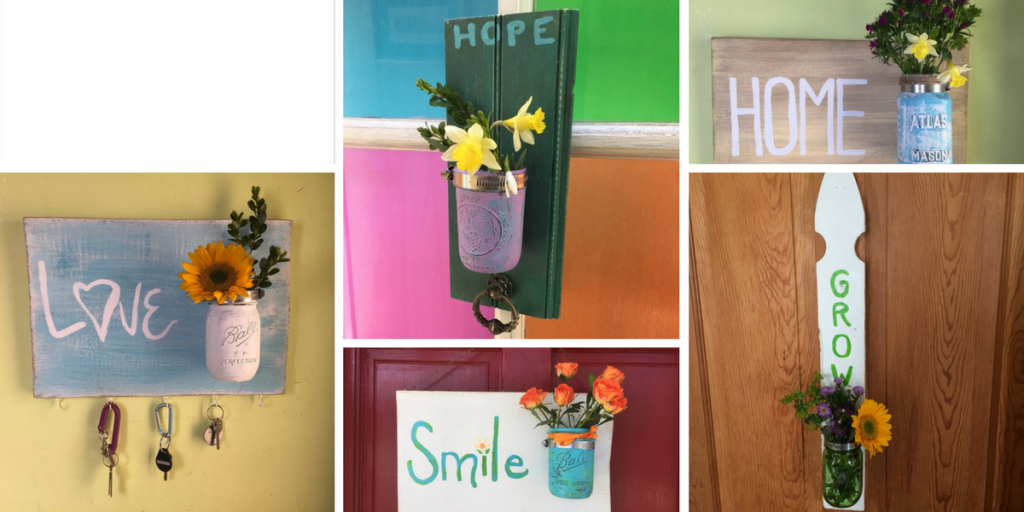
Step 9: Hang it, Add Water & Fresh flowers then say Hello Spring!
Head to your garden to clip some flowers or pick up a bouquet at the store. Whenever you place your mason jar message board, you will be happy to see your one of a kind creation!

