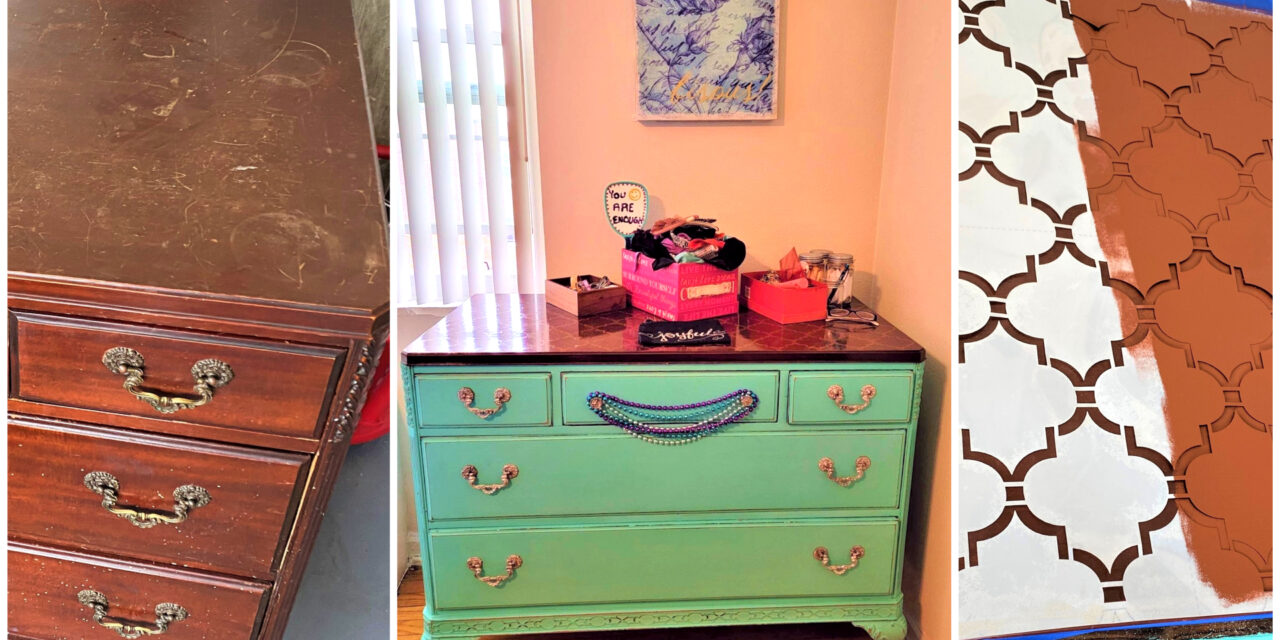
Give a Dated Dresser a Personality Pop with Cool Color & Stylish Stencils
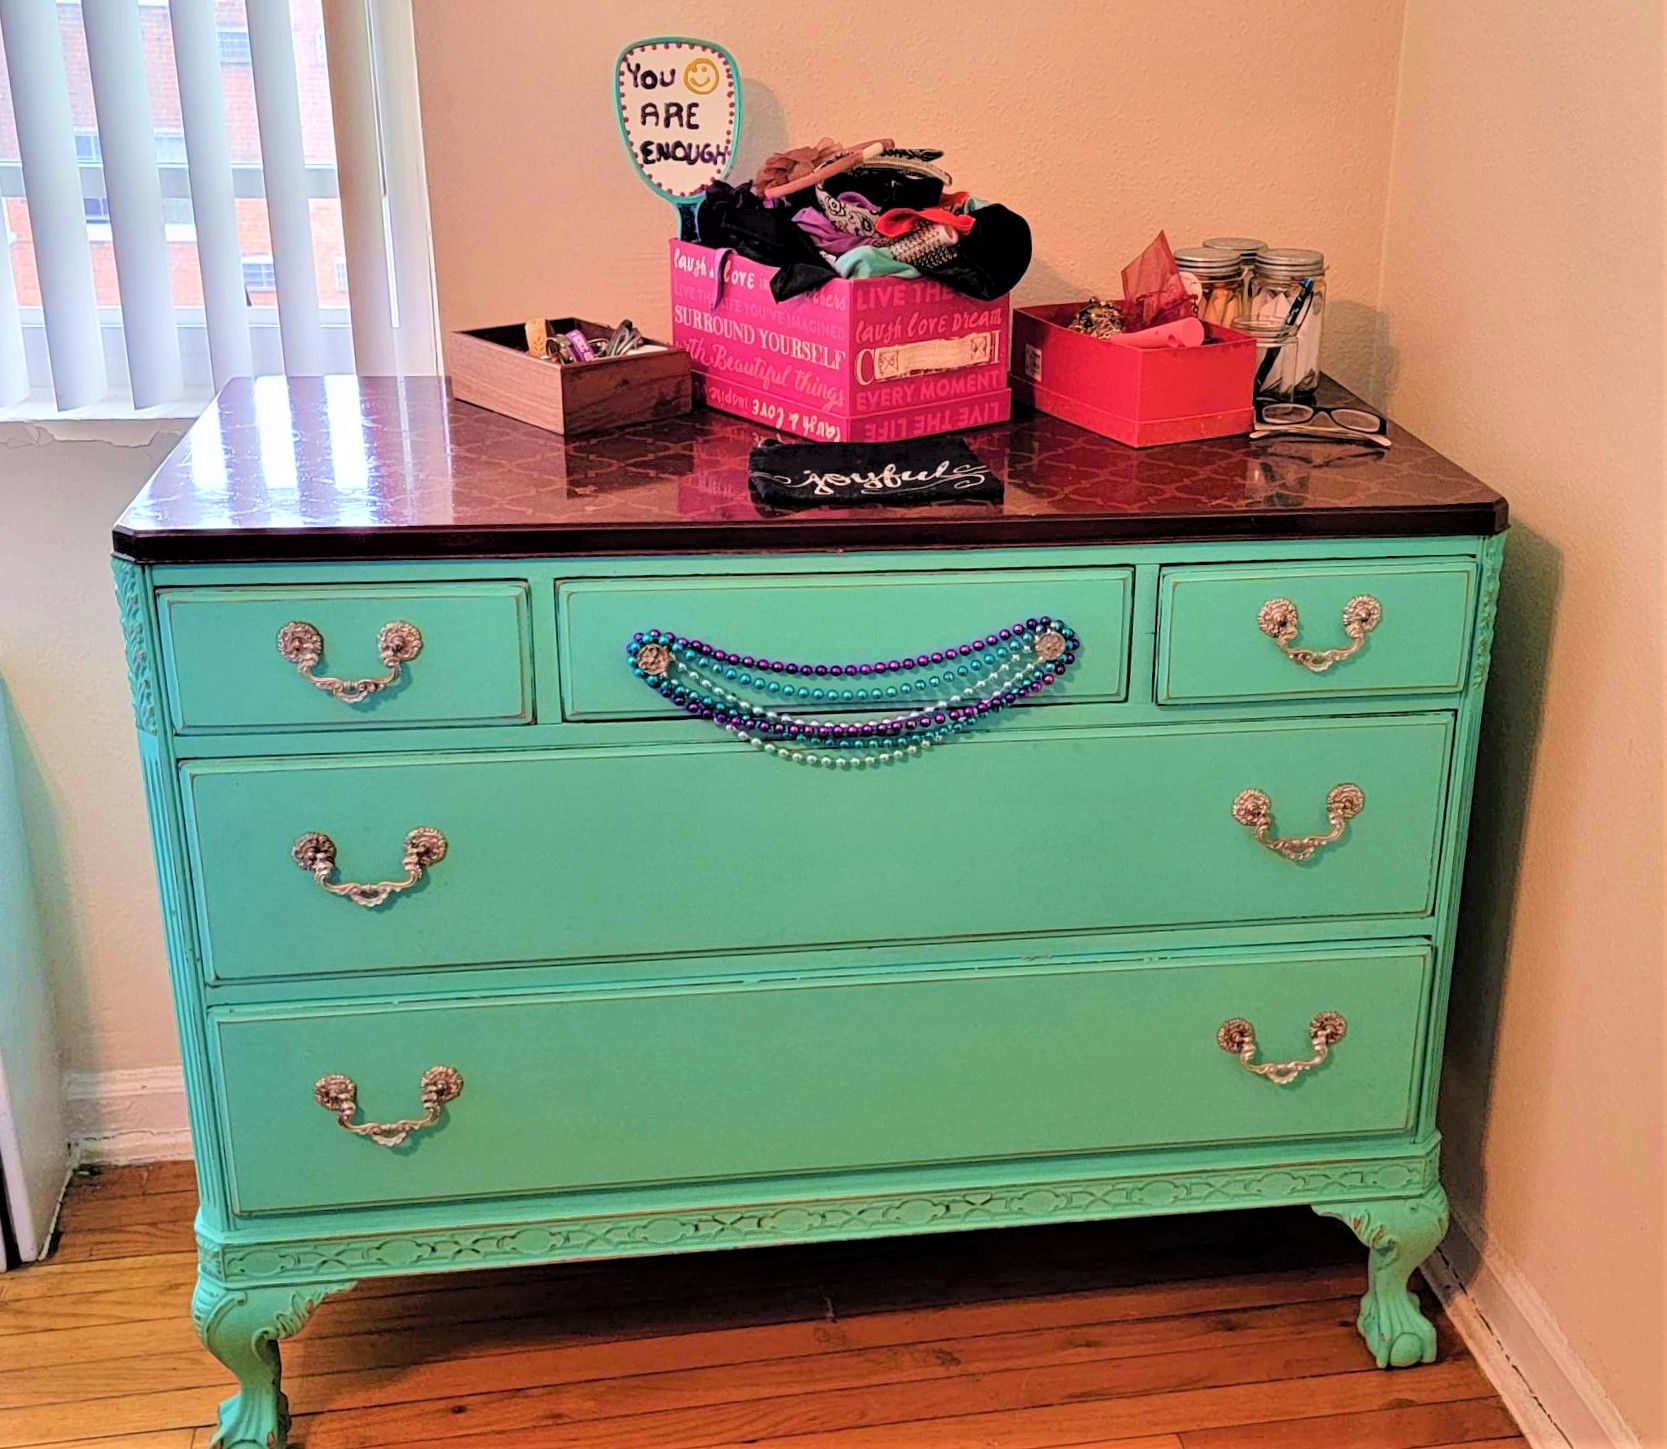
A beat-up but beautiful dresser becomes the belle of the ball thanks to bright blue and bold lines. You, too, can transform a well-built piece with wonderful details into one that will blow you away! Follow the ten steps shared here to create a statement piece that reflects your unique style and flair.
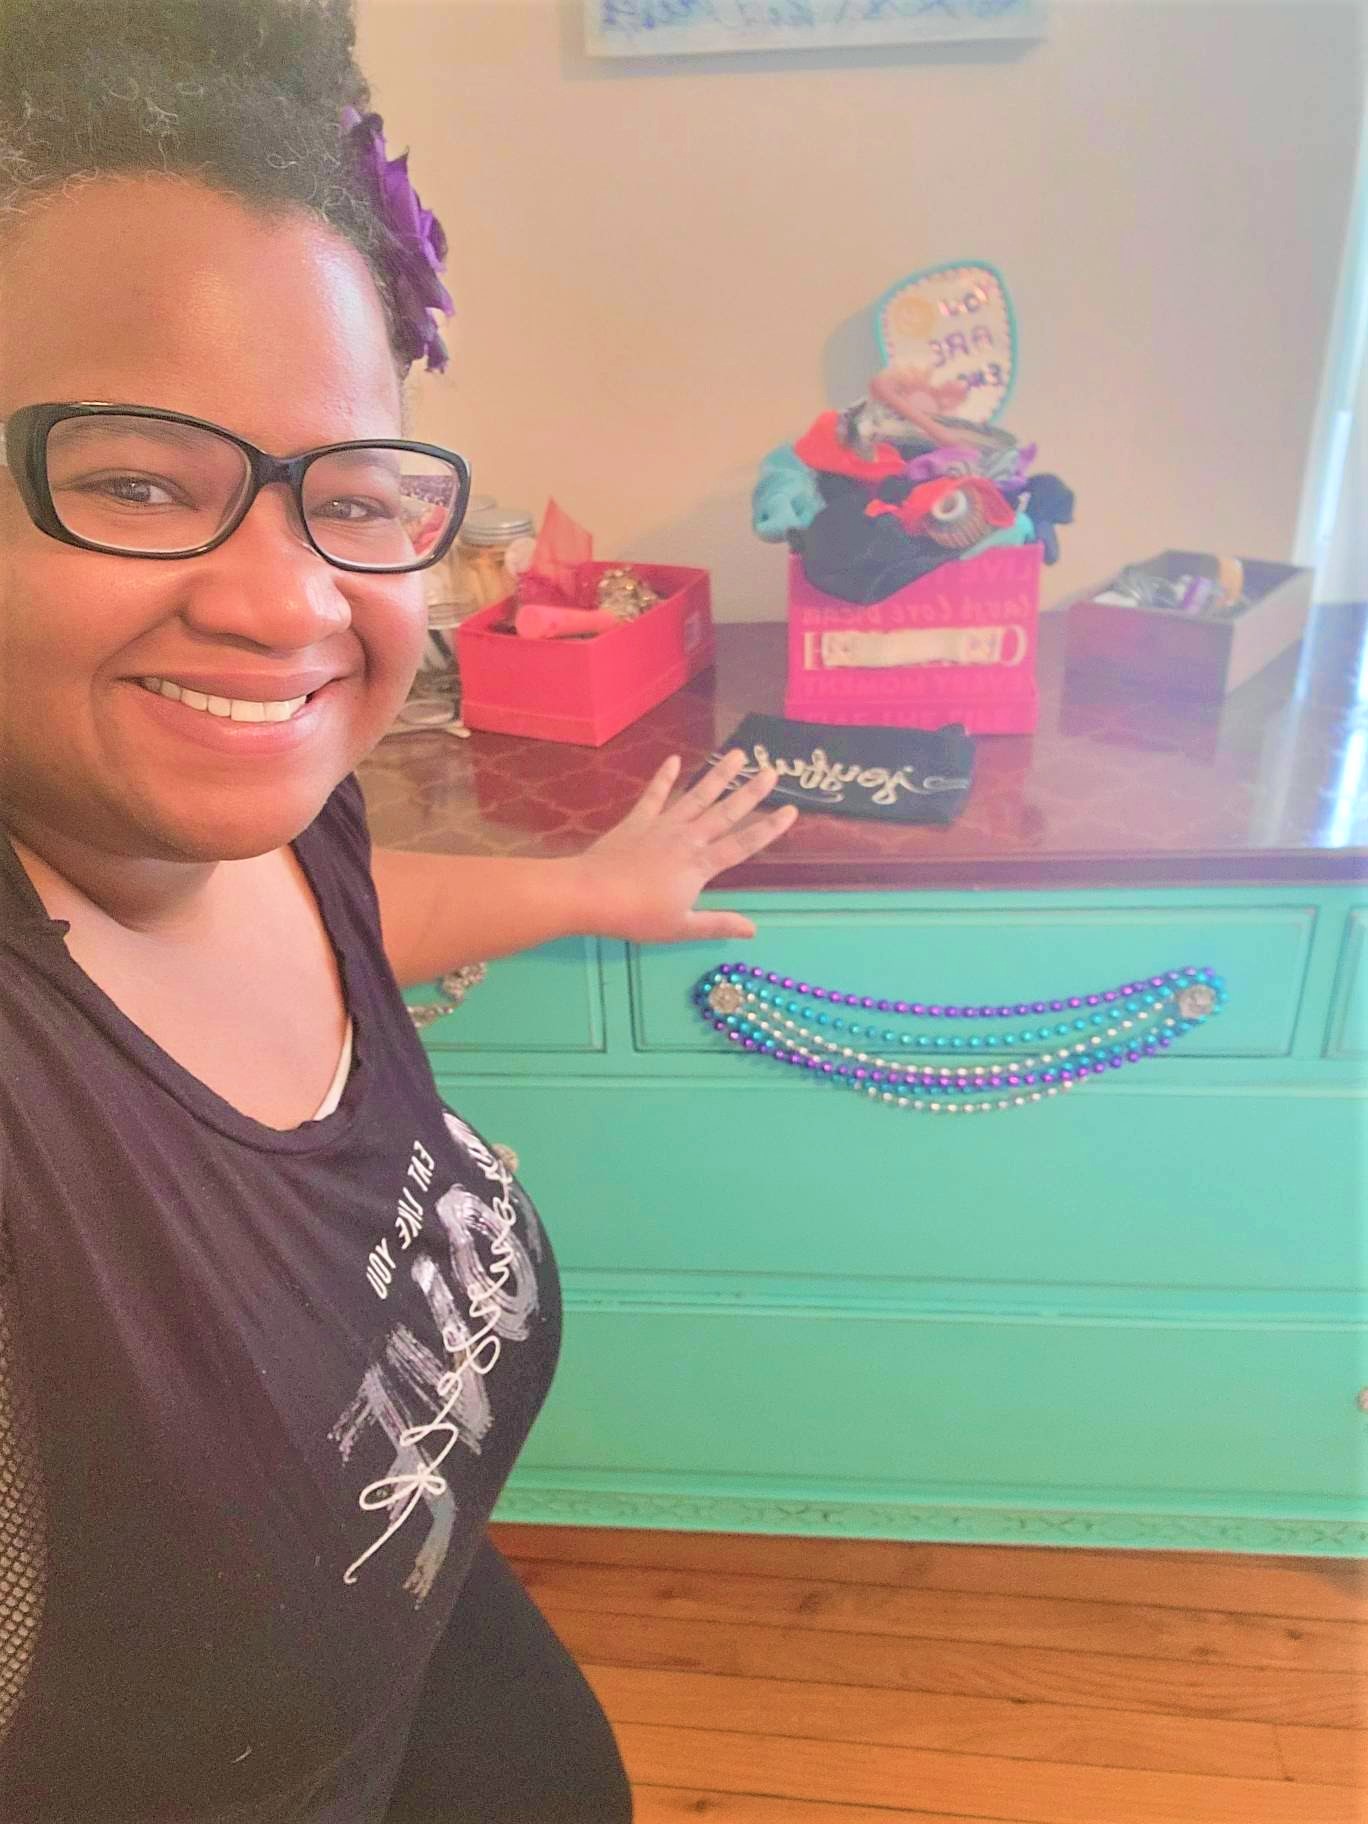
Big thanks to LaShaune for the blessing of bringing this classic piece into one that is bright, bold, and beautiful, just like her!
Supplies Needed:
1. Wooden cabinet
2. One quart of chalk paint, teal toned
3. Paintbrushes
4. Small roller brush
5. Stencil
6. Brown paint
7. Stain with glossy finish
8. Silver spray paint
9. Sanding blocks
10. Furniture wax
11. Soft cloths/rags
12. Screwdriver
13. Painter’s tape
Step 1: Go treasure hunting at Goodwill
Put on your adventurer’s hat (metaphorically speaking, of course!) when you stop in this week at your favorite Goodwill store (mine is on South Dakota Avenue). Priceless treasures await you there for just a few dollars, if that.
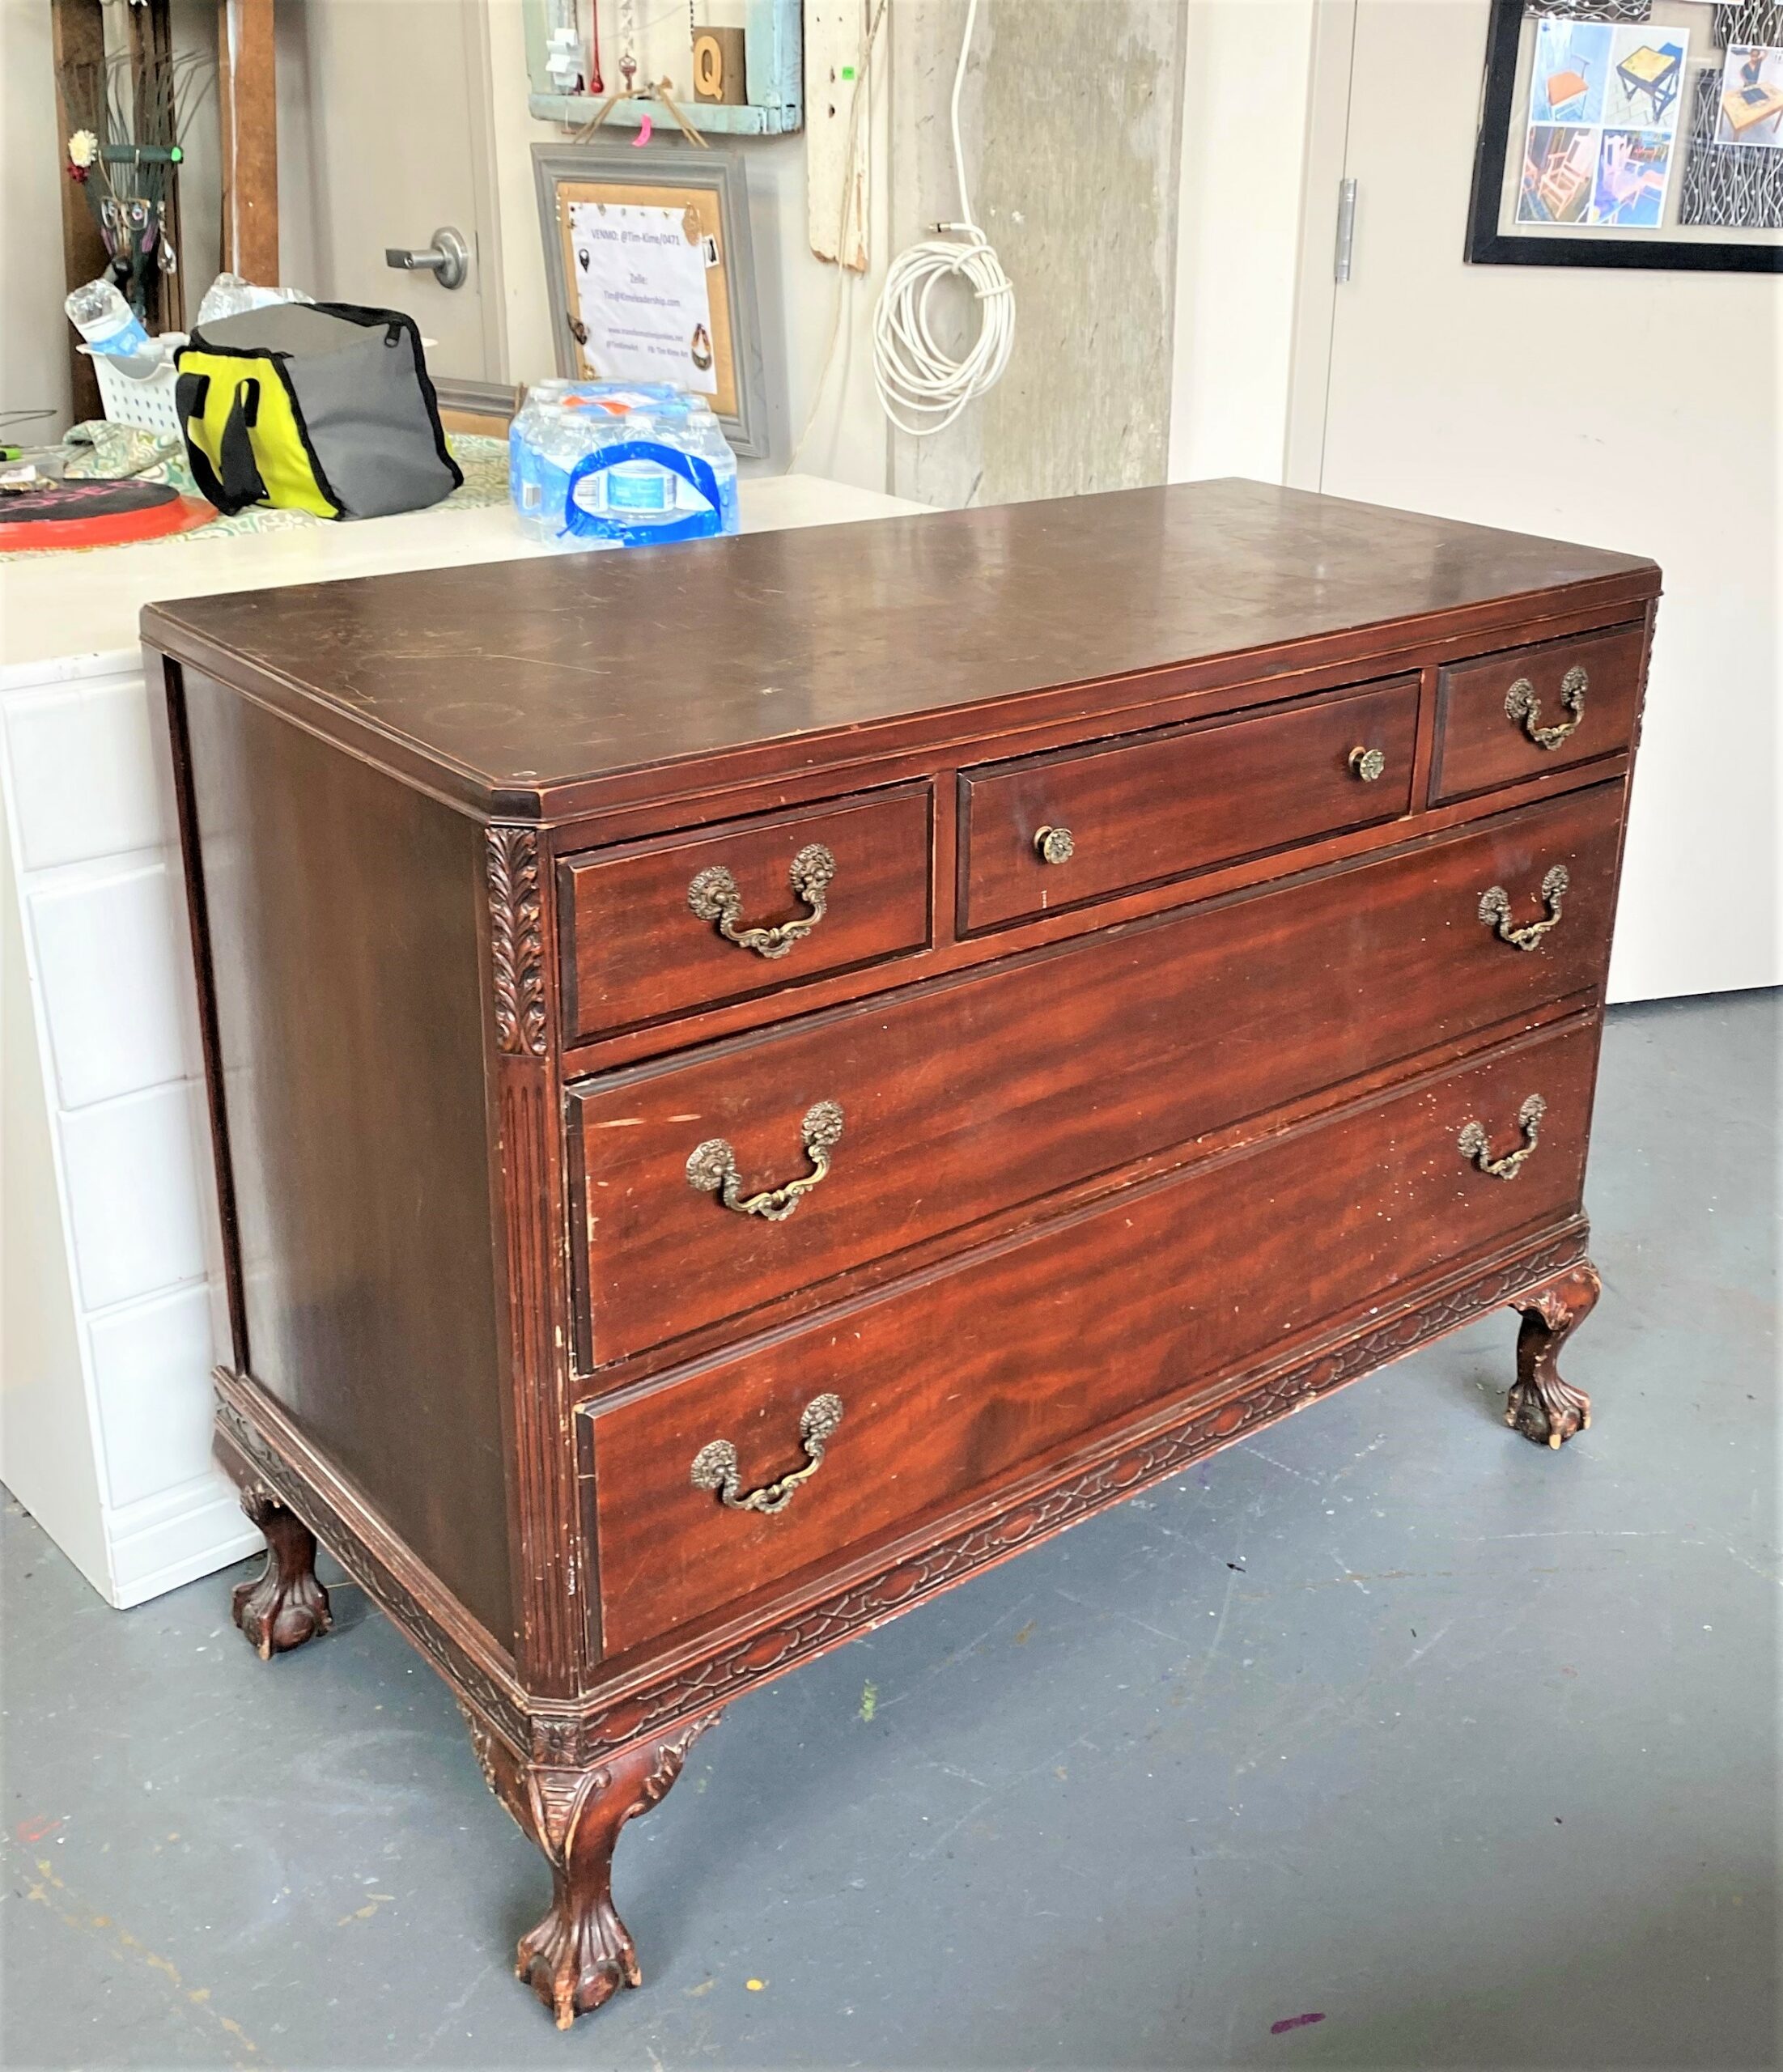
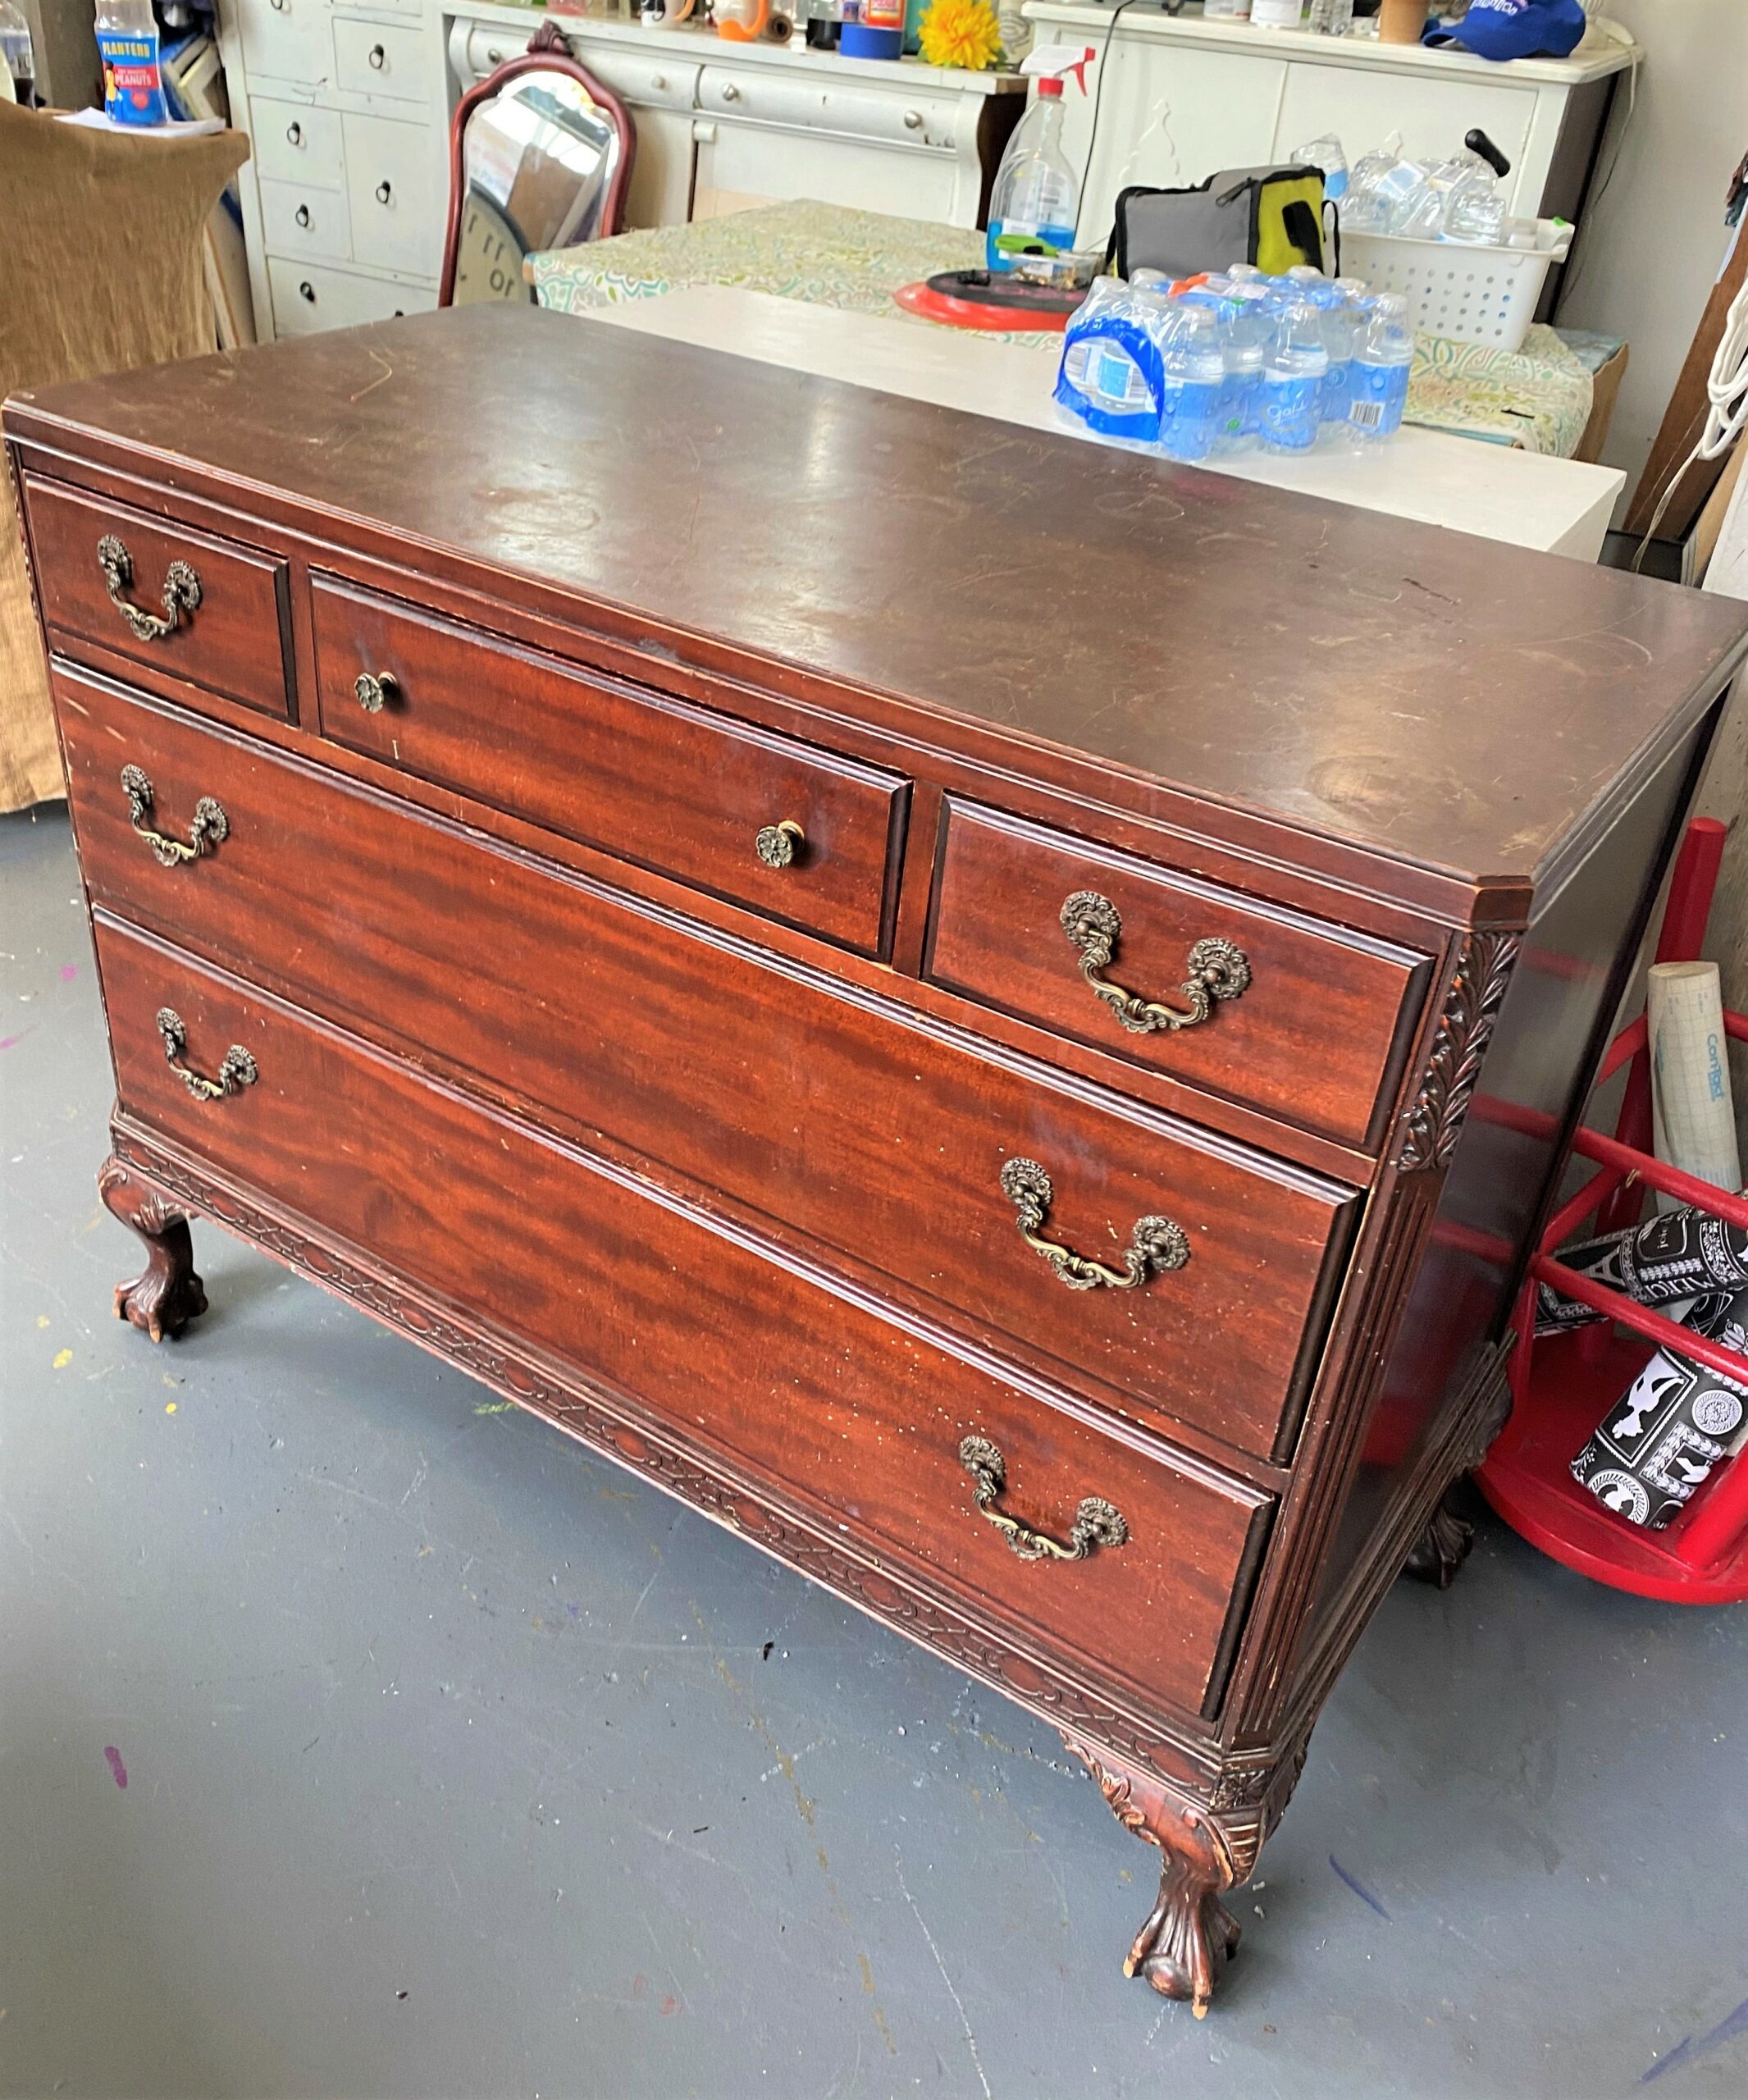
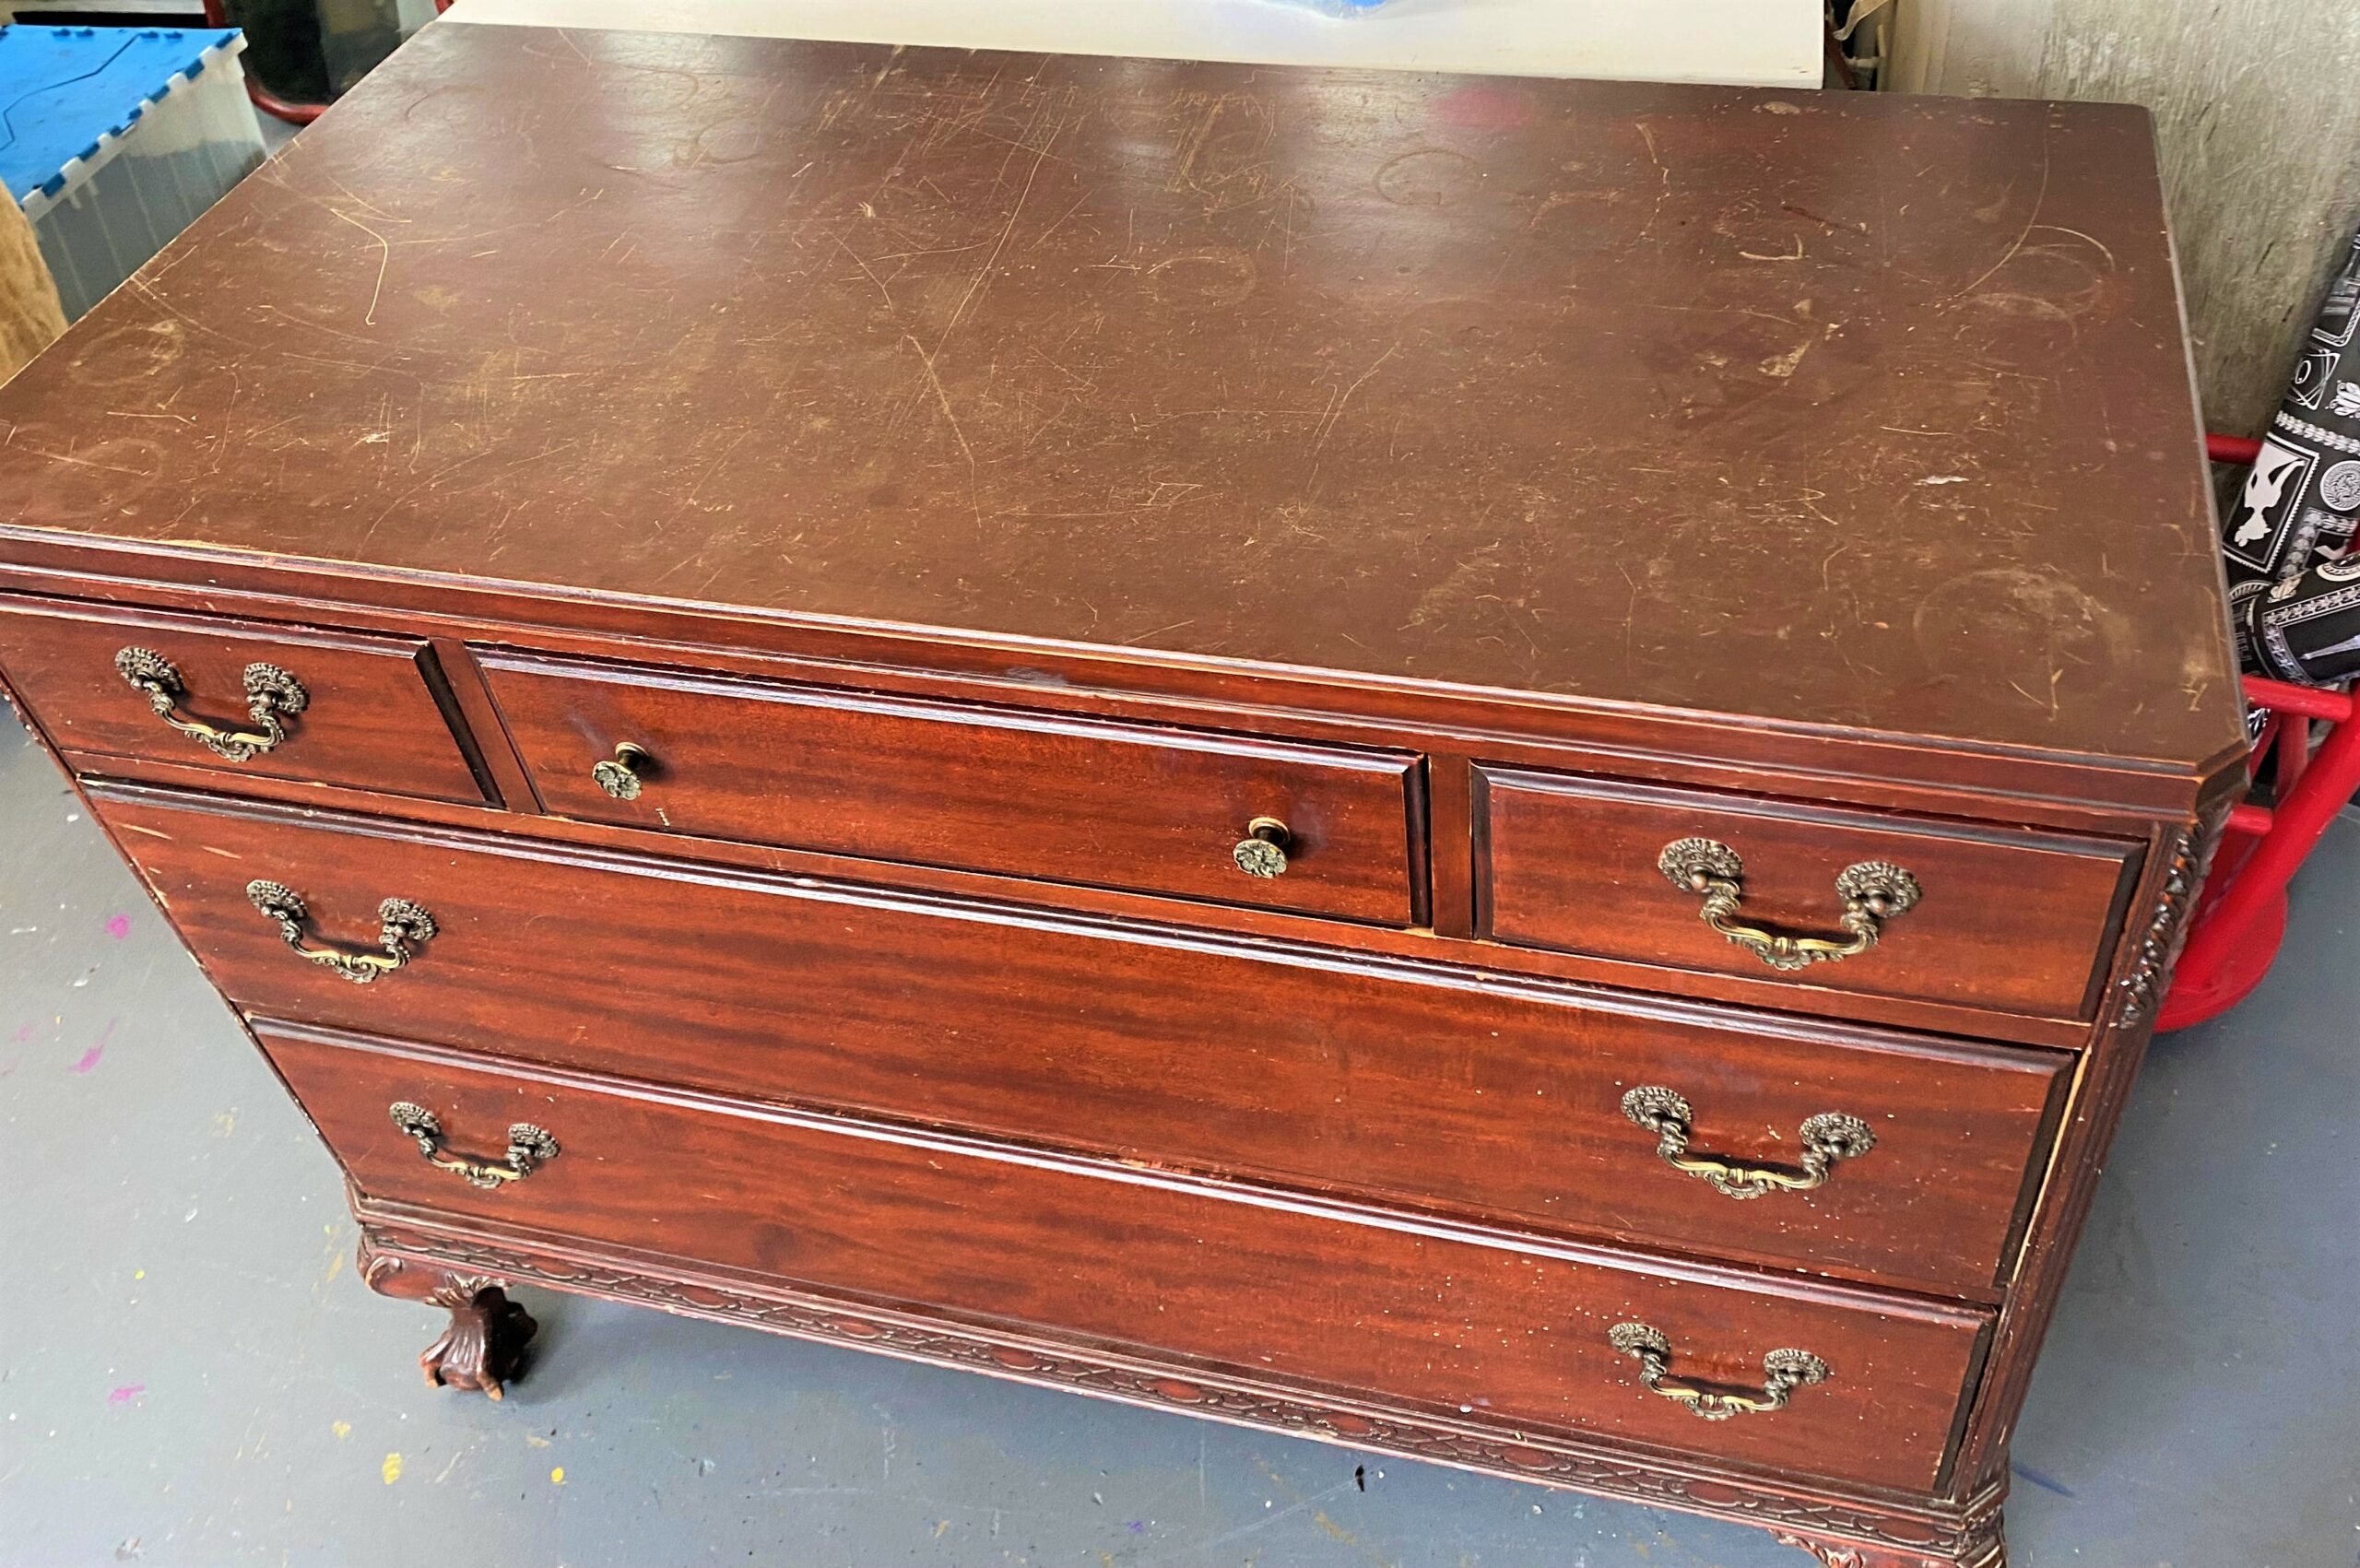
You certainly could score and find a piece like the dresser featured in this blog. Solidly built in an era where quality was top of the list, it has elegant details like carved claw feet, ornate hardware, and lovely lines. If you come across a well-crafted piece like this, take it with you and find a place for it to call home in your place!
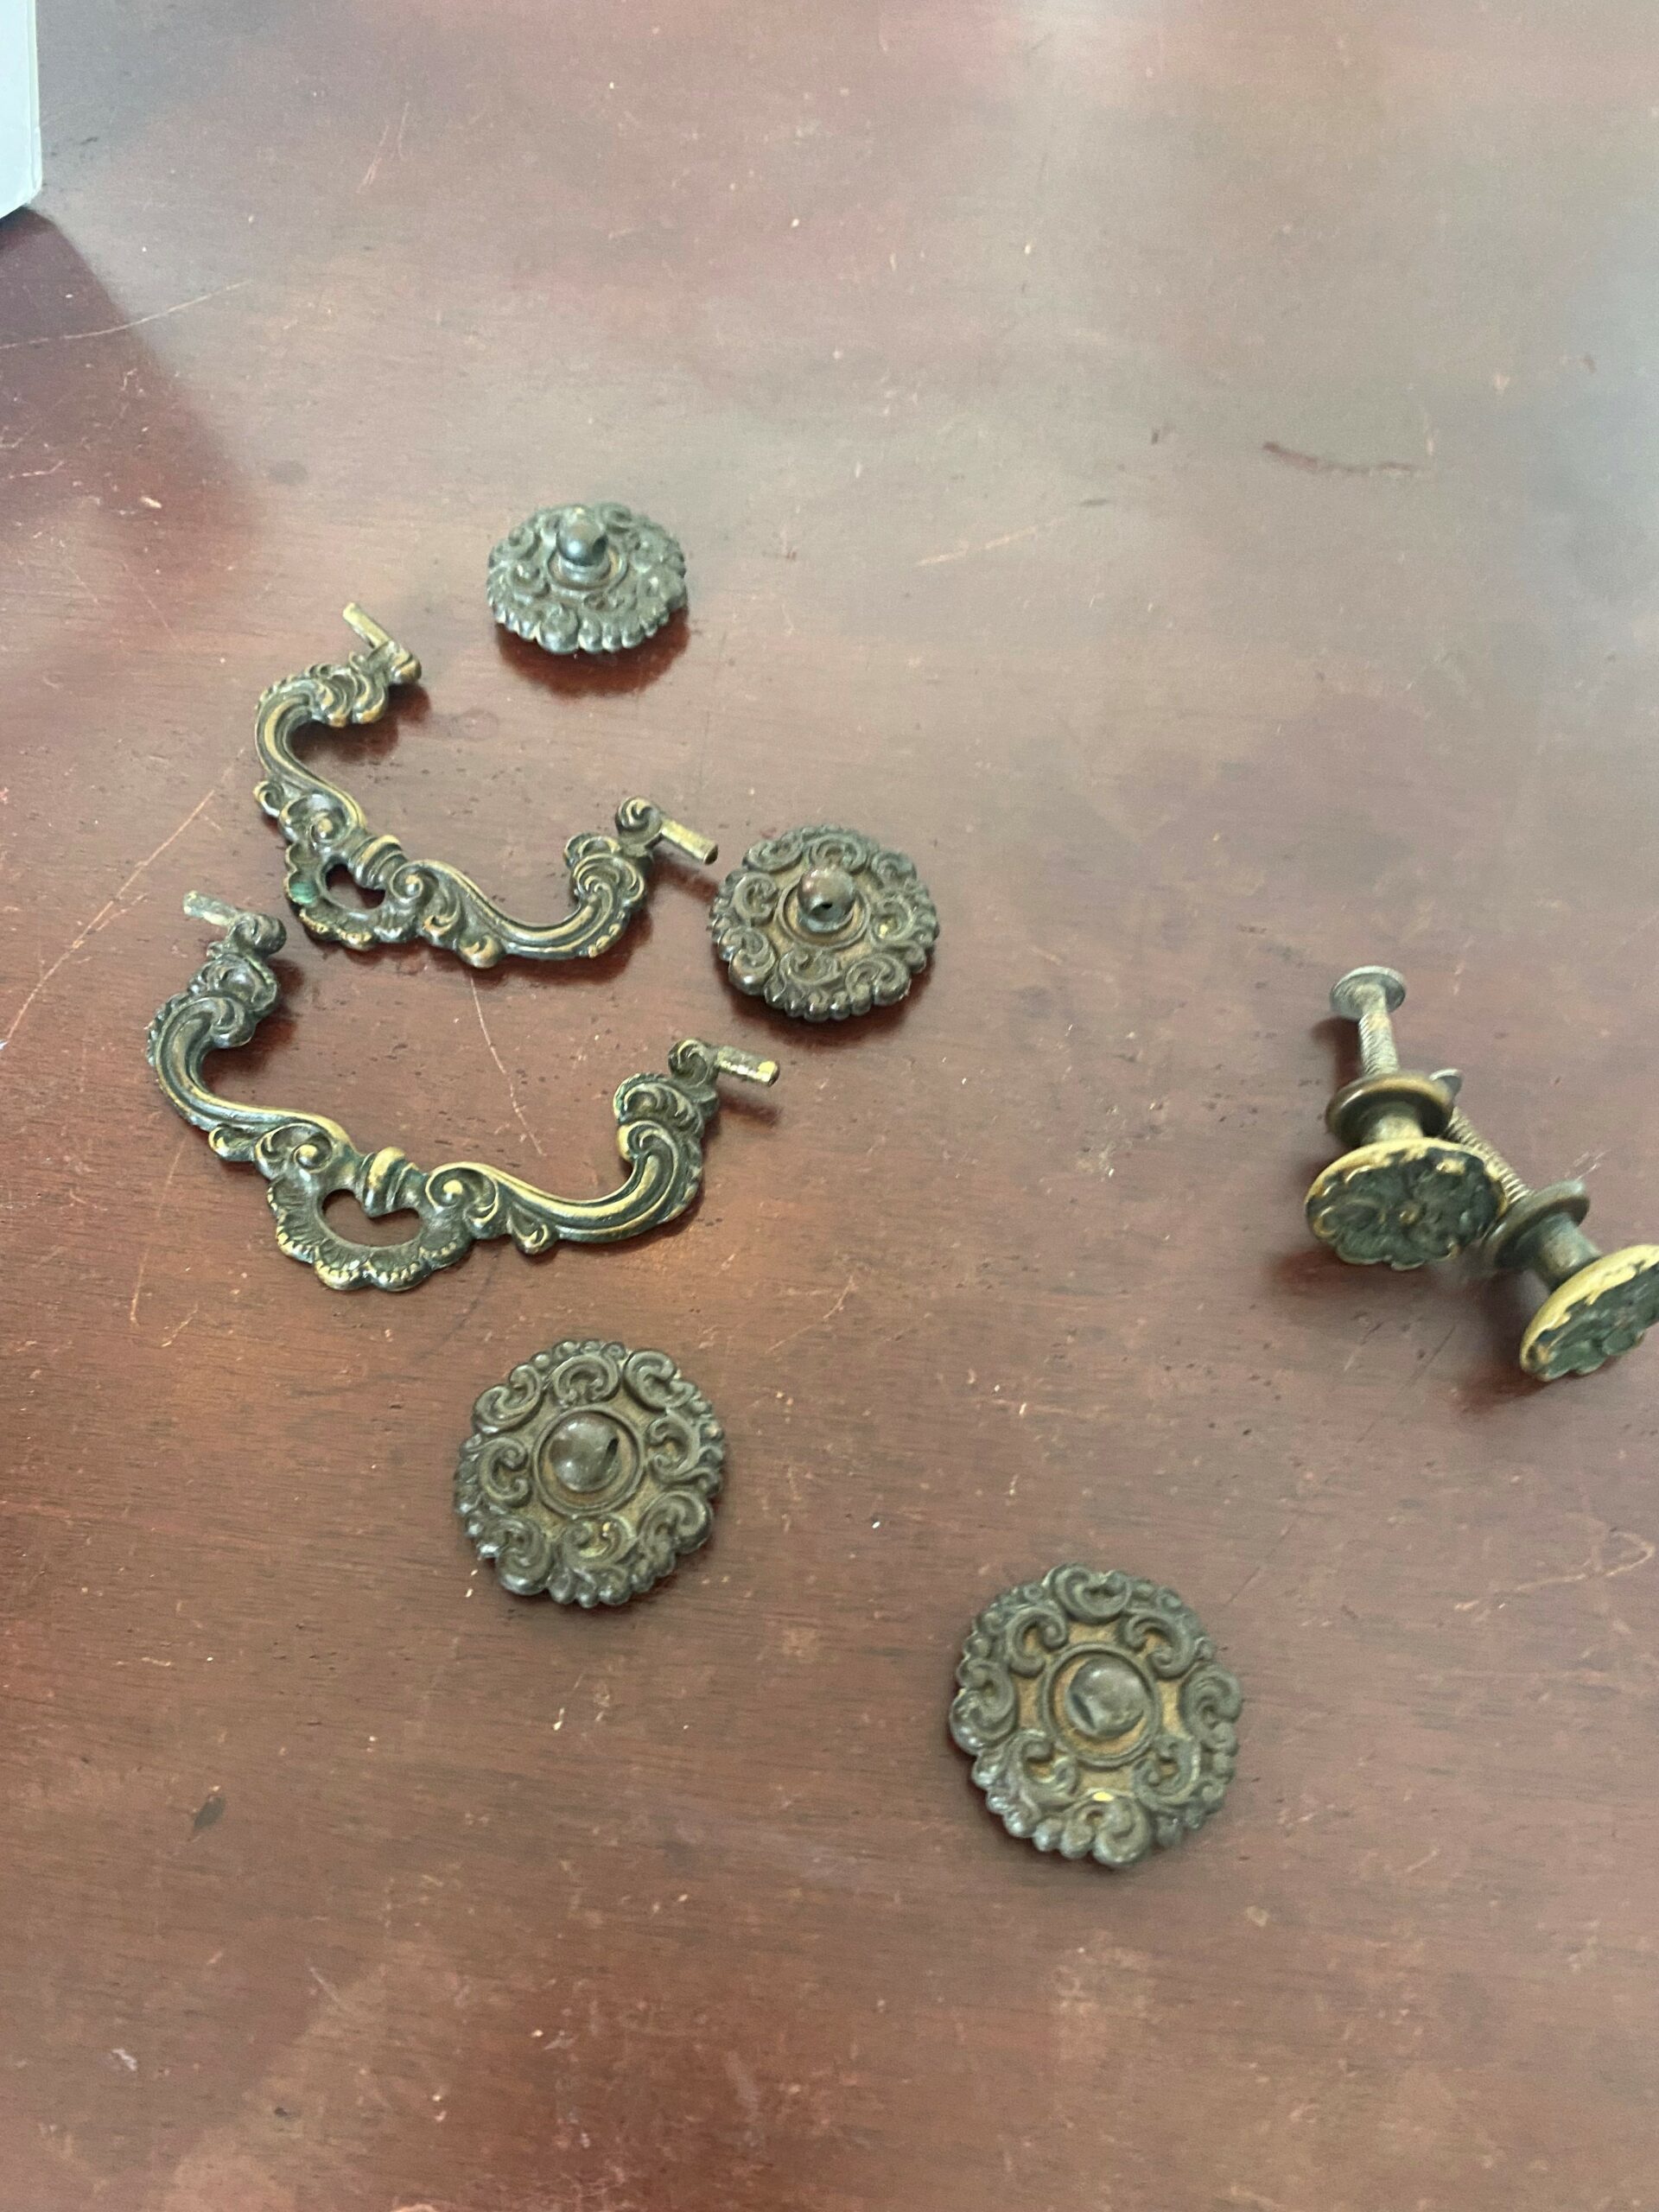
Step 2: Remove, set aside hardware
Start your piece’s transformation by using a screwdriver to remove its hardware. Put all the hardware together in a container so you won’t misplace a single screw. Based on your piece’s knobs and handles, you might consider labeling them (using painter’s tape and a pen) to make re-assembly super easy.
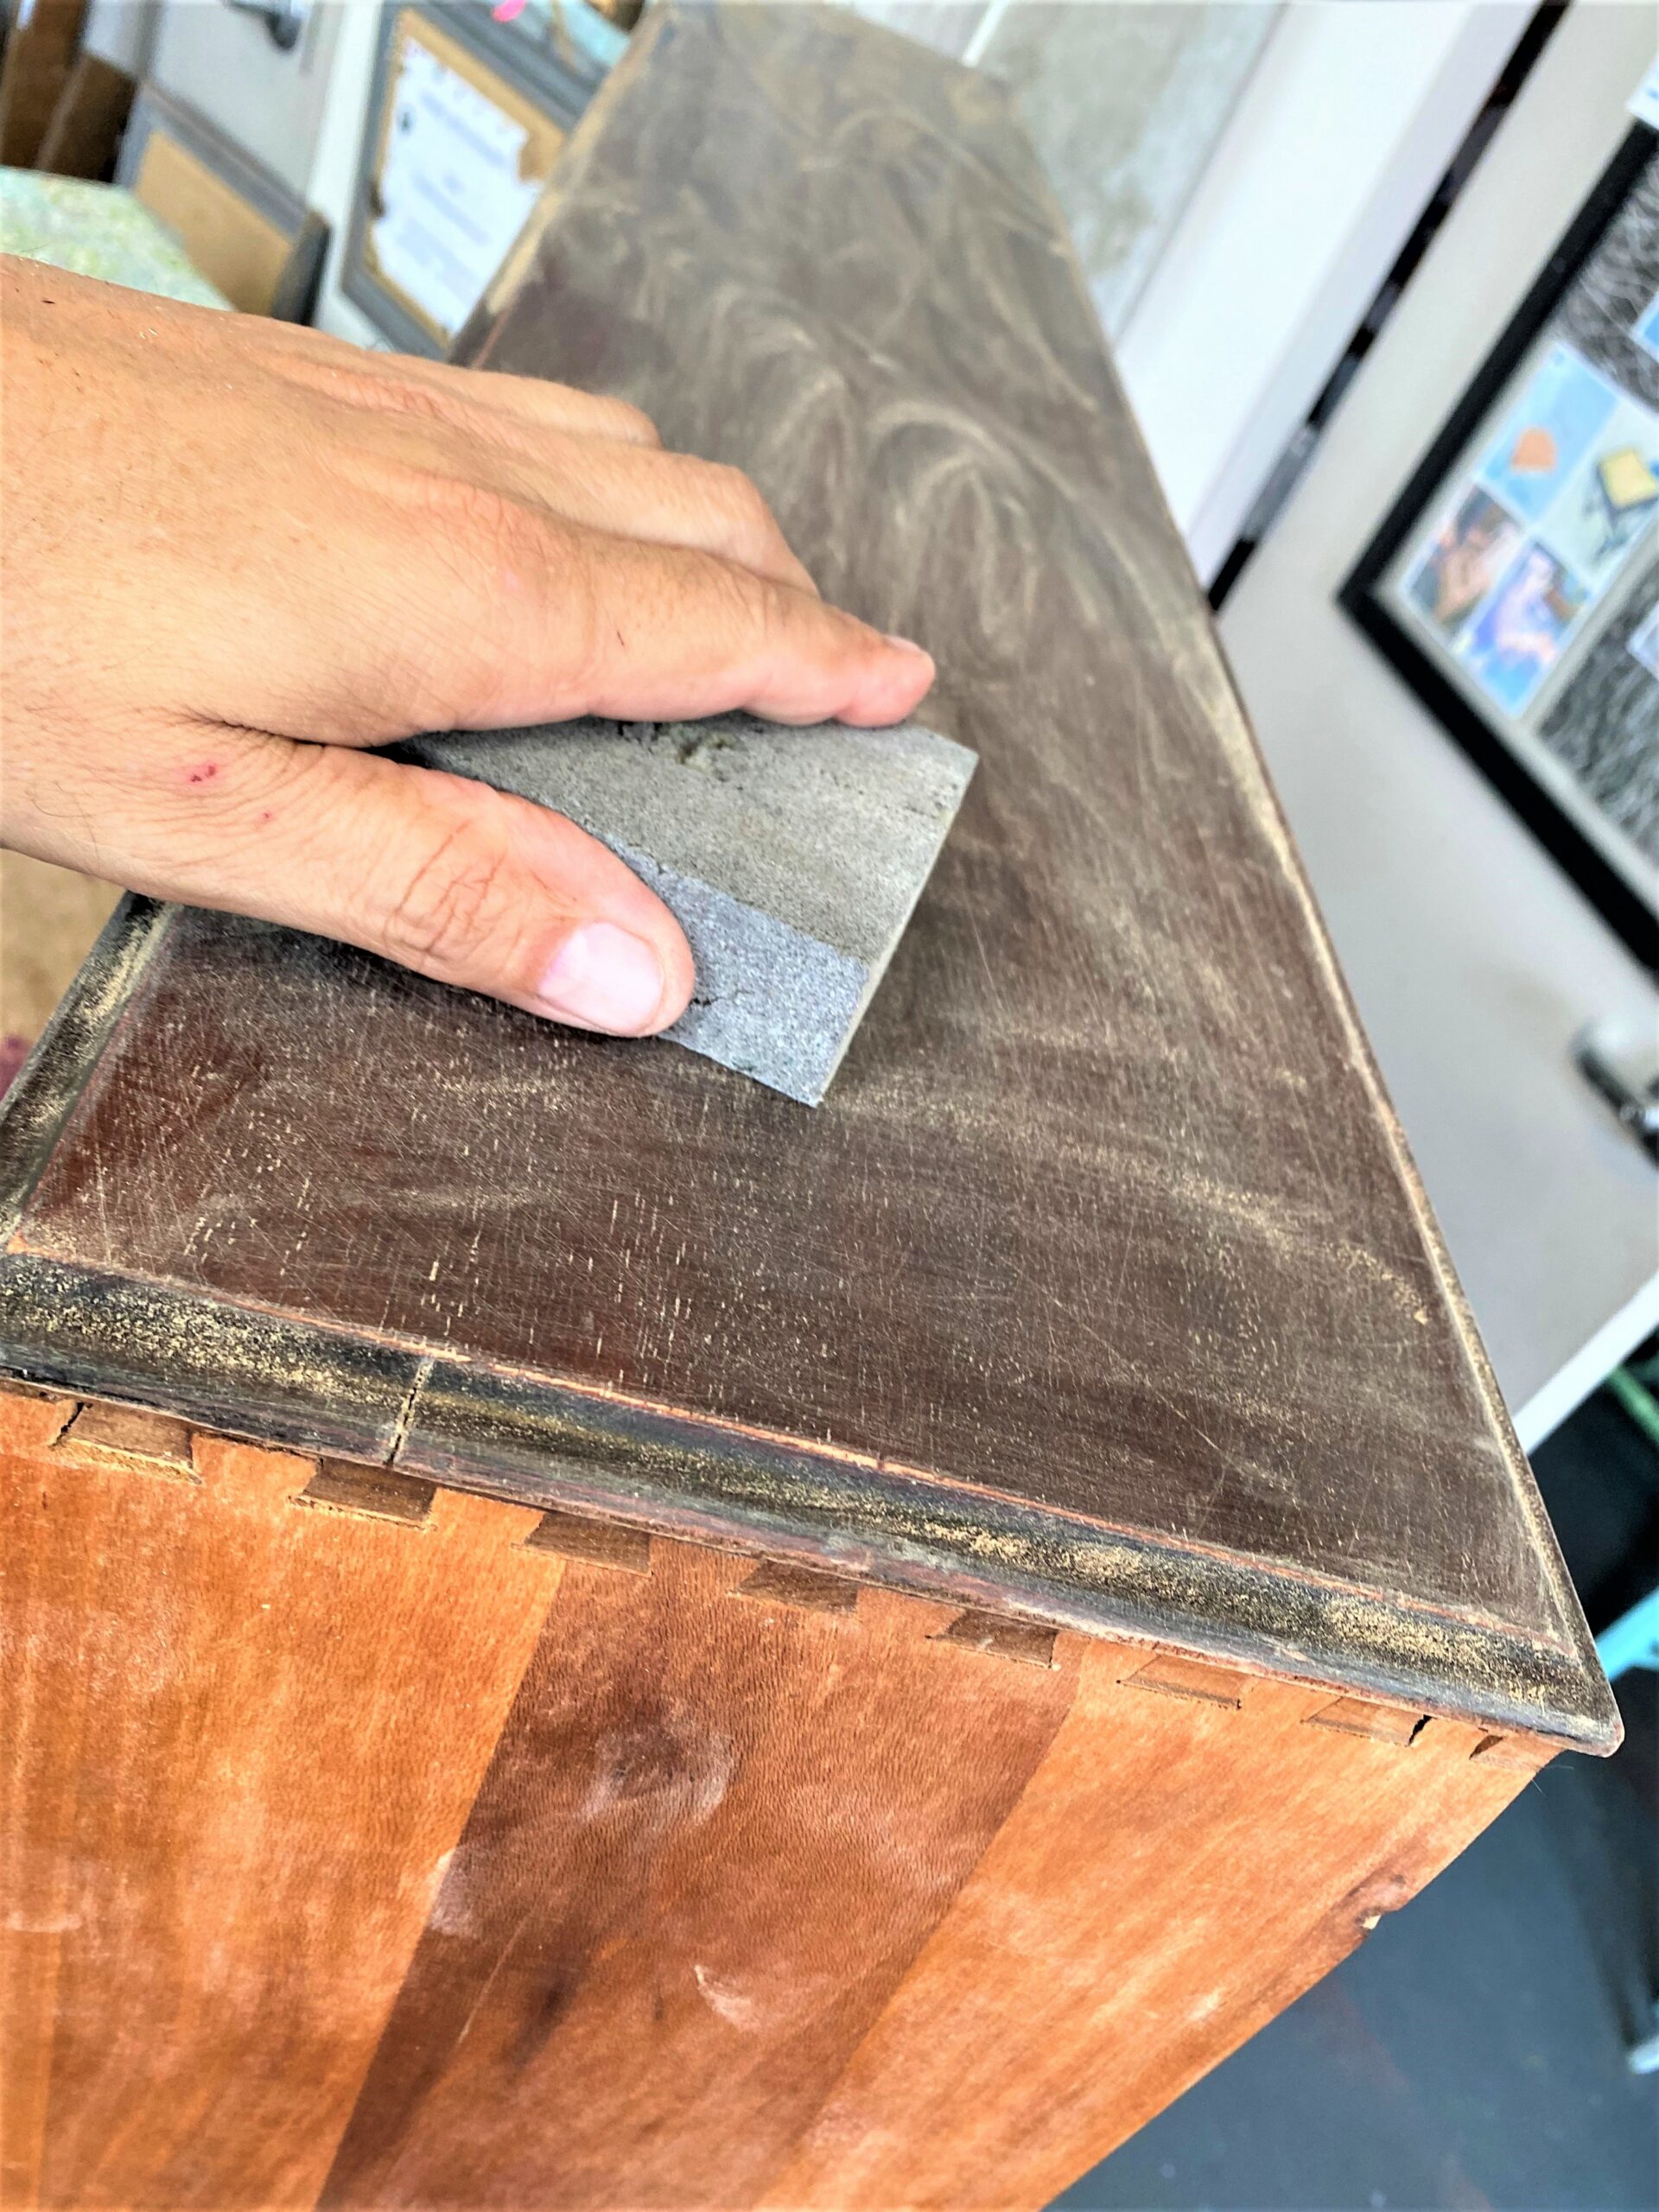
Step 3: Give it a good rub down
You want to make your piece more painter-friendly and give the paint something to hang onto, so use some medium-grade sandpaper or a sanding block.
- From top to bottom, right to left, give the dresser’s top, sides, frame, and each drawer a good rub down. This is a dusty step so you might want to put on a mask.
- When done, wipe it down thoroughly with a soft, damp cloth.
- You will want to keep rinsing the cloth out to keep it clean as possible.
Step 4: Change it up with chalk paint
Sometimes when people first hear about chalk paint, they think we are referring to chalkboard paint which is a totally different product and one that is great for transformations, too, of a different kind.
Chalk paint is a great option for transforming a furniture piece because it is thicker than regular paint and adheres incredibly well to wood. The only downside is that it can be very pricey, so consider it an investment and one that will pay off in the beautiful, final product.

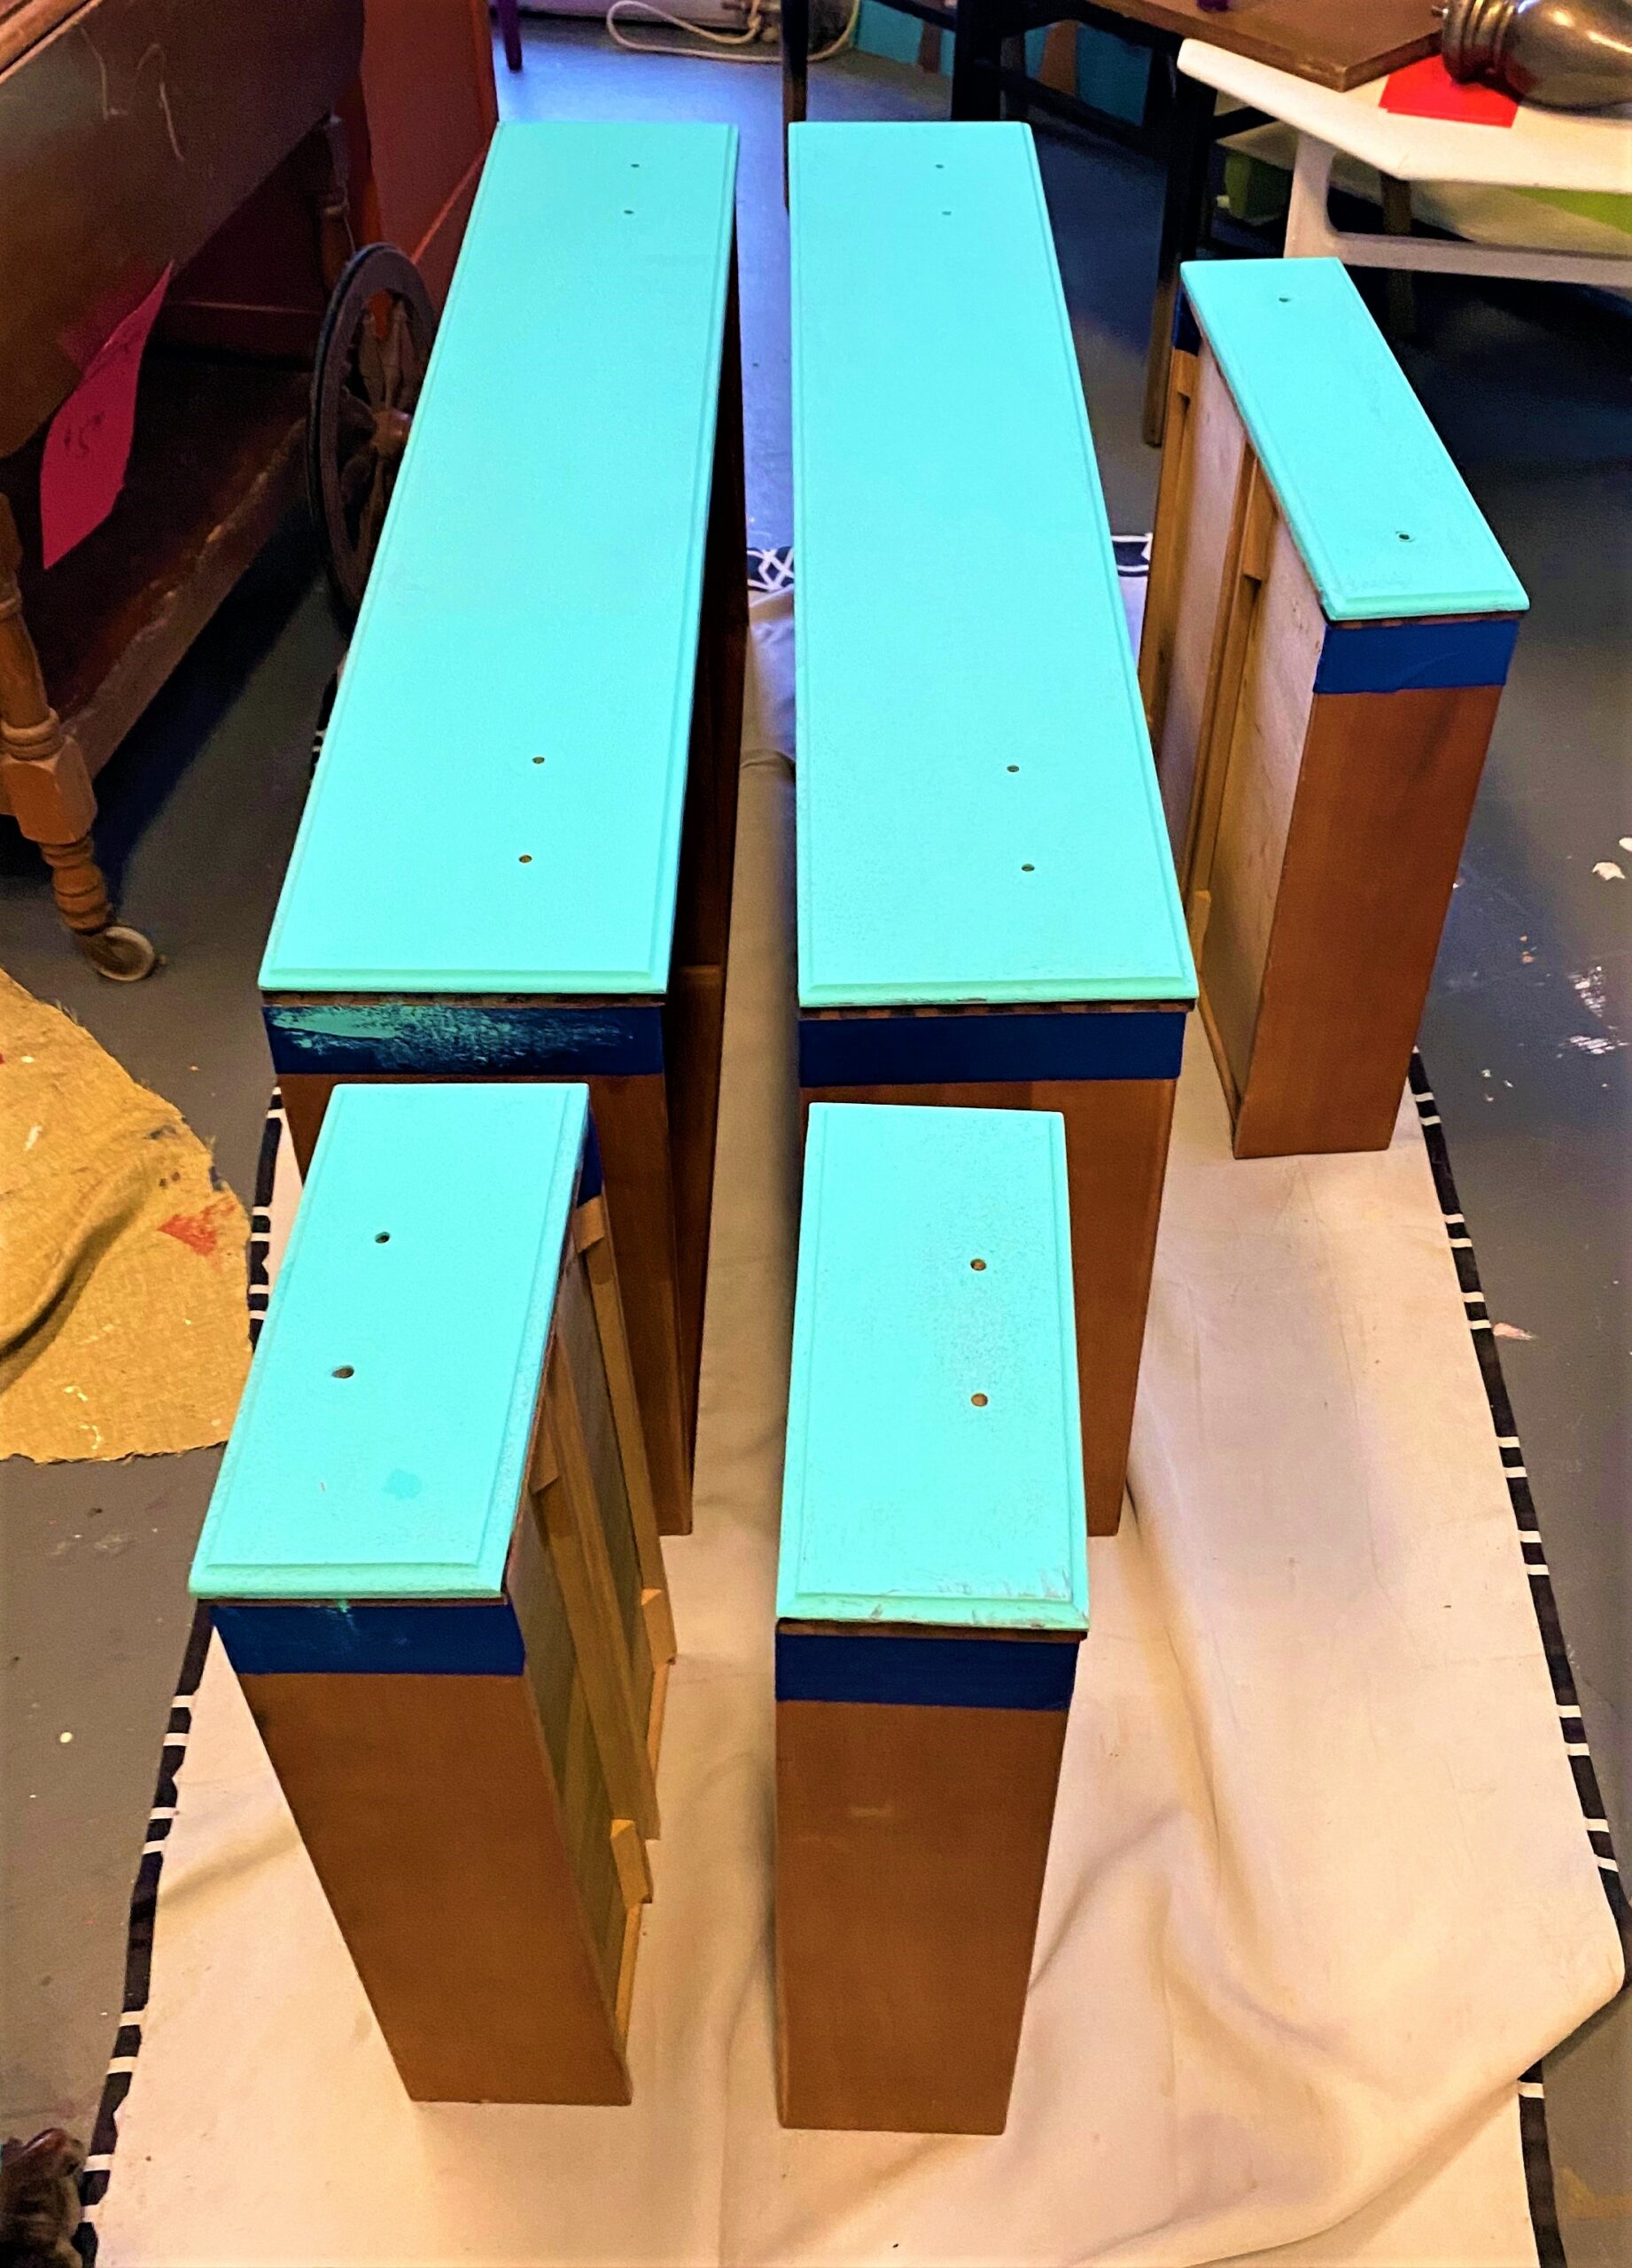
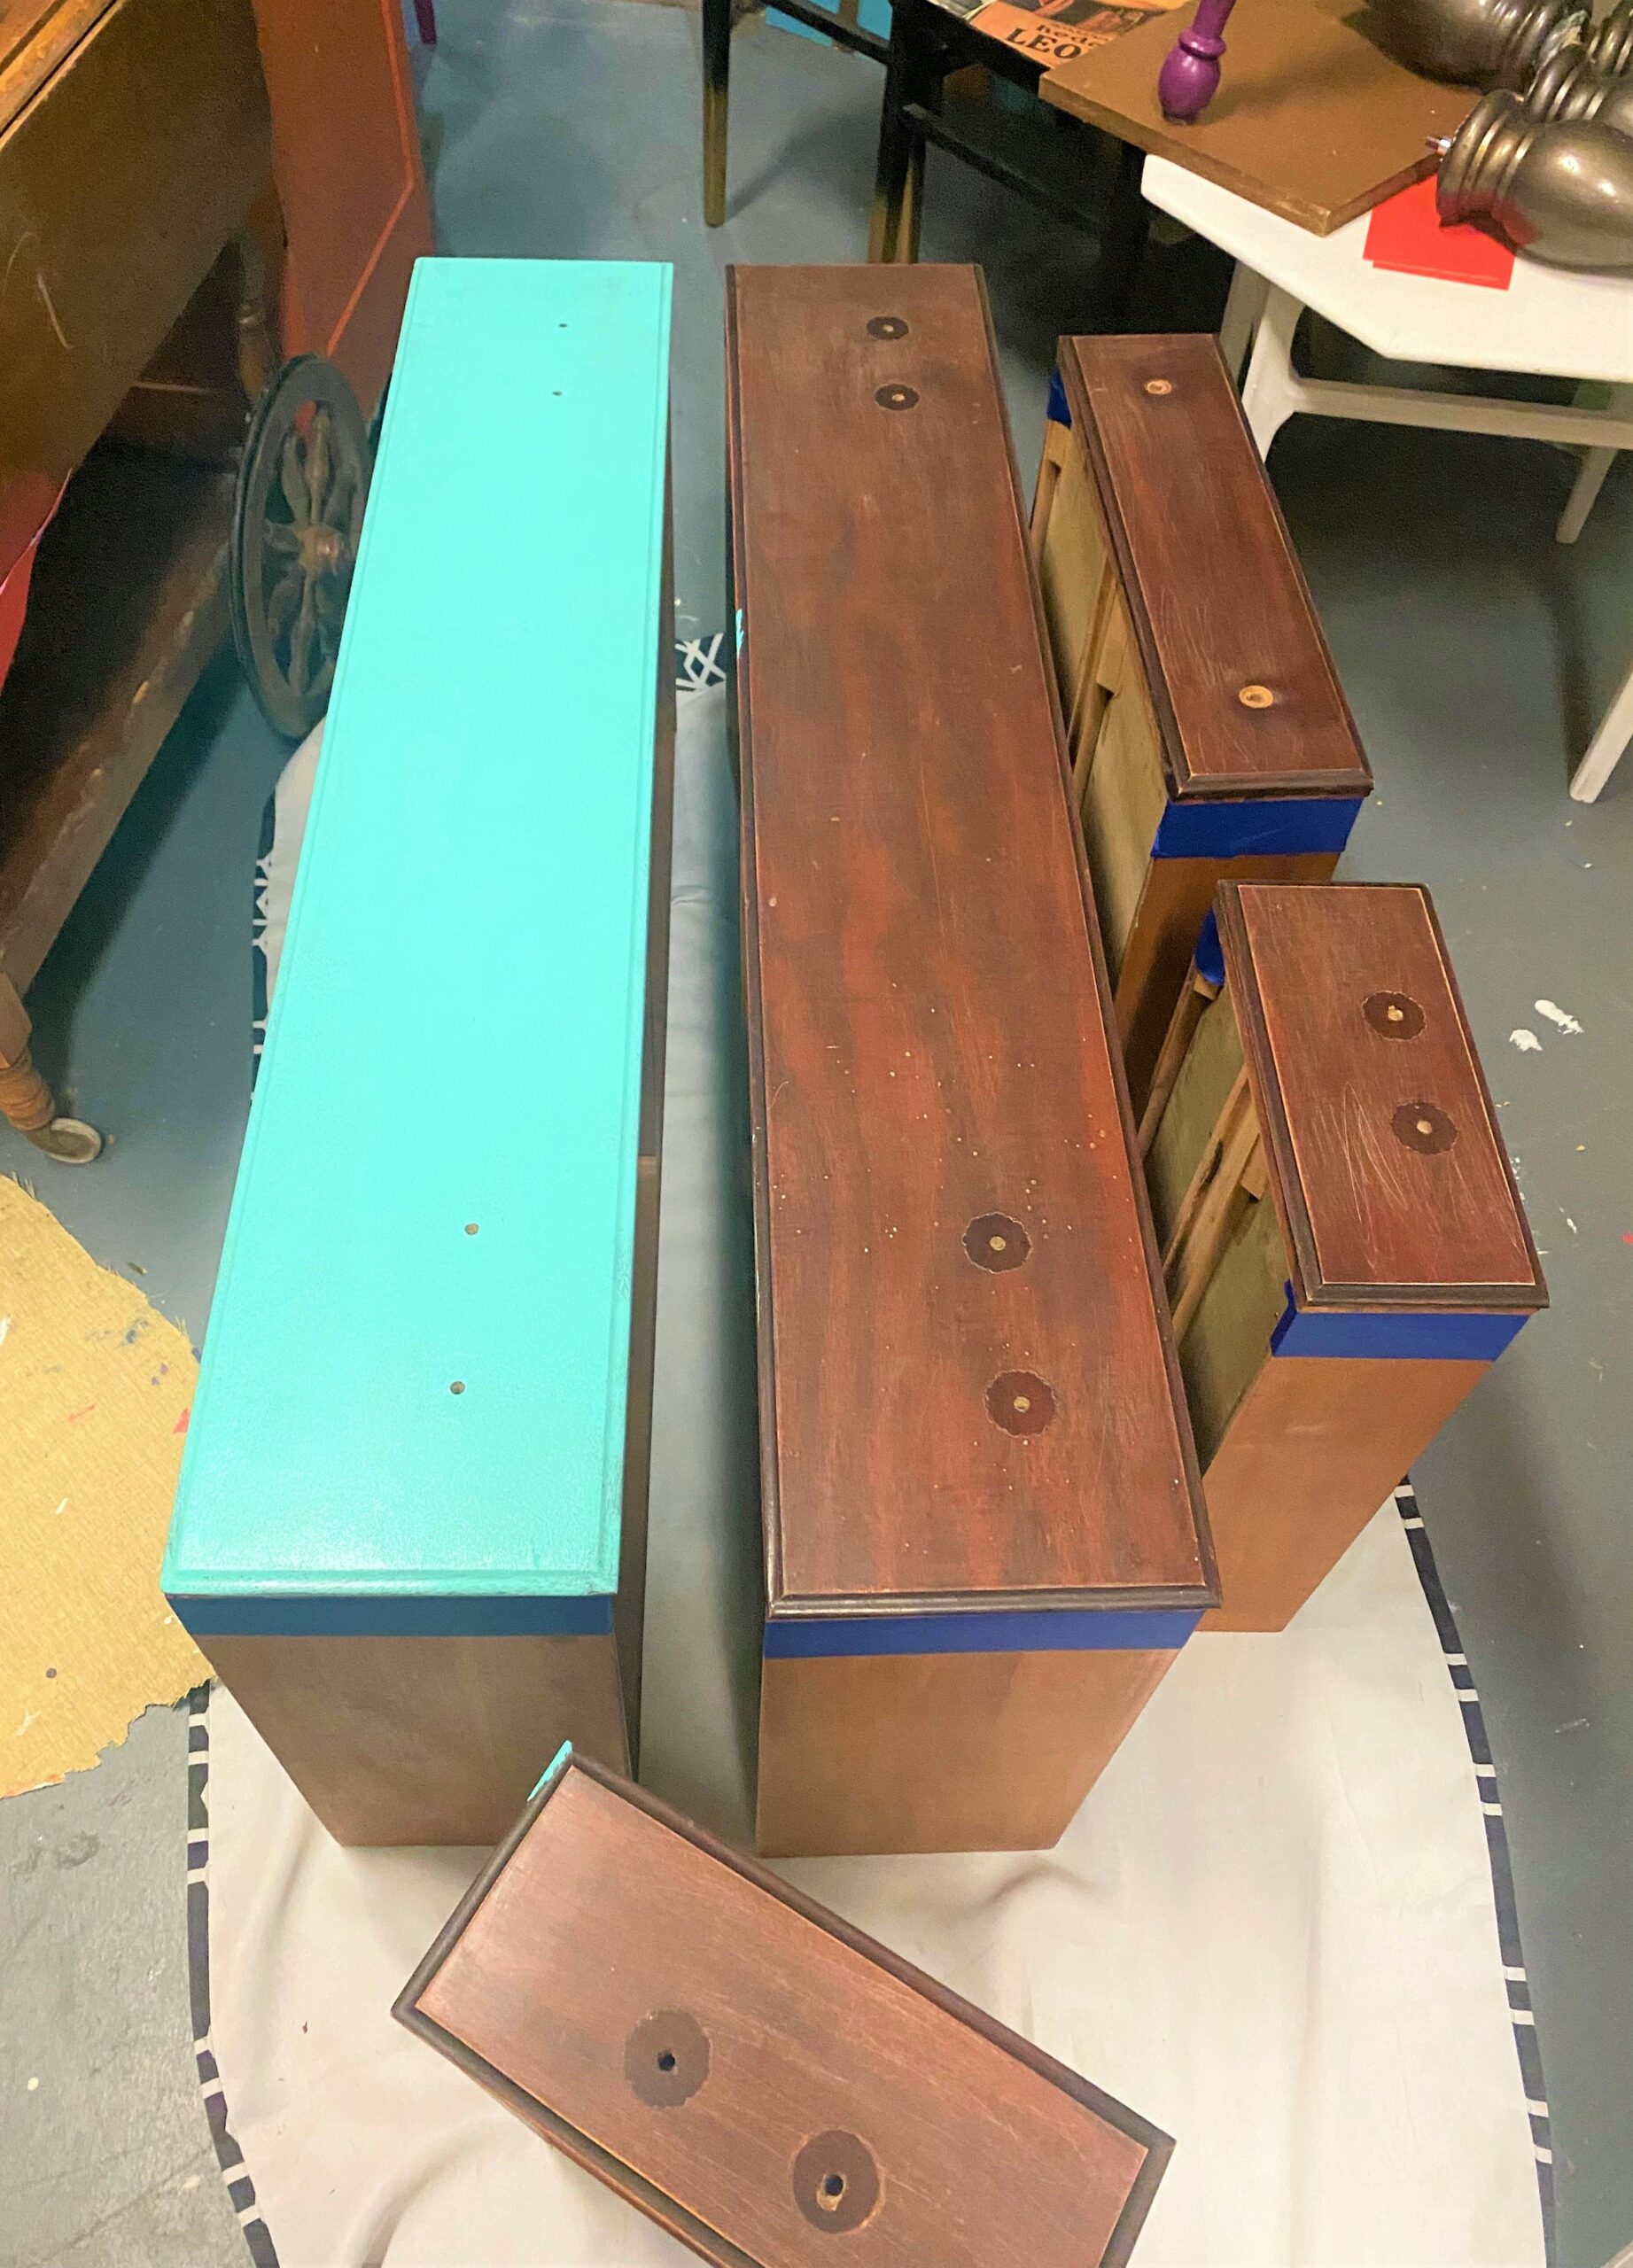
- Place your dresser and drawers on a drop cloth.
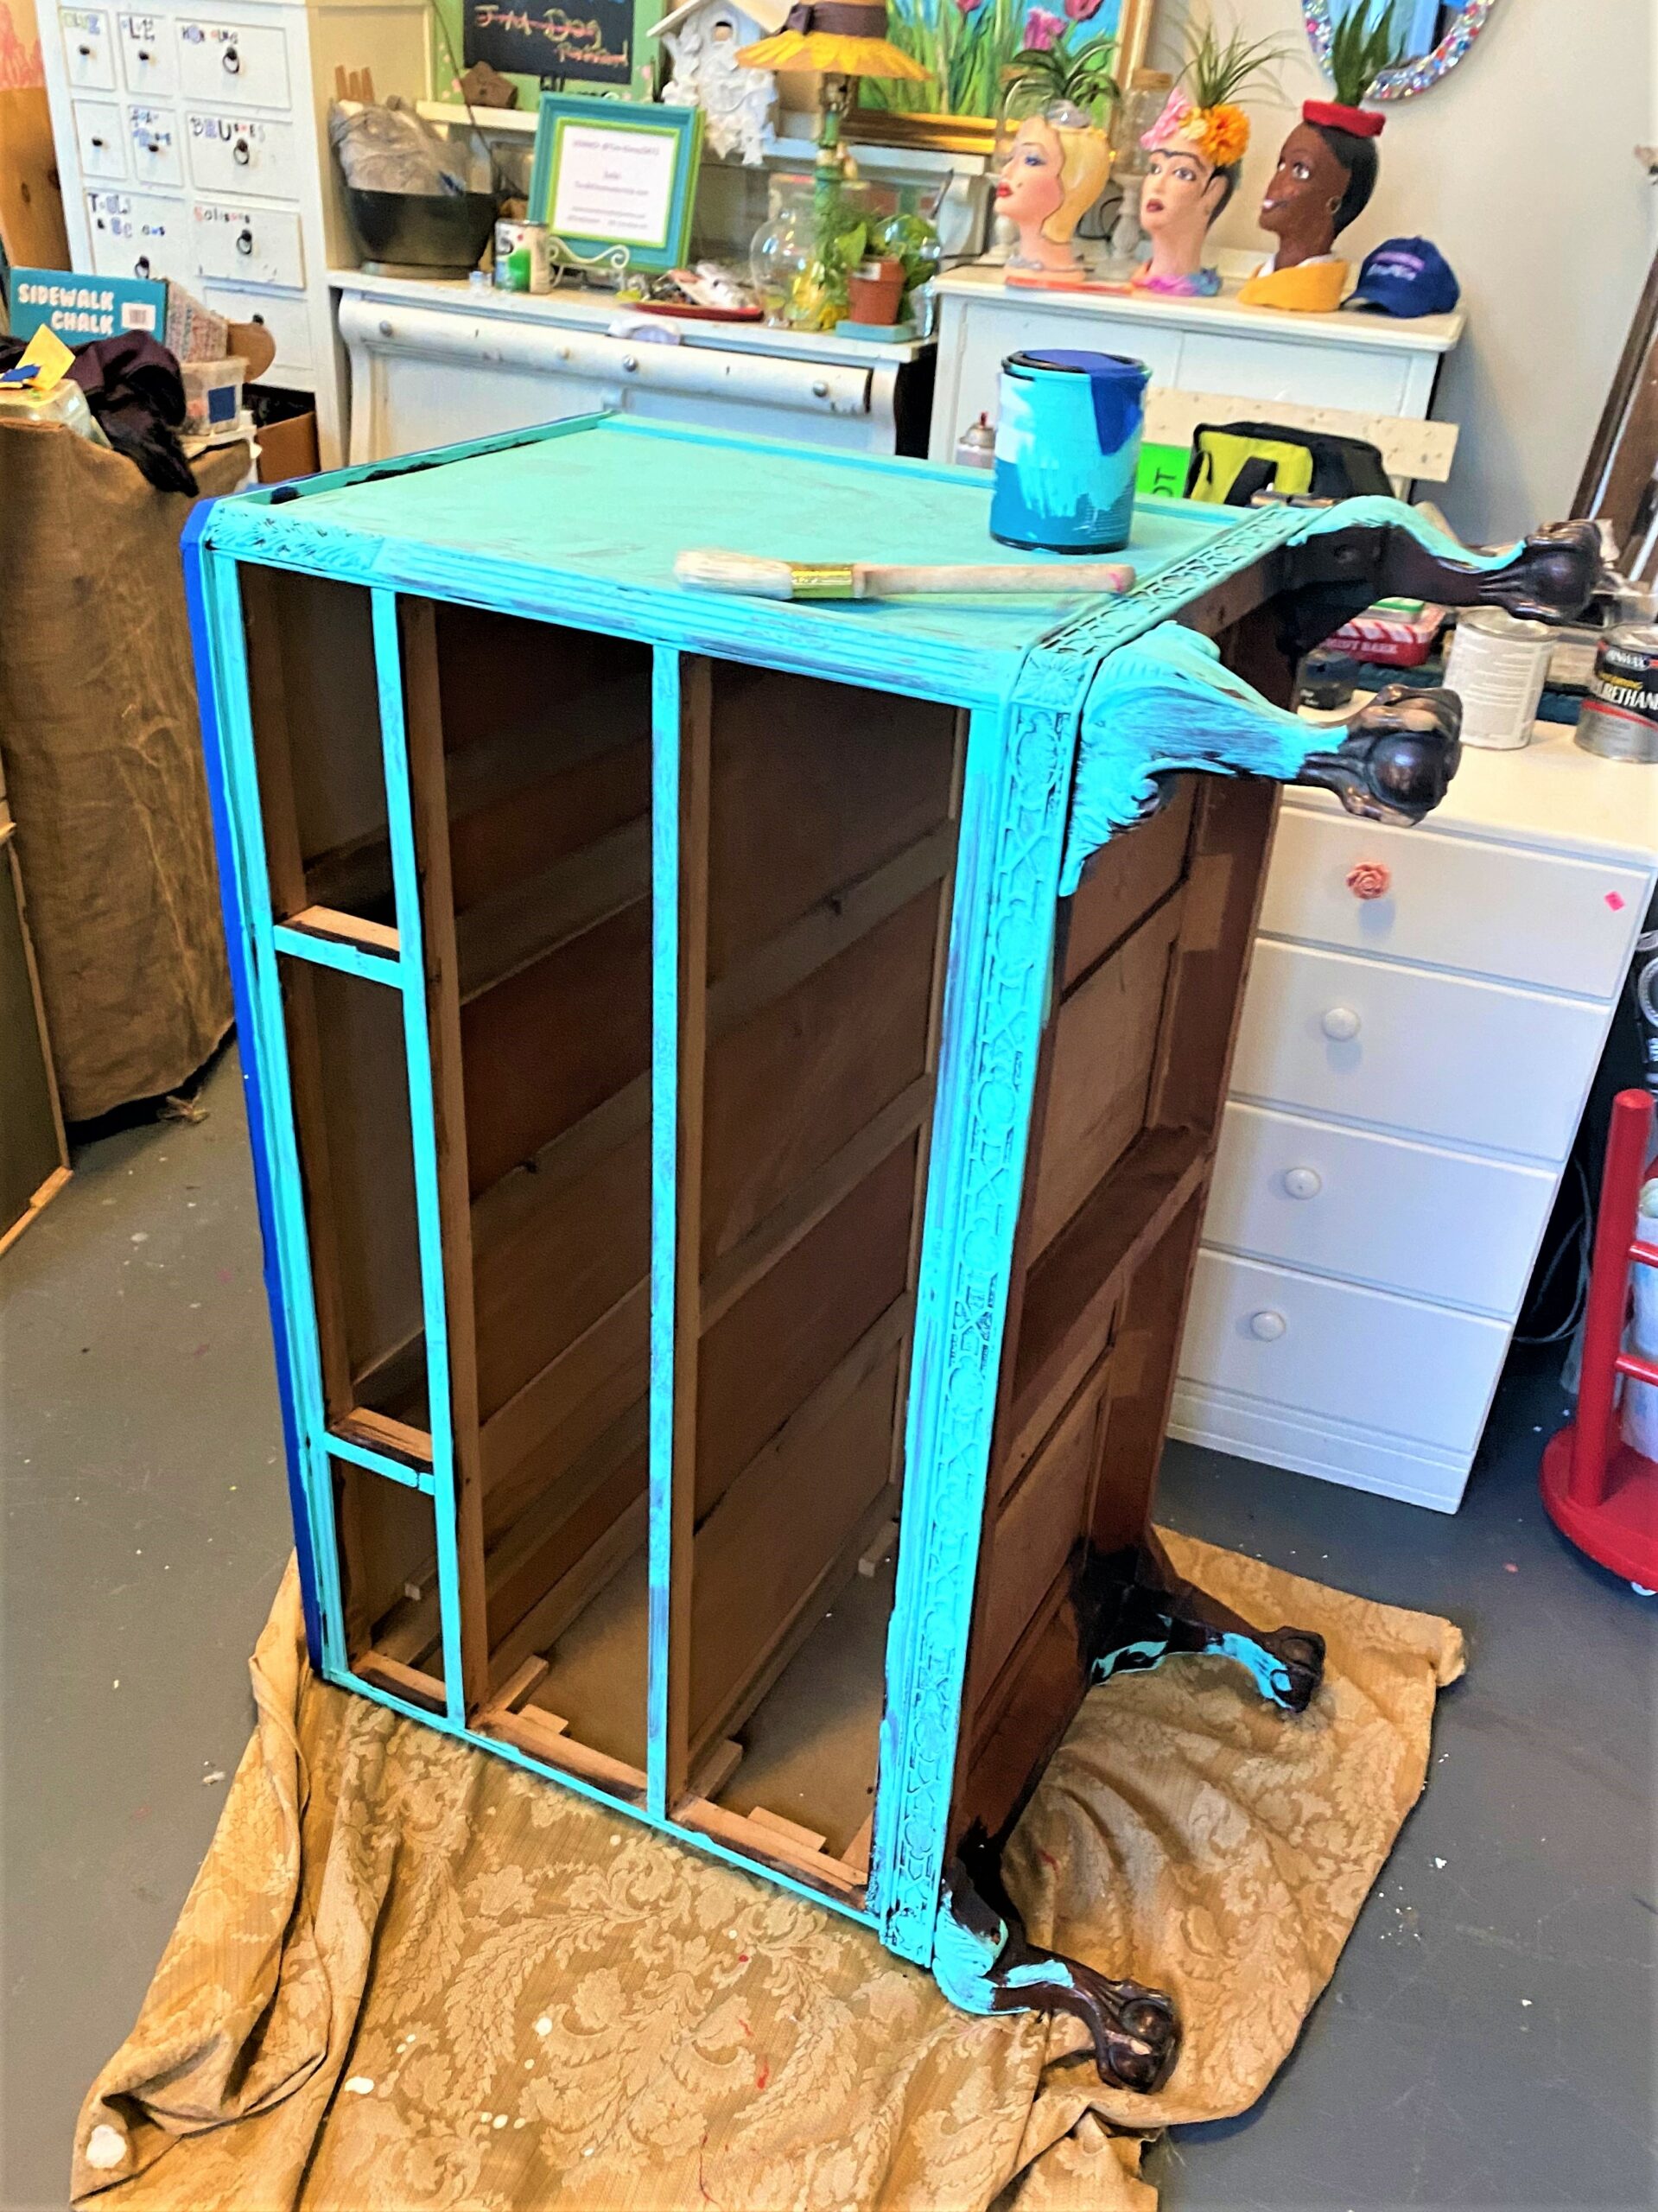
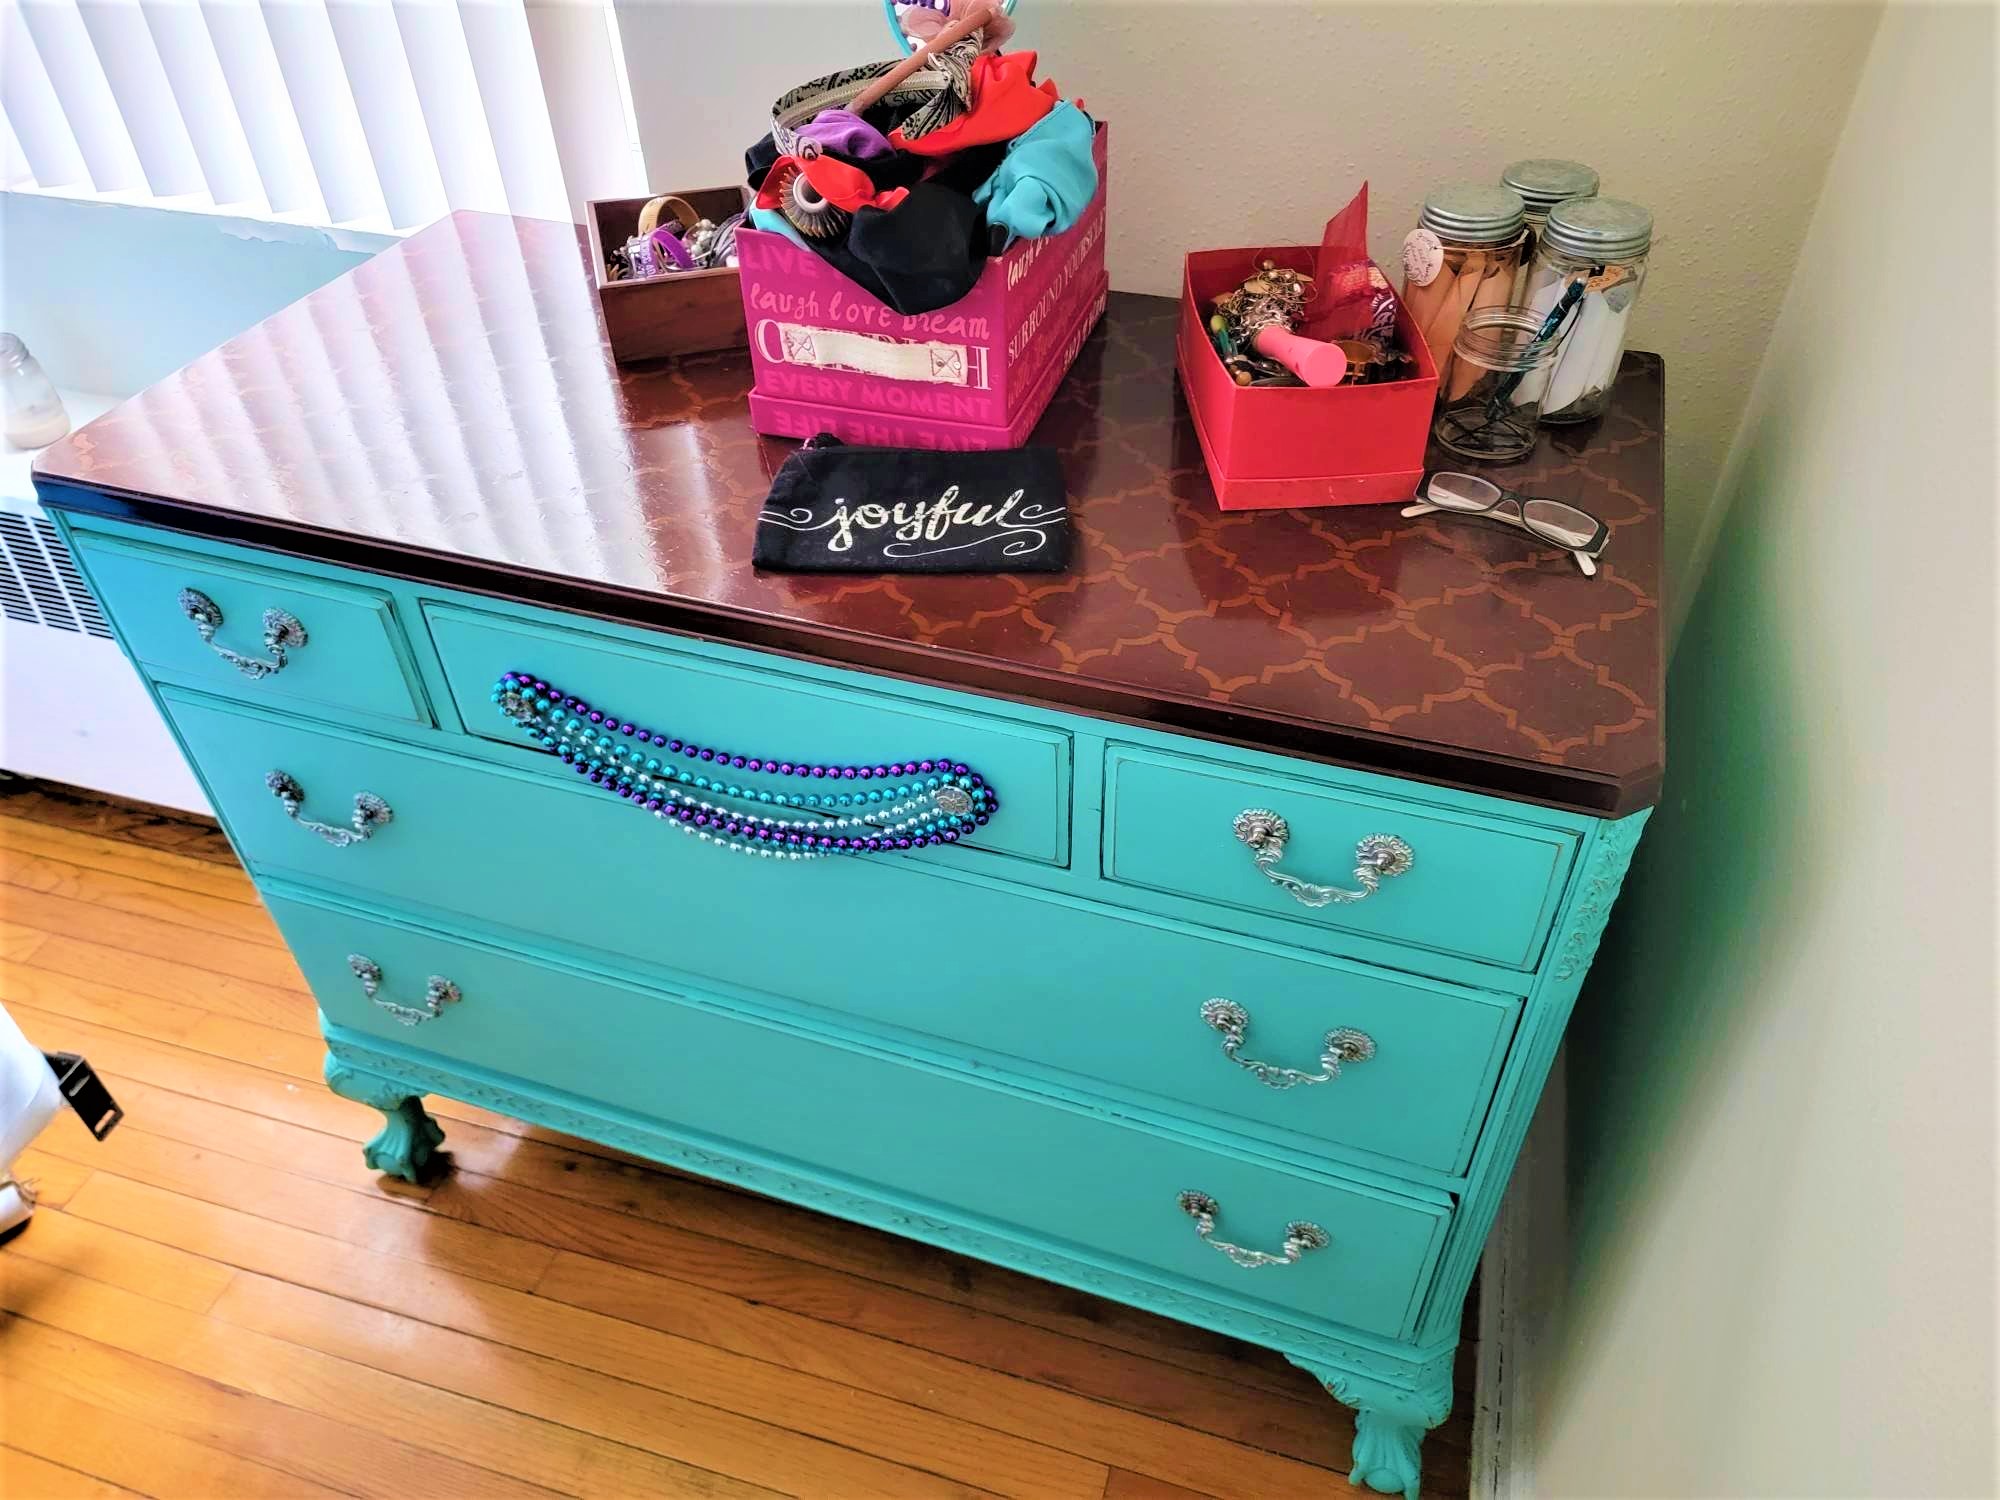
- Using both a small roller and brushes, apply a solid layer of chalk paint to each part you want to be painted. LaShaune’s favorite color is teal (which is such a vibrant and inviting tone), so the front of each drawer got several good layers of this color. The dresser’s sides and frame got a couple of applications, too. The top didn’t get painted teal because we planned to stain and stencil it.
- An important part of this step is to lay your piece on its sides in between paint coats so that you are able to ensure every part gets well-covered. If possible, enlist a helper to assist you in carefully moving your piece as you lay it on its sides. Placing it on its sides and using a variety of sizes of brushes will ensure you cover every nook and cranny.
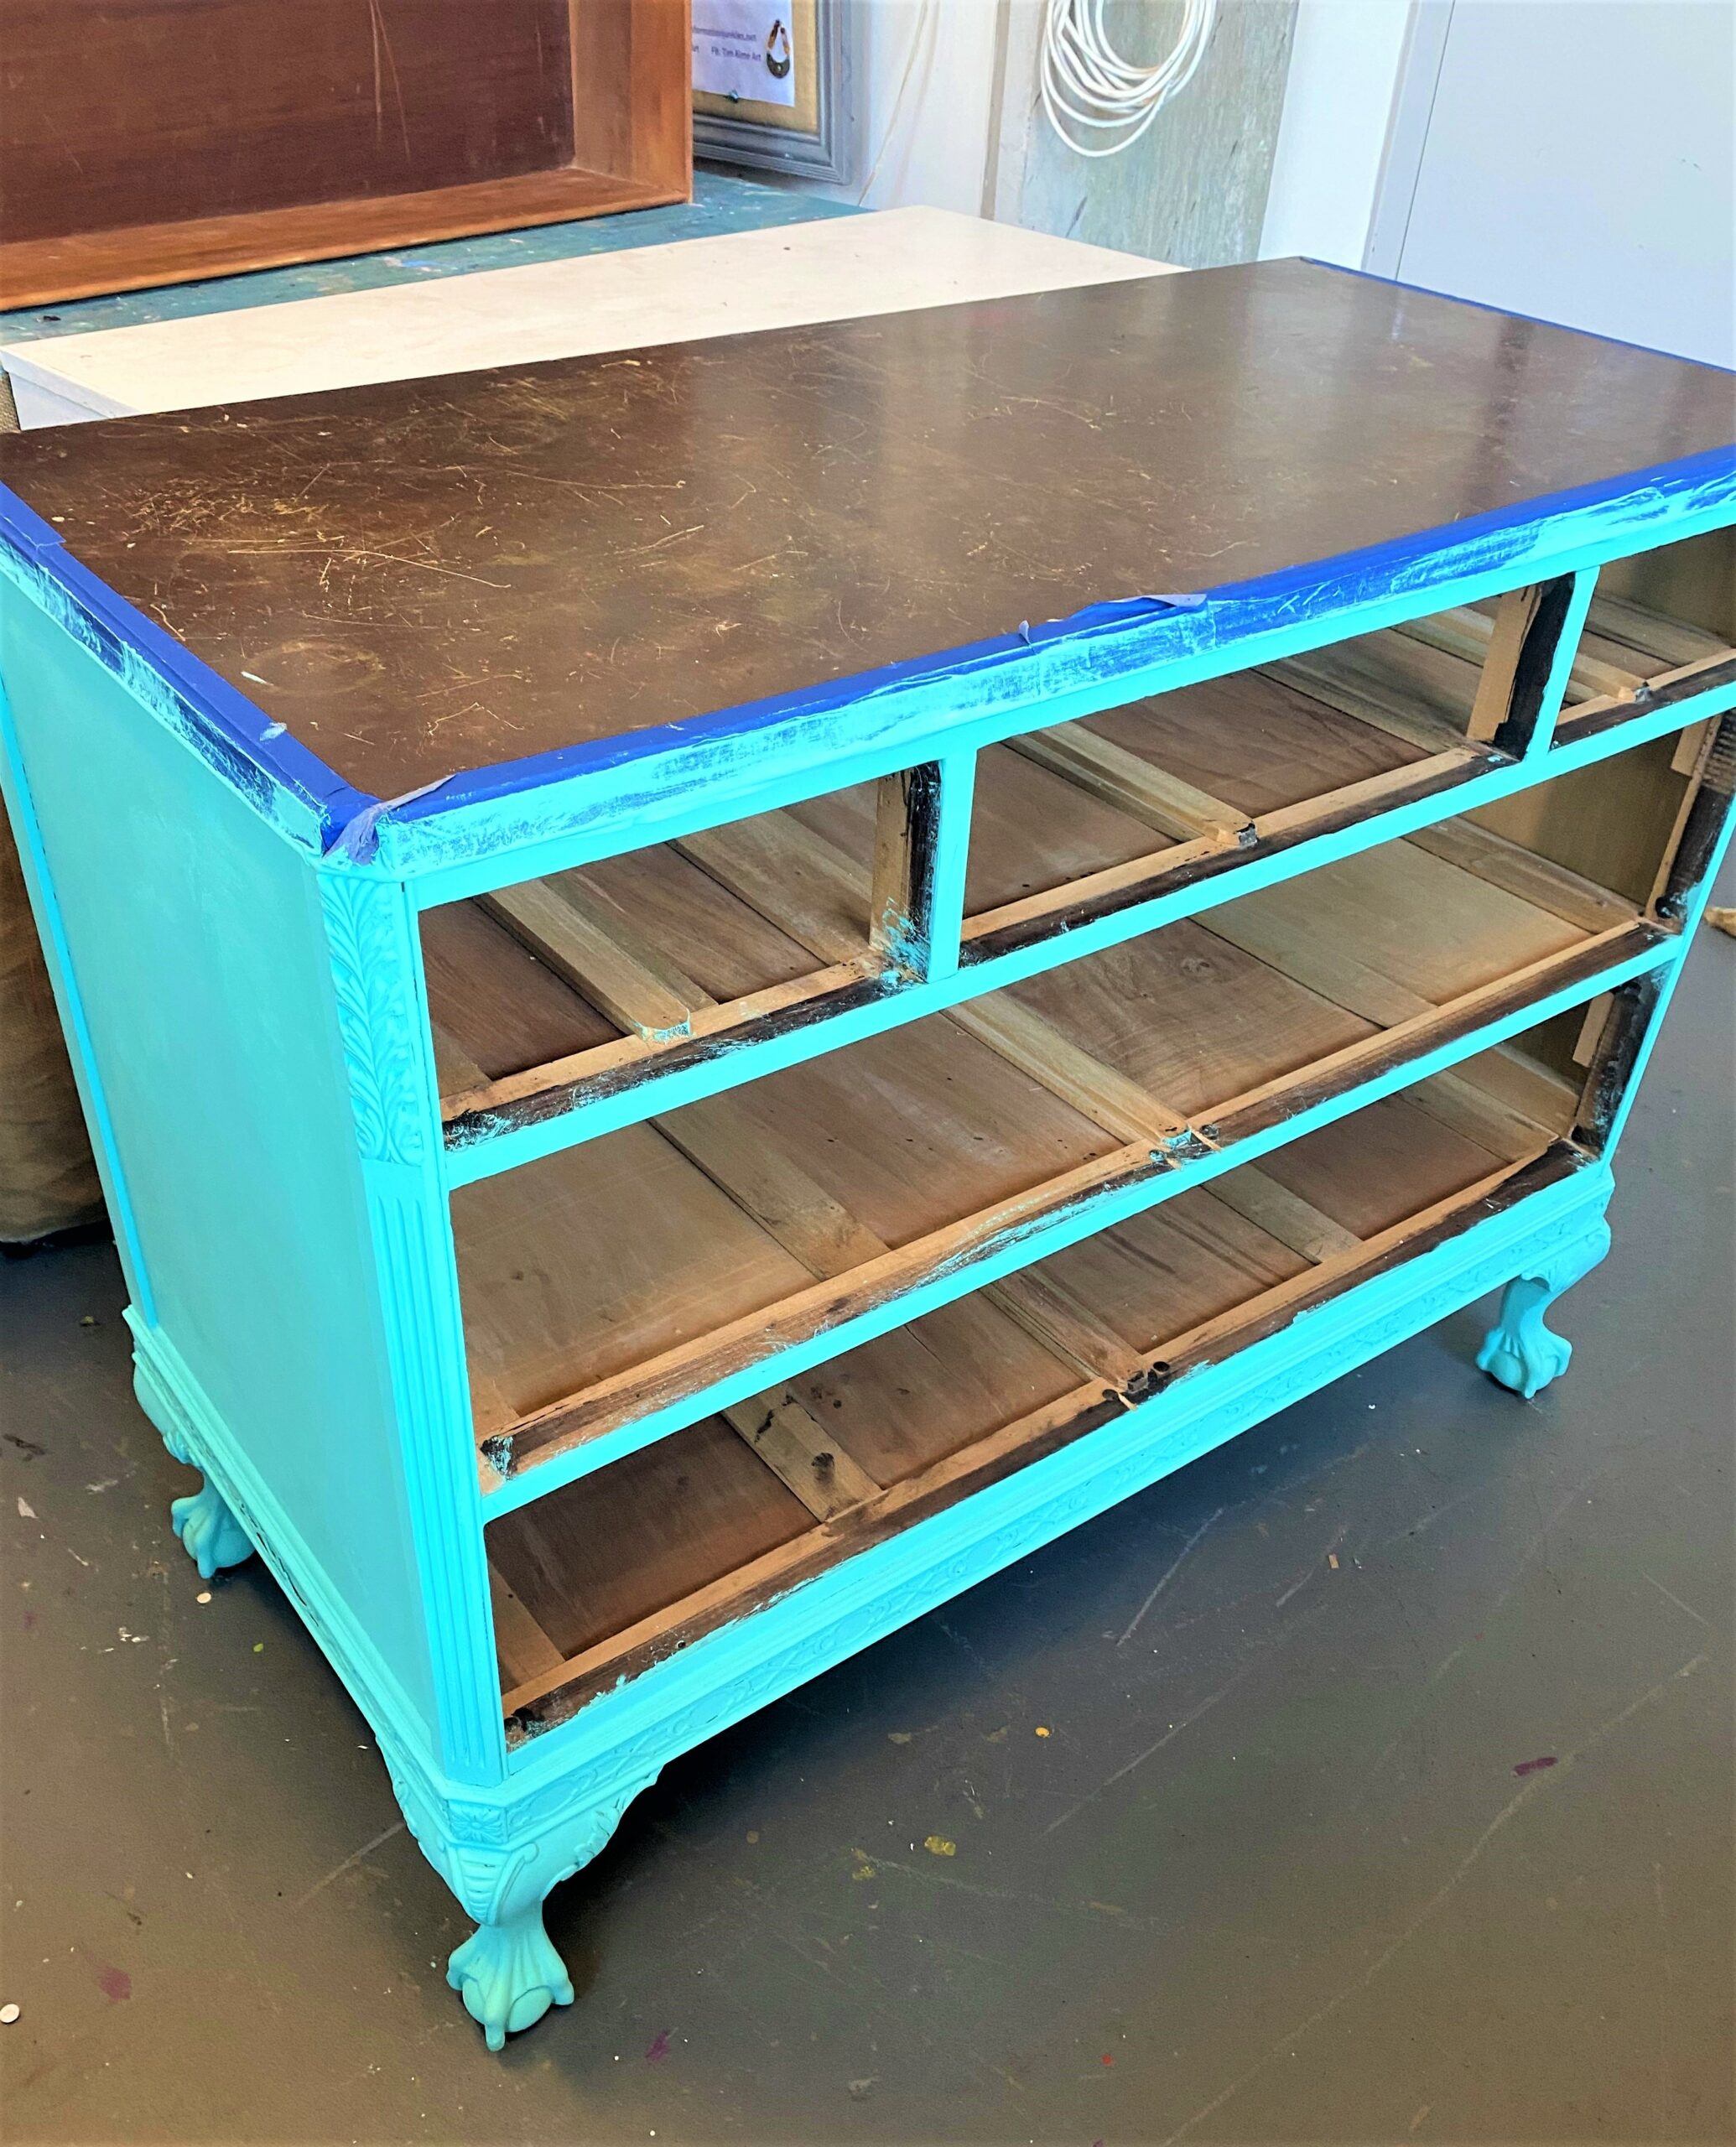
Step 5: Stain & stencil the top
- To provide some visual interest and contrast, the dresser’s top was not painted teal but was first stained in a warm brown tone.
- Several light layers of stain were added and were allowed to dry completely.
When this step was done, some of the dresser’s flaws still showed through so I did a trick by adding a stencil in a matching brown paint so your eye would focus on that lovely design. This helped to mask some imperfections.
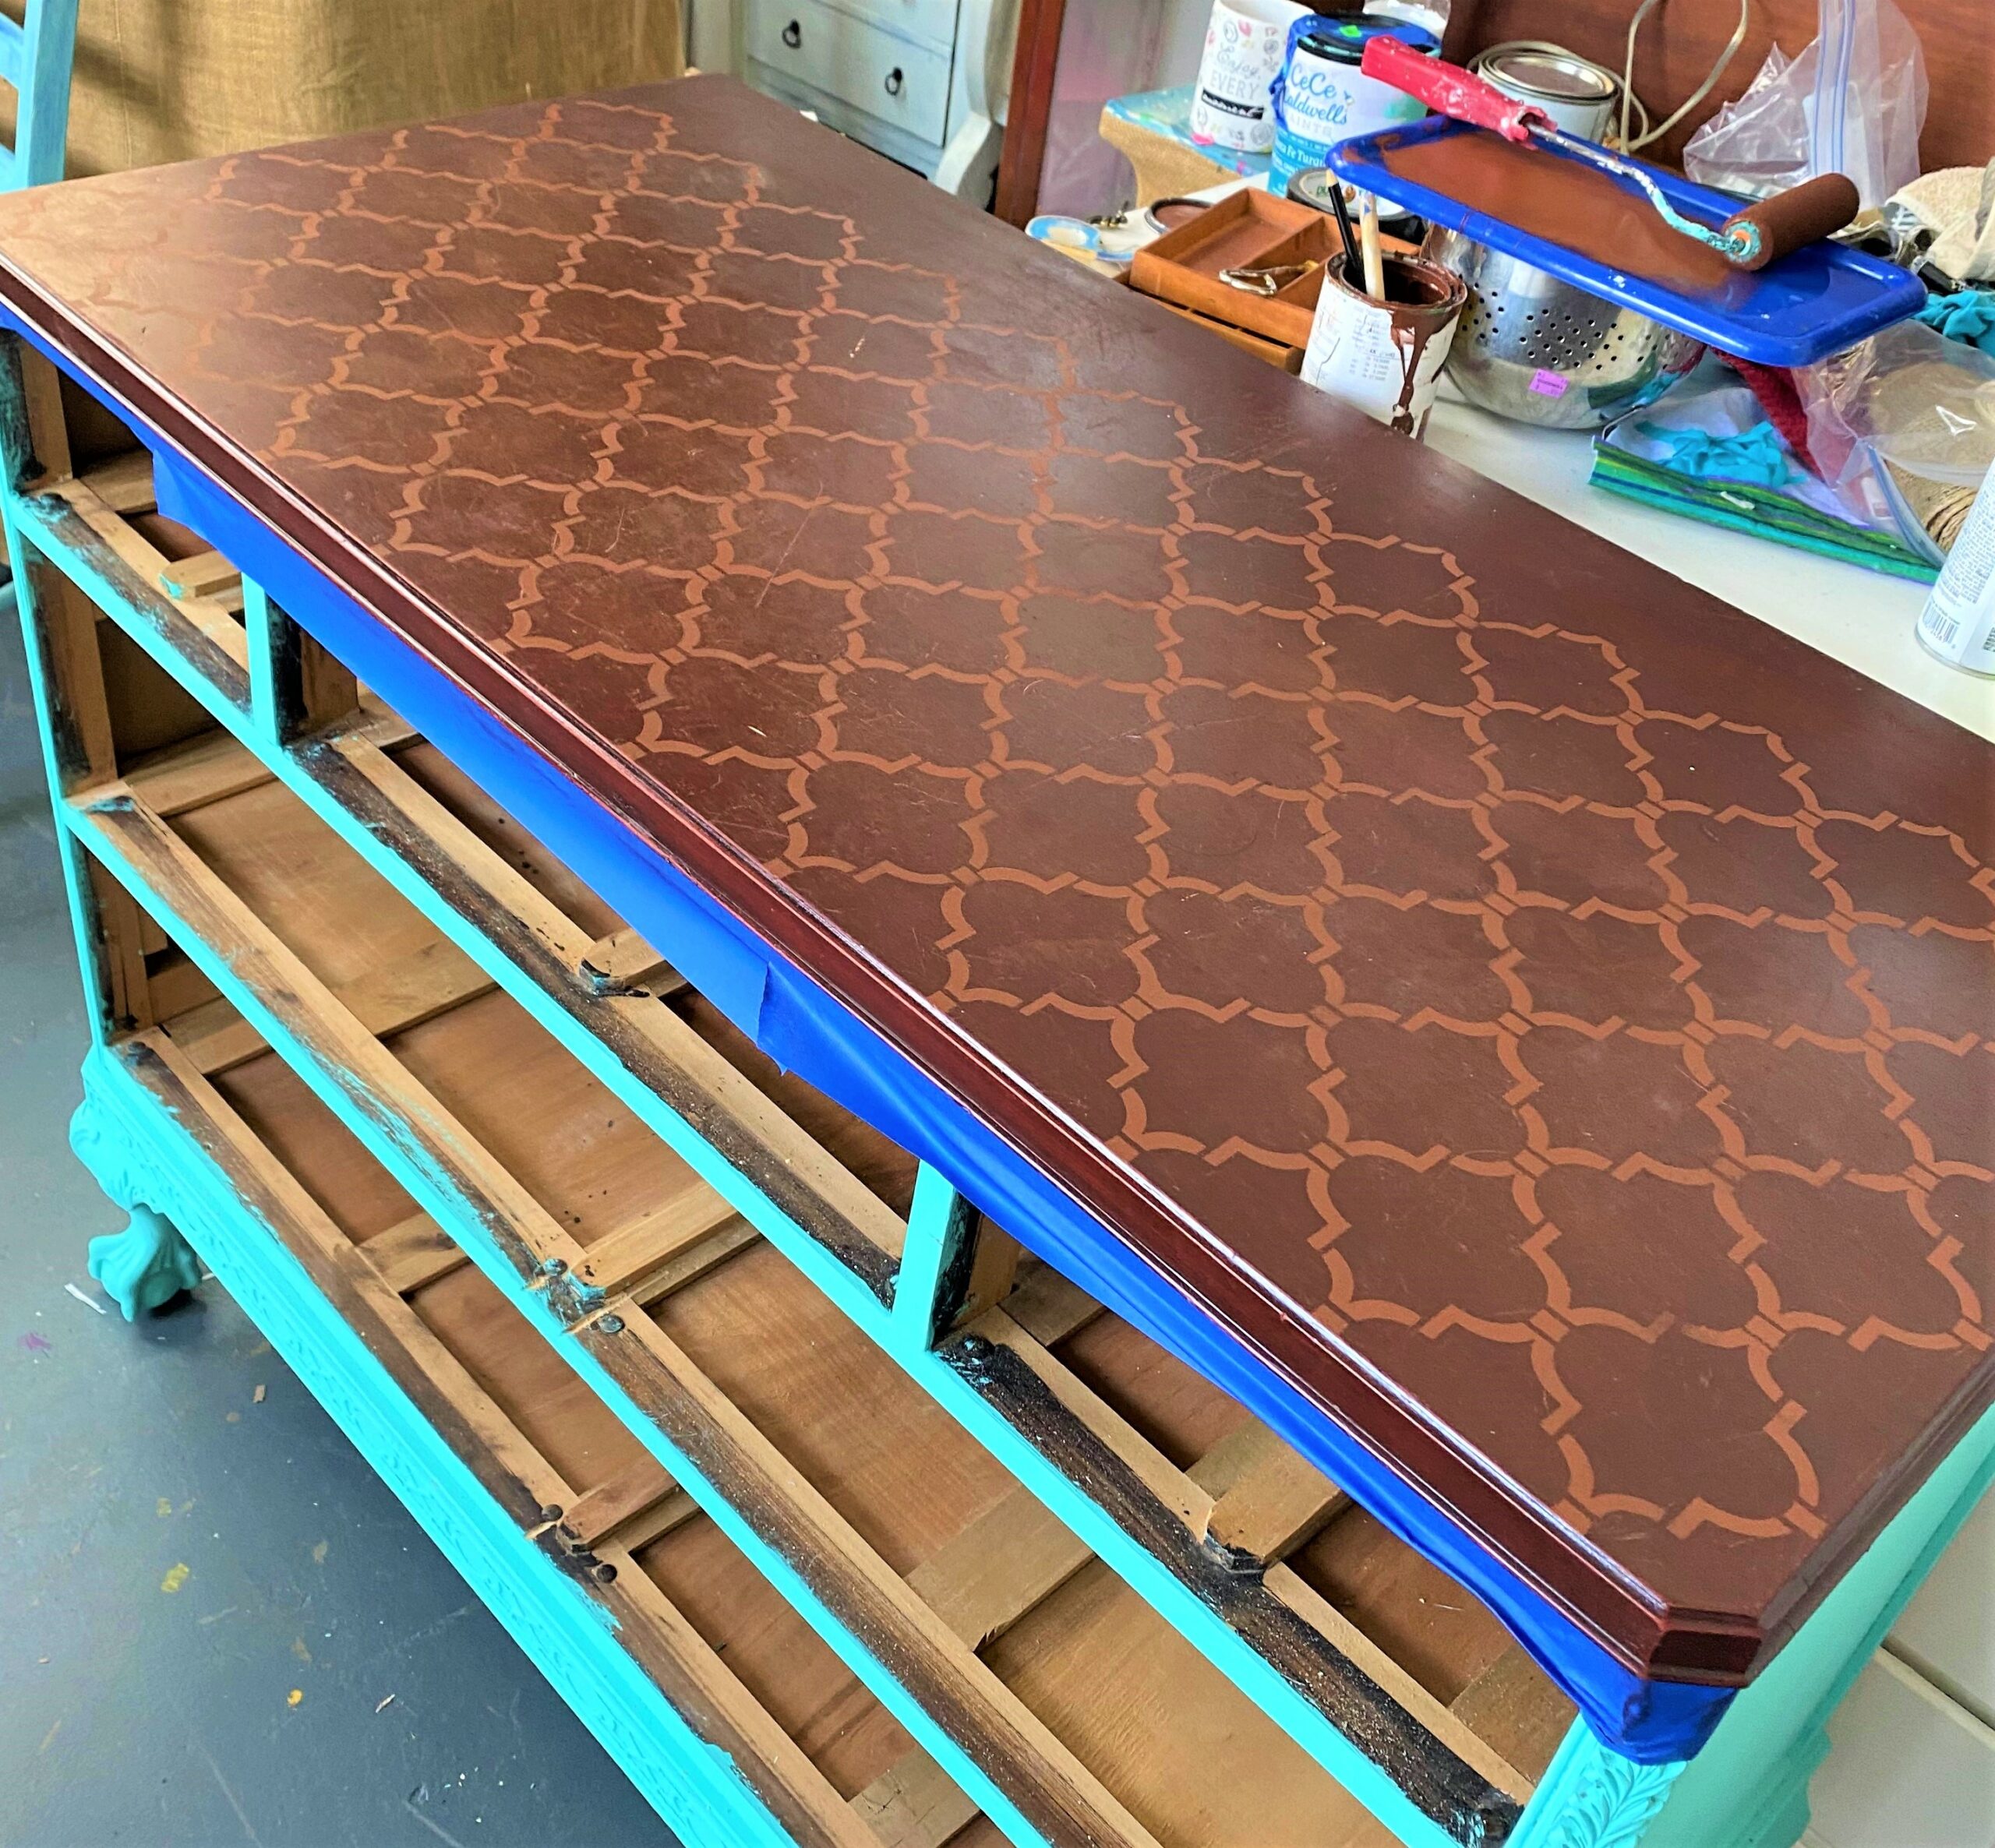
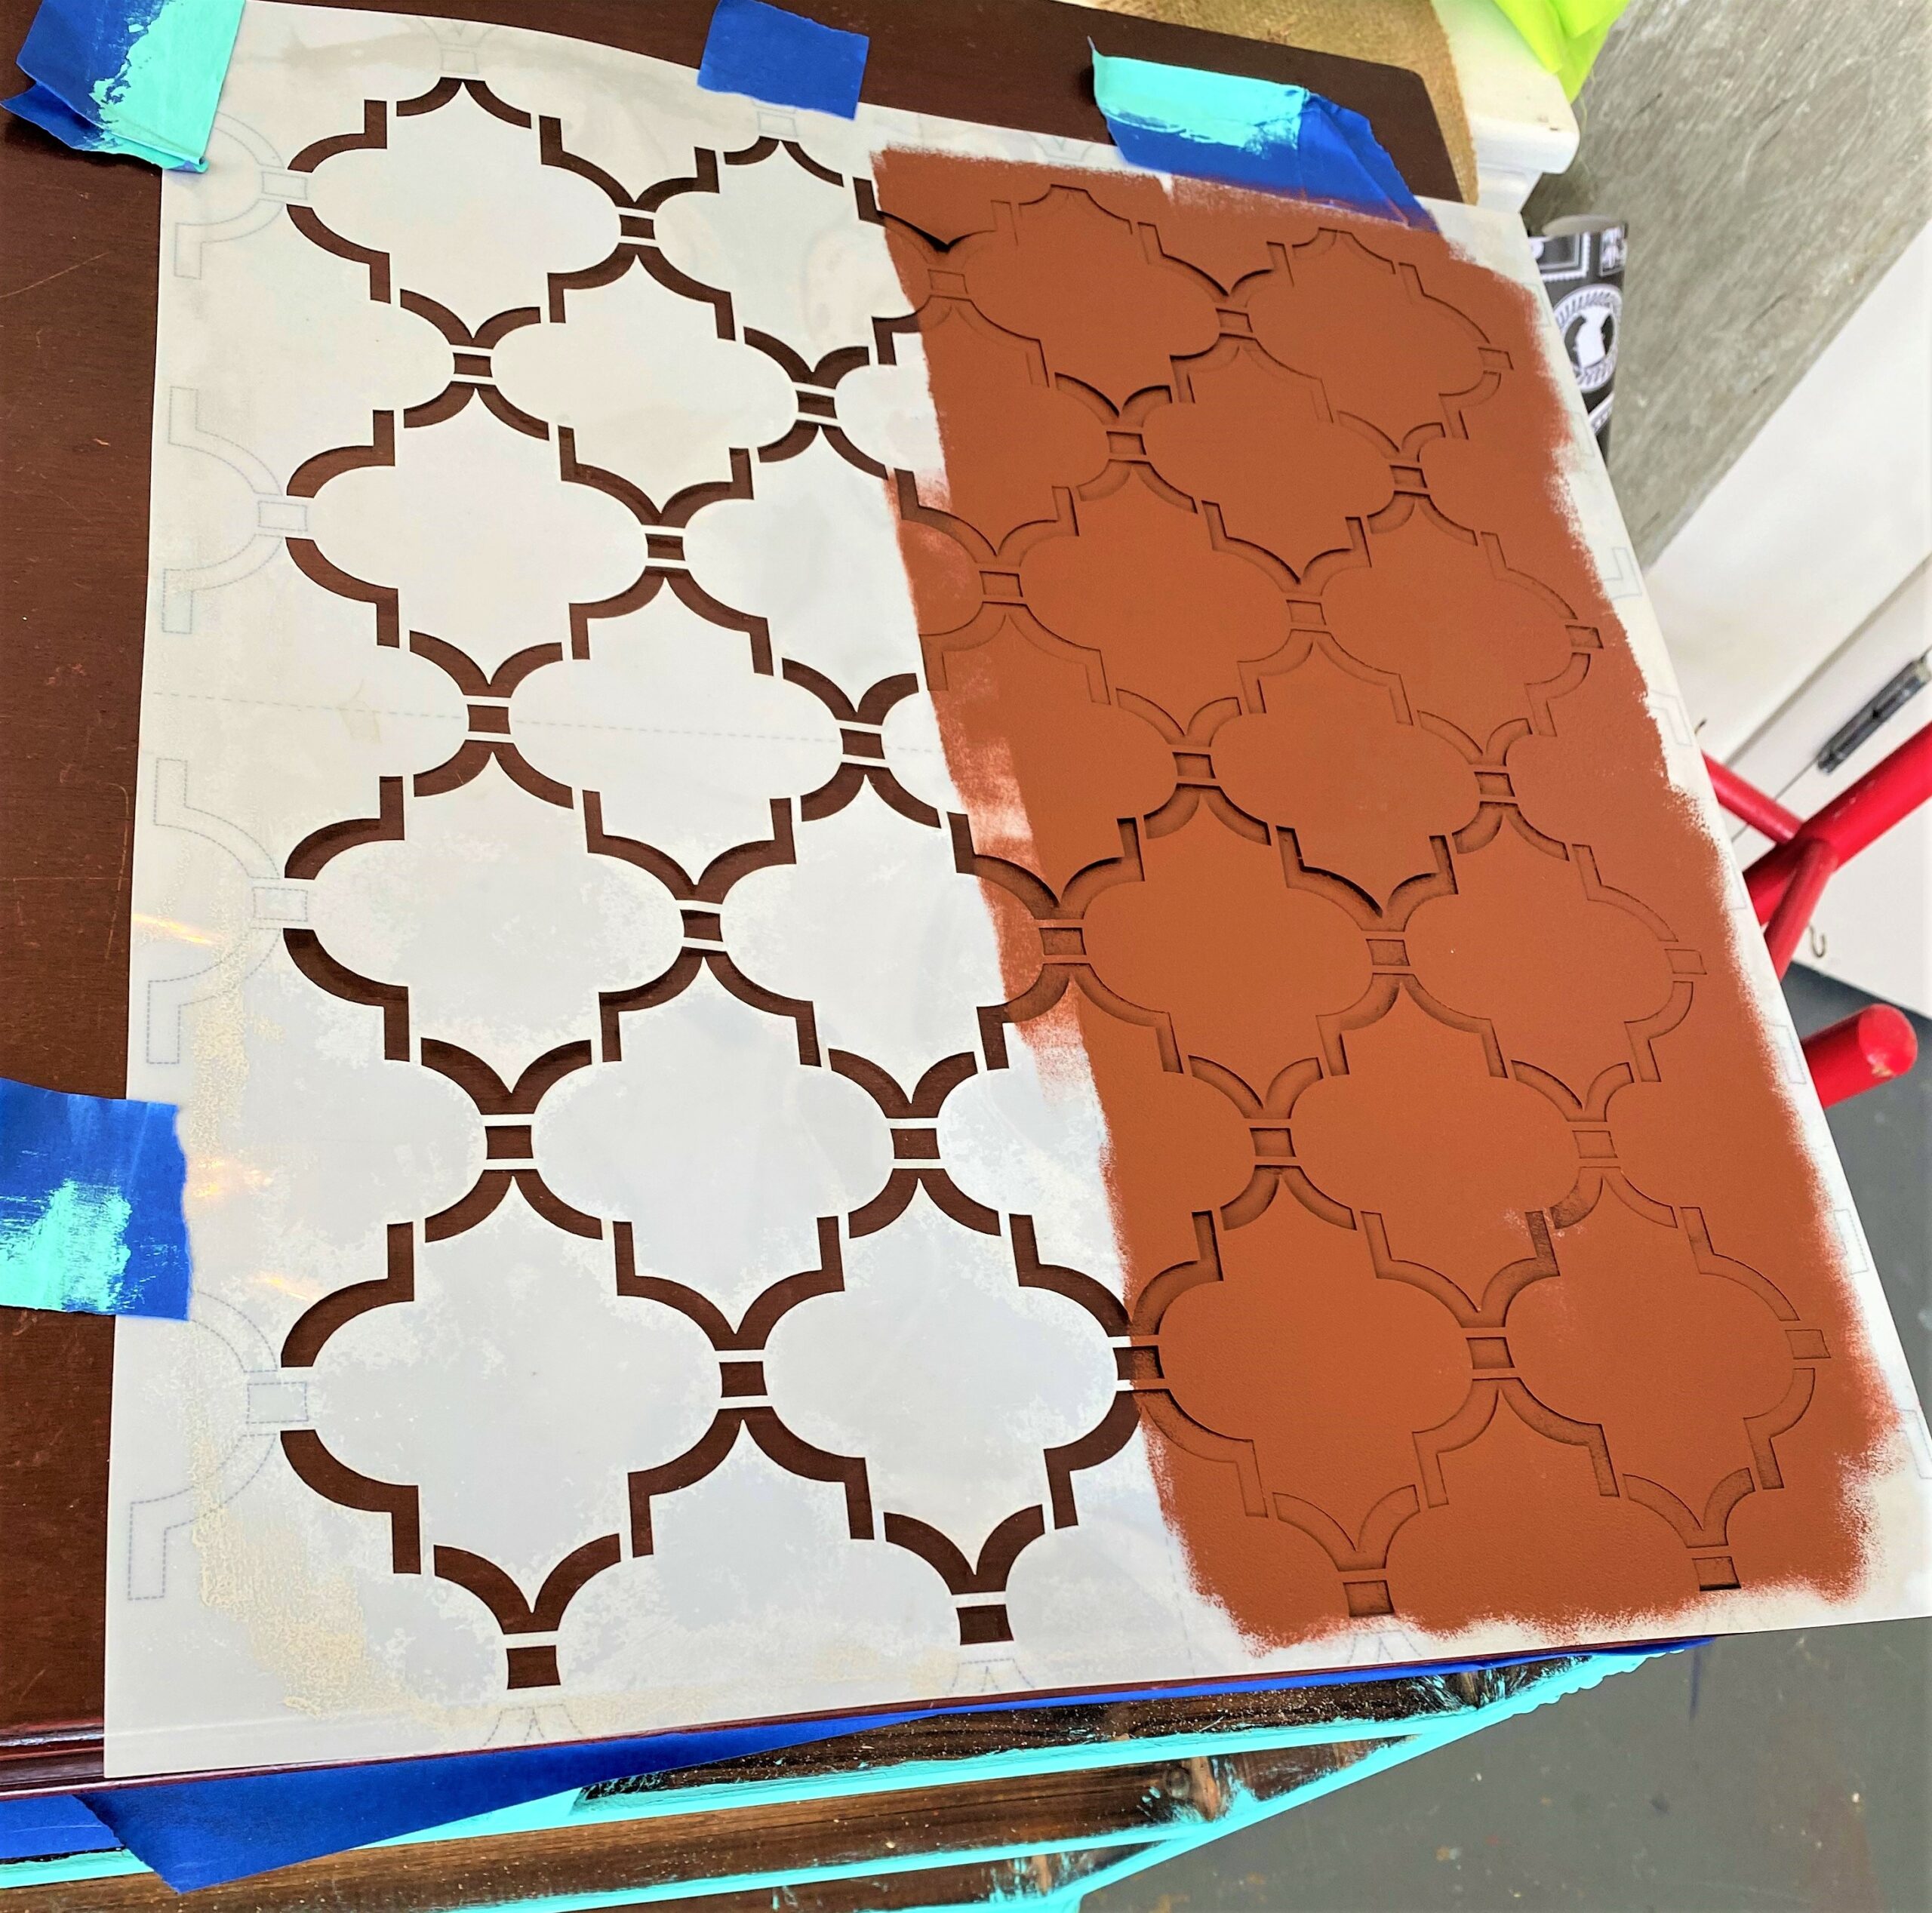
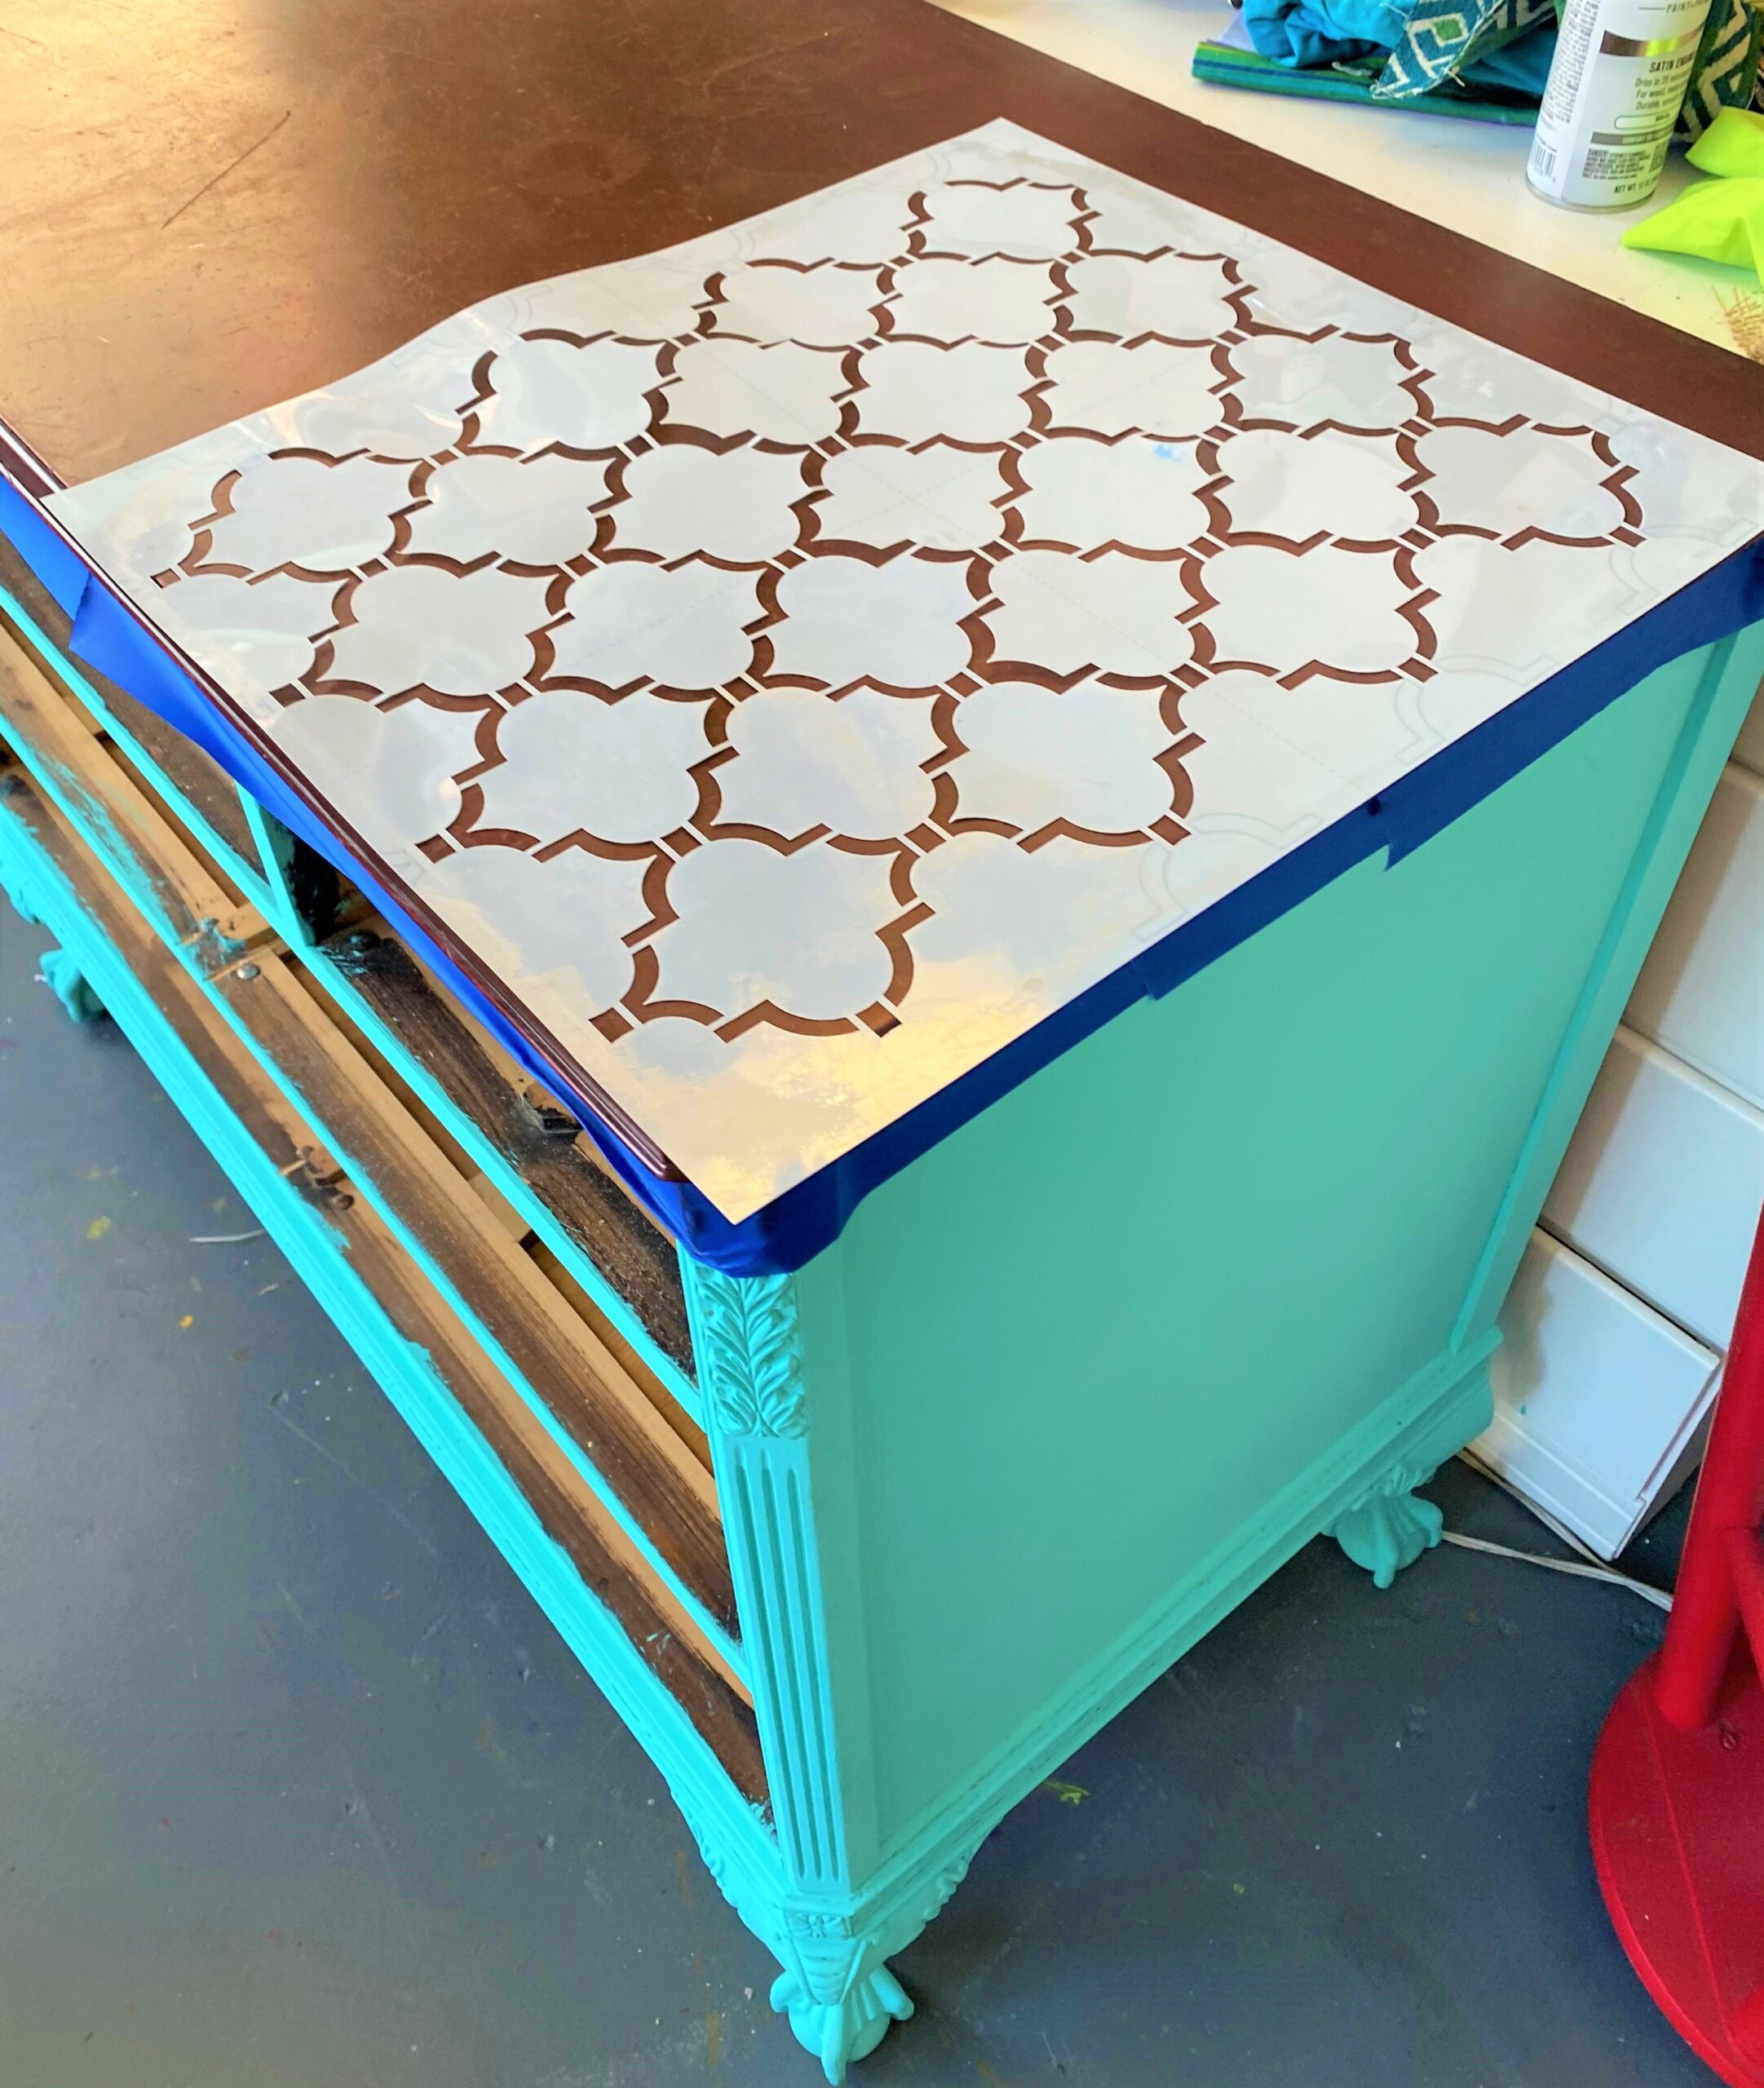
- The stencil was secured in place with painter’s tape and the brown paint was applied with a roller.
- The stencil was moved to the next part and the step was repeated.
- This was done several times until the entire top was covered with the stencil. I am so glad the top had some flaws because the stencil solution made the overall dresser’s appearance look even more elegant! As in life, sometimes a perceived imperfection becomes the best part!
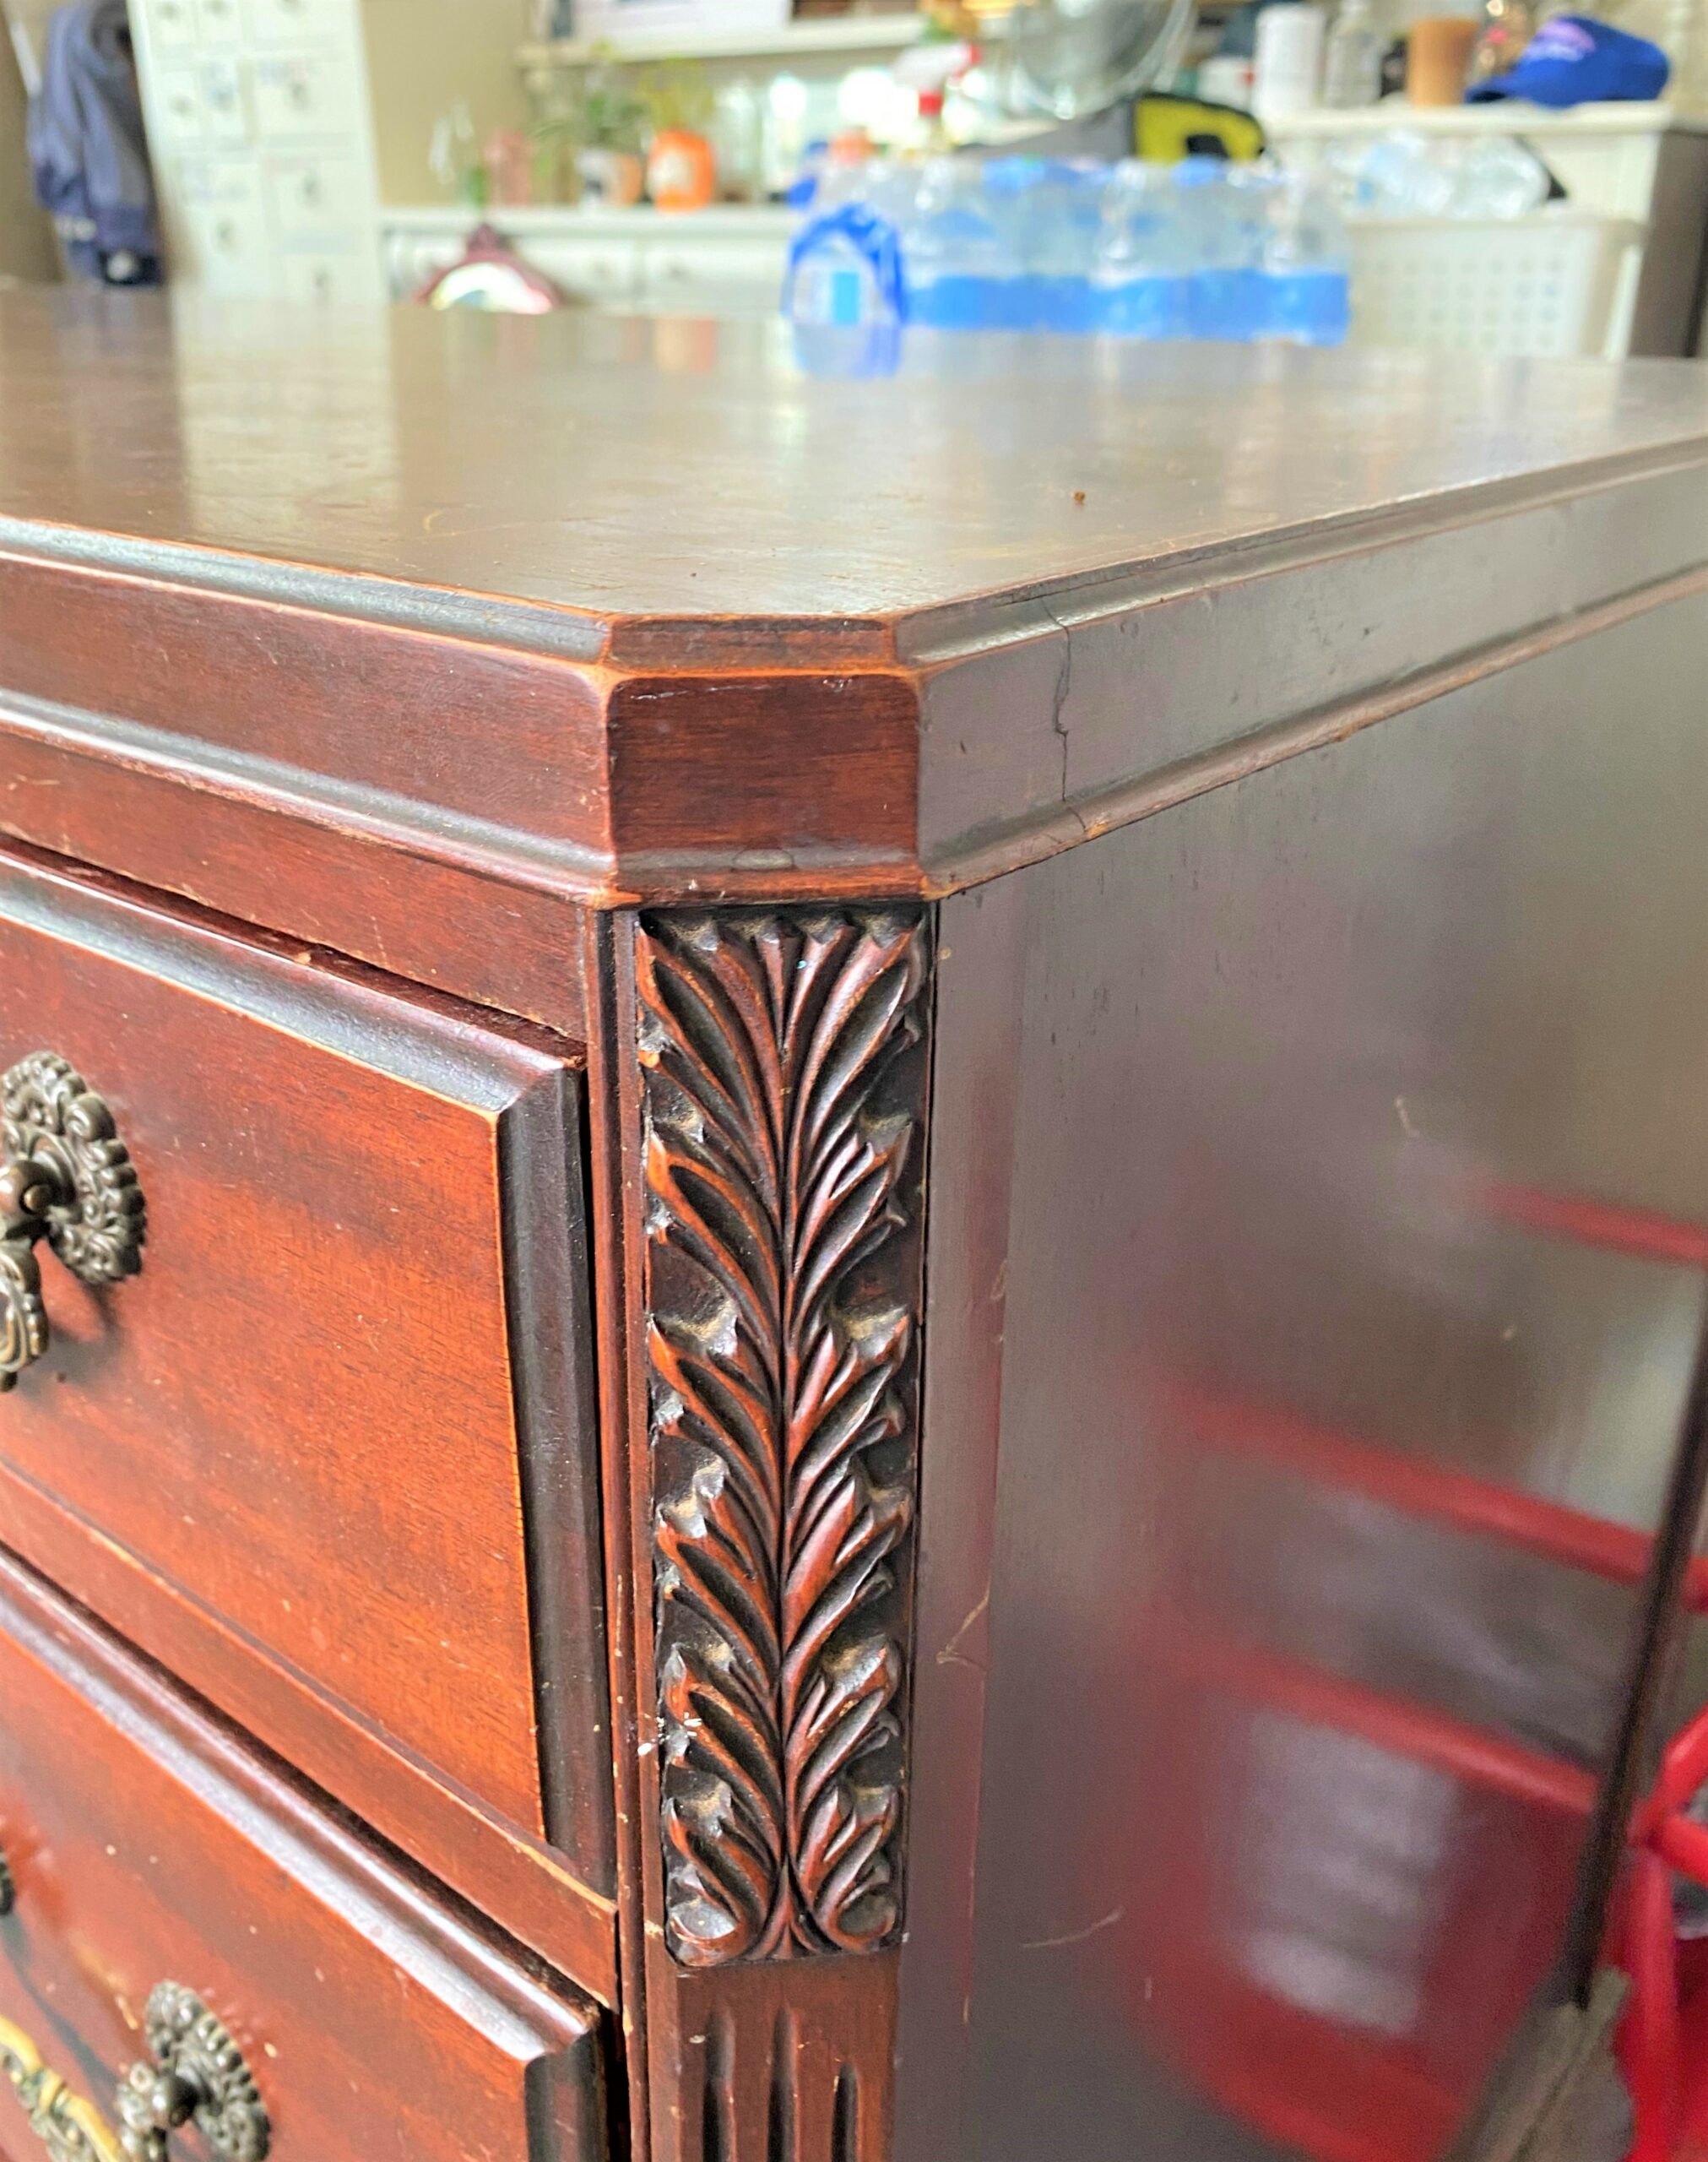
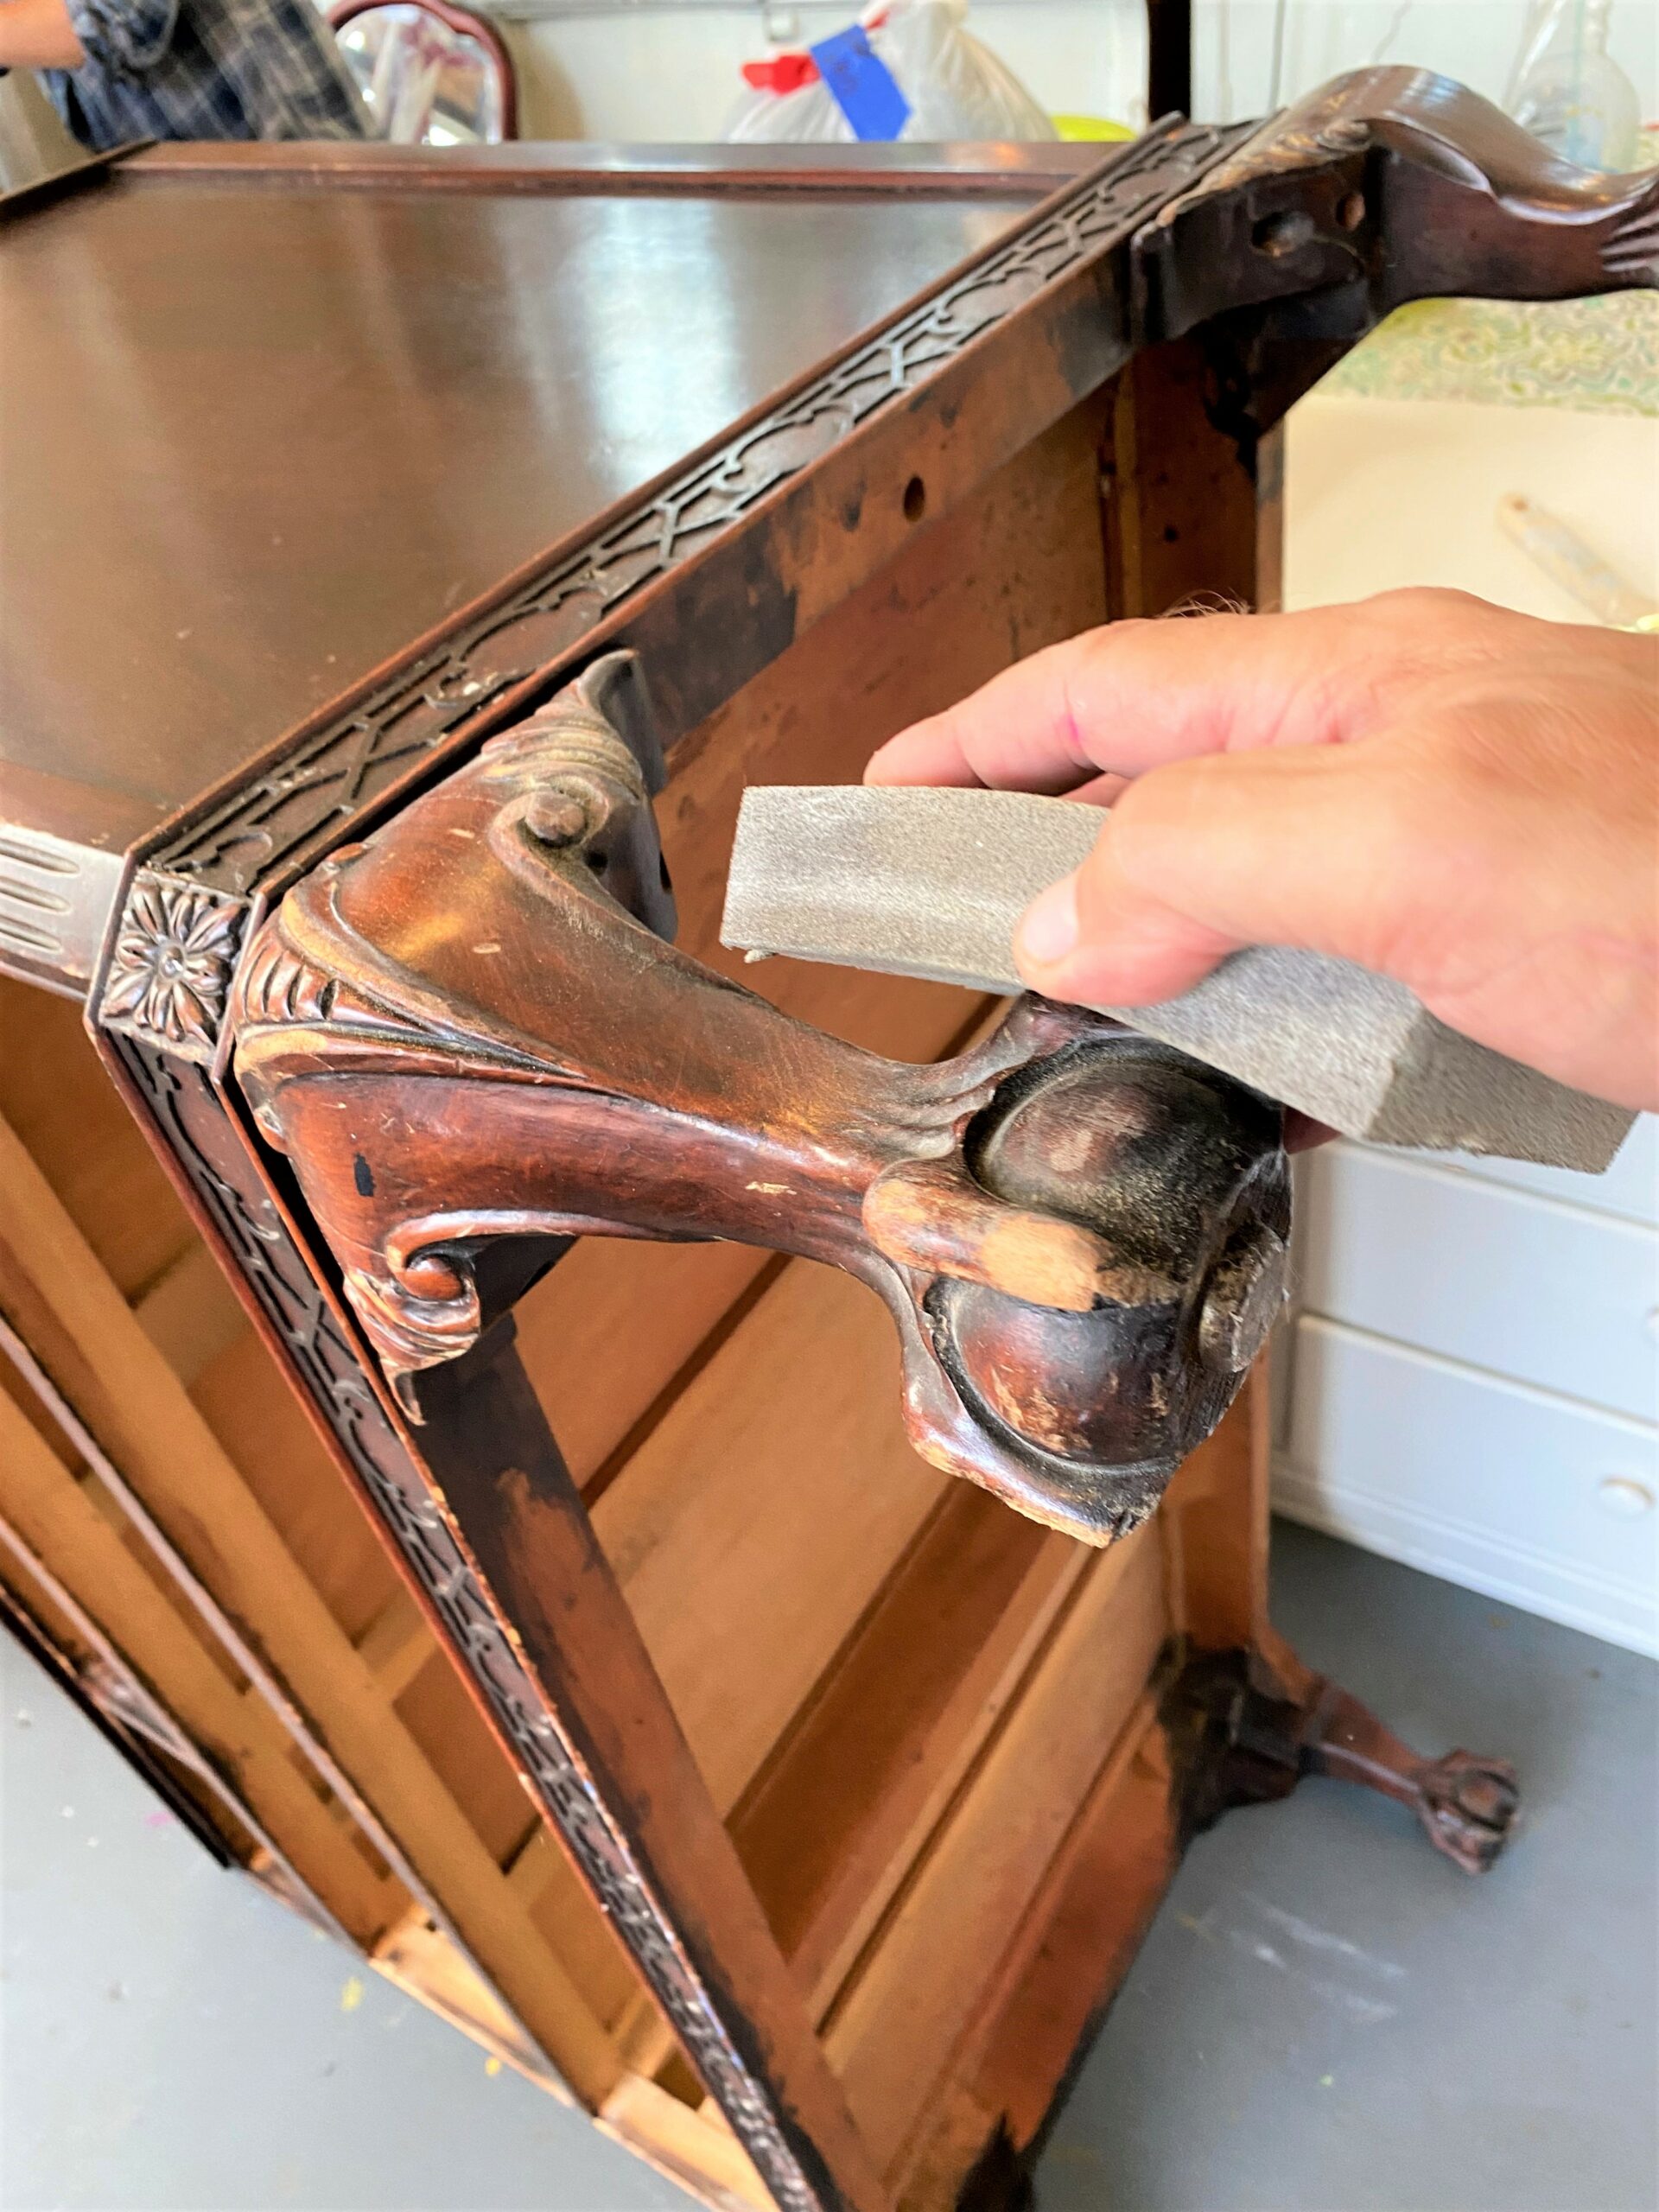
Step 6: Distress the details
One of the most fun steps is this one when you help to highlight your piece’s beautiful details. No need to stress when you distress it!
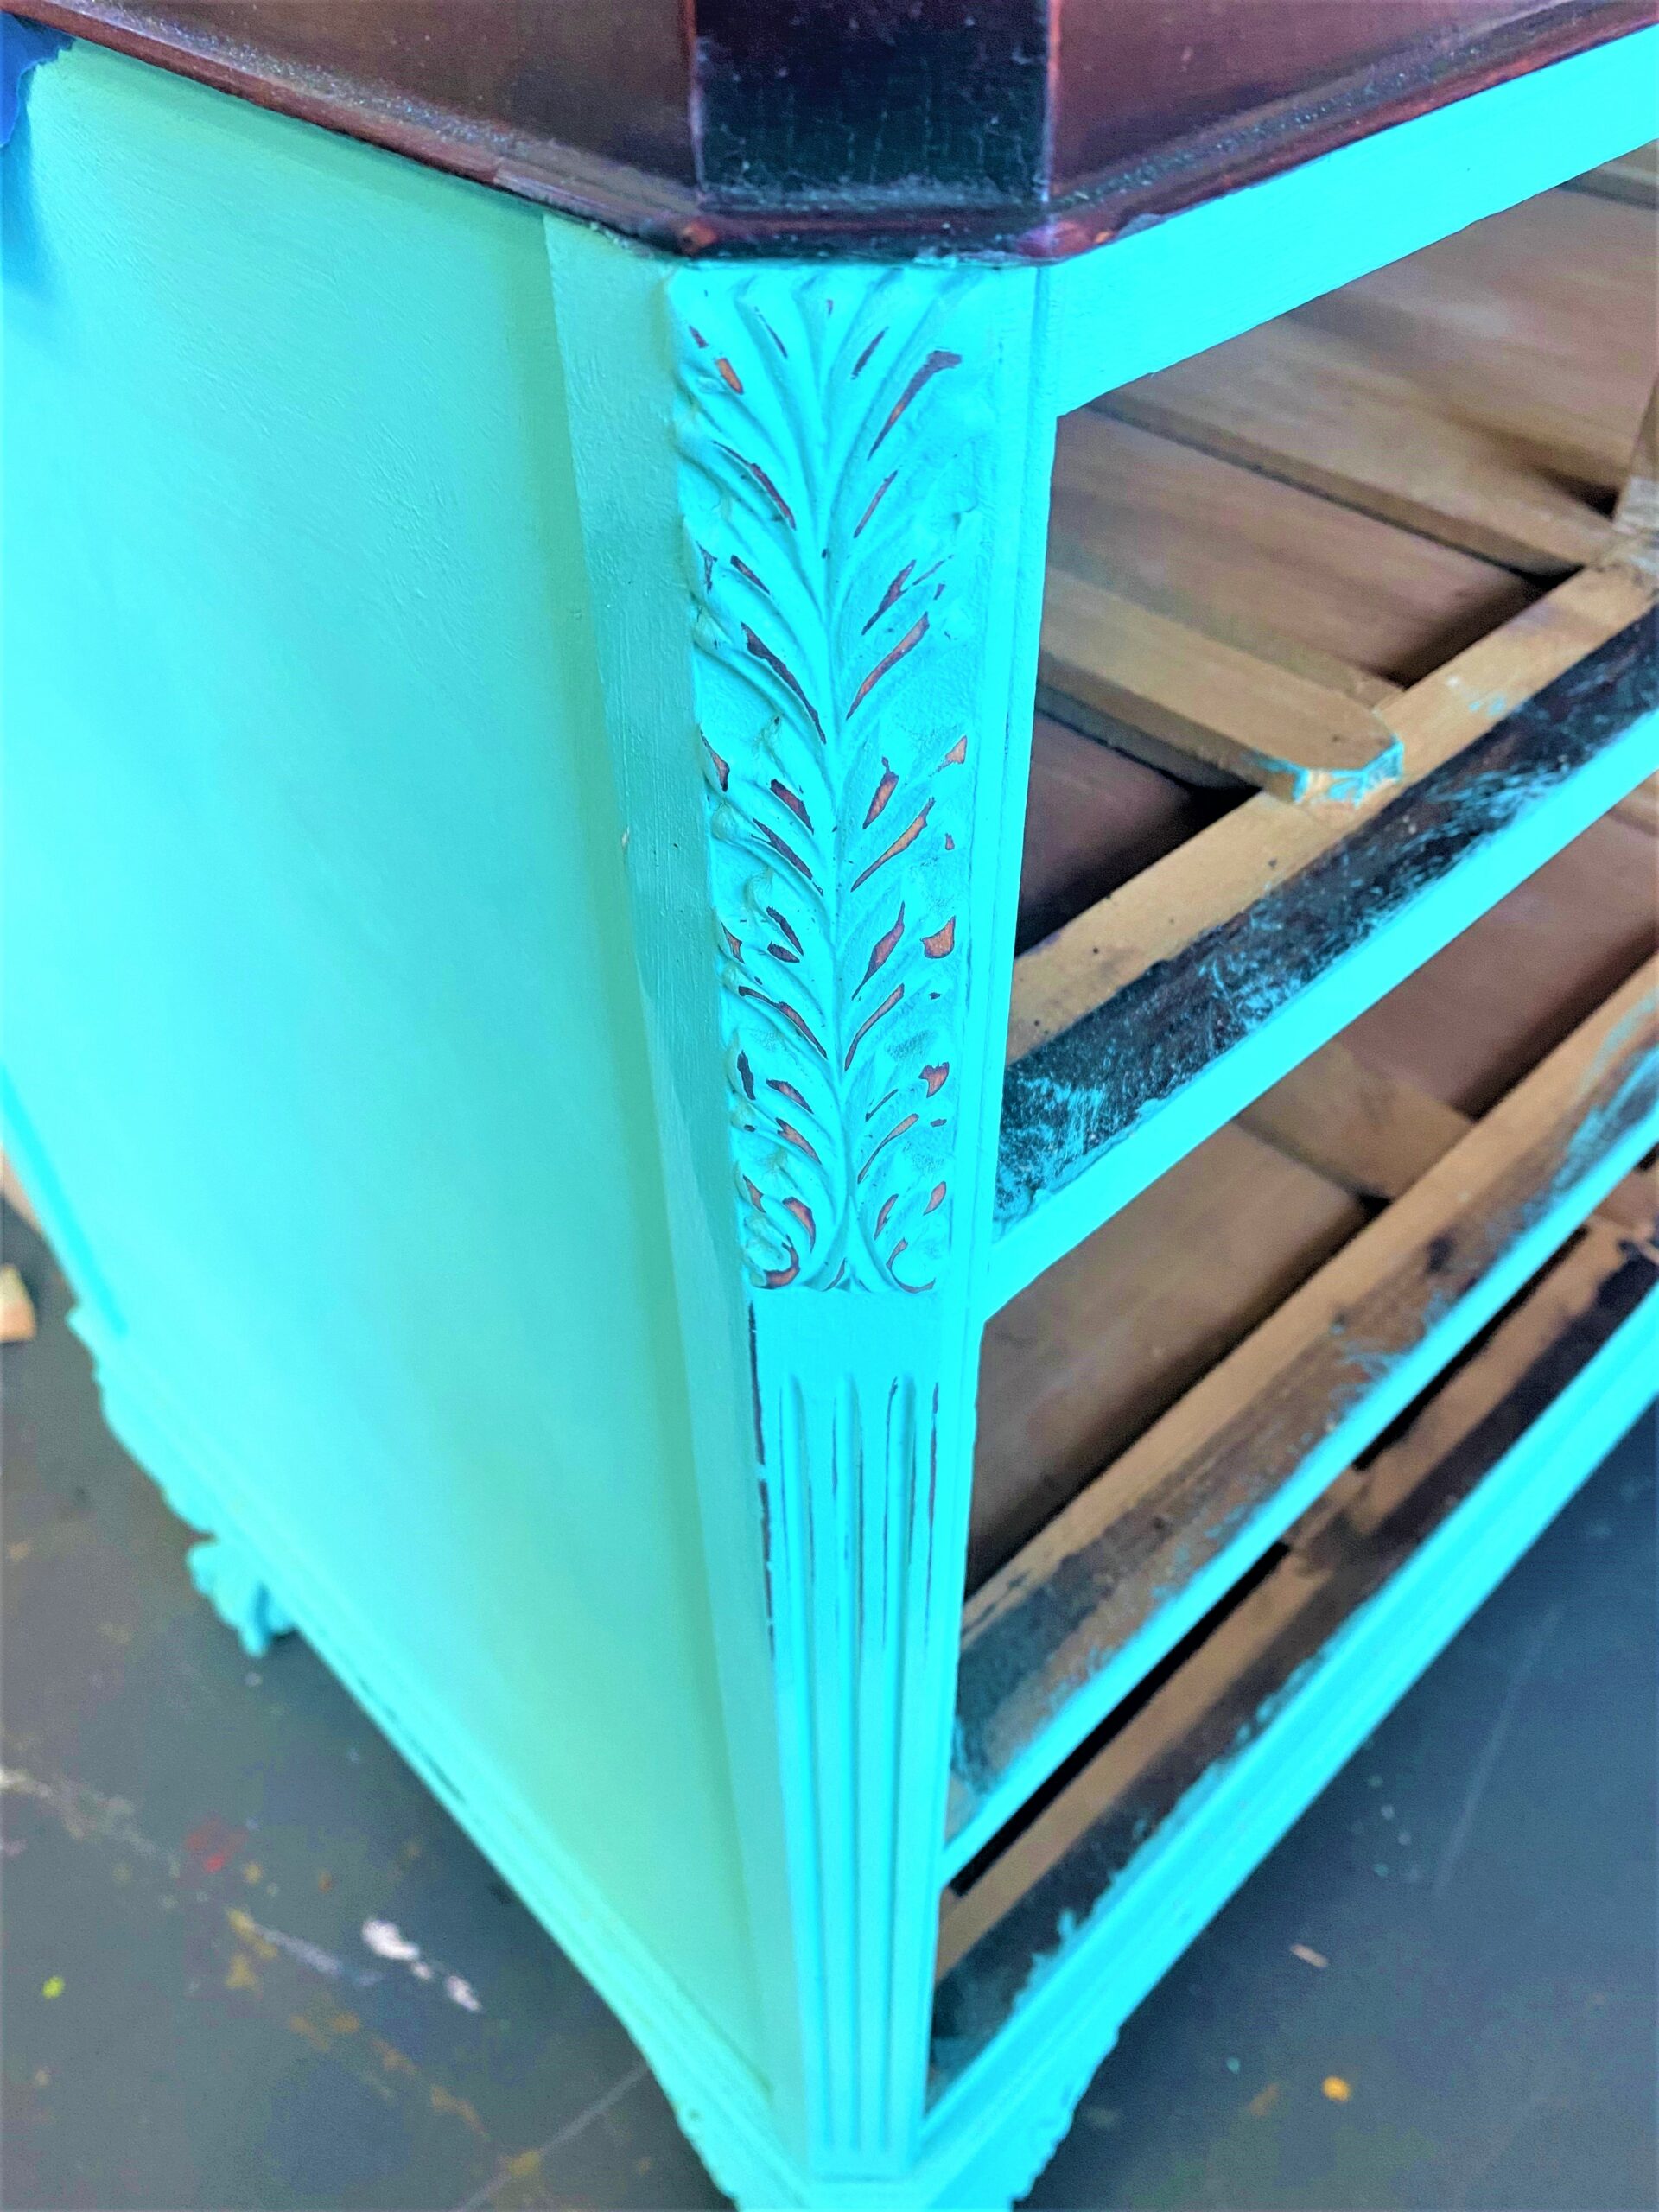
- Simply take a piece of sandpaper or sanding block and gently sand/rub away the paint from the outer edges of the dresser and sides.
- Bring out any details by giving it a slightly aged look to highlight them. You are helping to very carefully and thoughtfully bring out the original brown tones.
- When done, use a damp cloth to wipe away any dust created by this step.
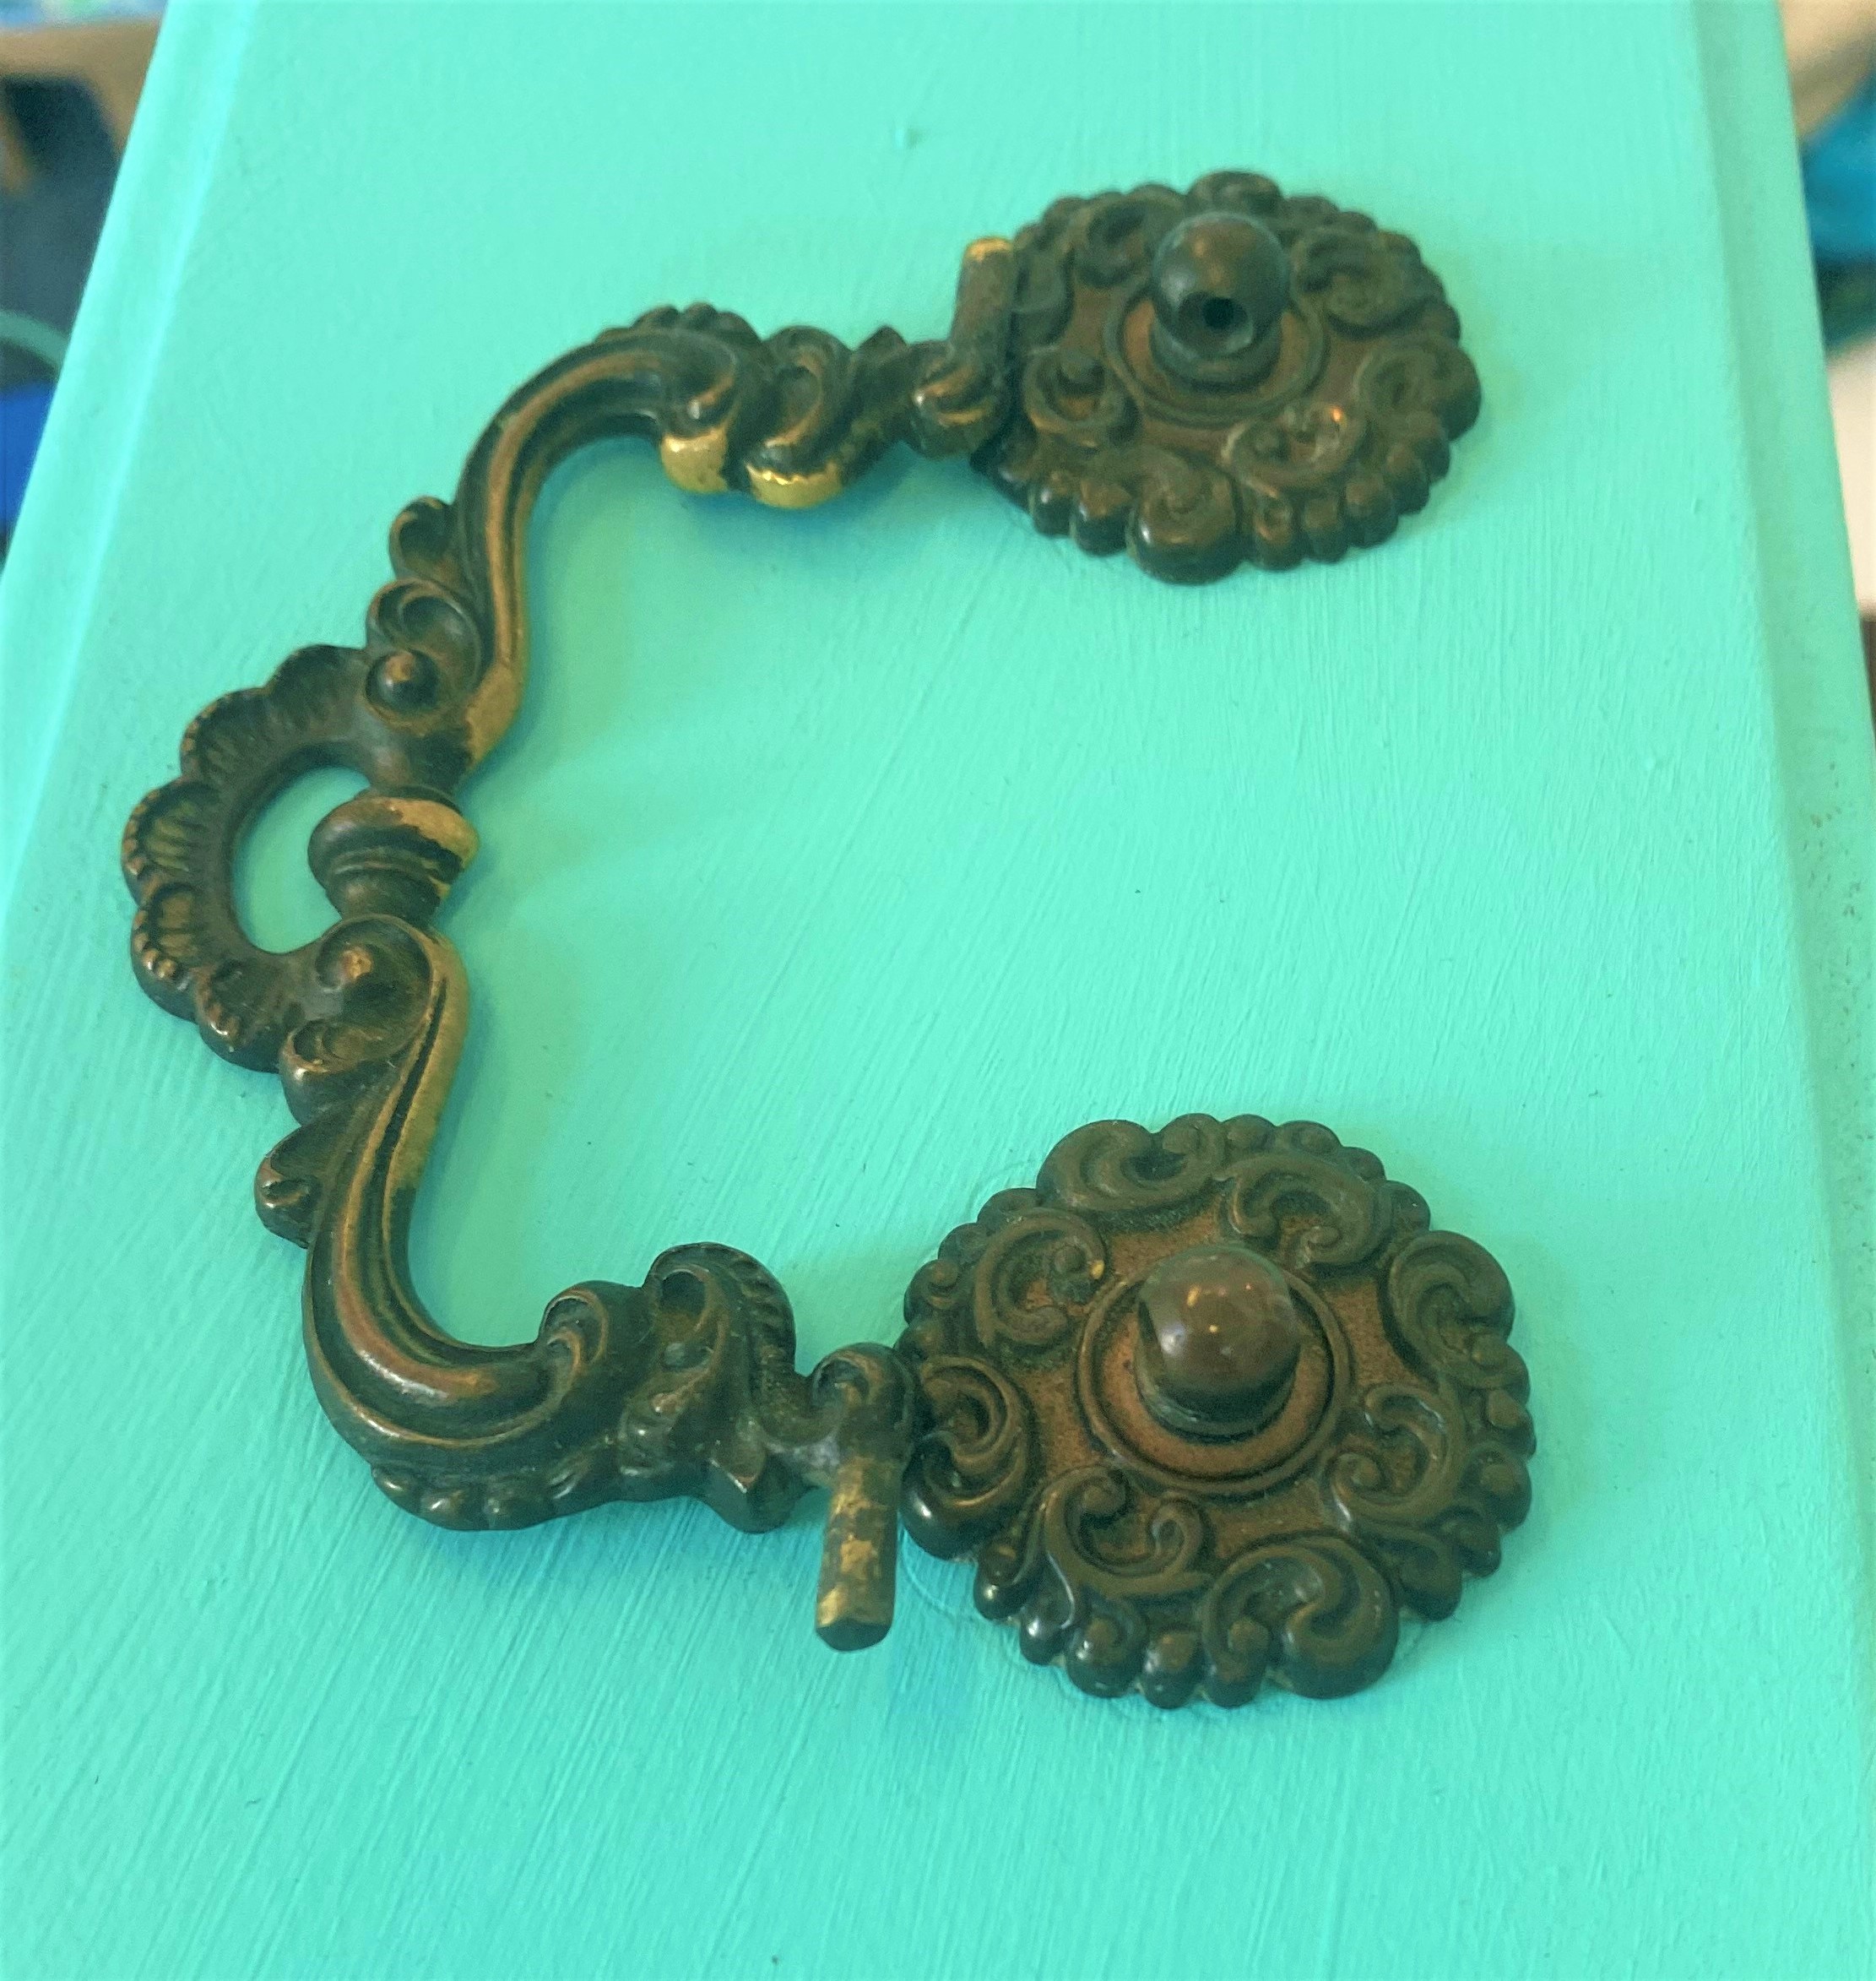
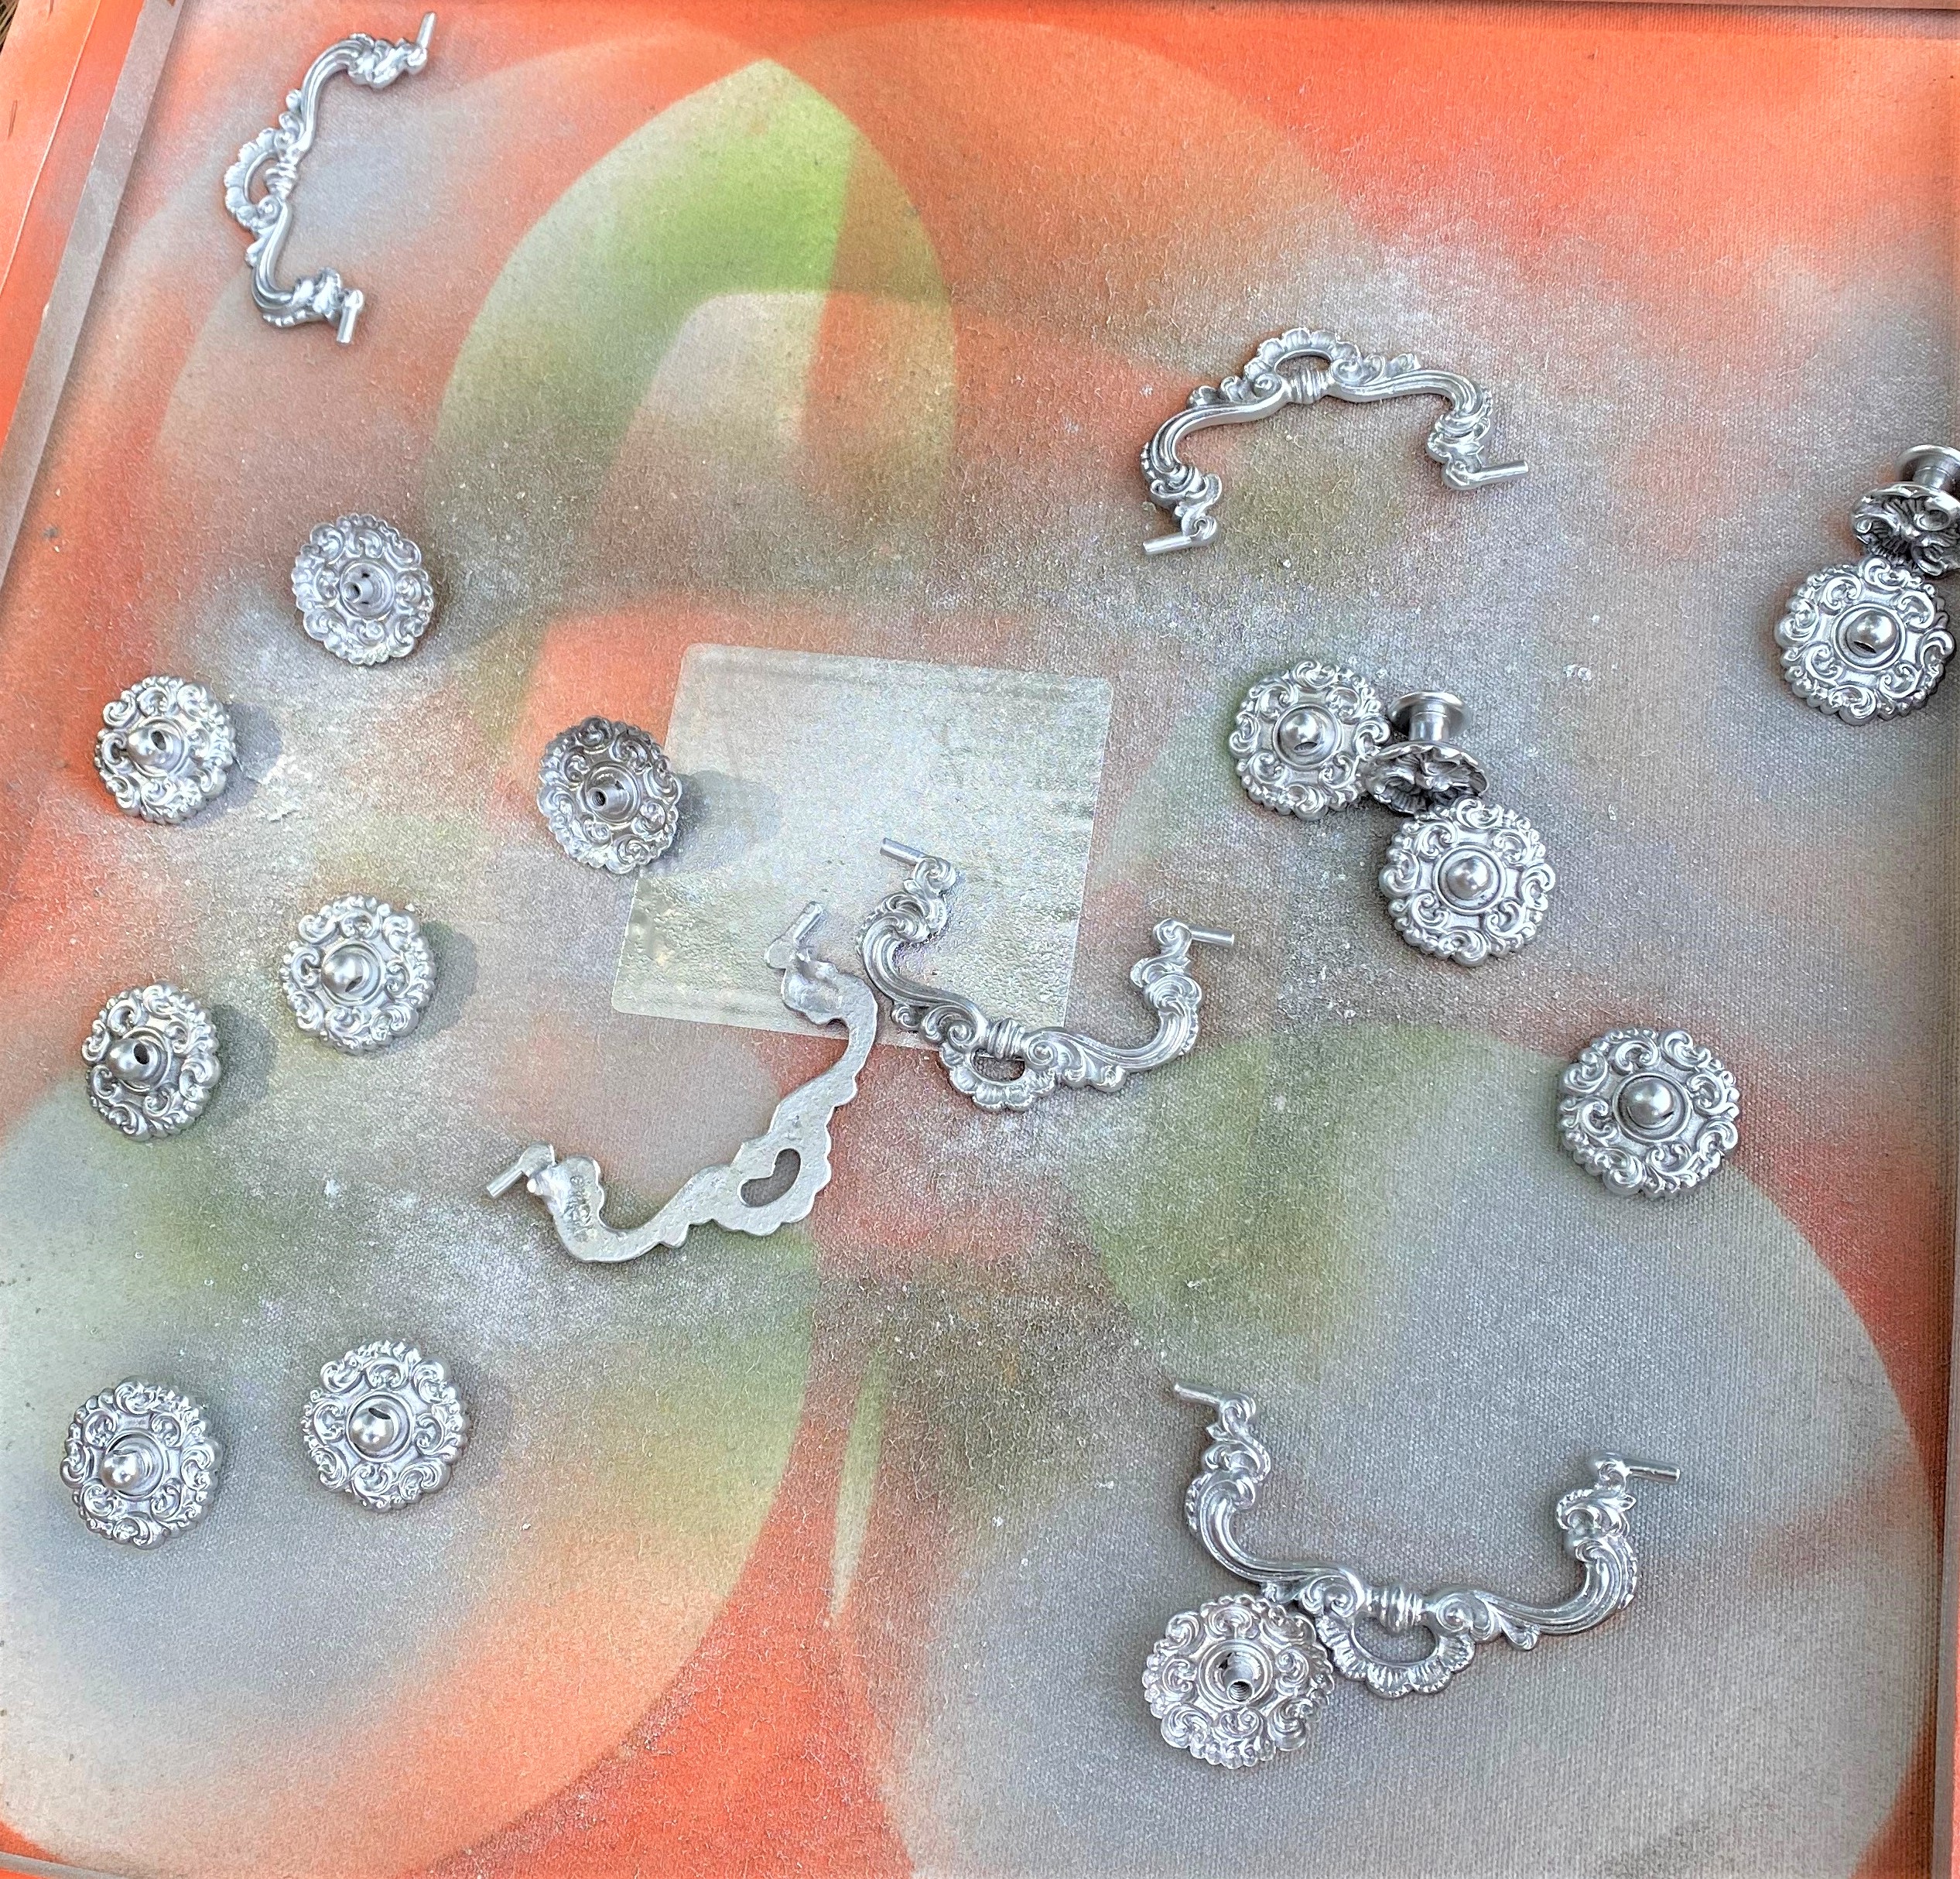
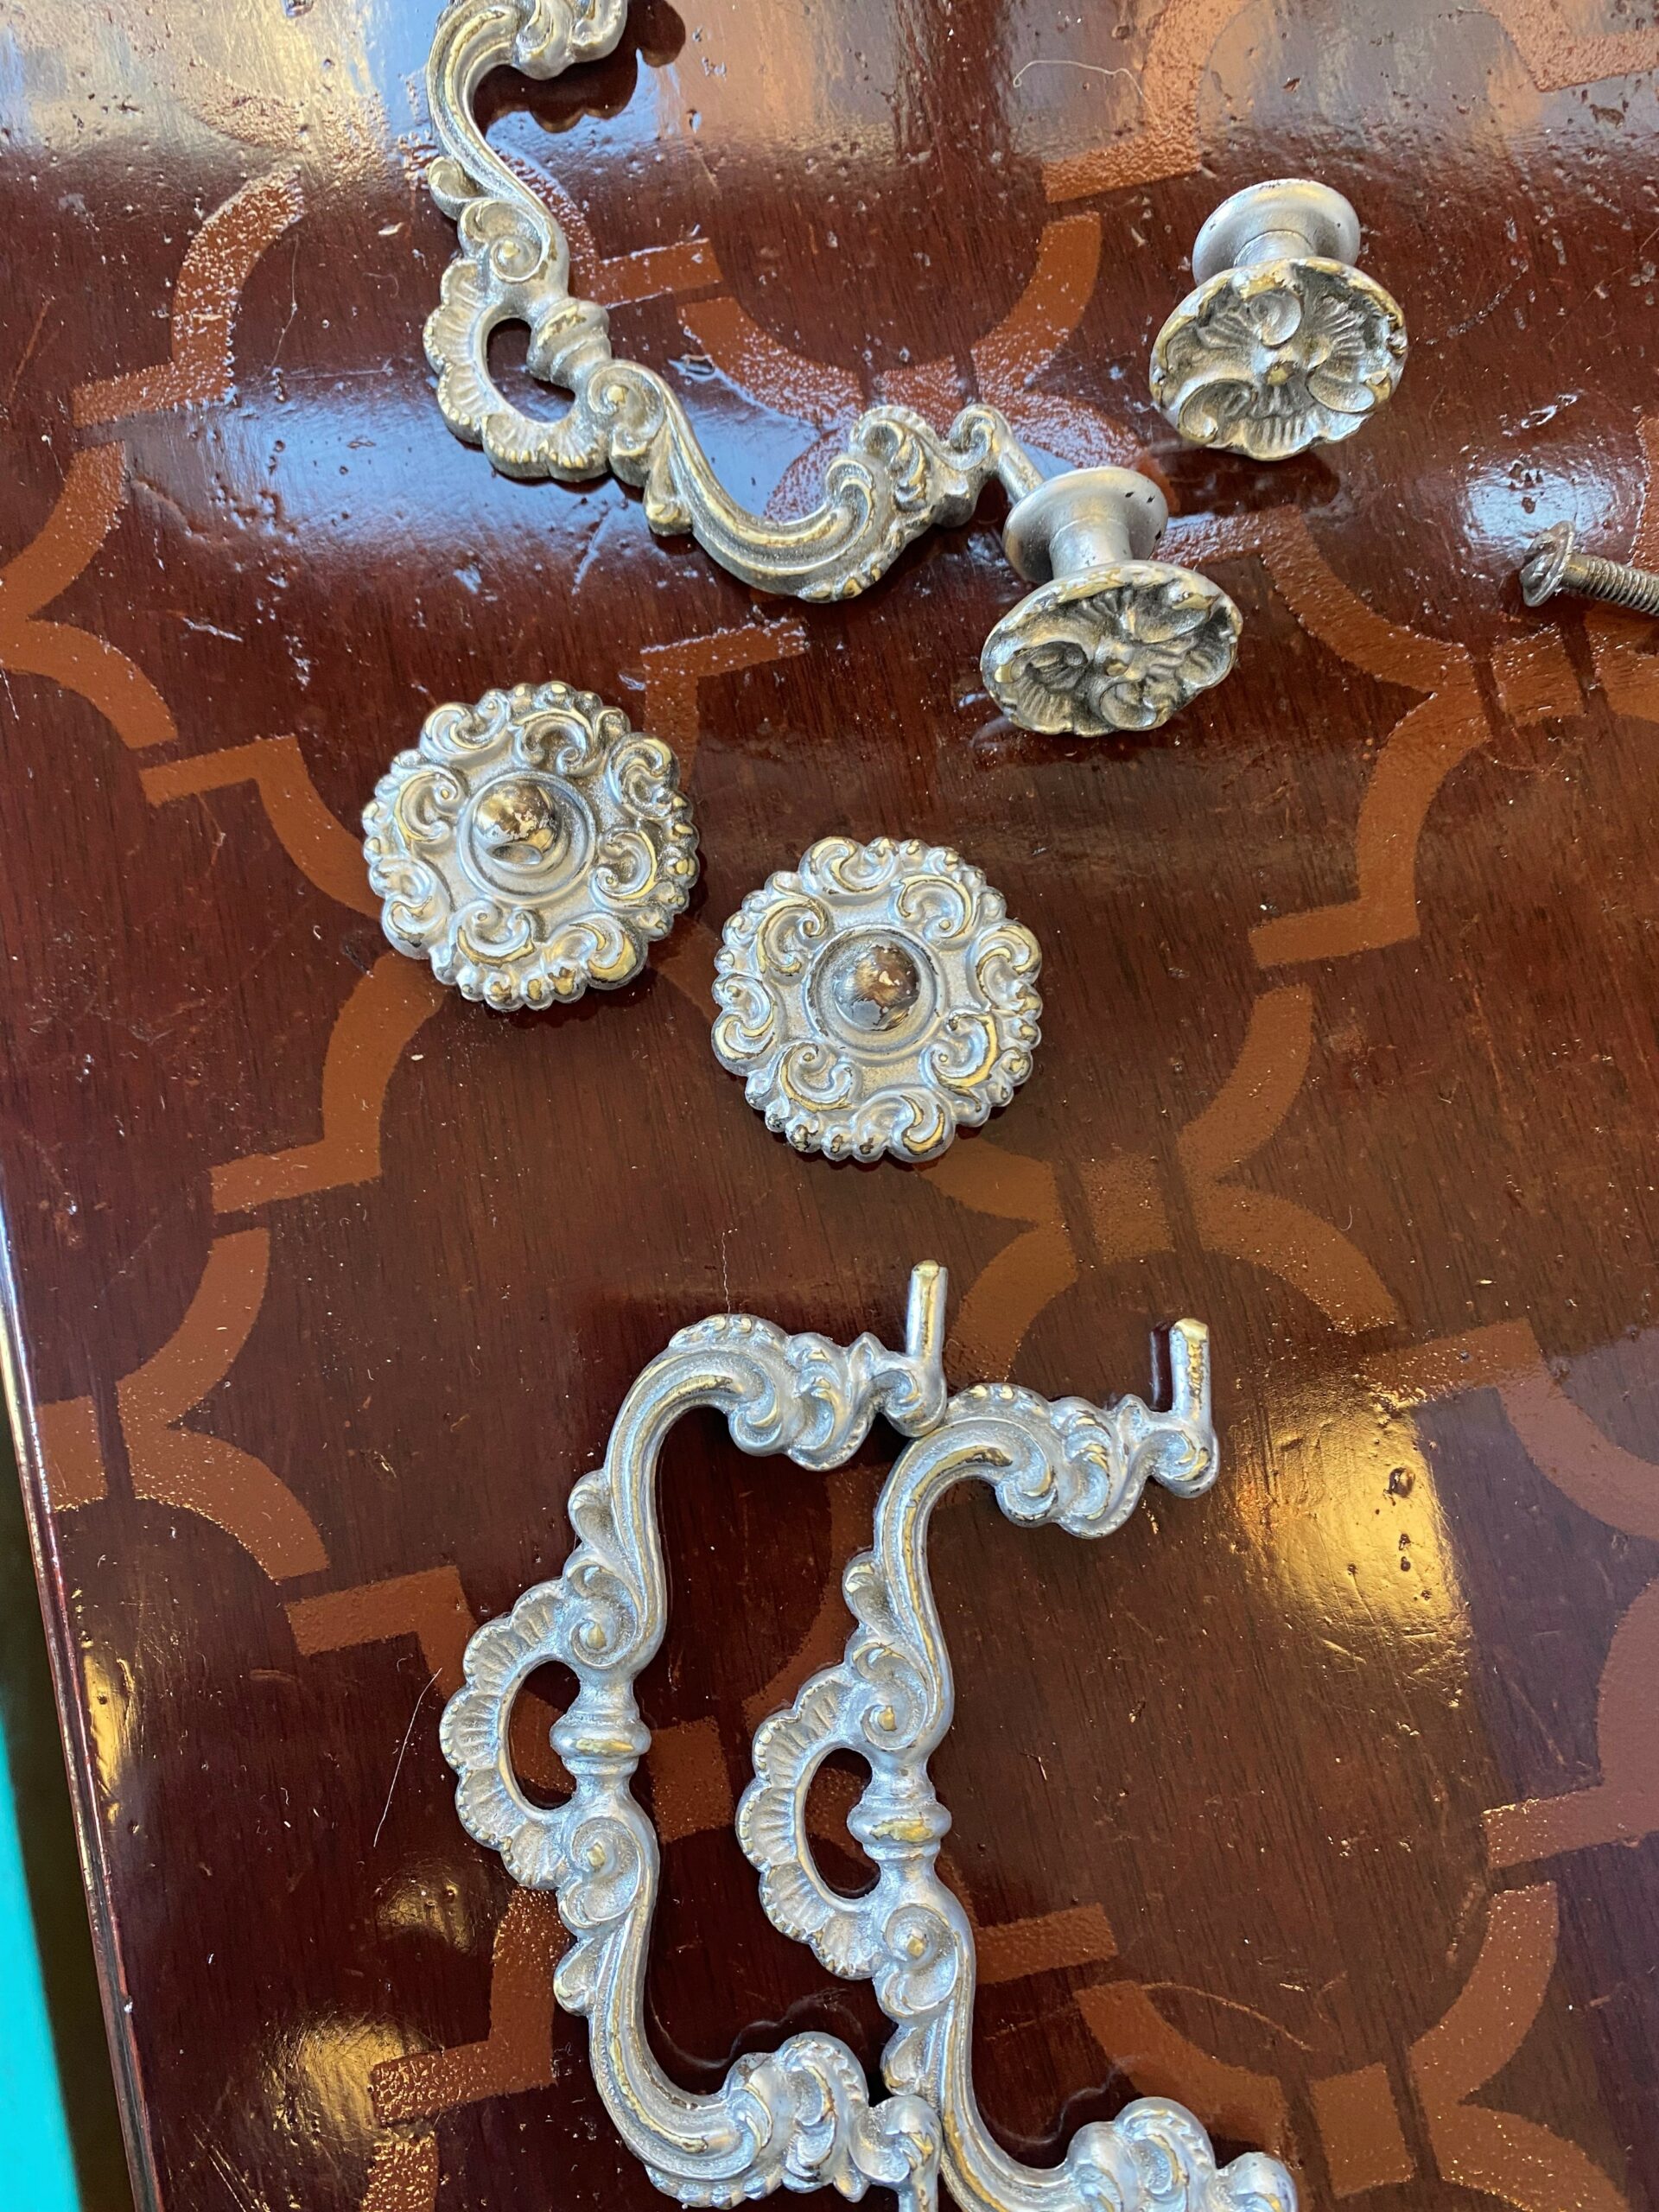
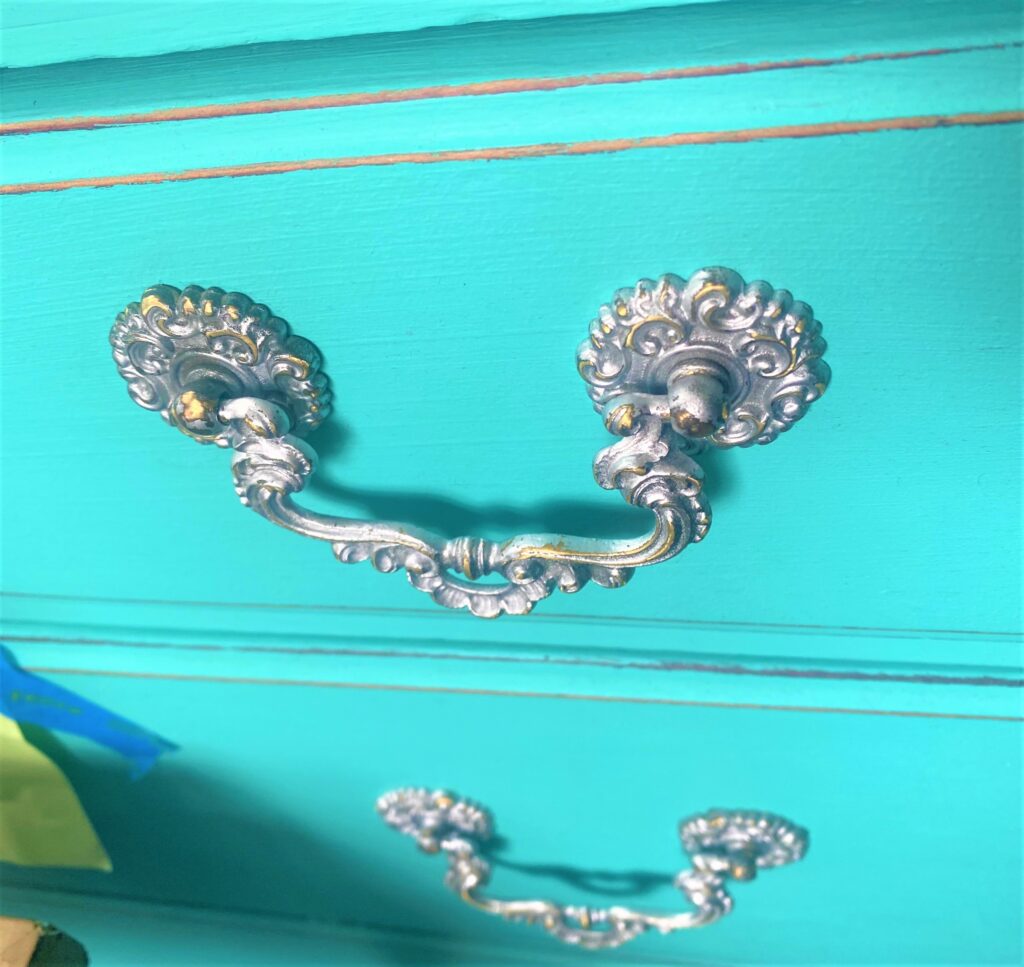
Step 7: Sparkle up the hardware
My preference is to reuse the existing hardware, if possible, because it is part of its history and you know it will fit into place when you put the piece back together.
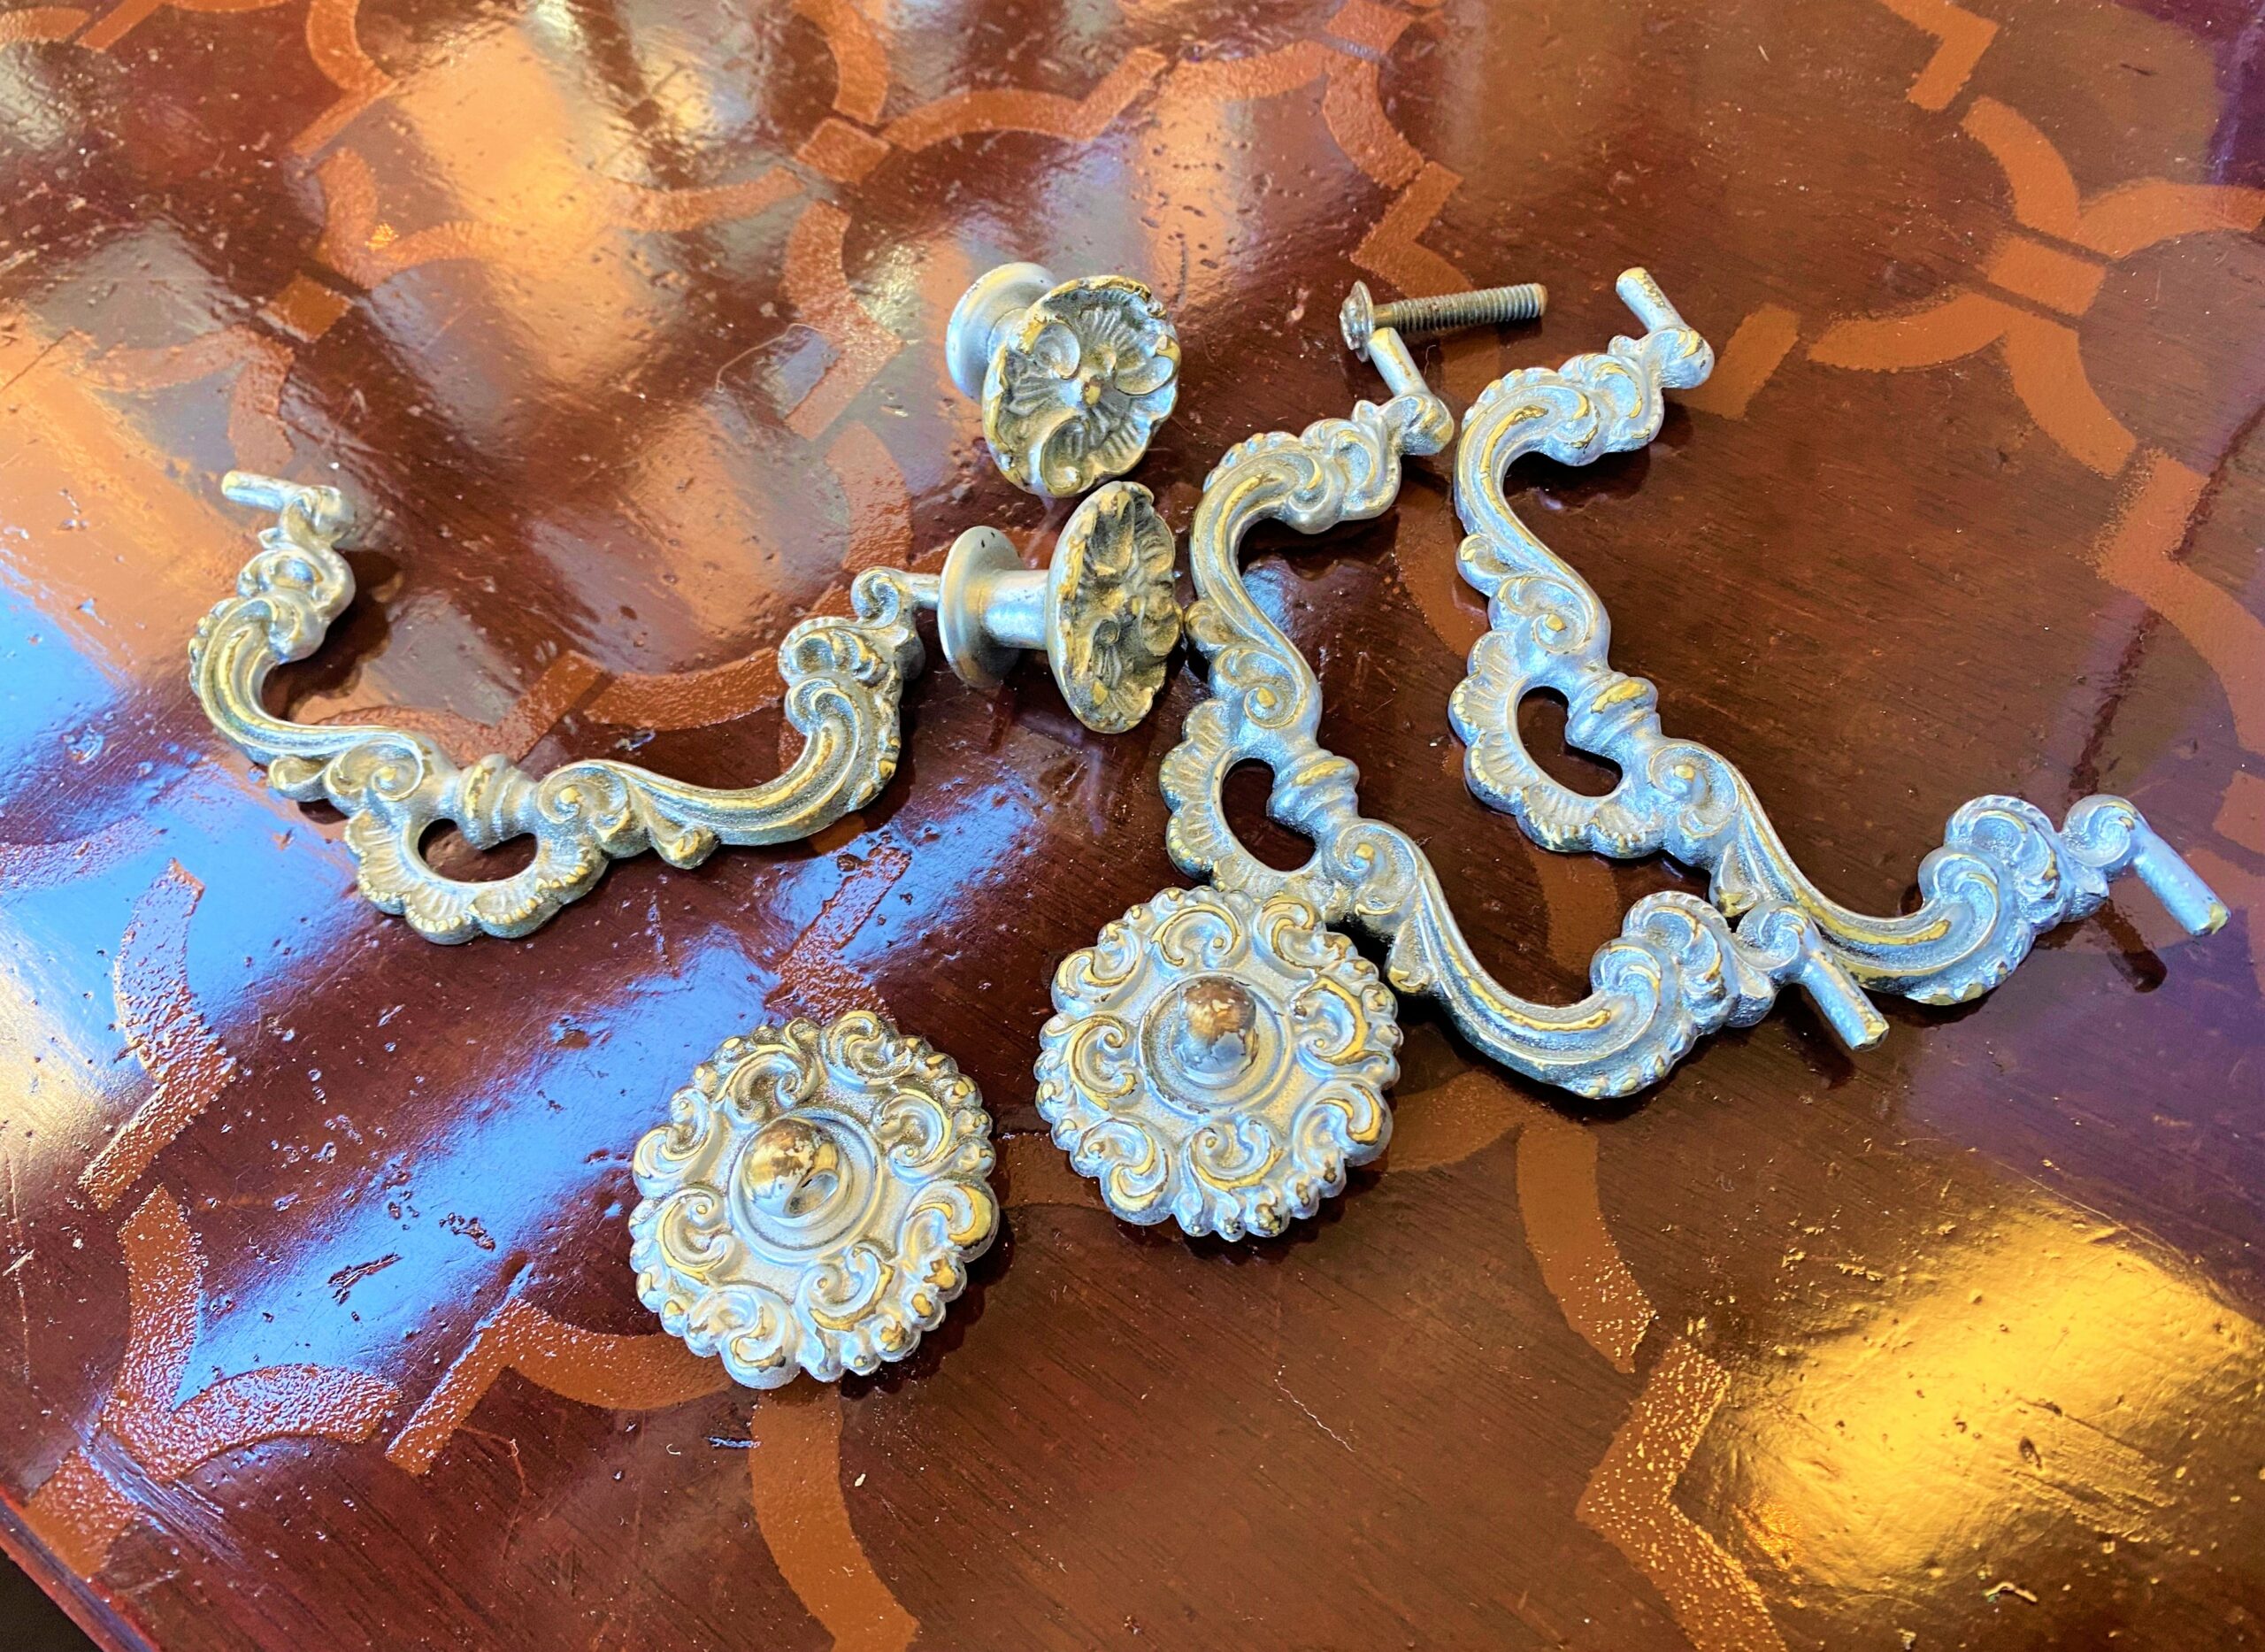
- Place your hardware collection on a drop cloth and add a layer of silver spray paint.
- When dry, gently distress each piece, too, by helping to remove some of the silver paint to allow the original tones to show through.
- As you are able to see, you can make your old hardware look like jewelry with some shimmer and shine! Bling it on!
Step 8: Wax on, wax off
If you go the route of using chalk paint, it is strongly recommended that you use wax to protect it rather than polyurethane given the composition of the paint.
- With a damp cloth, apply a thin layer of furniture wax on top of each part painted with the chalk paint.
- Allow the wax to dry overnight then return to your piece and use a clean, dry (not damp at all!) cloth to rub and remove any access wax. This step will help to buff up the wax, too, and give it a nice satiny finish. It does require some elbow grease and lots of clean cloth, so plan accordingly.
- After this rub down, let the piece dry for several days so the wax may cure and harden up nicely.
Step 9: Ready to rock & roll and reassemble
Return the hardware pieces to their original home on each drawer. Put each drawer back in its place. This step is almost as rewarding as the painting steps because it is putting the icing on the cake or the cherry on top, as it all comes together beautifully.
Step 10: Place to please
Place your teal-toned, stylish stenciled dresser in your bedroom.
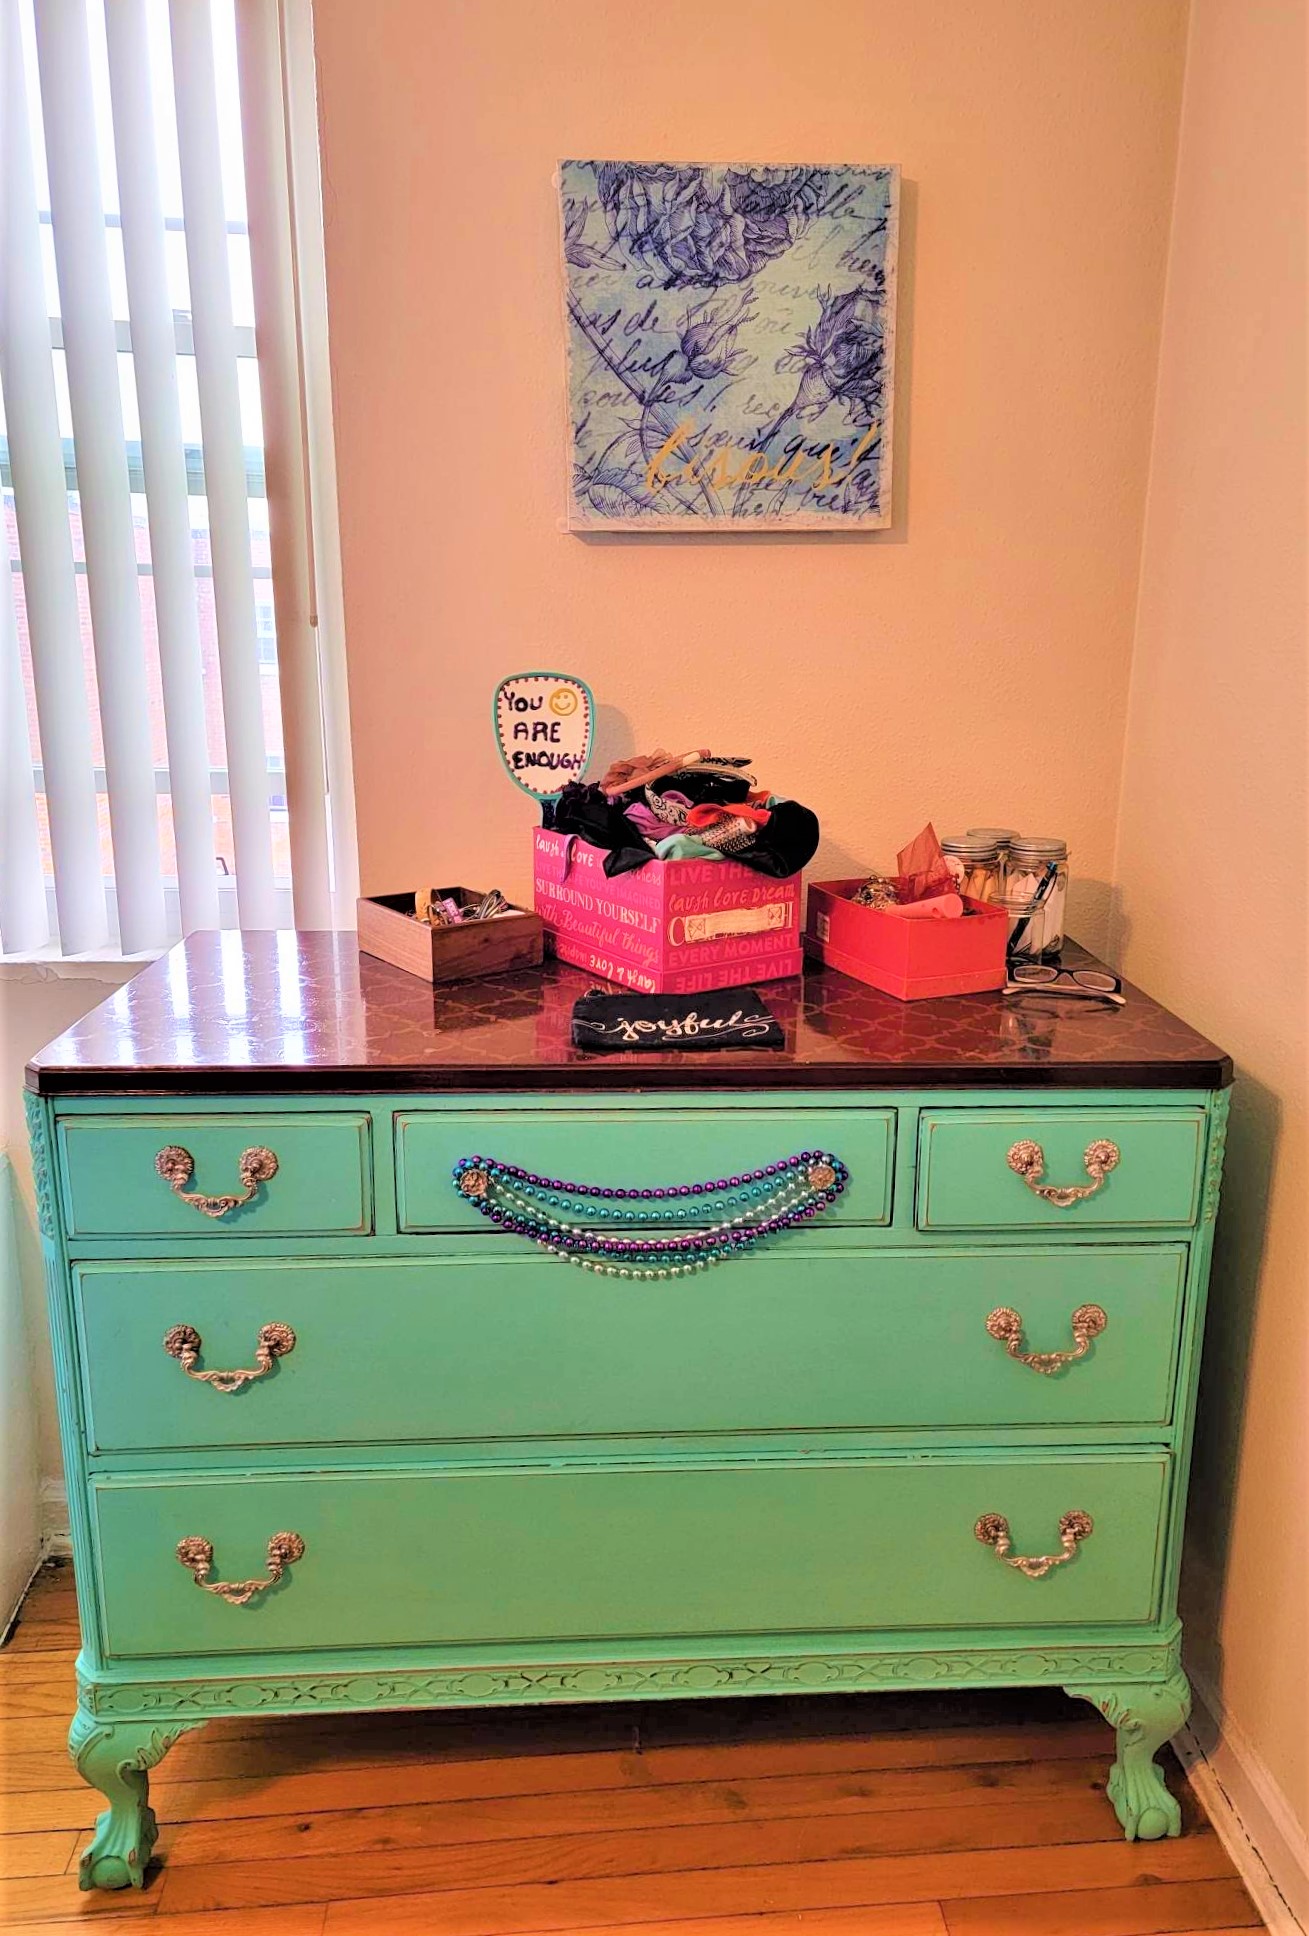
Add a small lamp and some simple accessories.
Fill each drawer with items you love so each time you use it you feel joyful.
You will feel so excited that you took the time to transform a piece that will be part of your home life for many moons to come!

Tim Kime
Artist, Motivational Speaker, Life Coach


