Welcome Spring with Seasoned-Inspired Painted Pieces
Transform weary, worn out pieces with Spring colors that will have you blooming with excitement! No matter the time of year or what the weather looks like outside, these colorful DIY projects will always look fresh and feel vibrant.
Level: Teens and adults
Items needed:
1. Desk, small shelve, window sash
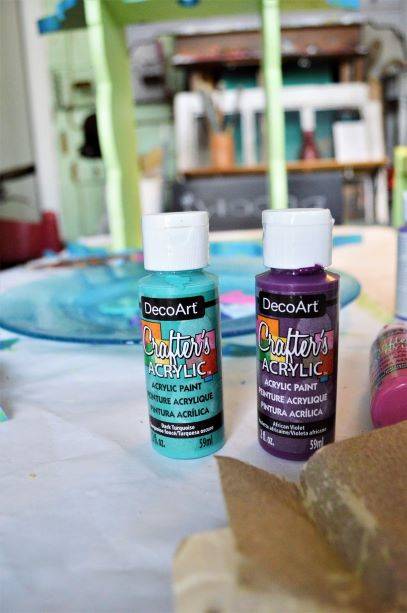
2. Paint in various spring tones—greens, pinks, blues, purples, whites
3. Paint brushes
4. Sandpaper
5. D-Shaped picture hooks
6. Drill
7. Screw driver
8. Add-ons (tea cup hooks, knobs, handles, clothes pins)
Time requirement: 6 hours for desk, 2 hours for smaller pieces
Cost: $30 for desk; $15 for smaller pieces
- $15 for desk
- $3 for small shelf
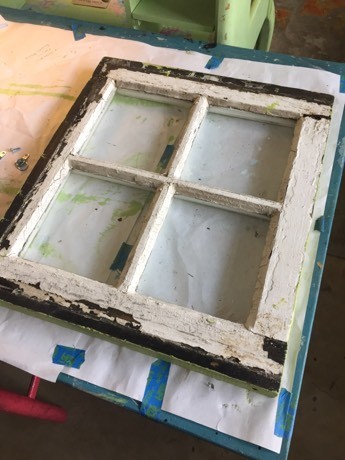
- $10 for window sash
- $10 to $20 for paints (with oodles left over for additional transformations!)
Step 1: It’s Spring cleaning time — so lots of great items at Goodwill waiting for you!
Borrow a friend’s mini-van, rent a truck or put it on your roof rack!
During this time of year, many folks are starting their spring cleaning, clearing out unwanted items and donating them to Goodwill. That means there are so many cool and fun items perfect for this project!
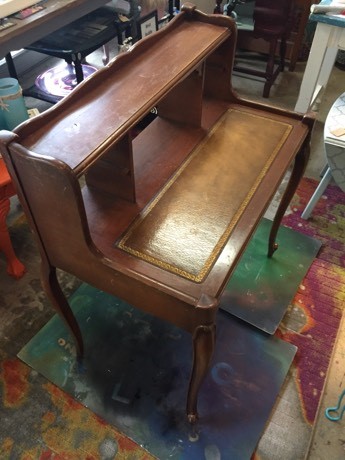
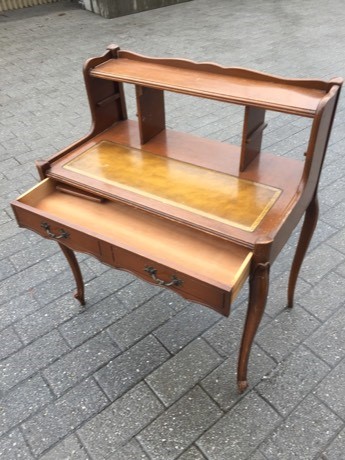
With any furniture piece, look for your good at Goodwill and for items with interesting lines and shapes to highlight.
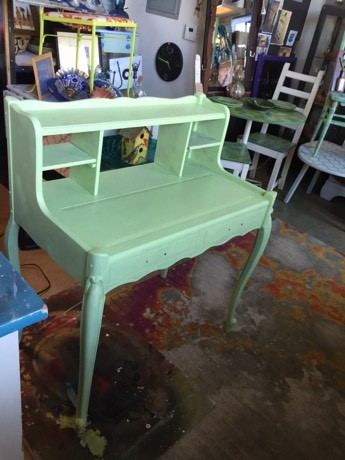
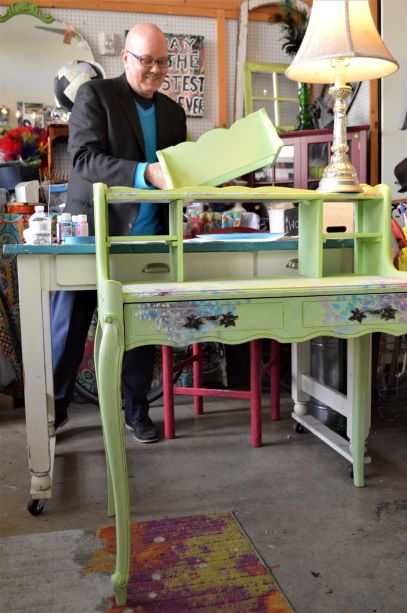
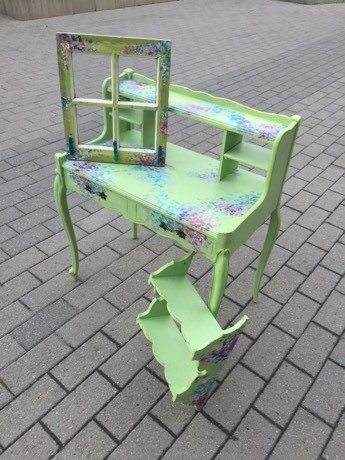
Items made of real wood pieces and parts are always good choices. The desk for this DIY had interesting legs, and nice storage nooks on top with a scalloped edge that made it very welcoming looking.
The small shelf had fun curves while the small window sash’s size was charming all by itself.
A suggestion: when you purchase your items at Goodwill, always “round up” to the next dollar so that extra change will be donated to support their life-changing and life-transforming efforts!
Step 2: Prep for painting
- Once you’ve found your piece, remove any hardware and lightly buff each item with sandpaper.
- Wipe it all down with a damp rag to remove dust and ensure a clean slate on which to start your transformations.
- Place on a drop cloth or tarp and let the fun begin!
Step 3. Select your color pallet
A happy green apple color was used for the base hue for these upcycled pieces. Given they are relatively small (even the desk looks “light” because of its sleekness), there was no need to hold back when it came to bright colors, so that they make wonderful accent pieces. Also, some of the first things to pop up in the garden are this hue.
- With a paint brush, add a light paint layer on your entire piece.
- Let dry. Don’t worry if it is a perfect coat or not as two more layers will be added for solid coverage.
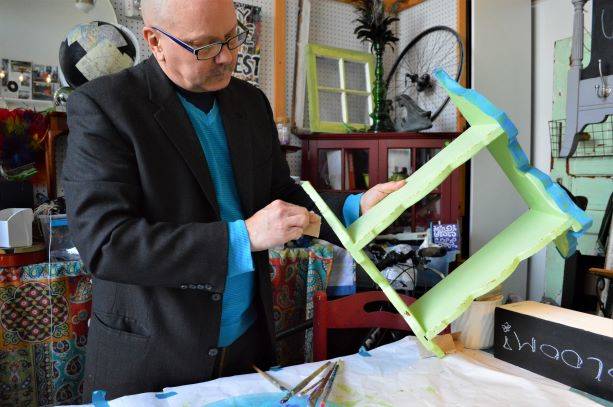
- After your items dries, turn it on its side and add another layer, then repeat as needed, flipping it over and over. This process will ensure your piece is covered from all sides. (However, for the window sash, I wanted to keep the white along the inside of the frames for added visual interest so only the top and outer edges received this green toned paint.)
Expert Tip: You don’t have to wash out your paint brush in between each step. Knowing that you will return to that color and use the same brush, place it in a plastic bag and wrap it tightly to keep out air. This will save time and water.
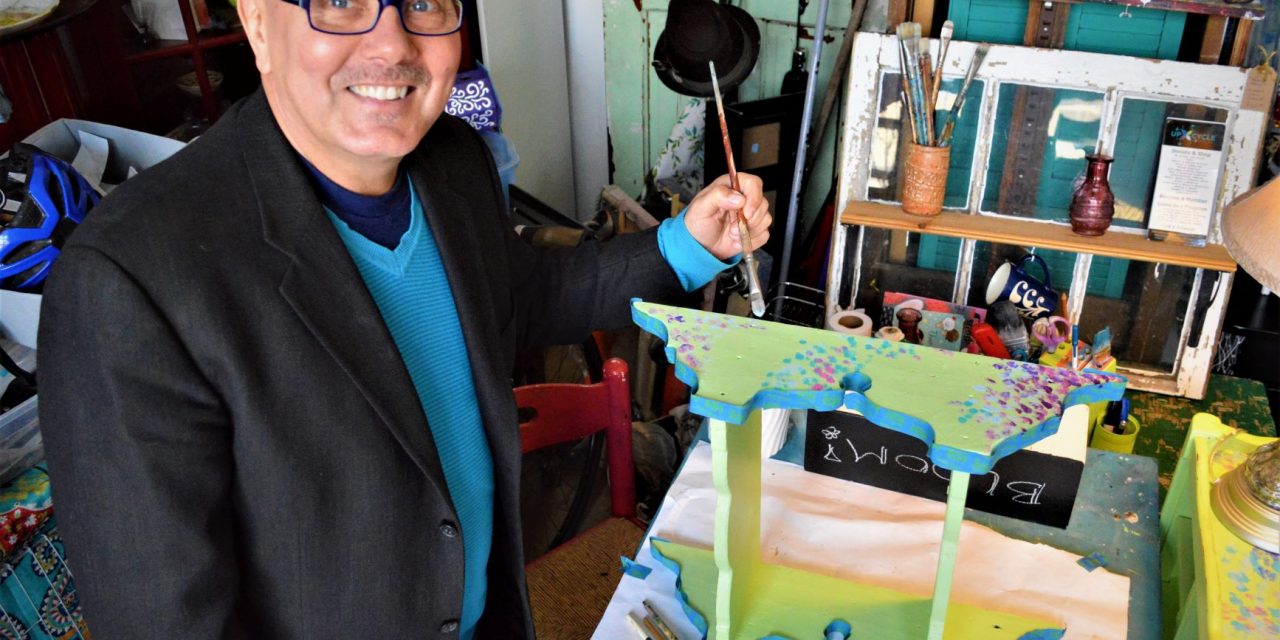
Step 4: Dab on the design
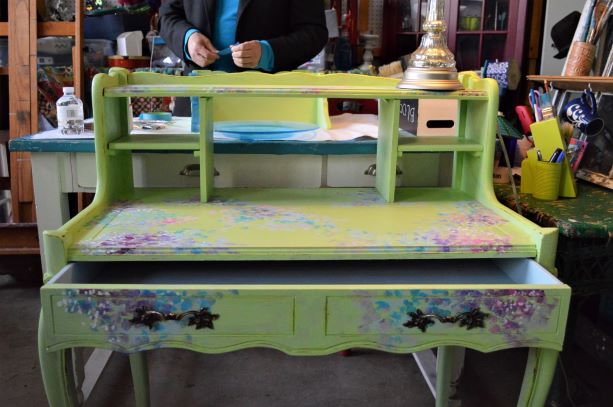
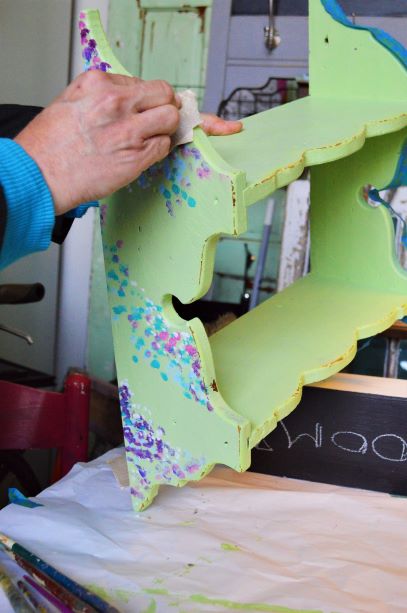
To me, nothing speaks Spring, flowers and gardens more than the paintings of impressionist painter Claude Monet. Inspired by his works, I chose craft paints in shades of blues, pinks and purples with a creamy white.
- Starting with one color, dab your brush on various parts of the surface. Think of the top of the desk (or the sides of the shelves and front of the sash) as your canvas. Don’t over think this step; just have fun and ensure you dab parts of the first color in clusters with it appearing to go off the edge. You will want it to resemble Azalea, Lilacs or Wisteria branches.
- Grab another small paint brush and continue with a new color. As you do so, you may blend the colors which makes it look even more impressionist-like.
- Continue with your handful of colors.
- Have fun! The last dabs were with a very small paint brush using the creamy white to highlight edges and help to connect the various floral shades.
Design Tip: With one of your accent colors, paint the inside of your drawer. Give it a coat or two. You will love the pop of color each time you open it up!

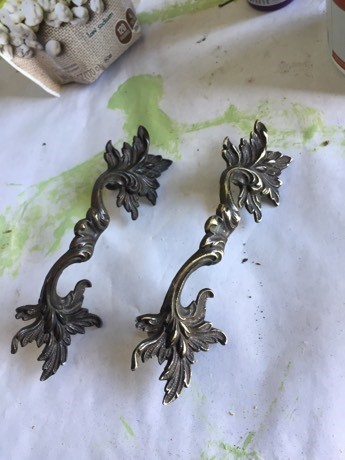
Step 5: Buff up your handles and distress the edges
Based on the hardware that comes with your pieces, you might want to bring it back to life. One easy way is to use sand paper to uncover the metal tones below the tarnish. Sanding will bring out a shine along highlighted areas. Wipe down and secure back in place with a screw driver.
- Following the same process, gently sand the edges of your piece to bring out the wood underneath your paint layers.
- To make it look properly distressed, only do so along edges that would naturally get worn out by use.
- This simple step will add additional lines and intrigue to your piece. Also, by distressing, any imperfections in the base paint coats or any funky dabs with your accent colors, adds to its visual charm.
Step 6: Poly protects
- After your piece has dried overnight, wipe it down to remove any dust from the distressing.
- Using a satin or semi-gloss polyurethane, brush on a coat or two to protect your pieces from finger prints, water stains and dirt.
Step 7: Add picture hooks and more
- For your shelves or window sash transformations, use D-shaped hooks to hold them securely in place.
- Use your drill to make holes and attach with your screw driver. So easy!
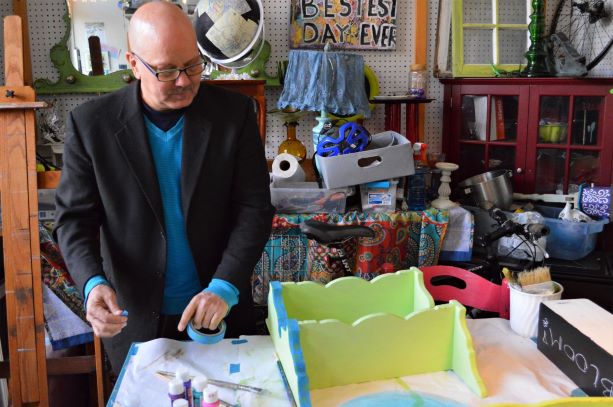
- For additional storage options, add tea-cup hooks, small knobs or even clothes pins to these pieces.
- I was so excited when I discovered I had three teal-colored clothes pins that matched perfectly with the dabbed-on design. These were secured in place using small screws.
Step 8: Now the big challenge: where to place your pieces
While you may want to place these pieces outside in your garden because they look so inviting, I encourage you to resist that option :).
Once completed, you can use your creation in a variety of spaces:
- Place in the corner of your living room as it will be sure to attract attention and spark conversation.
- Place in your kitchen as a set so that no matter where you in that room, you will see these inviting pieces.
- Or maybe a bedroom?
- What about your home office to add some charm?
There are SO many options on where to place your art with one guarantee: you will be blooming with pride and joy with these impressionist and Spring-inspired pieces!


