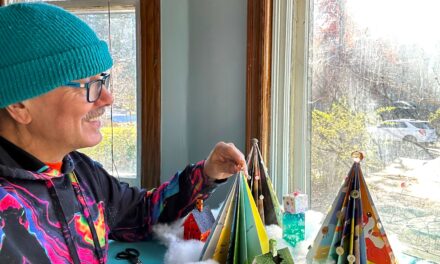
Reflecting on what to gift to give this year? Here it is—a transformed, embellished mirror that reflects the interests and personality of that special person on your list. Take a ho-ho humbug mirror and turn it into a fa-la-la-la-la fabulous piece that will be remembered long after the holiday season. And a fun mirror is something that kids of every age will enjoy receiving, using, and showing off!
Ability level: Moderate
Age Level: Ideal for those ages 10 and older; care is needed when using the glue gun and spraying paint
Items needed:
- Framed mirrors
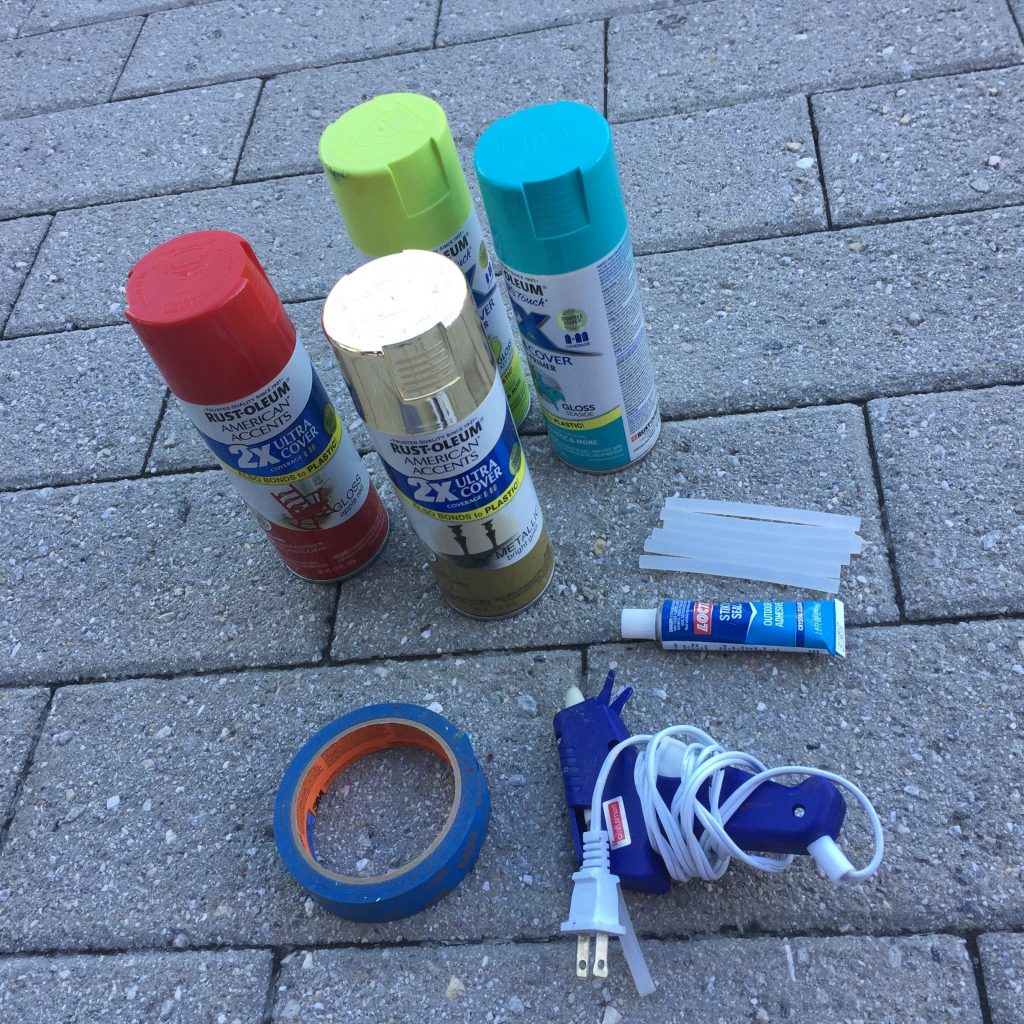
- Cans of spray paint
- Glue gun & glue sticks
- Painter’s tape
- Paper bag or newspaper
- Embellishment items (shells, plastic dinosaurs, puzzle pieces, toy cars; buttons and plastic flowers, plastic army men and game pieces are great options, too)
Time requirement: 1 hour not including paint drying time
Cost: Approximately $12 to $25 each, based on size
- $3 to $9 per framed mirror
- $4 for a can of spray paint
- $3 for painter’s tape
- $5 to $10 for items to embellish
- $3 for glue sticks
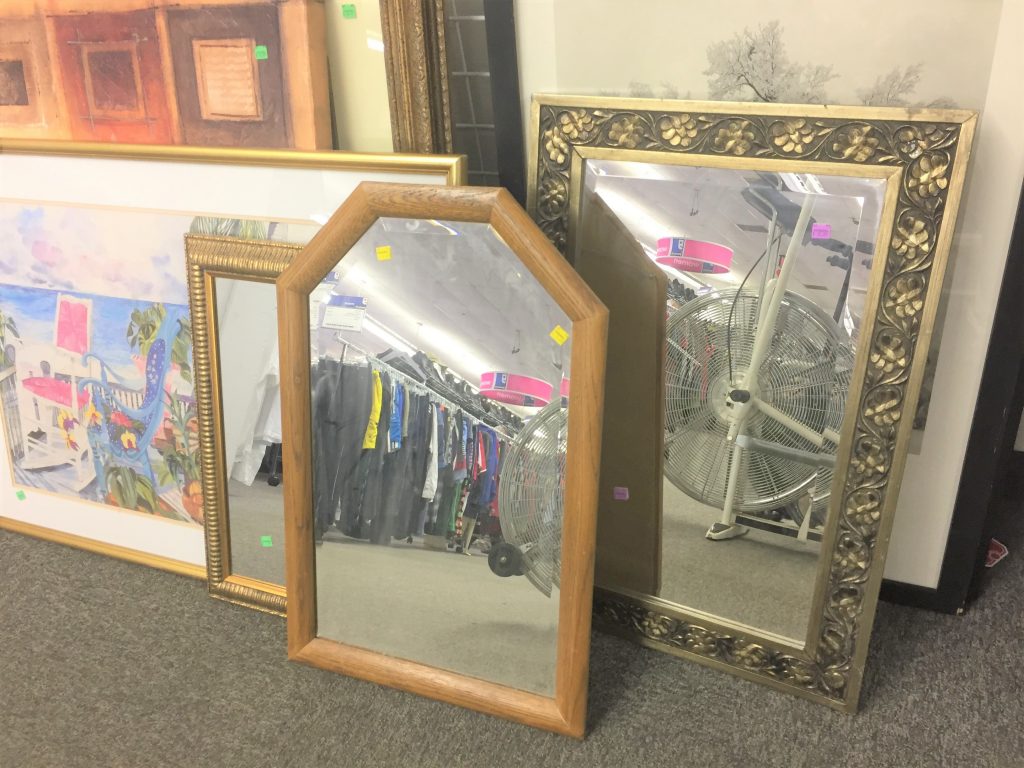
Step 1: Be Like Alice: Through the Looking Glass
For this fun project, any mirror of any size will work as long as it has a good solid frame on which to add your embellishments. With so many options at your friendly neighborhood Goodwill Retail Store, consider who will be receiving the mirror or where it will be used. For example, if you will create one for a child, then consider a mirror with a simple design as opposed to a mirror whose frame has lots of details. Mirrors often come in plastic frames; a personal preference are mirrors in wooden frames due to their more sturdy and solid feel. Also, find a mirror with a frame an inch or so to allow a good base on which to add your items.
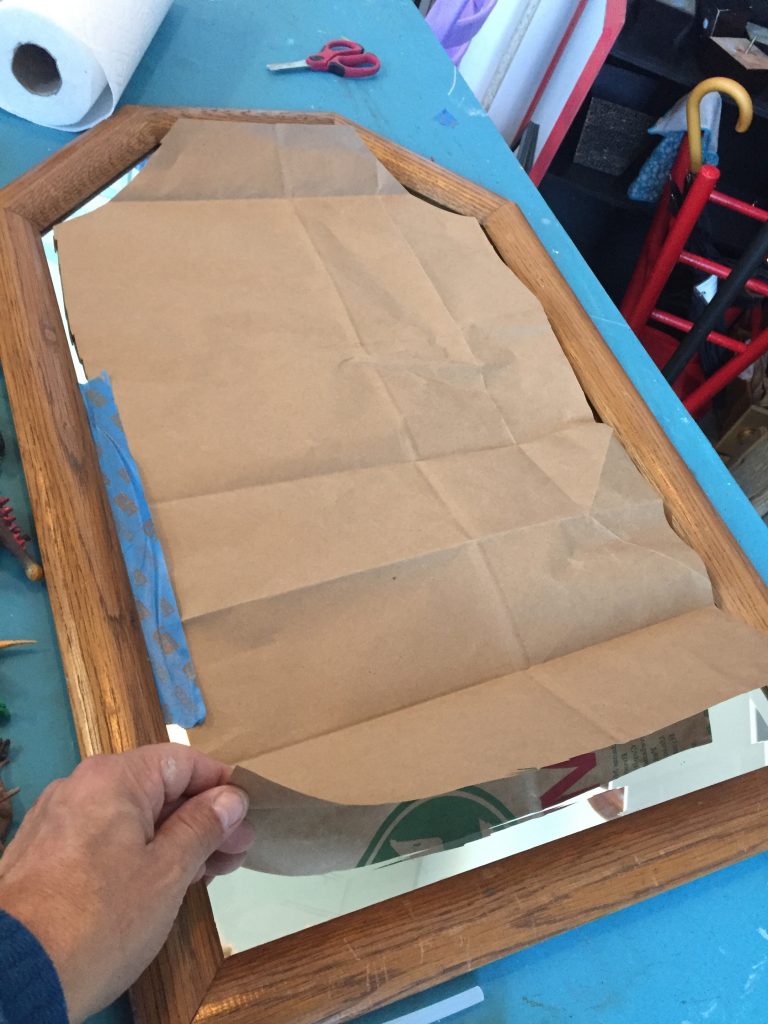
Step 2: Time to Tape!
After you have removed any price tags or stickers and cleaned the mirror, use your painter’s tape to protect its glass from the spray paint. Based on the size of your mirror, consider cutting a paper grocery bag apart (or use newspaper) and place in the center of the mirror. Tape it in place with the painter’s tape and ensure all the mirror glass is covered. Using the paper bag means you will need a smaller amount of the tape and will save time, too, because the bag will cover a larger area.
Step 2: Make Your Mirror Memorable
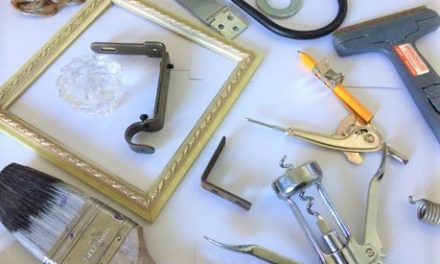
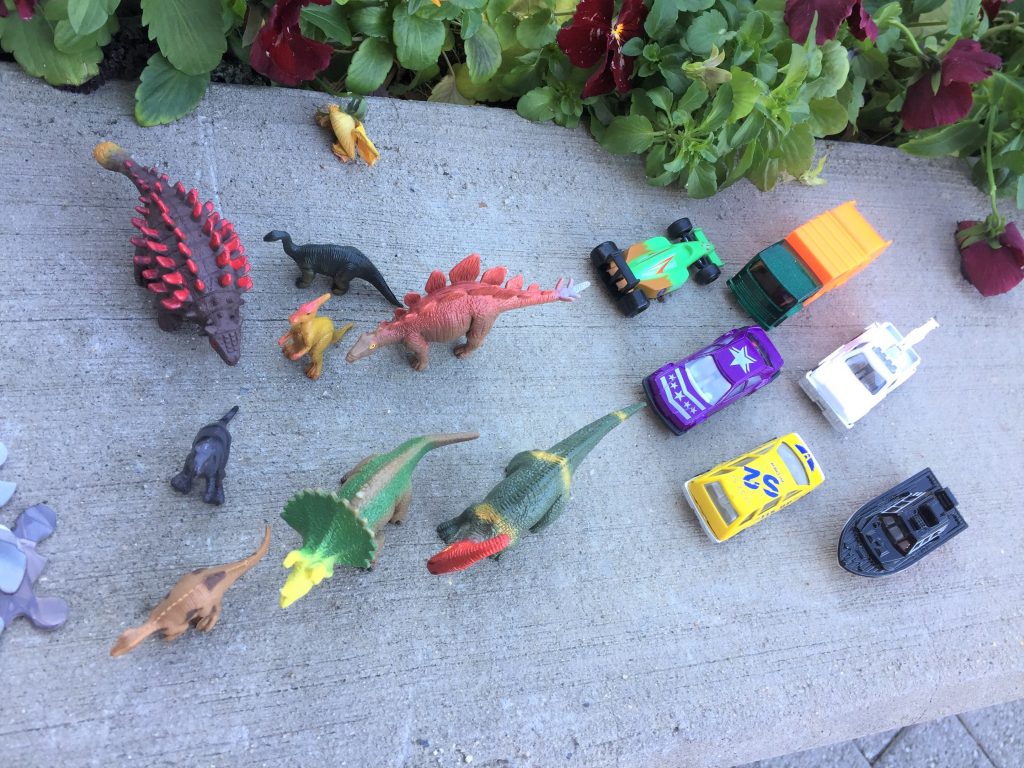
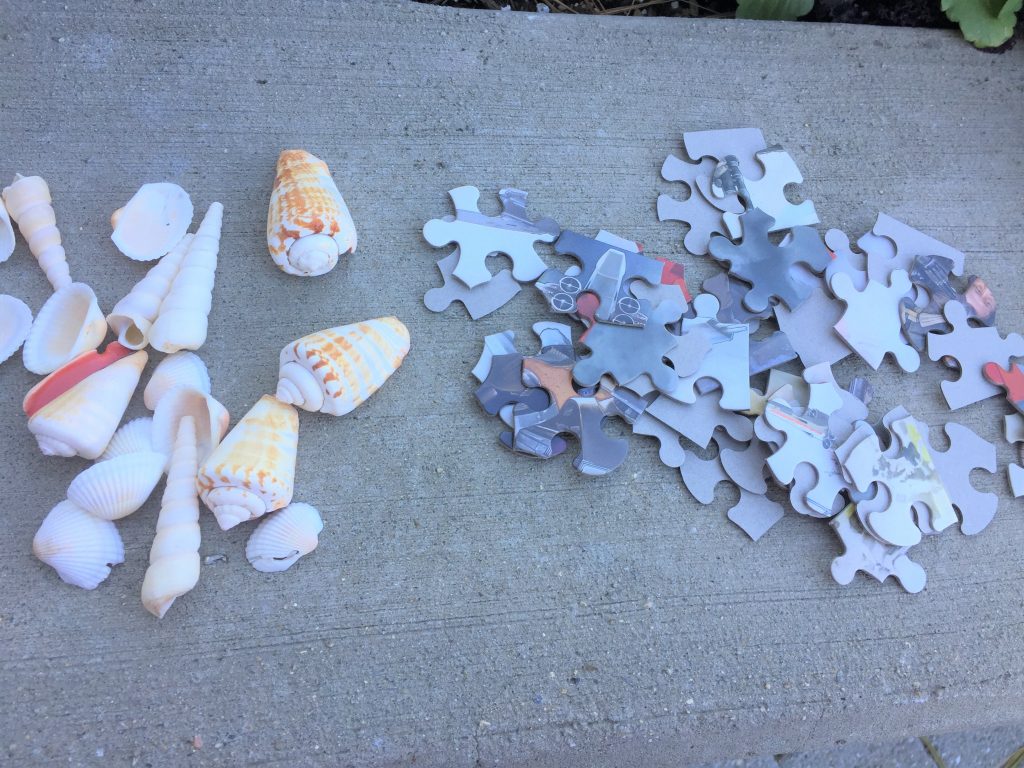
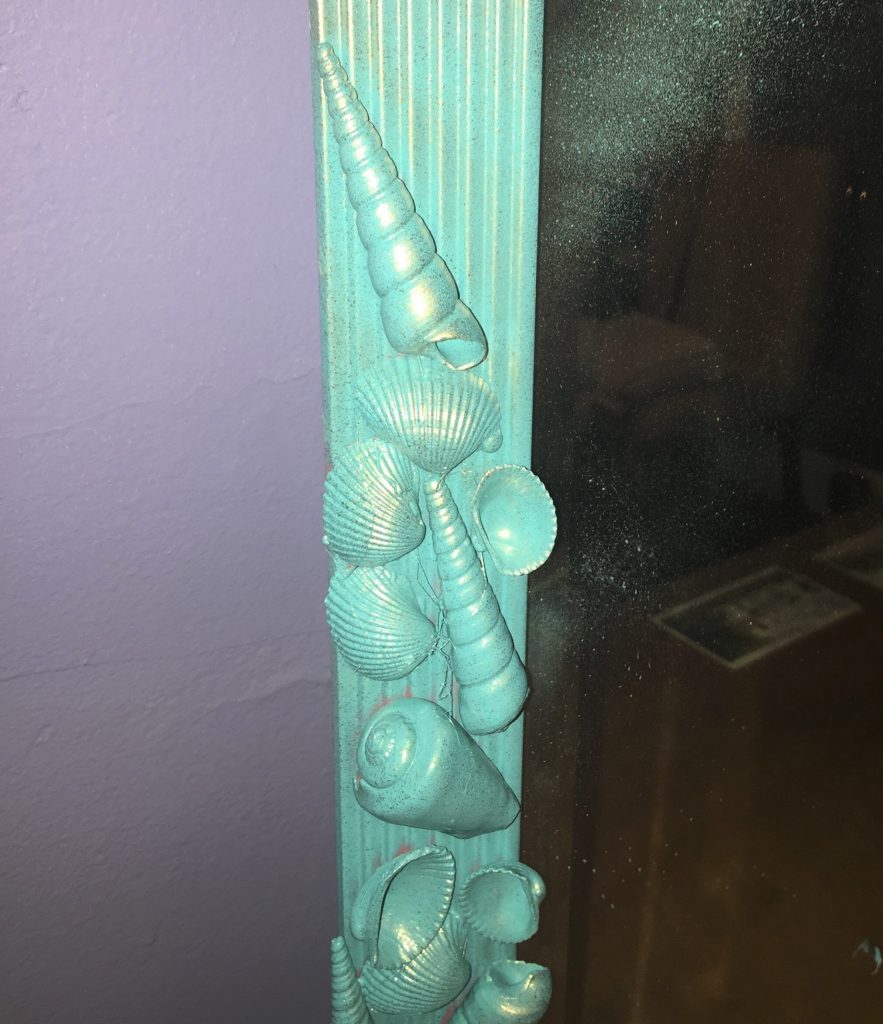
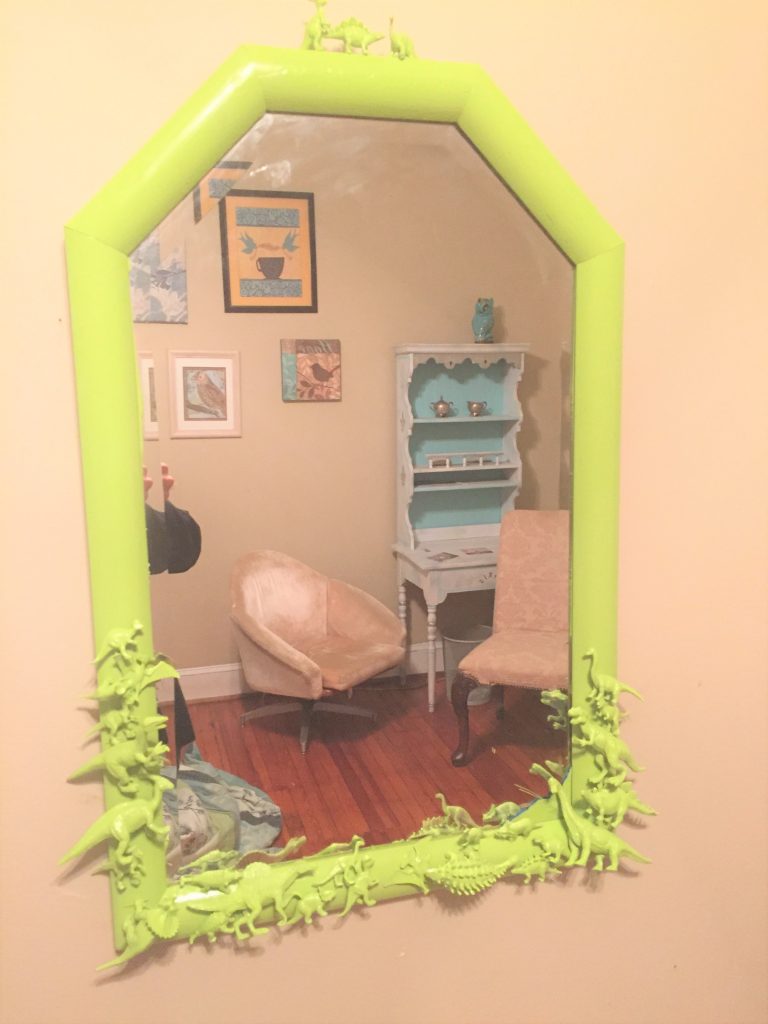
There are lots of items to add to the frame of your embellished mirror project that will make it one-of-a-kind. Consider who will be using the mirror then select items to reflect that person’s interest. I found most of my options at the local dollar store. Plastic dinosaurs, animals or toy pieces are great options for children. Maybe the person loves the beach? Use sea shells. Are they into playing games? Consider puzzle pieces, dominoes, Legos or chess pieces. You could even use nuts, bolts or small tools for a person into fixing things. Or what about adding silverware and cooking utensils for the person who loves to cook?
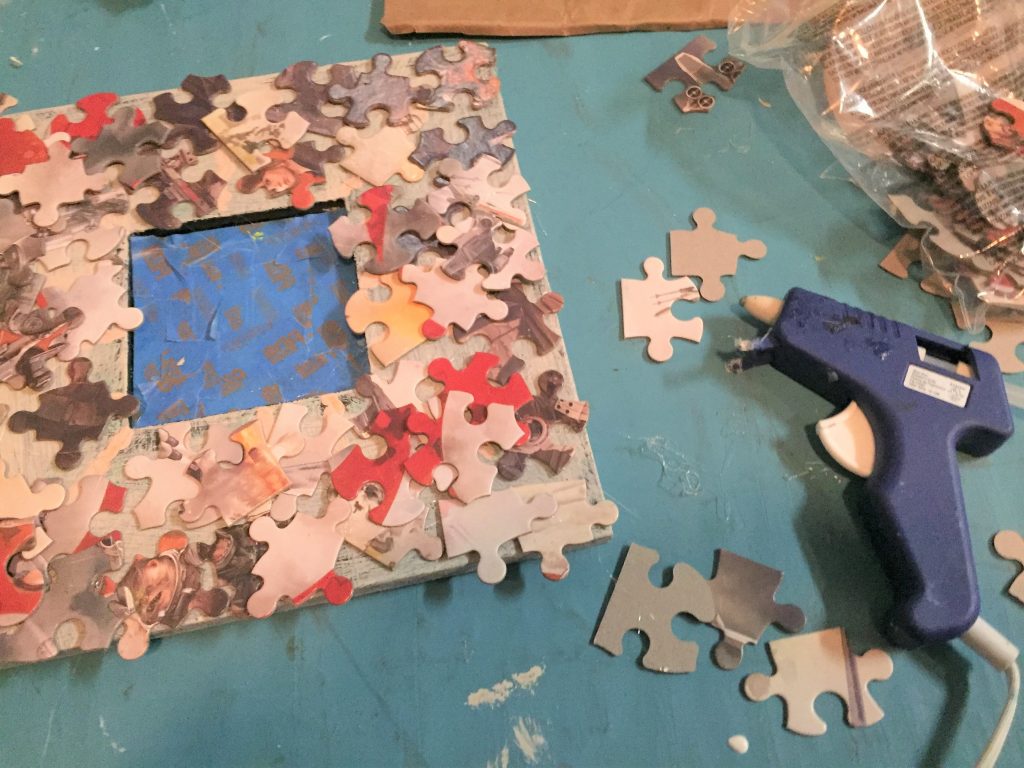
Once you pick your item, then arrange on your mirror in a pleasing way. Based on the size of your mirror, you might want to cover the entire frame. When you come up with the design you like, then use your glue gun to carefully adhere your pieces. After you are finished gluing, take a moment to remove any of the glue “strings” created from using the glue gun.
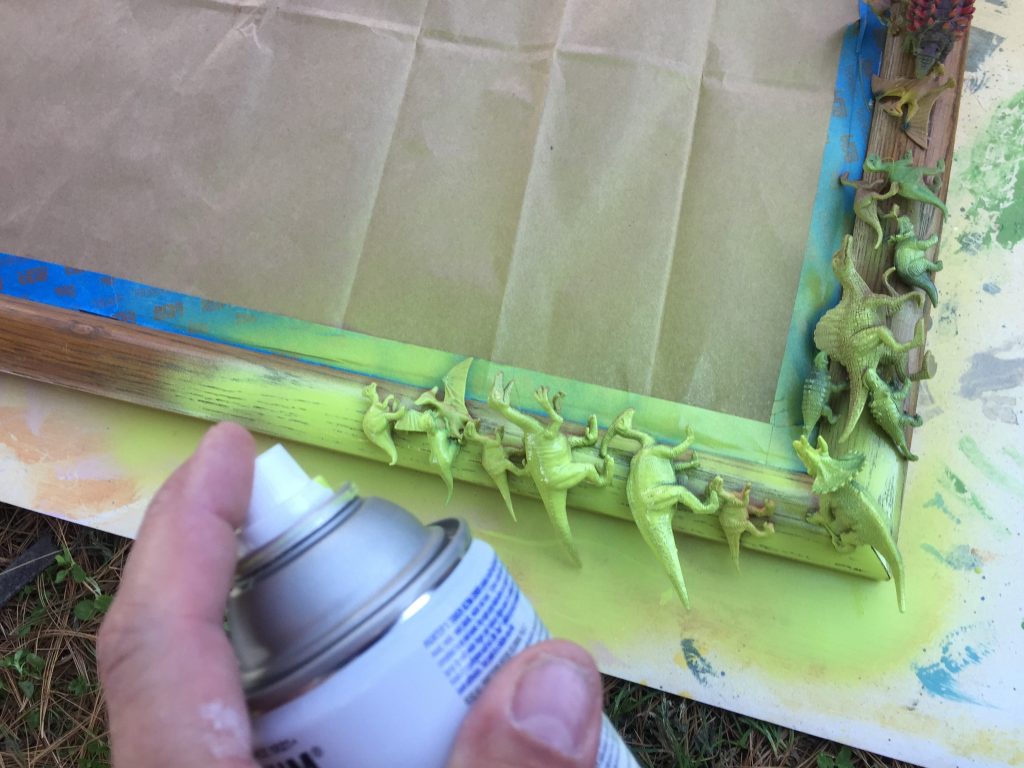
Step 3: Color Creates Cohesion
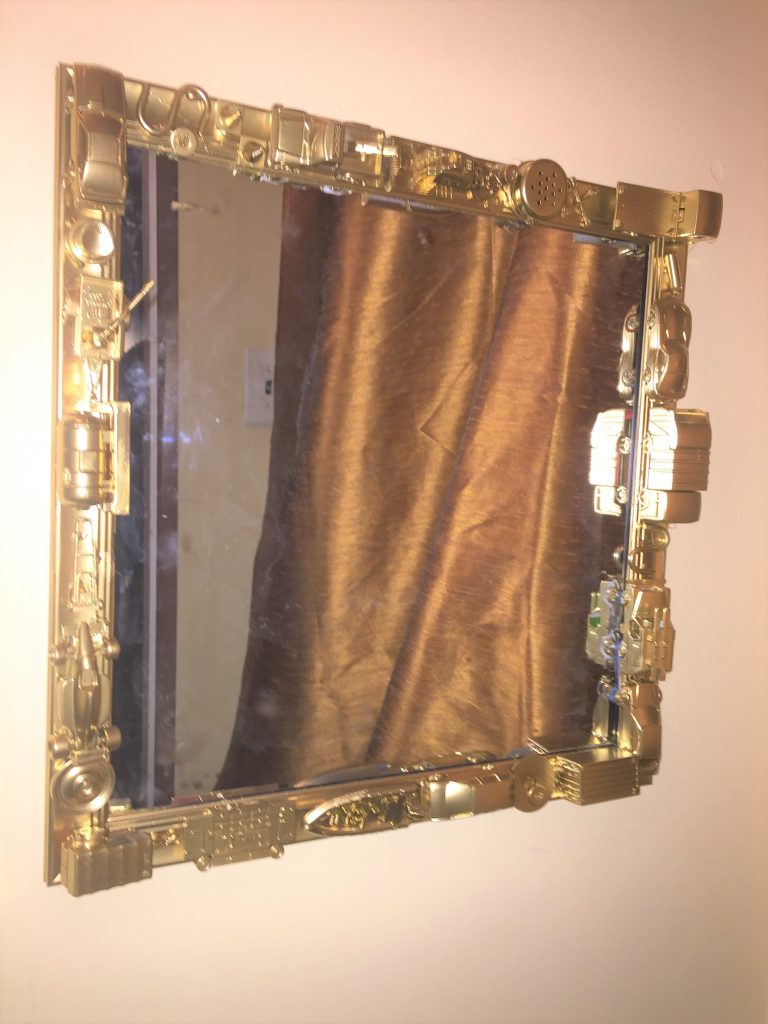
Ideally, you will be able to place your mirror outside or in a very well-ventilated space when you spray paint it. Consider a hue that matches the person’s room or his or her favorite color. Using gold or silver paint will add immediate bling and make inexpensive plastic items look like a million bucks.
Spray your entire mirror frame ensuring you get all sides. Don’t worry about one perfect coat but rather focus on adding several layers with drying time in between. If possible, pick up your mirror after it has dried to ensure all sides of your embellishments and the frame have been covered.
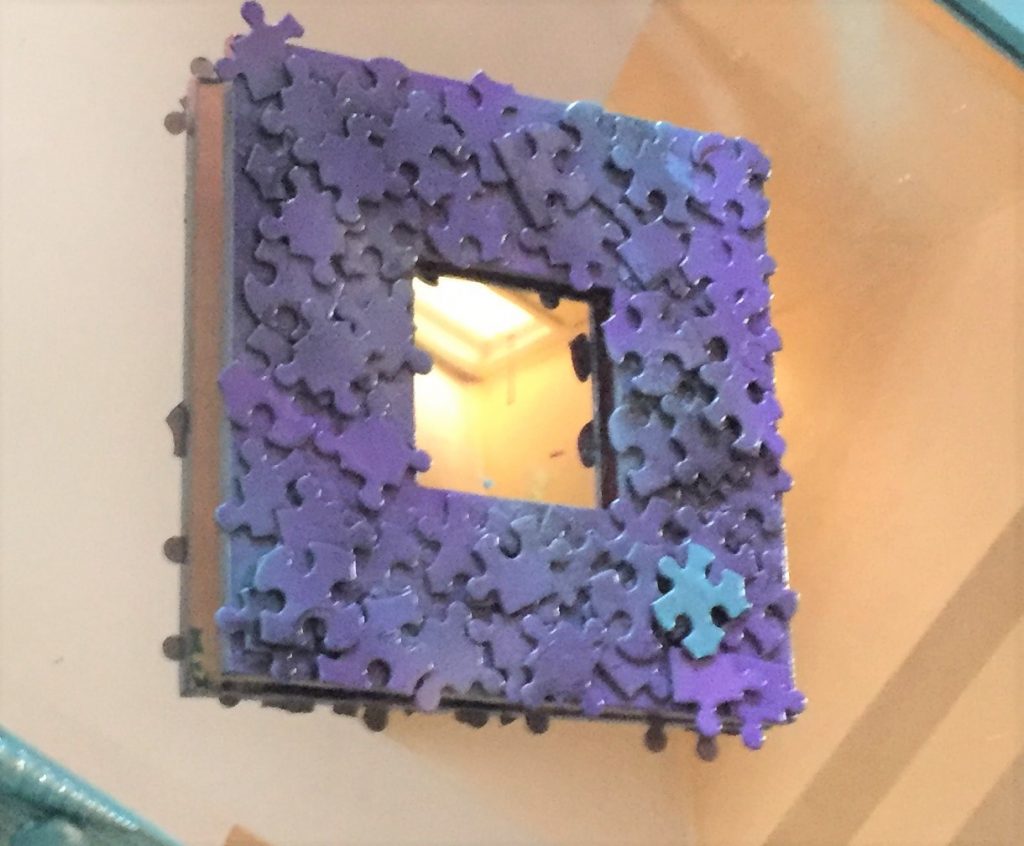
For added dimension and flair, consider lightly spray painting your piece with a complimentary color. For the sea shell mirror, I used a base coat of blue to reflect the ocean and sky then gently sprayed gold on top to make it shimmer. For the puzzle-themed mirror, I used several colors then painted one piece with a complimentary color to add extra visual interest. Let your piece dry overnight.
Step 5: Remove Tape then it’s Ready to Give (or Keep for Yourself!)
Now it’s time to remove the painter’s tape and see your embellished mirror in its full glory! If you give this as a gift, you will love seeing the person’s reaction to this keepsake item. If you created one that you want to keep for yourself, then be prepared to see your own smiling reflection in it often!
Tim Kime is an artist, life coach, connector. He is President of Kime Leadership Associates offering executive coaching, meeting facilitating and motivational speaking. He is also Chief Creative Force of Transformation Junkies which upcycles furniture and other household items into functional works of art. He combined his two passions—unleashing the potential in people and transforming items with the launch of the Art of Possibilities Workshops. These workshops are part upcycling, part dreaming, part goal setting.