It’s “Sew” Unique: an Apron Upcycled from Jeans and Ties!
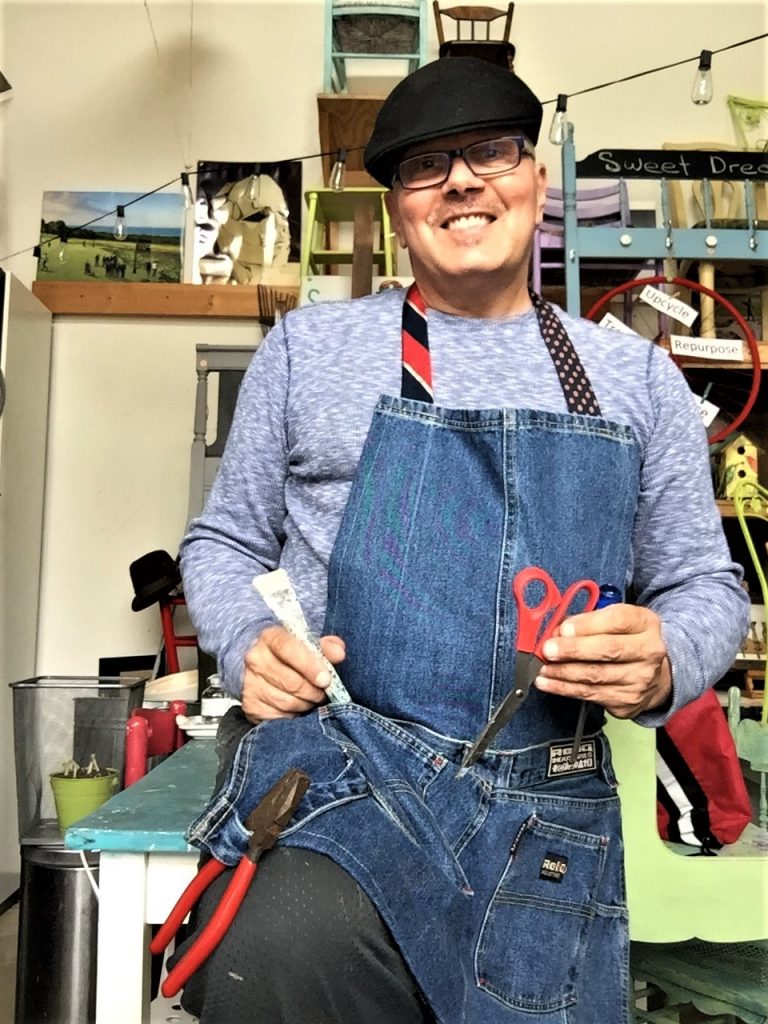
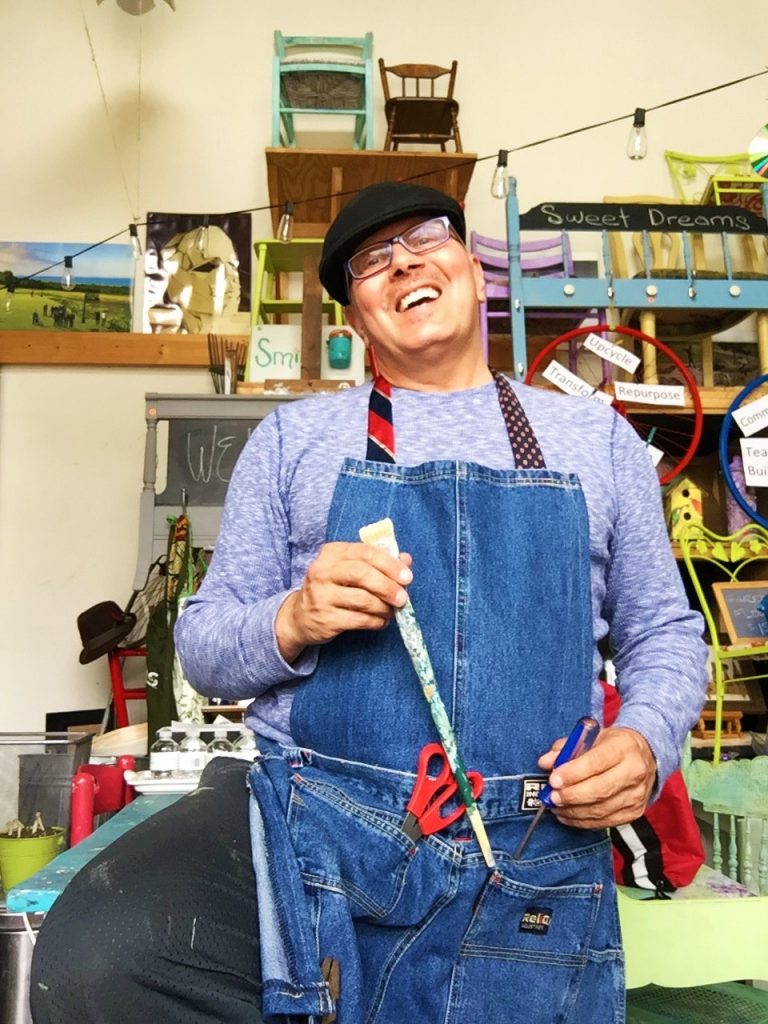
Create a one-of-kind apron using pieces of old jeans and ends of Men’s ties. And don’t worry about your waist, neck or inseam measurements, as one size fits all! (Have to give my props and appreciation to my talented Sister In-law, Nancy Kime, who created this transformation for me as a gift!)
Age level: Older teens and adults
Items needed:
1. Pair of jeans
2. Four Men’s ties
3. Scissors
4. Straight pins
5. Sewing machine
Time requirement: Two hours
Cost: $13
- $5 for a pair of jeans
- $2 to $3 per tie
Step 1: Don’t drop your pants—pick them up at Goodwill
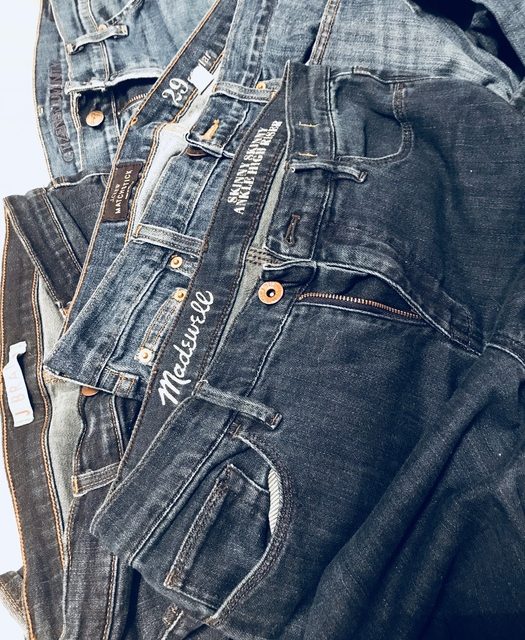
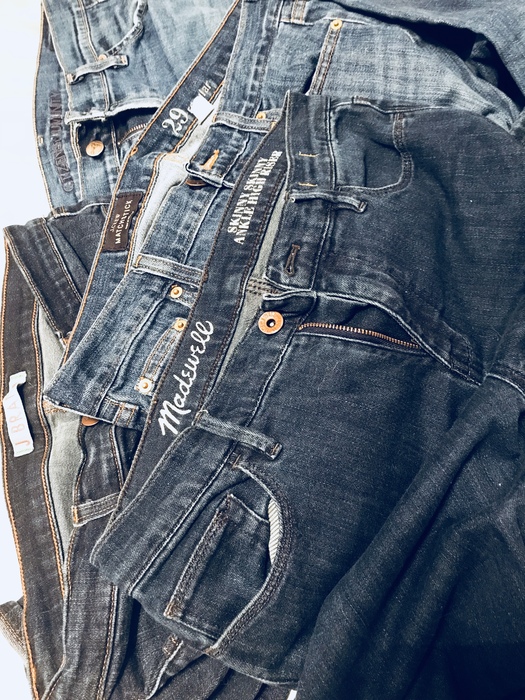
No matter which Goodwill you shop, you can find old jeans perfect for this memorable—and usable—DIY project.
- While you’ll find them in both the Men’s and Women’s sections, look for a large size pair to give you the most material.
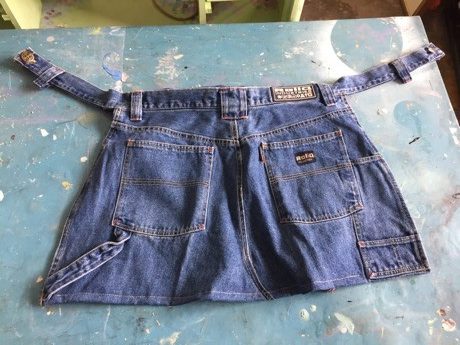
- Also, look at the pant’s seat for big pockets and, if you are lucky, with loops which will eventually hold items.
- Denim is ideal because it is strong and will stand up well to frequent use.
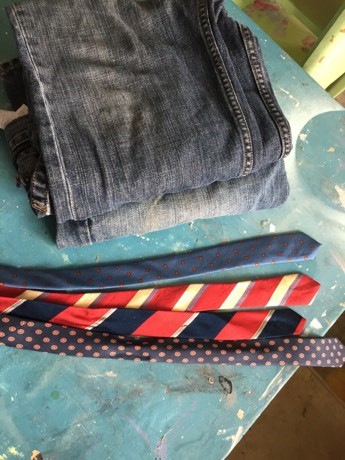
While in the Men’s Section, also be on the hunt for four ties.
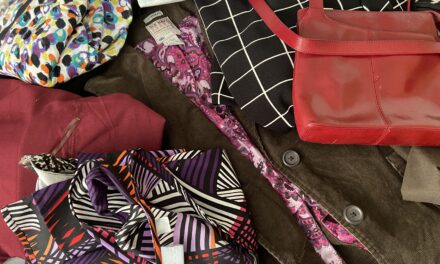
You will have lots of choices so consider selecting ones that match in color or design. You’ll use the ends which are usually tucked out of sight so check the skinnier part to ensure they are in good shape with no frays or loose pieces.
Step 2: Pull ‘em apart & put ‘em in place
Two pieces of your jeans will be used for this project: the seat/back side and one of the legs.
- Place the jeans on your work-space with the backside facing up.
- Cut off the jean’s legs below the pockets or any loops and place aside.
- Next, cut the seat of the jeans from the front parts along the seams for a finished looking edge. Also, be sure not to cut the waist band with the loops as it will become part of what will tie the apron.
- Cut away the front parts of the jean.
- Place the seat of the jeans face up so you may see the pockets. The piece will have the waist band sticking out from each side; you may need to trim the bottom below the pockets but leave enough material to allow you to hem the edge.
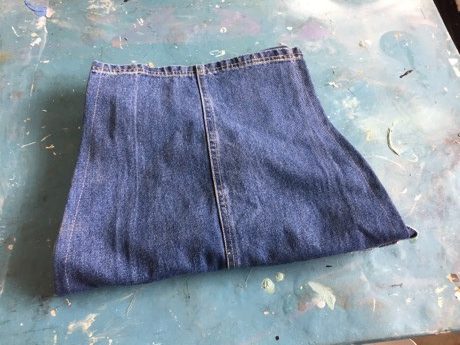
- Grab one of the leg pieces you removed and cut it “open” along the seam and place flat on your work-space.
- Place it so that the outside faces you with the open cuff now facing upward. The cuff now becomes the top of the apron.
Step 3. Yes, a stitch in time saves nine but use a sewing machine
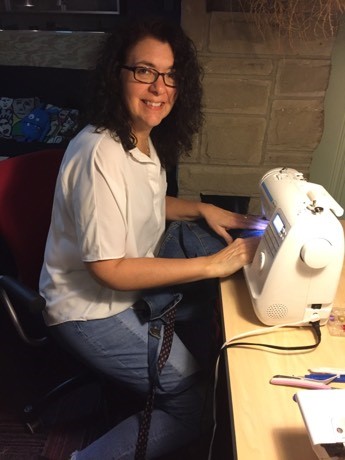
- You will sew three straight lines to create the apron from the jean pieces.
- First, hem the seat piece below the pockets. From side seam to side seam, pin, hem and sew a straight line. This part will become the bottom edge of the apron.
- With your opened-up pant leg, lay it so that the cuff is along the top and the cut edge (now along the bottom) is placed along the waist band of the piece with the pockets.
- Pin and sew these two pieces together. Now you can see how the leg is the front top part of the apron and the hemmed seat part is now the bottom part of the apron. So cool!
Step 4: Tie one on
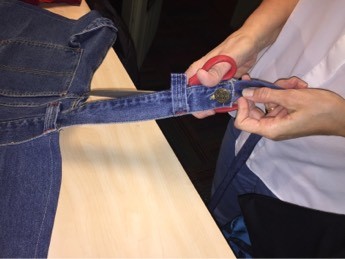
- Cut your ties where the skinny back part starts to widen then sew a straight line along that edge to keep it all together and looking sharp.
- Pin and sew two tie ends to the cuff top corners (now the top part of the apron).
- Take the remaining two pieces, neatly hemmed now, and sew the hemmed ends to the ends of the waist band. These four pieces will become the way you will tie the apron into place.
Step 5: Wear and strike a pose!
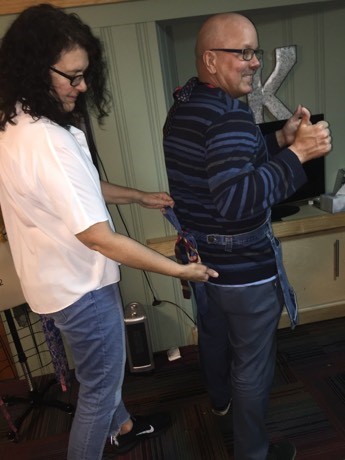
Tie the top tie ends behind your neck and the other tie ends around your waist.
The pockets and loops are now easily accessible as the apron’s front and perfect for holding small supplies, tools, your cell phone and more.
Given my excitement over receiving this gift made from reused items (thanks a million to Nancy for sharing your creative talents with me and this blog!), I know many compliments are coming my way as I wear this while creating more upcycled, DIY projects!
