With spring in the air, many people tend to equate the changing of seasons with the physical act of replacing their winter wardrobes with their spring. However, there are so many other ways you can channel that energy!
I thought I should take a moment to reevaluate my living spaces and see what improvements could use a bit of a pick-me-up. After looking around on Pinterest and Instagram, I decided upon the idea to create a gallery wall. The concept is very easy to create, budget friendly, and if you rent an apartment space like me, you know that leading with creativity might not always fit the rules you landlord has set in place. Thankfully, this DIY is guaranteed to meet your expectations and won’t damage your walls too much in the process!
You don’t need to watch too many episodes of Property Brothers or Queer Eye to understand that speaking from a design perspective, creating a gallery wall has the ability to instantly elevate any space with personalized style. Using your favorite prints and art pieces of various sizes, shapes, and colors gives you the opportunity to create a gorgeous gallery that gives your guests a chance to get to know who you are, through photos.
So let’s get started!
Photographer: Danielle Elizabeth
Pick Your Frames
While this project is fairly simple, there still needs to be thought put into the assembly of it. As I got started, I thought about what color scheme I wanted to work with, which wall I wanted to use, and what theme my prints would represent. If you’re indecisive like me, take down your thoughts on pen & paper to sort out the many ideas you have floating in your head. Next, search for your desired frames. This is one of the most important steps in the process because your frames, once displayed, will set the tone of your gallery. Do you want thick walled frames, thin? Are they square, rounded, oblong? Also think about what colors they will be. Since this is a spring transition, think about what colors inspire you for the season. In addition, think about the space you are working with. What color are your walls, carpet, and furniture with the surrounding areas. If you are working with a classic white background, then almost any color will compliment it. However, if you have painted walls like me, think about which shades of frames will compliment them and make it really stand out within your space! I was lucky to find similar solid black frames at my local Goodwill that make up 1/3 of my gallery wall!
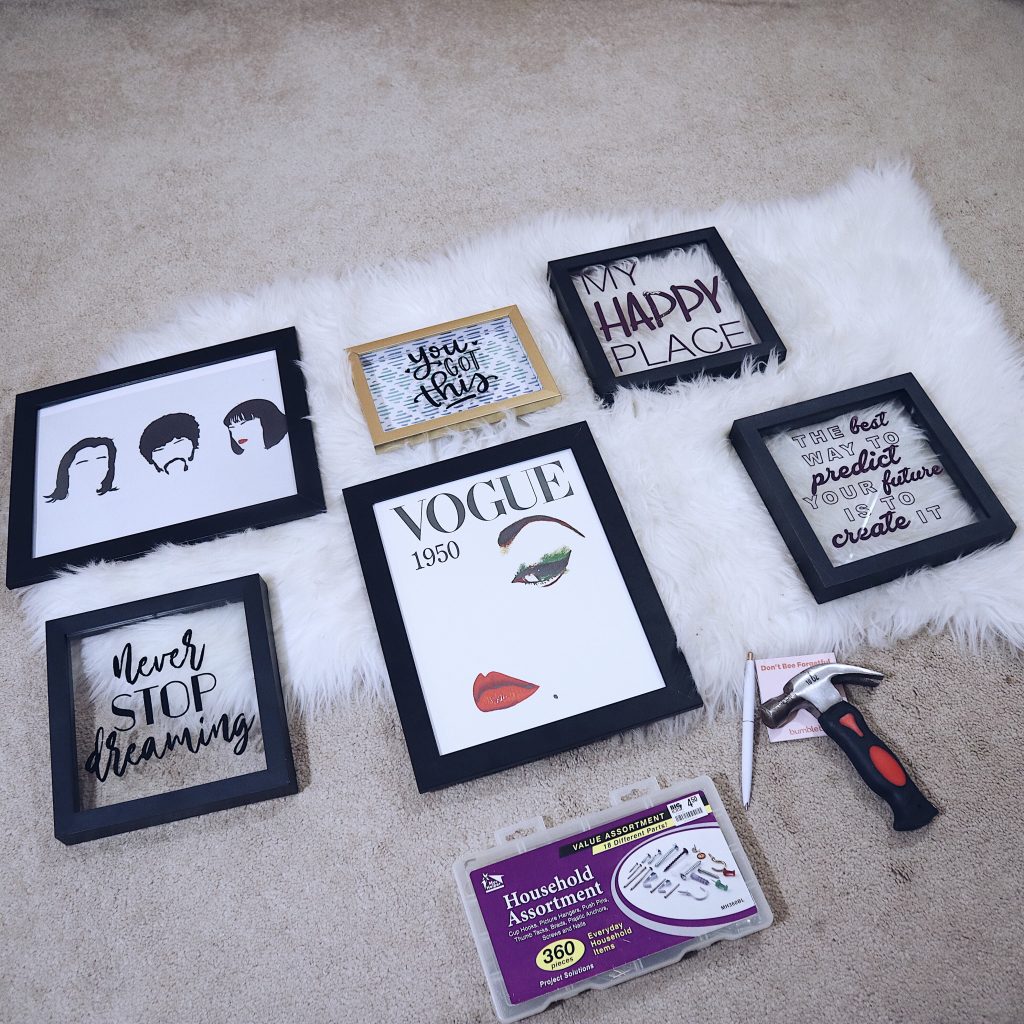
It’s Hammer Time- What You’ll Need
As far as tools go, here’s what you’ll need to create the gallery wall of your dreams…
- Picture Frames
- Hammer or Scotch Hanging Strips
- Nails
- Leveler (if you don’t have one, you can download the app to your phone!)
- Pencil & Paper
- Small Notebook
- Extra nails and screws
- And a good playlist going to keep the inspiration flowing
Pick Your Prints
Ok- now THIS is the fun part! As I mentioned above, if you want to add some cohesiveness to your gallery, make sure you are combining similar frame shapes and complimentary colors. This includes what images you choose for your prints! For example, your gallery could consist primary of people, animals, places you’ve visited, or inspirational quotes; but don’t feel like you should limit yourself. The most important thing is for your wall to represent you- your tastes, history, and what you love the most. I sourced by prints via Etsy, but there are thousands of prints you can print for free and affordably from Google, Canva and Unsplash by simply searching images according to the theme you want to achieve.
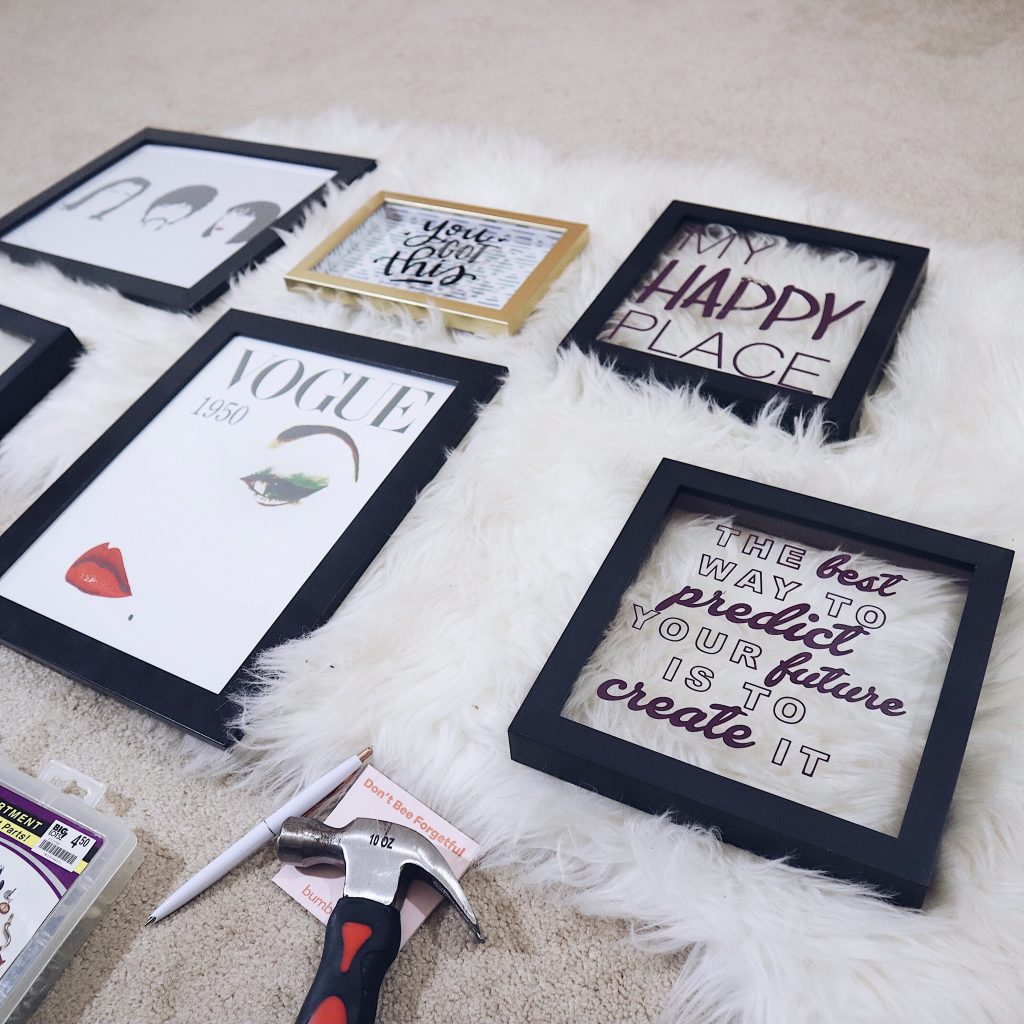
Lay It Out
From a designers perspective, it comes recommended that you first measure the amount of wall space you want to fill and then tape off that section on a clean floor. This process allows you to space everything out the way you want in advance allowing you to save time and (let’s face it) disappointment of securing it on the wall and not exactly enjoying your results. And not to mention, avoiding unnecessary damages to your wall. Once you lock down your favorite arrangement, take a few photos on your phone and compare layouts. Use your photos as reference when you’re hanging as a guide to go back to as you begin hanging.
Photographer: Danielle Elizabeth
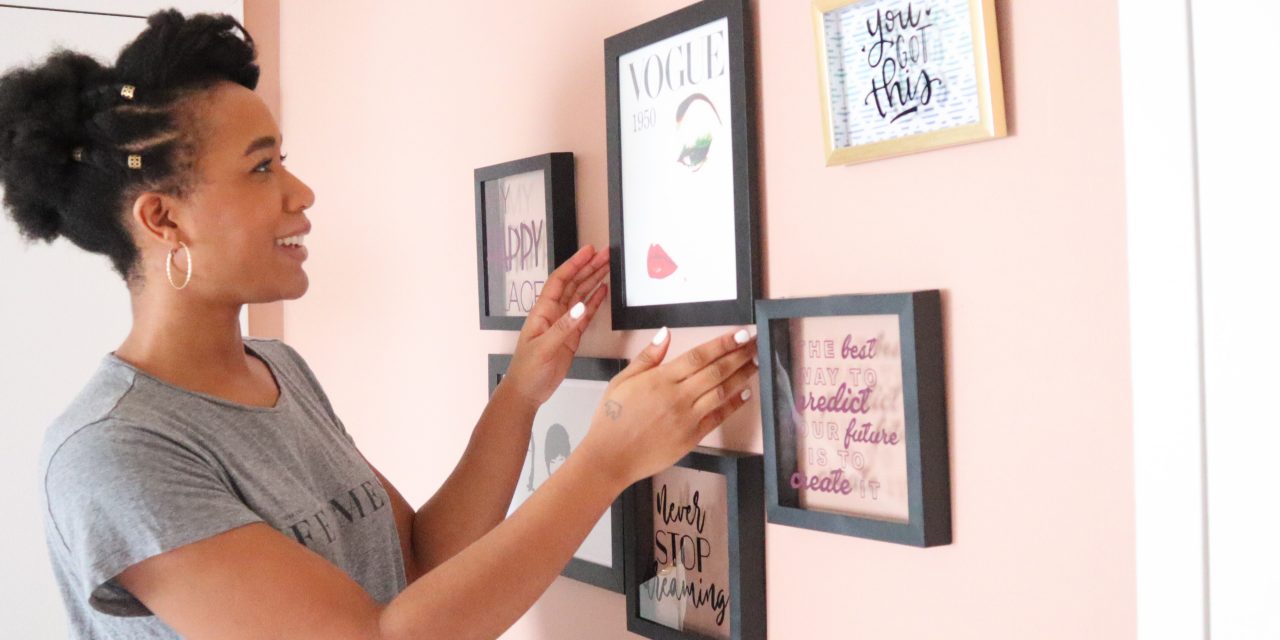
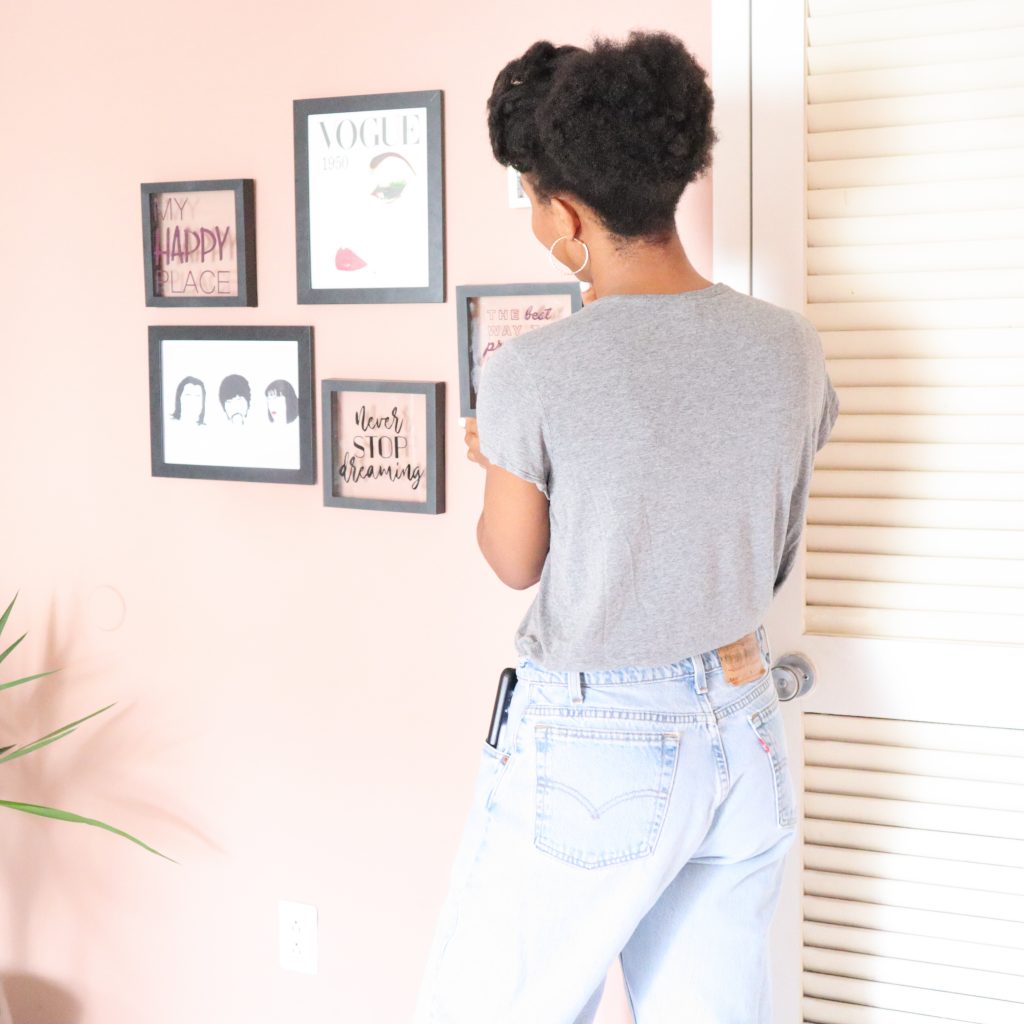
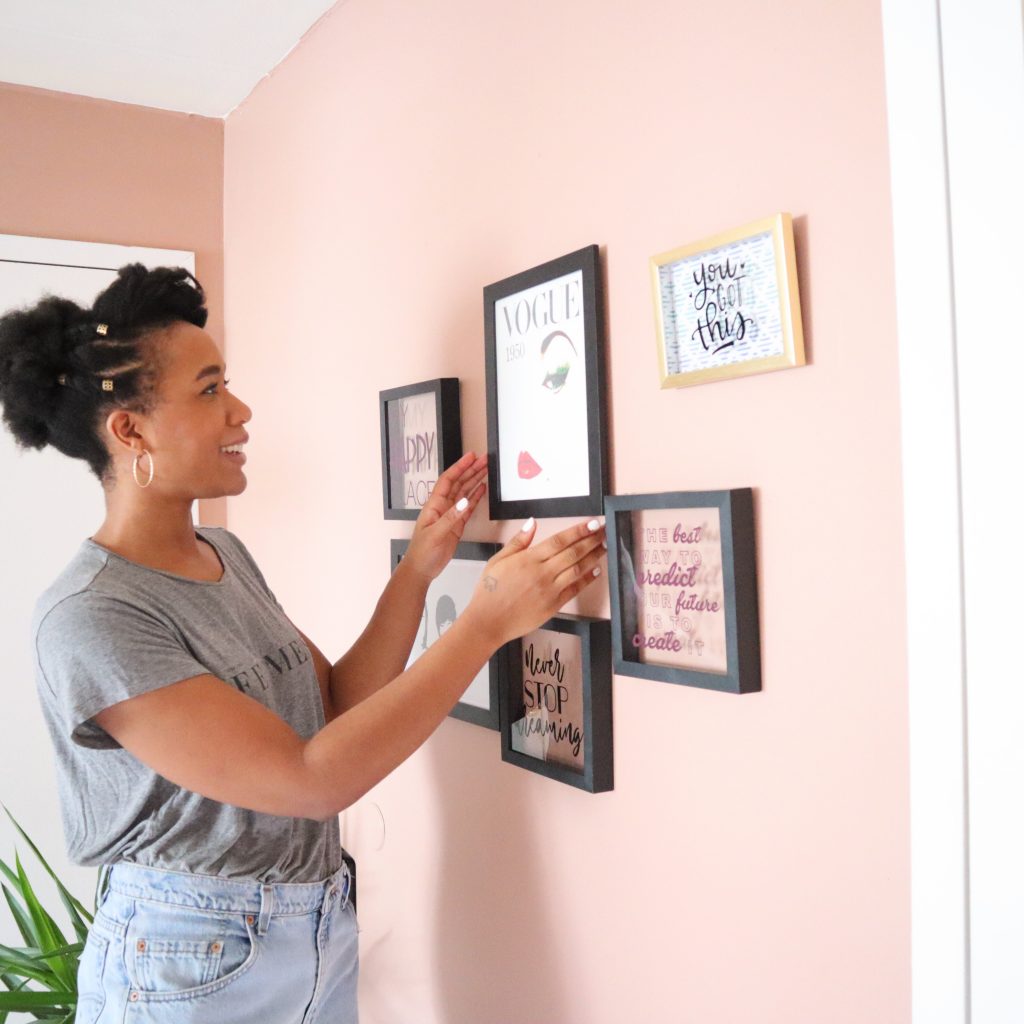
Hang In There
Now it’s time to get that art onto the wall! Starting small in this case is not recommended. As a matter of fact, starting with the largest frame will help you visualize how to place the others around it. Placing your larger piece a bit of centered won’t allow it to steal the show, but rather, will allow you to build the smaller pieces around it. Hanging is more of a building framework that yields positive results from the top down. Remember to refer to the photos of the layout options you took on your phone and feel free to move some pieces around as you begin to hang them; remember you are not committed to one idea, this is YOUR wall.
Photographer: Danielle Elizabeth
Photographer: Danielle Elizabeth
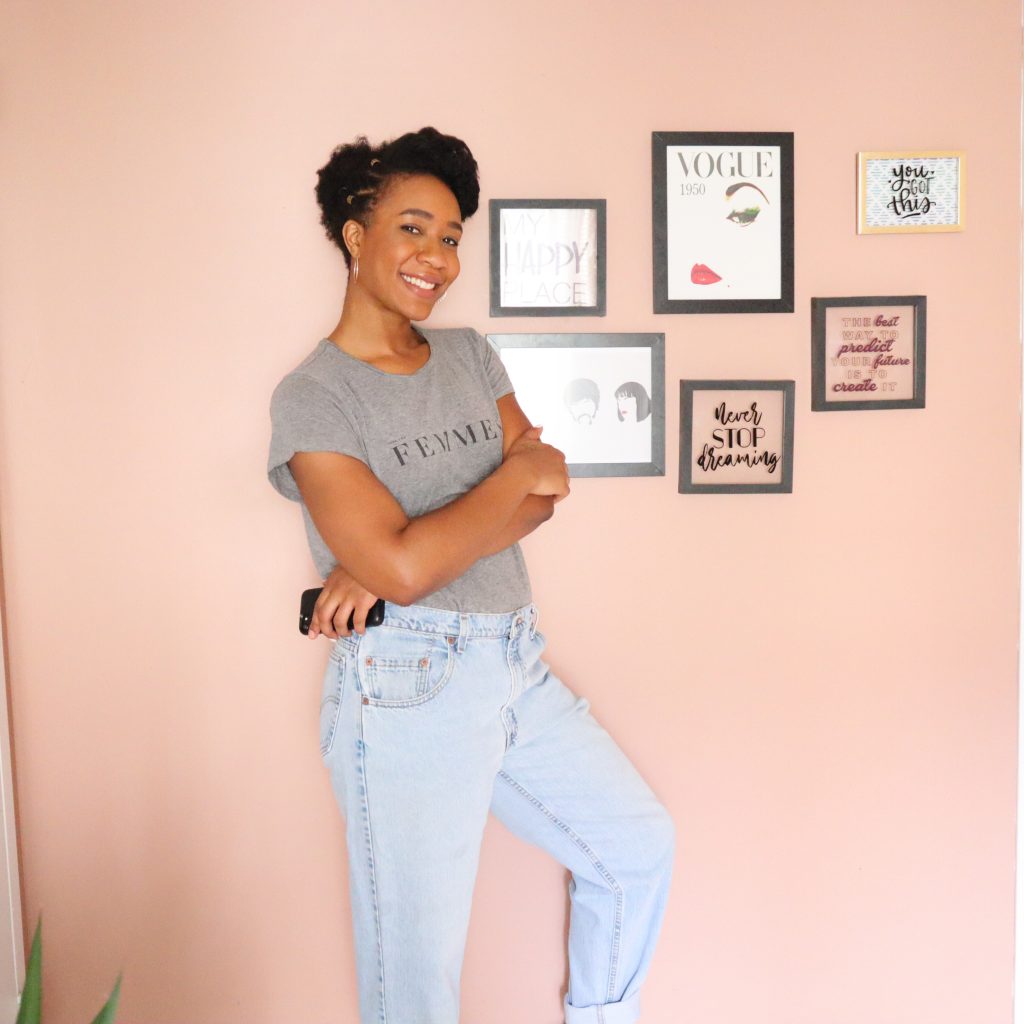
I hope these tips helped you become inspired to create your own gallery wall & revamp up your space!

Photographer: Danielle Elizabeth
About Danielle: Danielle, founder of Thread.Lift, is a self proclaimed secondhand shopping queen, blogger, and tall girl who is living a sustainable slow fashion lifestyle through the art of secondhand living. Follow Danielle for tips and tricks on how to transform a wardrobe without breaking the bank,DIY projects, and making your side hustle work for you.

