Write a new story when you create art from book pages and Goodwill frames
Simple and oh-so-sweet is how you might describe the DIY idea of combining book pages with Goodwill-found frames to make art. Inspired by images seen on Instagram and Pinterest, these tiny masterpieces are fun for all to make while they keep items out of local landfills.
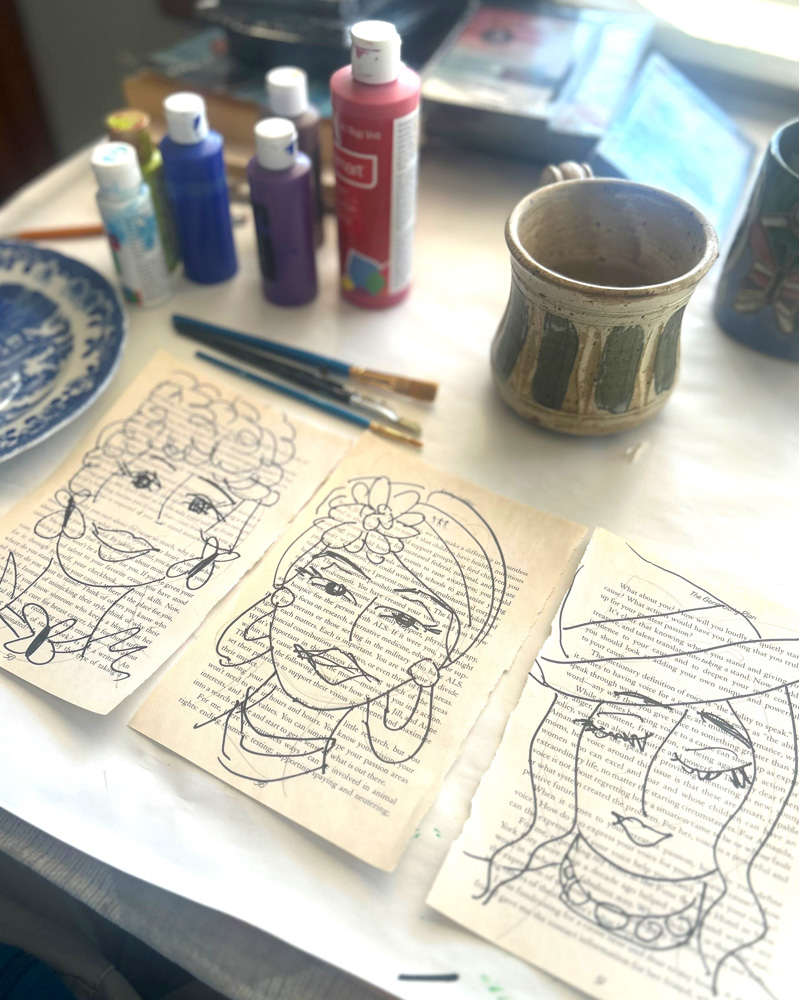
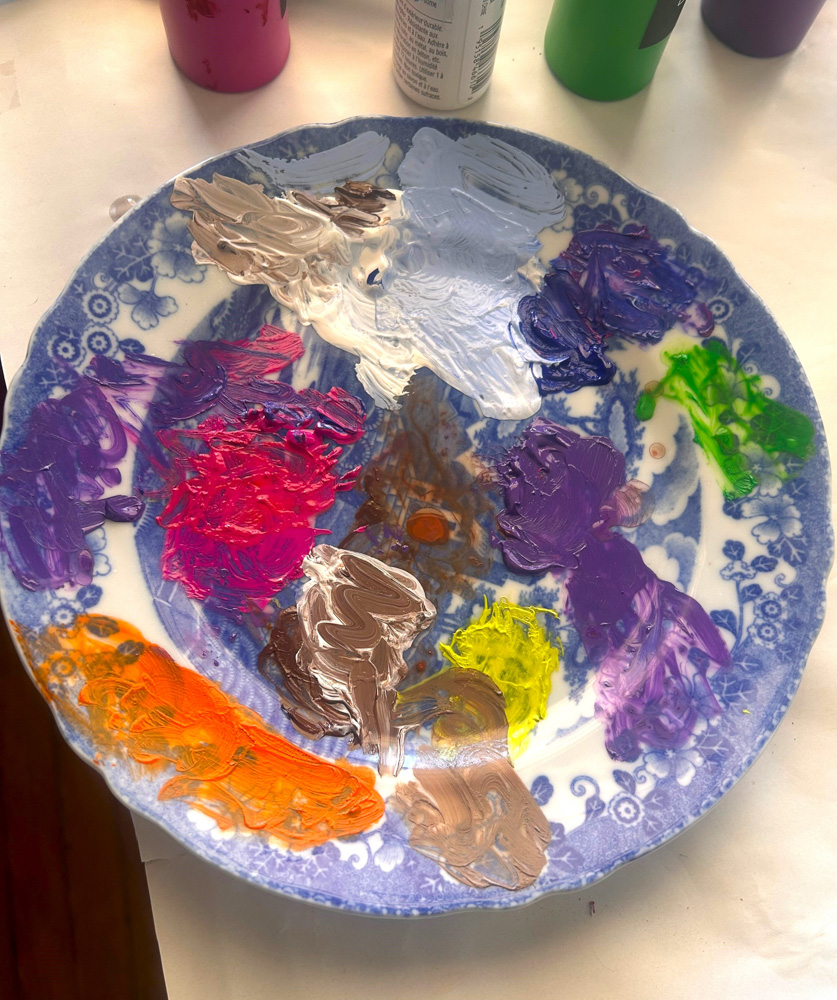
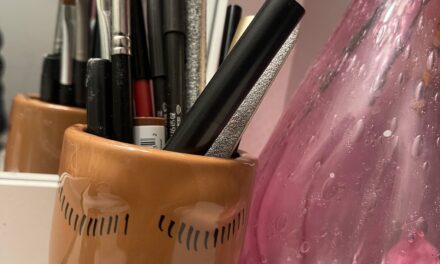
Pens and paints, along with a brush or two, are all it took to write a new chapter for a thrifted book.
What is also special about this project is the paints were picked up during a recent Art Supply Swap event, so the cost for each was next to nothing!
All are invited to attend this free, fun community event; simply bring your unwanted/unused art supplies to share and swap. Again, this is another way we are honoring our planet by sharing existing resources.

Step 1: Check out a book, find a frame at Goodwill
Two staples at every Goodwill nonprofit retail store are books and frames. Any “regular” book will do, as opposed to a children’s book with drawings and large print. If possible, pick up two or three frames with simple lines and, if possible, in black tones. Remember, you can always spray-paint your frames to match one another.
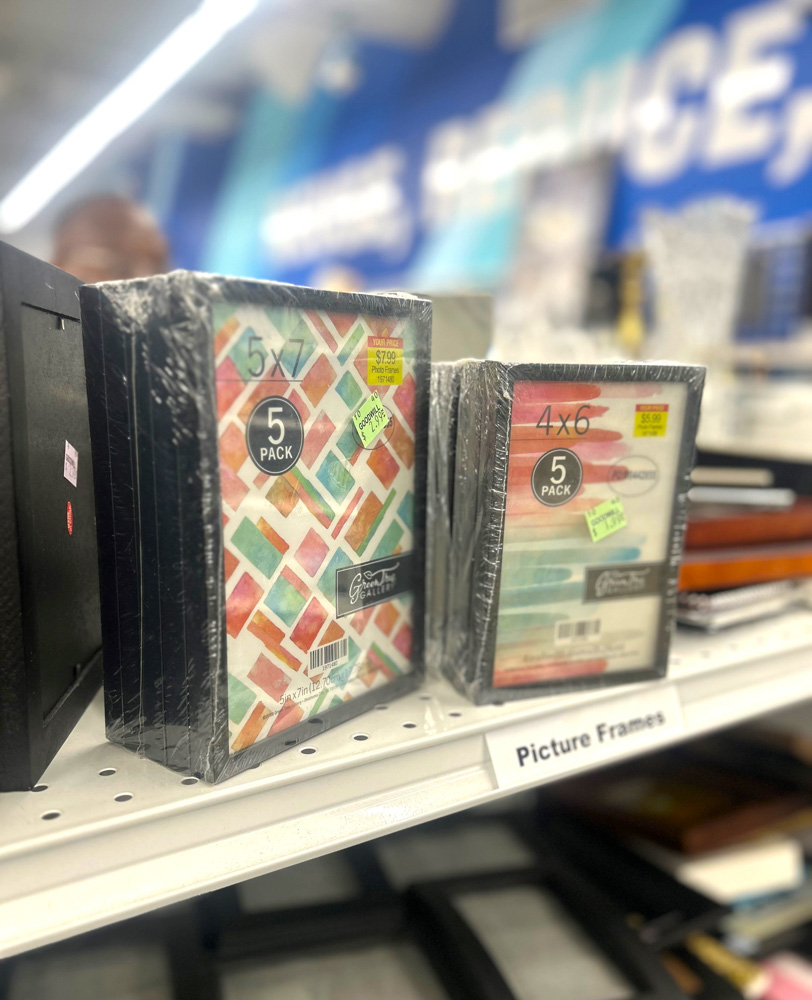
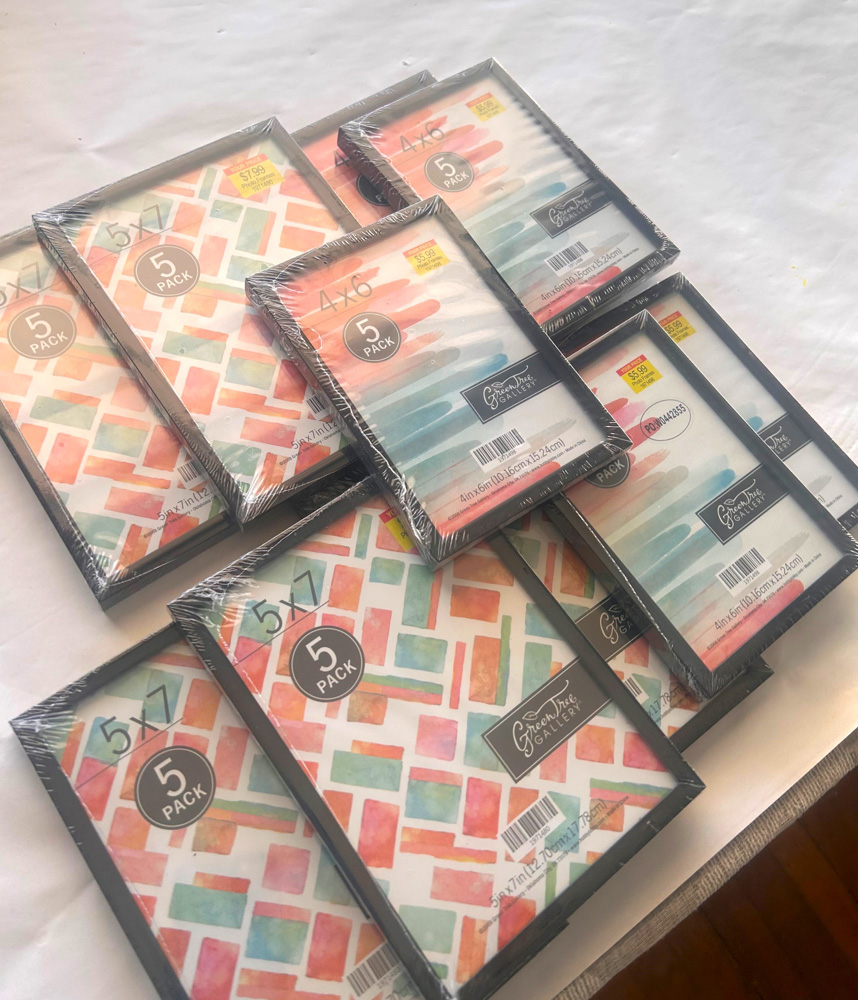
I totally hit the thrifting lottery when I found two packets of brand-new (yes, brand-new!) frames waiting for me at Goodwill. The frames were small enough to easily be filled with a book page-turned canvas. One packet of five black metal frames was $2.99, and the other packet of six smaller frames was $1.99! I can’t do the math off the top of my head, so let me just say each frame was super inexpensive!
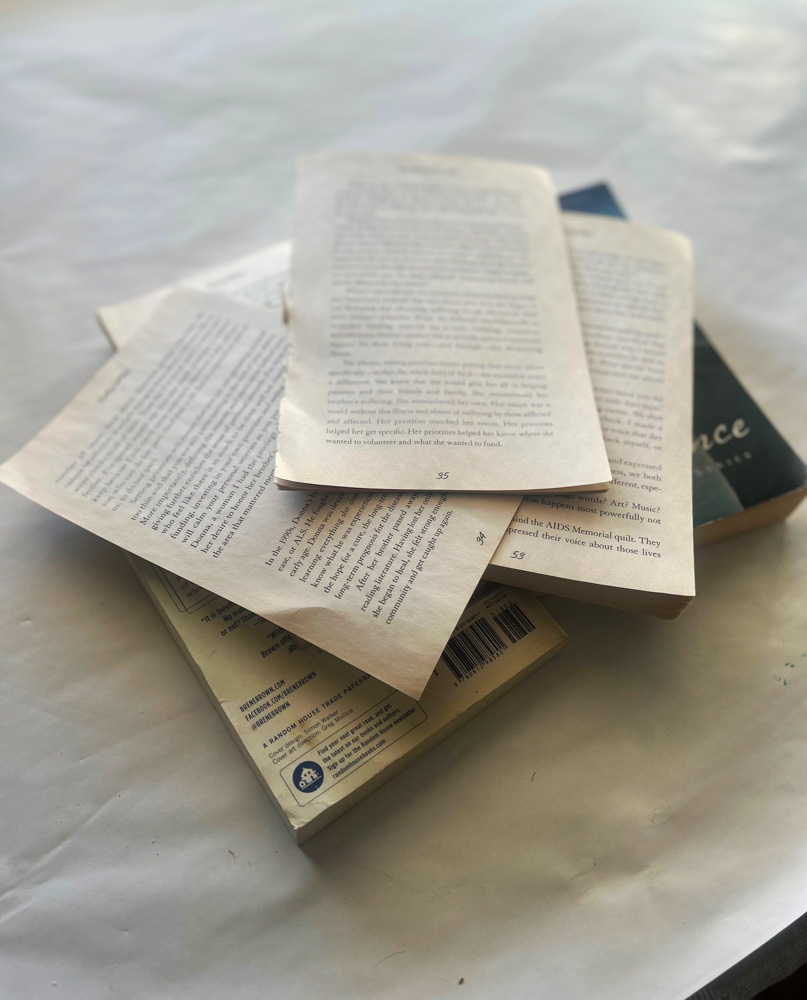
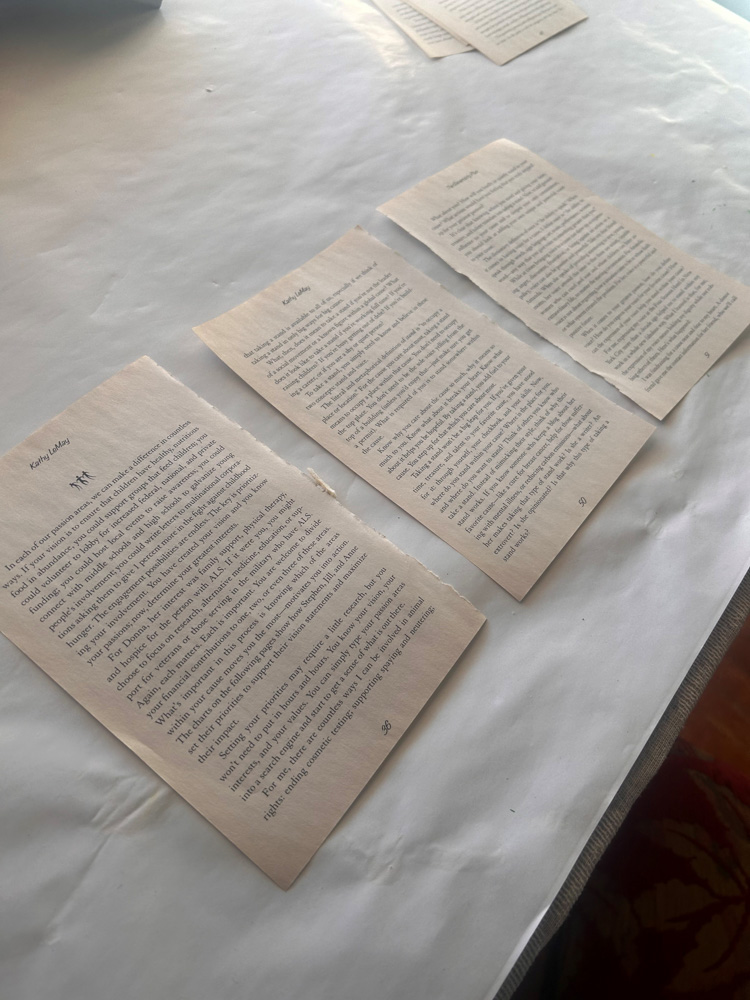
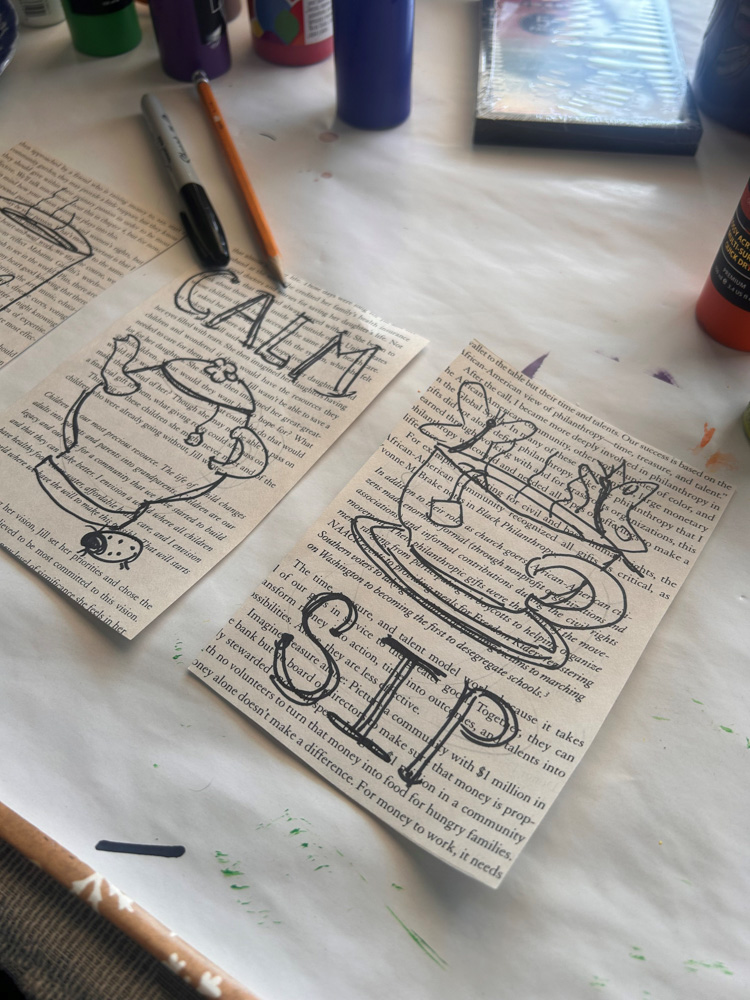
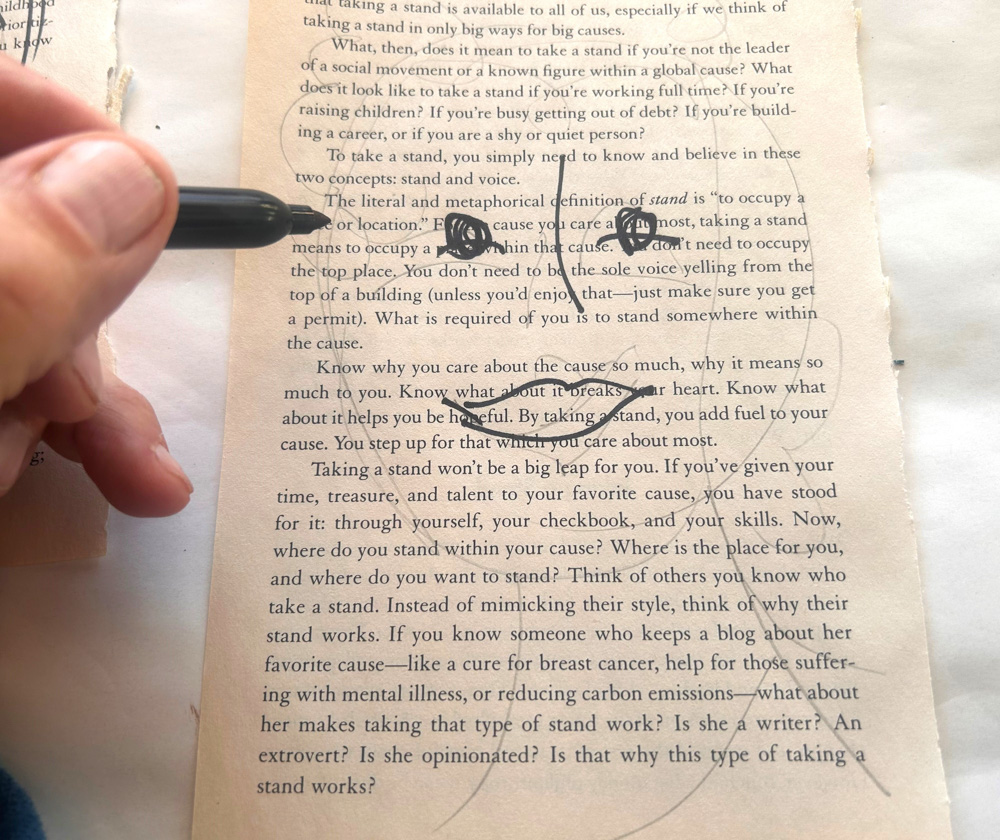
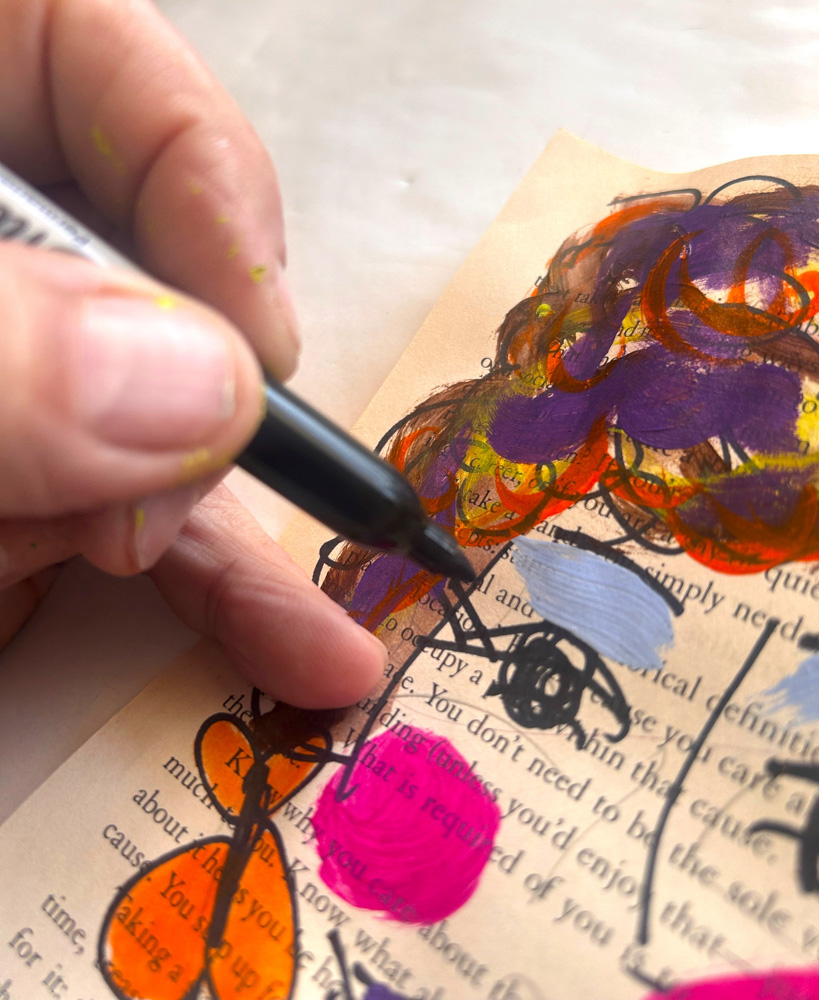
Step 2: Pull out pages, draw in your design
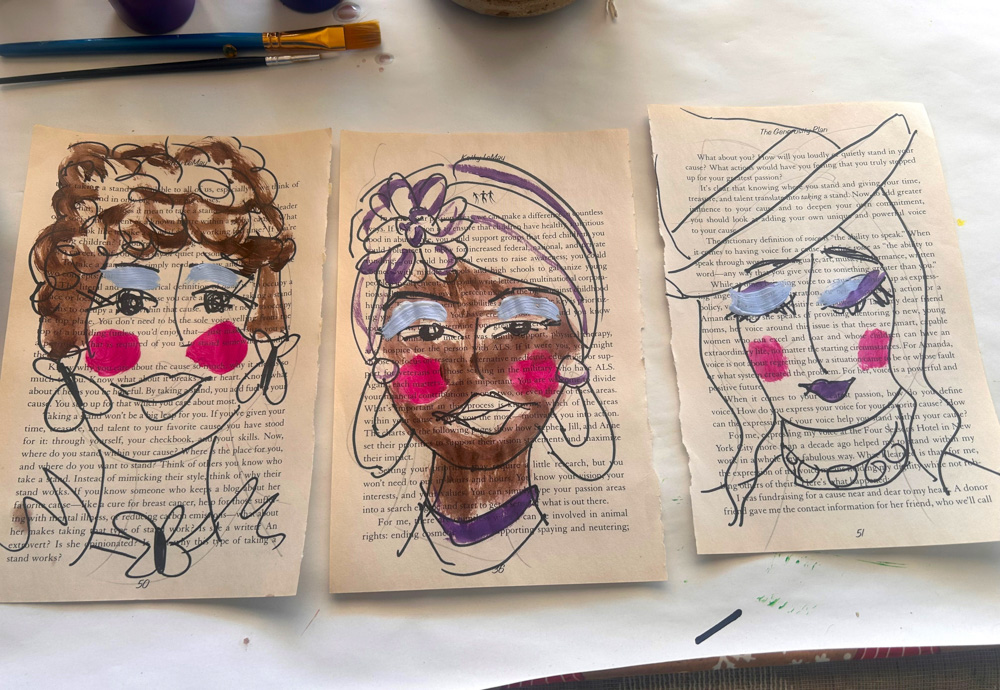
Pull out a couple of pages from your book and line them up as your small canvases. Use a pencil to lightly sketch out your designs then go over them with a black permanent marker.
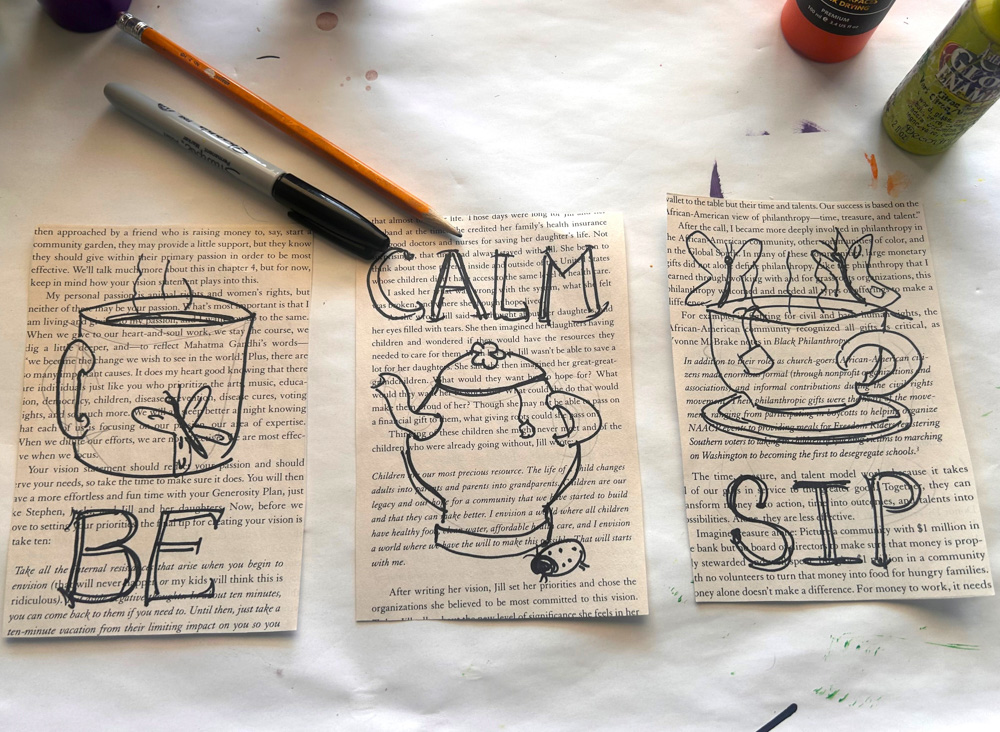
Design Ideas:
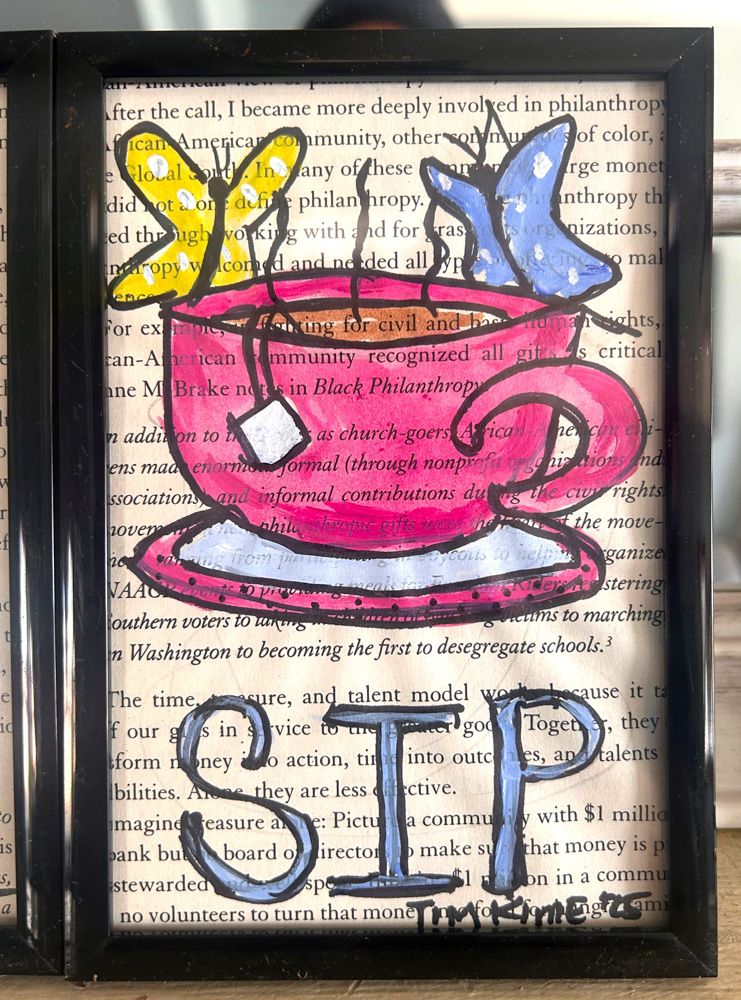
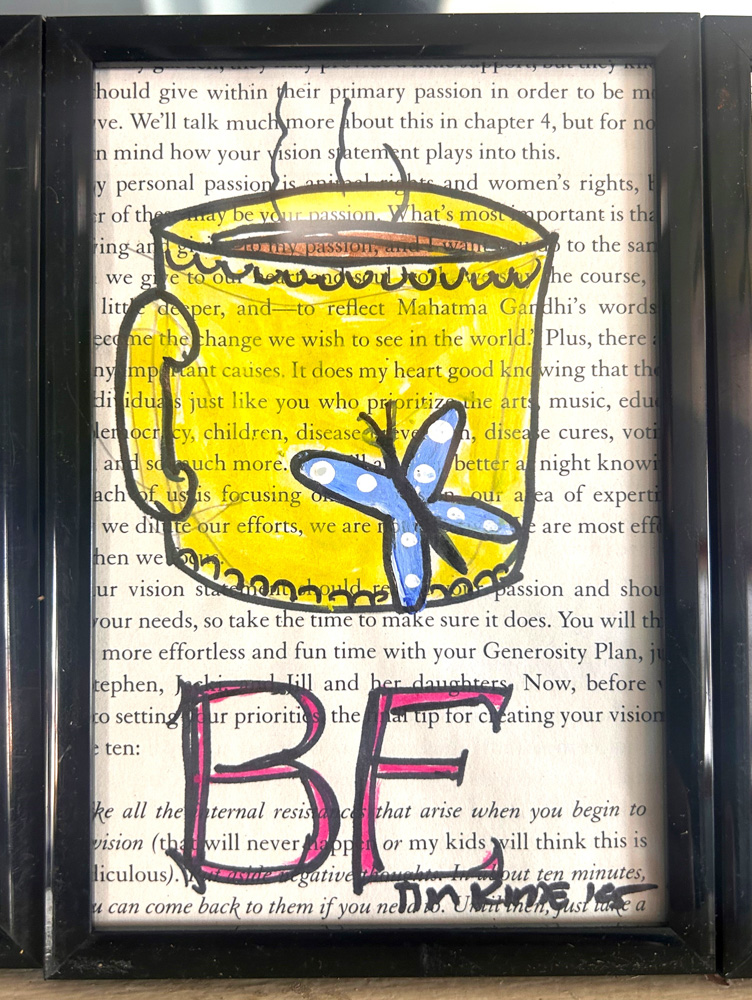
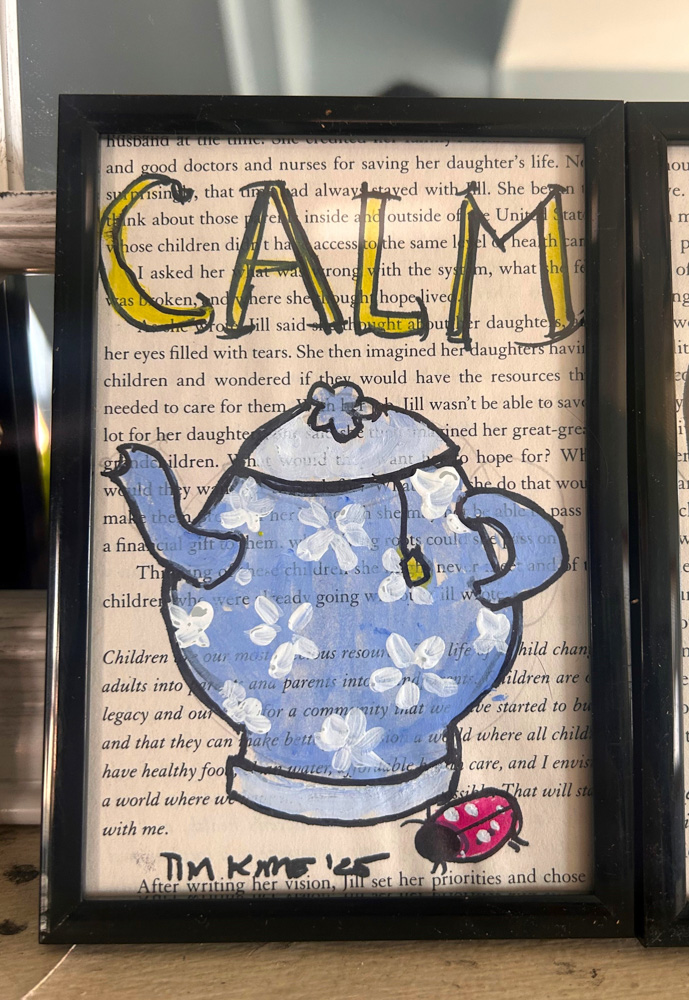
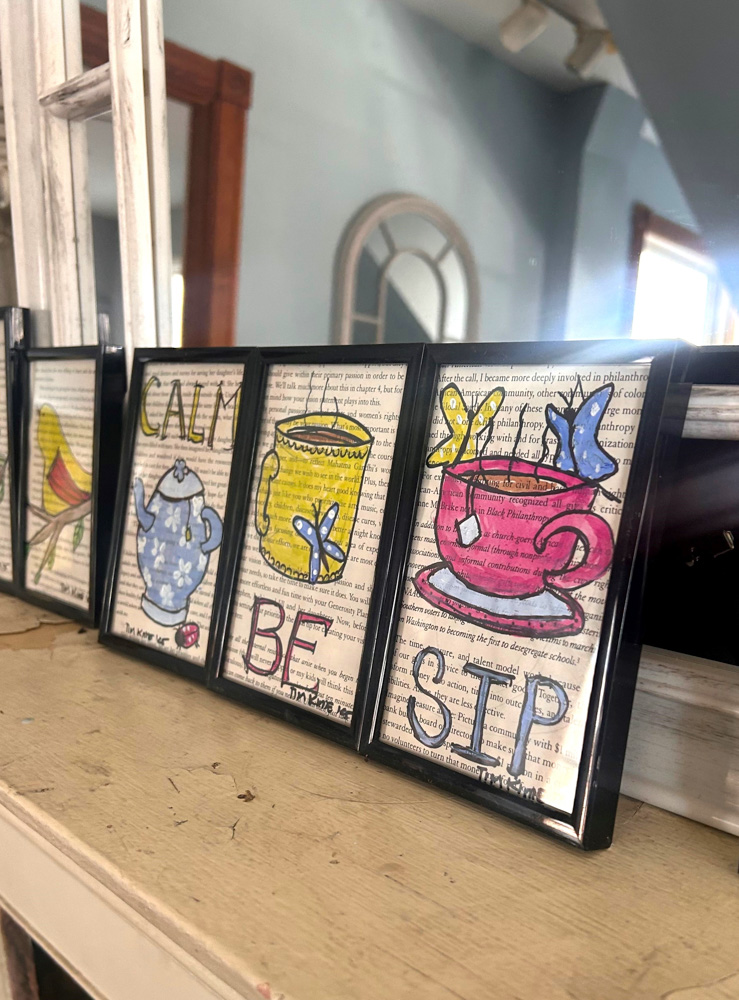
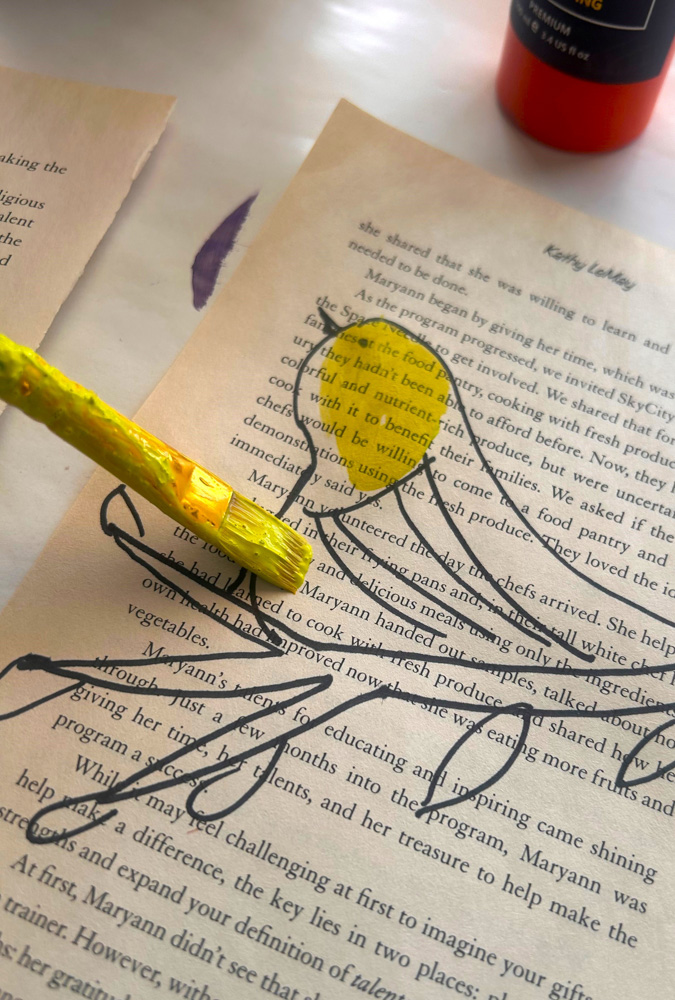
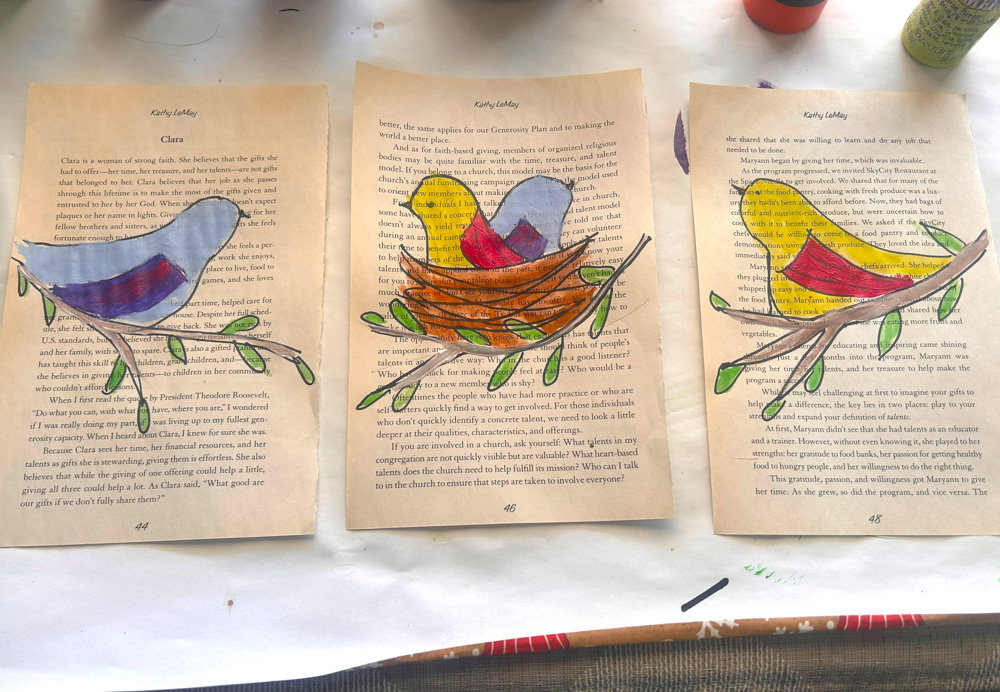
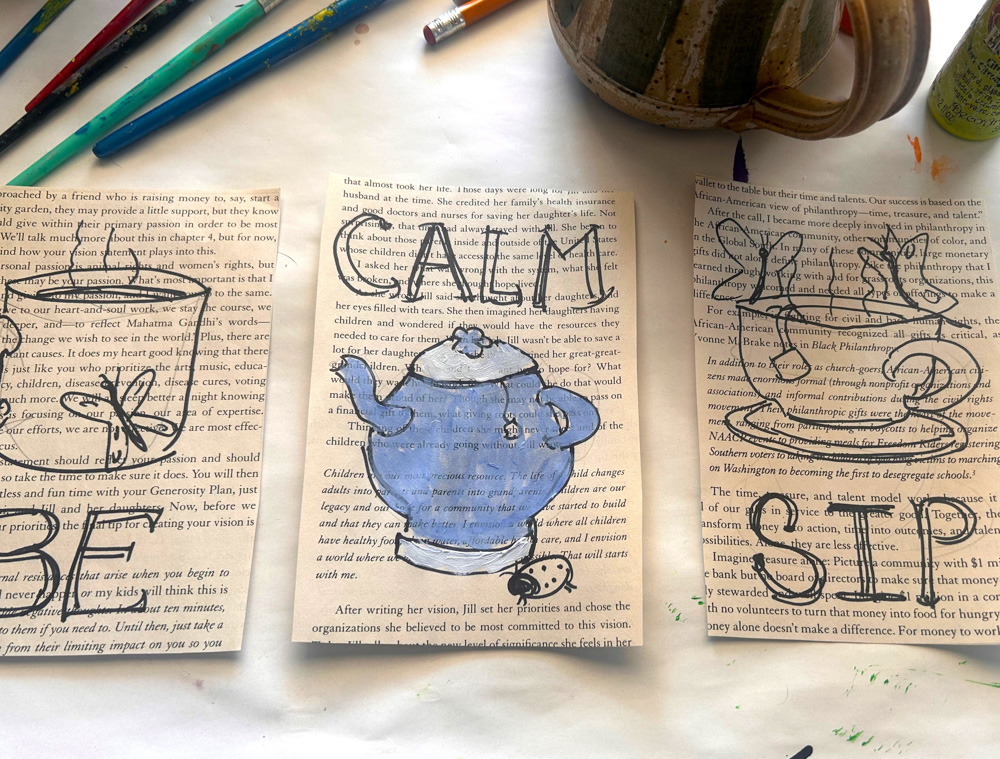
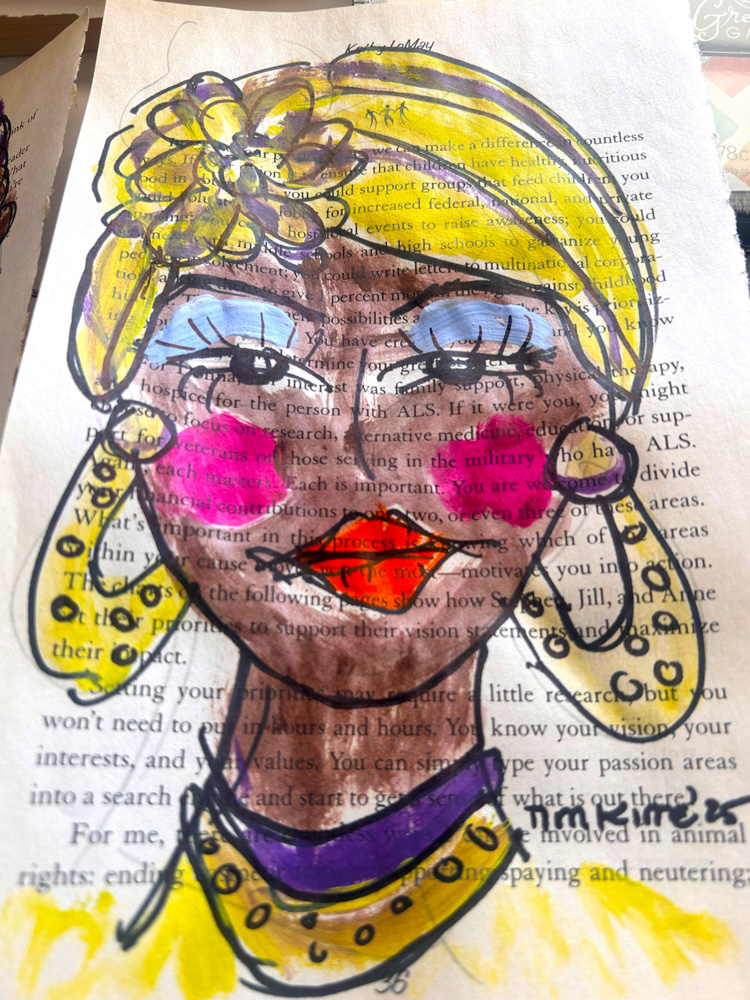
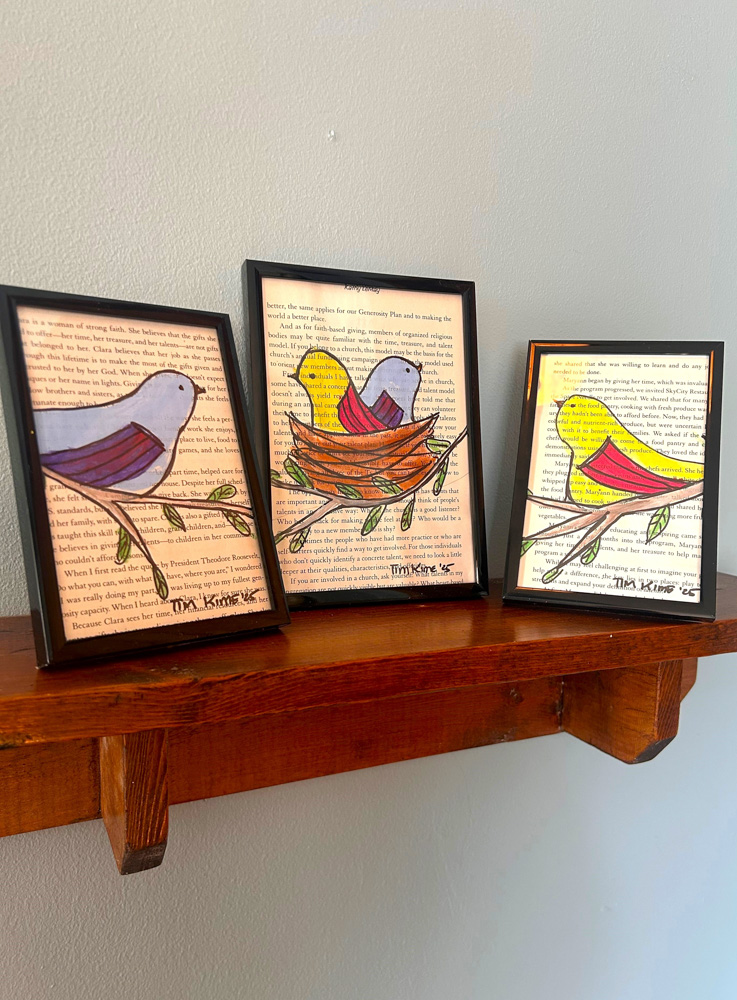
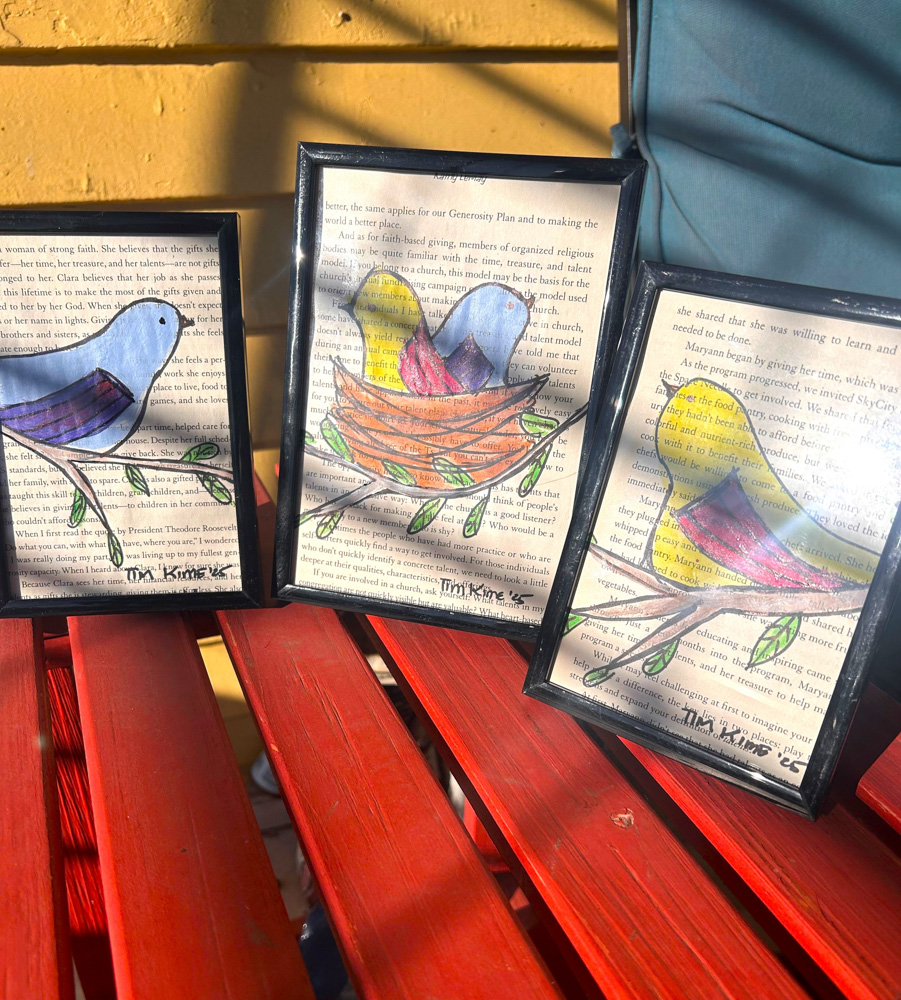
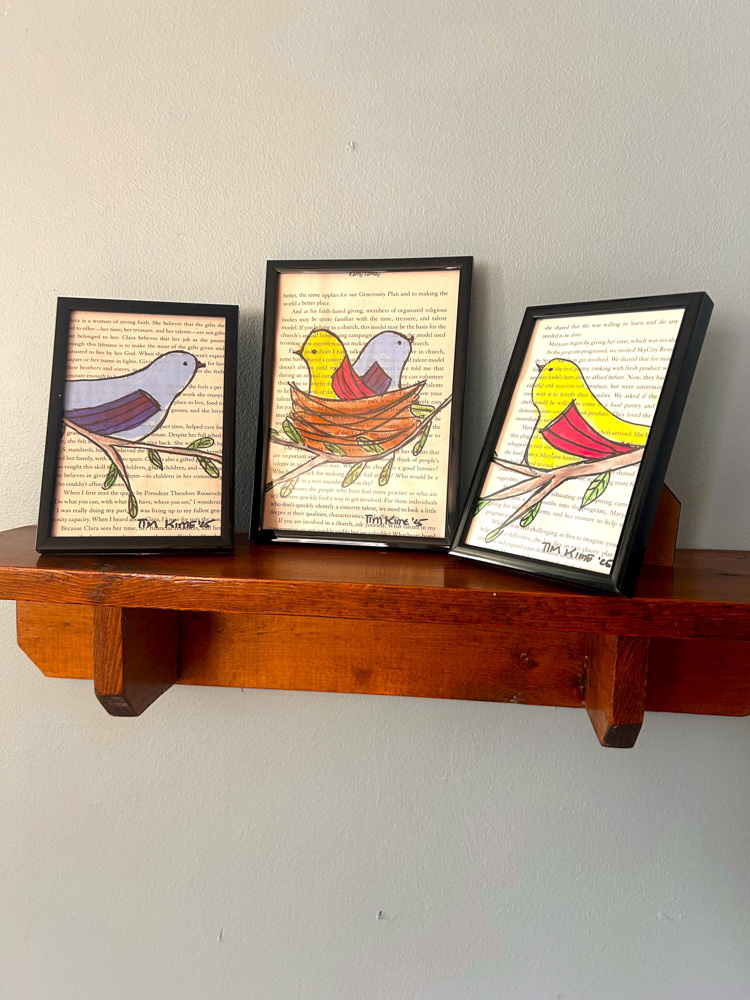
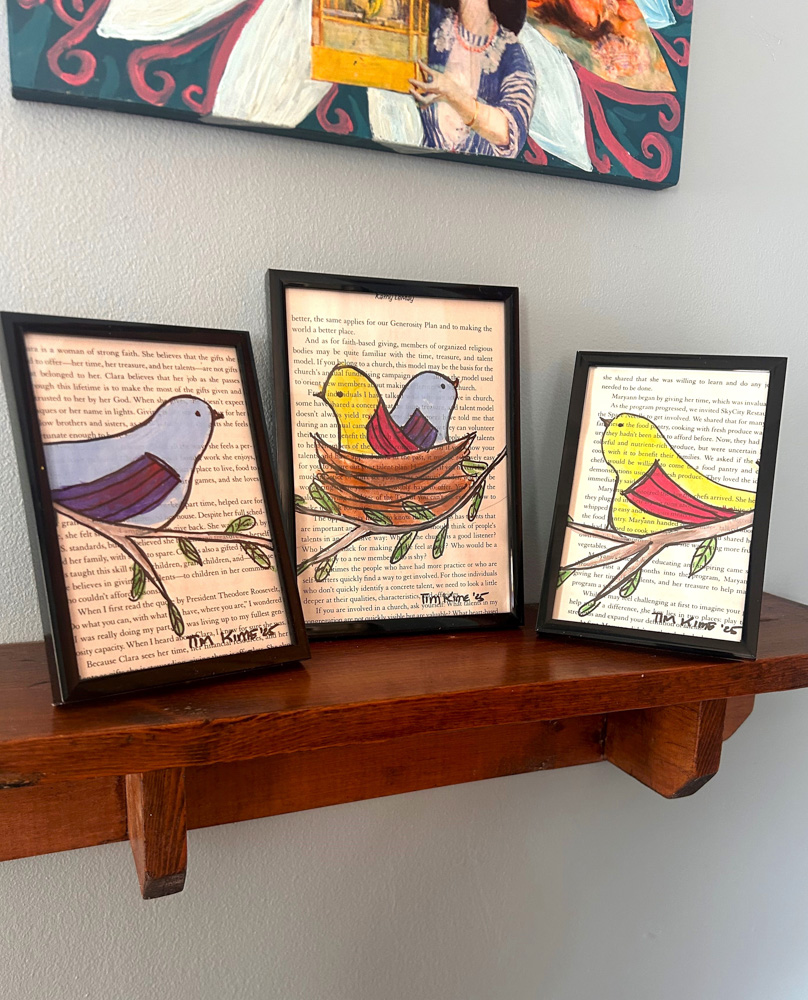
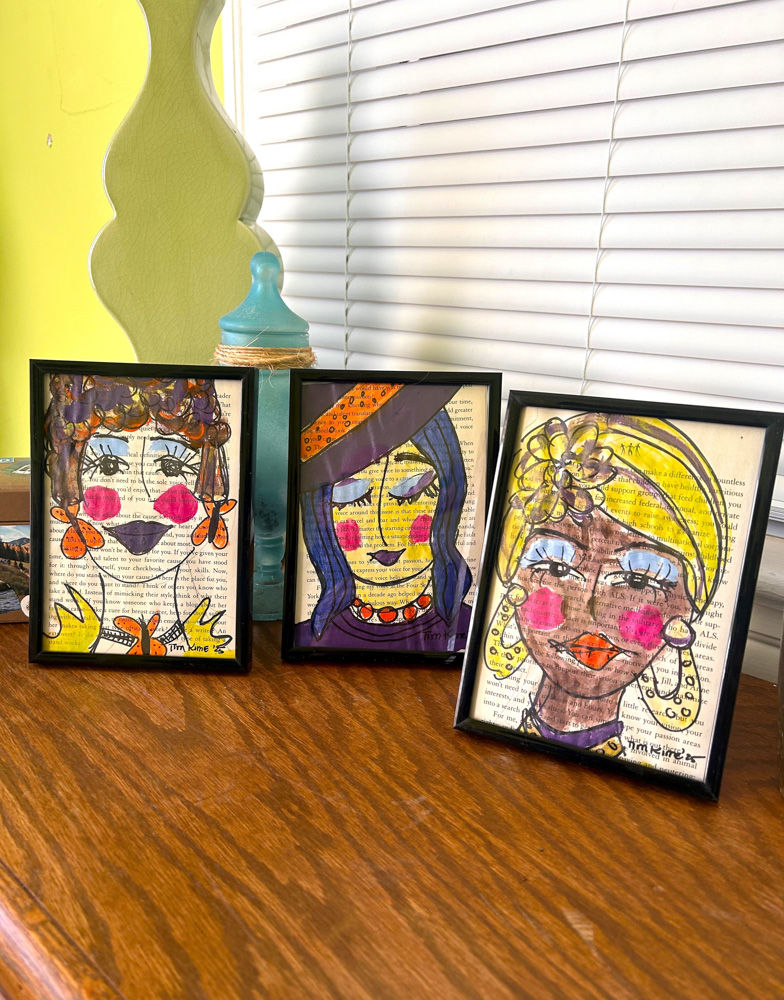
Given the small size of the book pages and frames, a set of two or three complementary/matching images will create a super cute set. For one group, some lovely ladies were sketched out in pencil and drawn in with the marker. Another group was birds on branches ready for flight. The last set was a collection of tea-related images and messages. Each was drawn with whimsy to make it friendly and inviting.
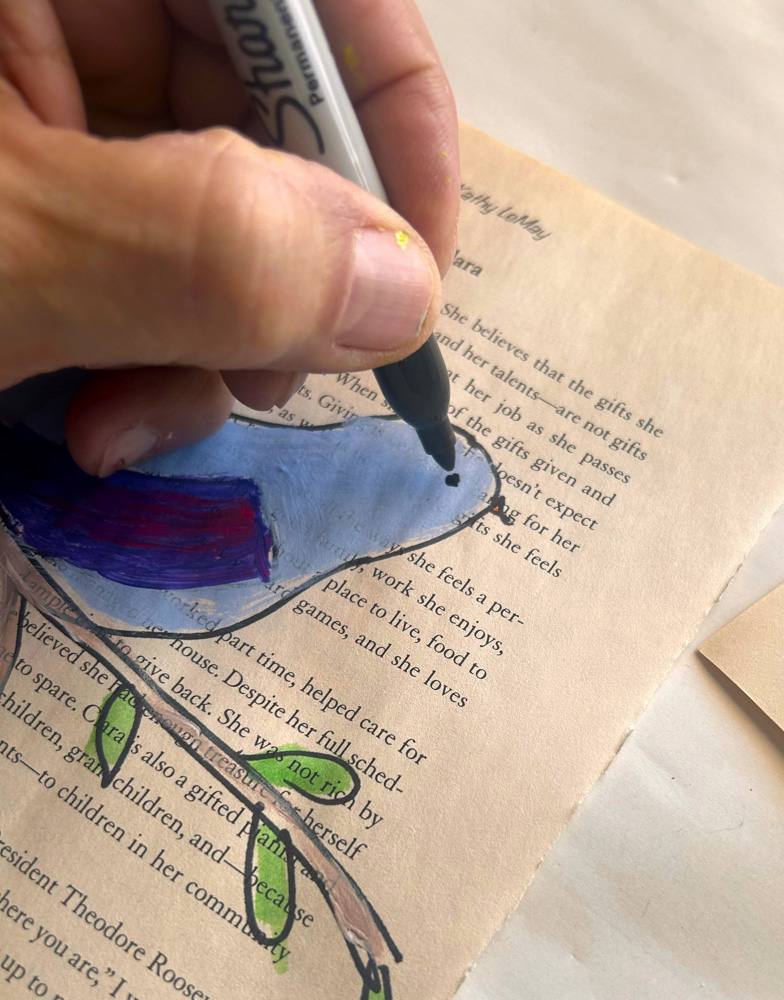
Step 3: Paint on the personality
Use craft paint and small brushes to paint the personality of each piece. Repeat colors in each image to ensure each set looks cohesive and connected. As you can see for my tea trio, each art piece has blue, yellow, and pink tones.

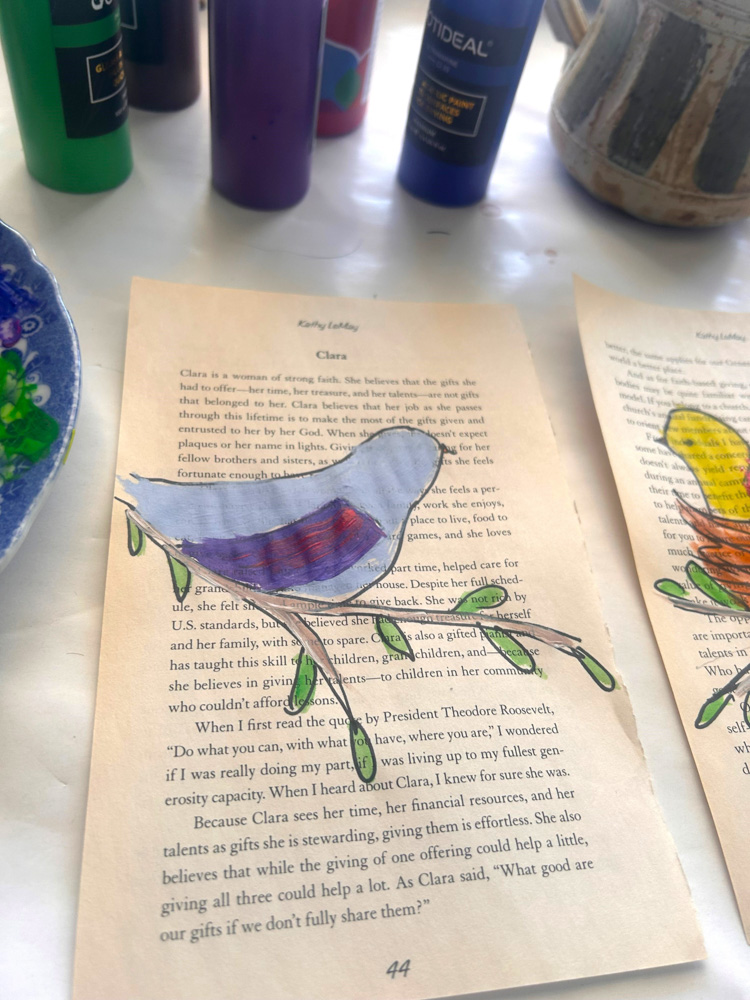
Step 4: Go over your lines, do some details
Allow your mini-masterpieces to dry, then return them with your black marker. Go over the original lines again to ensure they are crisp and sharp. Add additional details like diamonds on the earrings, a scalloped edge on your mug, and veins on your leaves.
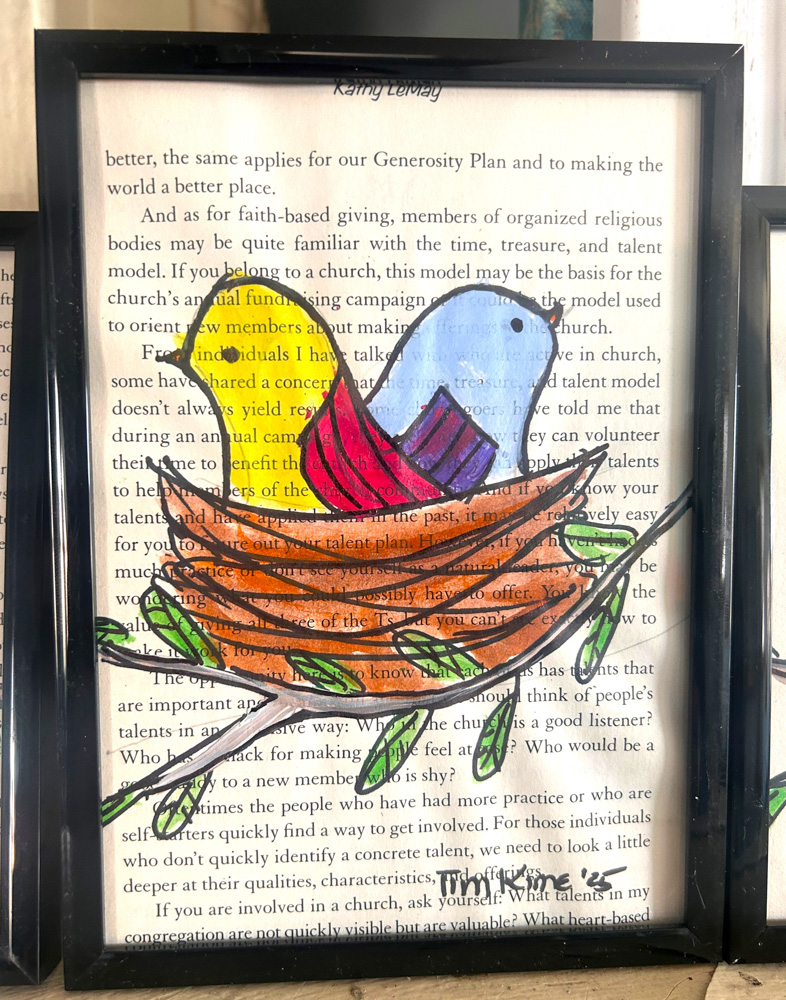
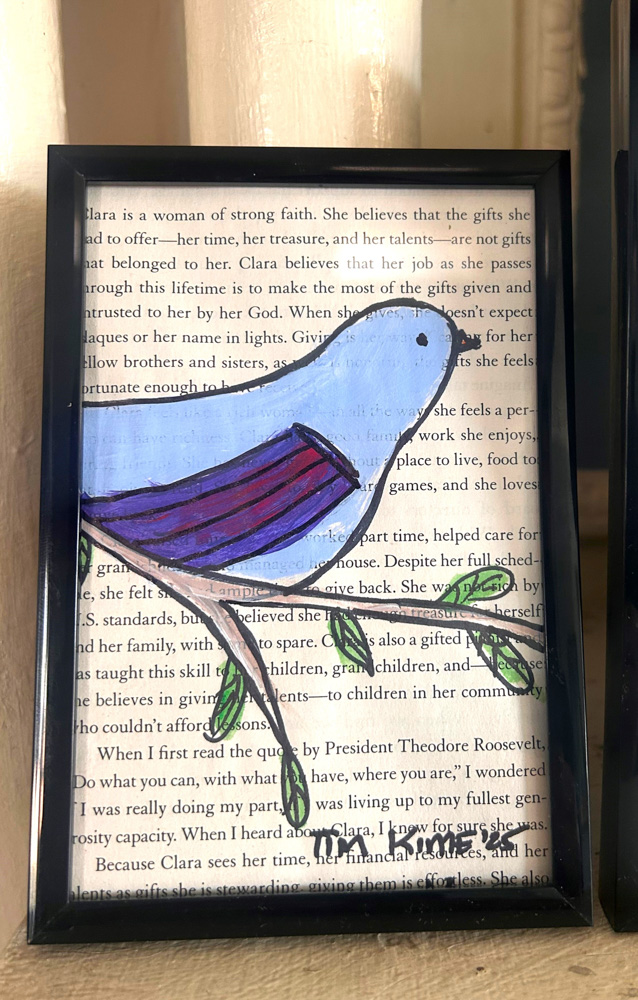
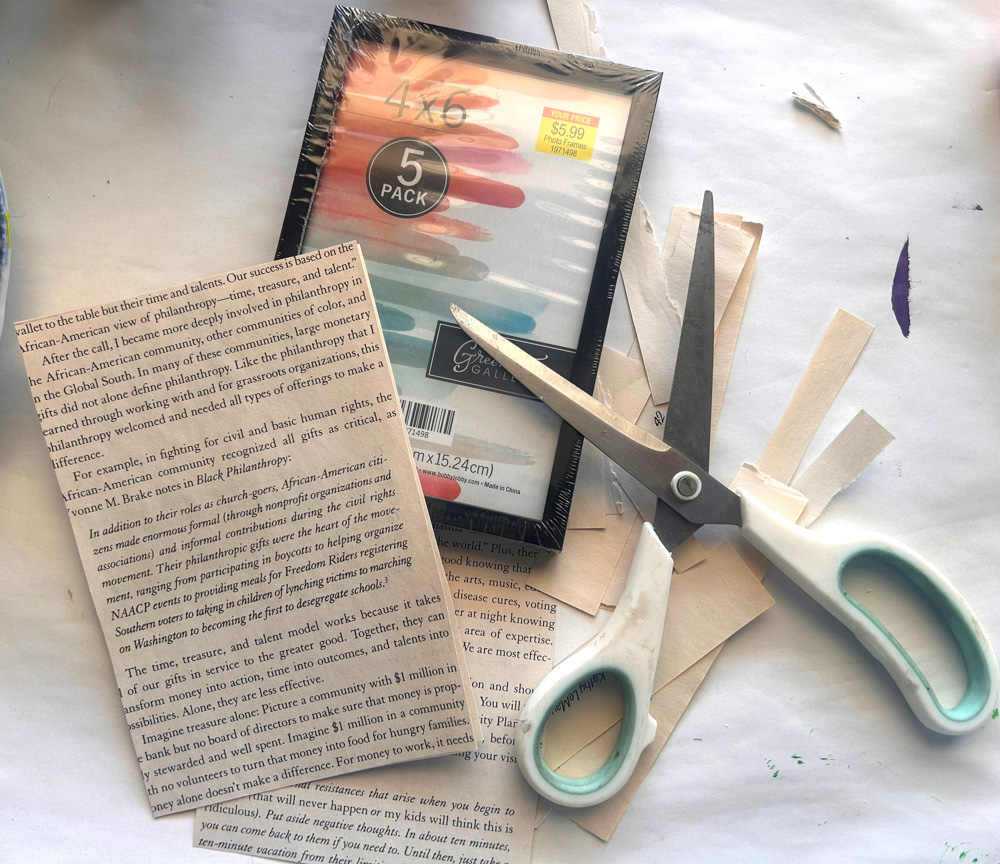
Step 5: Frame and fawn
Place each of your colorful creations in a frame. You might need to use a pencil to trace around the glass piece (use caution, please!) and scissors to trim it so your book-page-turned-cute canvas fits perfectly inside. After assembling them, you will see how nicely the black frame complements the black lines and overall look of your pieces.
Hang, display, or share as a set for the biggest impact and loudest “Ahs!” You and others will fawn over them and your upcycling/reusing/repurposing talents!

Similar Reads:
- Use Sunflowers to Inspire Your DIY Designs! – Finding Your Good
- Noodle on This DIY: Fun Flowers From Pool Accessories & Goodwill Finds – Finding Your Good
- DIY: Toilet Paper Roll Flowers & Butterflies

Tim Kime
Artist, Motivational Speaker, Life Coach
